Construction journal: slow but steady
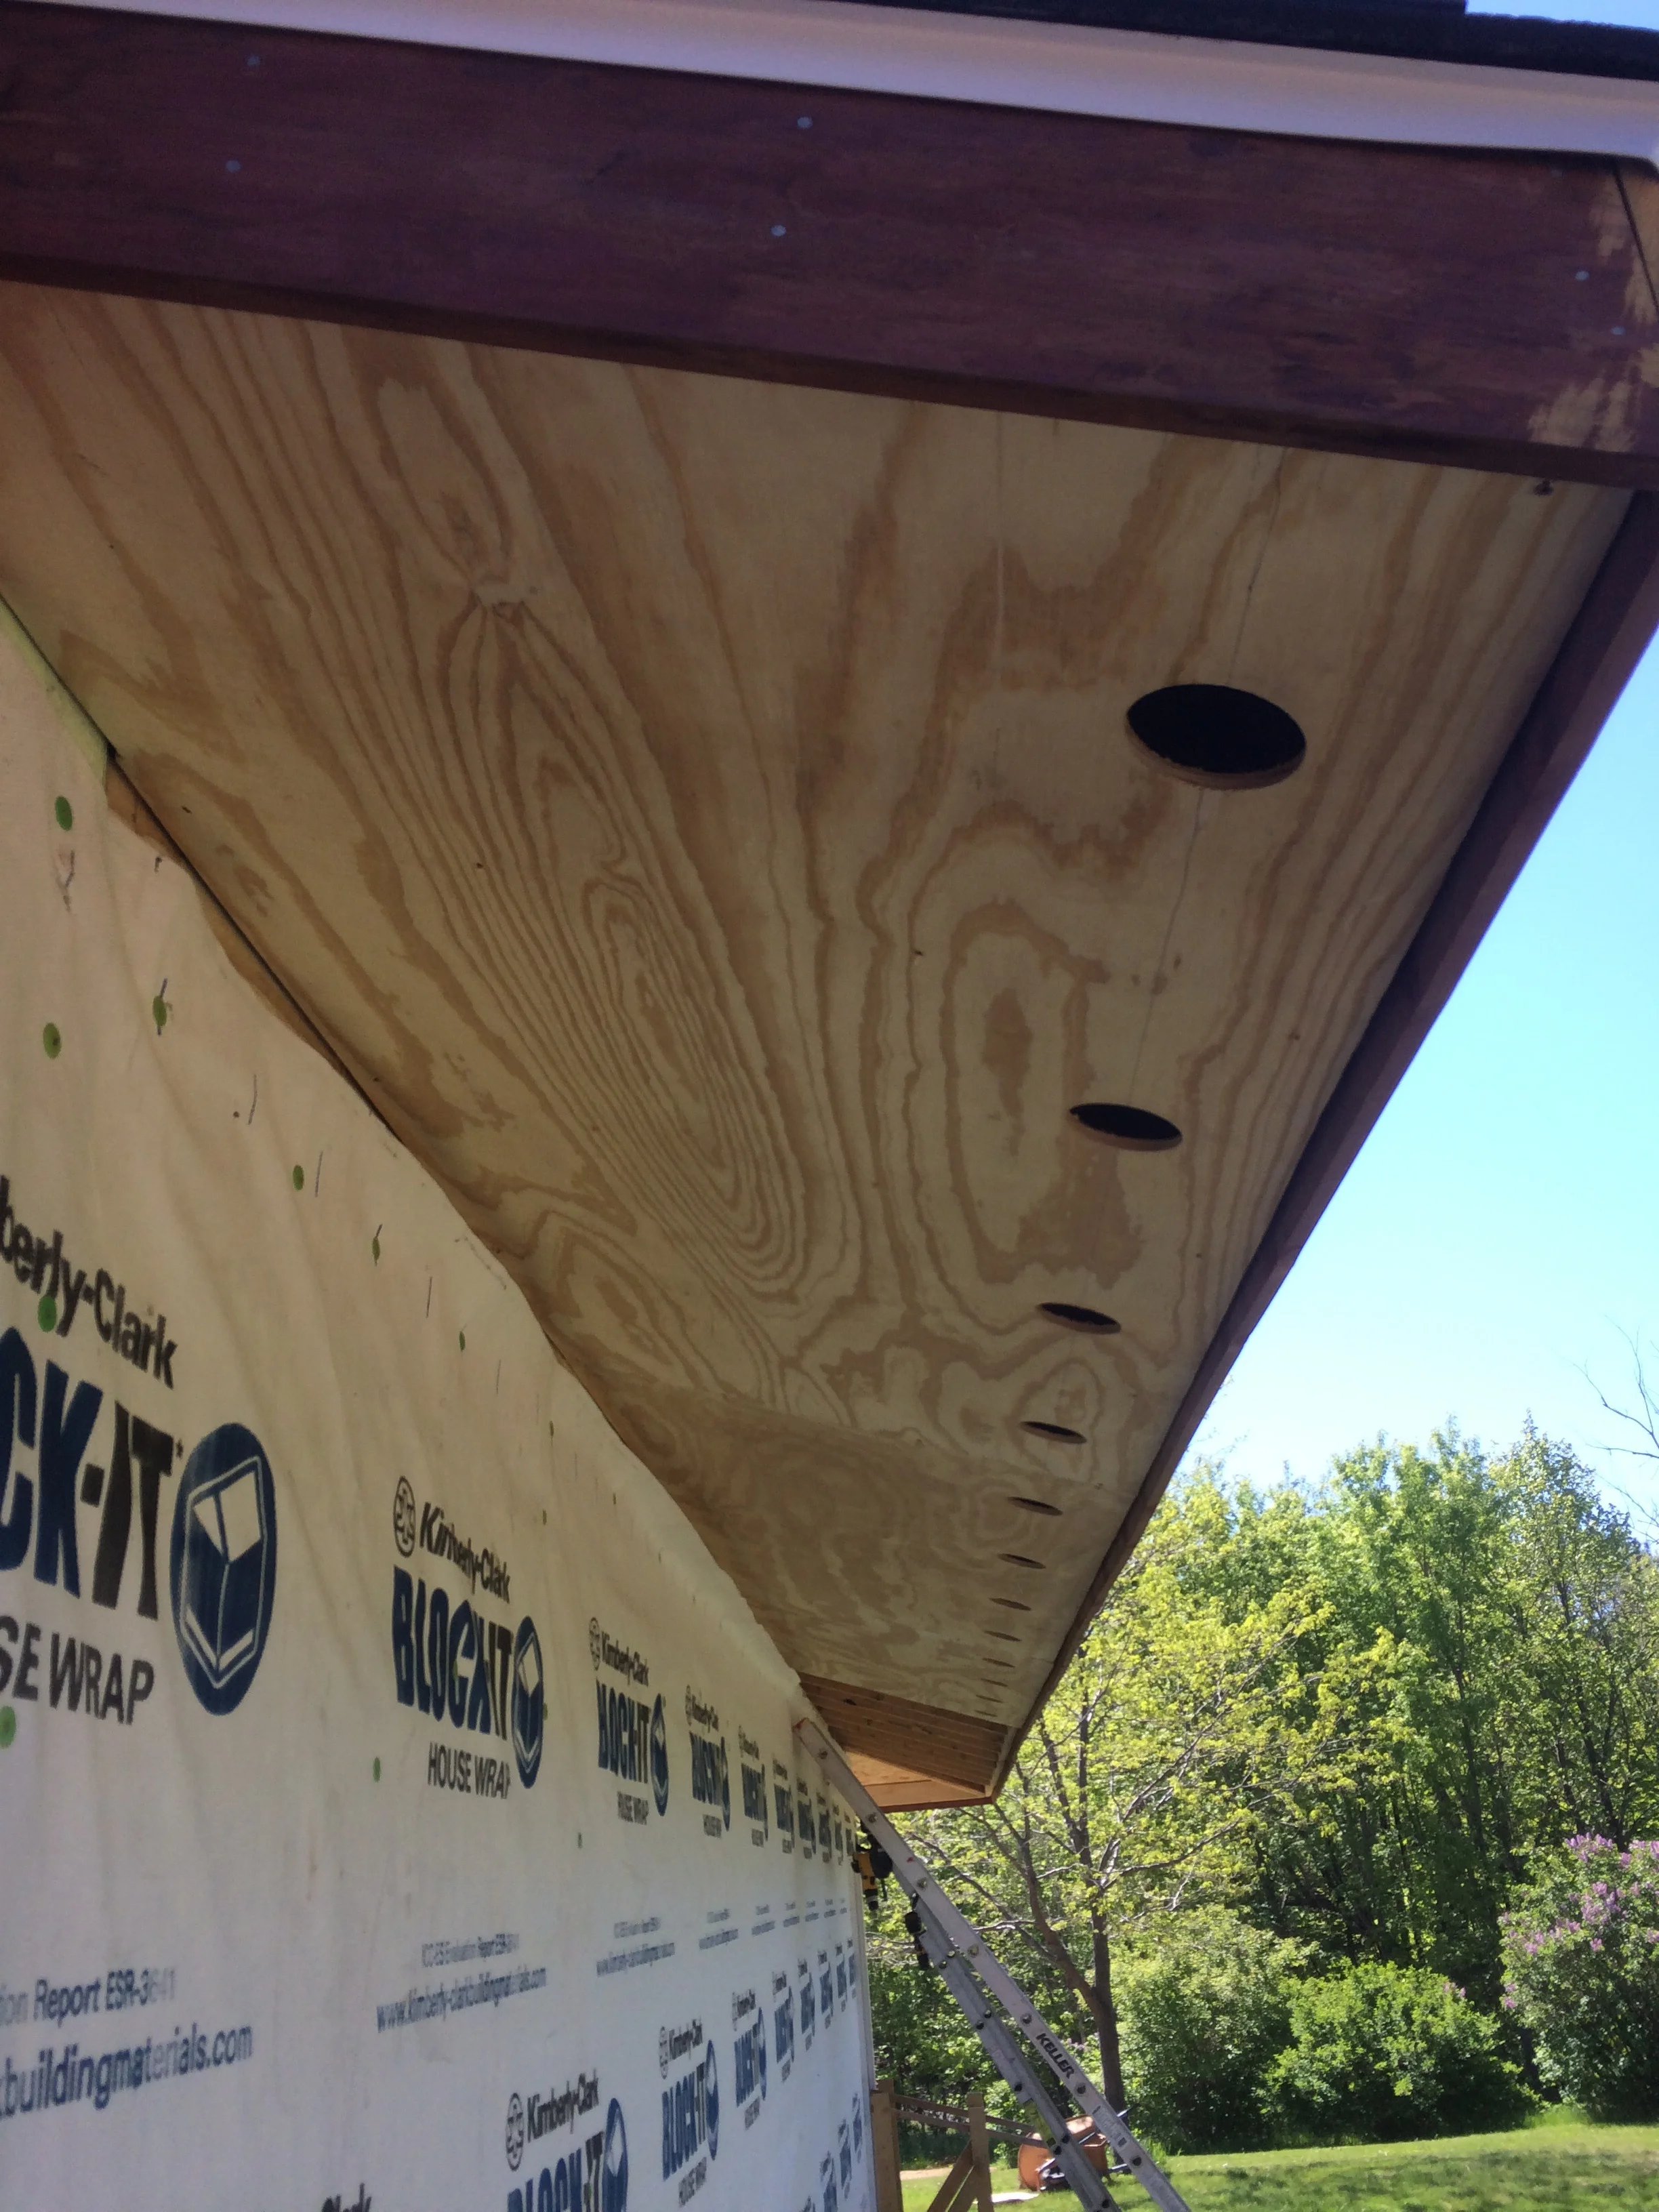
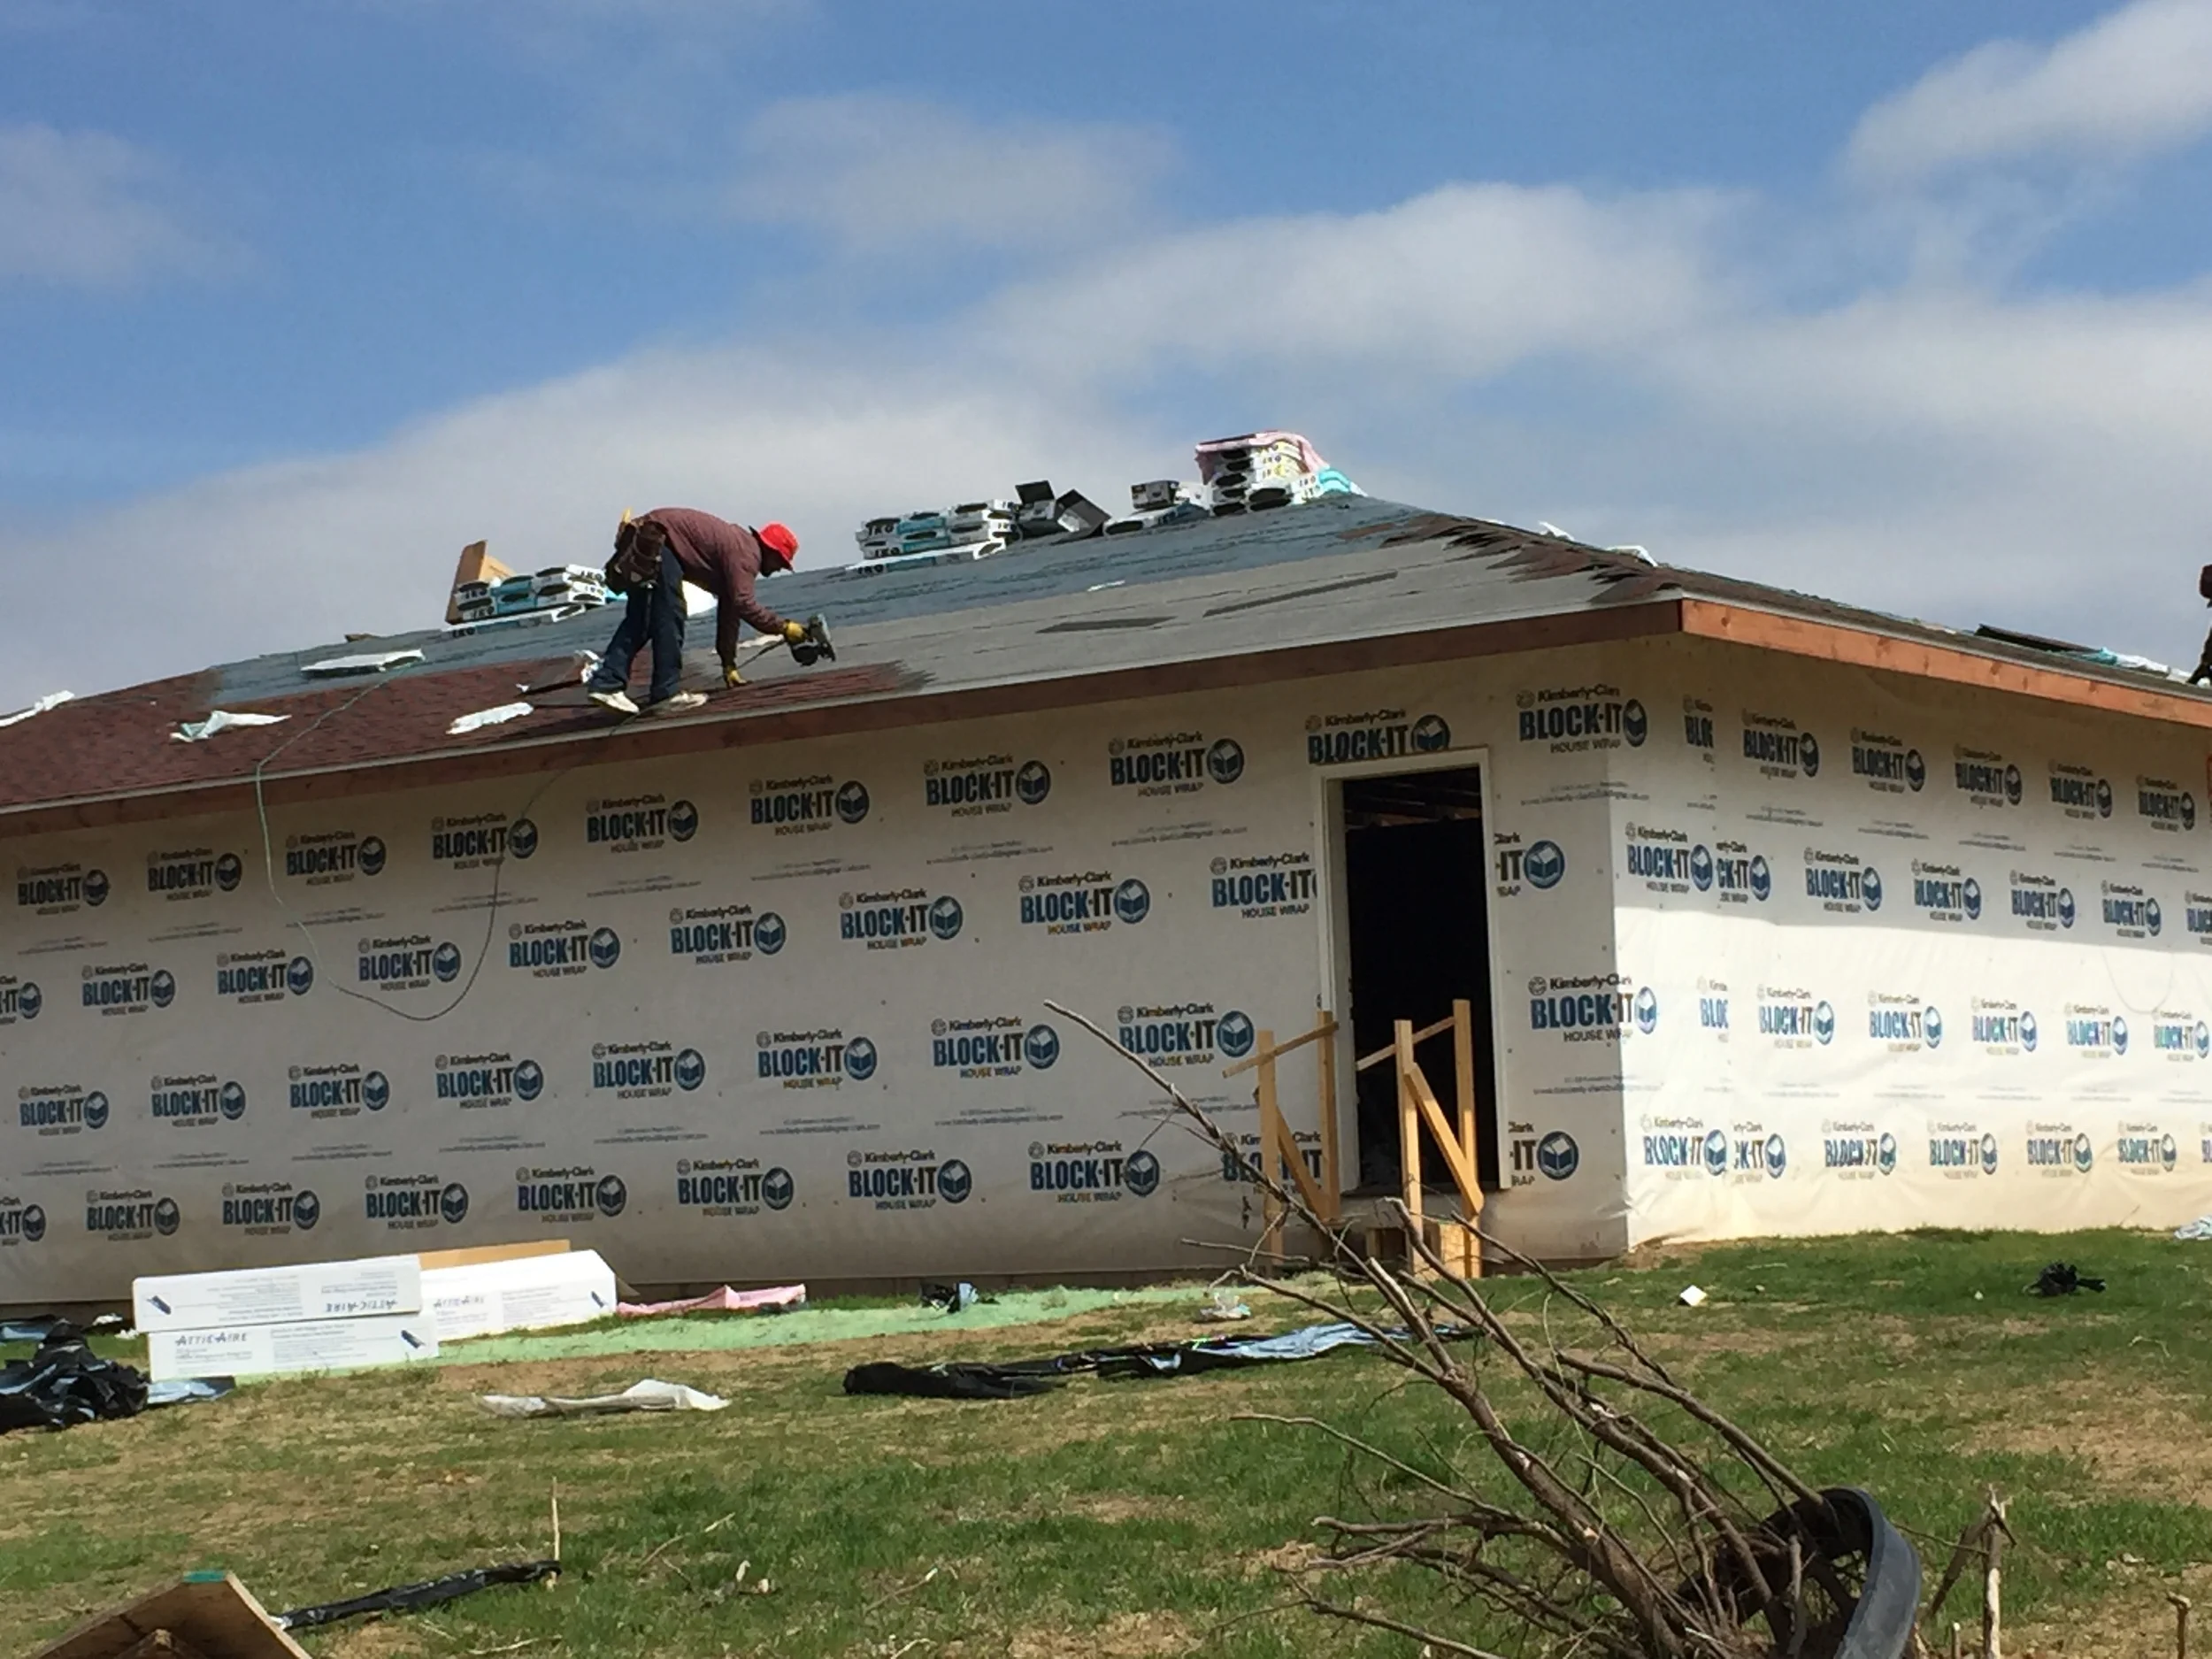
The third week of May, Michael's brother Douglas came and worked fast and steady with Michael. They got the soffit up and began a back porch. Three weeks later and we just bought the last of the lumber for the back porch:

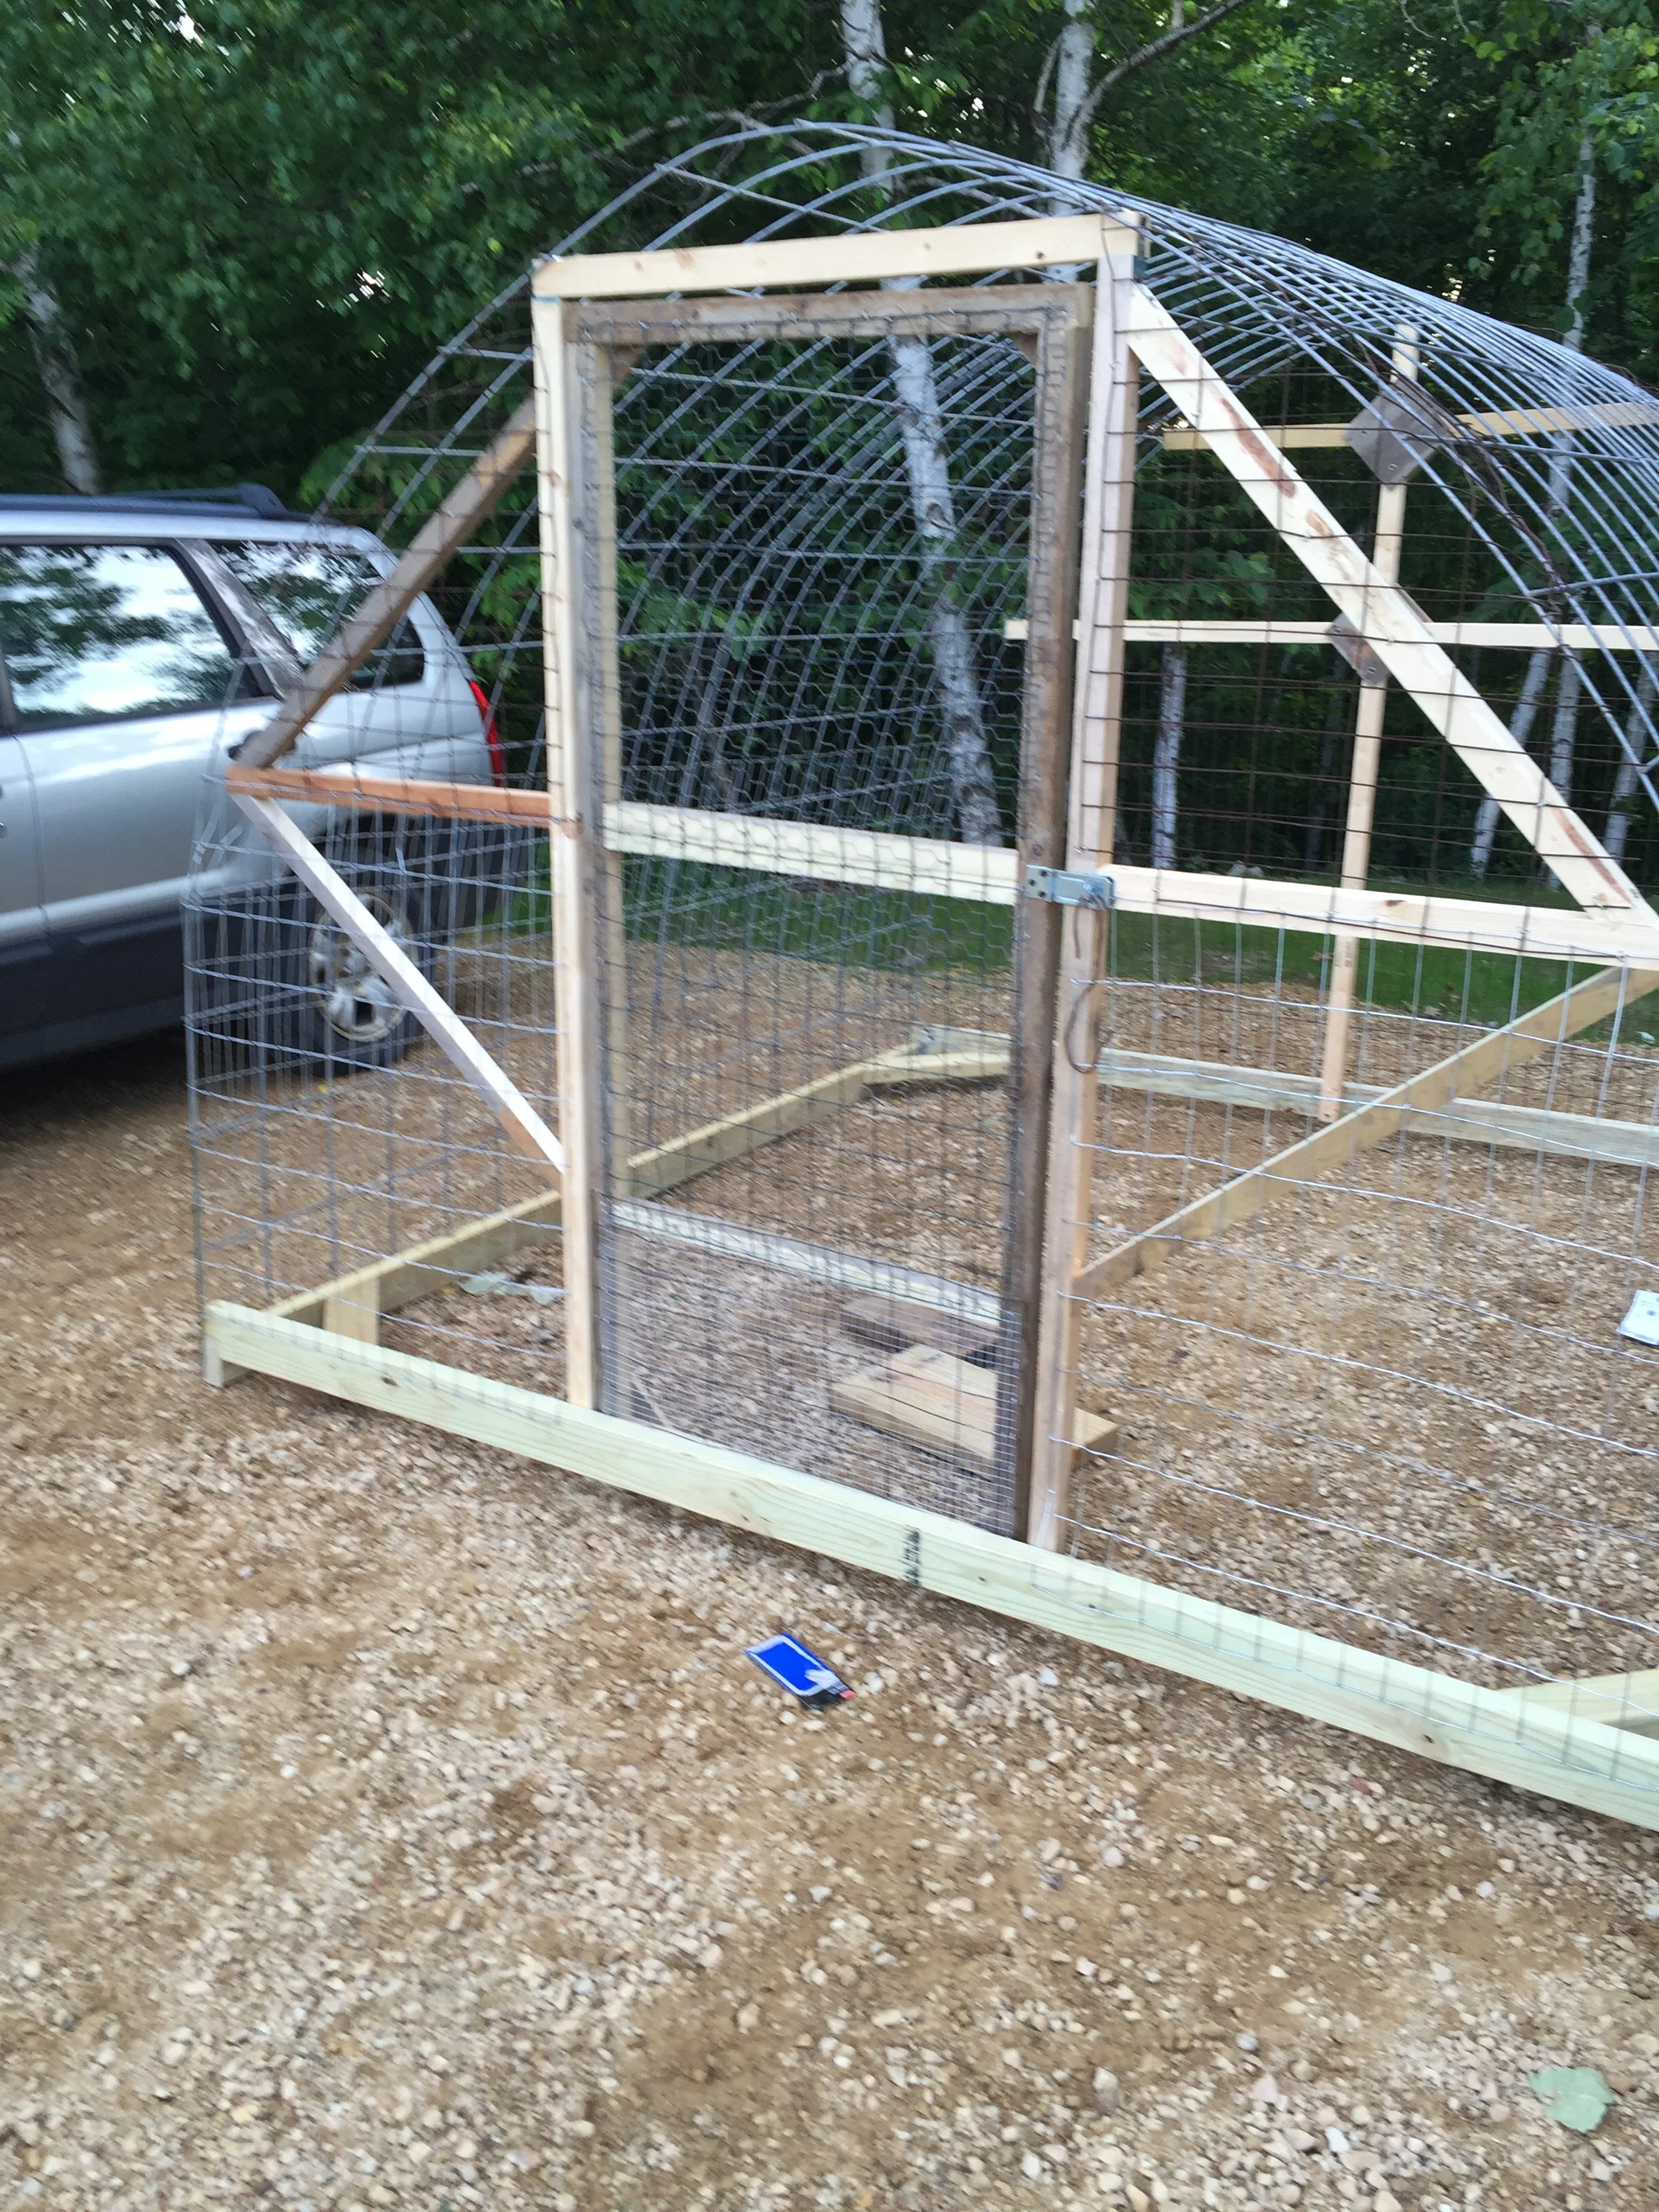
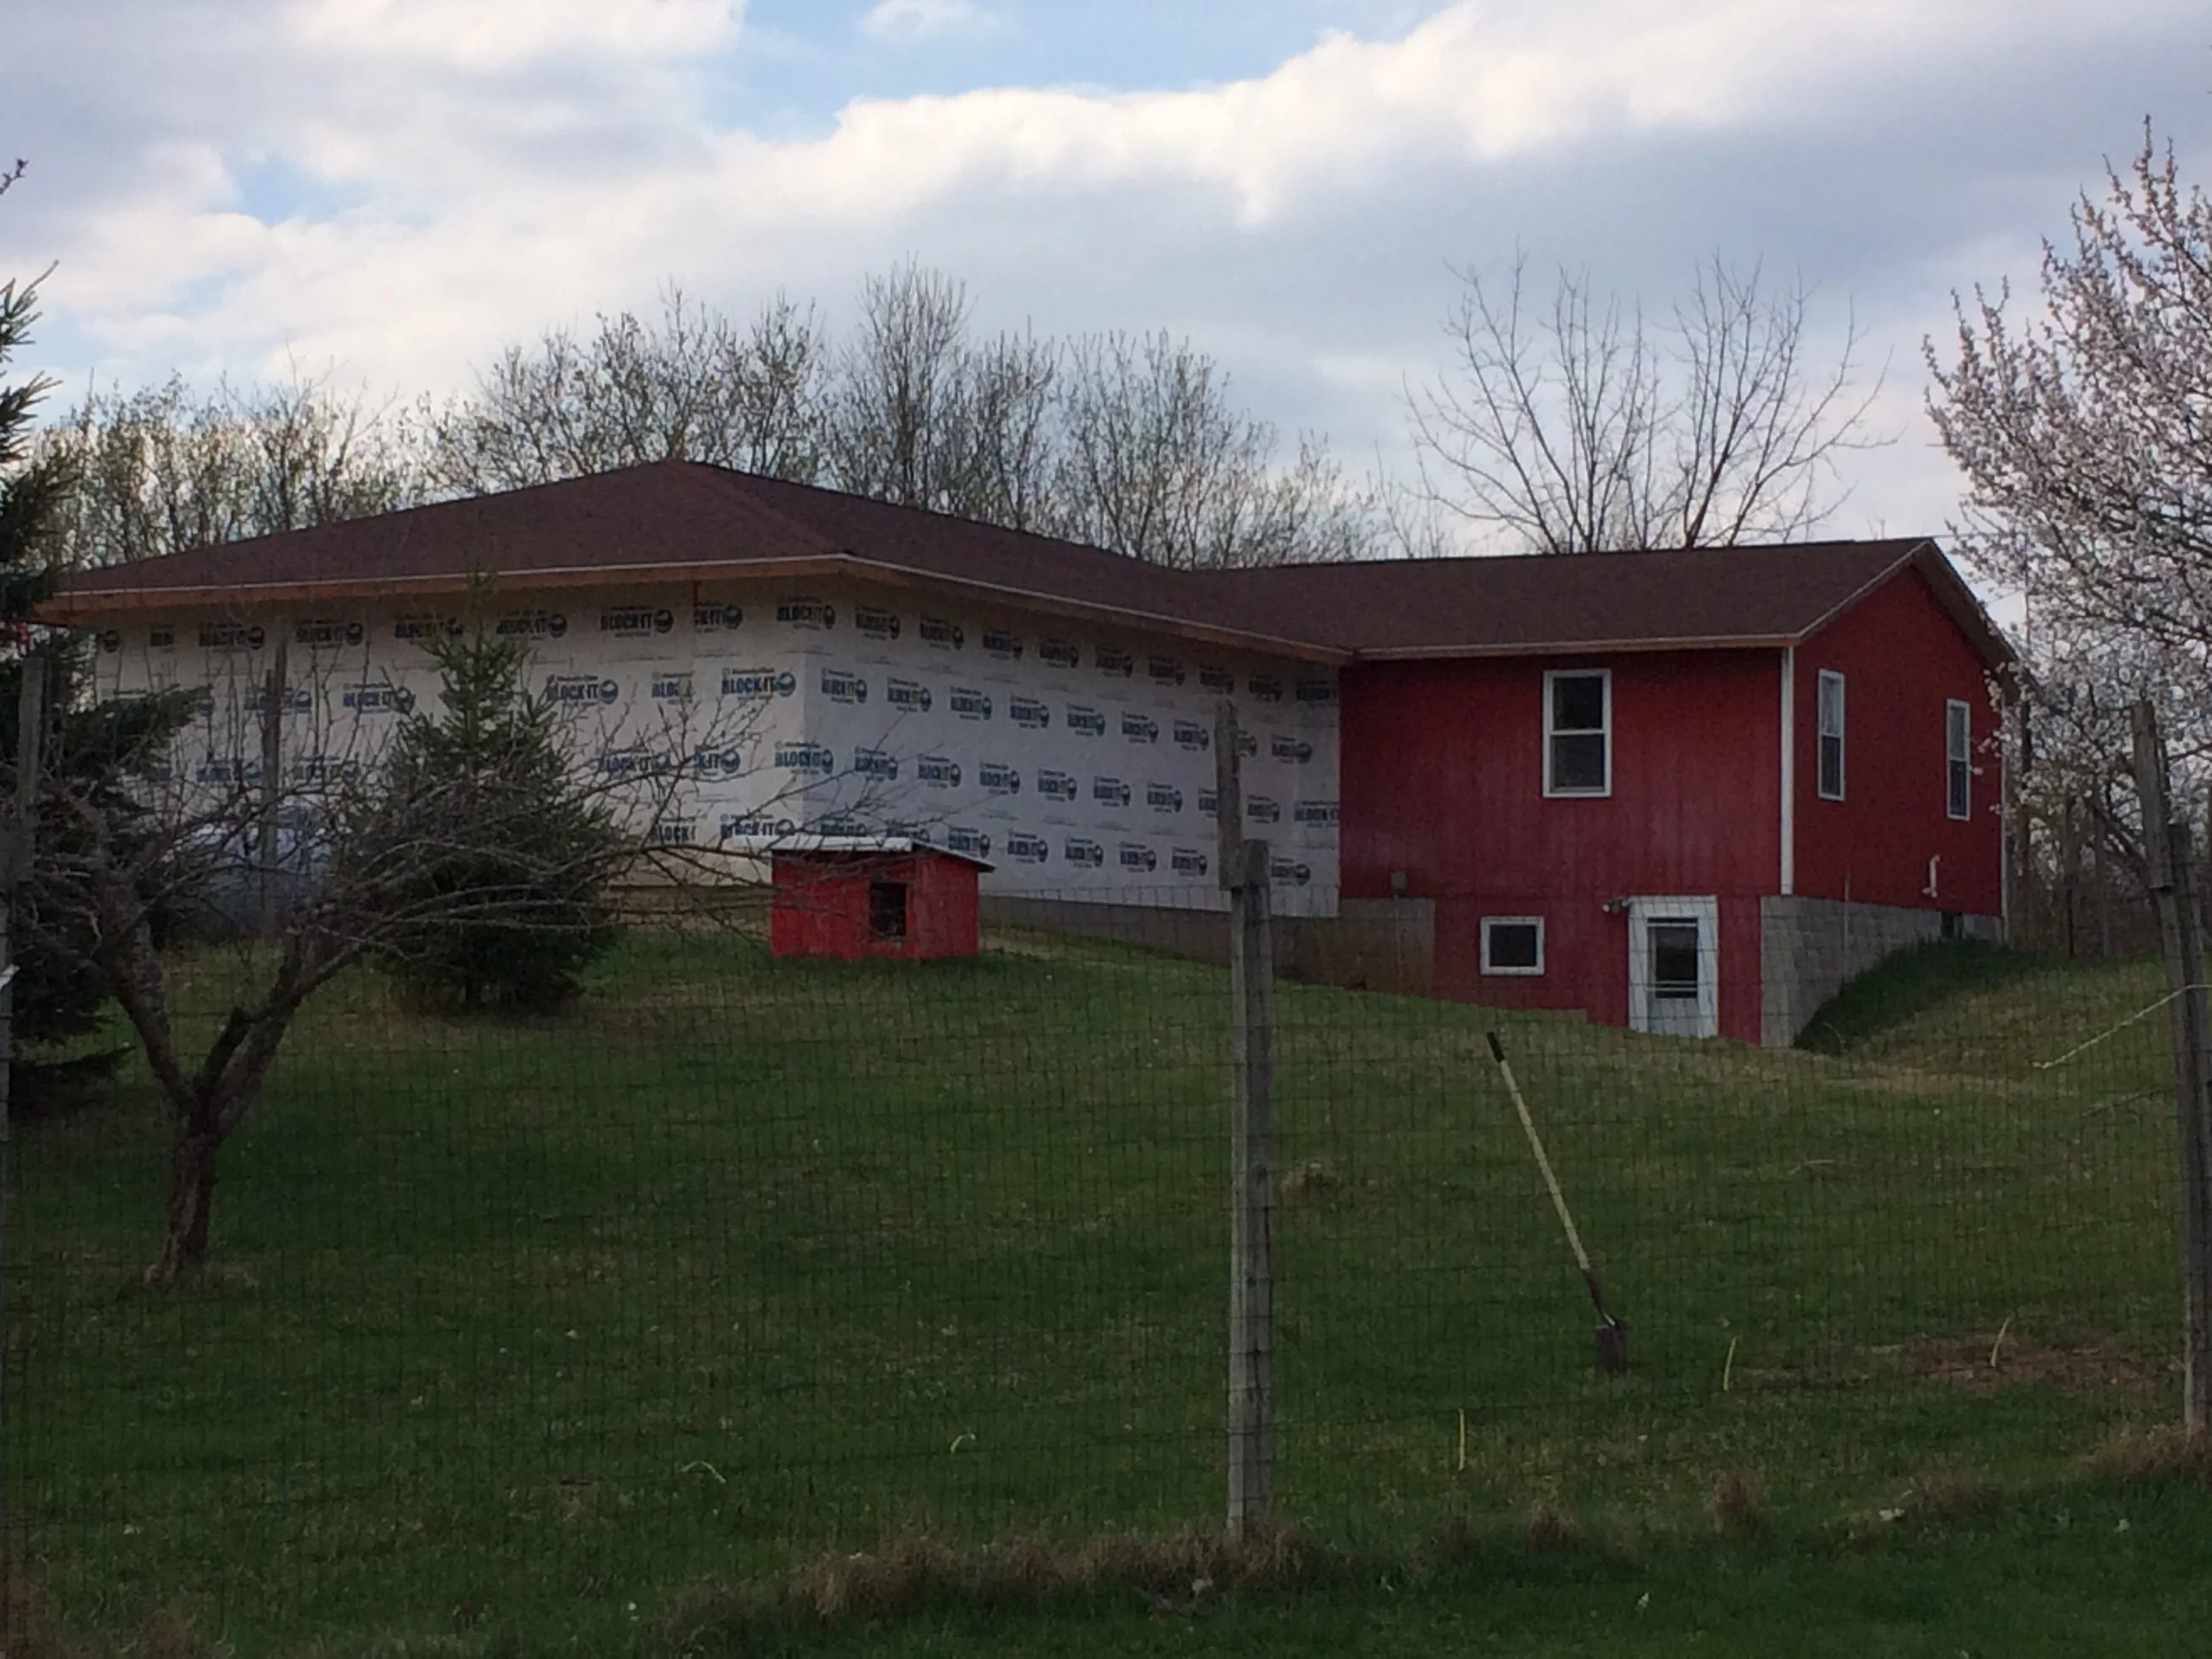
The framework for the porch is just visible in the background
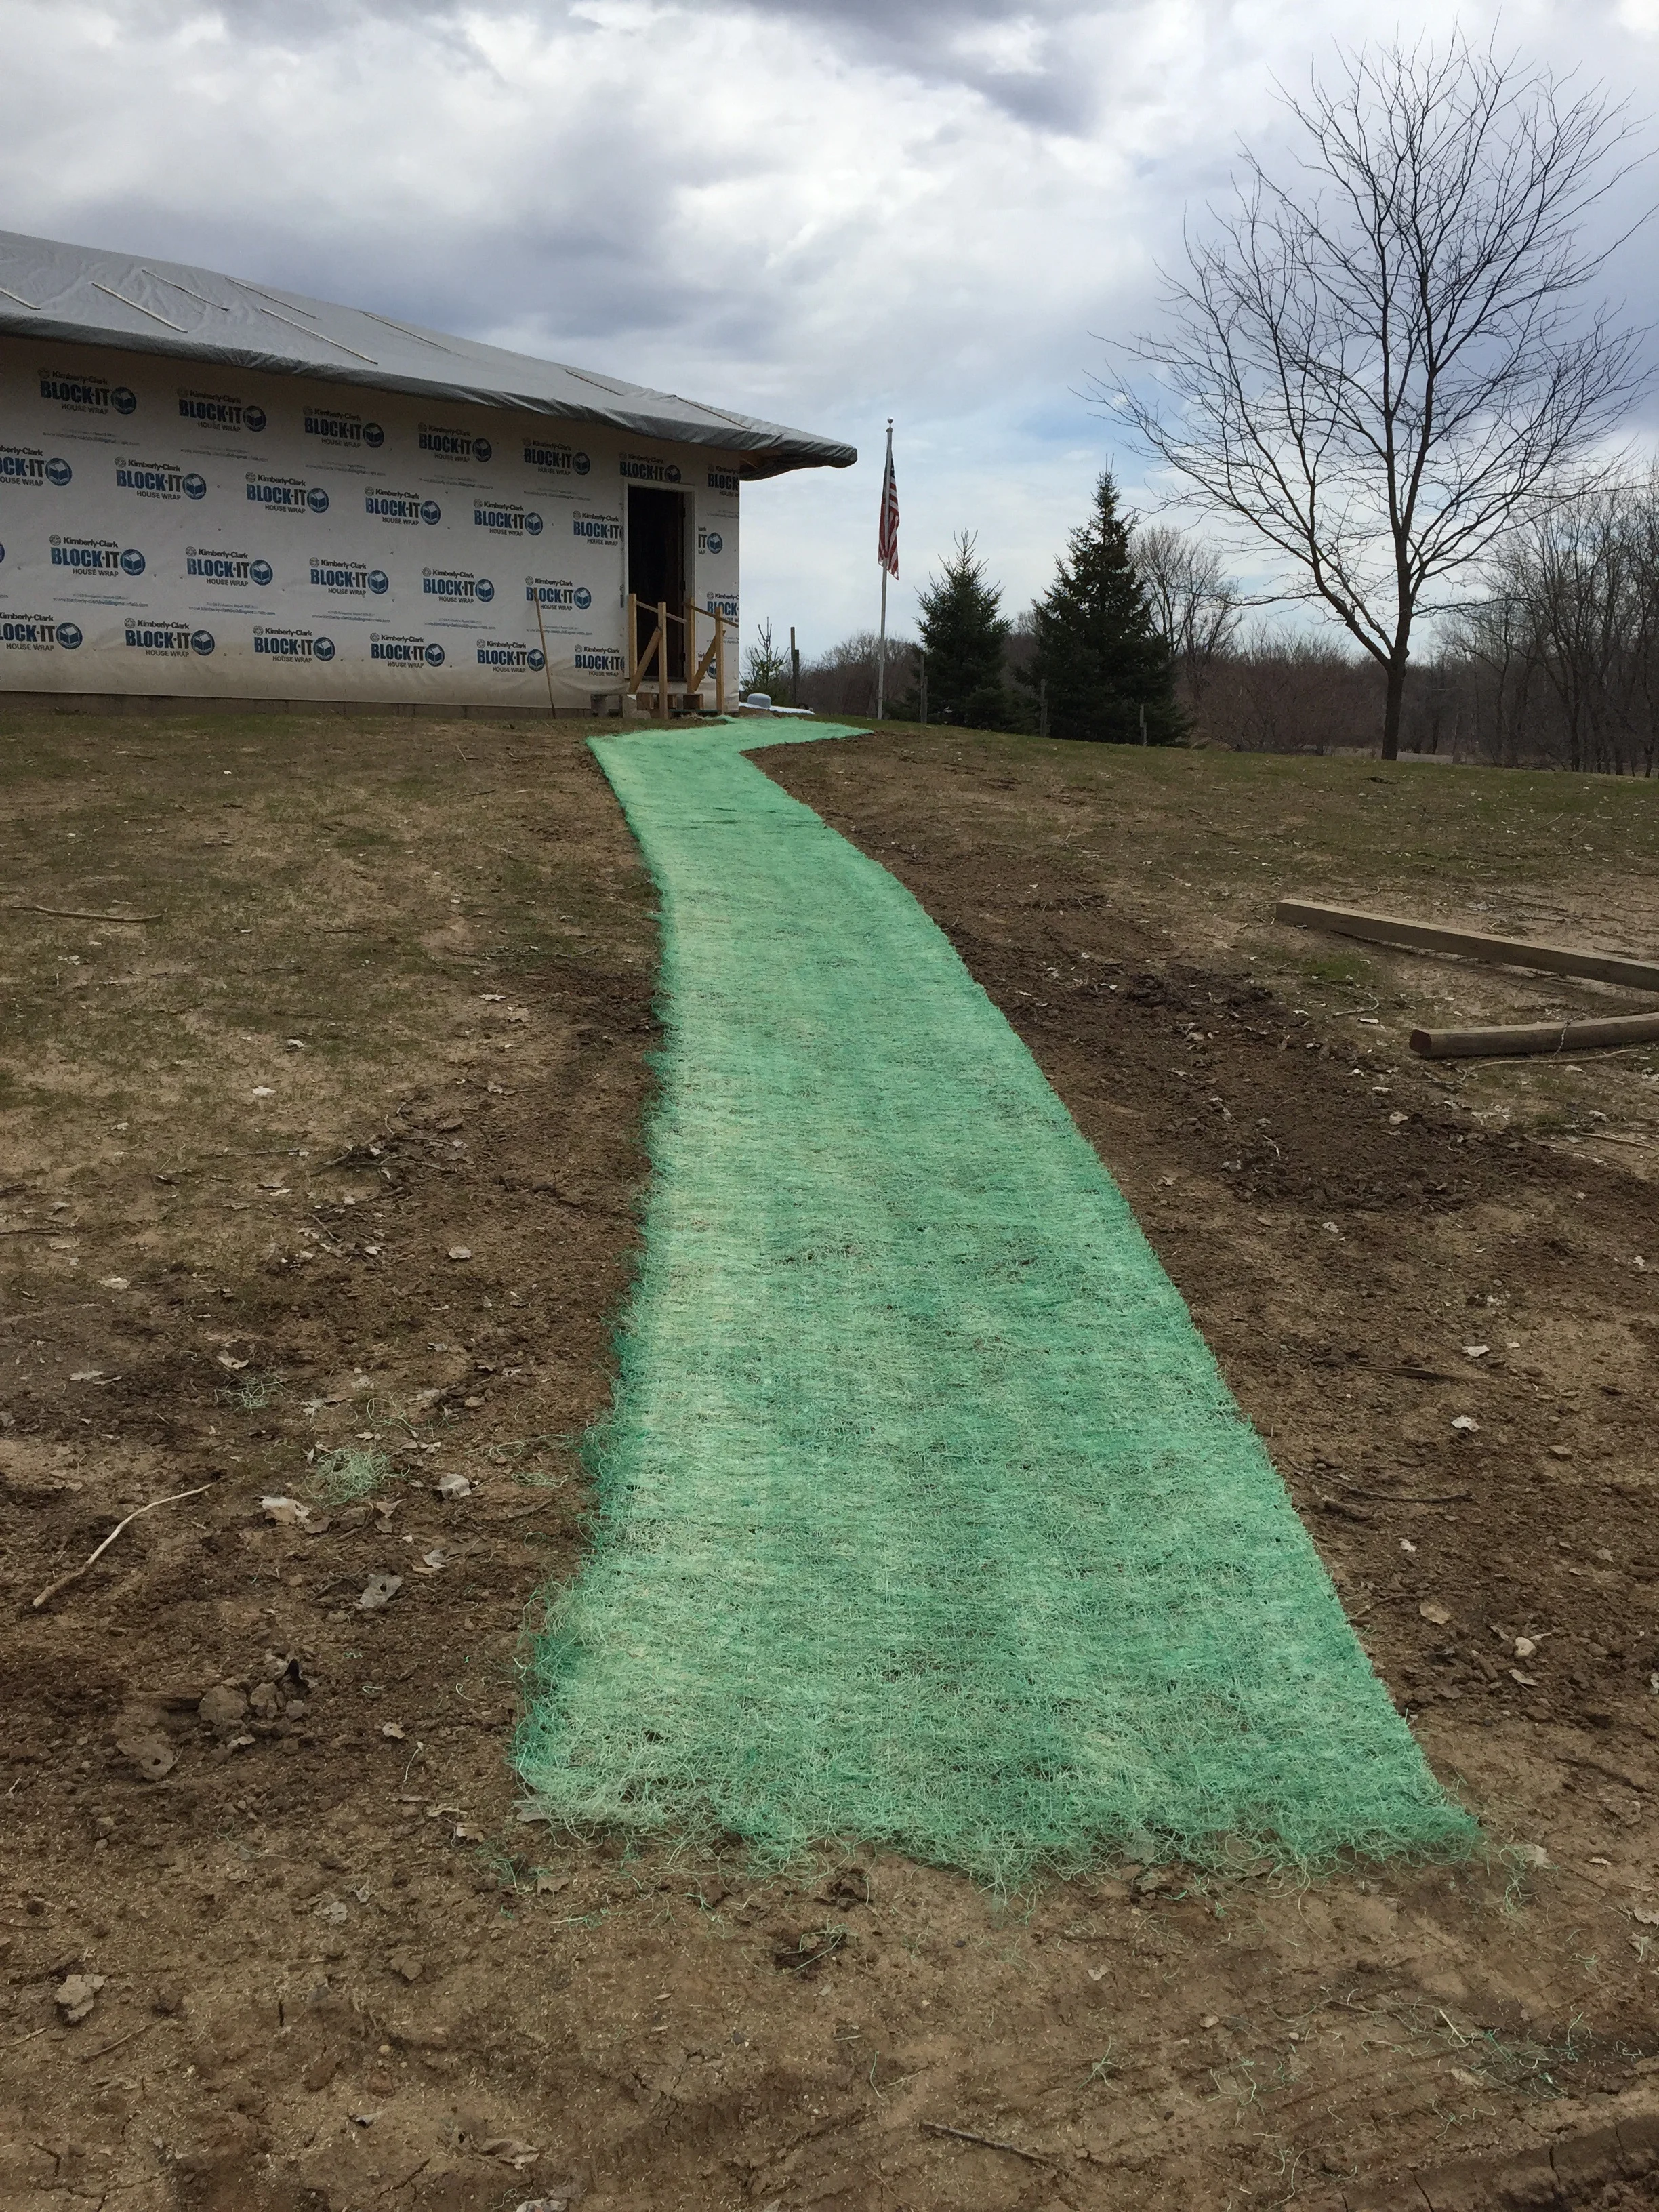
We have done a lot of other things in the meantime, such as getting the windows and the back doors purchased and in the addition waiting to be installed. We want to start on the back so we make any of our mistakes on the far side of the house. We also needed to stop erosion on the back side. So there we start. Soon.
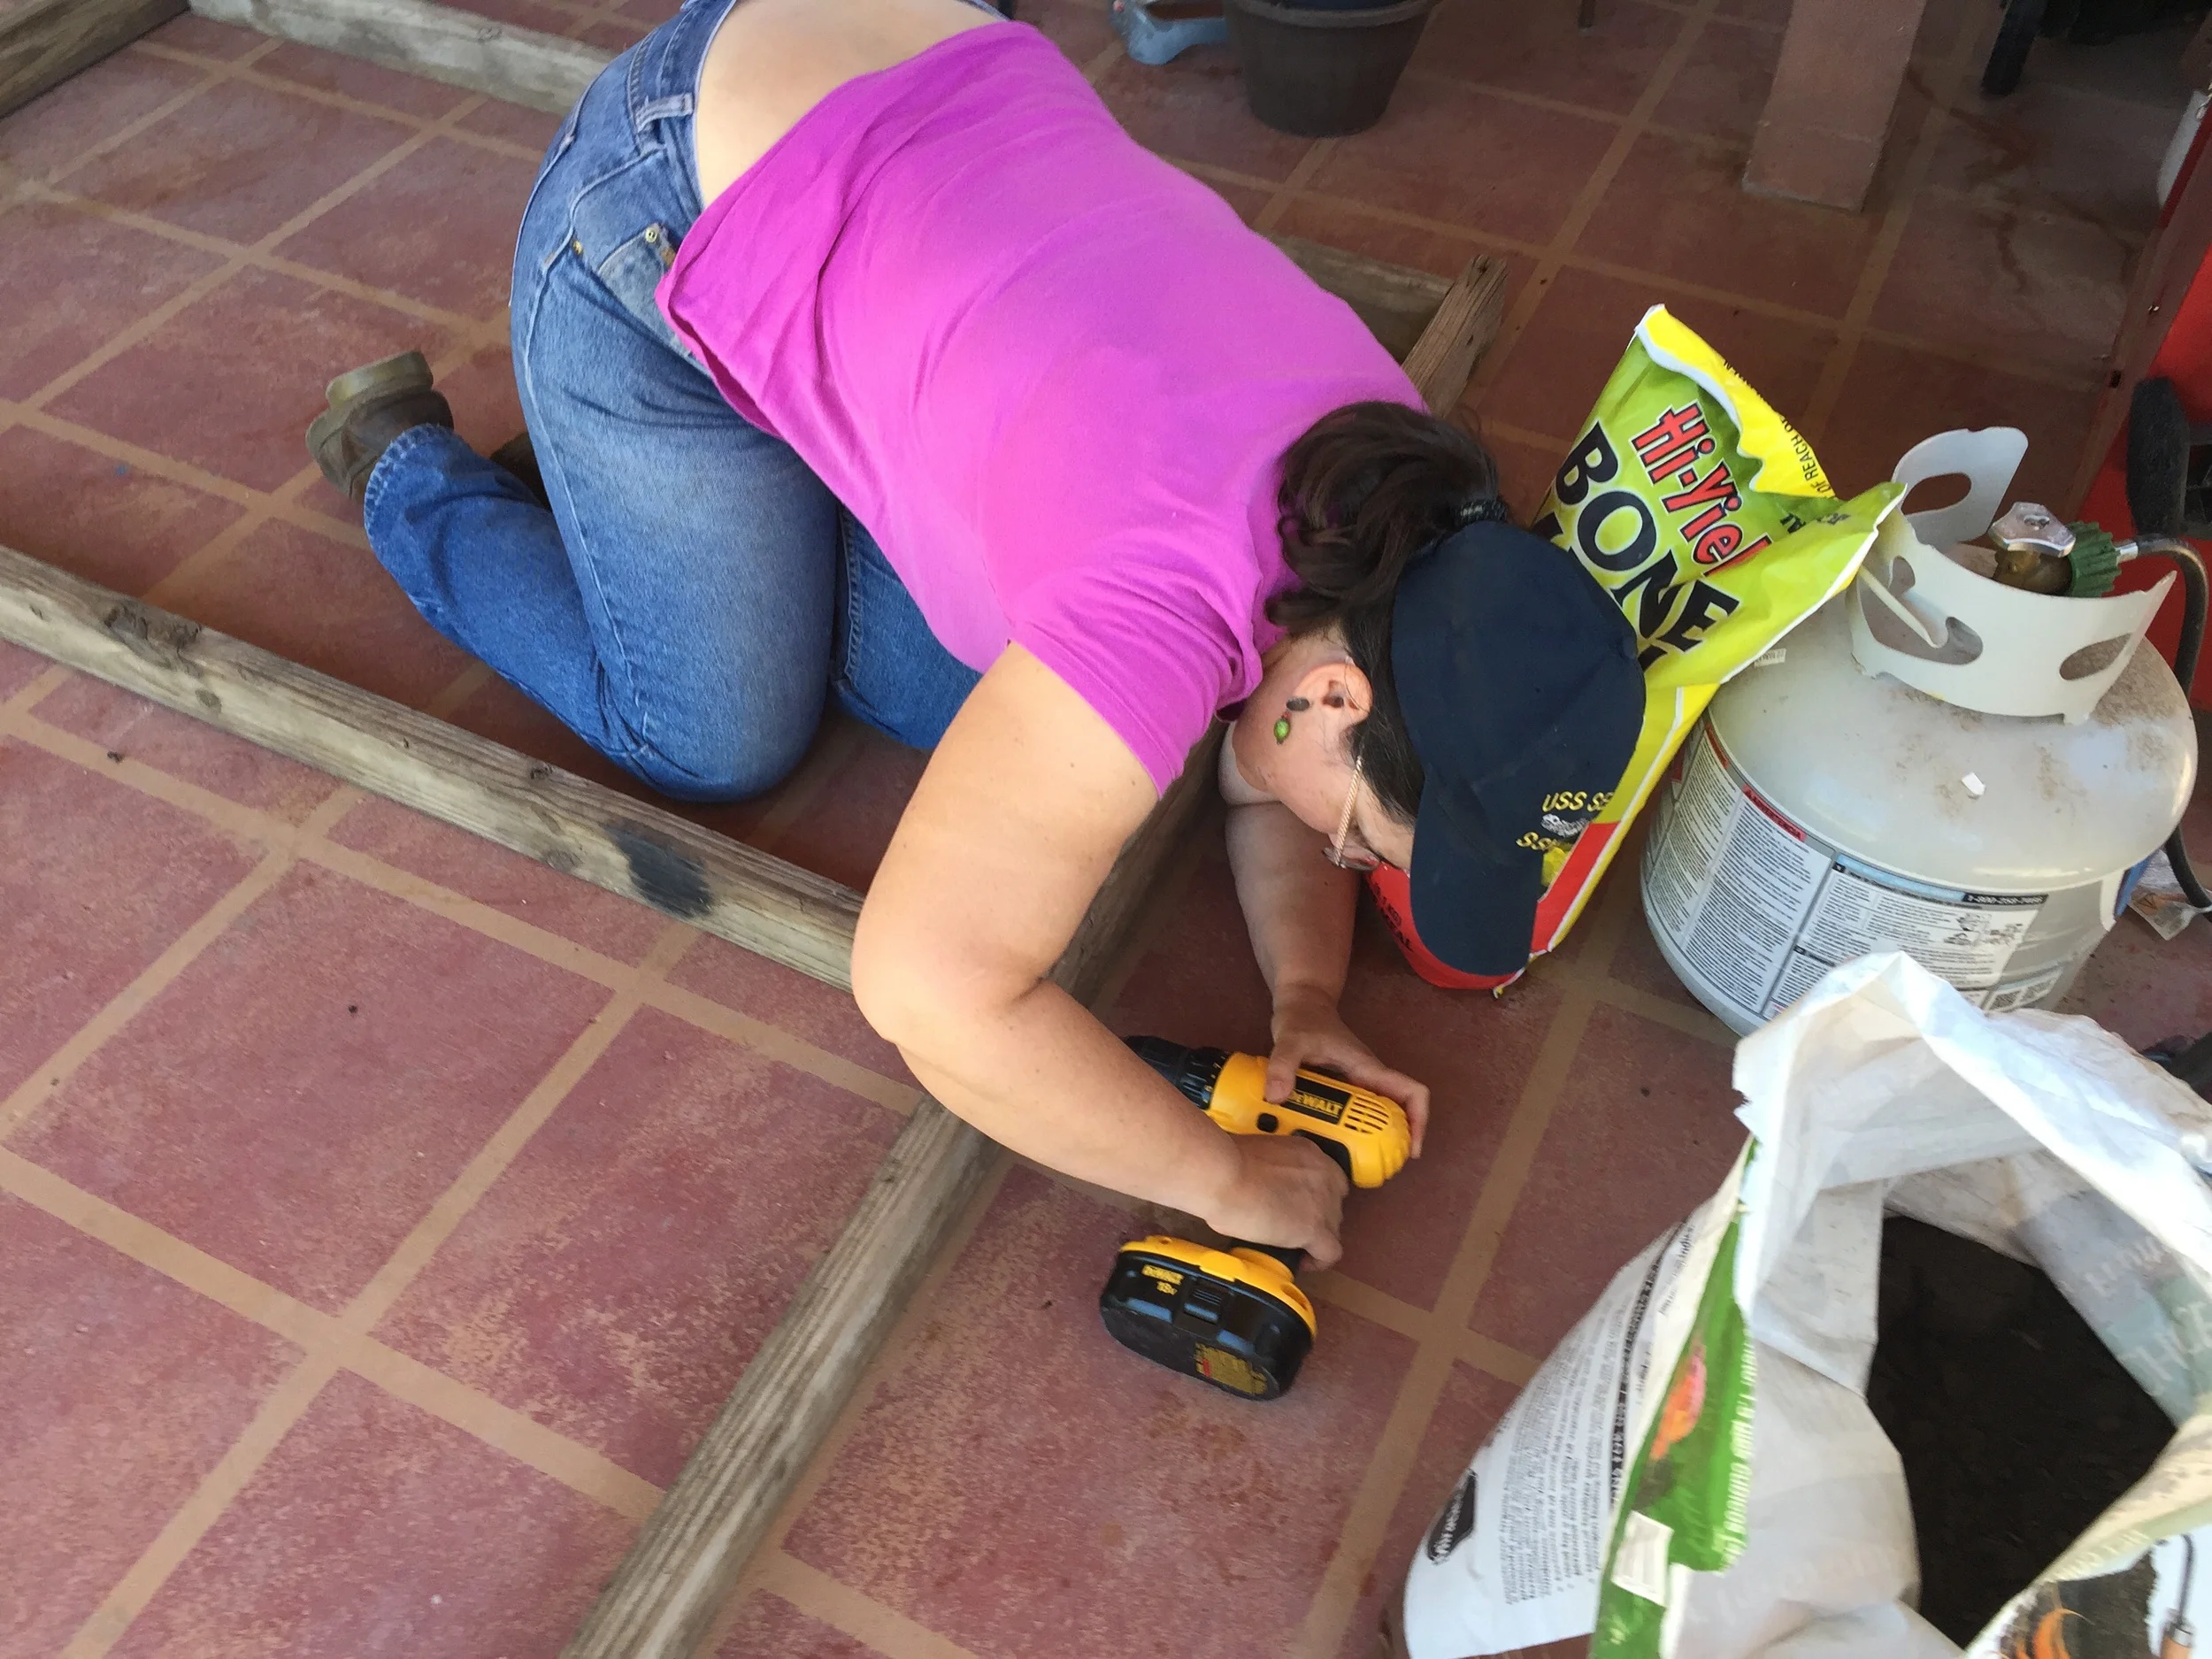
In the meantime, we've slowly been finishing off the base boards where the original cabin meets the first addition.
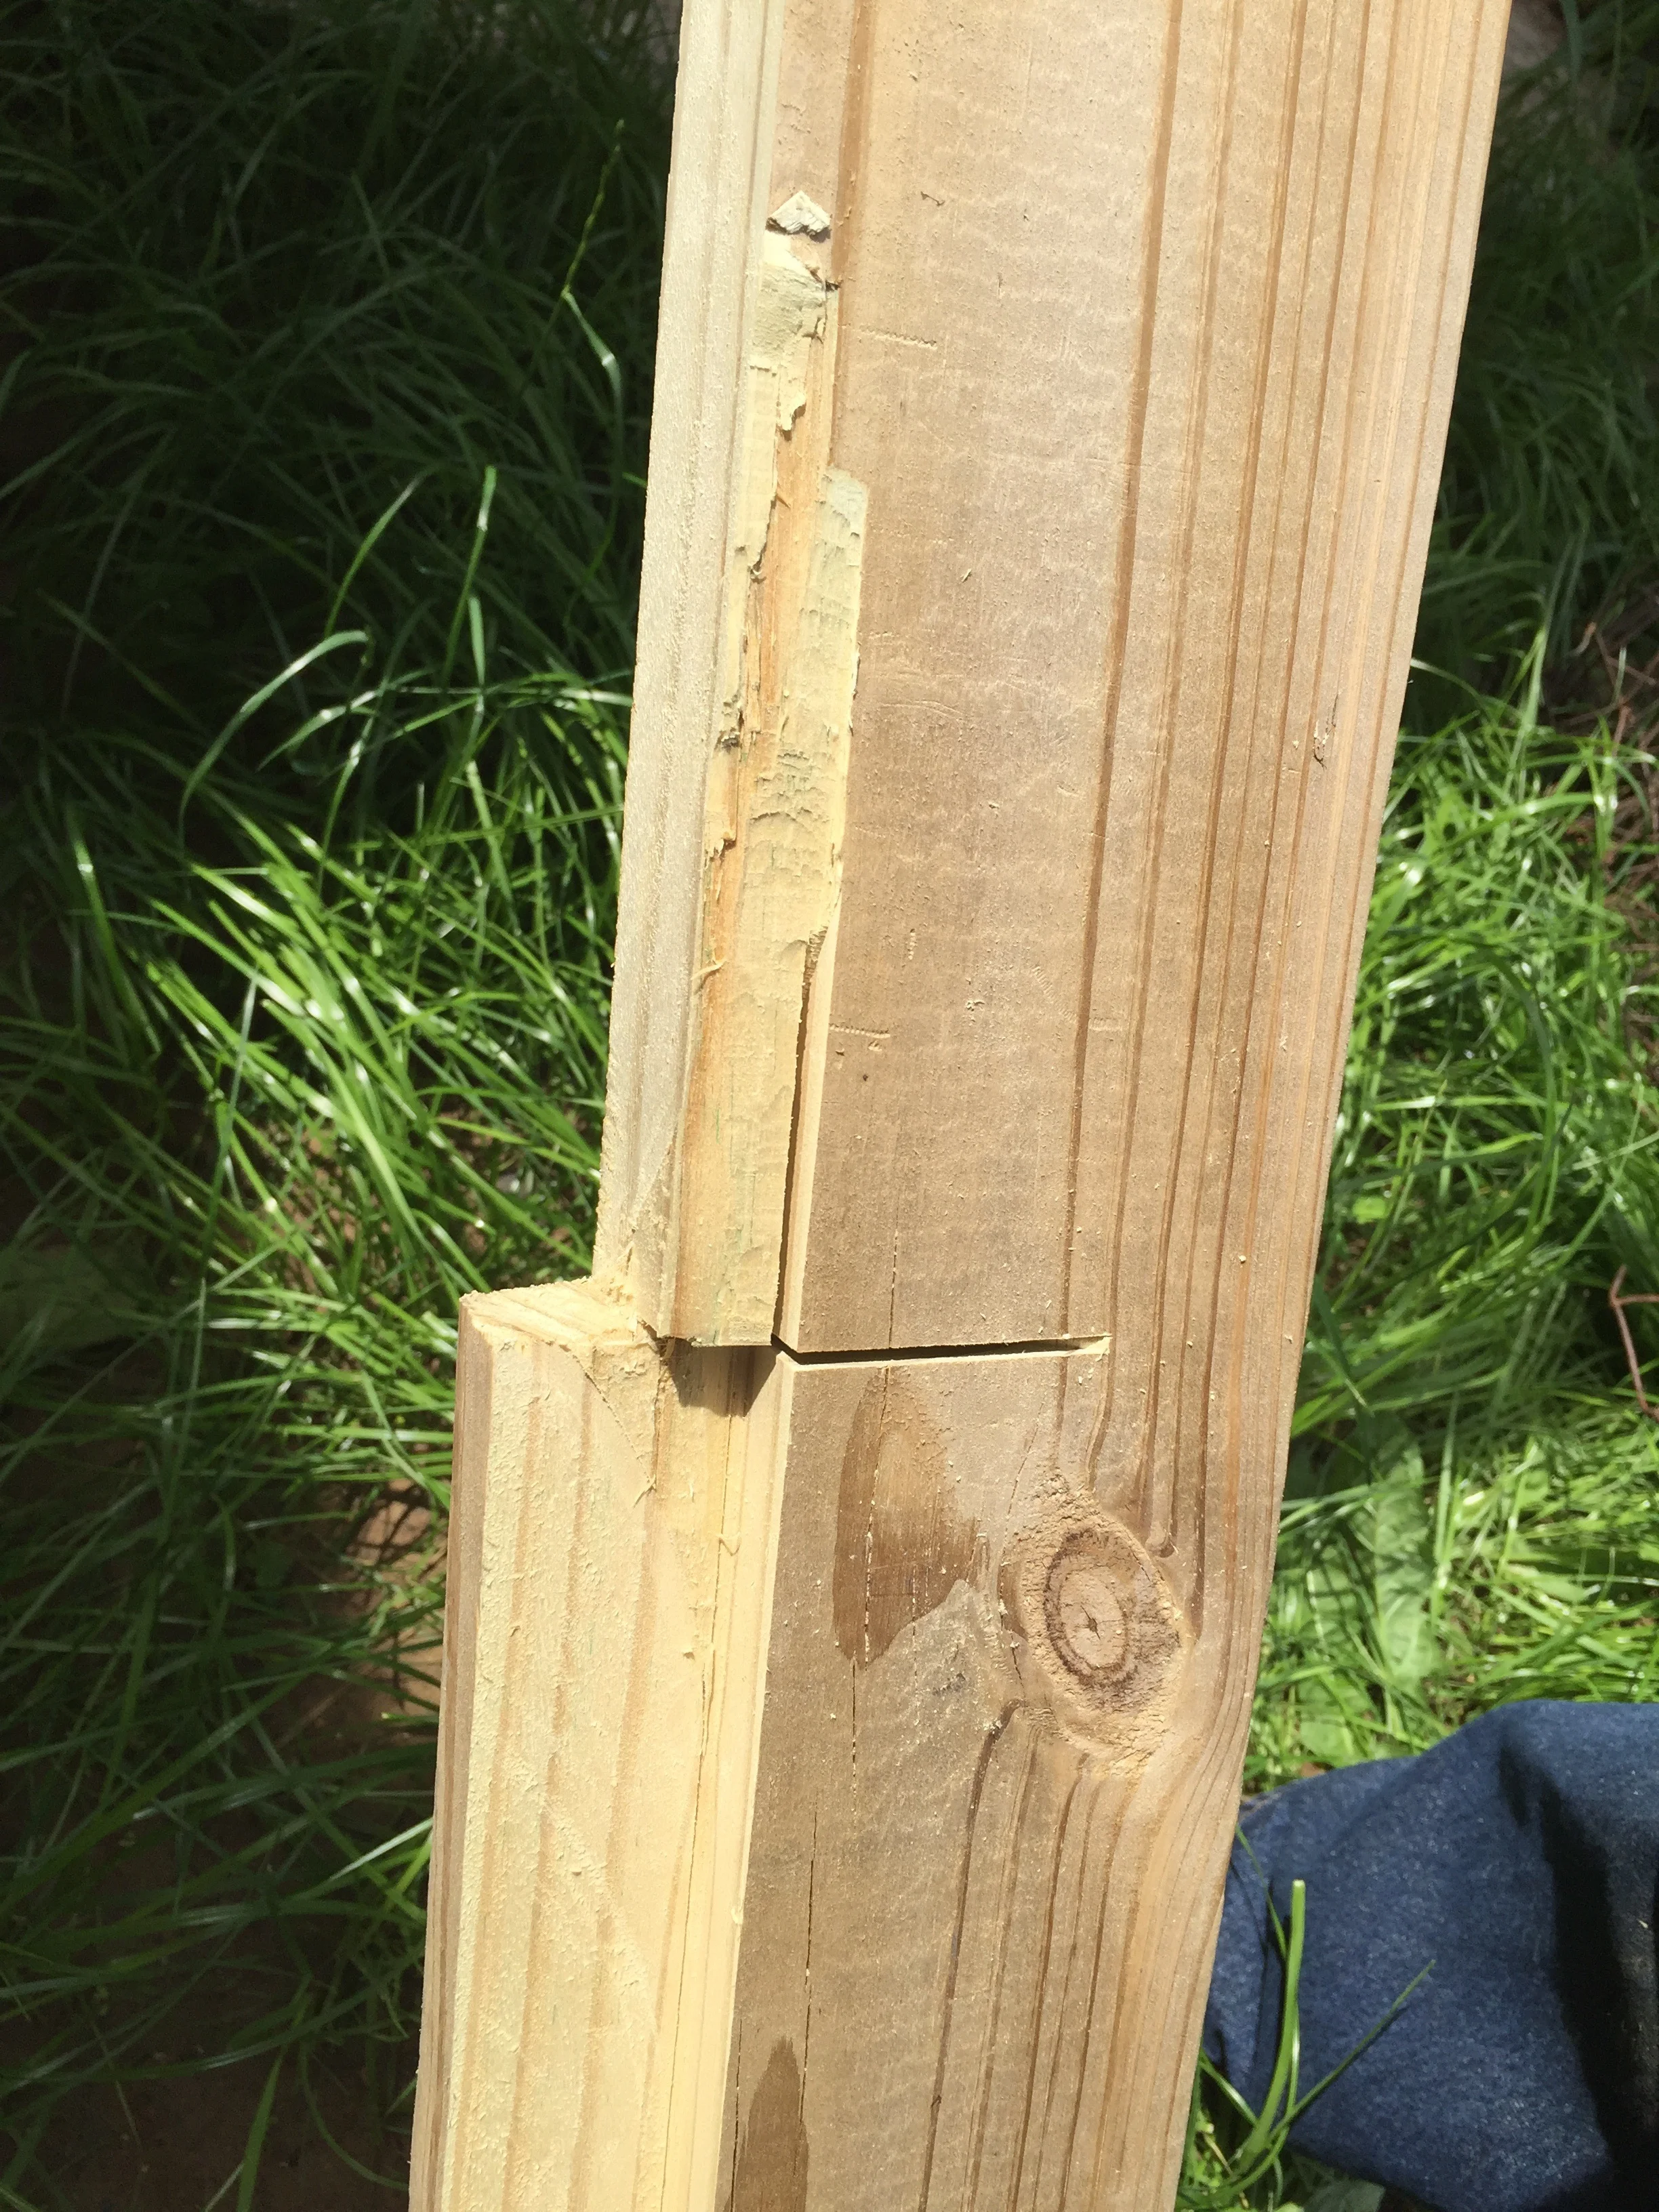
It took me a long time to get brave enough to make this cut
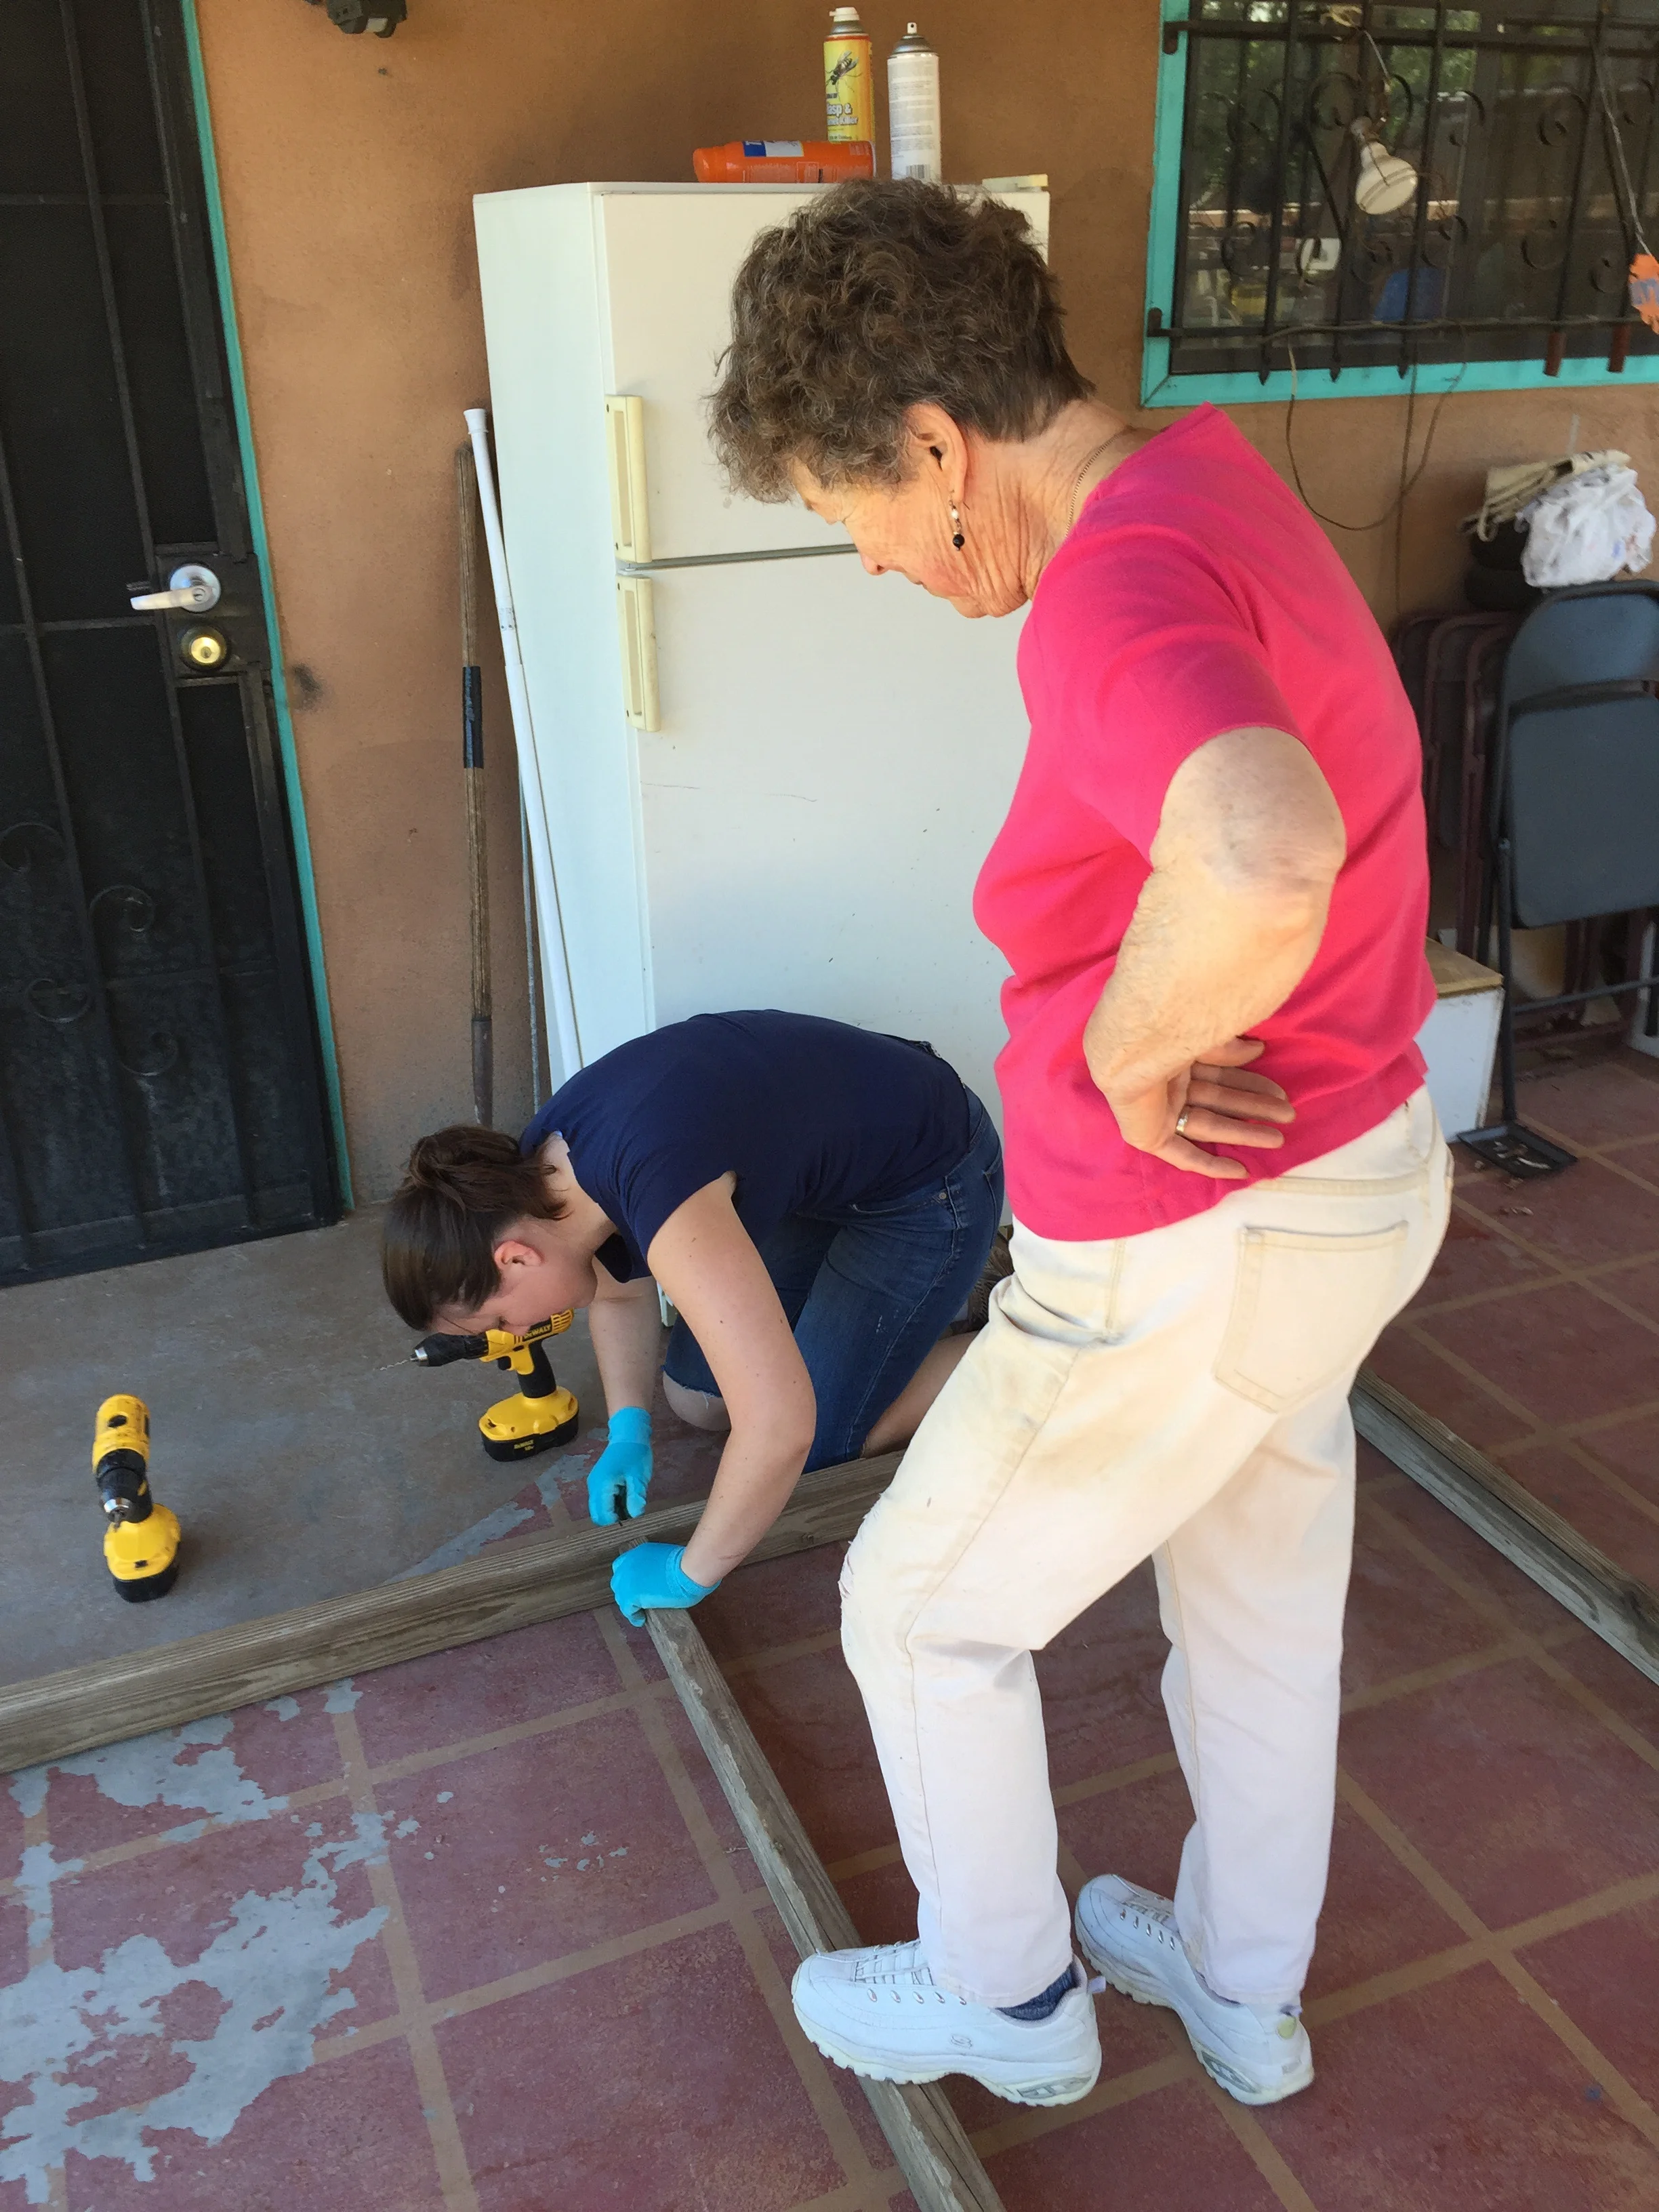
We have had to be somewhat creative in filling in spaces that are anything but uniform. It's slow, but we are getting there.

Somewhat hard to see, but the plate size and base board are all different sizes.

It fits!!!
I still need to slice skinny boards to fill in the space at the top (again, anything but uniform) but just getting this one in felt like a triumph. We spent a while trying to make the porch joists square to avoid just this problem. We'll see how well we did right soon.