Construction journal: it’s beginning to look a lot like it might get finished
But don’t hold your breath! As some may recall, we broke ground on the (second) addition project in July, 2015. Being starry-eyed neophytes, we thought we could get Irene in her new digs by Christmas 2016. Ha! She will not be in this year either, but the move is just around the corner.
To explain some of the challenges: my daughter, her husband, and several of their friends surprised us by installing all of the ceiling and much of the wall drywall in Irene’s new bedroom and living room areas while we were visiting friends in Alabama in April. It was very thoughtful, but as with any project you don’t have to face in the future, some problems you ignore in the present.
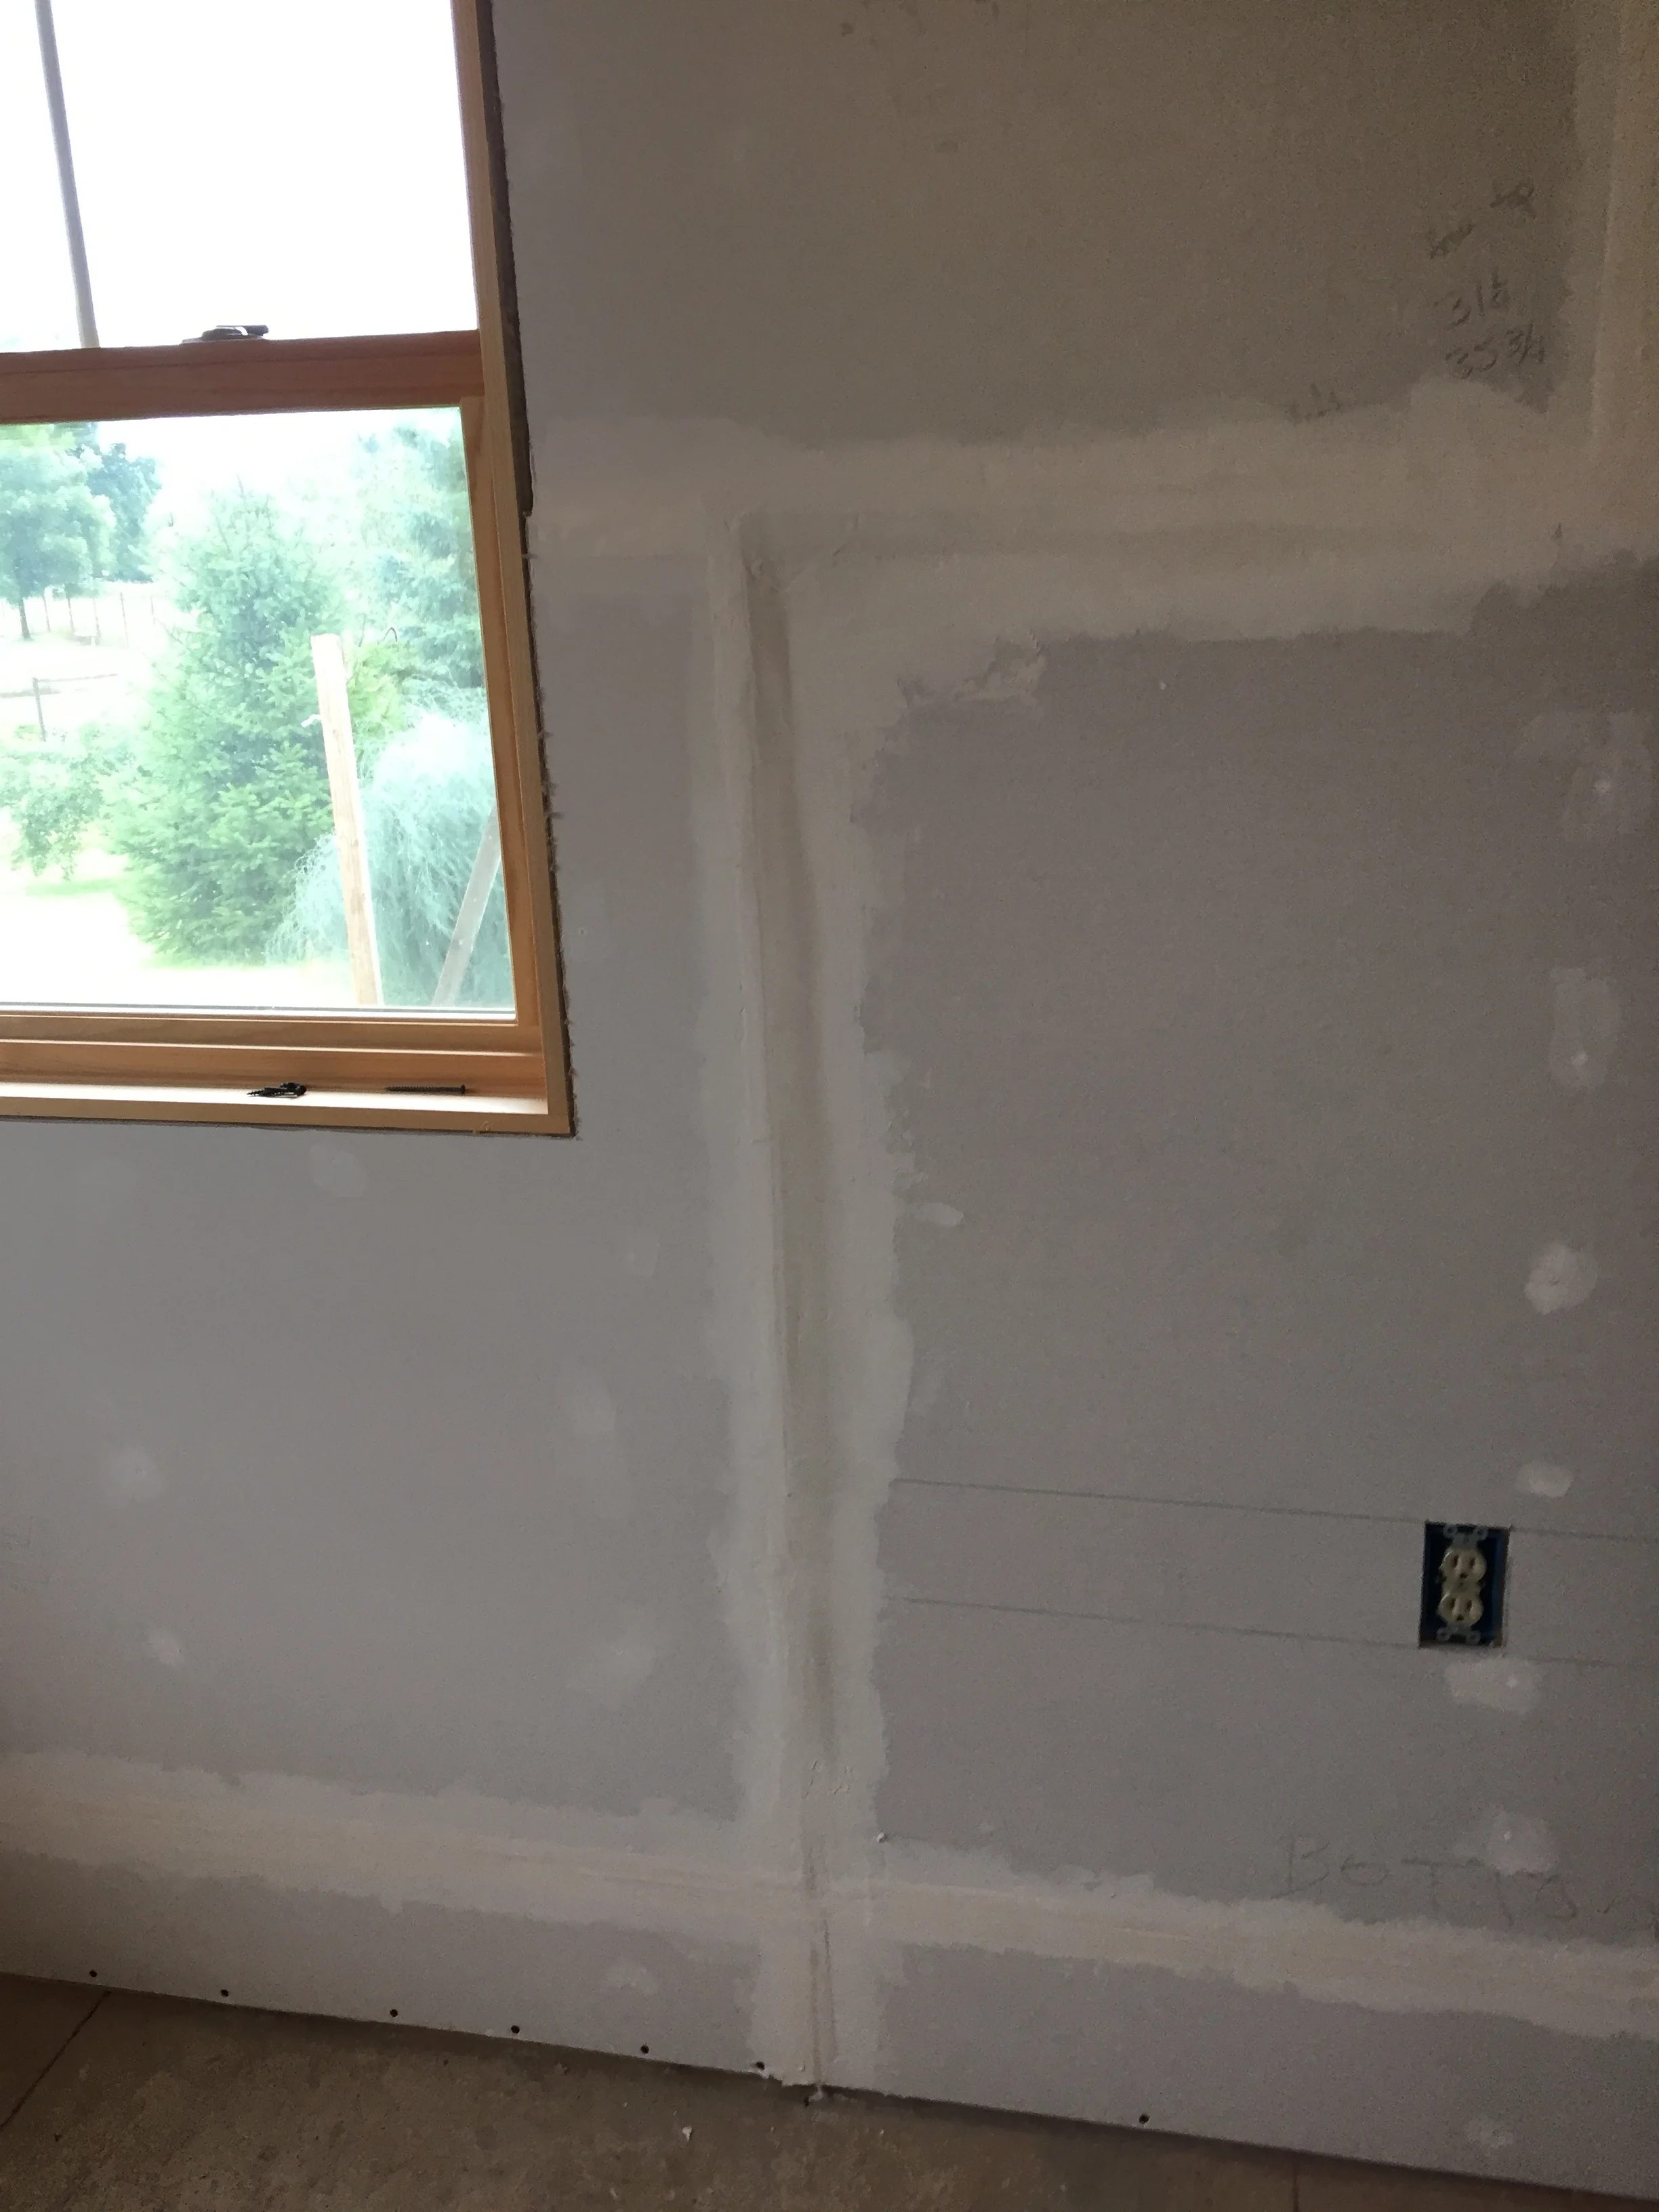
Taping doesn’t cure a half inch level change.
This particular problem probably began with a warped stud, and then was amplified by having a butt edge matched with a beveled edge. However it happened (and it happened in several places...this was just the worst), making the walls look flat became an interesting challenge.
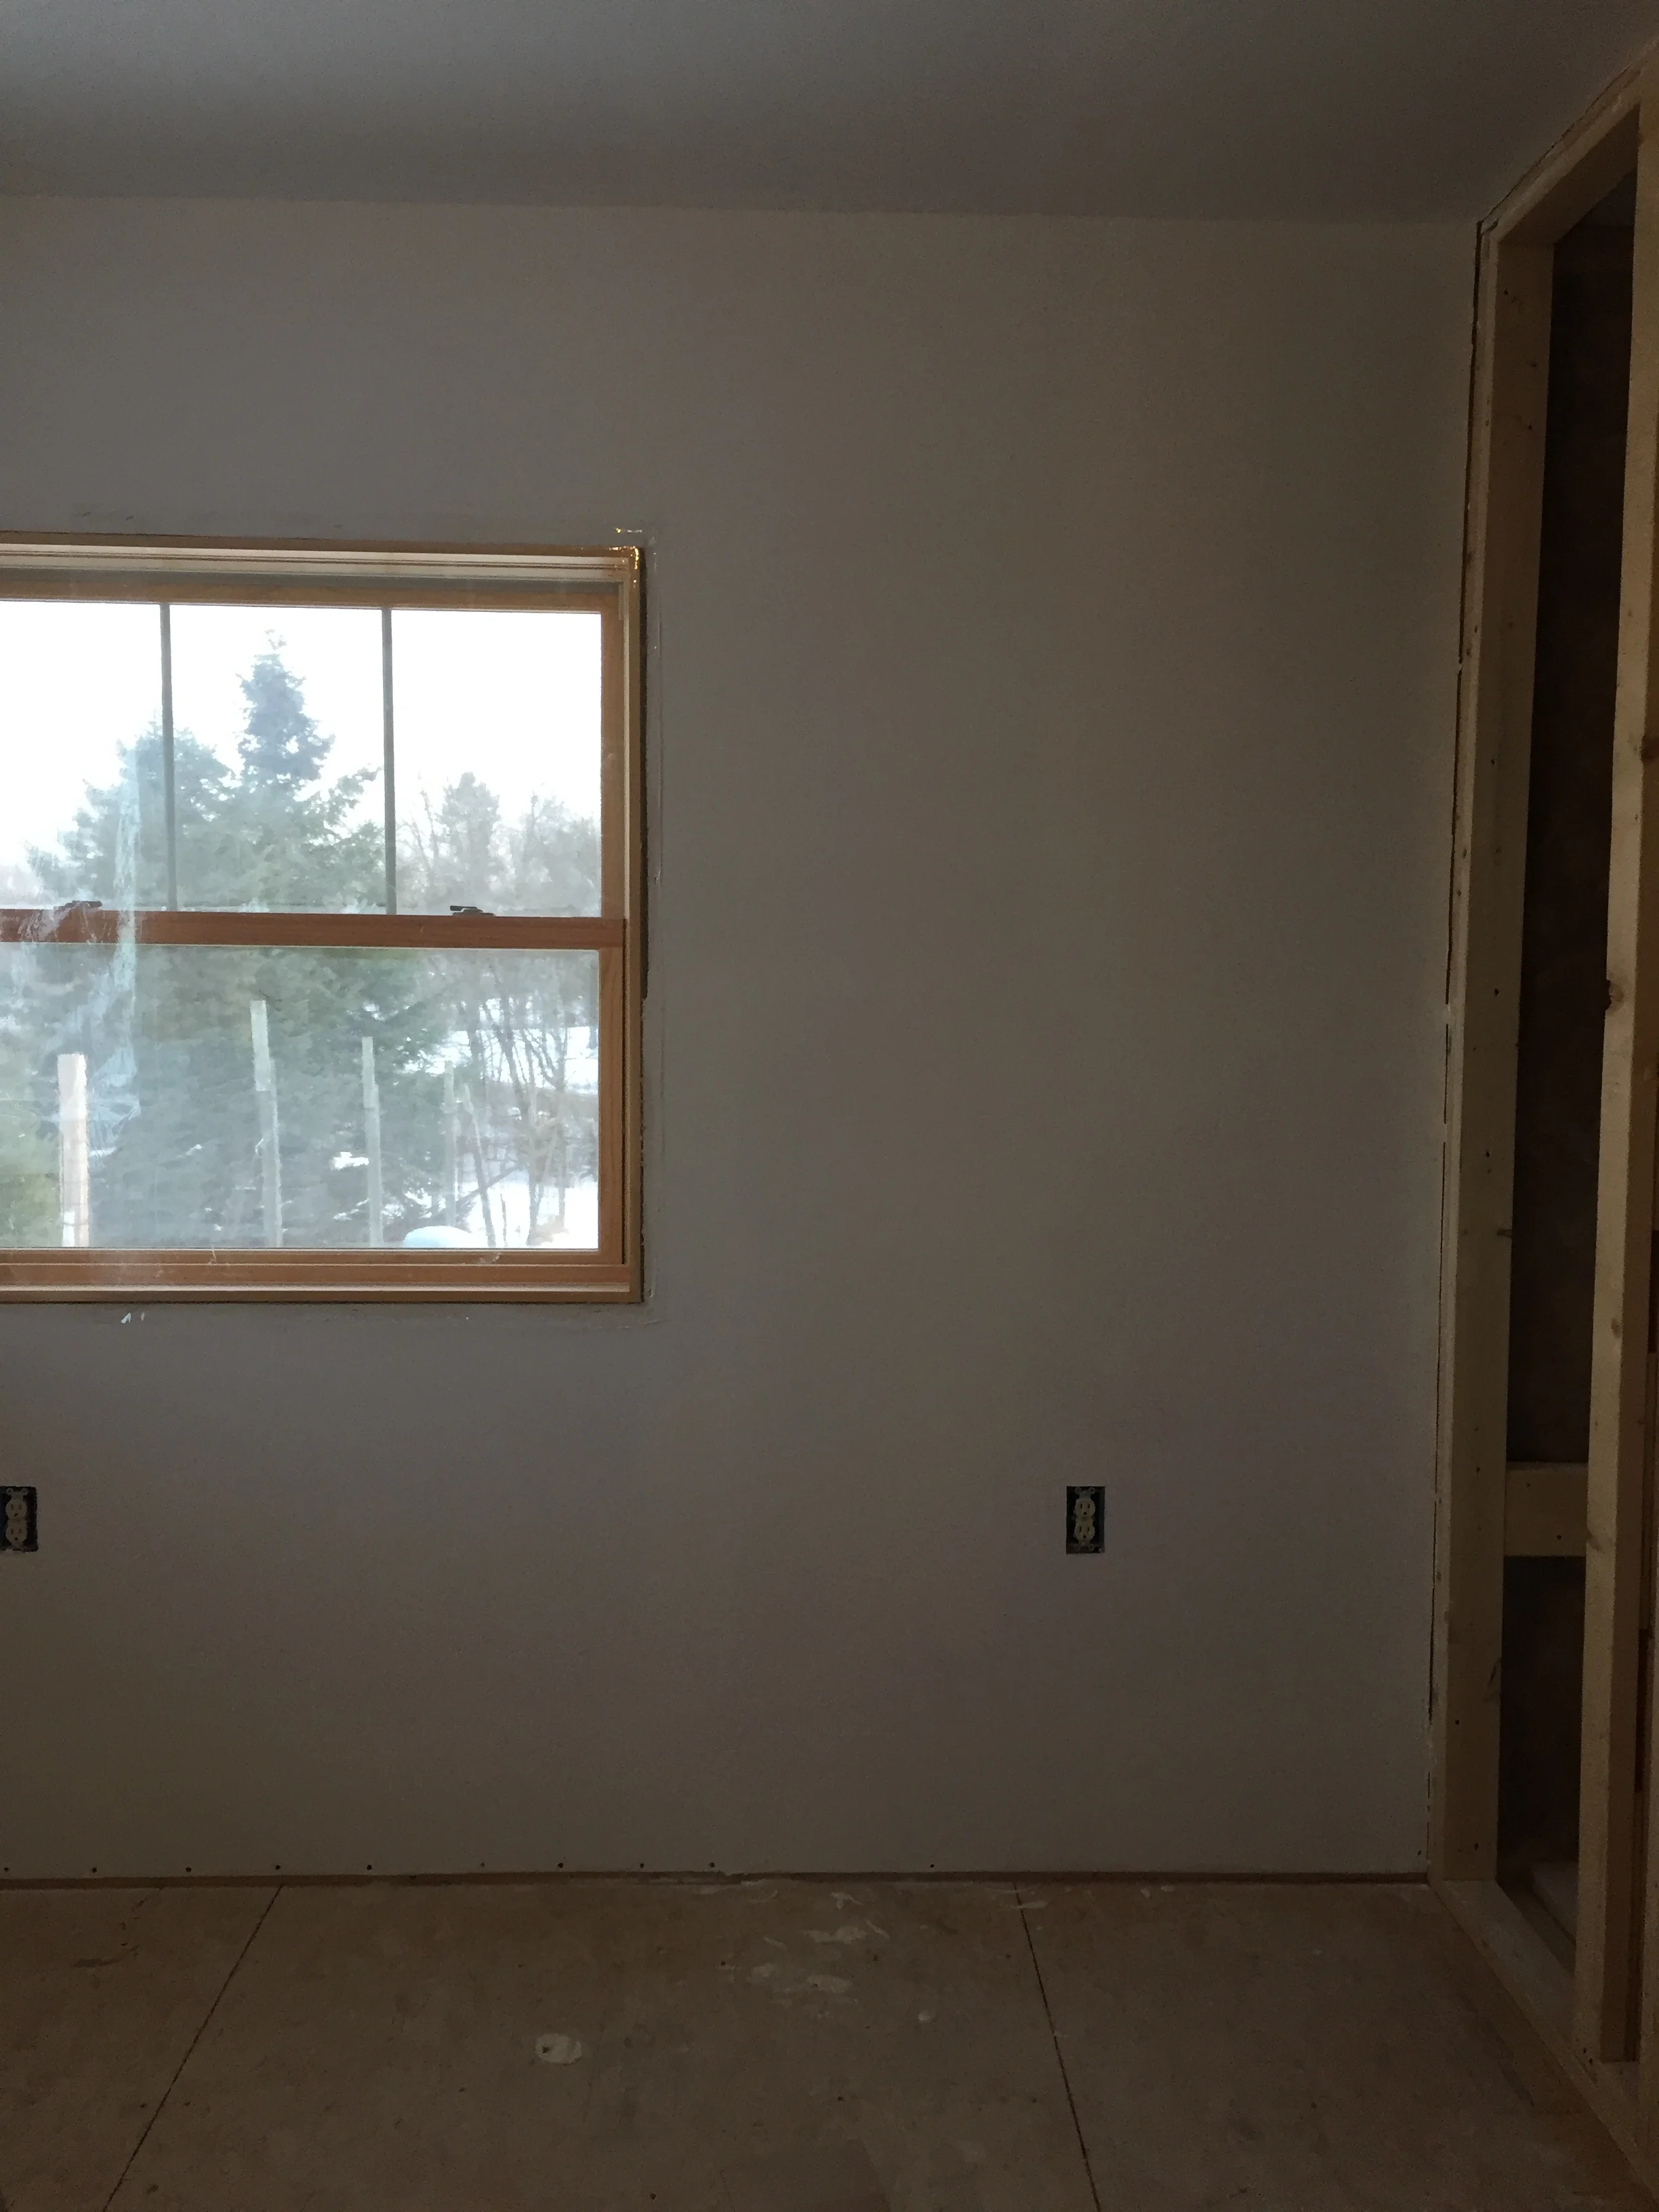
Same wall with primer coat.
I began taping that wall on July 31st. I finished the job on December 16th. Not that I worked on it every day in between...but there are about 30 coats of taping compound on that wall. You can still see a small hump if you look closely. I recommend not looking closely. I purposely left some fingerprints in the compound in other hidden places, for nostalgia’s sake. It is so good to be getting paint on those walls!!
I never previously worked on drywall and learned how to do so by watching a You Tube video. That was good for basics (thin that taping compound before using it), but didn’t address other problems. For instance, in the addition Irene currently occupies (which was built by professionals) all the corners are cracking.
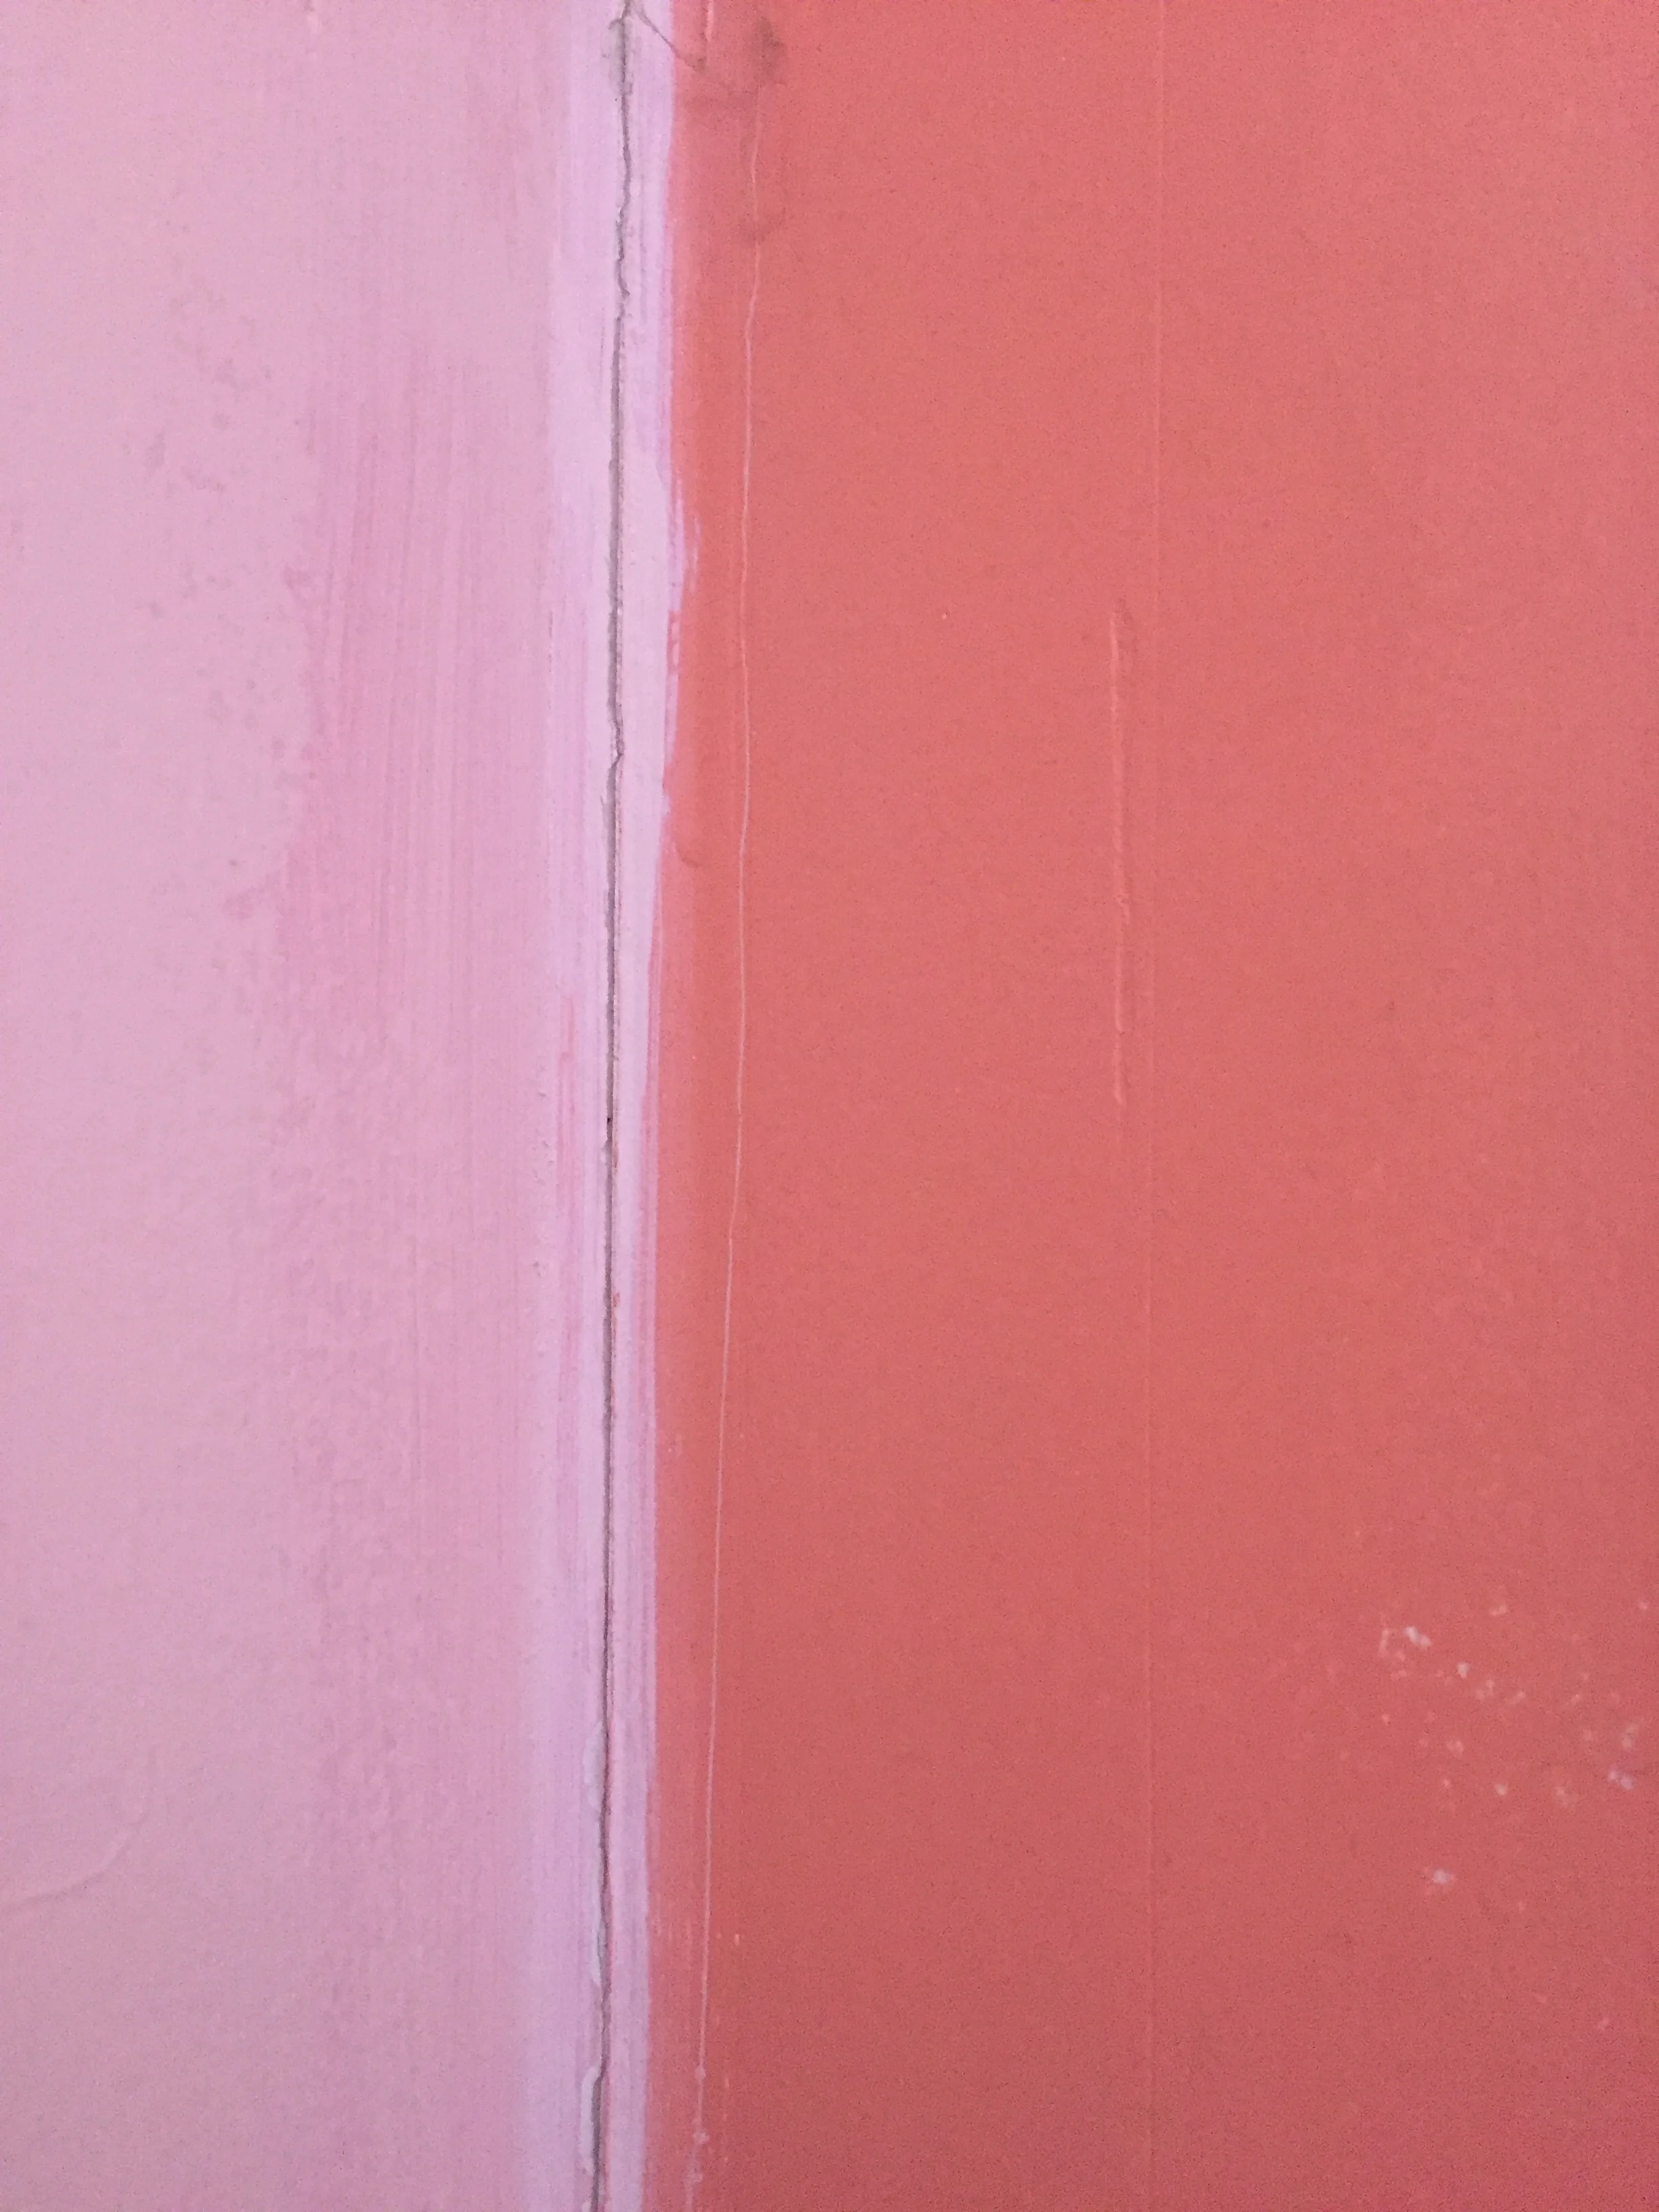
A typical corner in Irene’s current living room
I noticed that my corners were cracking as well, which happens anytime you try to spread joint compound on too thickly. The problem with corners is that the corner tool always leaves a thickness in the very corner, which cracks. I have tried to cure this problem by using a beveled sanding block to thin out the corners and then spread a thin coat of compound over the crack (if any remains) with my finger. We will have to wait to see if this actually works long-term.
Another problem is having the paper tape not stick, and then it bubbles up. I cured this by cutting out the bubbles and spackling over the holes. There is a type of self-stick tape available (and I have used in certain places) but it made of a mesh that shows if you have one of those butt-bevel joints to cover. So far, my curative is looking pretty good...which means you can’t see it at all (so no photo!)
Sanding drywall compound is a dirty and thankless job.
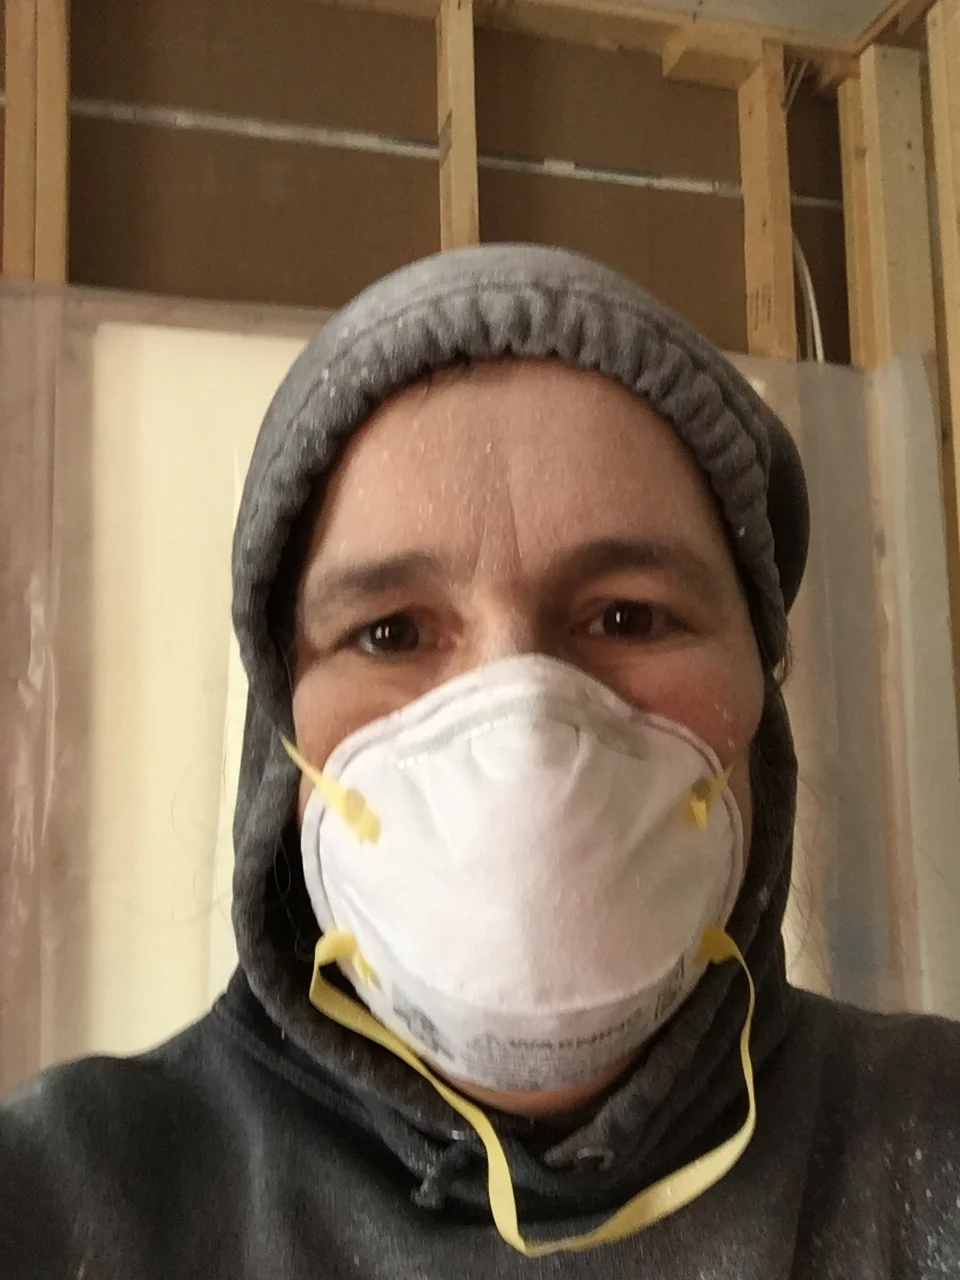
I had to remove my safety glasses in order to see my camera...
Because I am not a professional but simply a Type A person, my taping job looks a lot better than the one done in the first addition.
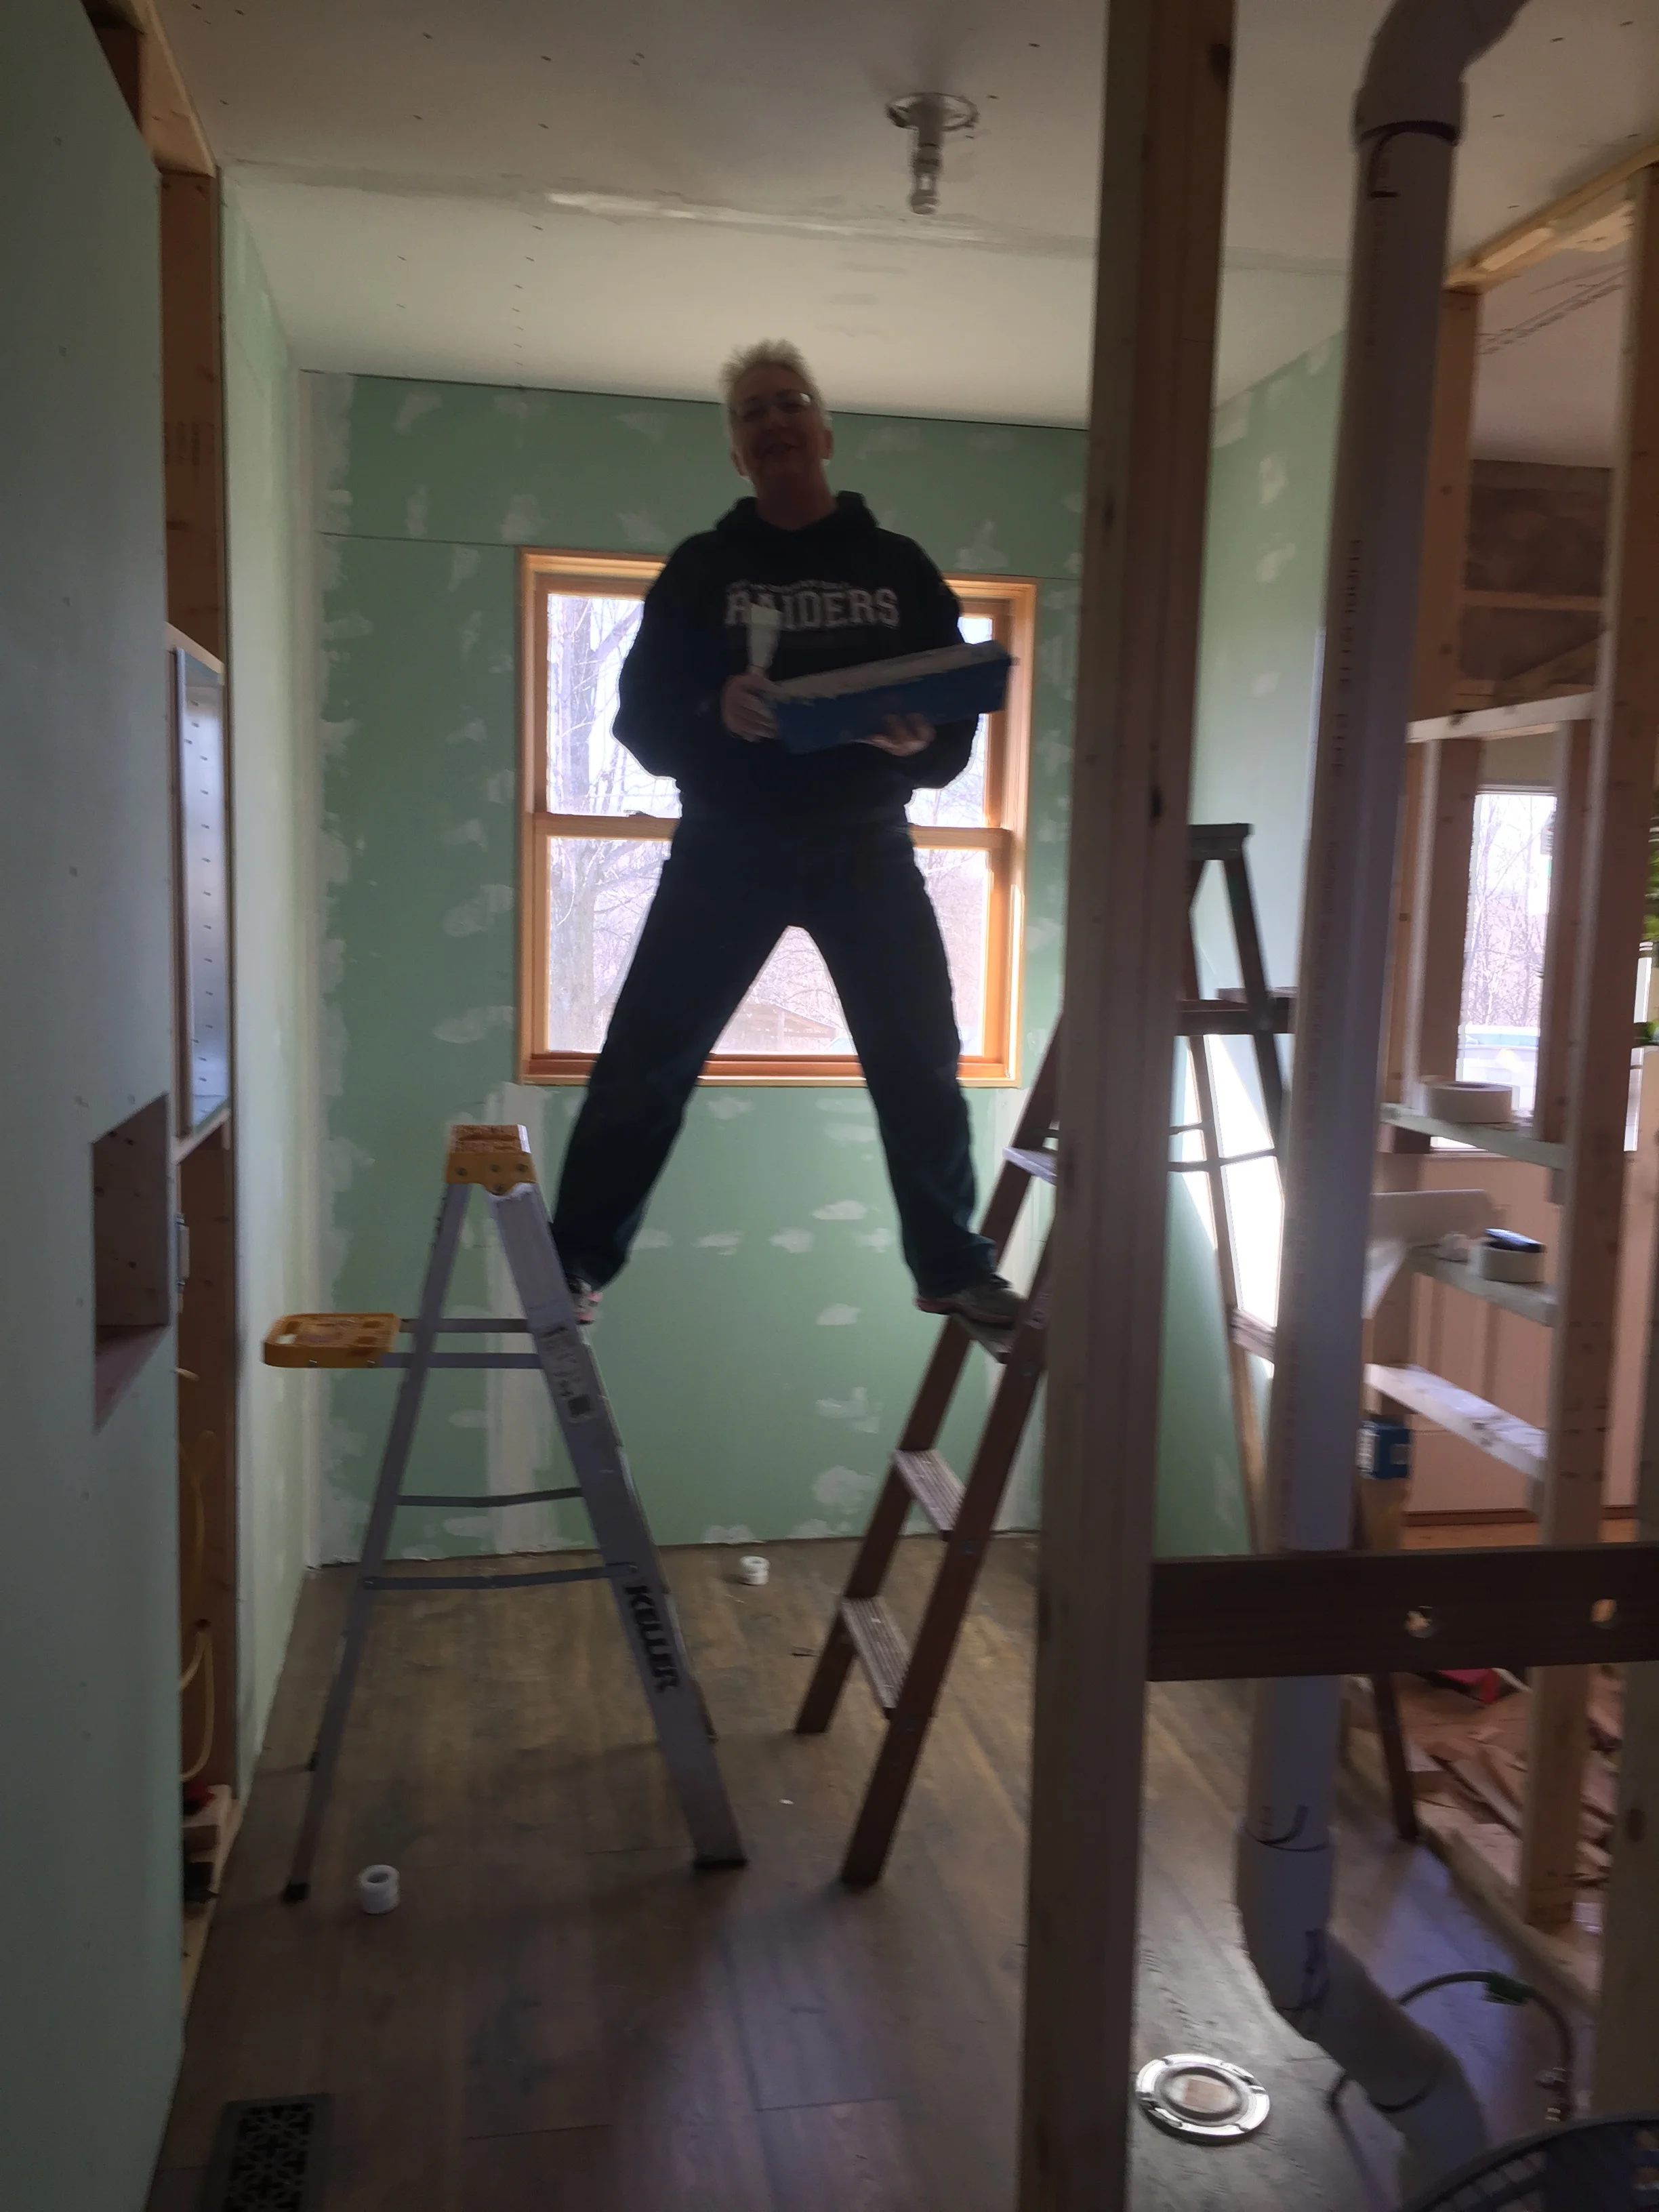
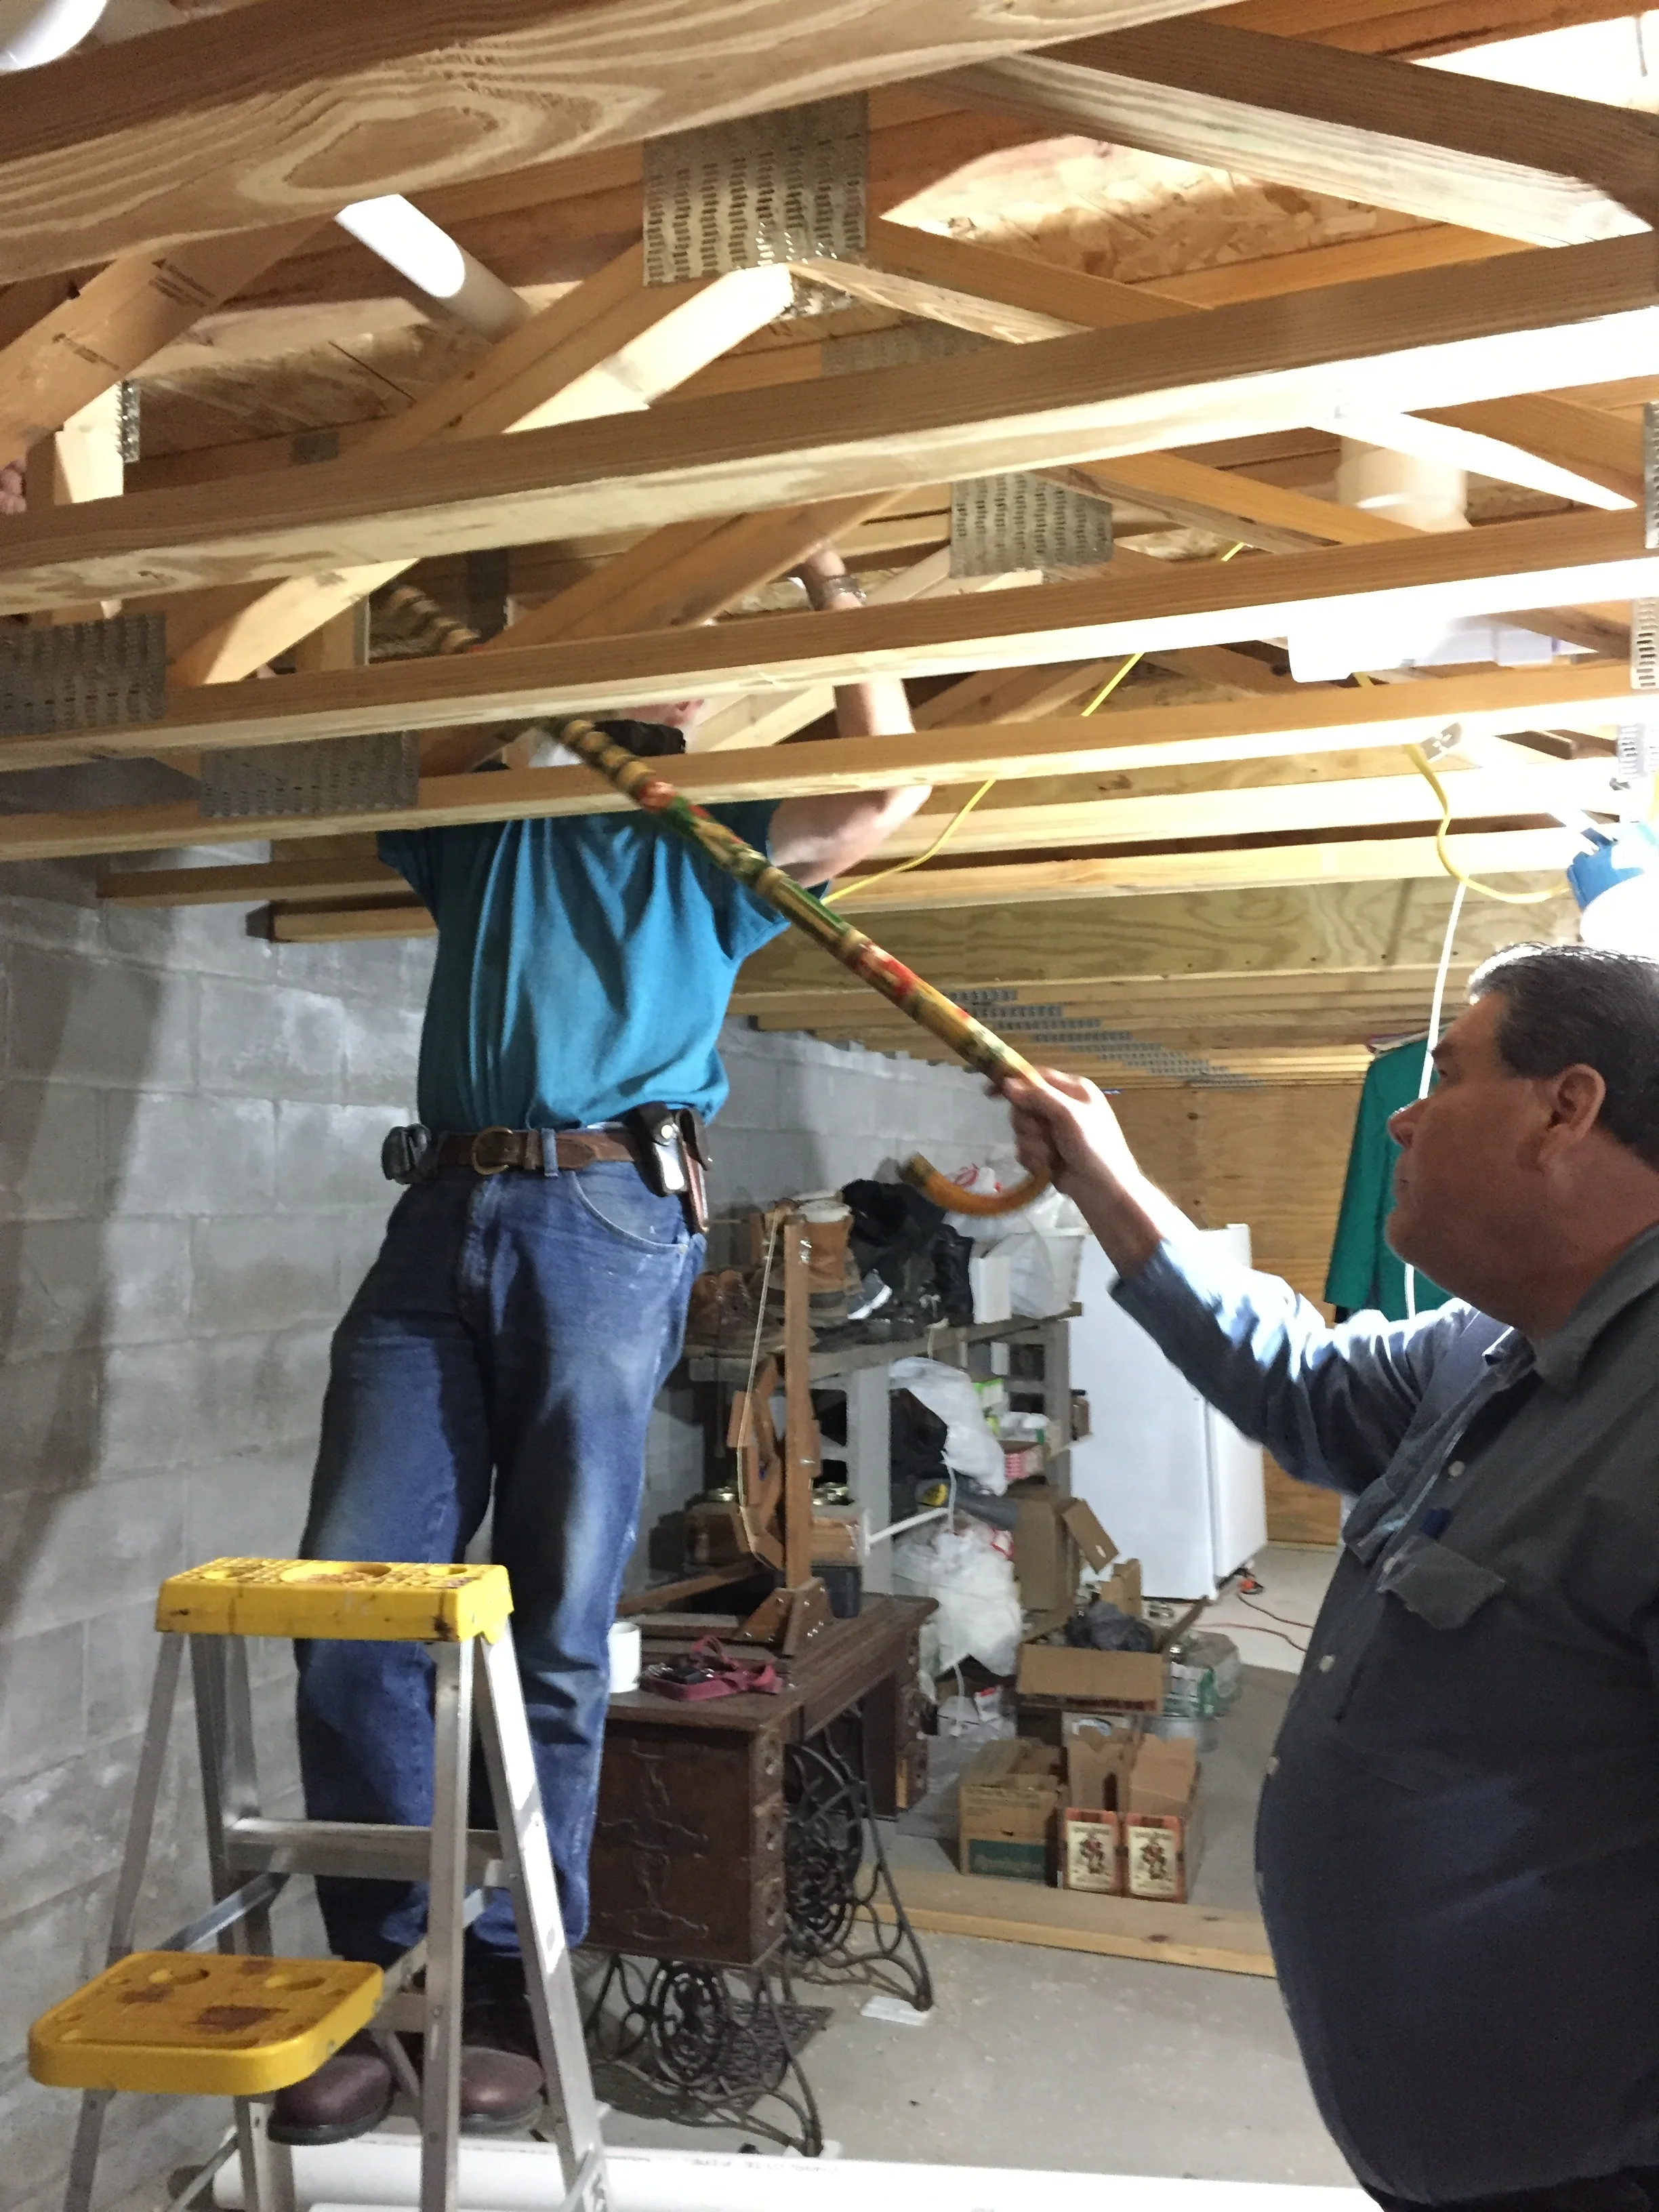
My friend Nancy came to get taping lessons. She is a lot more acrobatic than I am!
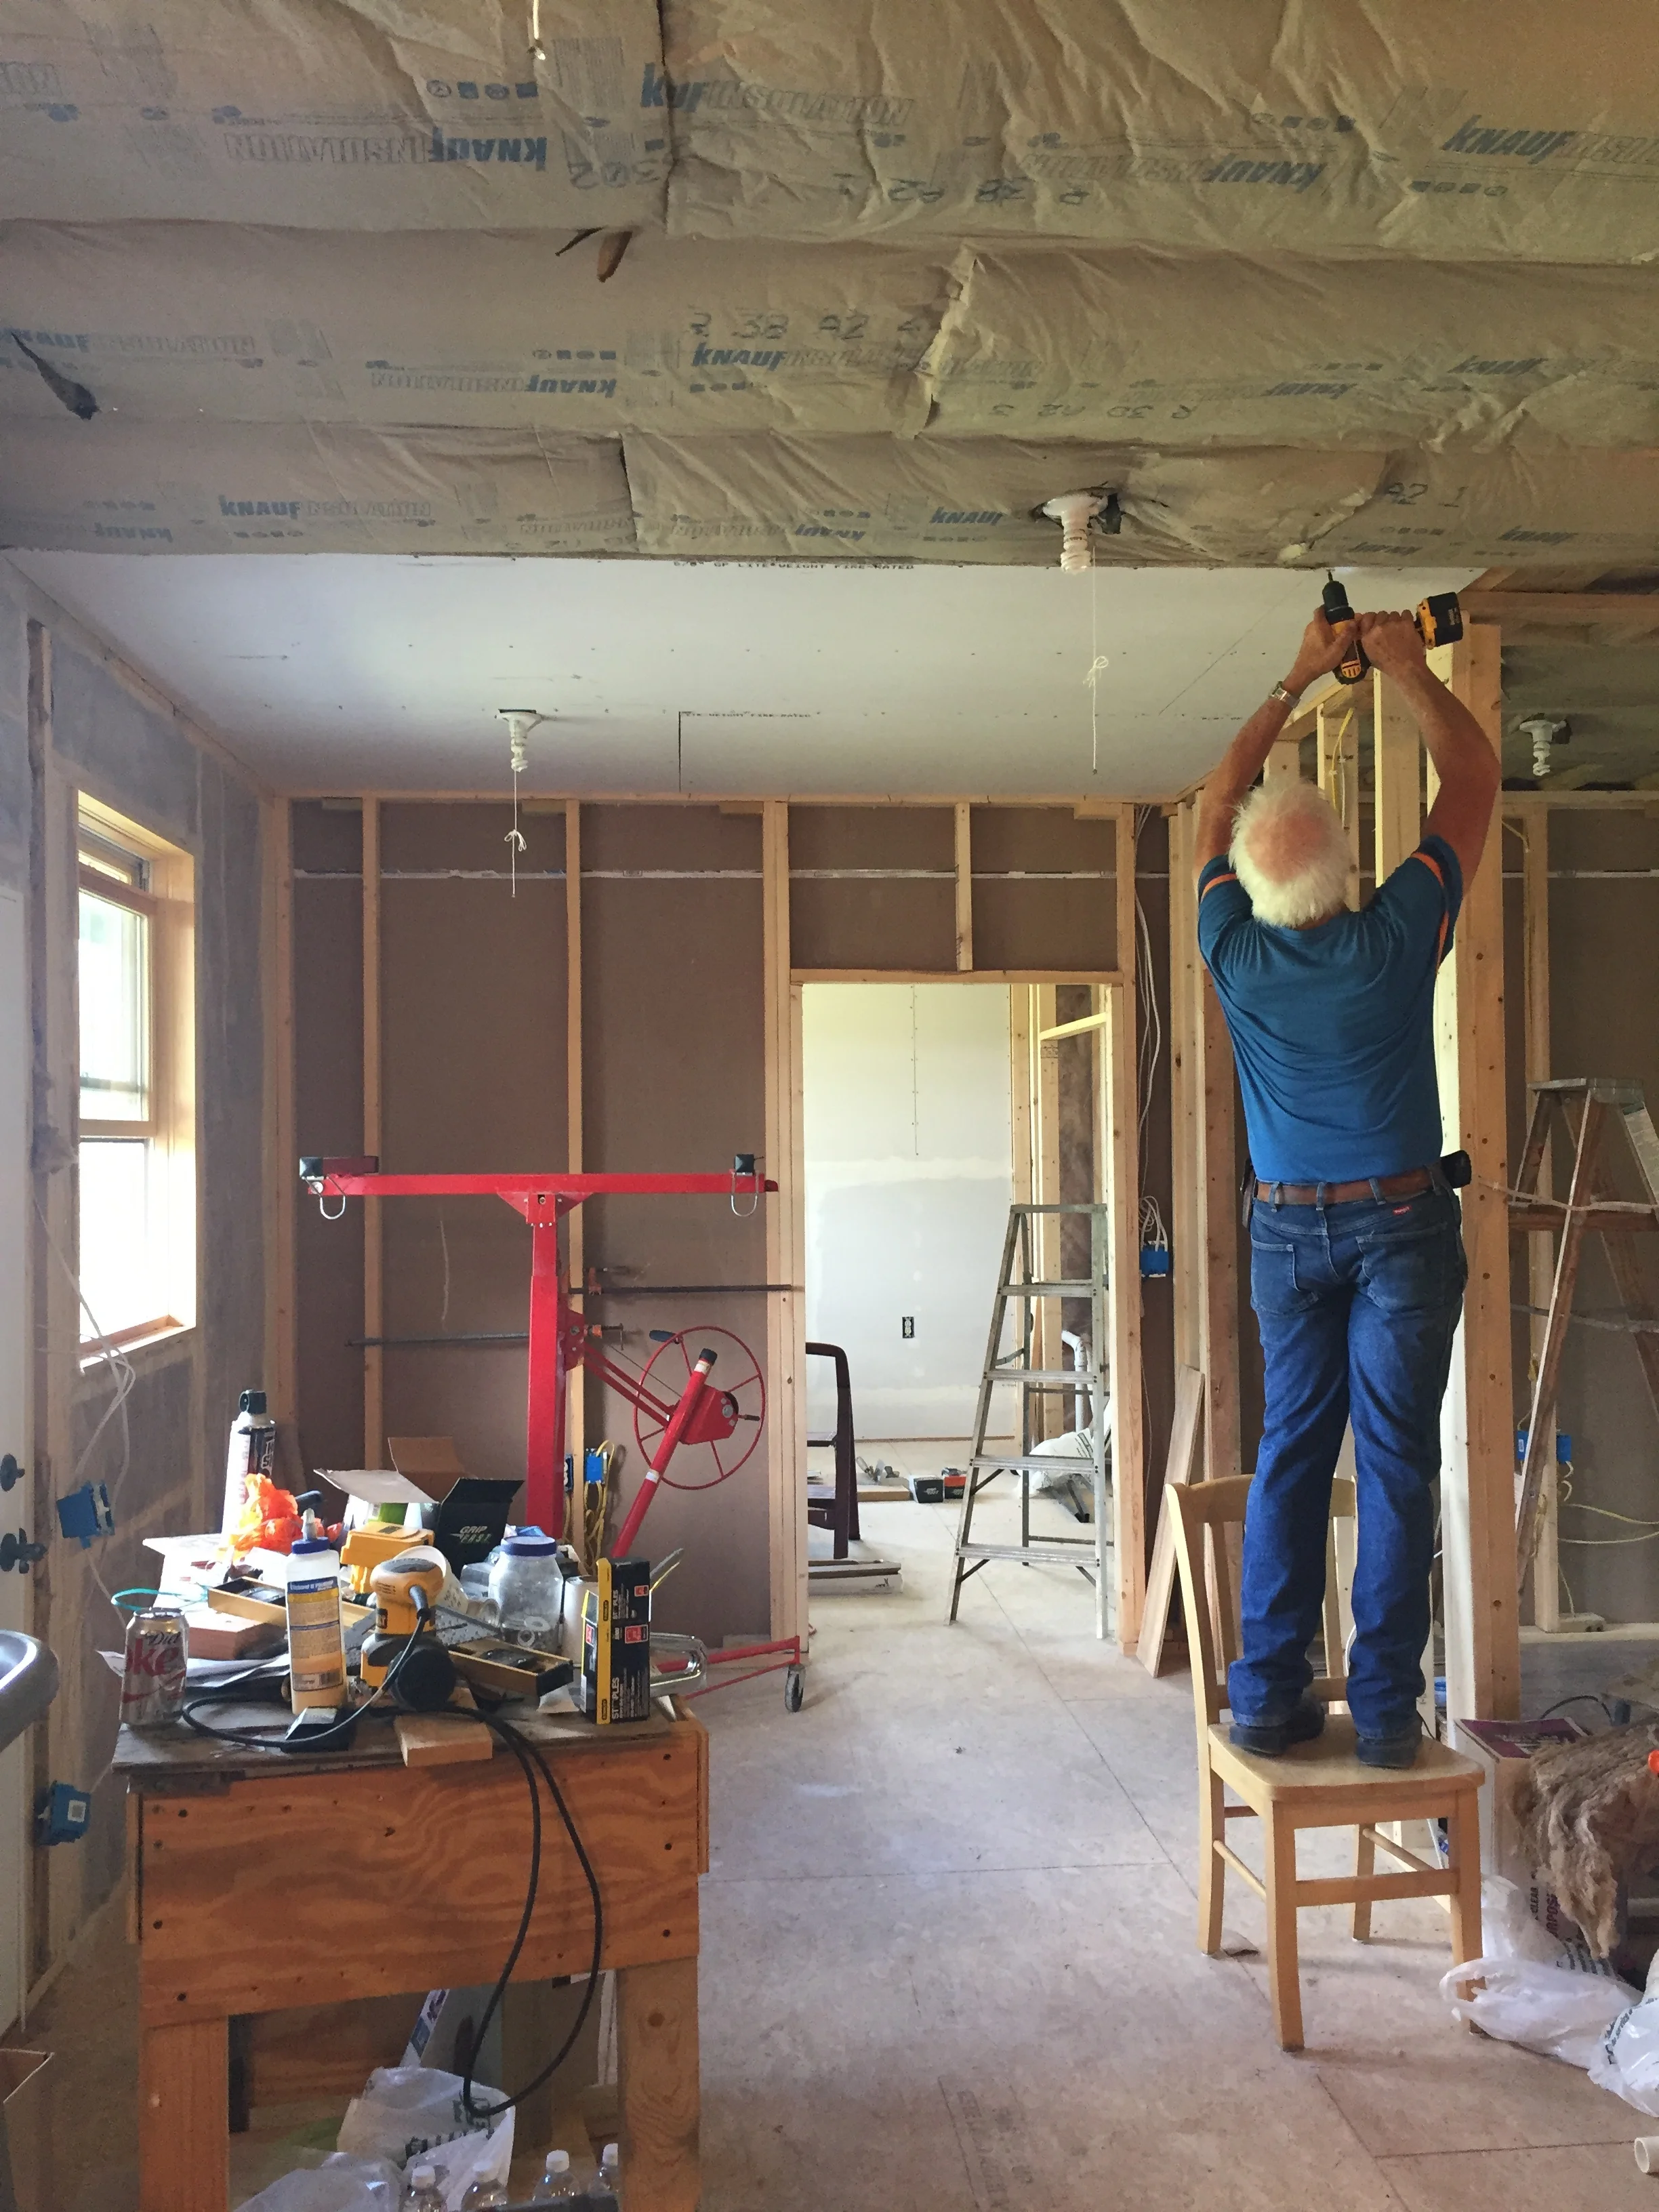
Michael and I have been painting the last couple of days. Primer is not very exciting (except to me!!) so I will save photos of painted walls for another day. We hope to have the walls done by day after tomorrow, so we can set beds up in the construction zone for family!
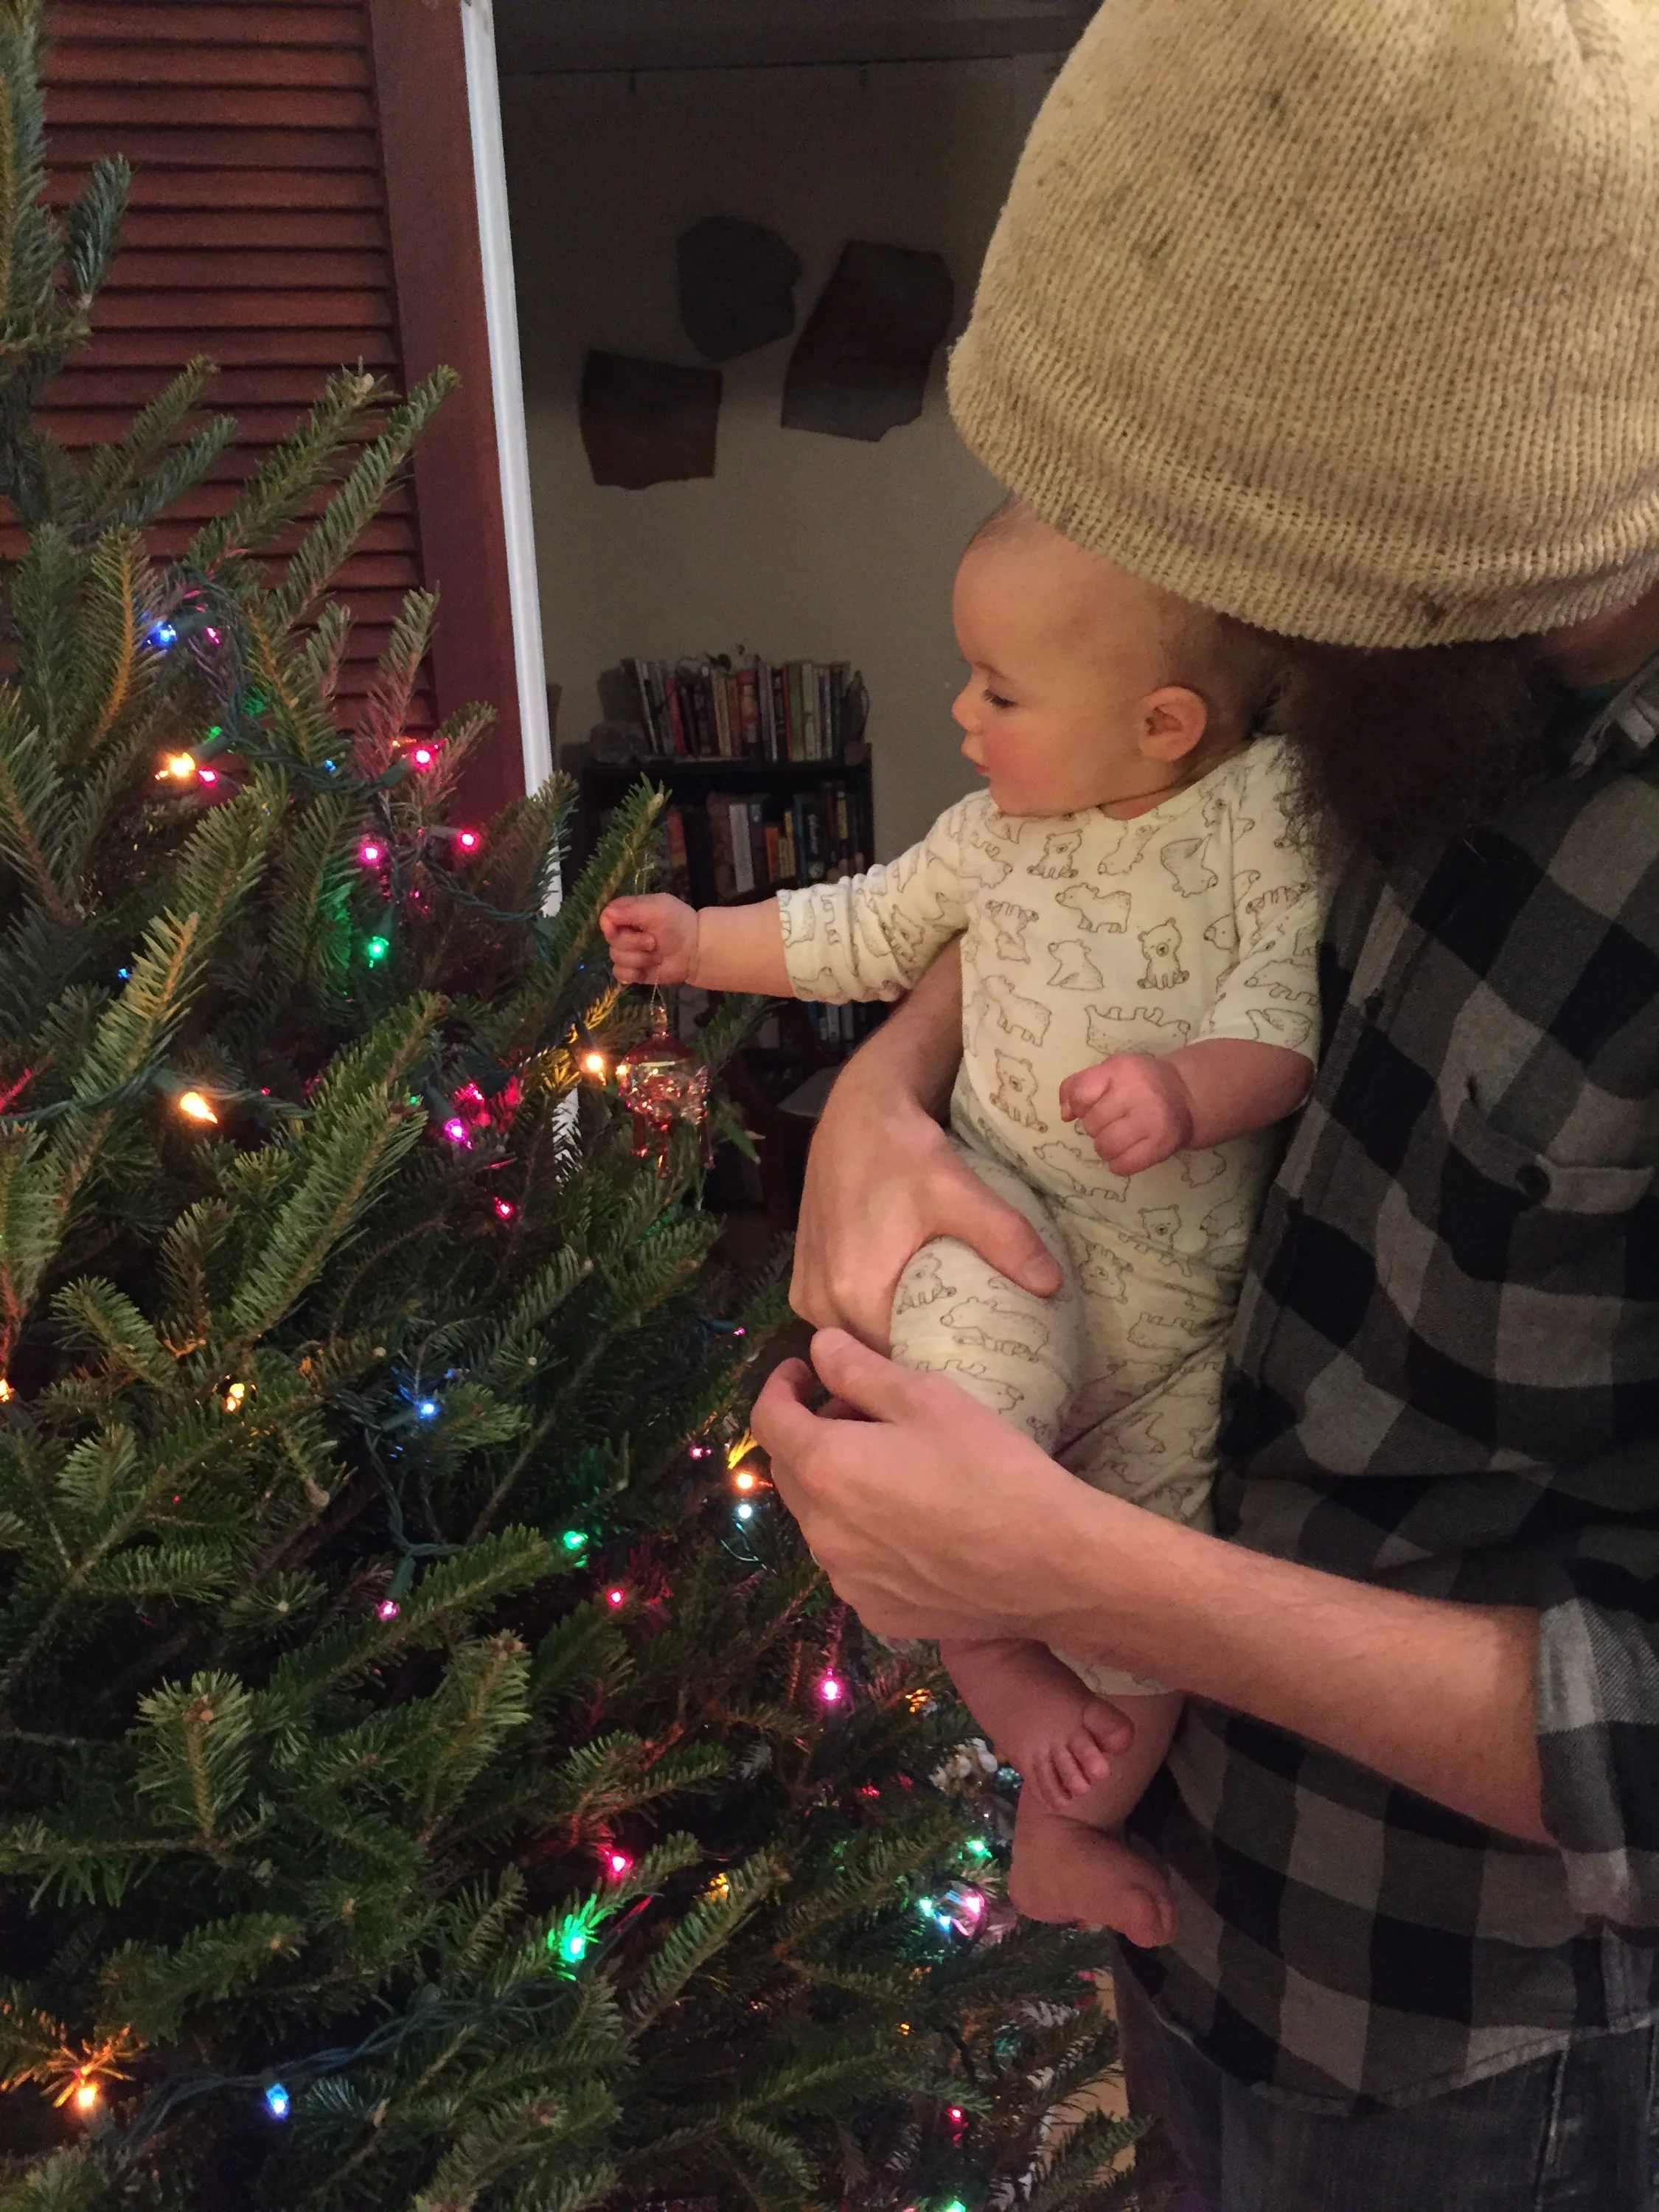
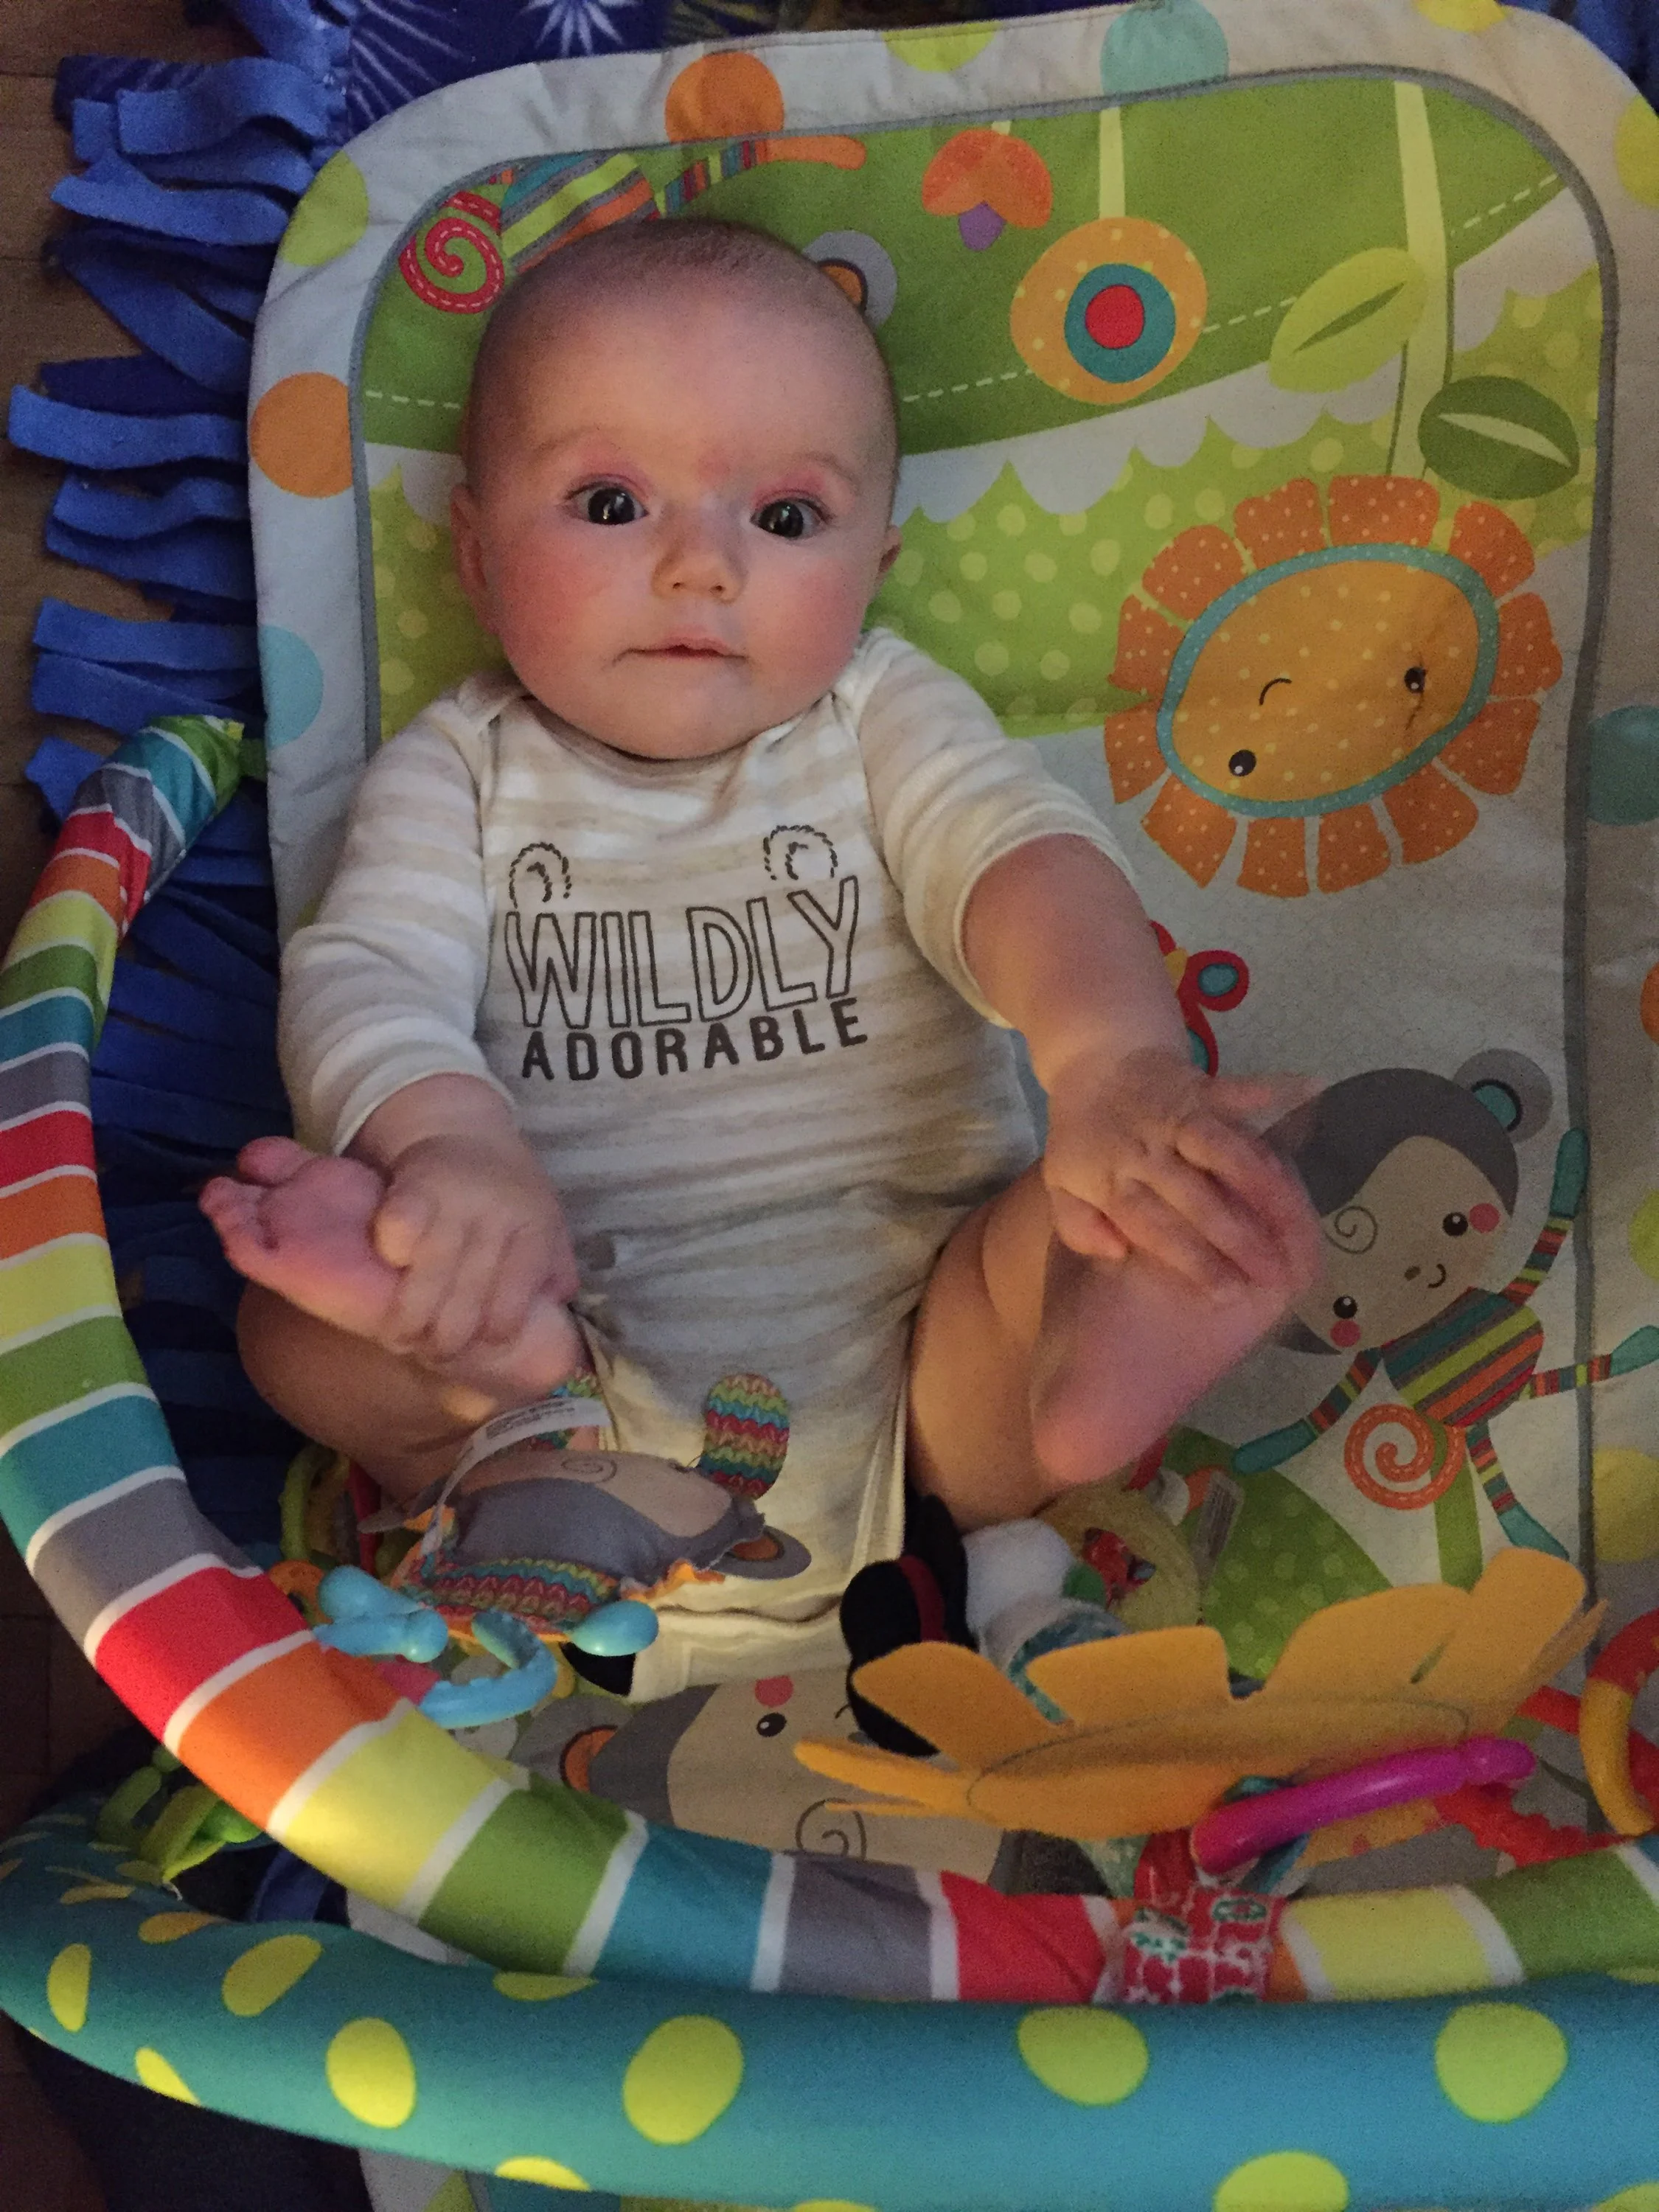
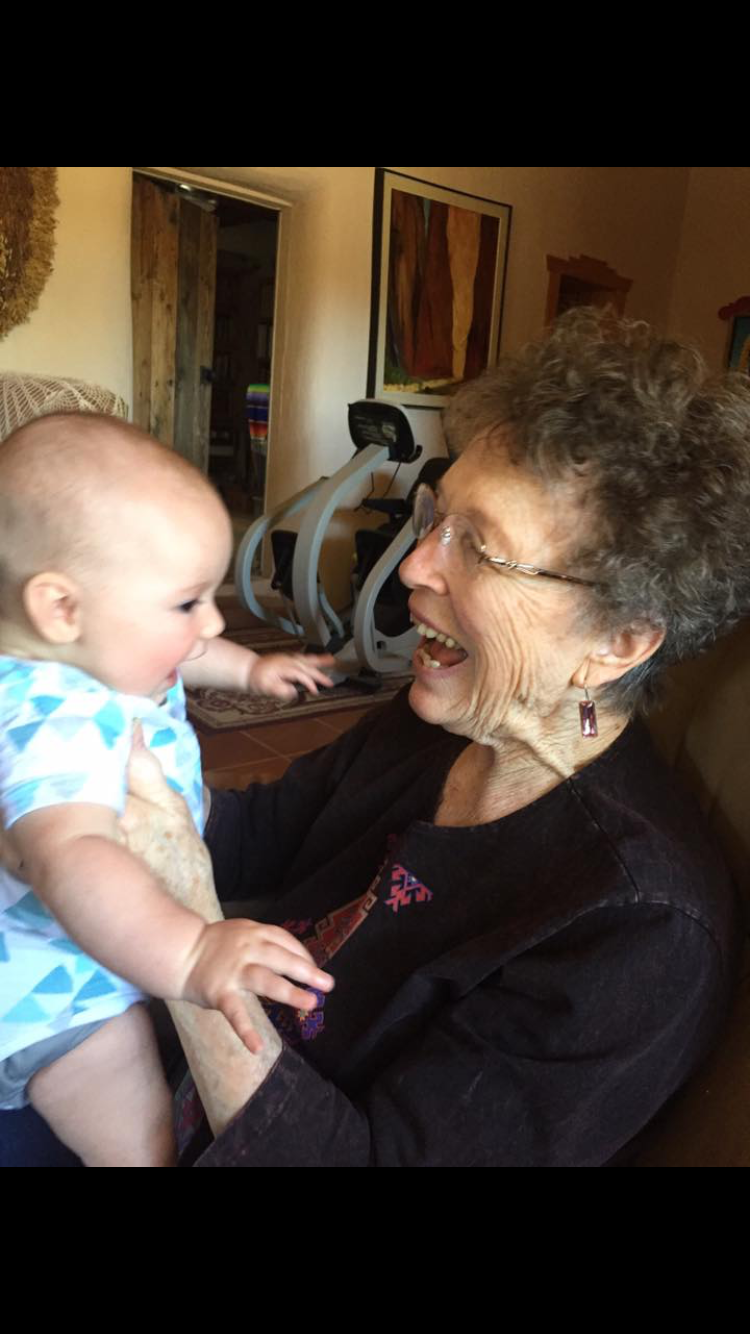
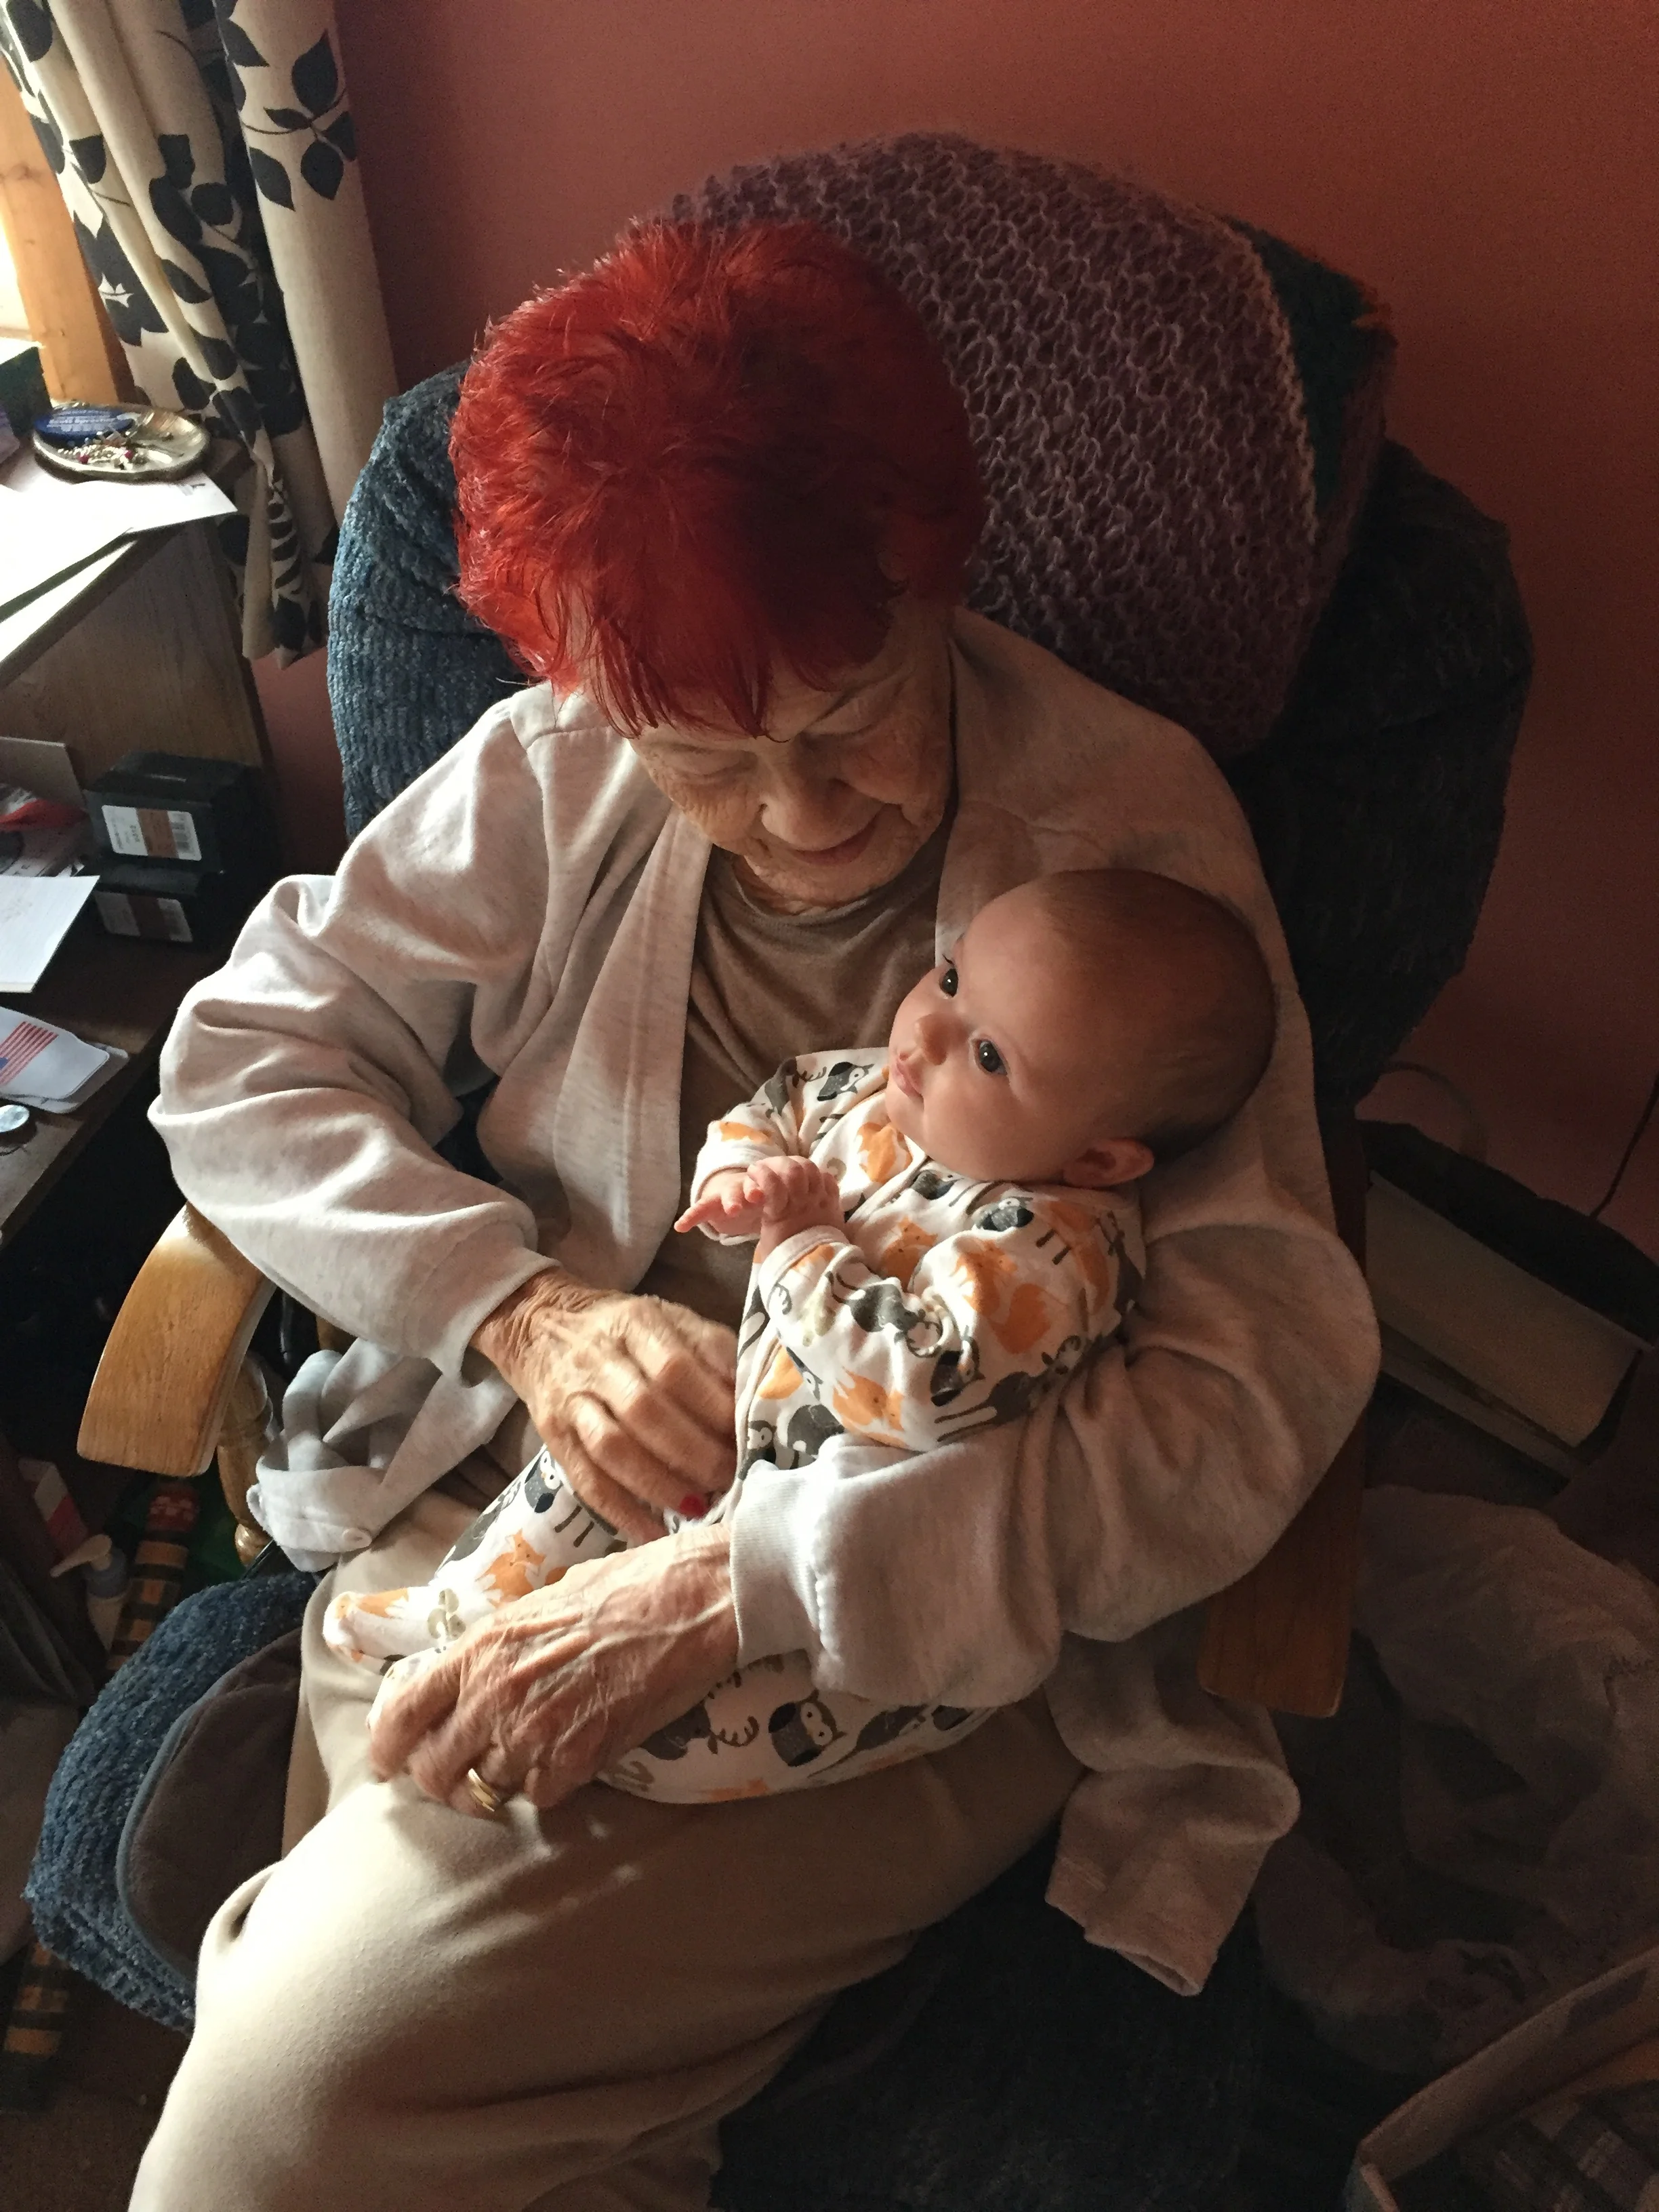
I can hardly wait until she is trying to pull over OUR Christmas tree!