Soap journal: good clean fun for junior chemists
I confess. Even though I can heft a 50 lb. feed sack, I am a delicate flower. My grass allergies get better the longer I live with hay, but my reaction to commercial scents grows worse. I haven’t tolerated commercial perfumes for years, which made finding soap in the 80s a challenge. Being the inventive guy he is, Michael found a book on soap making and has been keeping me and my skin and lungs clean, clear and happy ever since. He believes anyone can make soap in their own kitchen and has developed a recipe to do so. Here it is:
First, gather together the equipment.
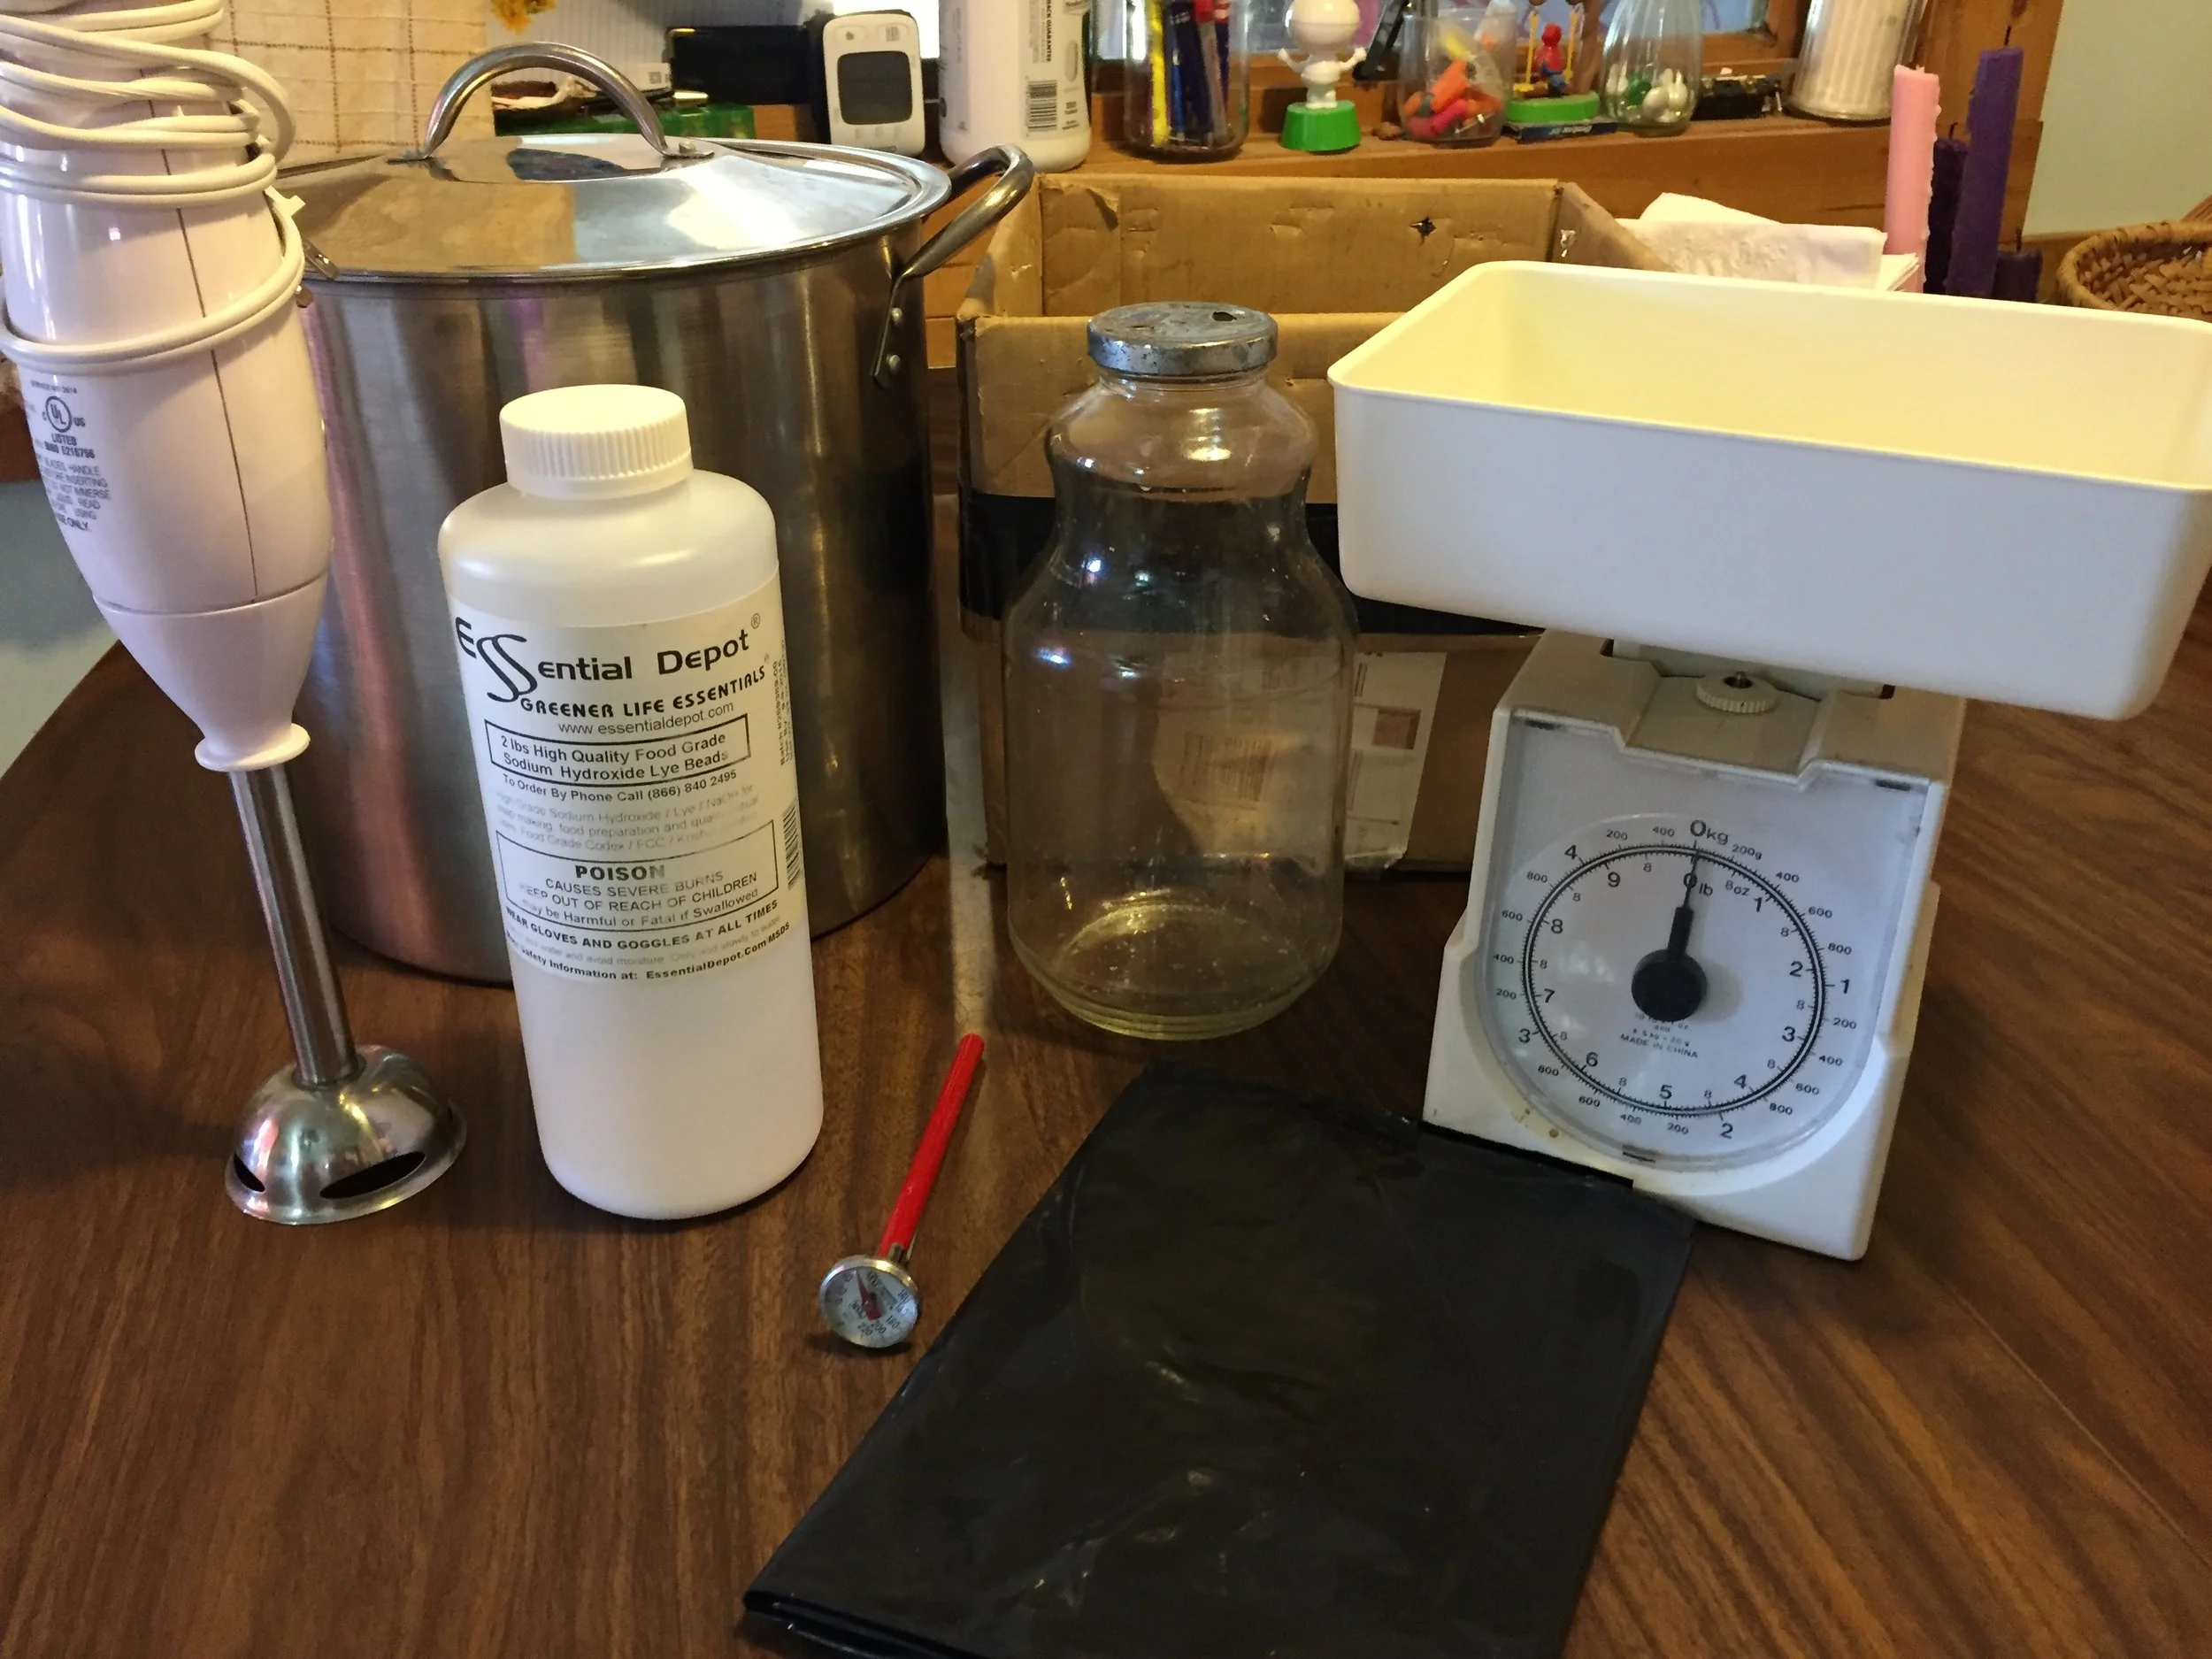
A stainless steel stock pot, a 2 quart non-reactive container that you can pour out of, a 2 cup measuring cup or a kitchen scale, an instant thermometer, a cardboard box lined with a thick garbage bag or a silicone form (you need a stapler to hold the plastic bag in place if you go that route), a piece of paper or a funnel, stainless steel spoons for stirring, and an immersion blender is handy but not required.
Making soap does take a bit of planning, if only because lye is not readily available anymore. There is an online site called Essential Depot where Michael buys food grade lye. Otherwise, two 42 ounce tins of shortening, two cups of canola or other oil, coconut oil (now widely available at grocery stores), and water is what you will need.
First step is to start to melt the shortening and other fats in the stockpot. The amounts are as follows:
84 ounces (2 tins) shortening
16 ounces (2 cups) canola or other vegetable oil
10 ounces (1 1/4 cup) coconut oil
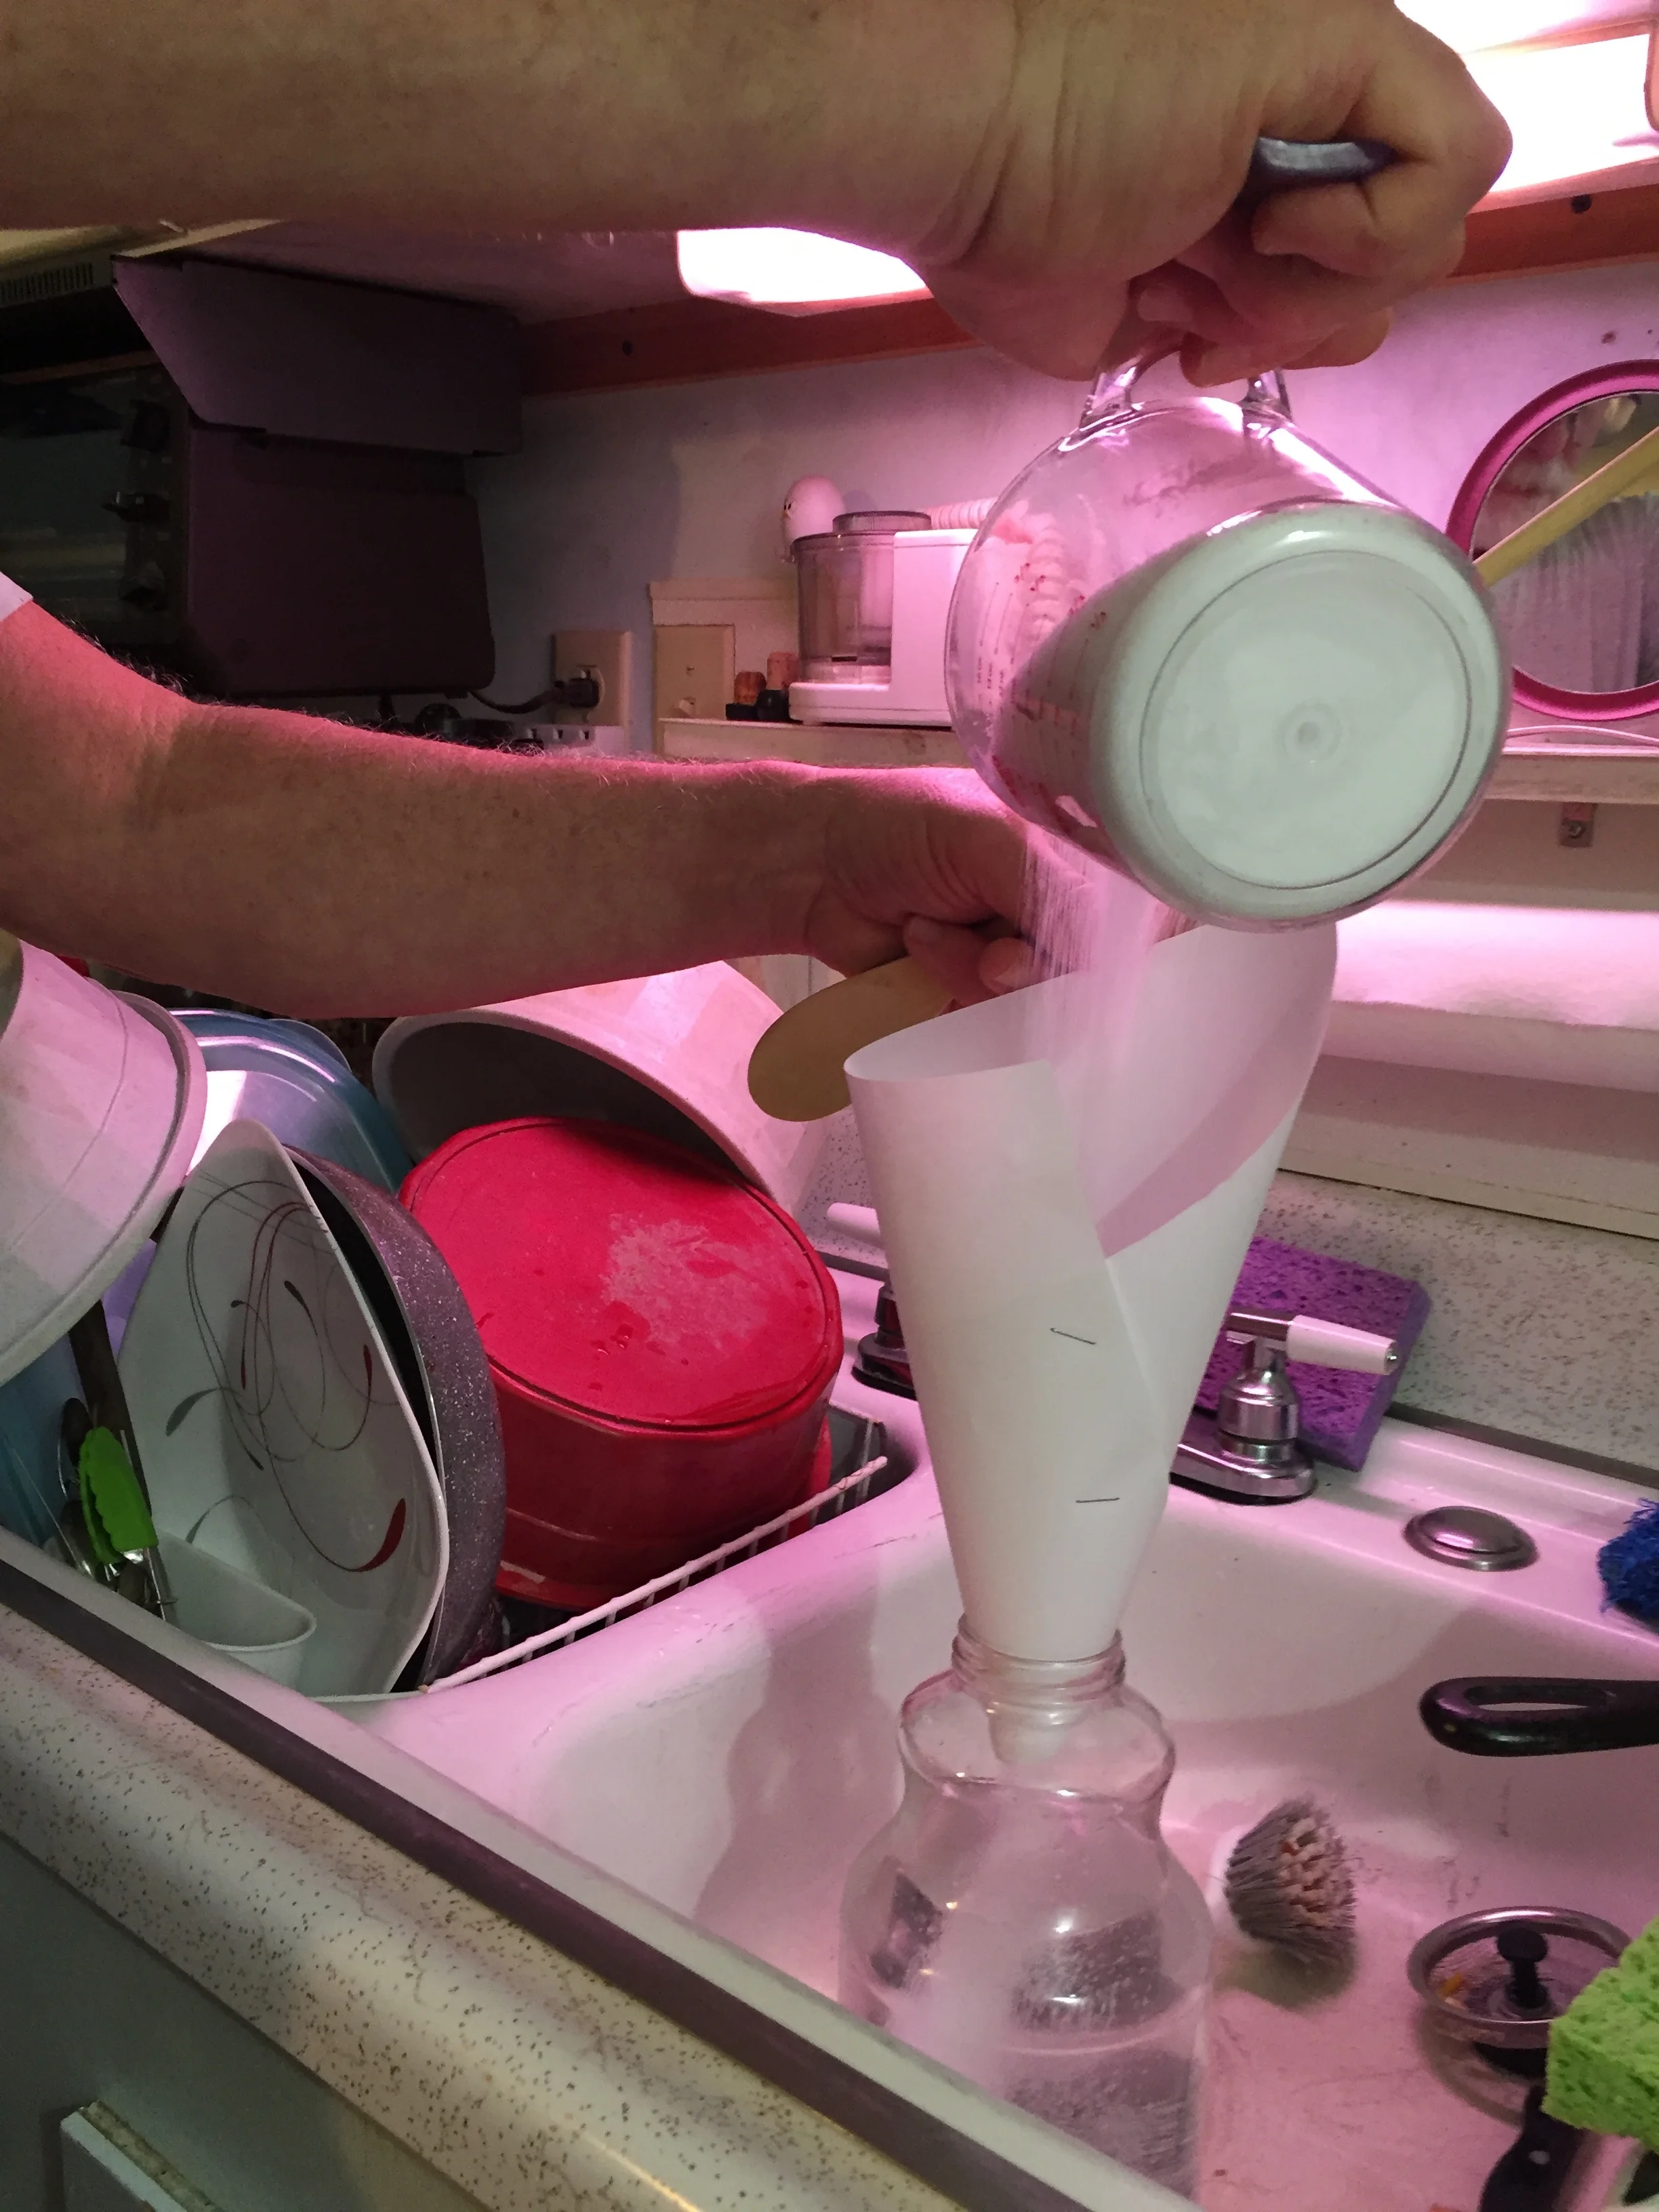
Heat the oil slowly until it reaches 100° on the instant thermometer. While the oil heats, measure out 44 ounces (5 3/4 cups) of water I nto the non-reactive flask (we use an old 2 quart glass juice jar). After the water is in the flask, measure out 15.3 ounces (1 1/2 cups) of granulated lye into a clean measuring cup. Make a funnel out of a piece of paper secured with some staples (or a regular funnel, if you have one) and carefully add the lye to the water.
NEVER add water to lye. The combination creates an exothermic reaction which explodes if added in the wrong order.
Michael mixes the lye to water in the sink so any stray bits of lye go into the sink, as lye is highly reactive, is caustic, and can cause burns. He uses the thin end of a wooden spoon to mix the lye into the water, as it tends to clump up. Rinse the spoon immediately afterwards.
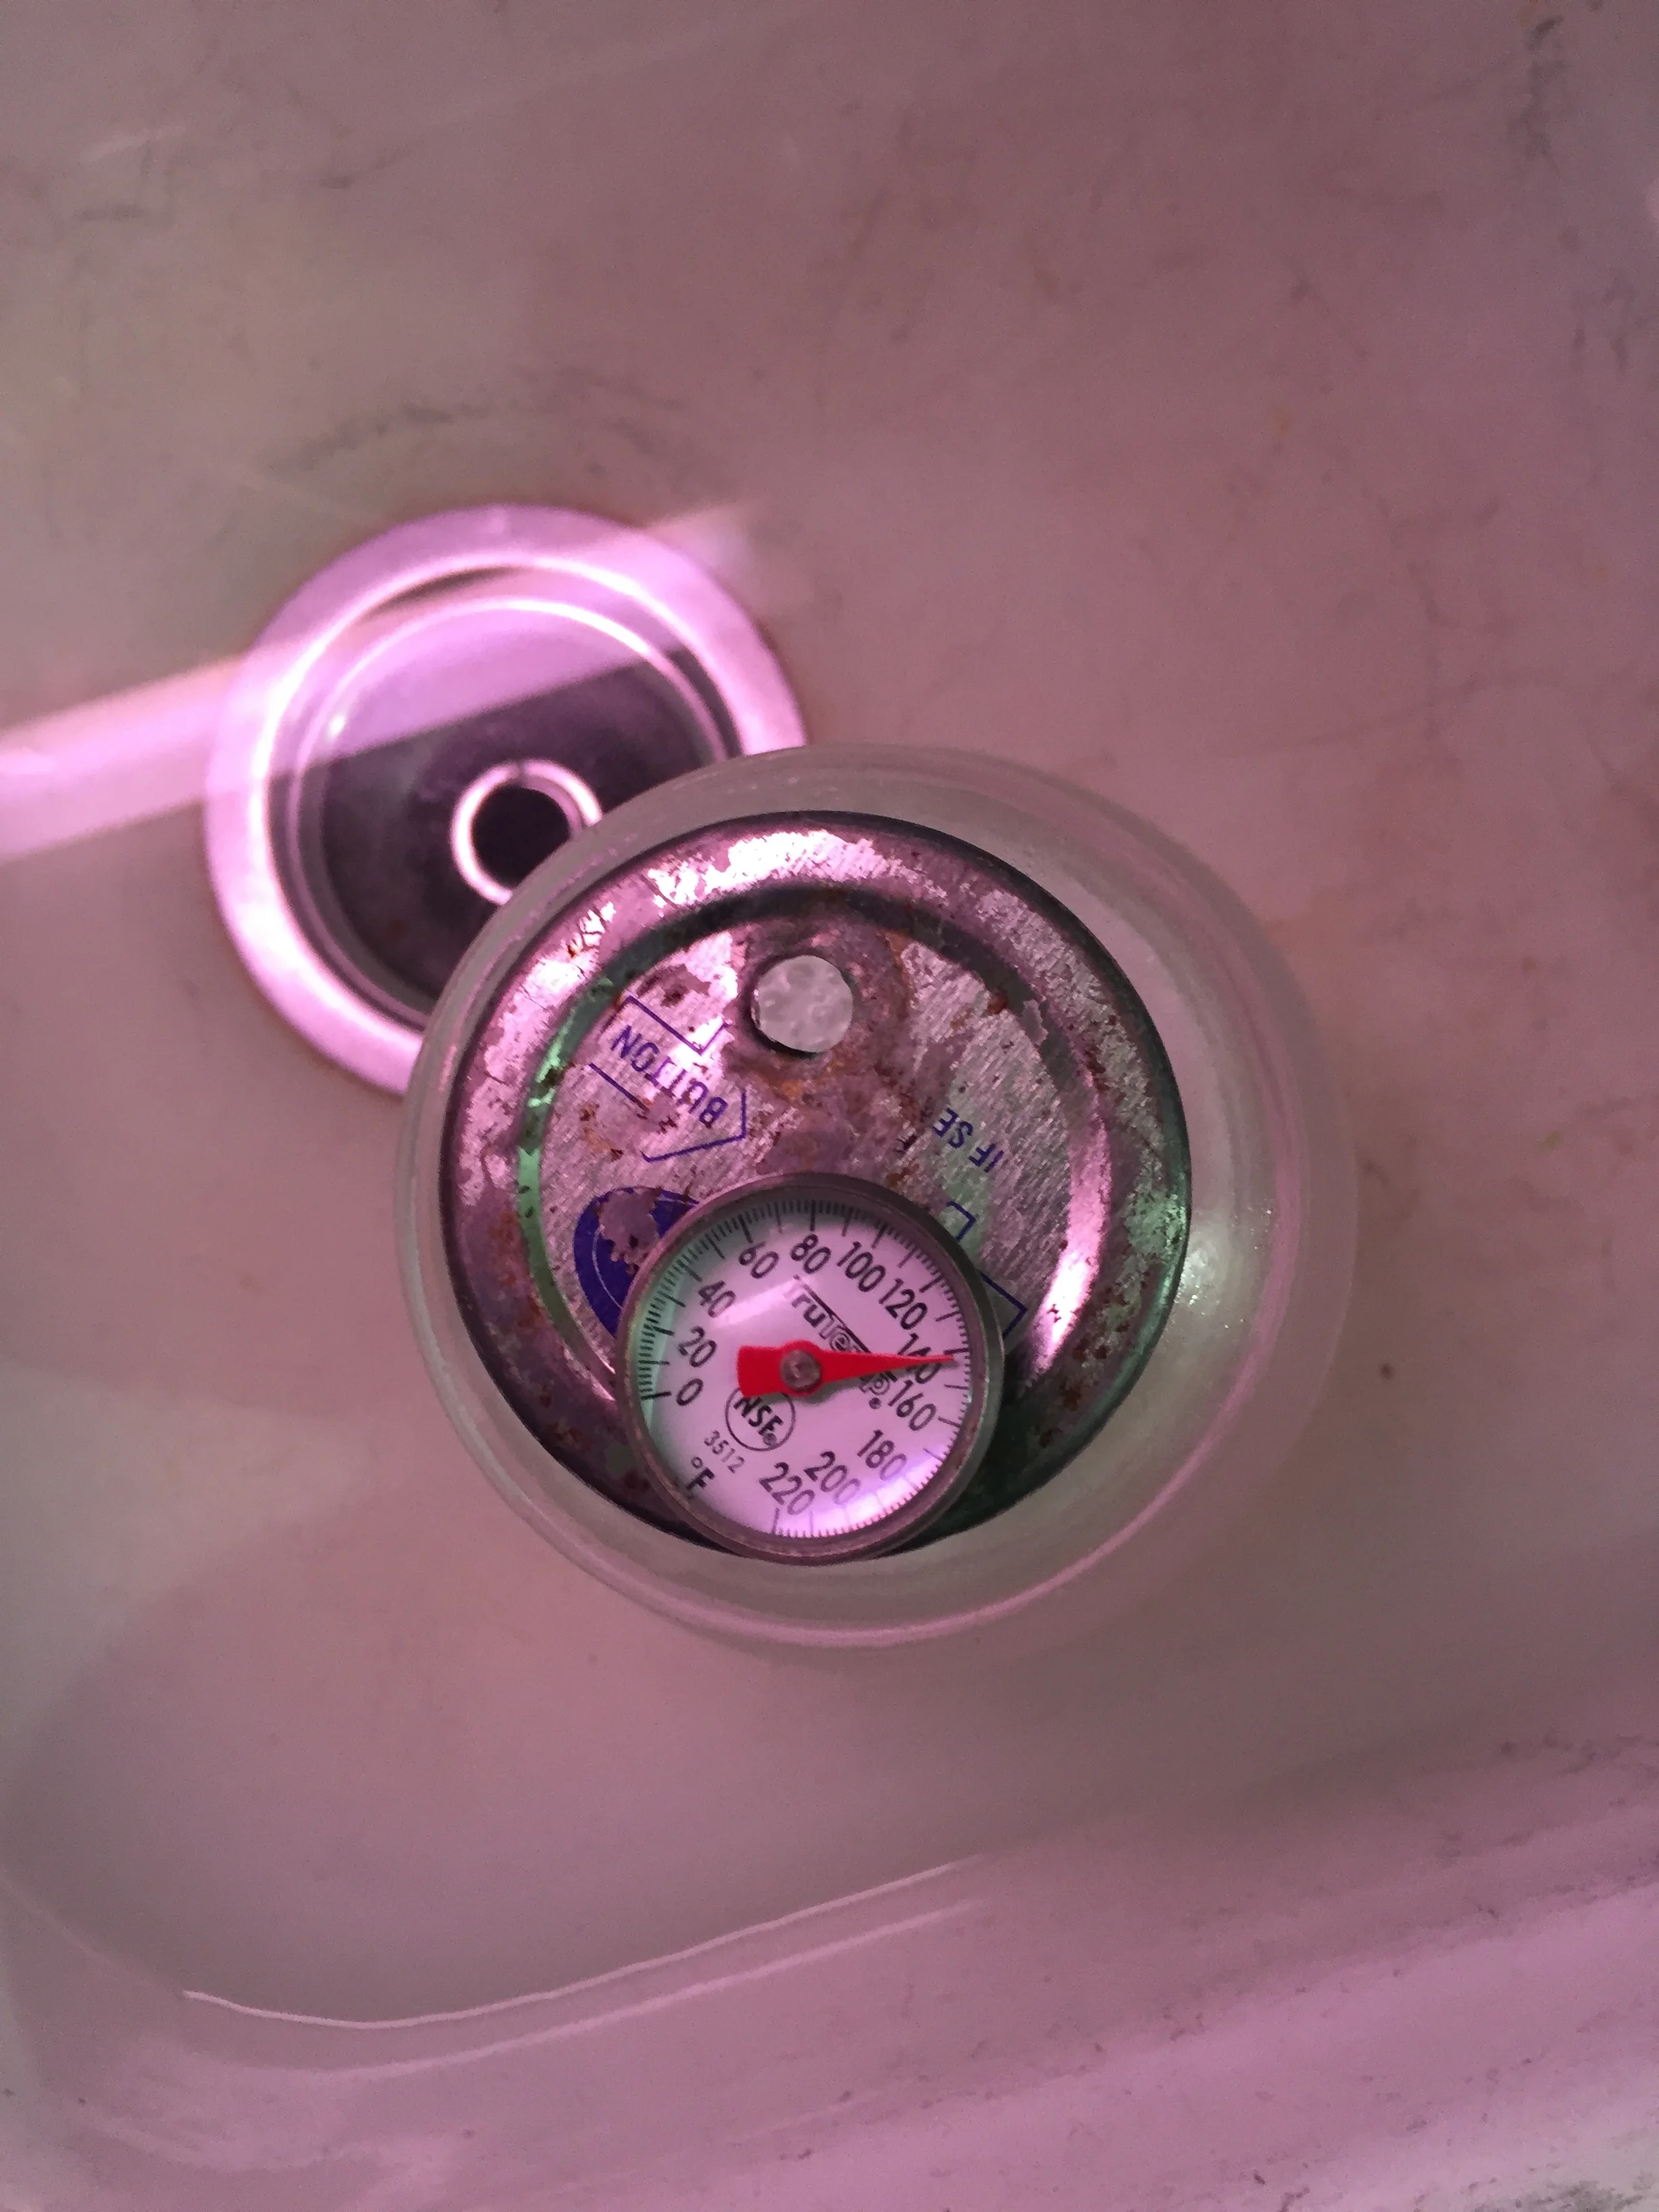
The water needs to cool to 100°. The fat often reaches 100° before the water, at which point you can force the cooling by putting cold water in the sink and swirling the bottle around until the lye mixture reaches the desired temperature.
When both fats and lye are both at 100° it is time to mix them together. Dunk the empty lye jar into a full sink of water to dilute any remaining lye.
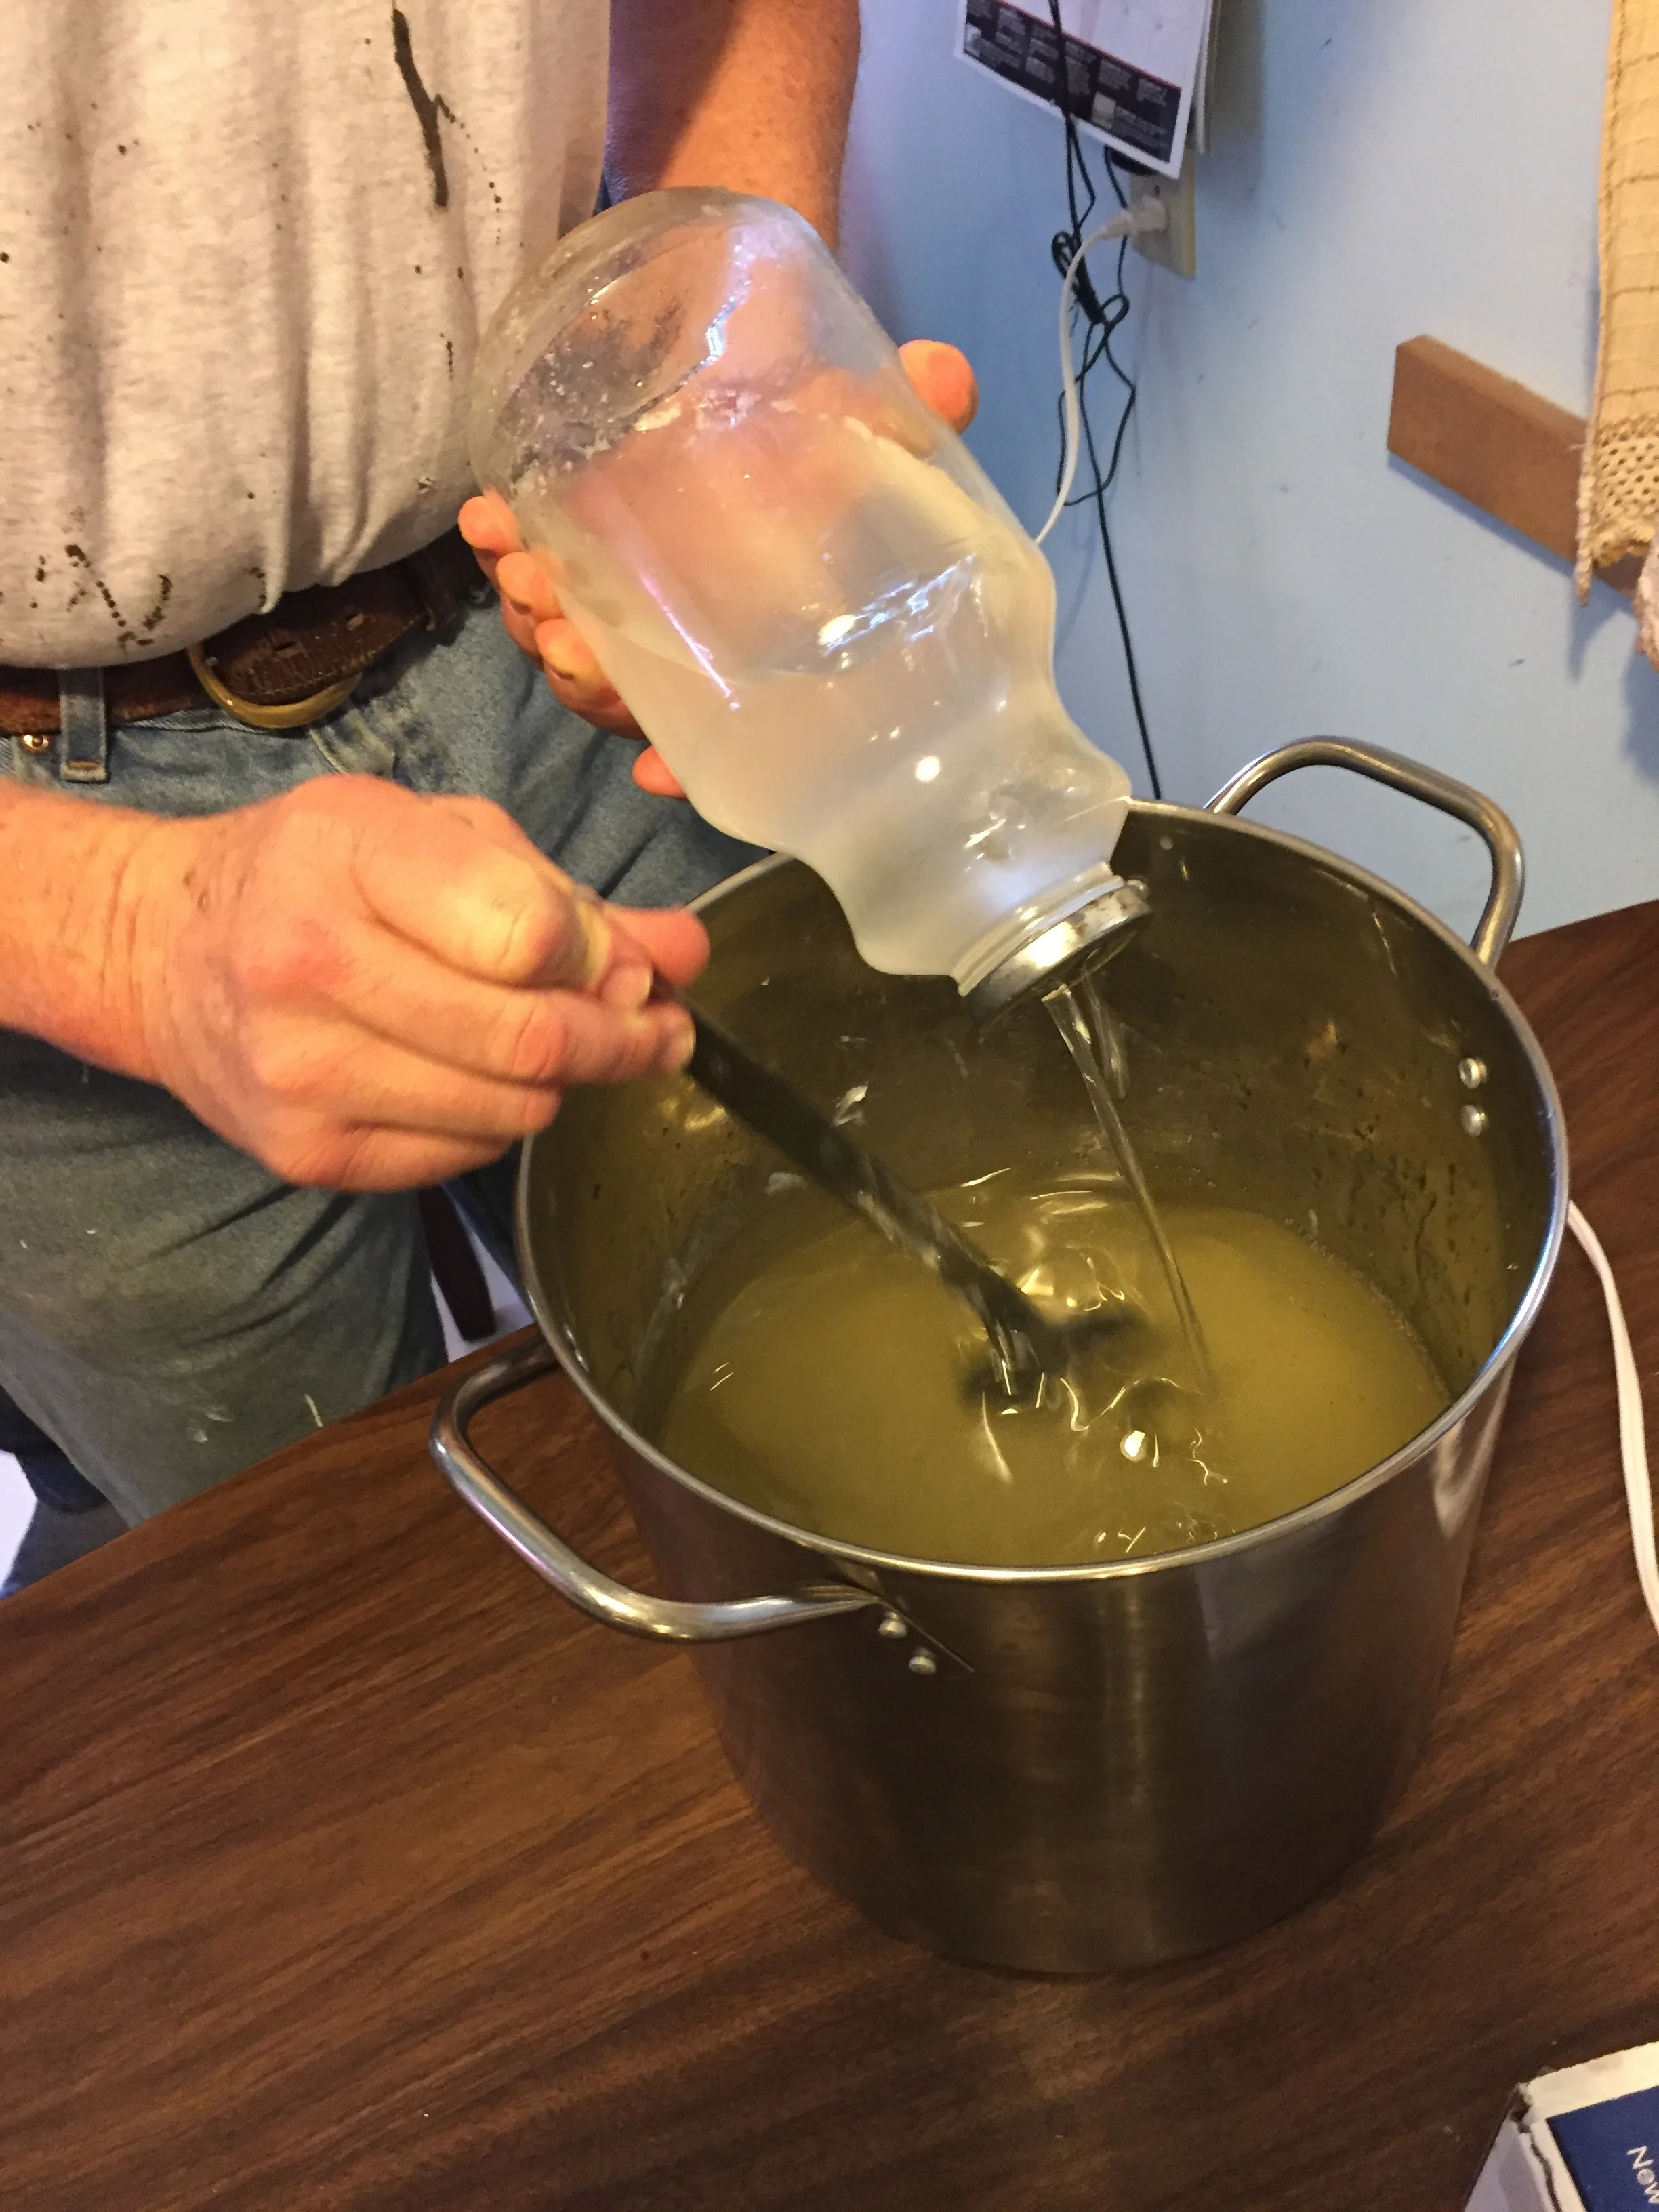
The oil begins to cloud immediately, which is the beginning of the saponification process
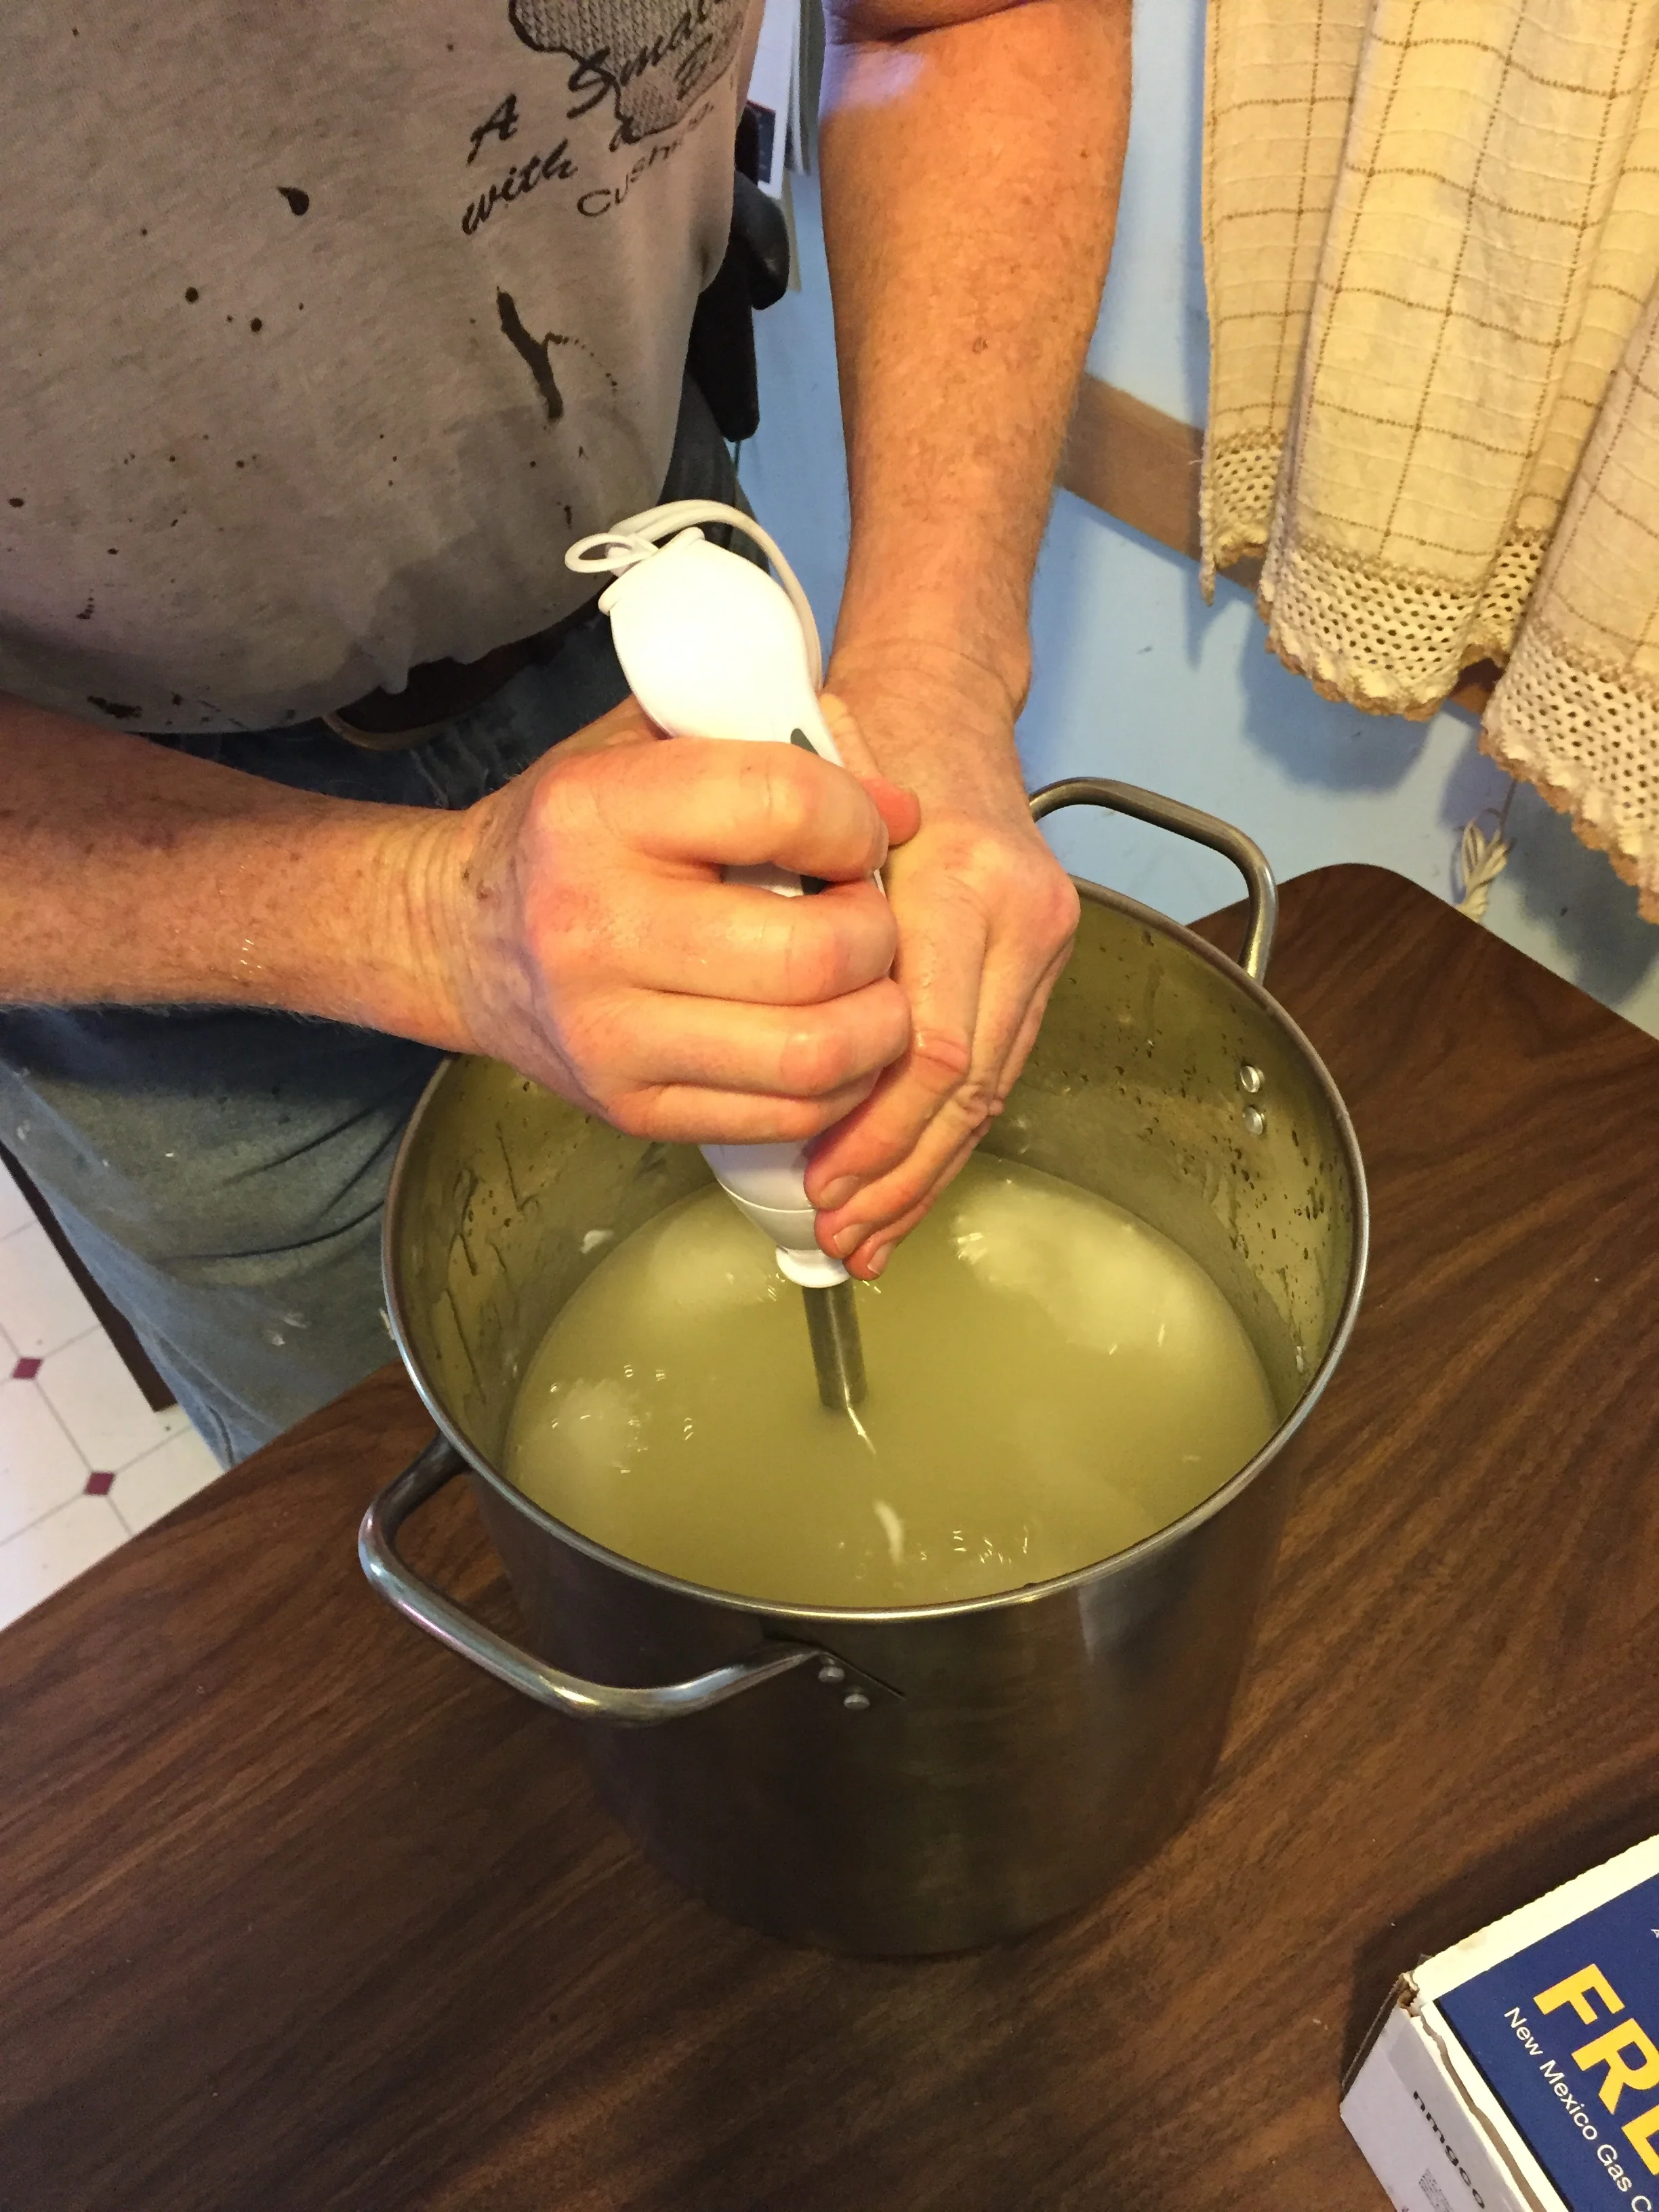
You can keep stirring with a spoon but an immersion blender makes things go faster
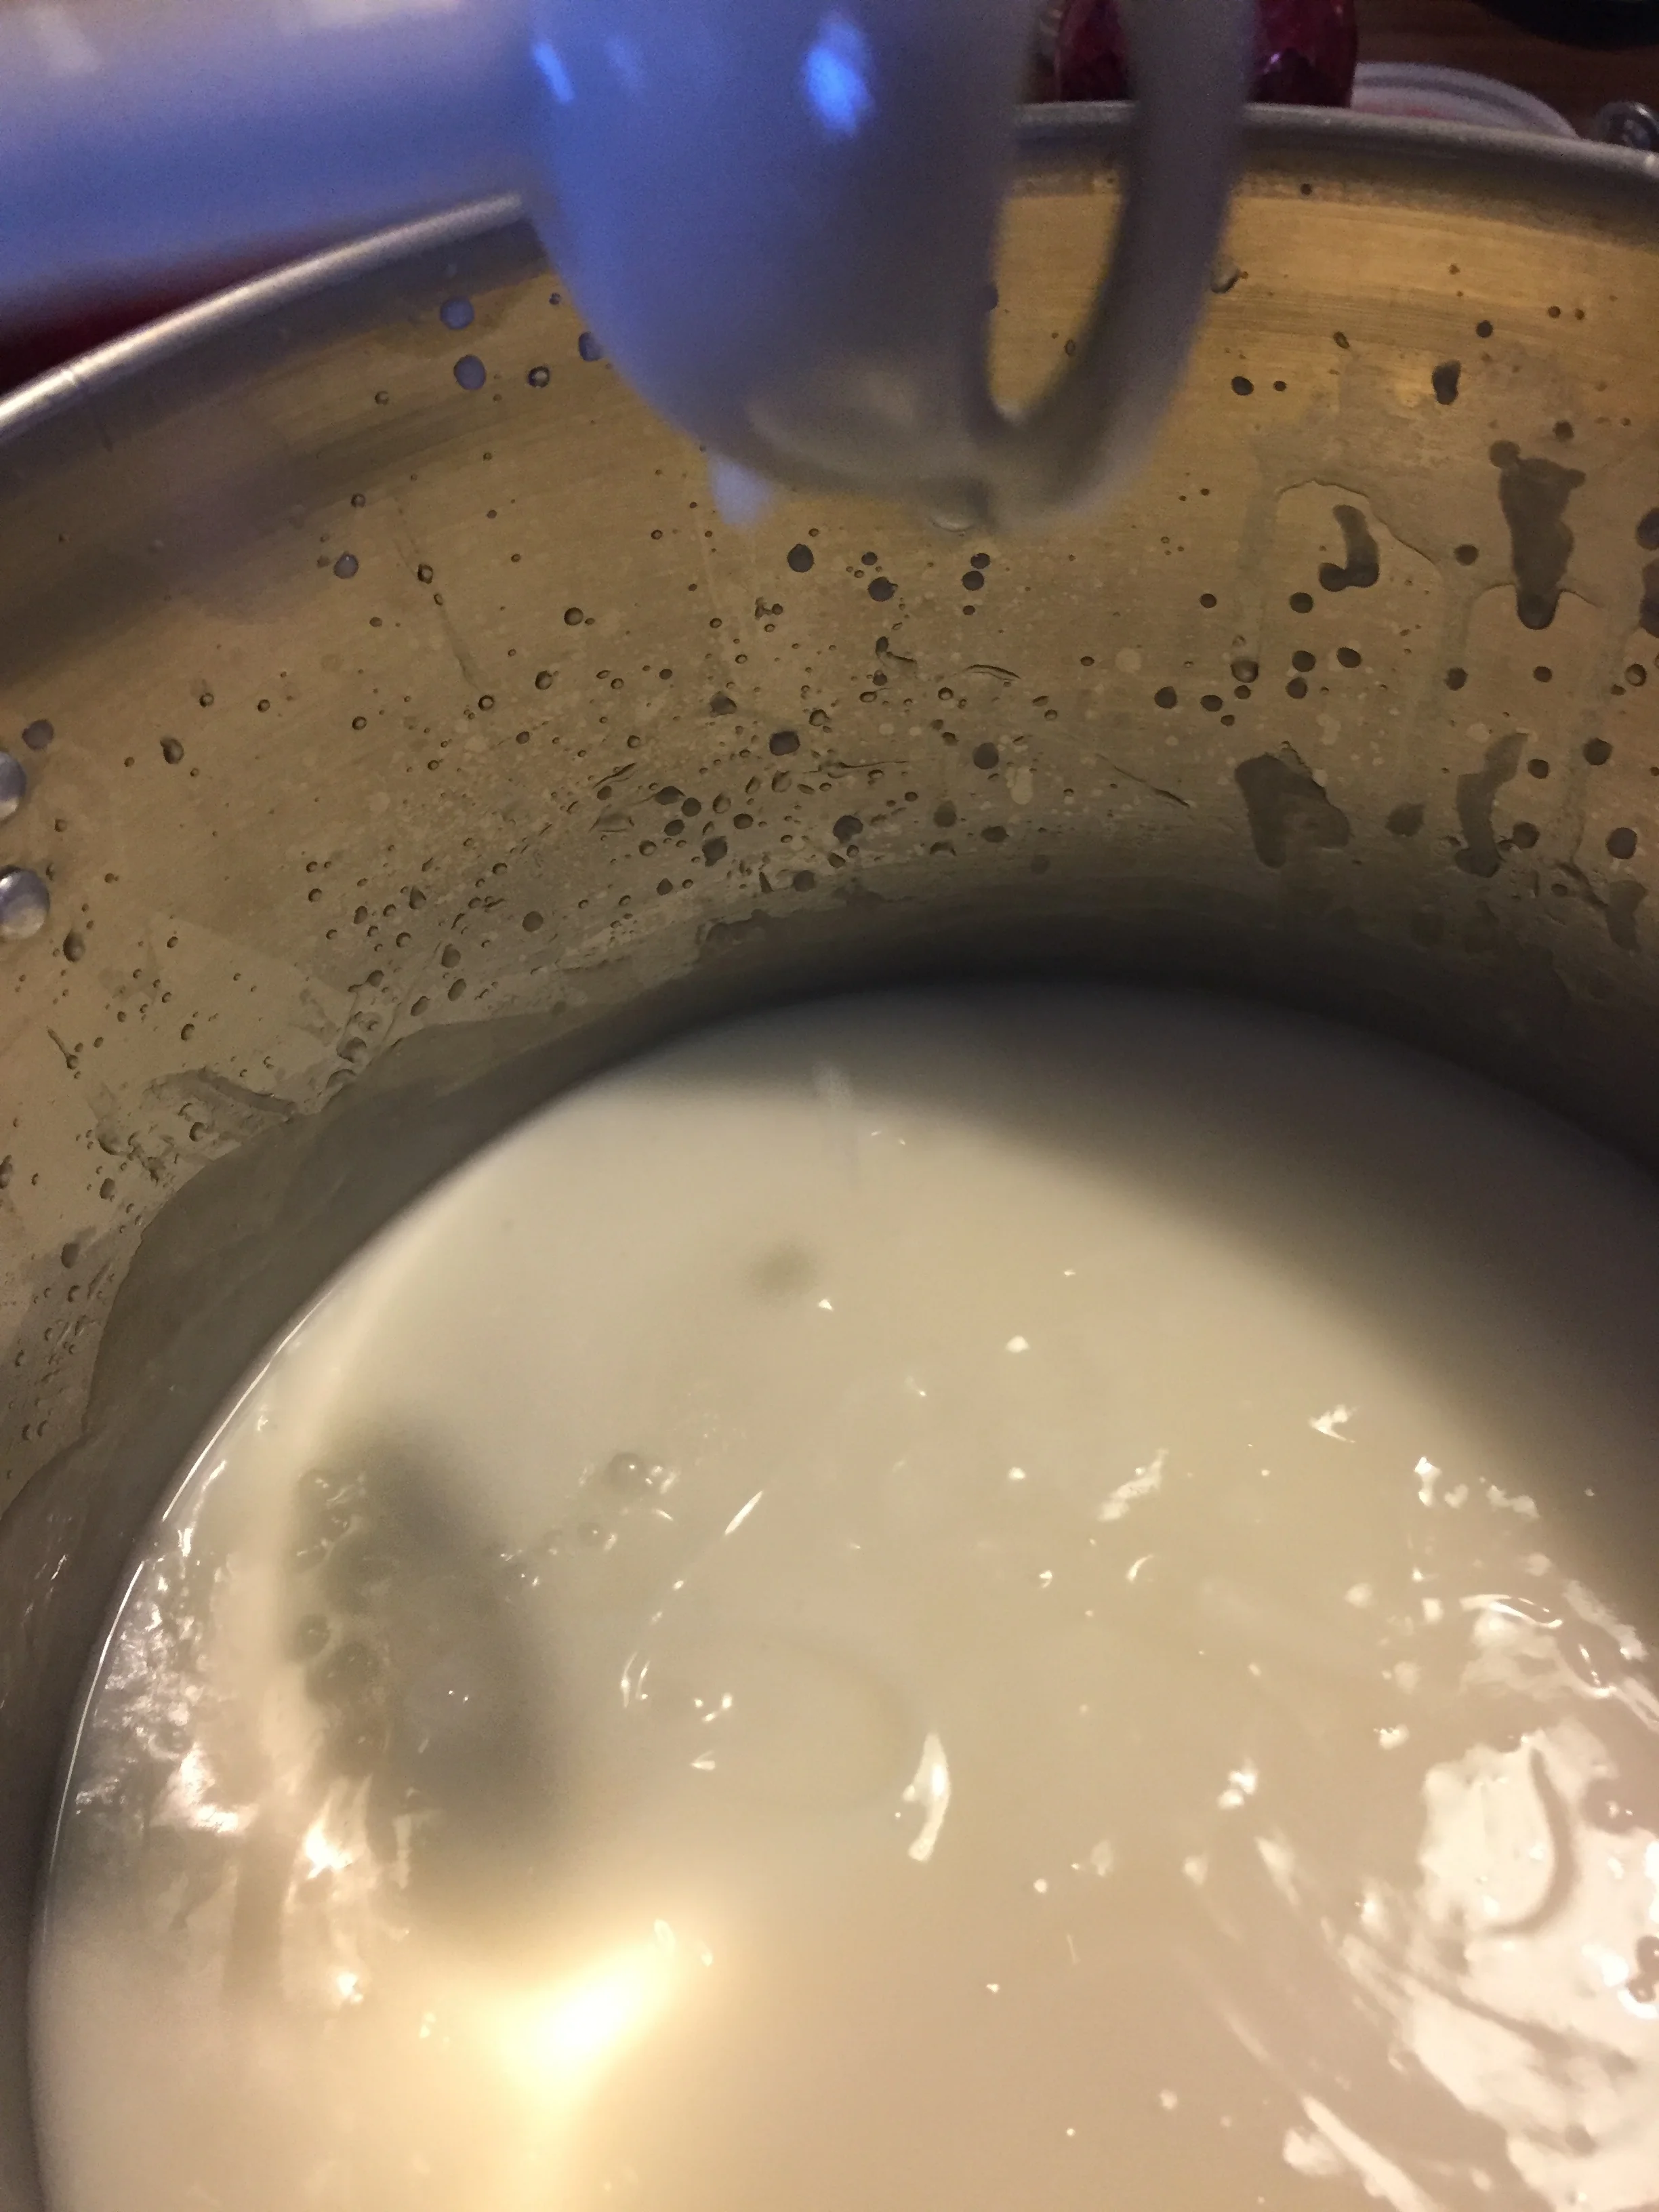
The stirring is done when the soap “traces,” which means it leaves lumps on the surface
Once the soap traces it is time to put it in the form.
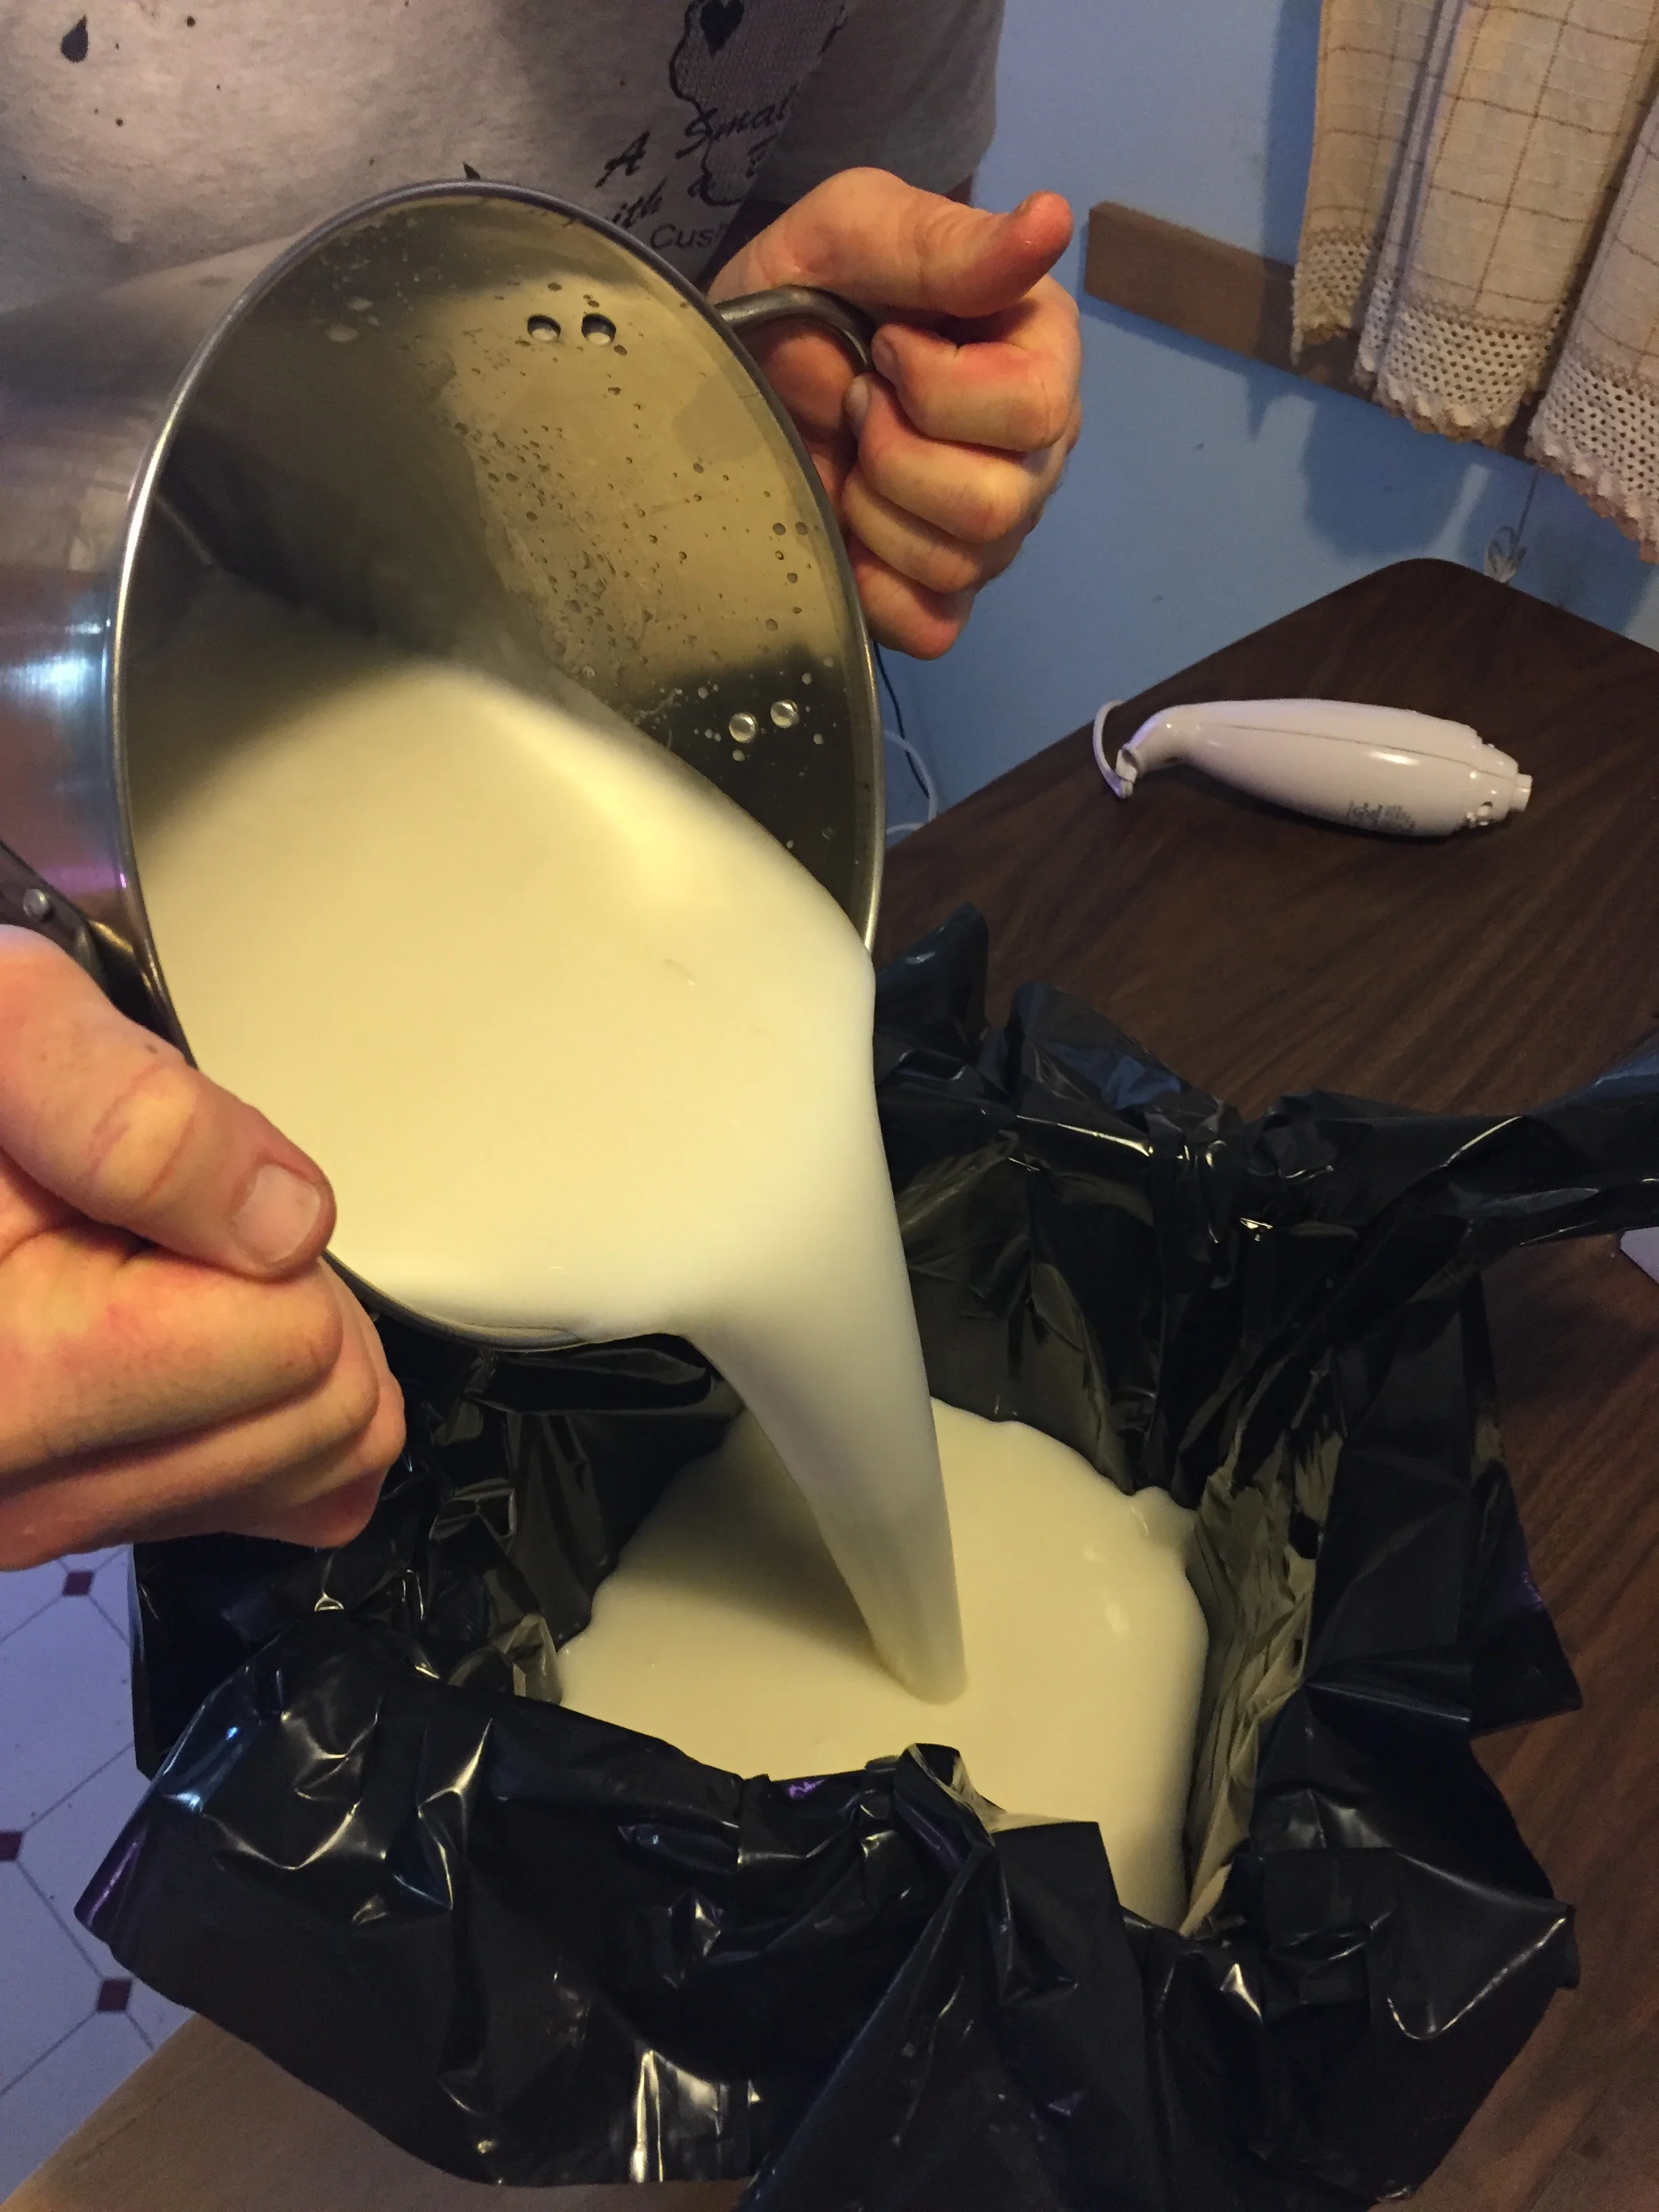
We have silicone pans, but prefer the box as it is easier to transport to a quiet corner.
Once “enboxed” the soap gets wrapped in towels so that you hold the heat in (saponification is an exothermic reaction and goes better if it cools slowly). We put newspapers under and over the box to protect against possible leakage and it adds more insulation.

The soap sits about 18 hours undisturbed. Other recipes may need to sit more or less time.
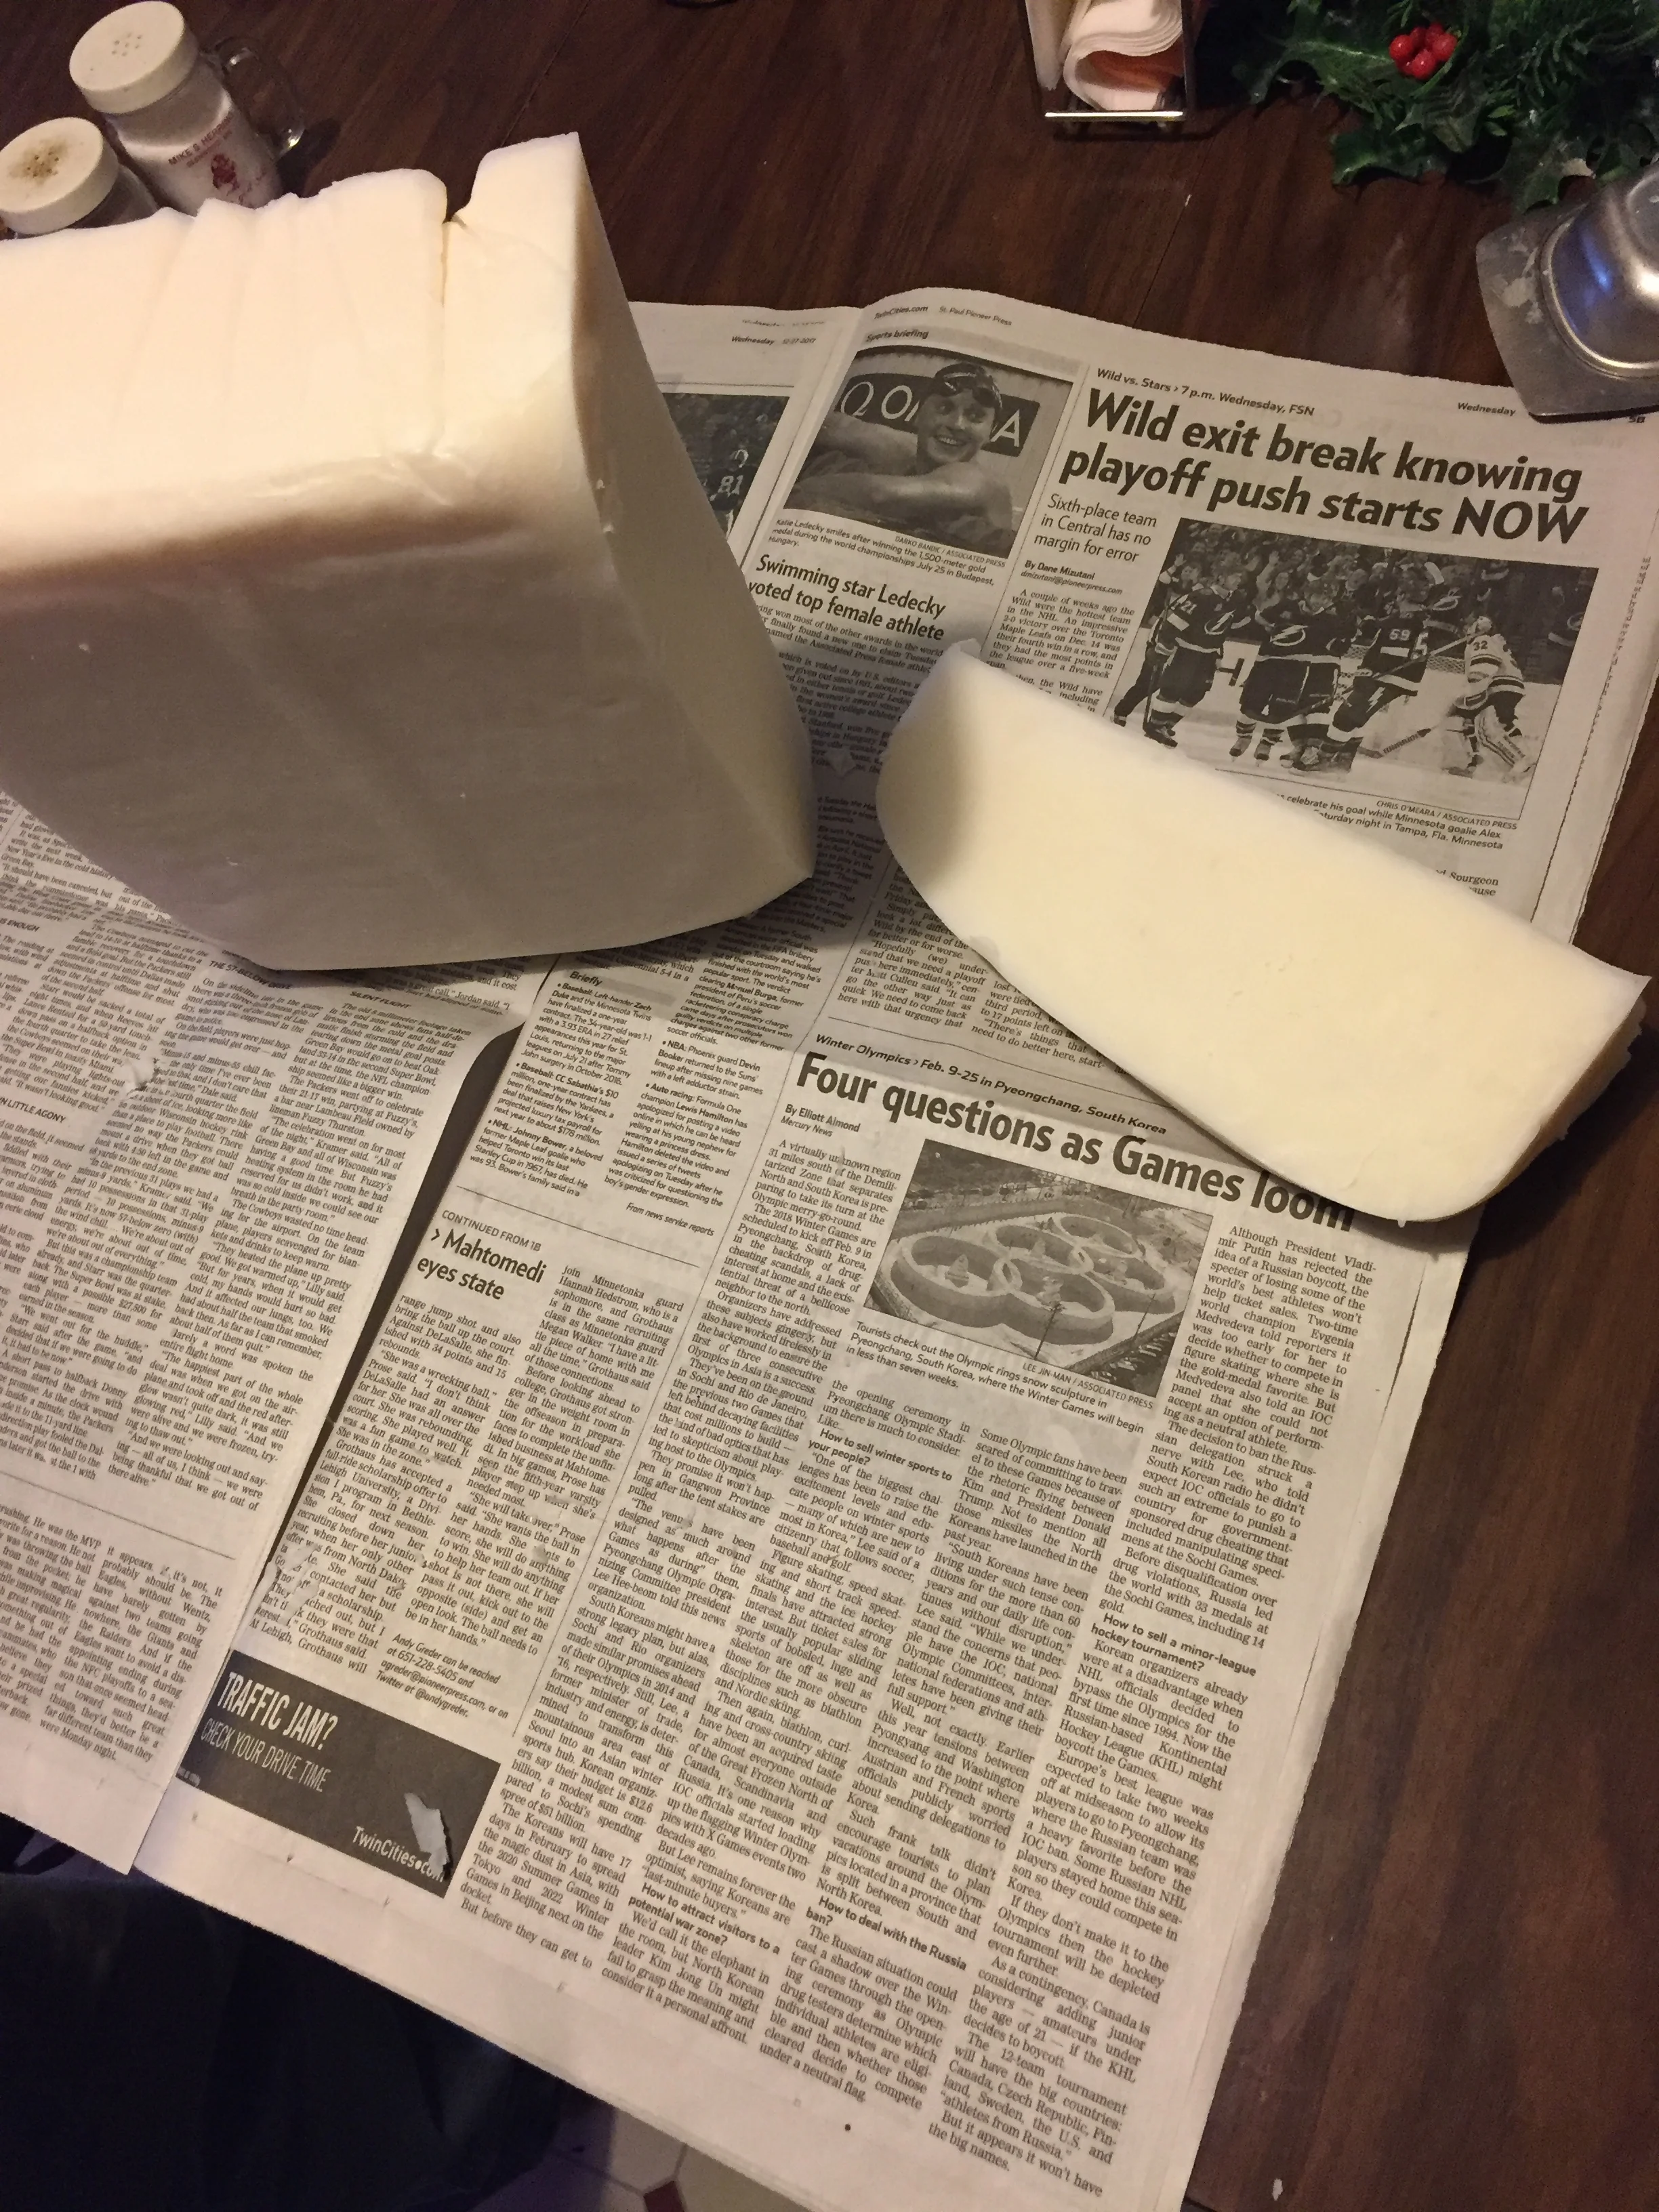
The soap is ready to cut when it is firm to the touch but still gives a bit. If it gets too hard you will either end up breaking it with a hammer and end up with soap shards or will have one really big bar of soap.
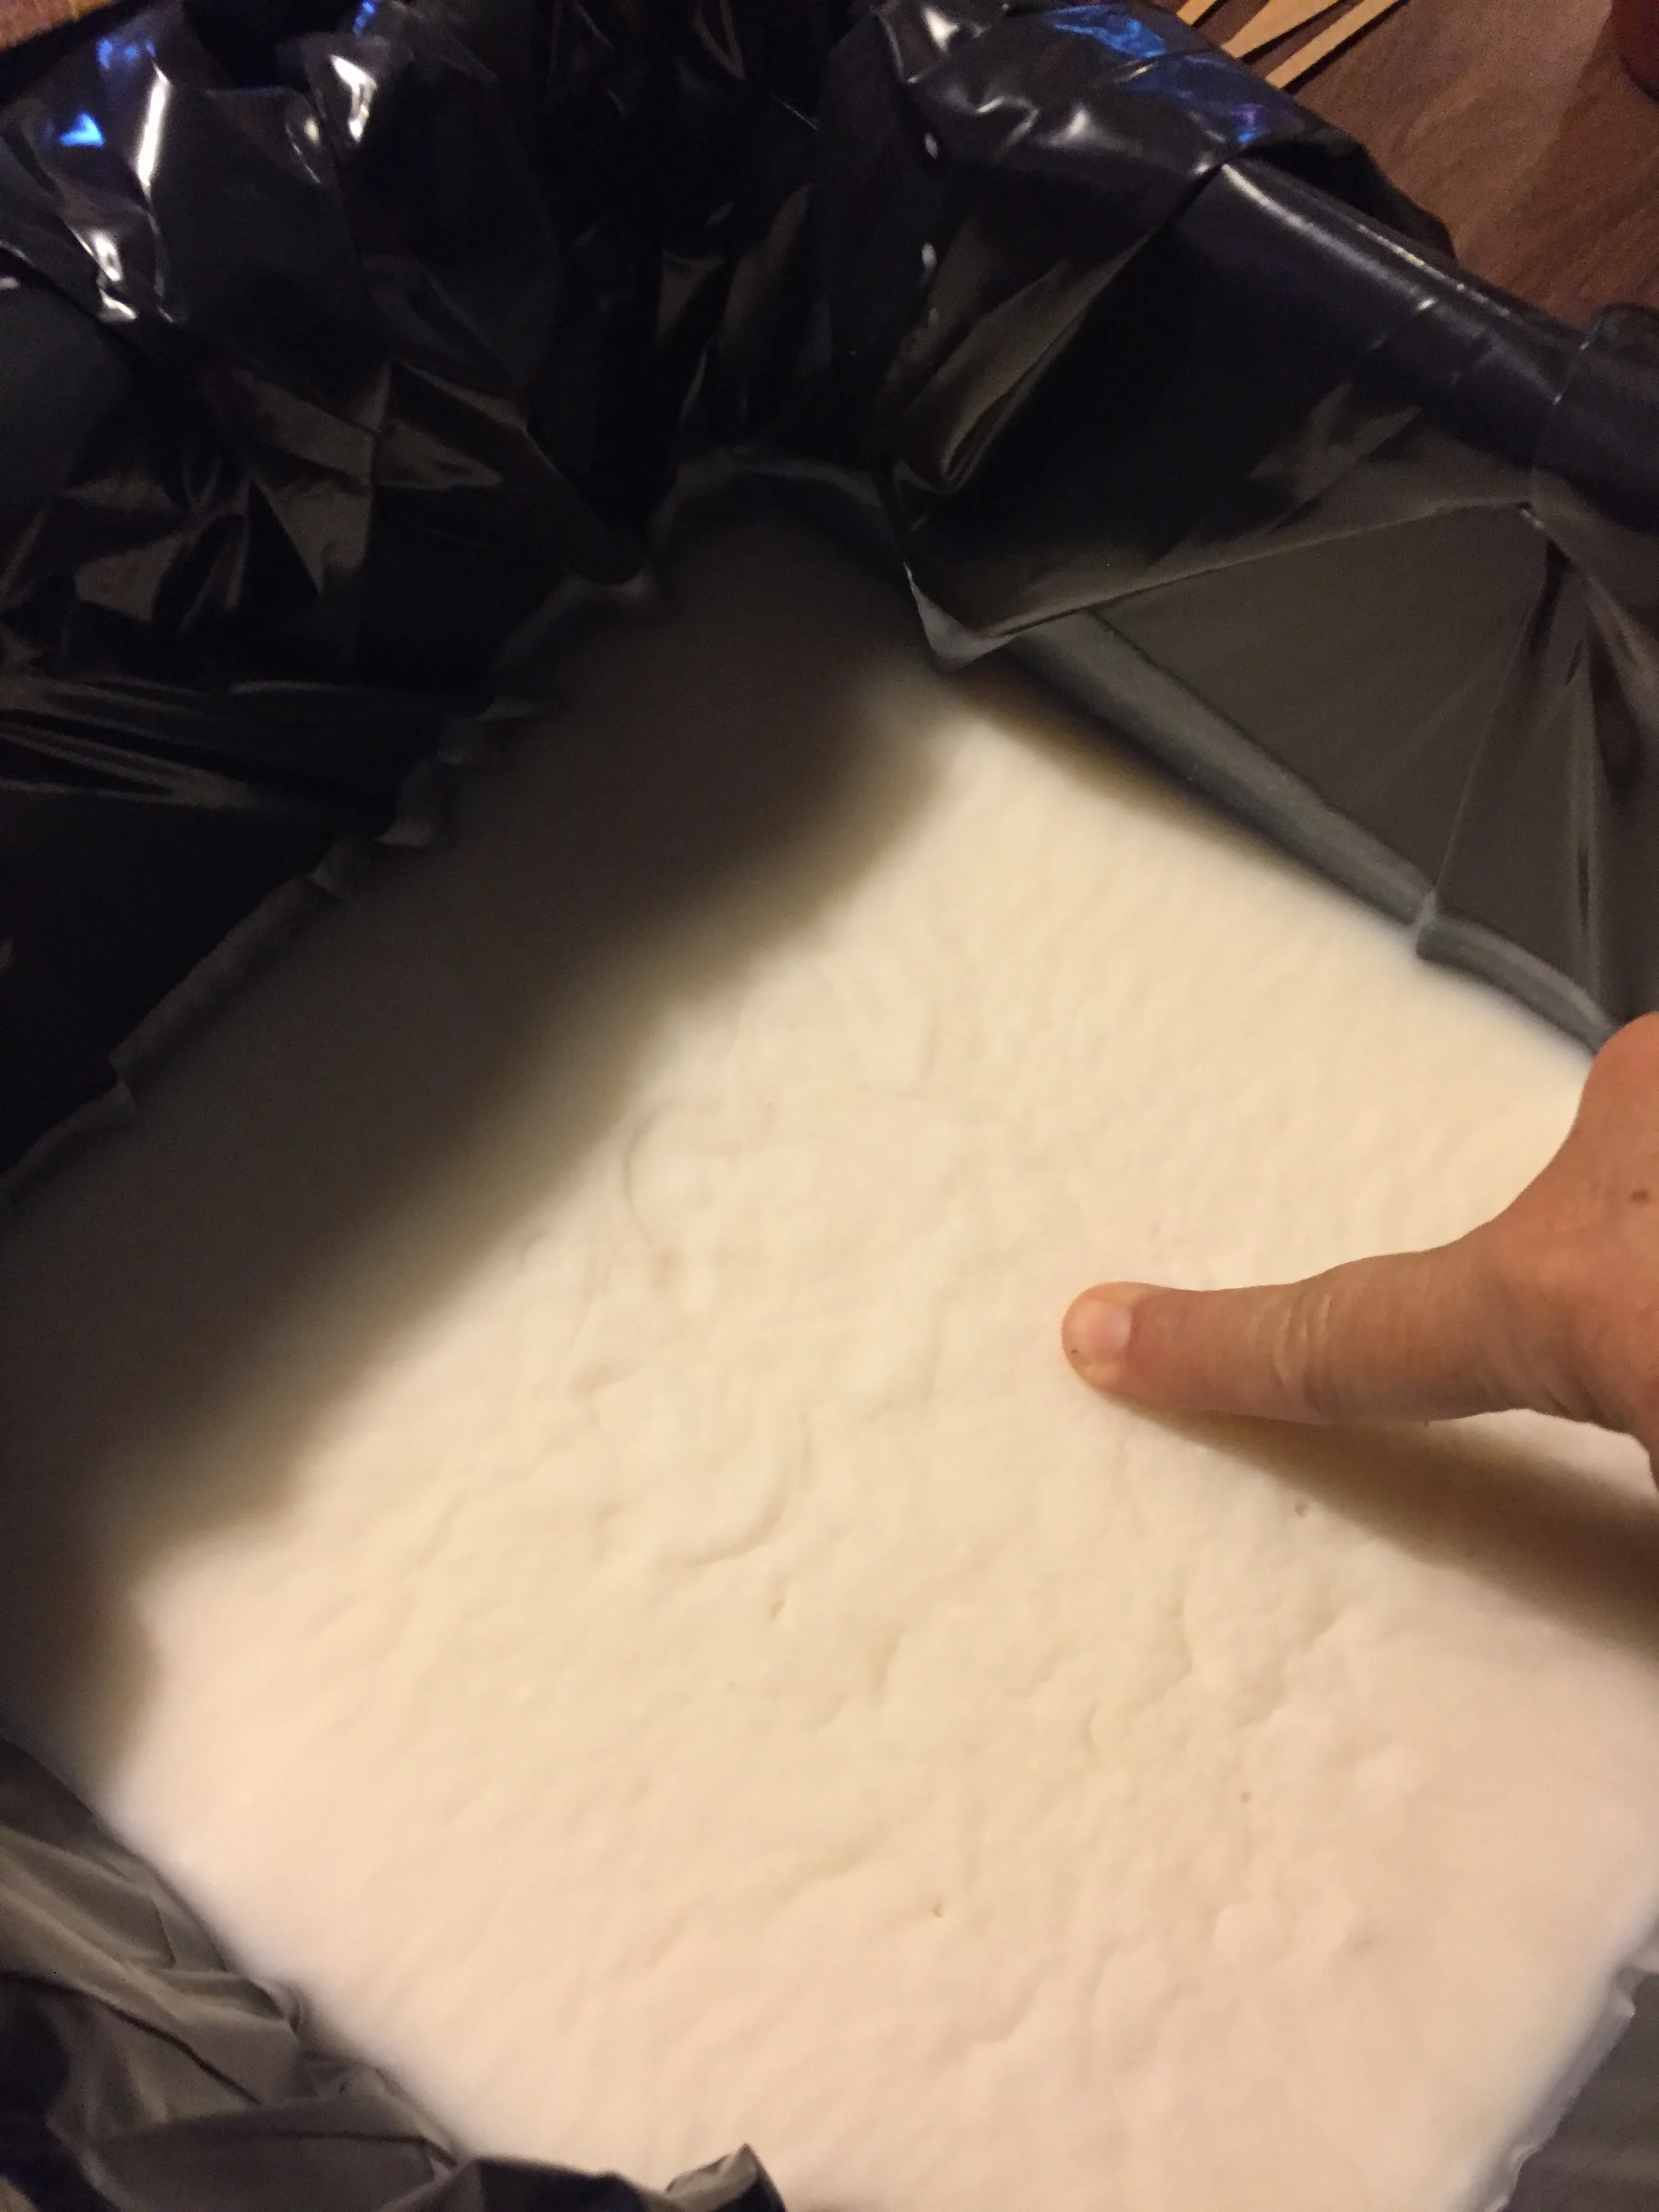
Firm but slightly yielding
Unmold the soap onto newspaper, which will catch any stray liquids.
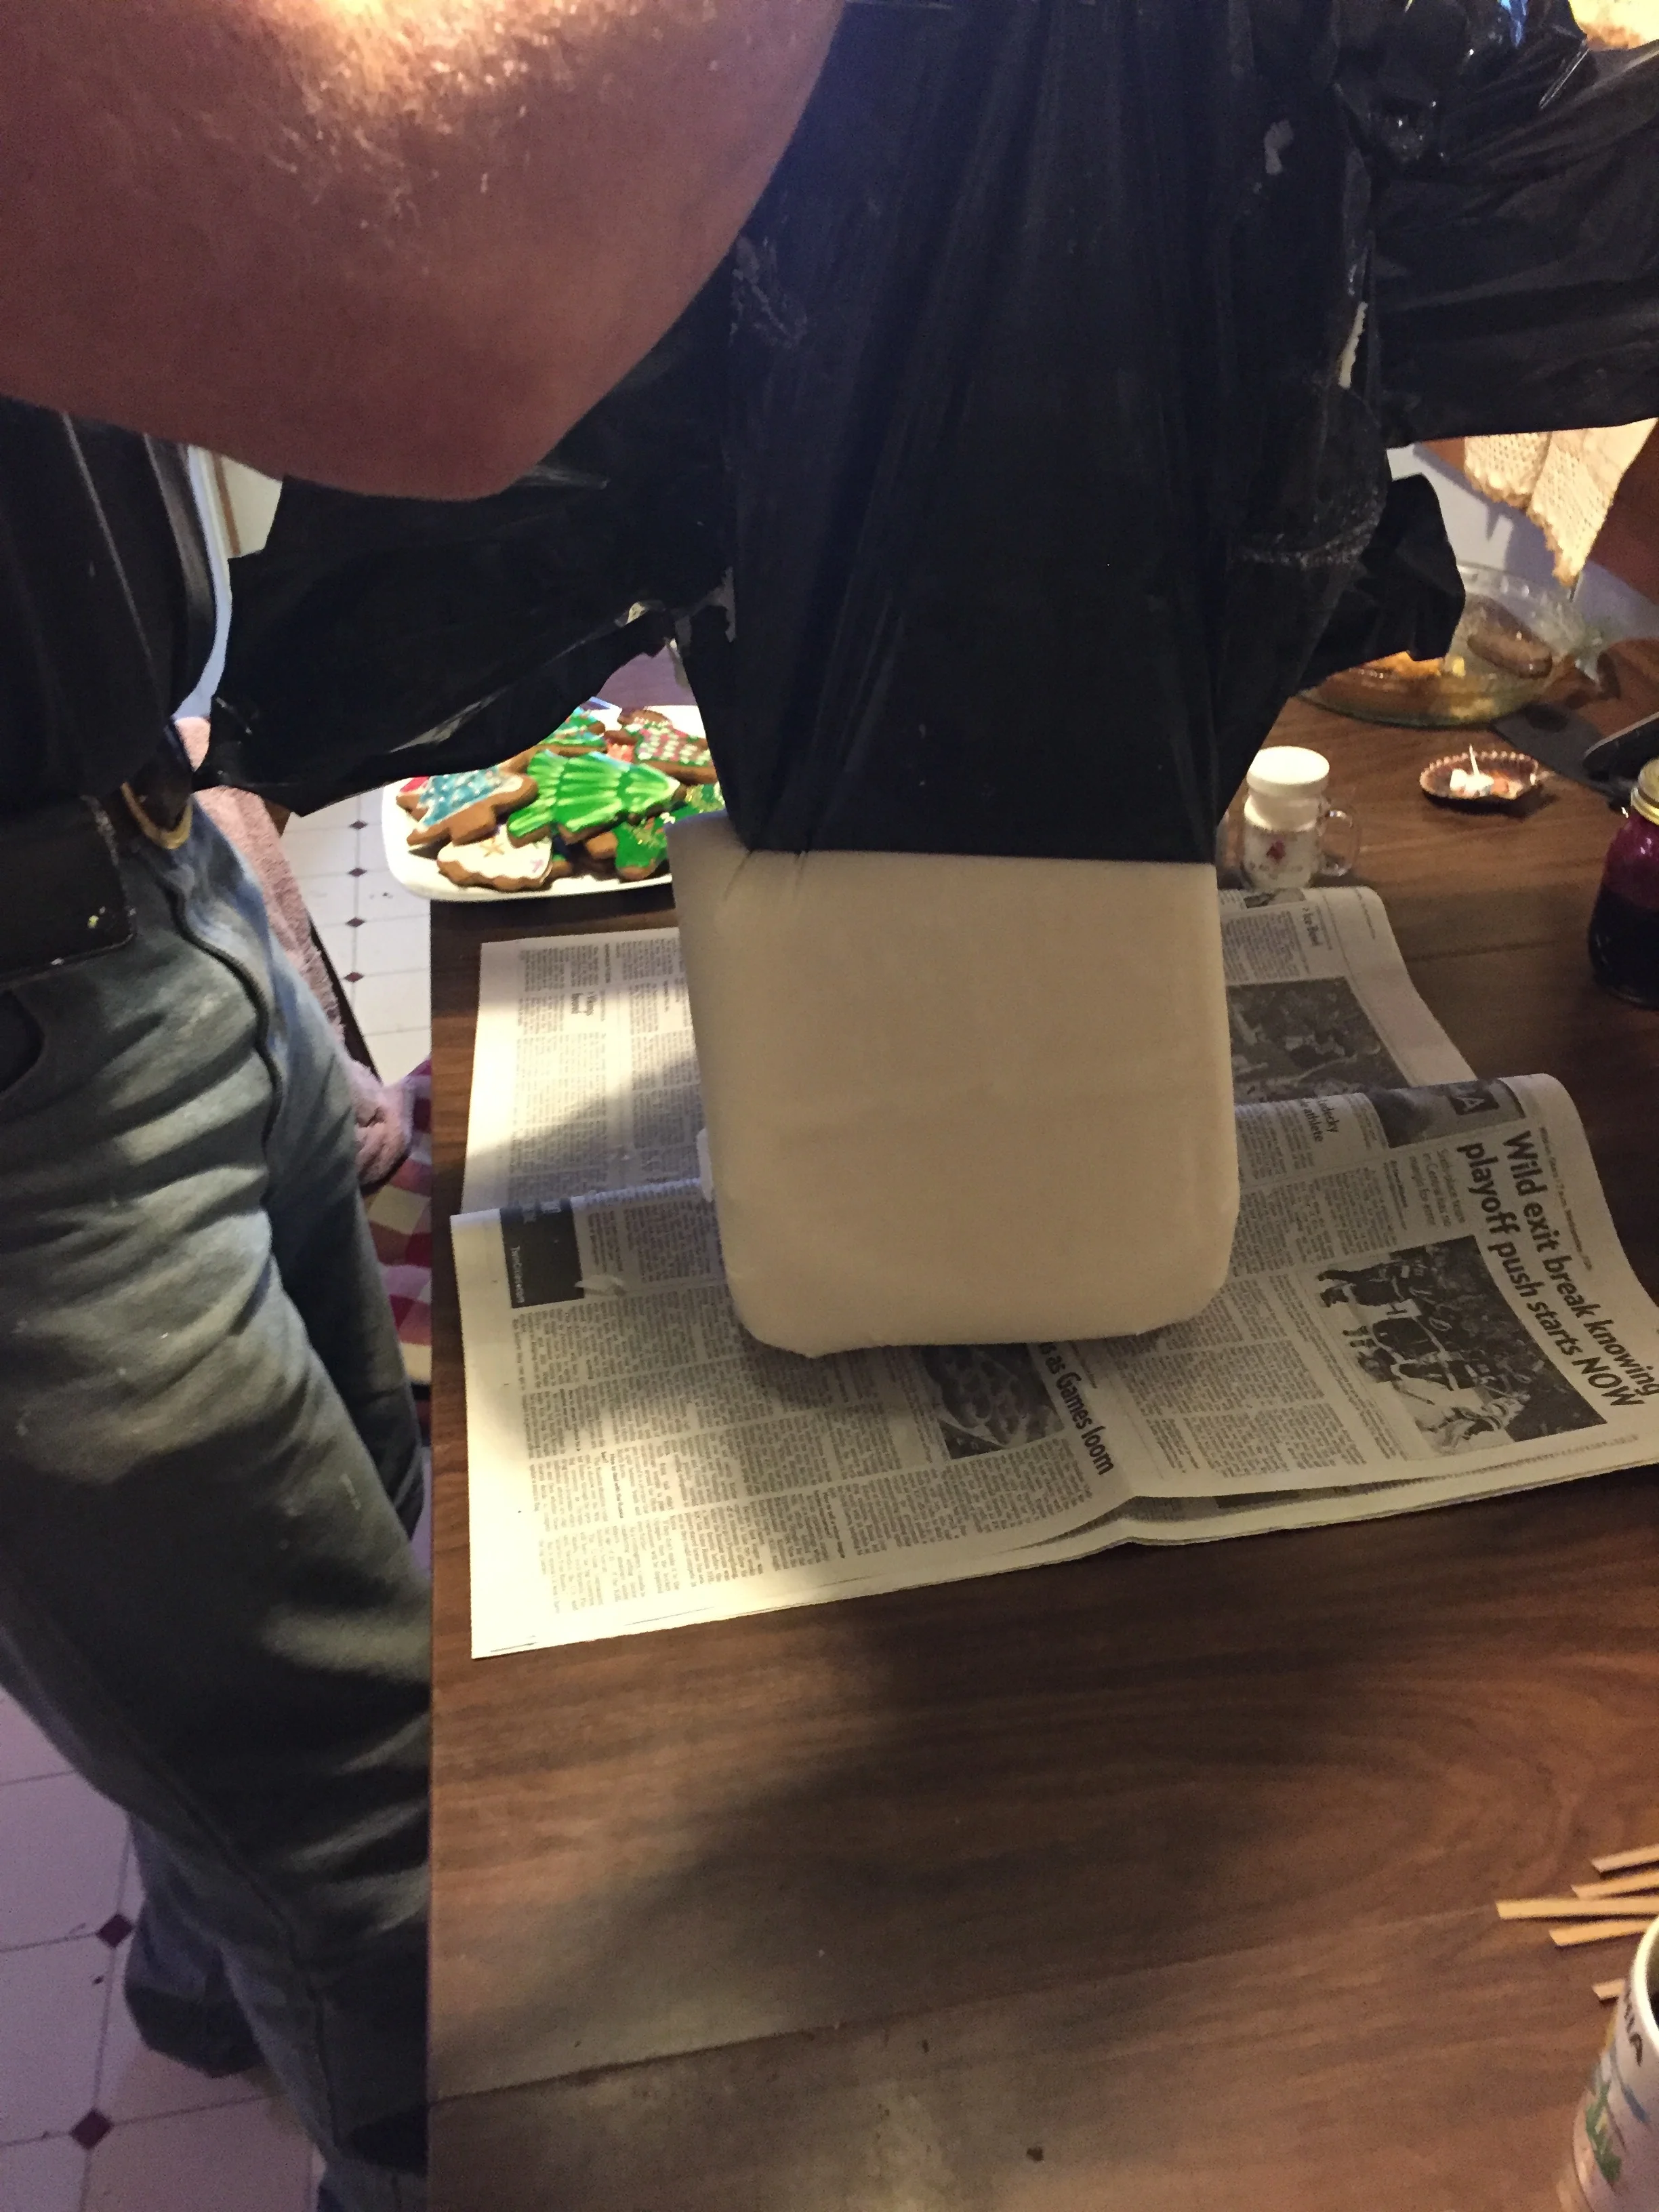
No stray liquids means complete saponification
Having a sharp, thin bladed knife helps
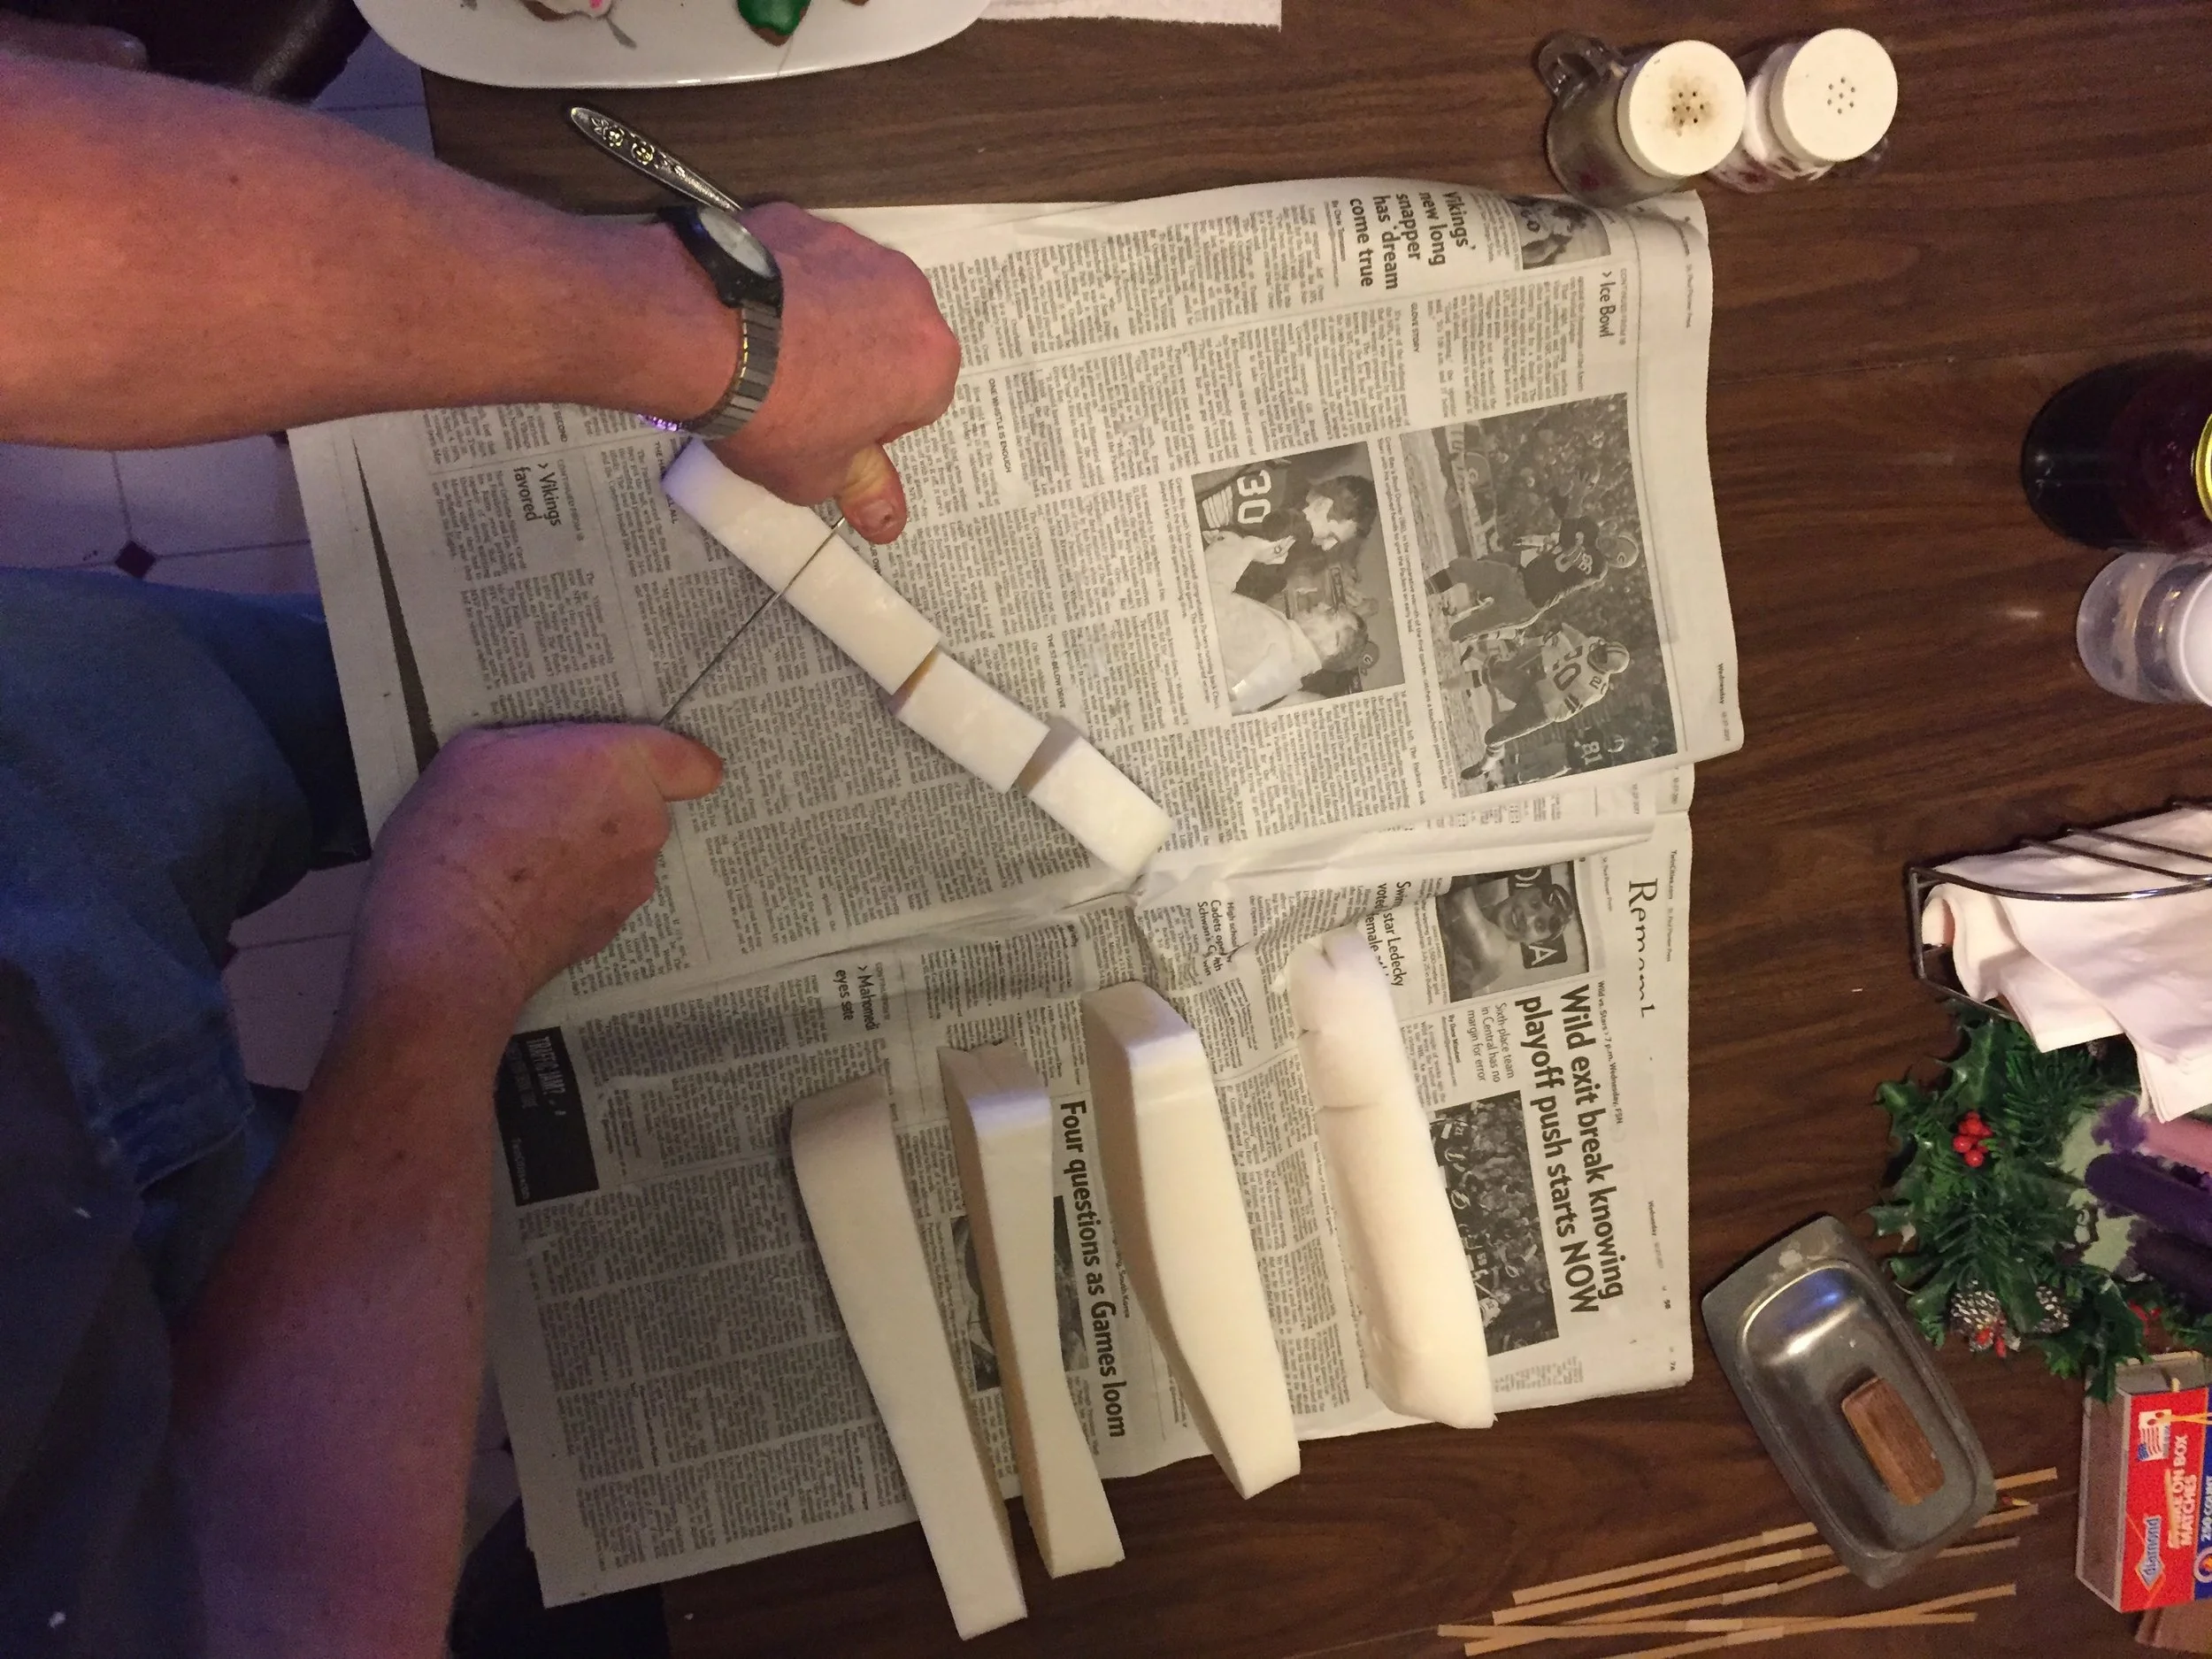
Slice into bar sized pieces
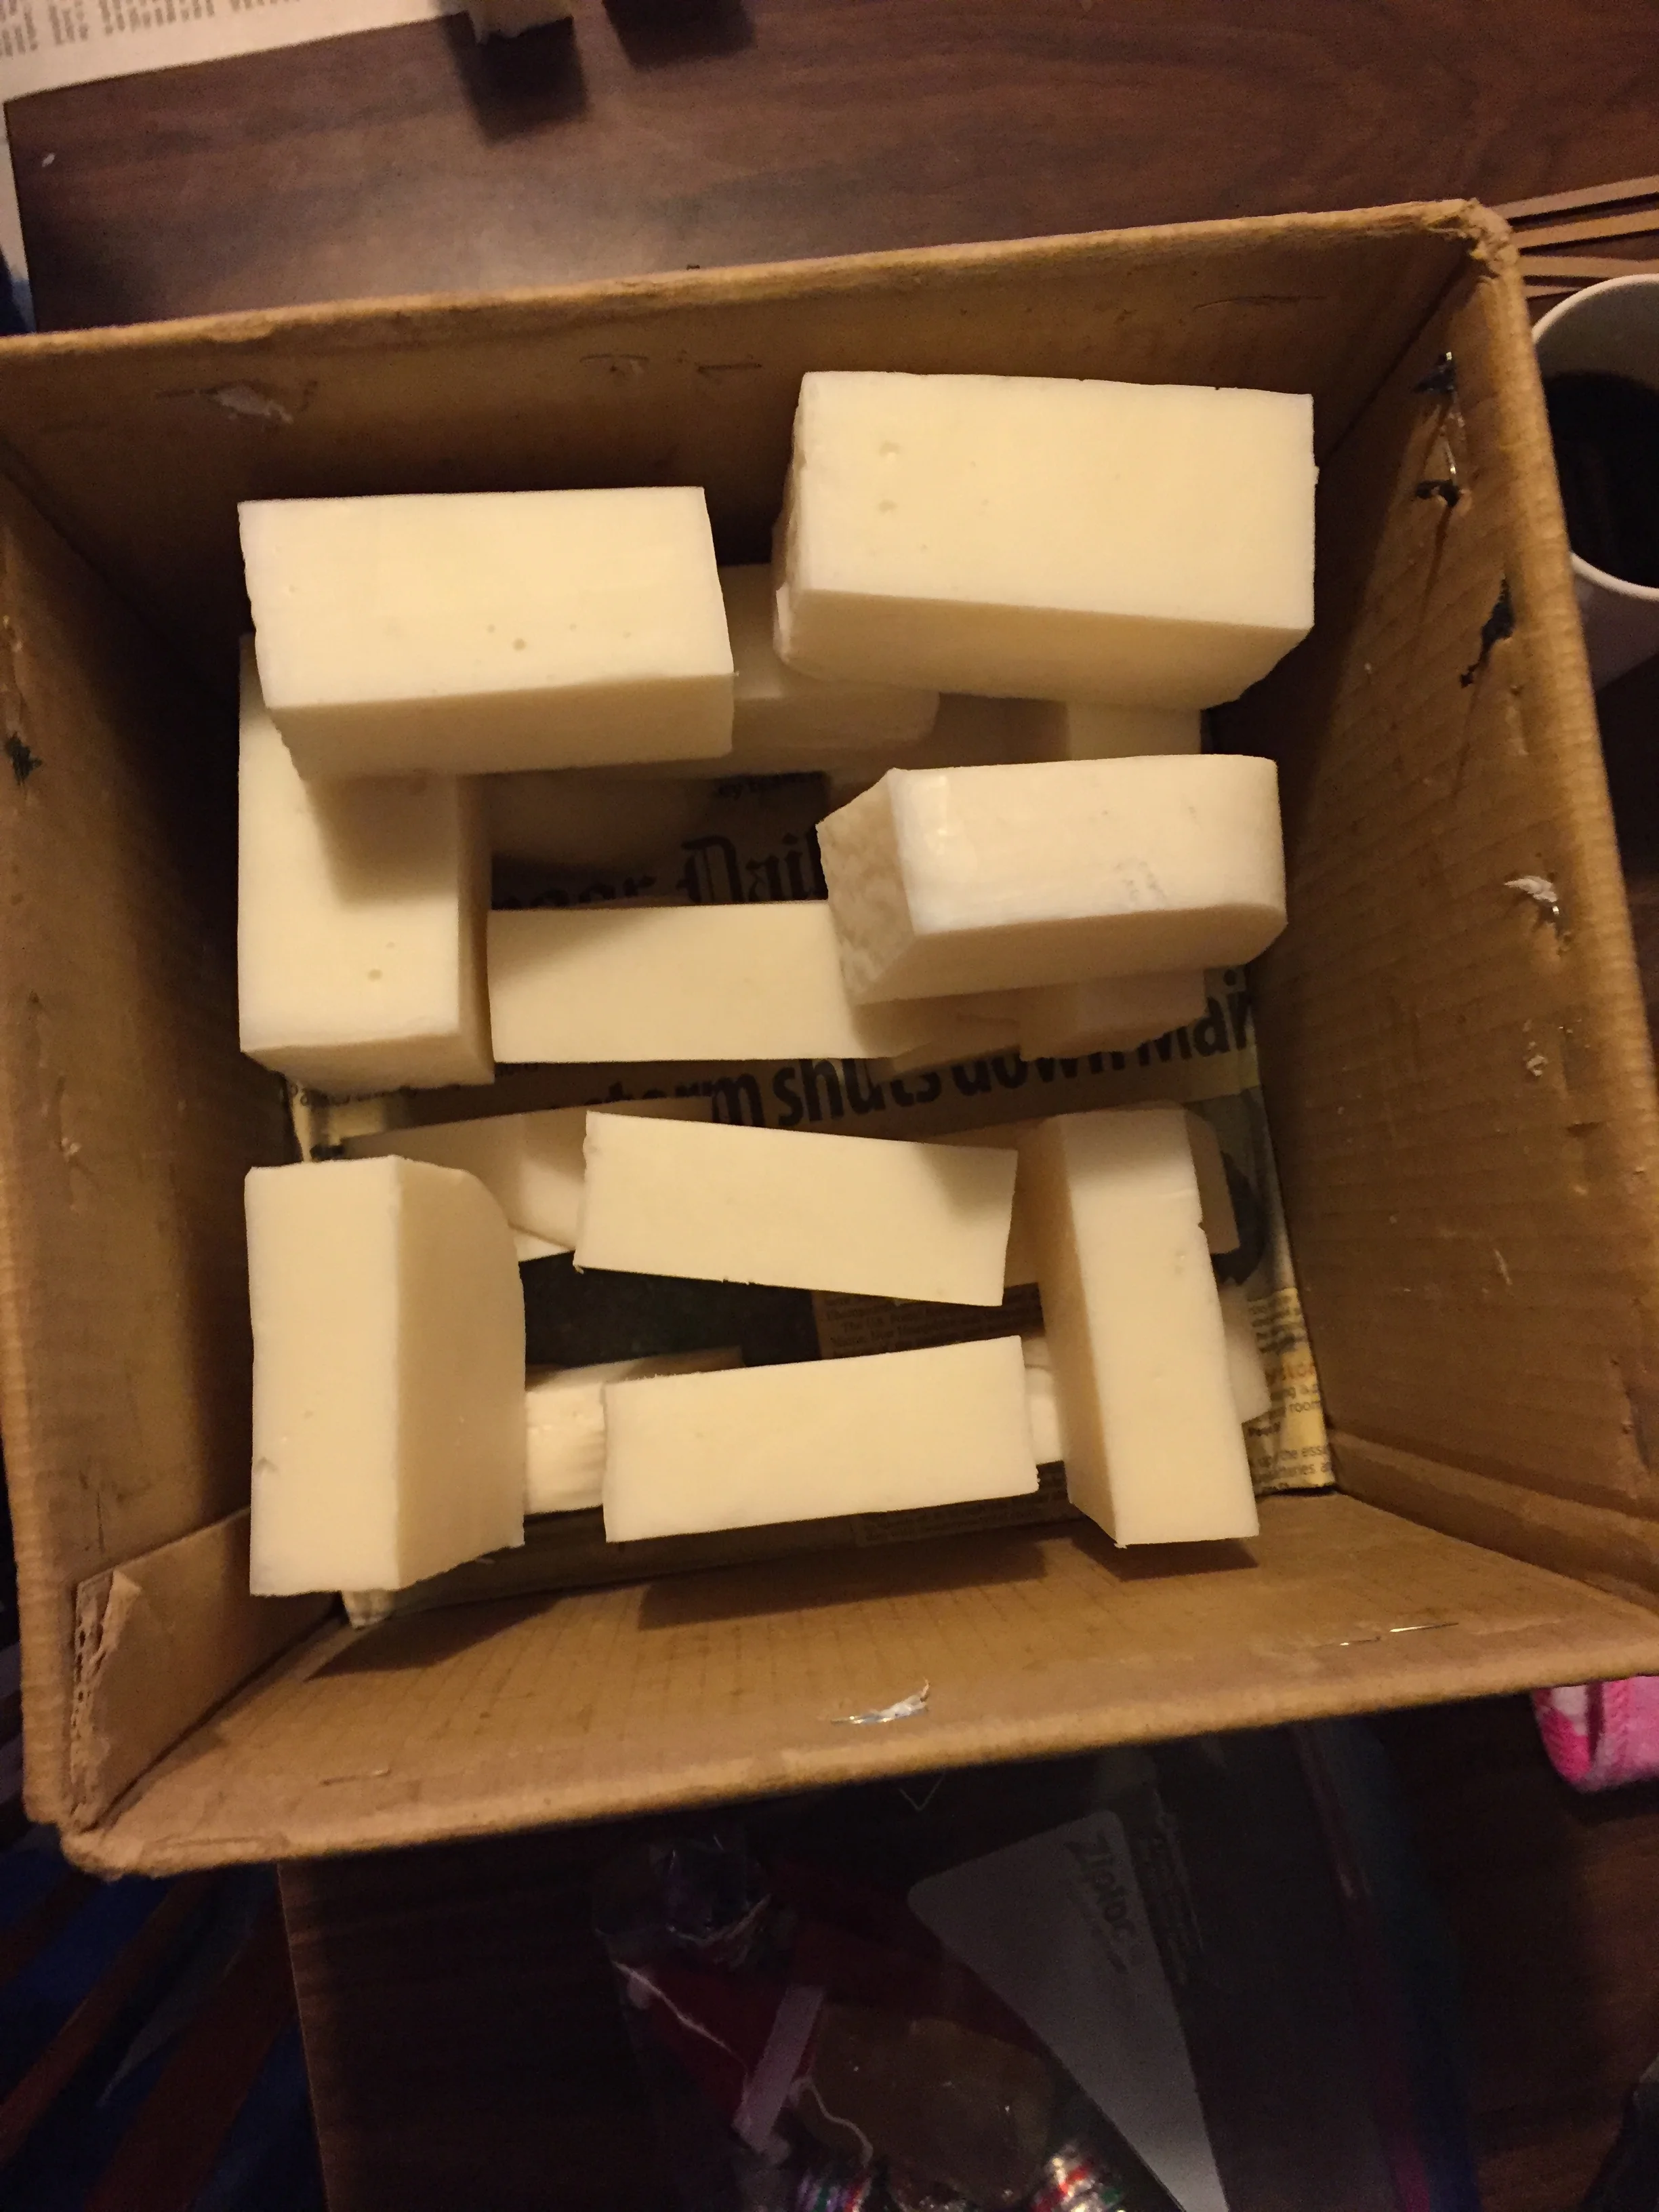
Once sliced, Michael stacks them back into the cardboard form box, leaving space between bars.
The soap cures over 2 weeks and then is ready to use. Homemade soap has more natural glycerine, which is removed in the commercial process. Glycerine is good for the skin, so not only do I get soap that doesn’t attack my lungs and skin, it treats them extra nicely!