Construction journal: the ups and downs of drywall
January seems to be our favorite time to drywall. Two years ago we were finishing the new bathroom. This year we are finishing the rest of the new walls in the addition. We have been dragging our feet a bit due to having to solve some thorny problems.
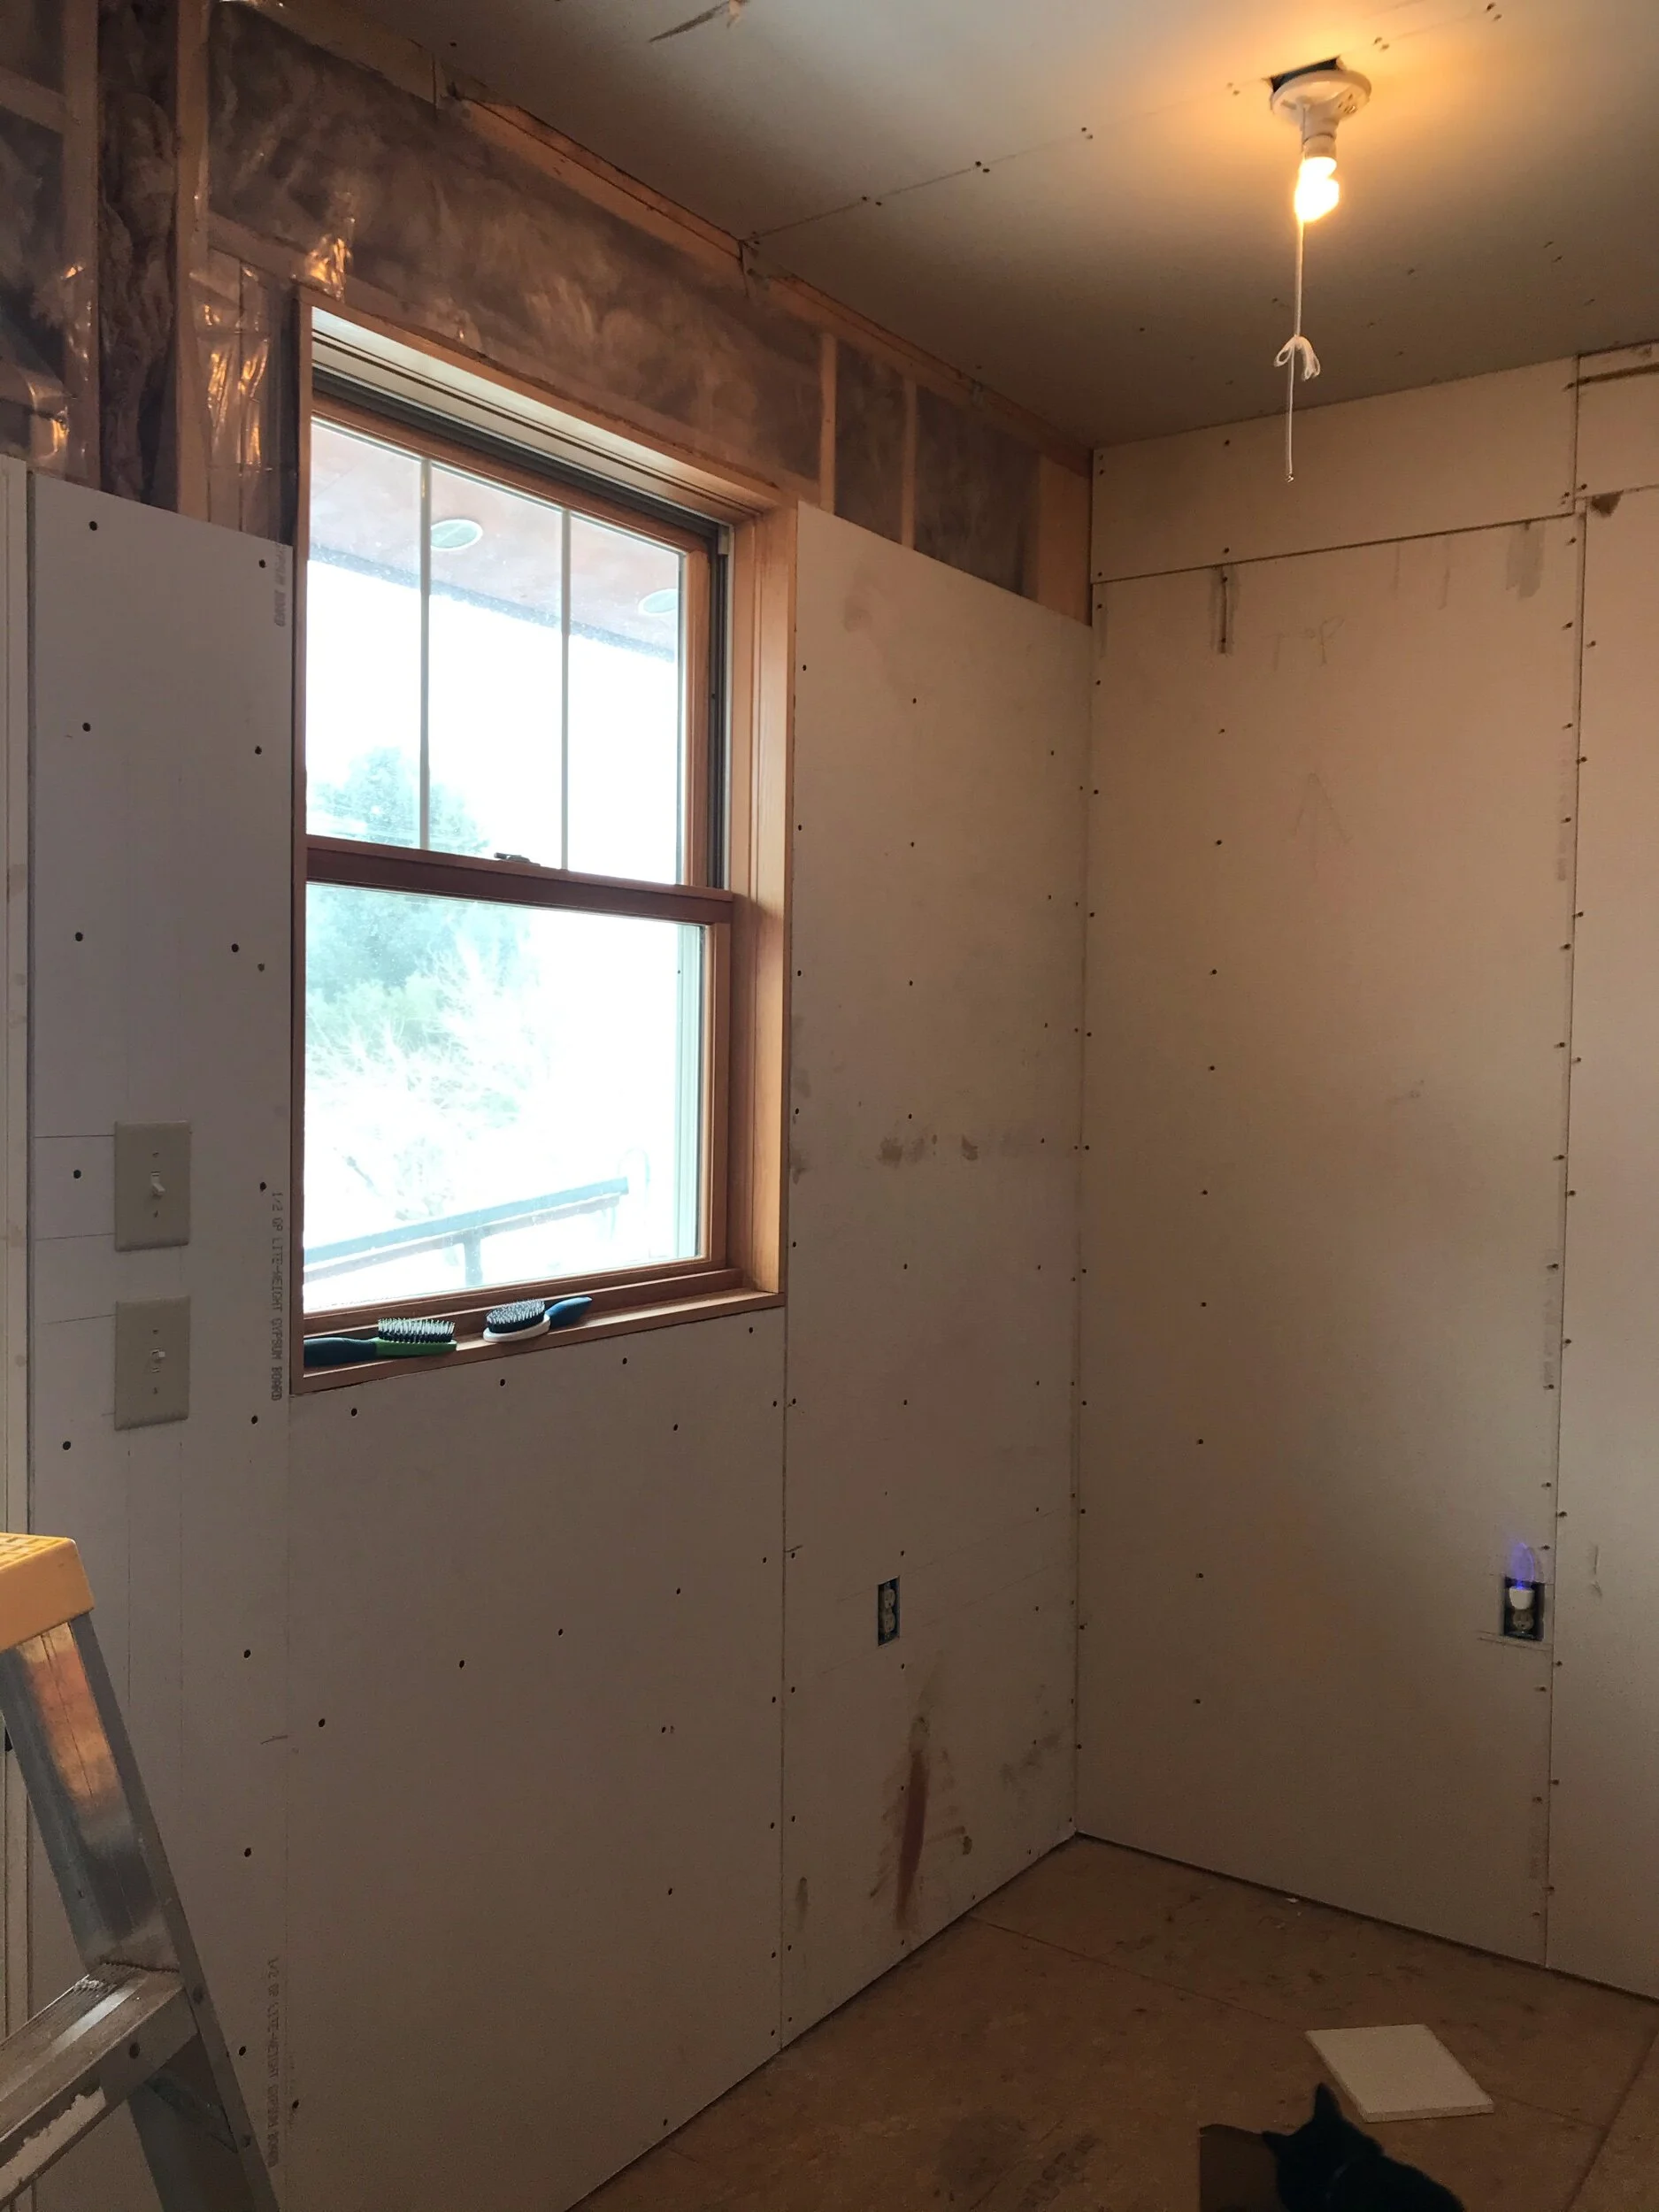
Notice the wall switches and then look above the switches and see the narrow space between the wall studs where those switches are located. The lack of space precluded hammering in new construction boxes. This meant that Michael had to cut the holes for the boxes, pull the switch wires through, wire the switches and install after construction boxes. The tricky part was keeping the multiple wires sorted out.
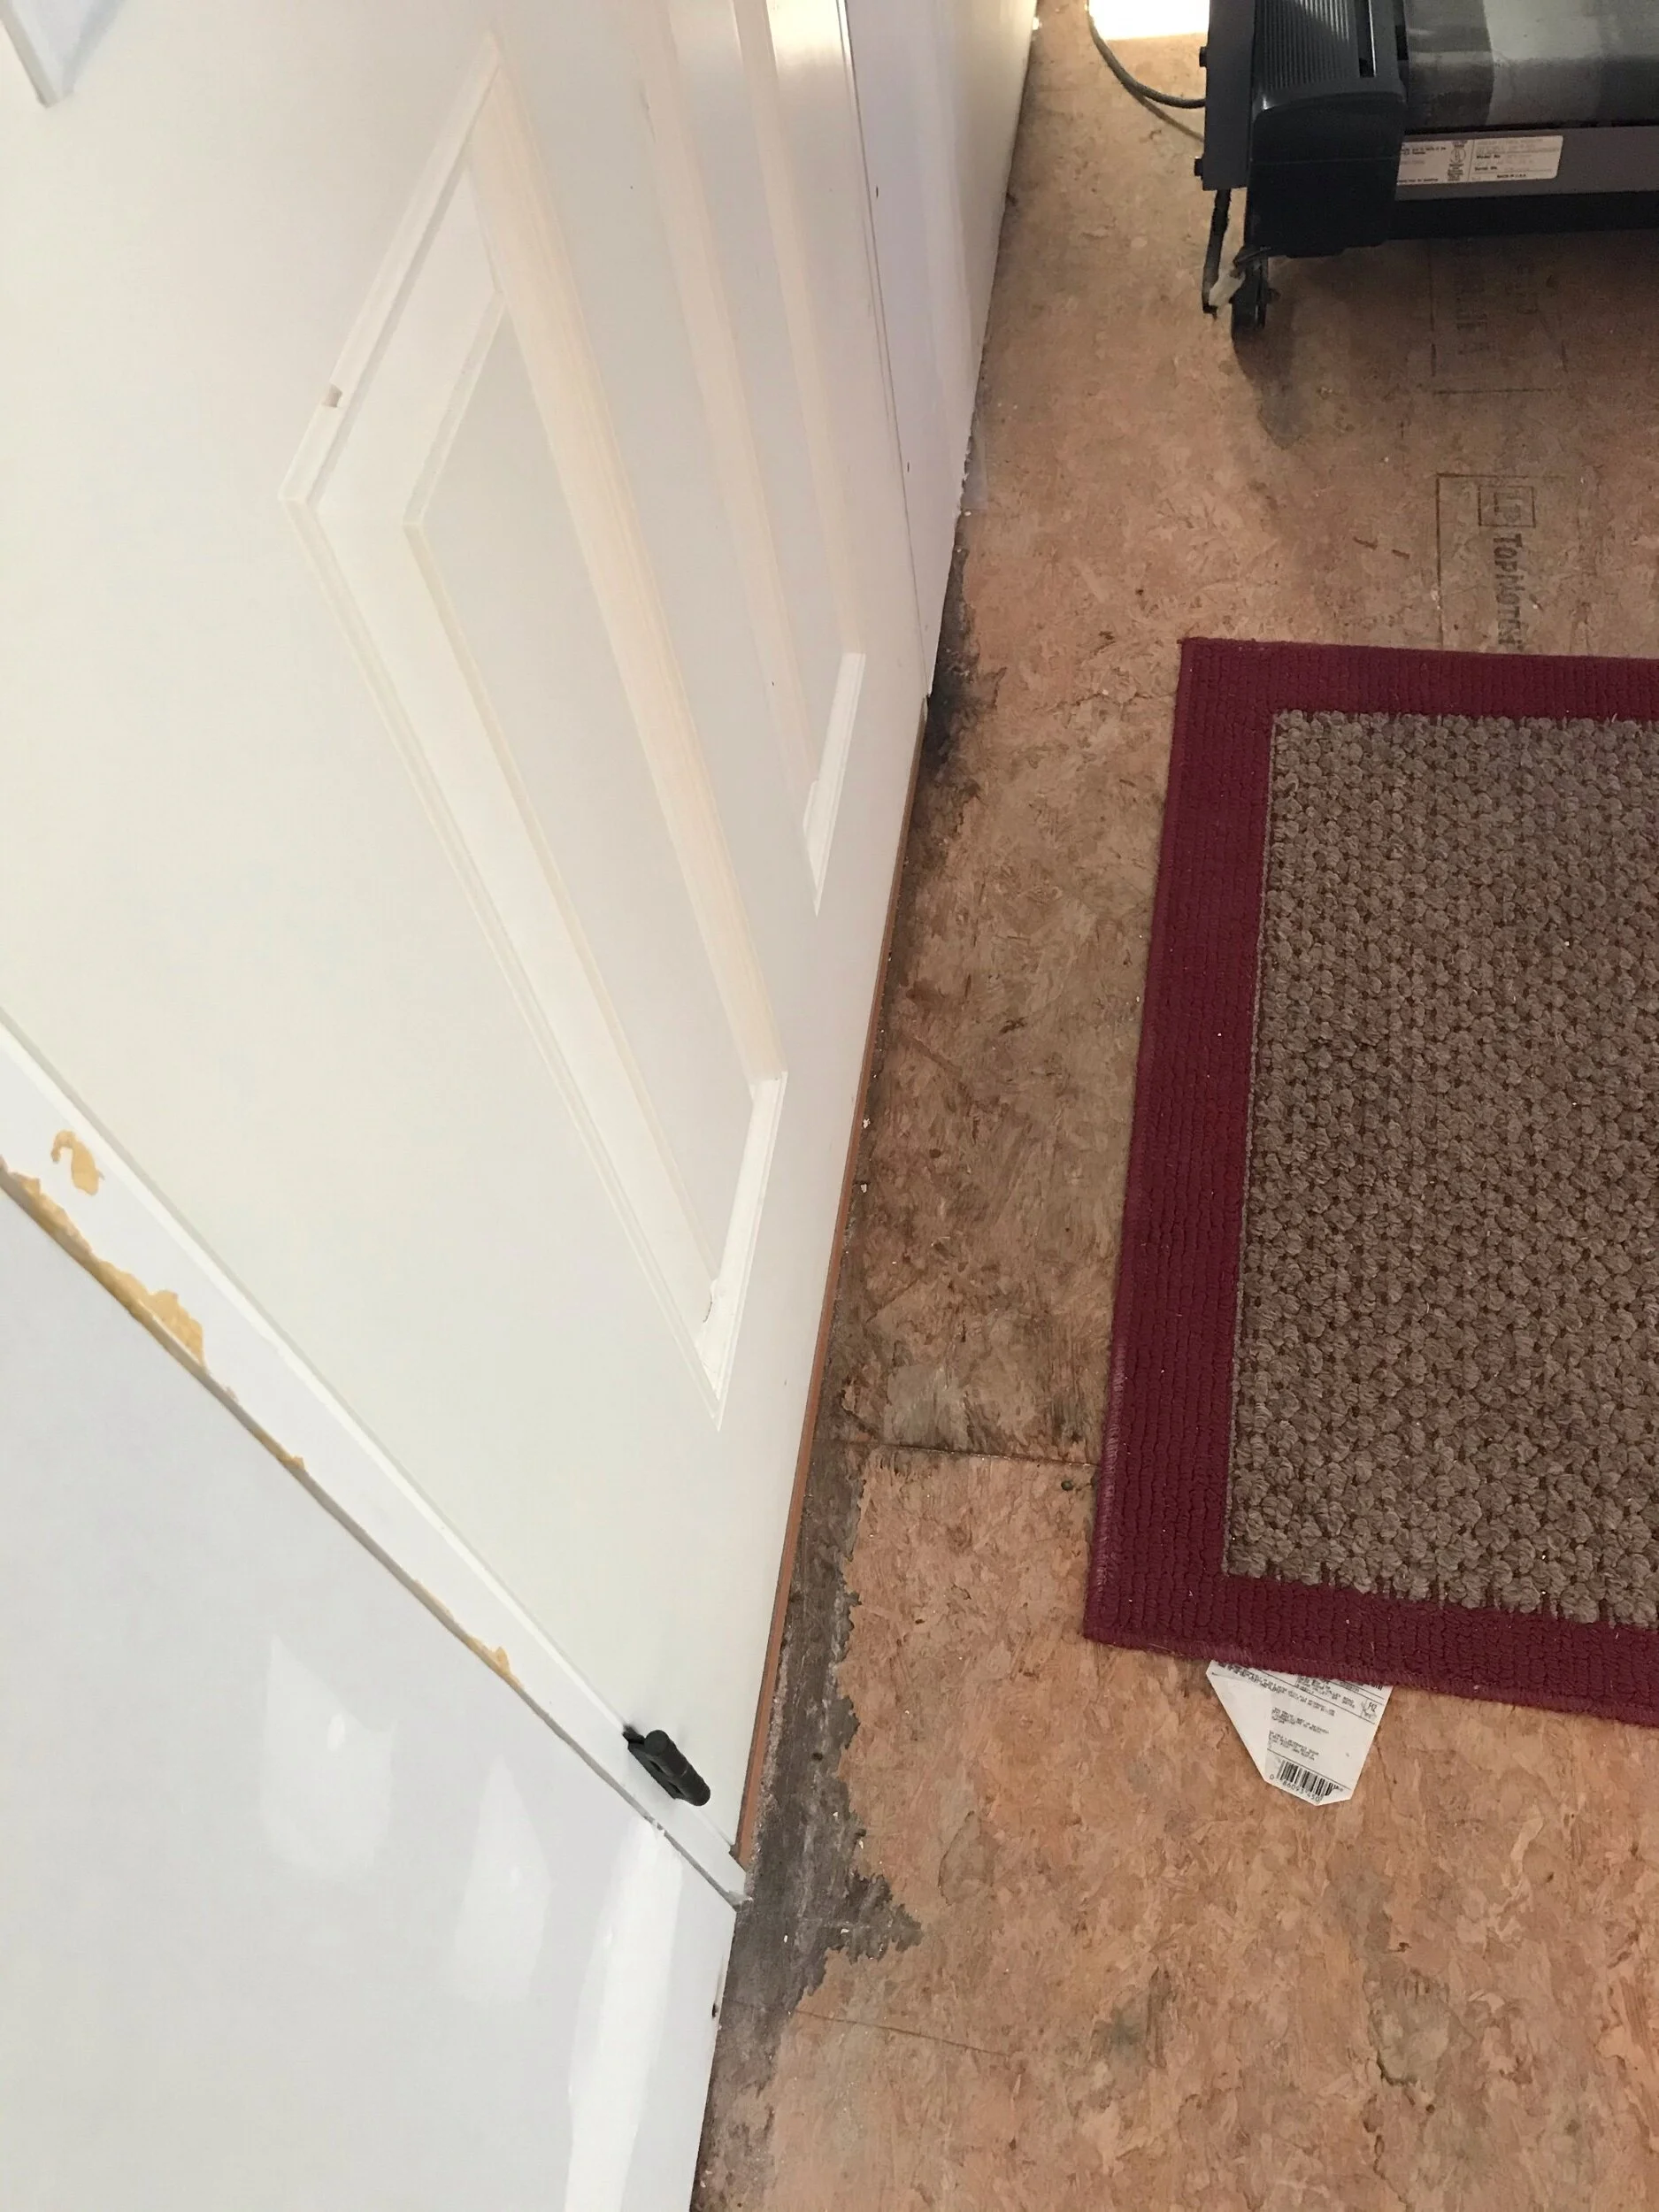
This is the door leading to the deck. The discoloration is due to water seepage. The door leaked until we put the flashing below the threshold, protecting the sill plate from backsplash. Drywall needs to stay dry! So does flooring. No new leaks…yay!
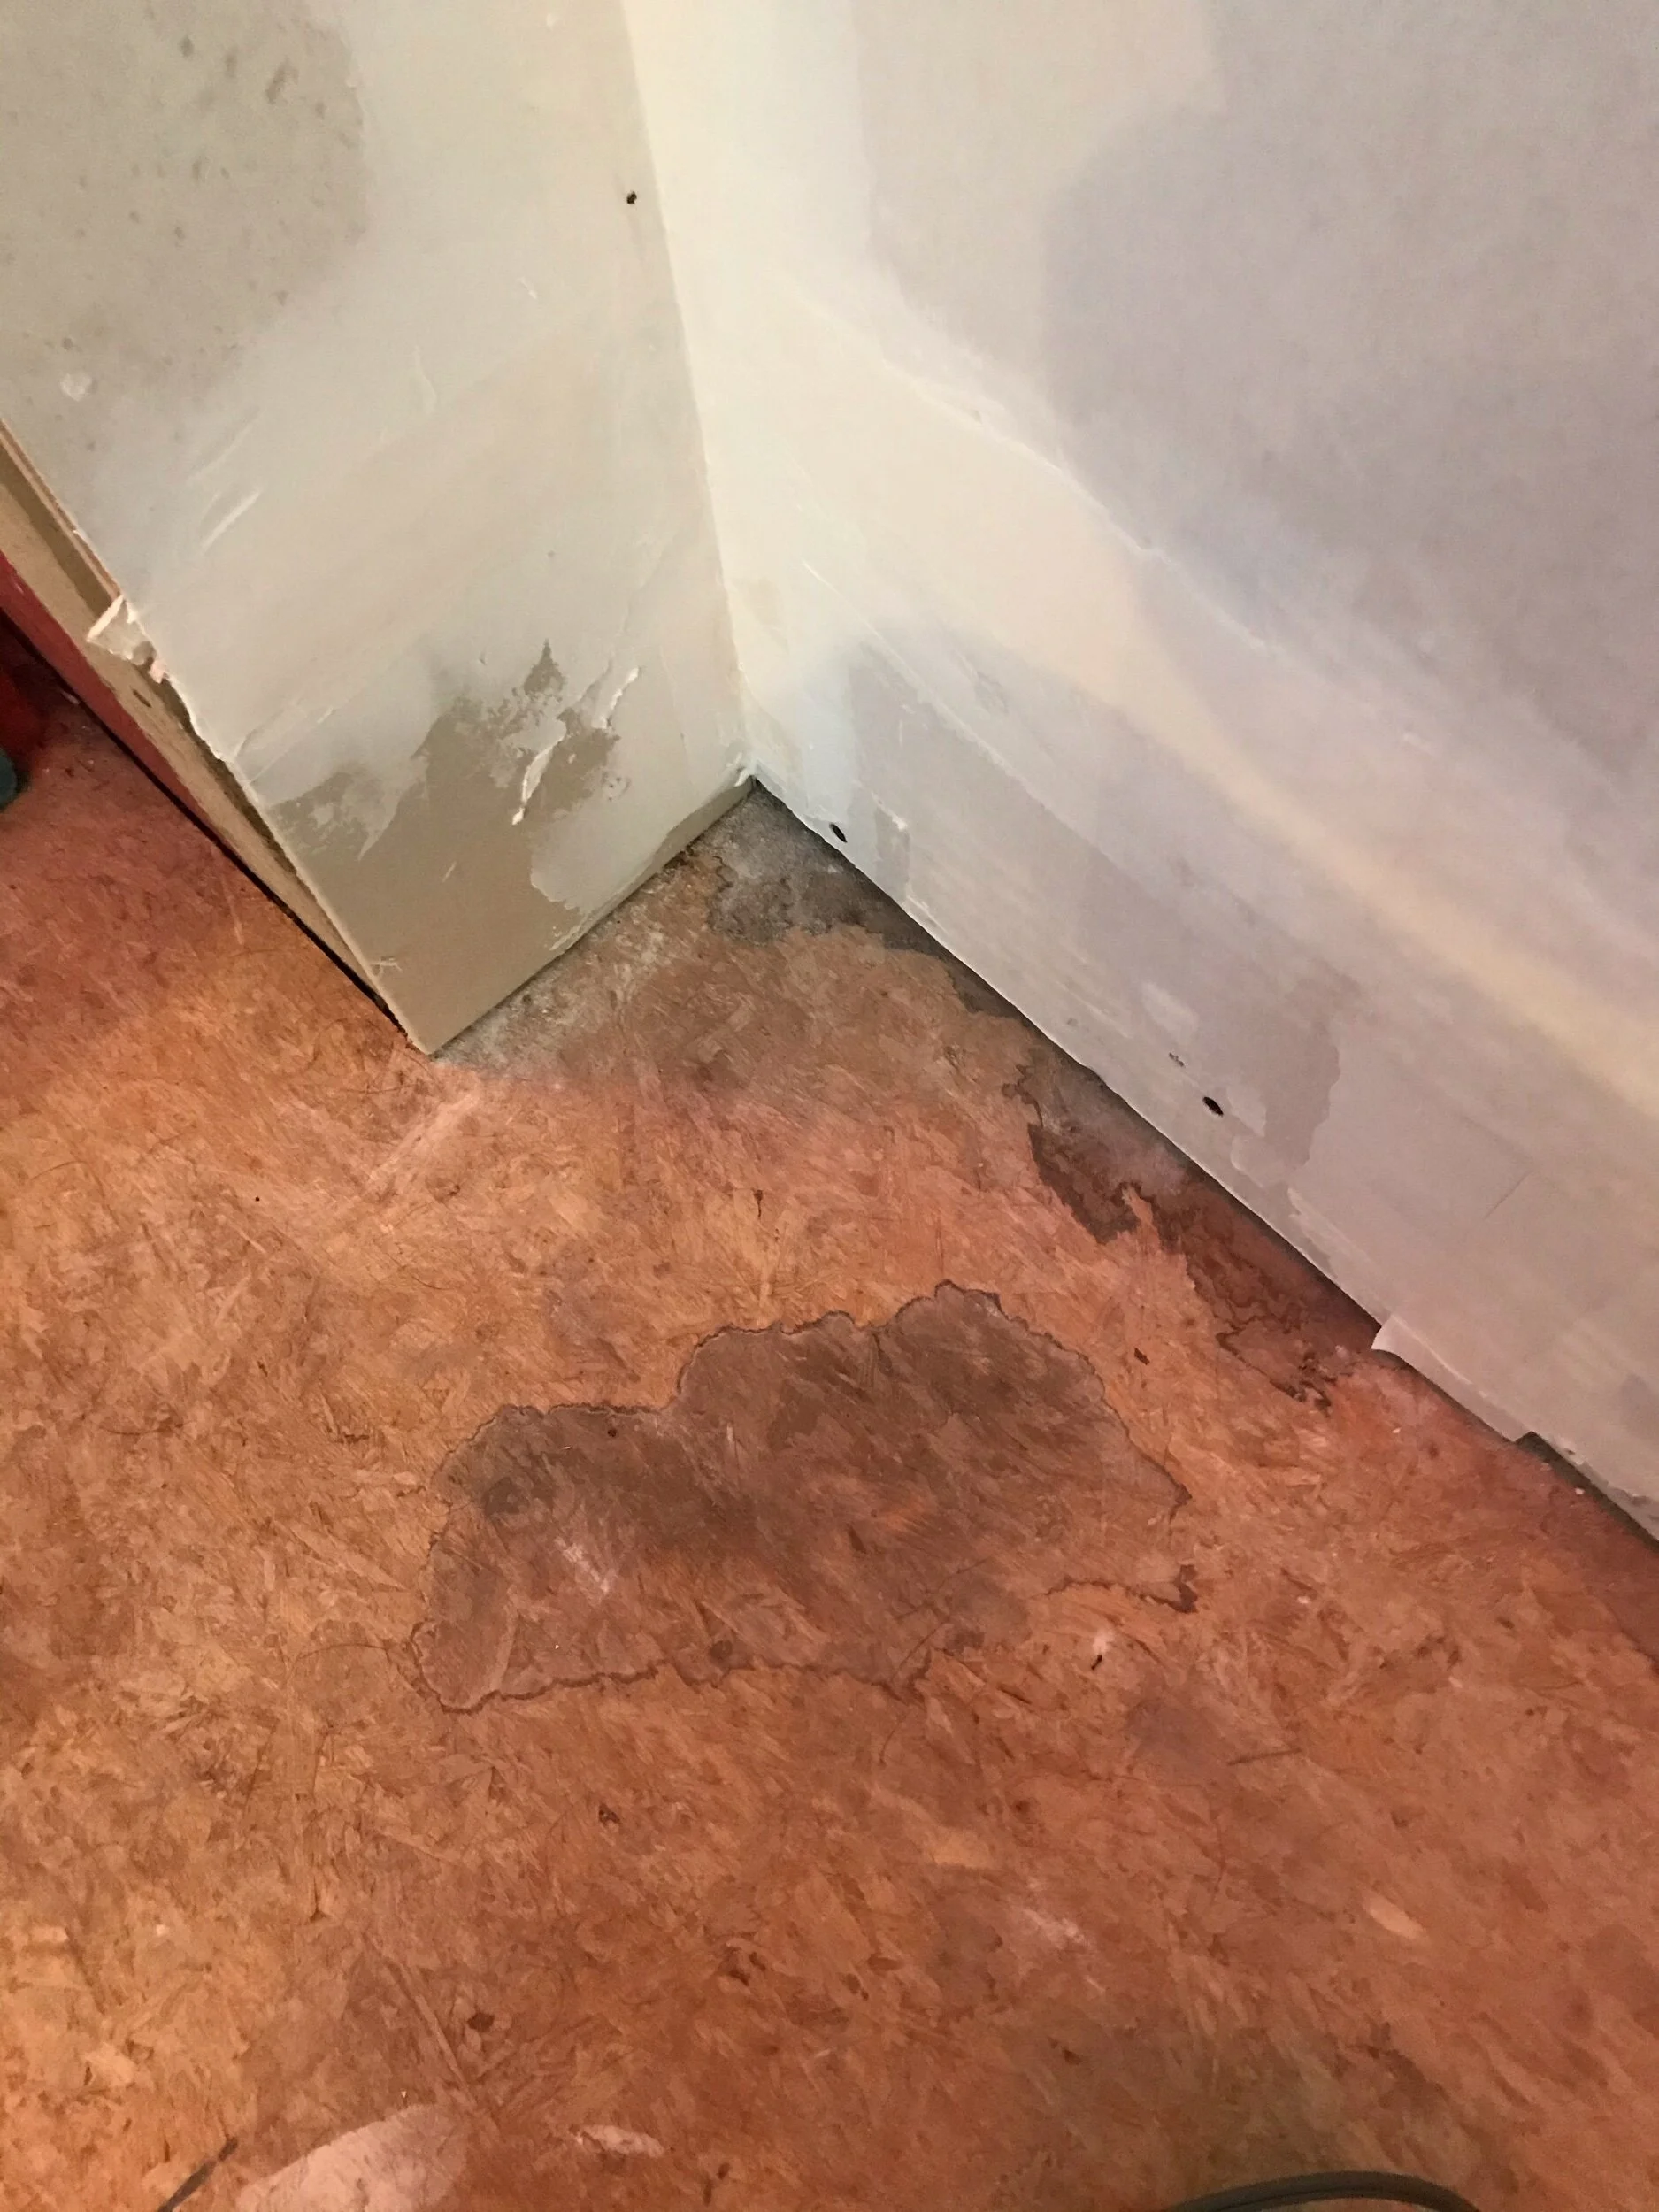
This is more recent water seepage. Michael noticed the wet floor after the corner had been done. Yikes! Where was the water coming from?!?
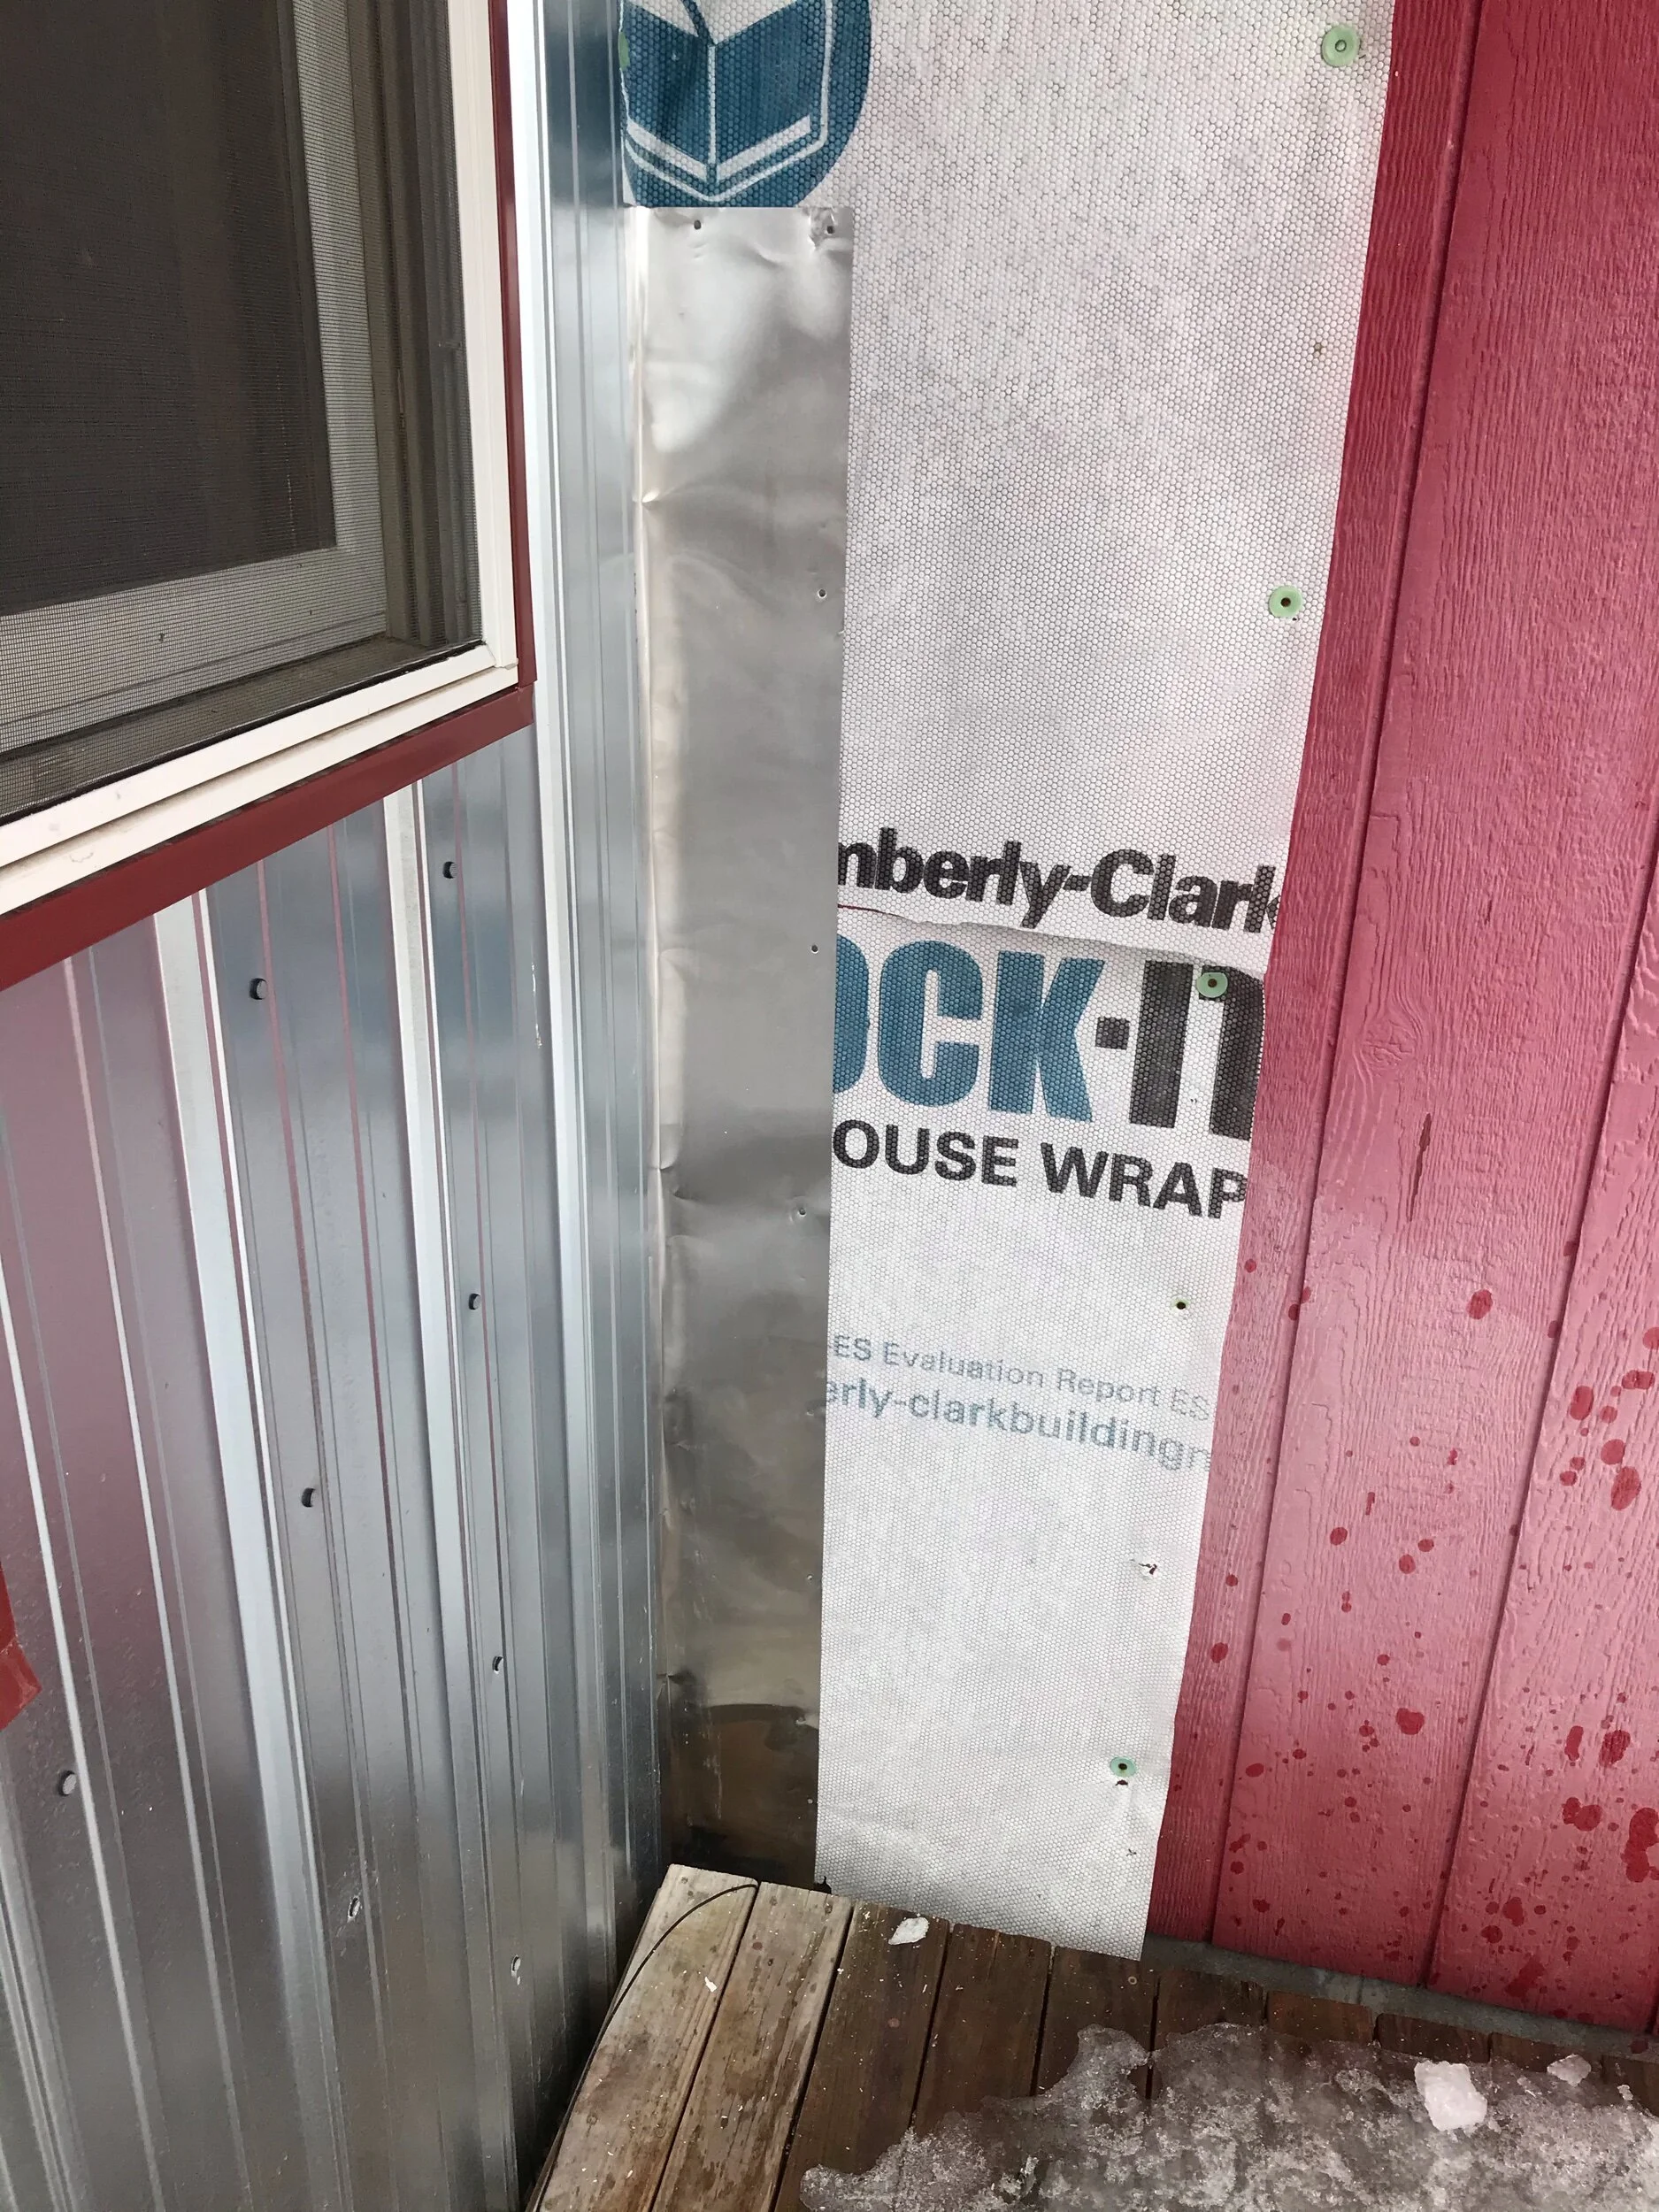
We put rubber stick on flashing under this corner when we installed the siding, as there was a slight gap between the new wall and the old house. The flexible flashing extended only down to the plate as it wouldn’t stick to the cement. Two days ago we slipped a piece of aluminum flashing under the metal siding and extended it well below the plate. You can see that the valley on the roof drains and splashes in this corner. So far it appears the additional flashing has cured the problem.

The inside corner where the new construction meets the old house has presented other challenges. The corner molding came off when the roof rafters went up. This left a quarter inch differential between the remaining siding and the corner that needed patching. Luckily we had some quarter inch plywood scraps from when I made Irene’s cabinet drawers. The wall wasn’t plumb either. We patched and made the wall solid and plumb! We will address the old construction walls after we have cut new doorways and have taken out old doorways and windows.
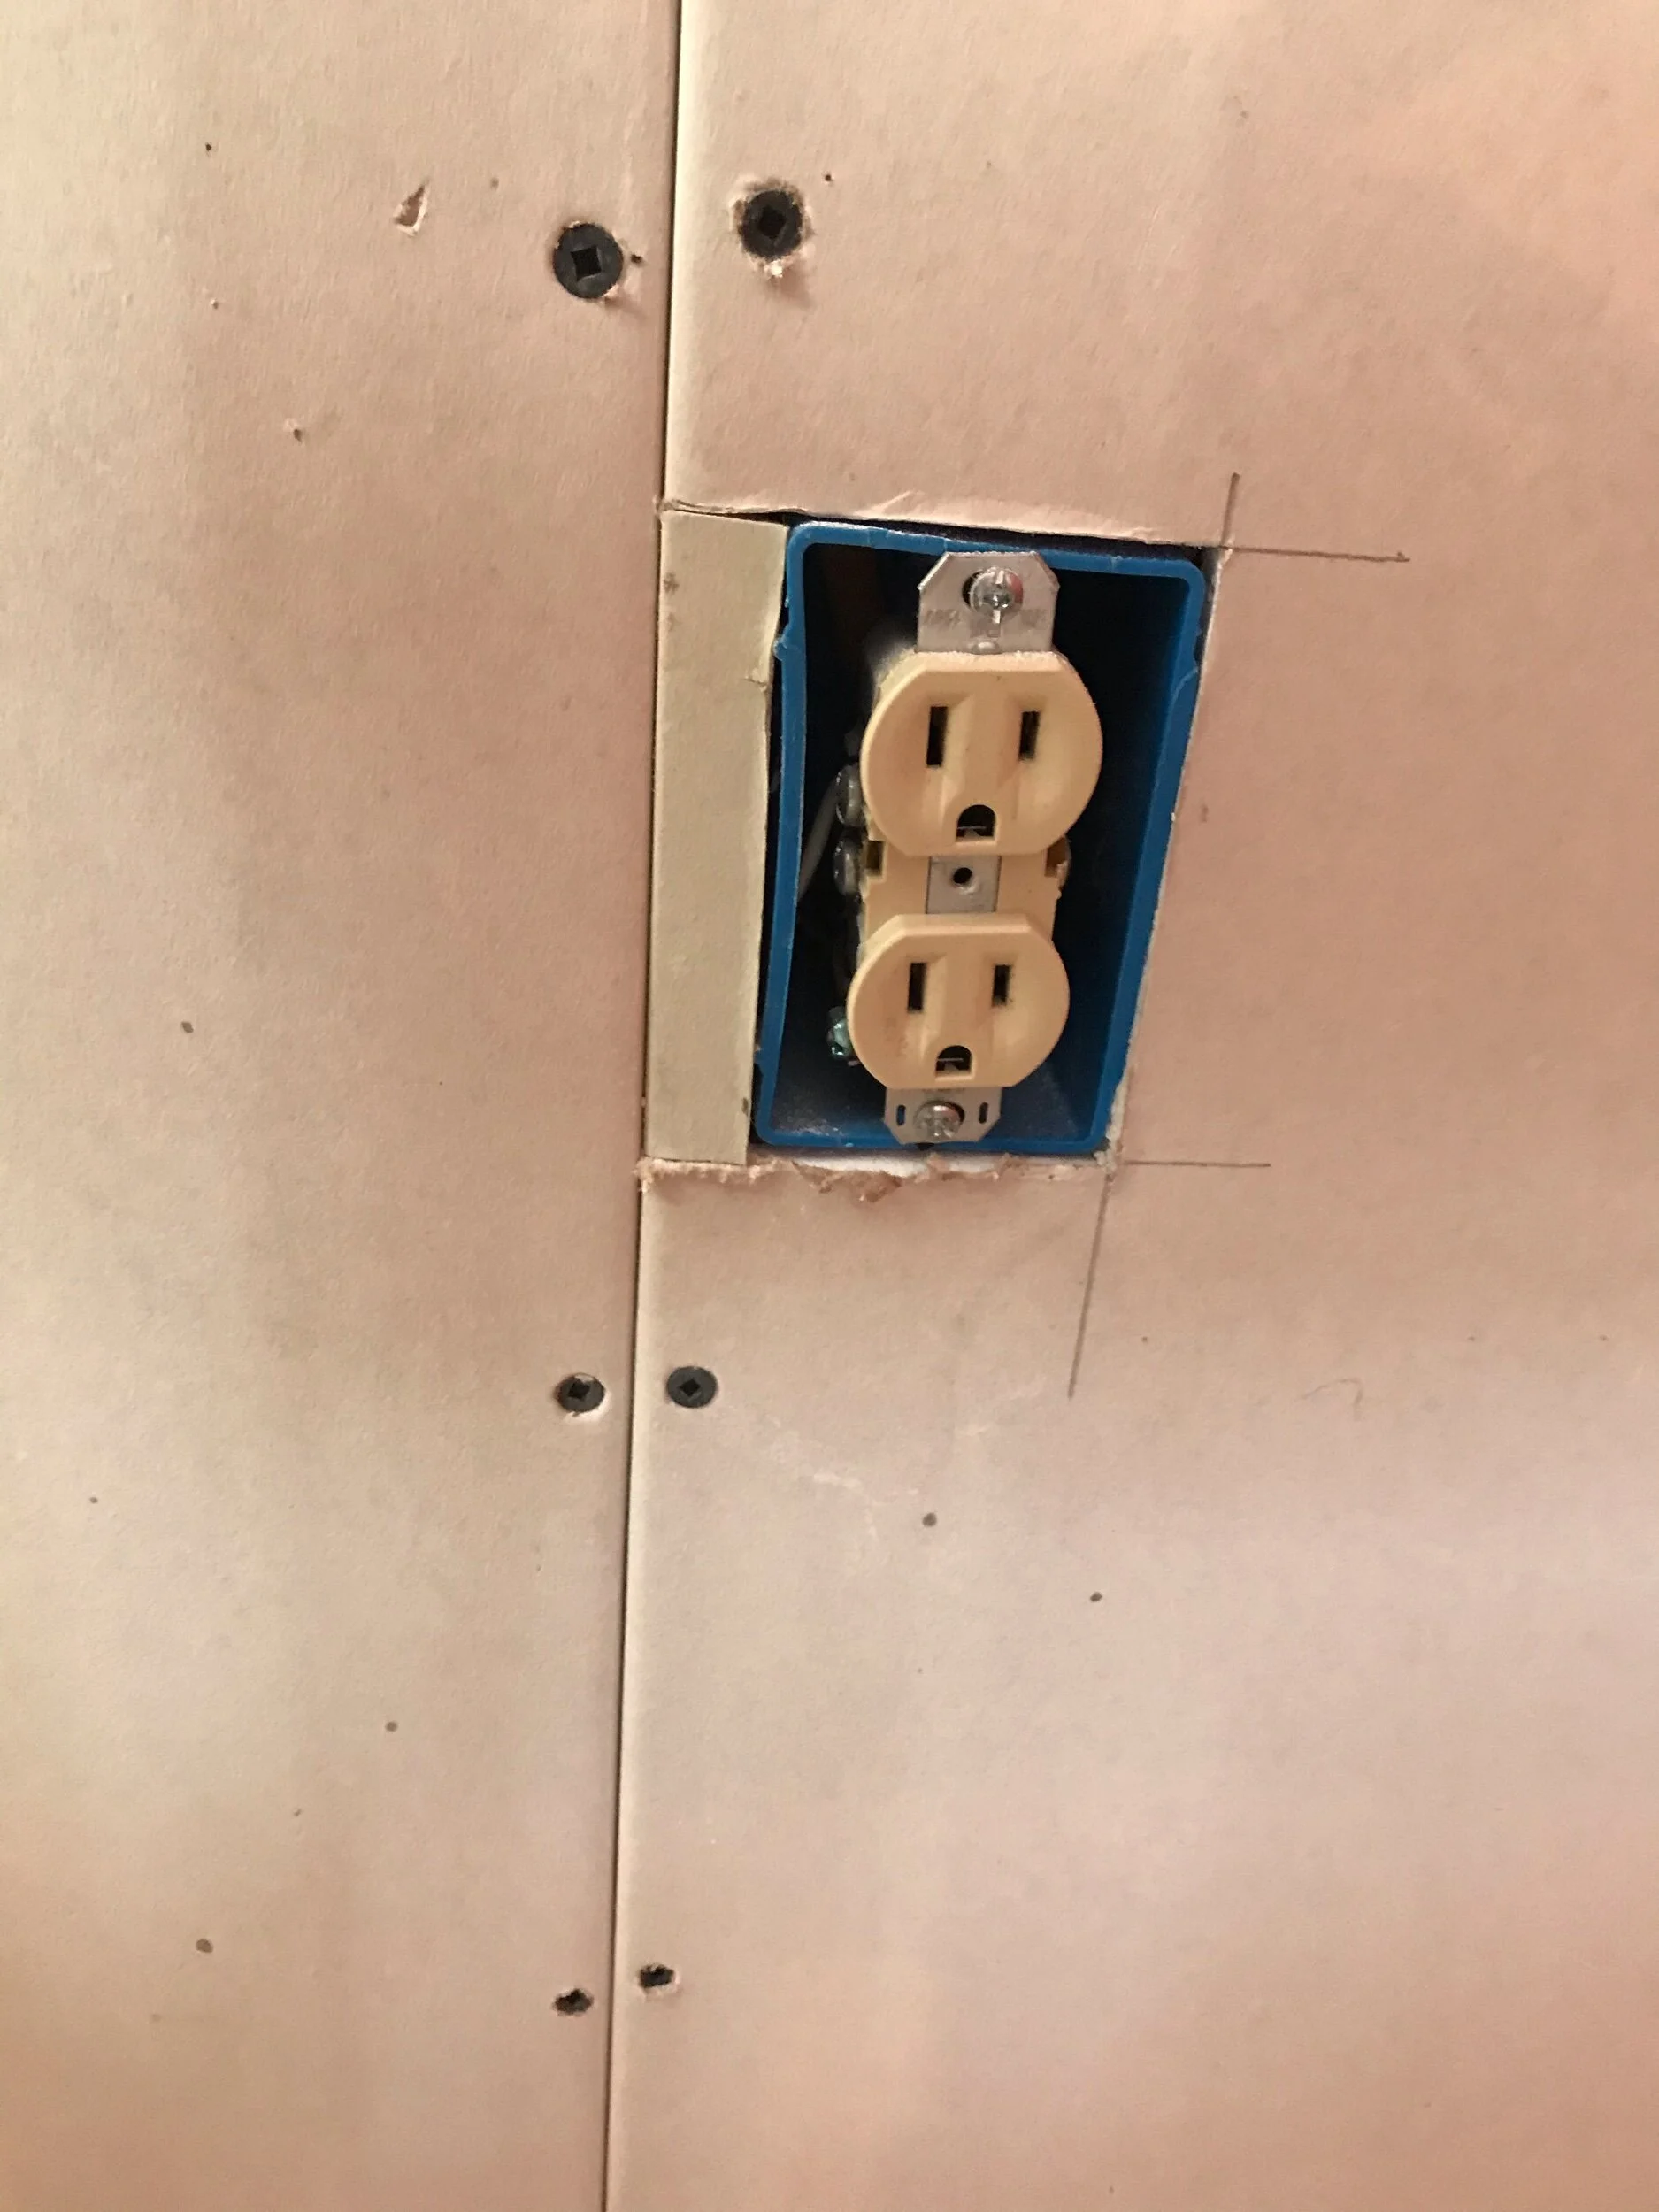
I spent today patching around outlets. The outlet covers won’t hide the holes. Michael leaves these piddly projects for me.
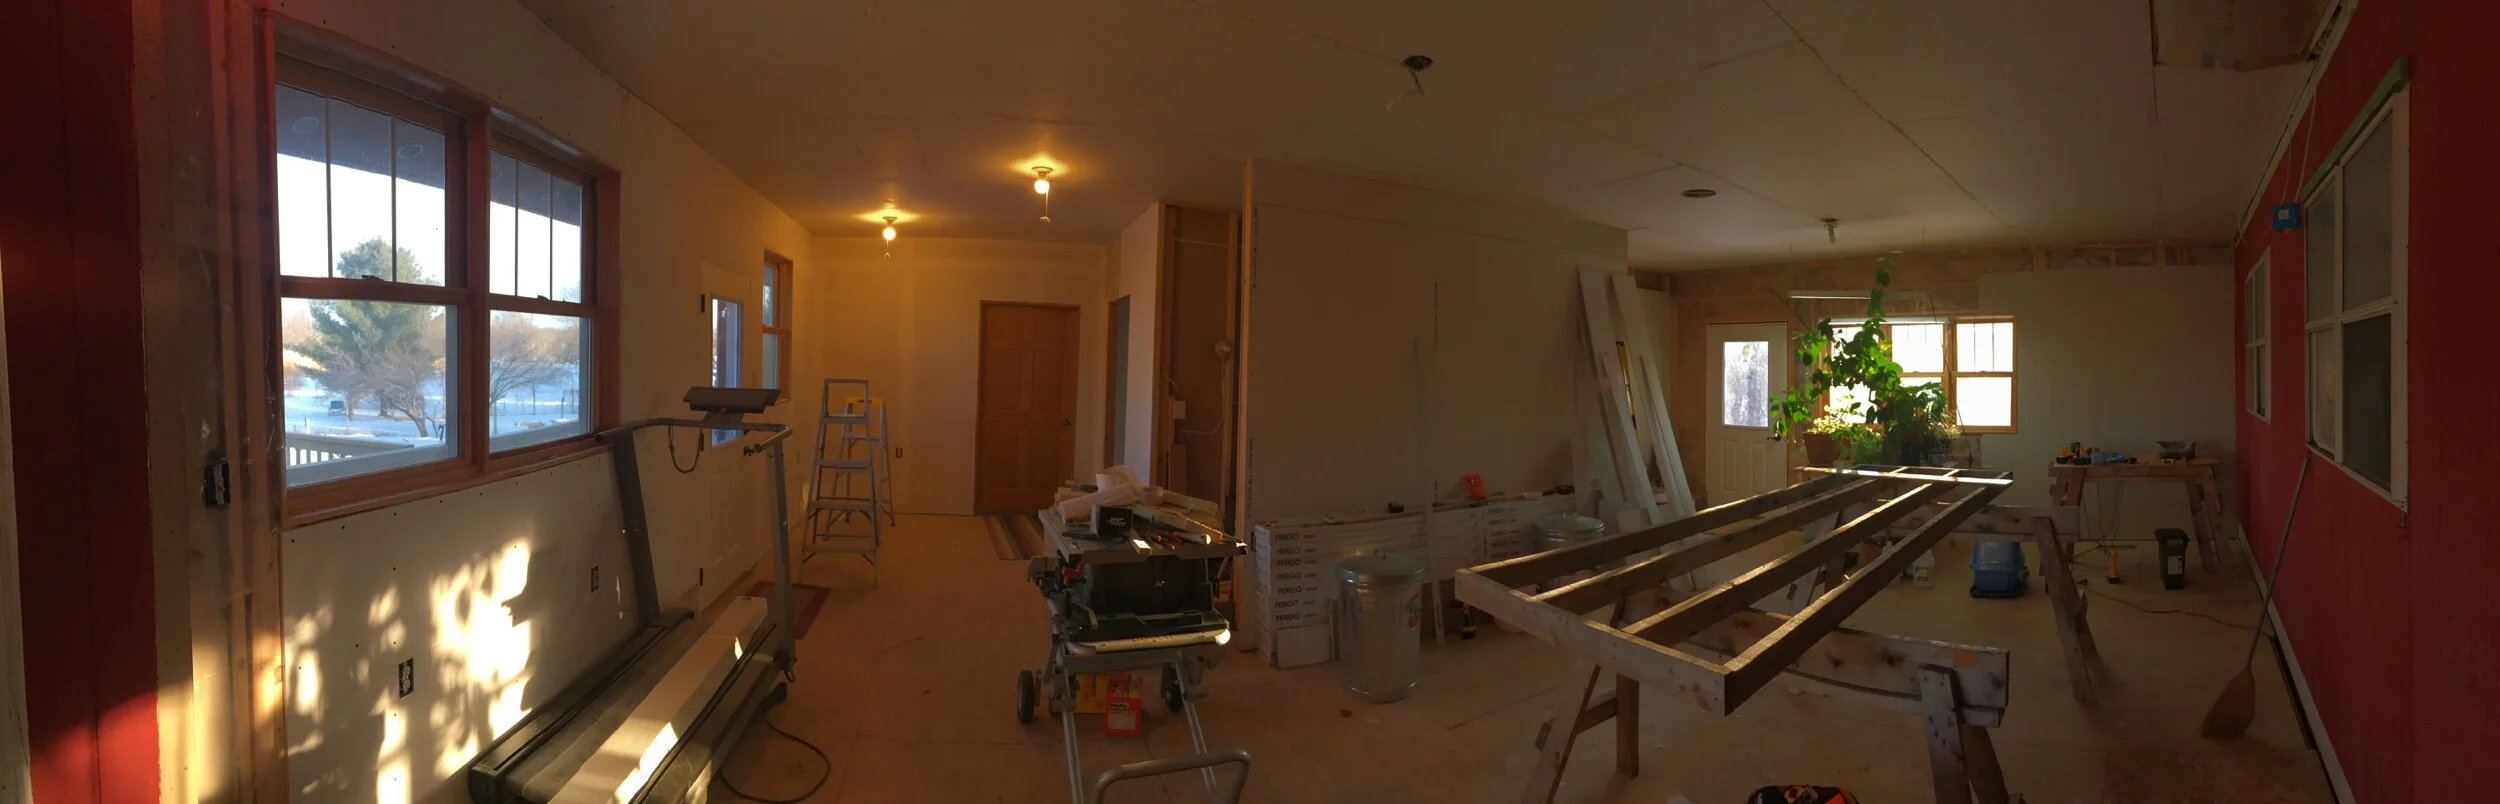
This panoramic is taken from the doorway leading to the old house. I have to shuffle large items around in this space to tape the ceiling.
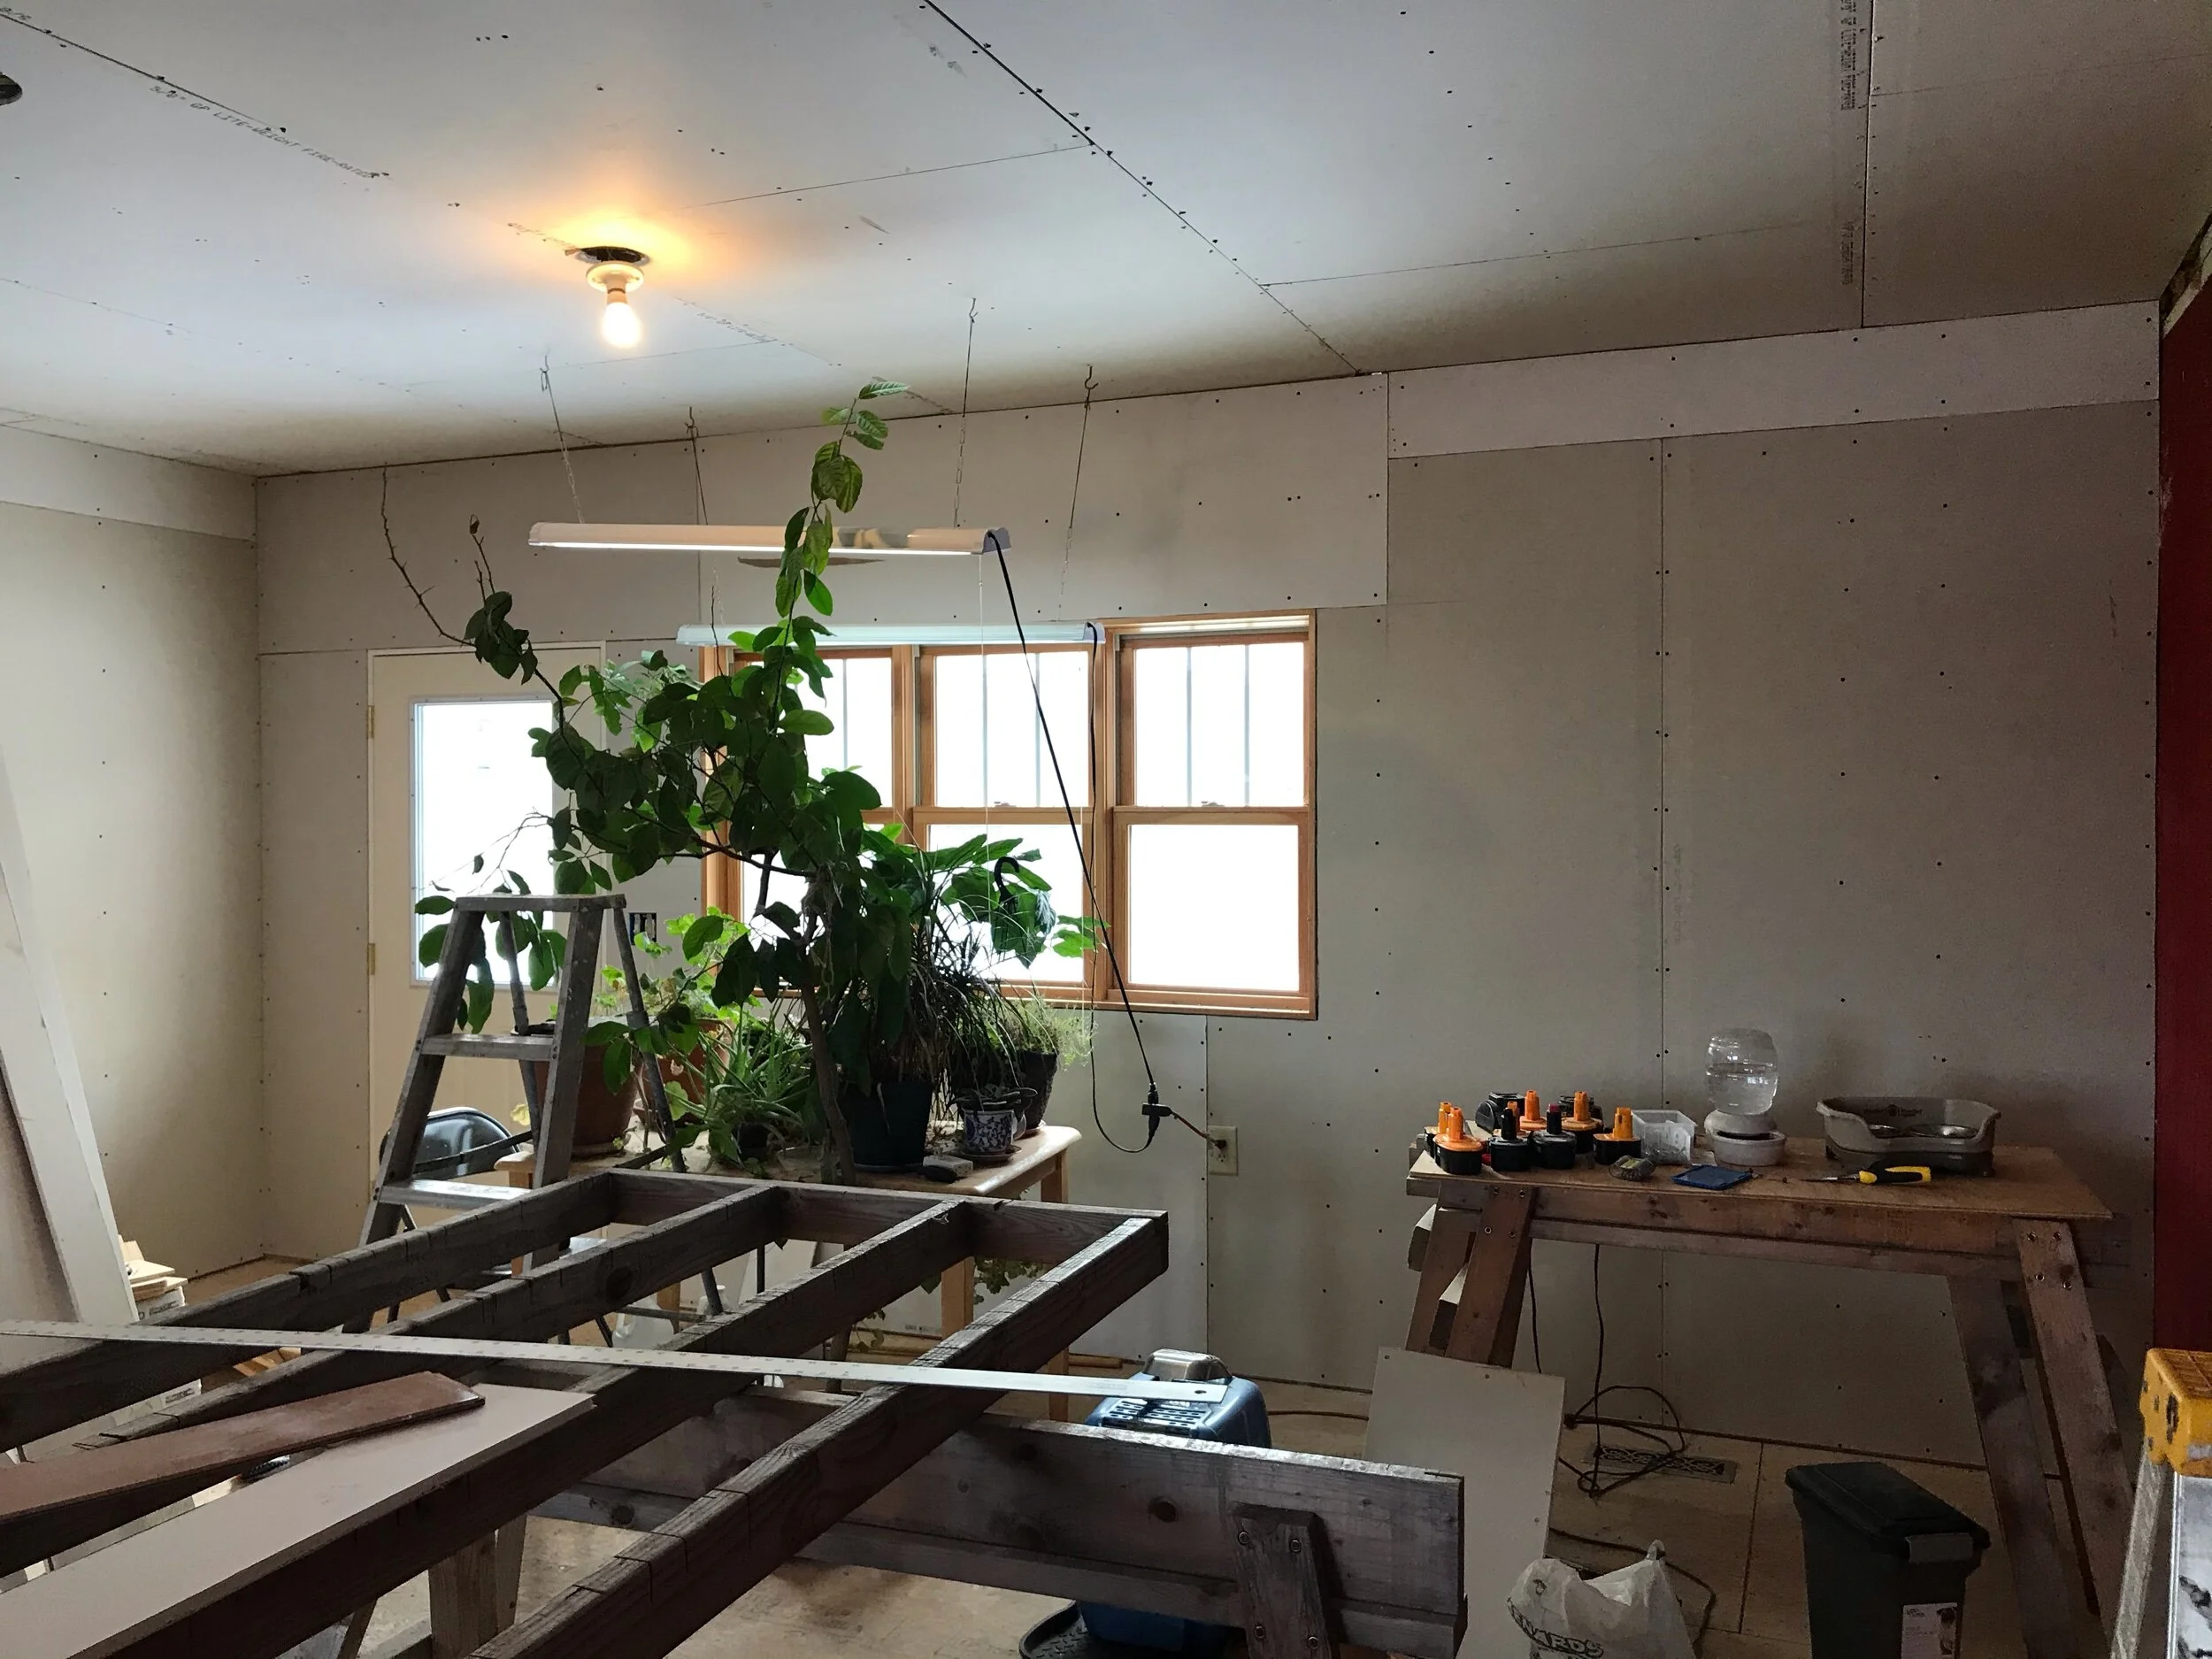
Michael completed the west wall today. You can see that he made me at least one challenge by putting up the drywall vertically, and then filled in at the top horizontally, making for a really long tapered joint morphing into a butt joint. Professional drywall artists put the tapered joints horizontally and stagger the butt joints so that they are less noticeable. I’ll keep you posted on my efforts to smooth over these rough patches.
I am a very slow taper. I get through about one hod of mud before I’m tired. Part of my slowness comes from having to inspect all the screws to ensure they are below surface level. This means moving and climbing my ladder along an entire seam before mudding it, which also explains why I get so tired for so little visible progress. It will get done, and it will look better than the part of the house created by “professionals.” It just takes time, patience, and a lot of work!