Construction journal: outside of cabin window replacement finished
When Clyde and Irene were still snowbirds, Michael and I had children old enough to stay at home by themselves overnight. At that point we created a space in the garage that could be heated with a wood stove so we could hunt the land in November. Remember, the house was not winter worthy. When we were building this space, we picked up a very nice window from the roadside in a ritzy part of the countryside. Even nice, if used, windows need replacing on occasion. It was time for this one to go.
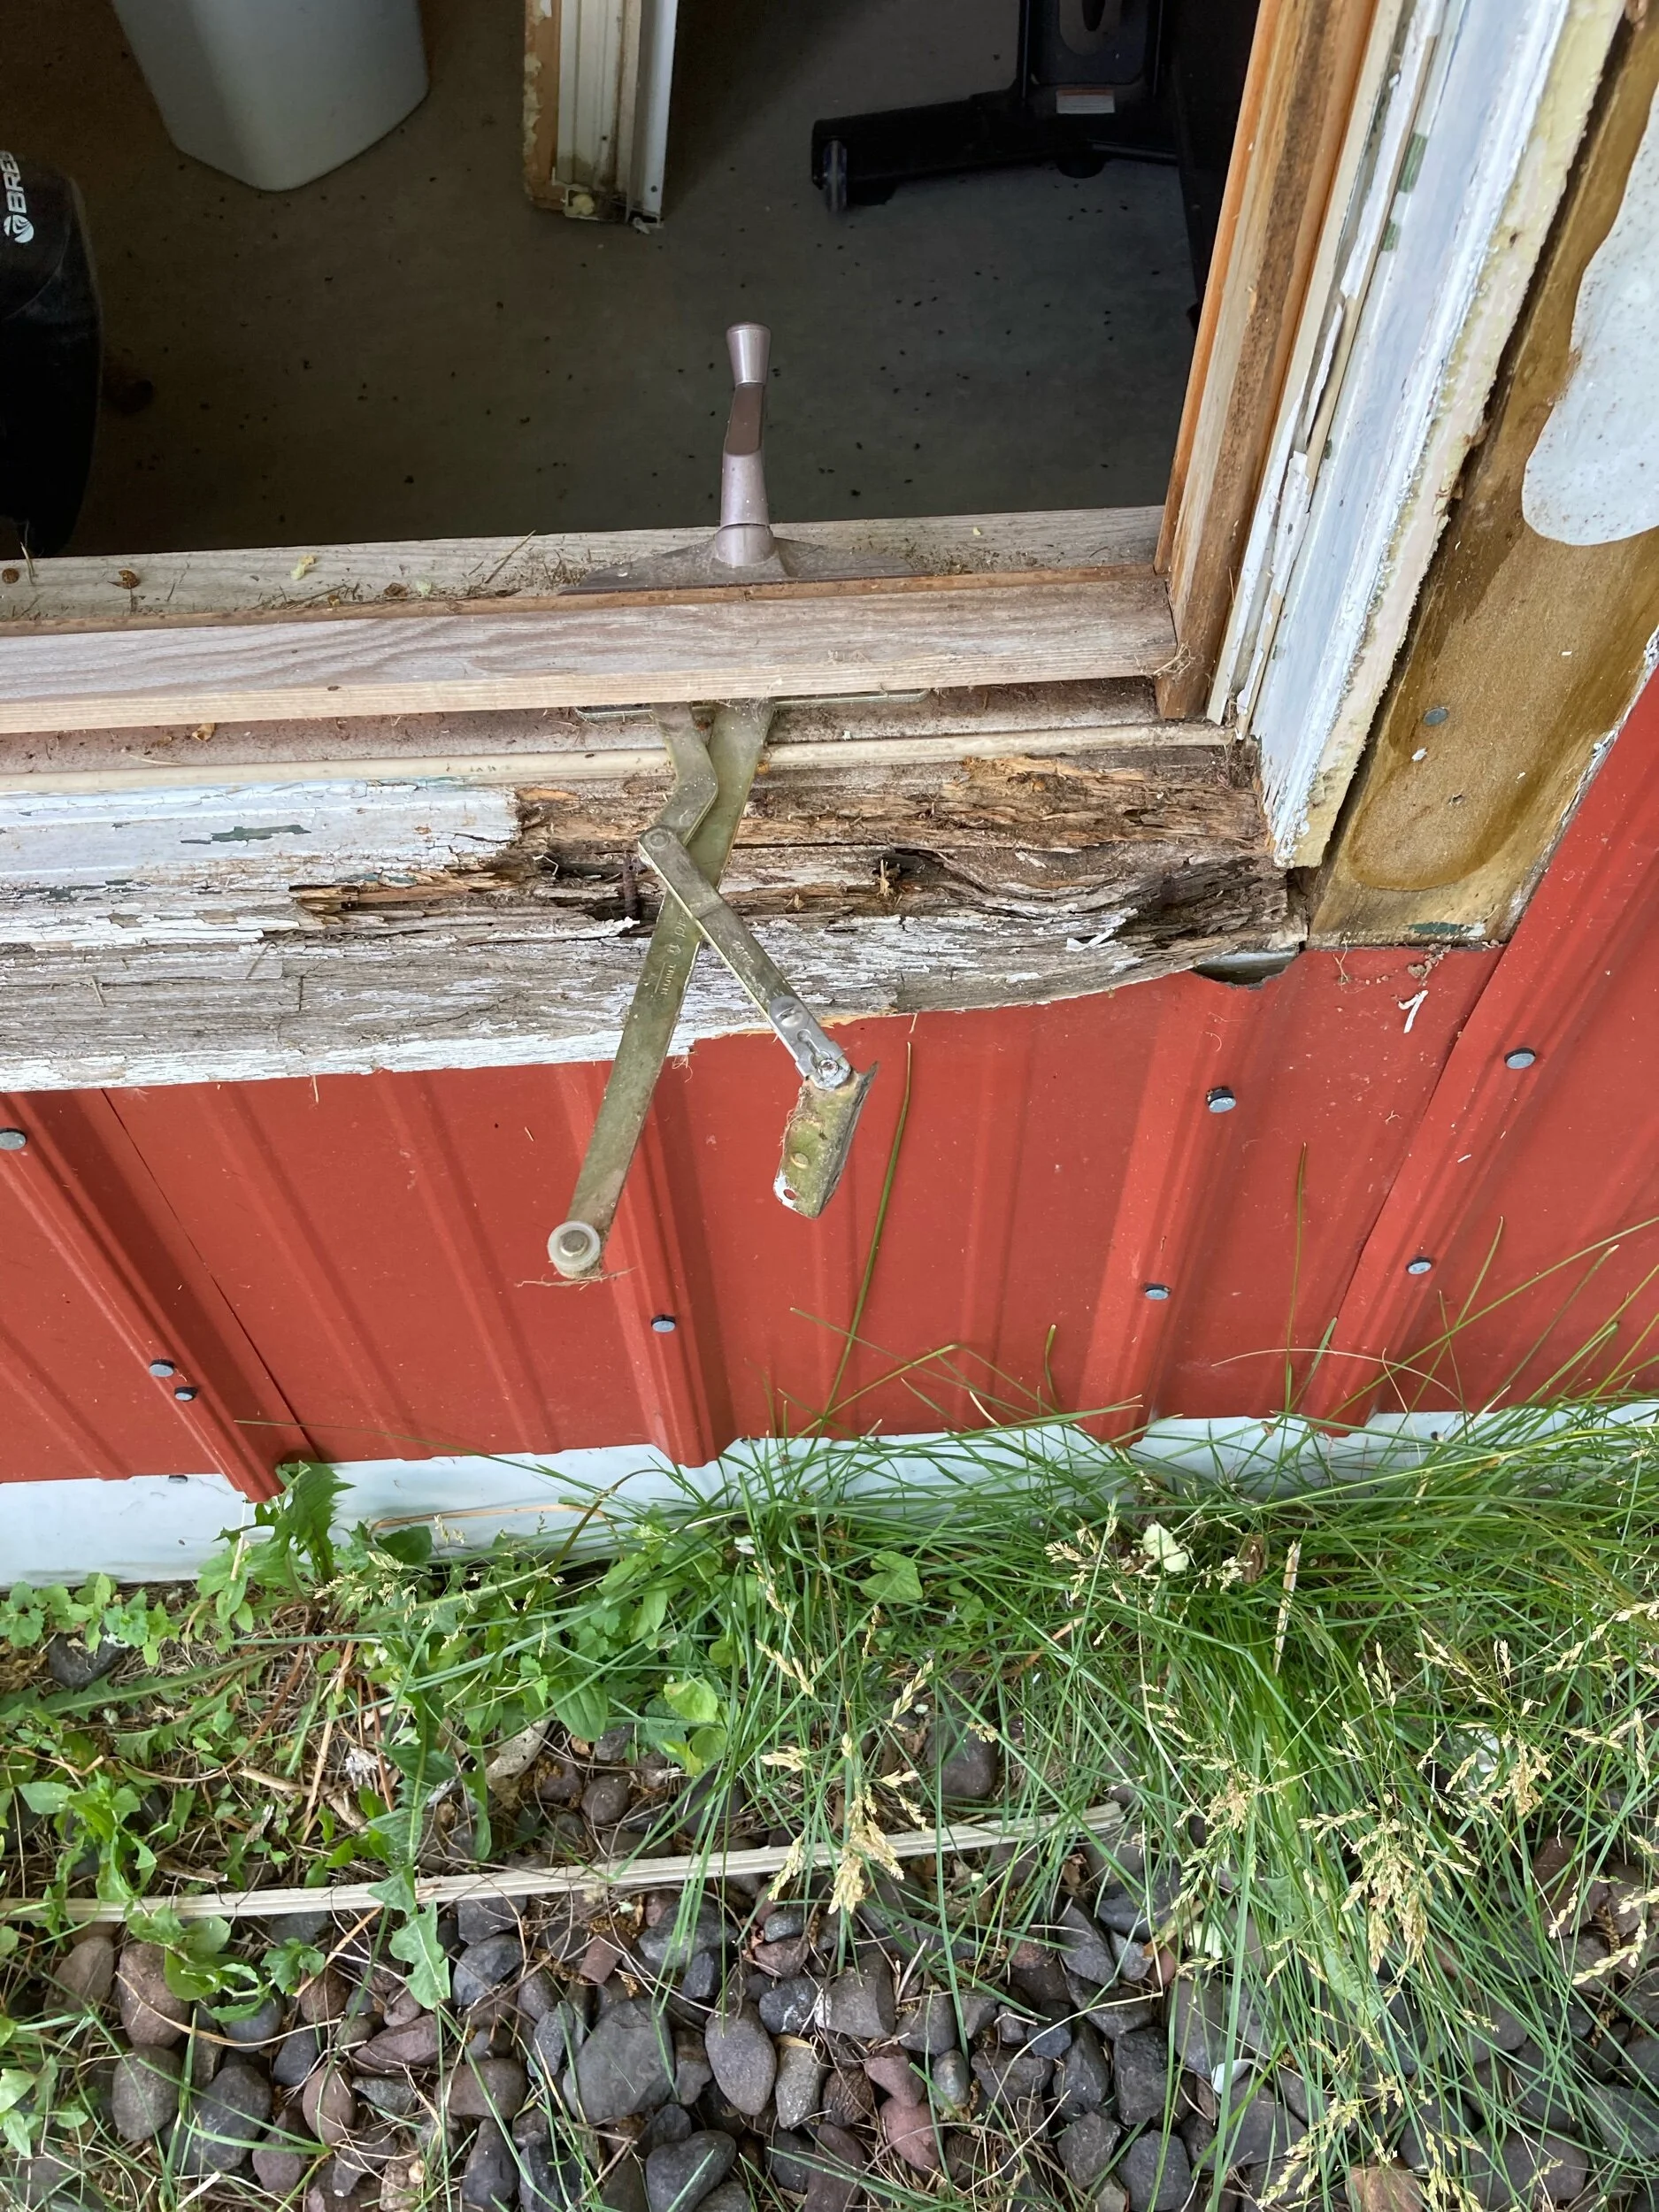
Wood rot undermined the mechanism to roll the panes in and out.
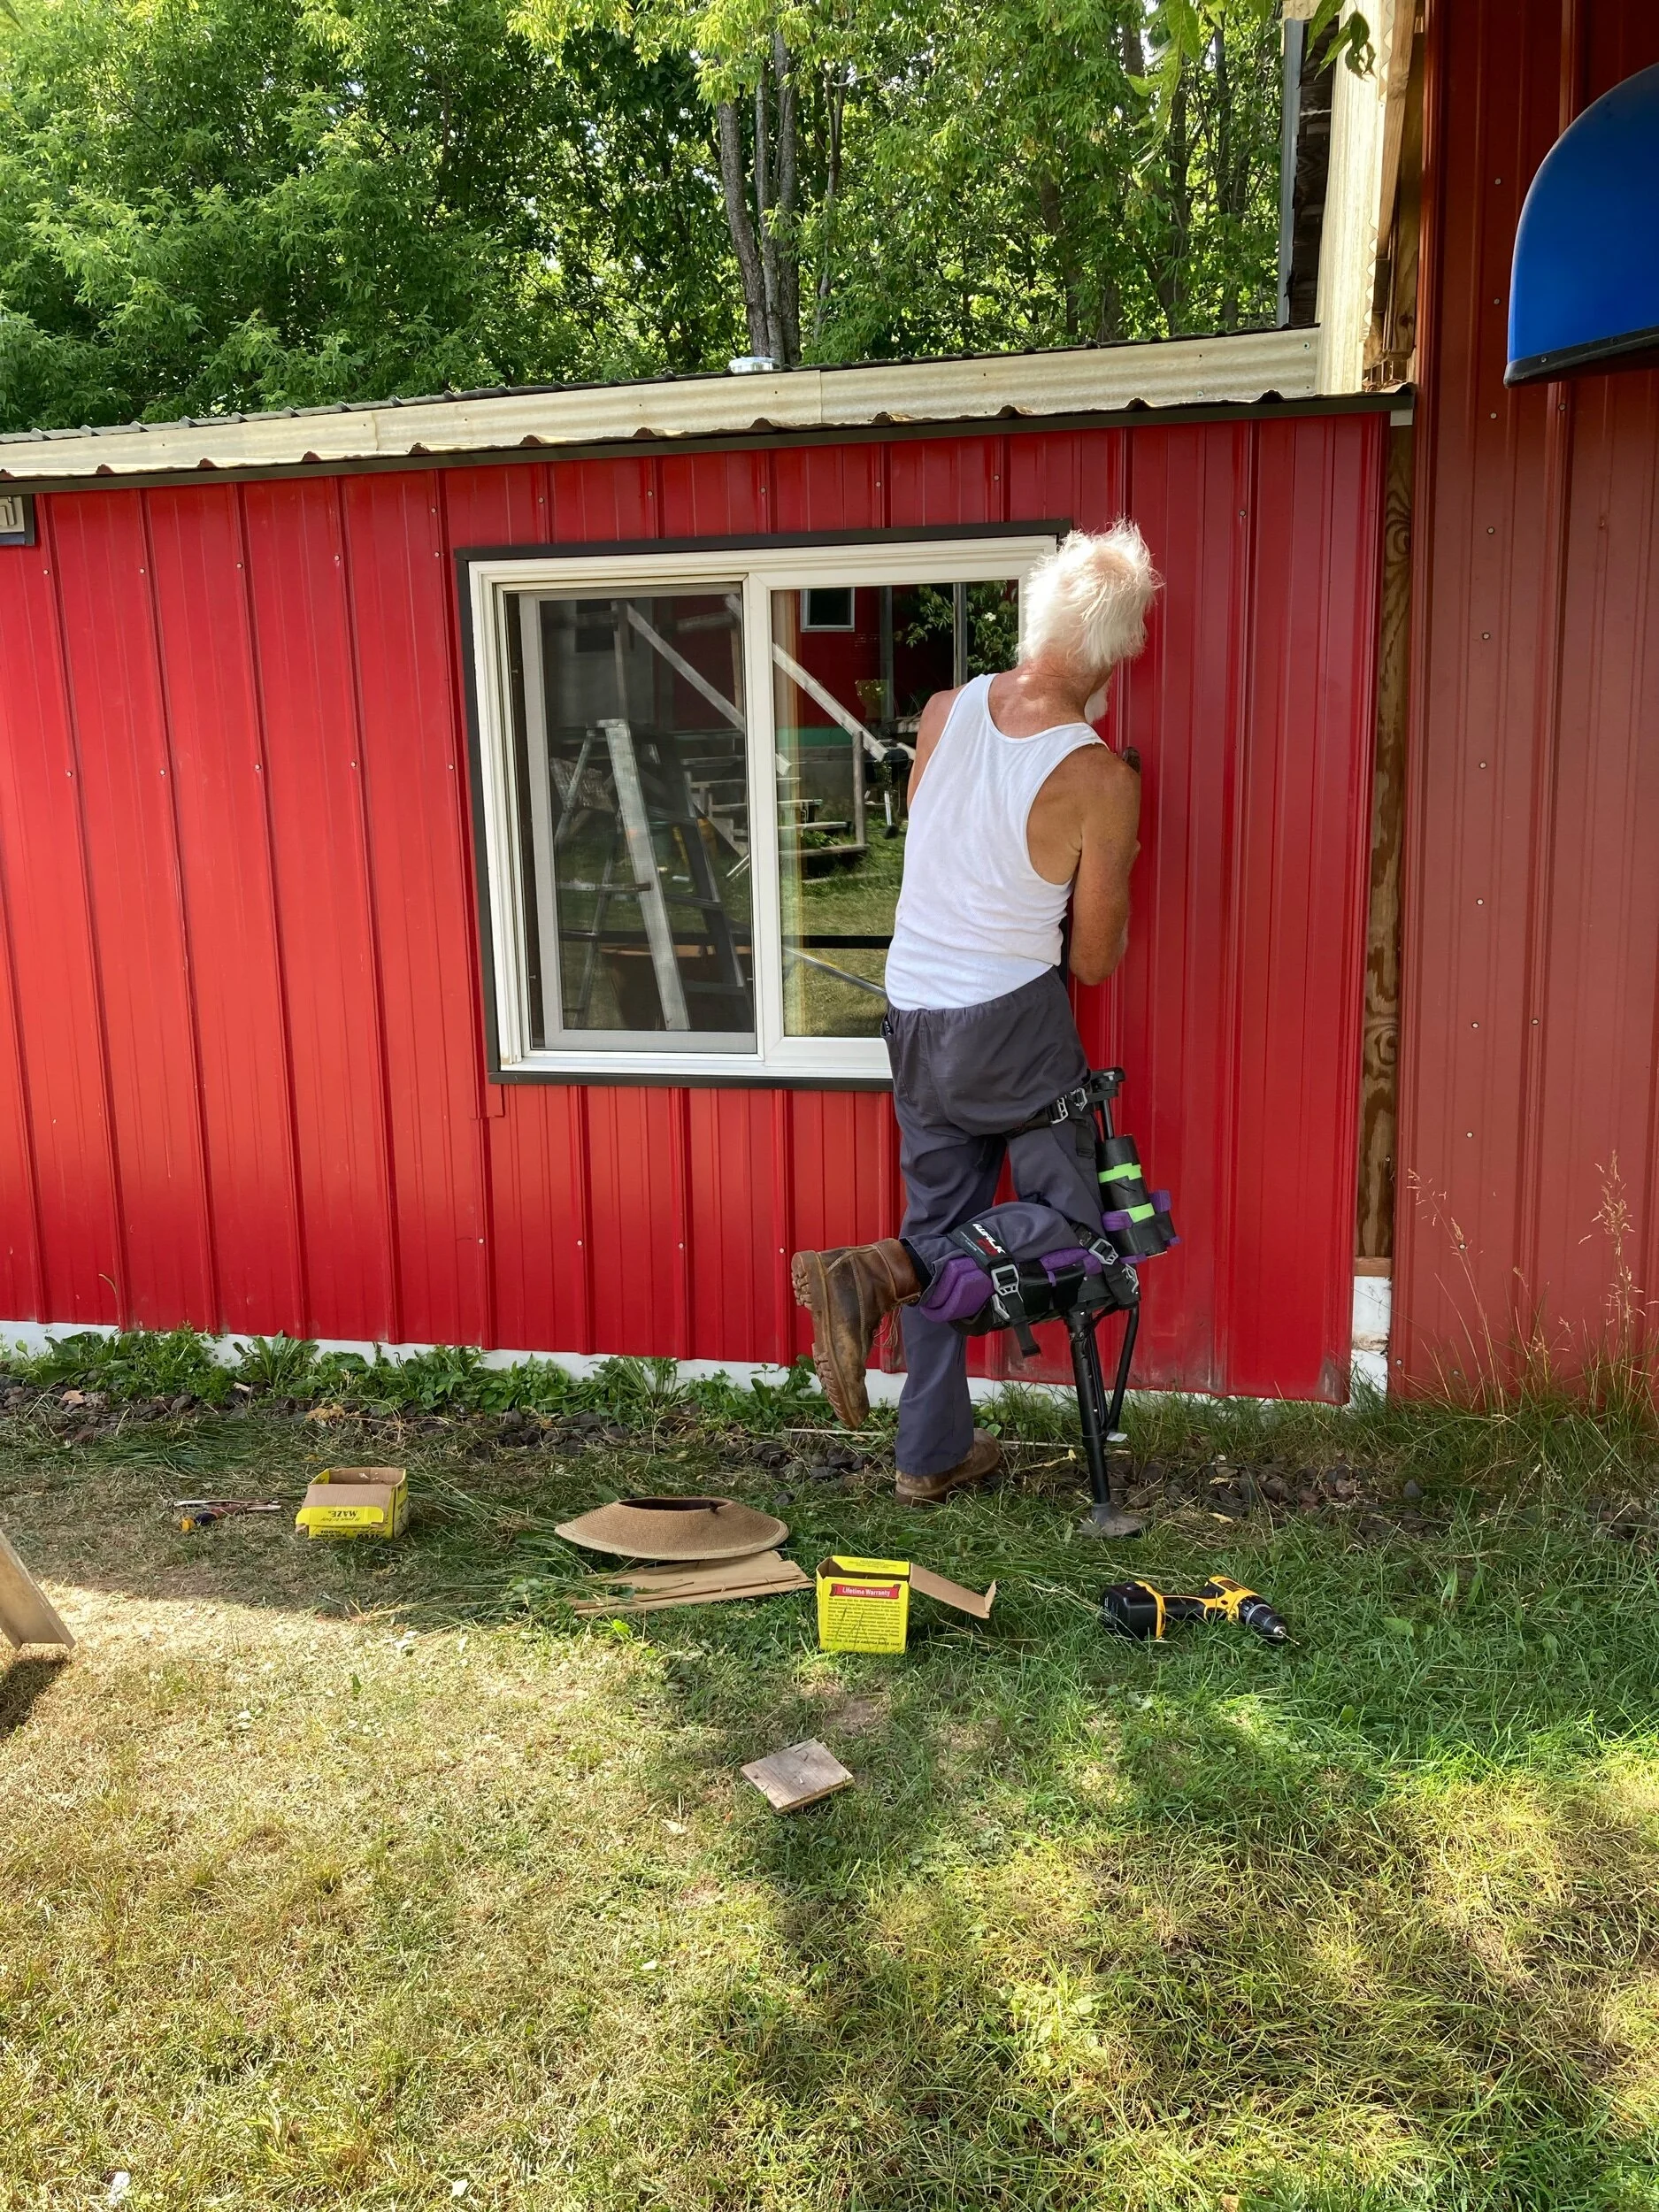
First we pried the trim off. We still couldn’t figure out how we installed the window, so Michael cut through the frame and pried out the sash.
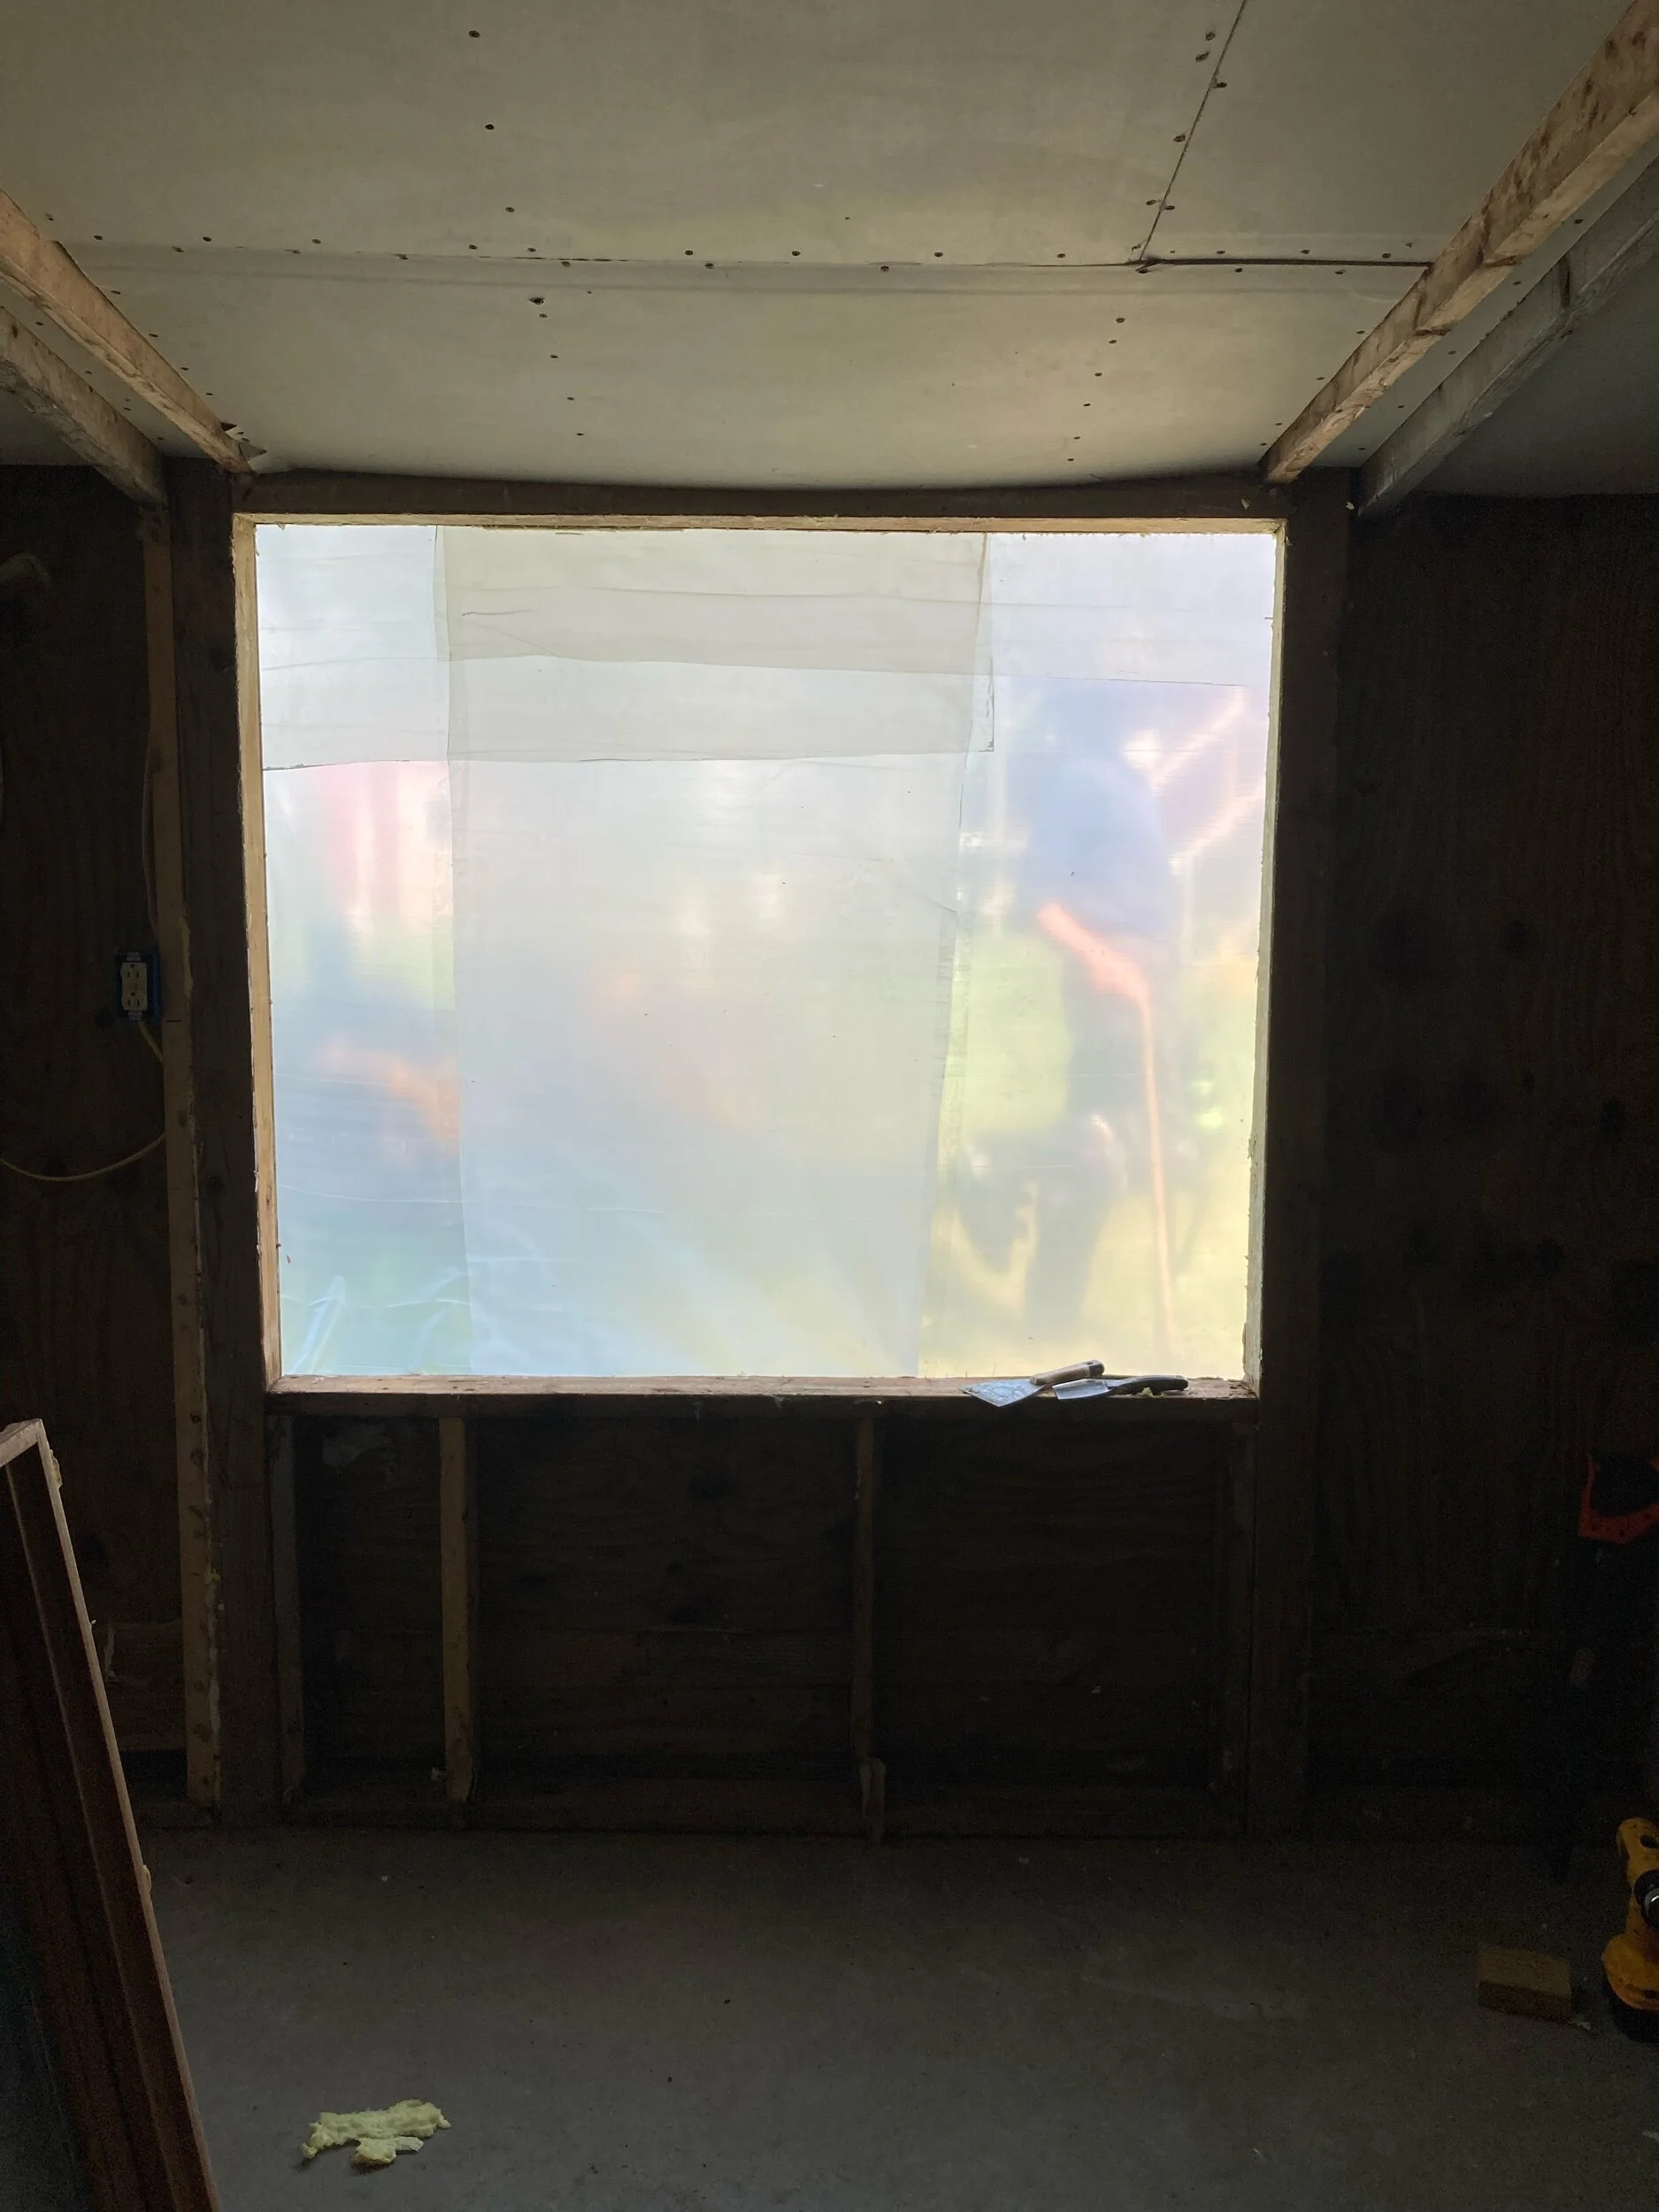
Michael previously had taken down the wallboard and insulation from the inside. When we have snowy winters, this space tends to have a river run through it. Having built with green lumber means none of the wood rotted. The insulation and wallboard had gotten moldy. We will work on the inside before winter comes. The start date on this project was around June 15. These photos are from the 19th.
We are not fast builders, but then, we often have other emergencies and pleasures intervene. We had friends from Maine visiting in the area fro June 20-27. It was good to see Wayne and Nanon again!
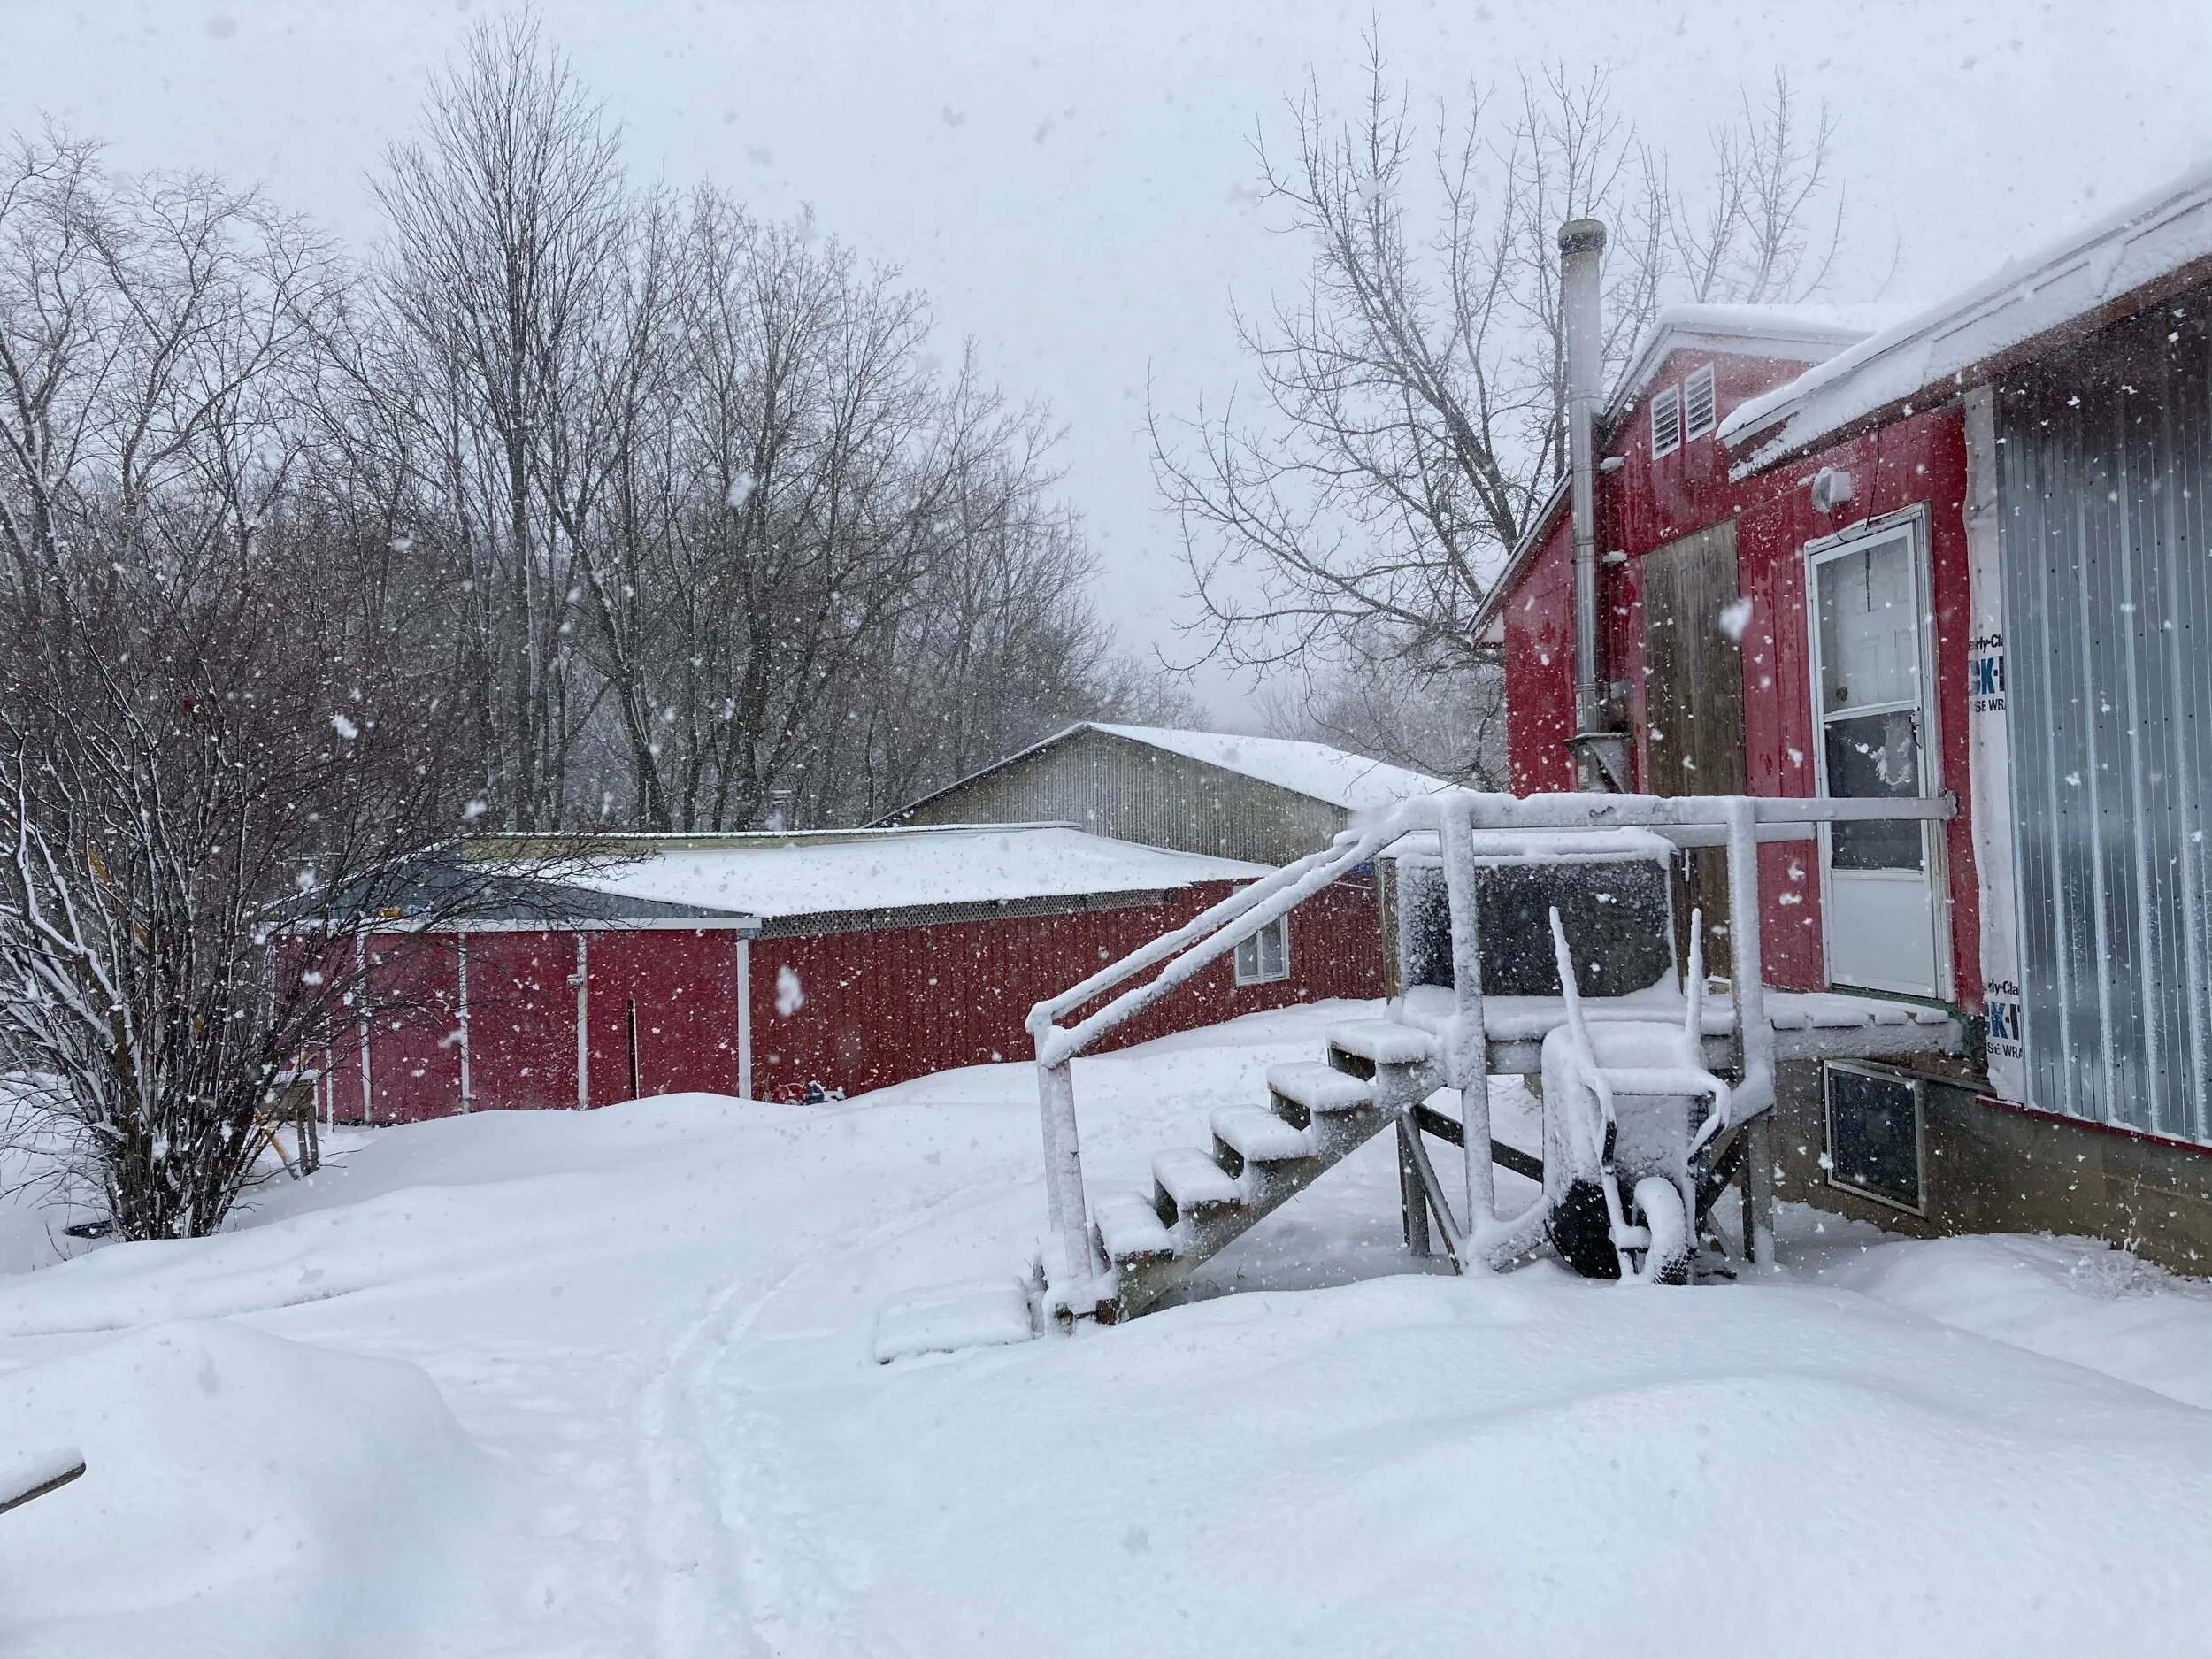
In this photo from February you can see the window in the garage just peeking out from under the stair railing.
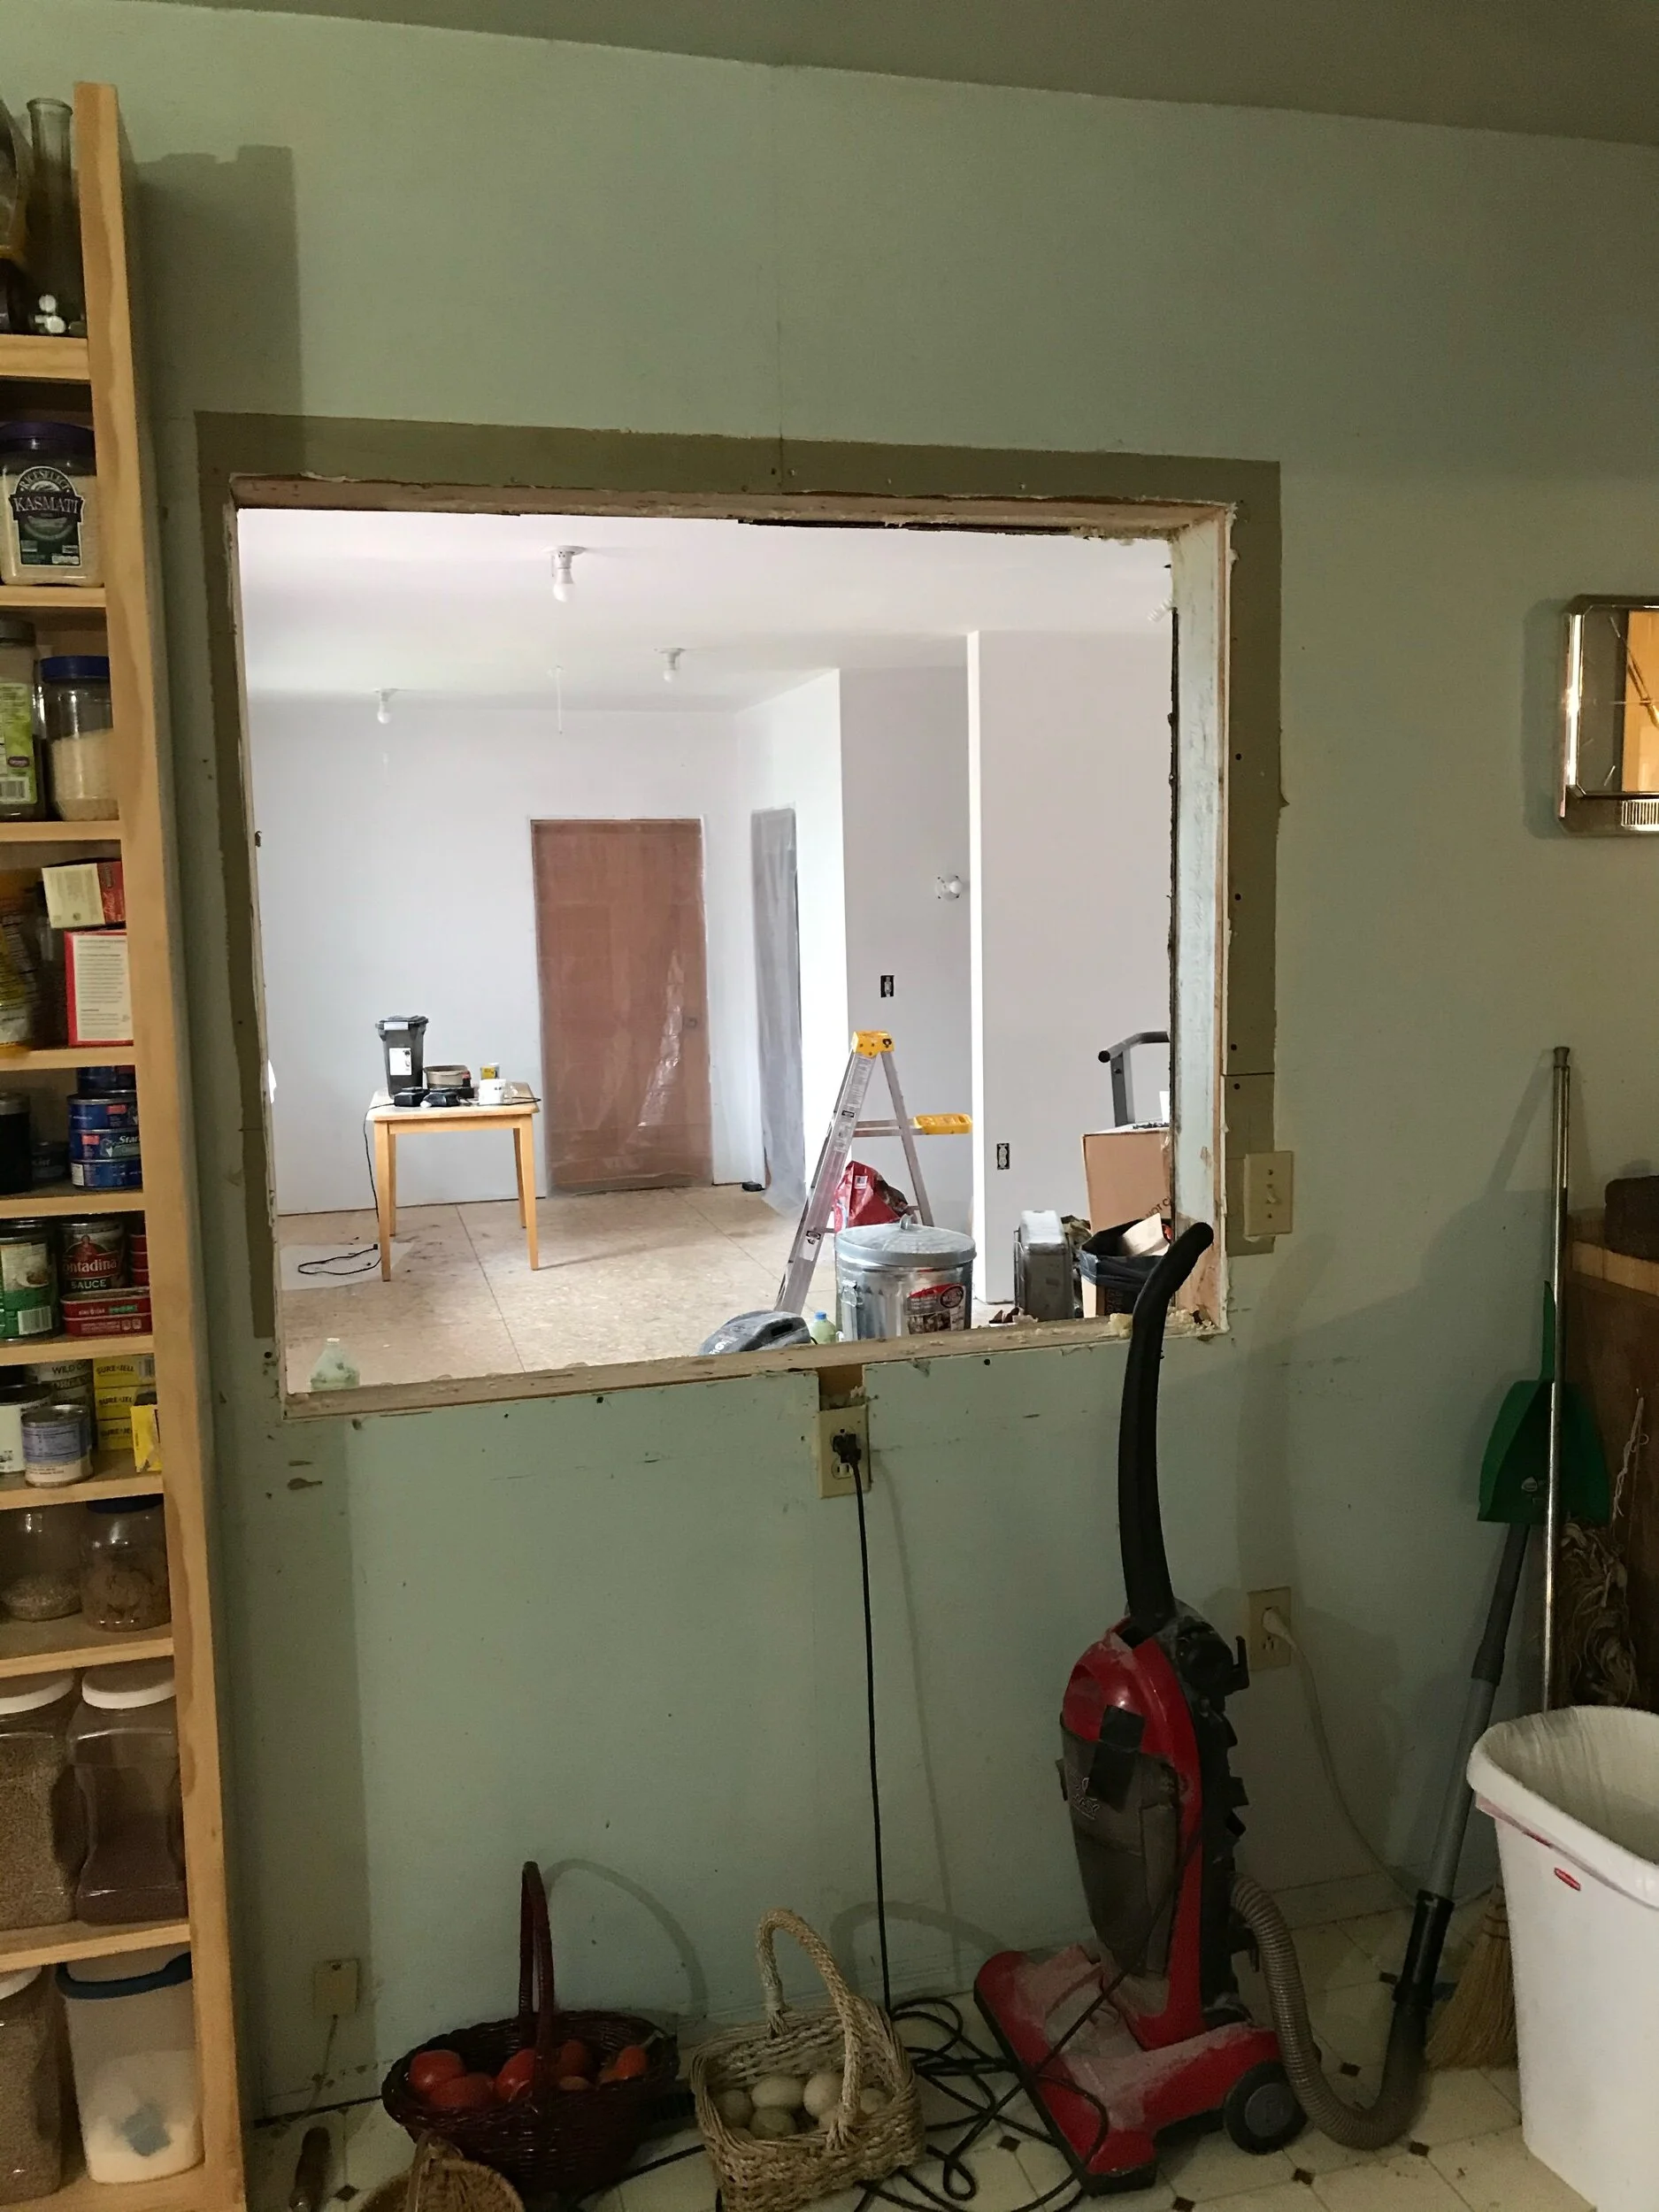
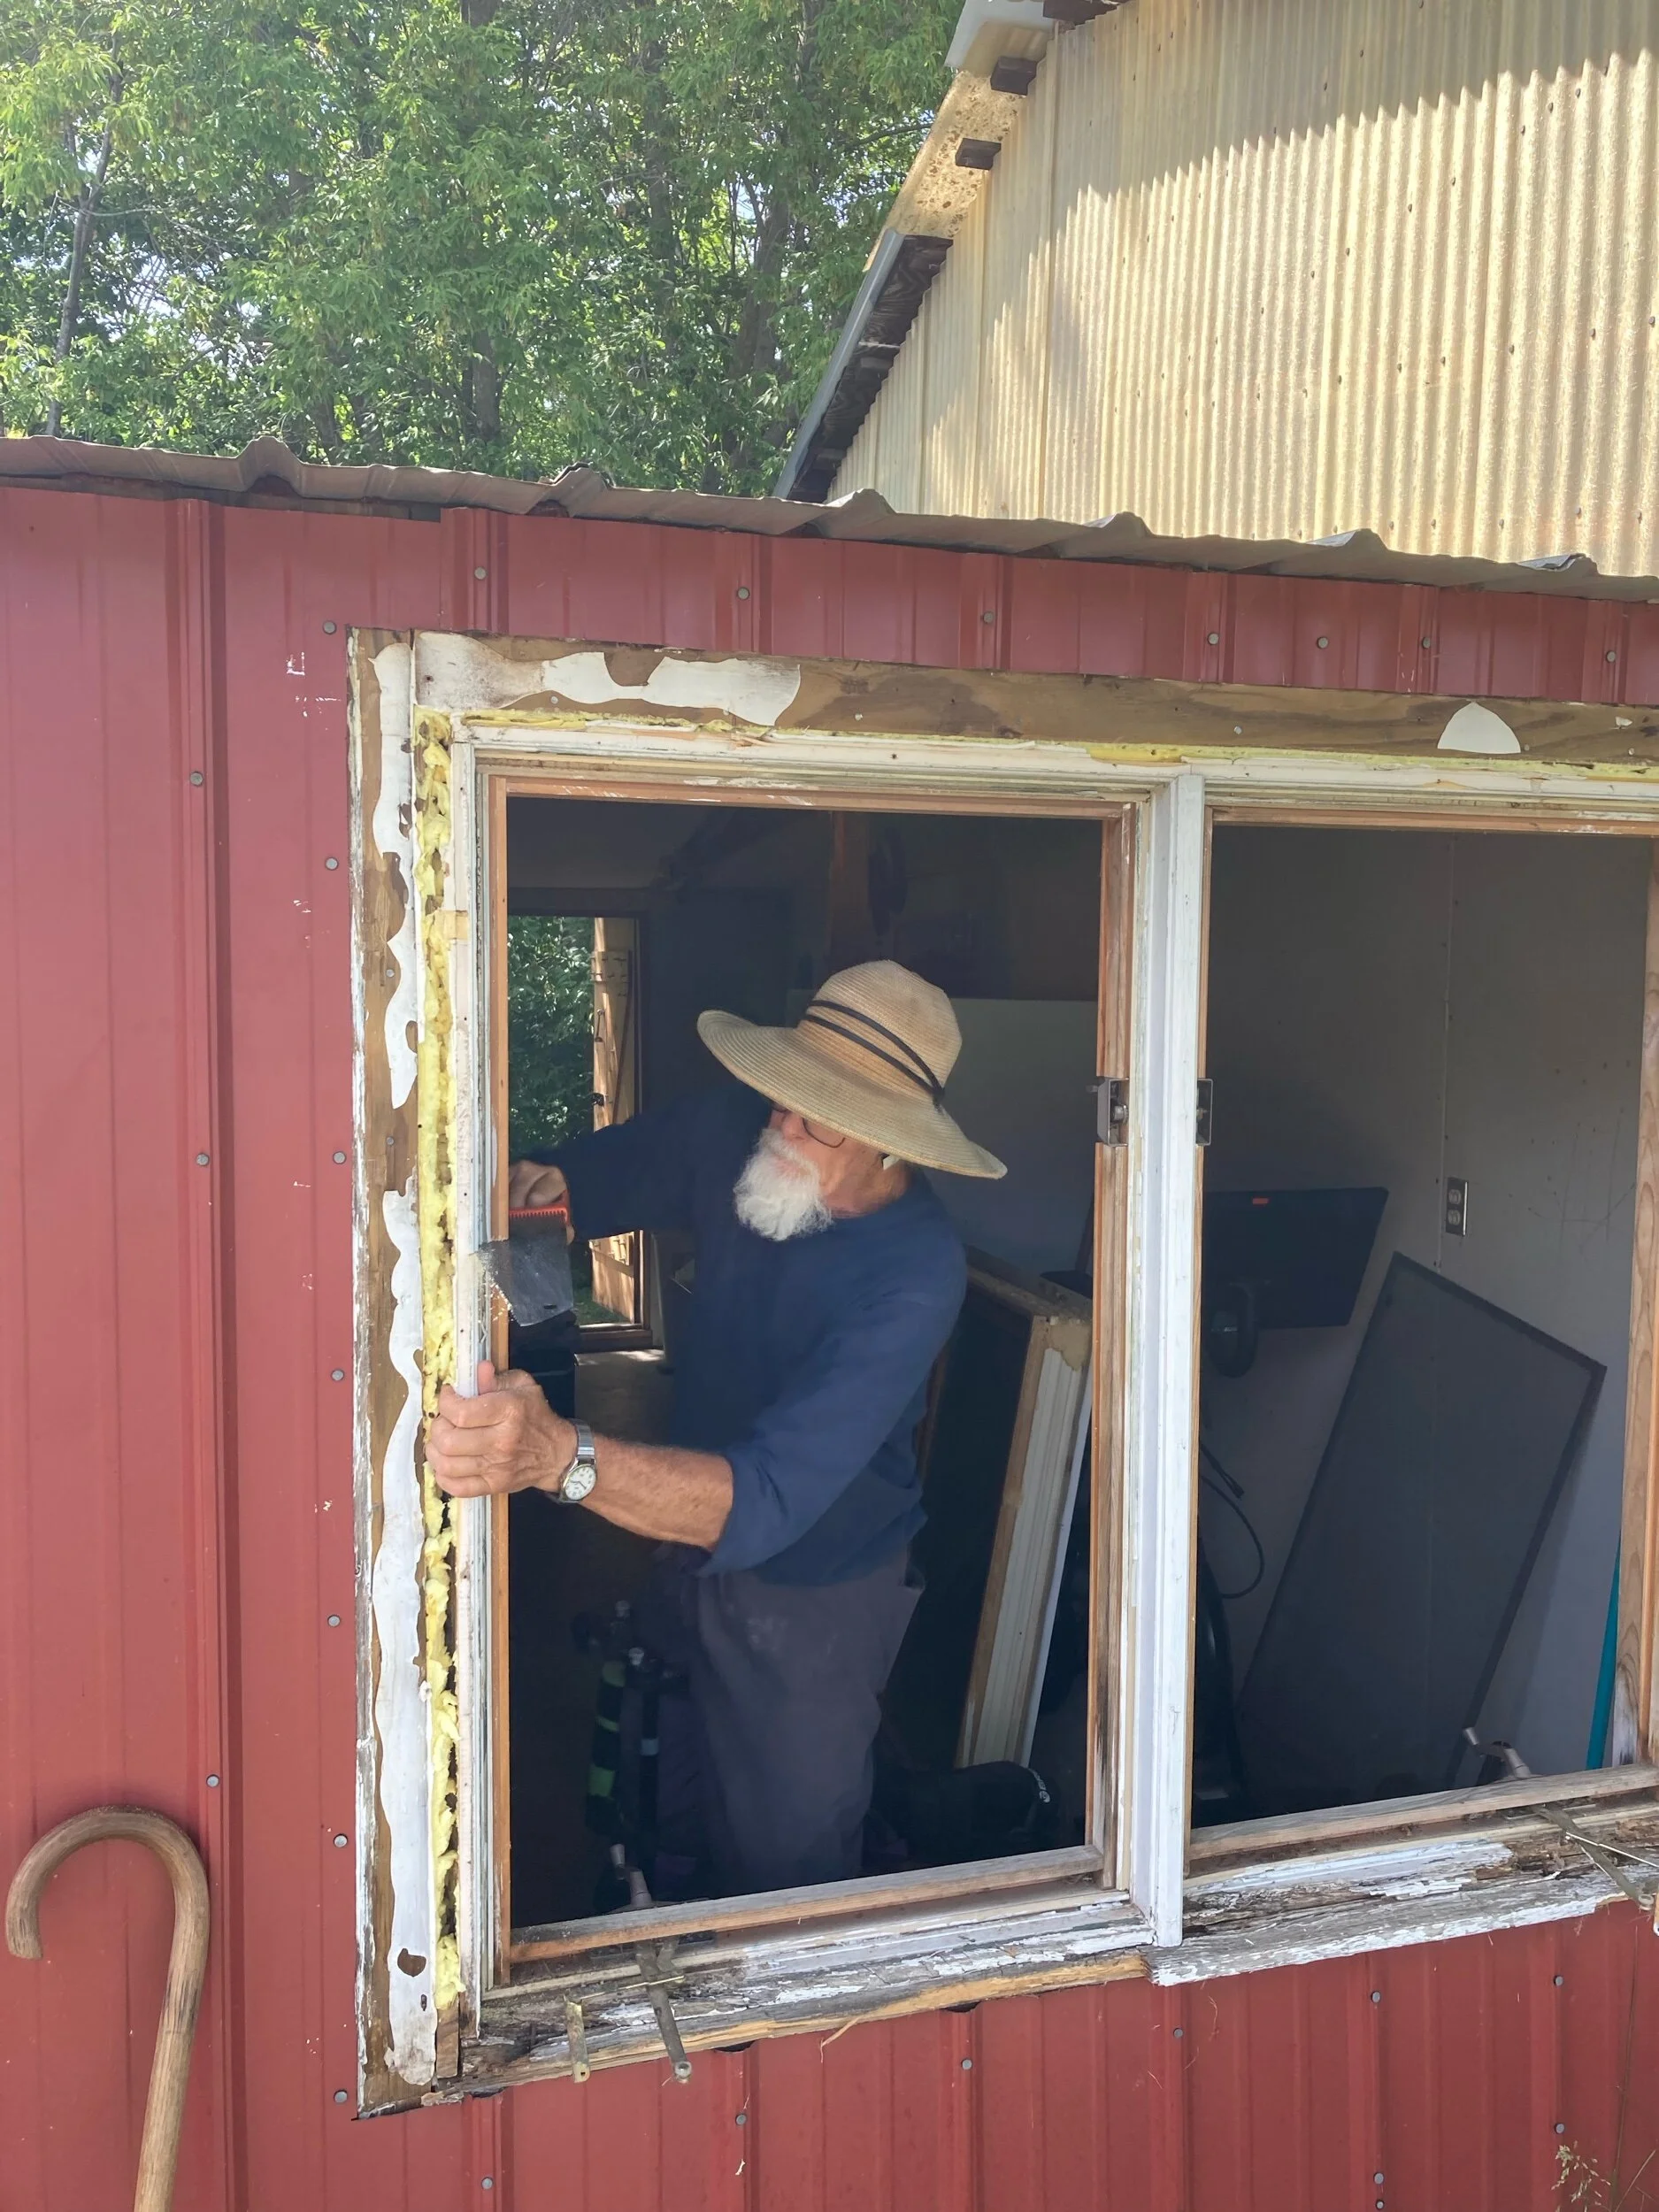
Last September we removed a window between the kitchen and the addition that Clyde and Irene installed when they had the first addition added in 2007. That is the window we used to replace the cabin window.
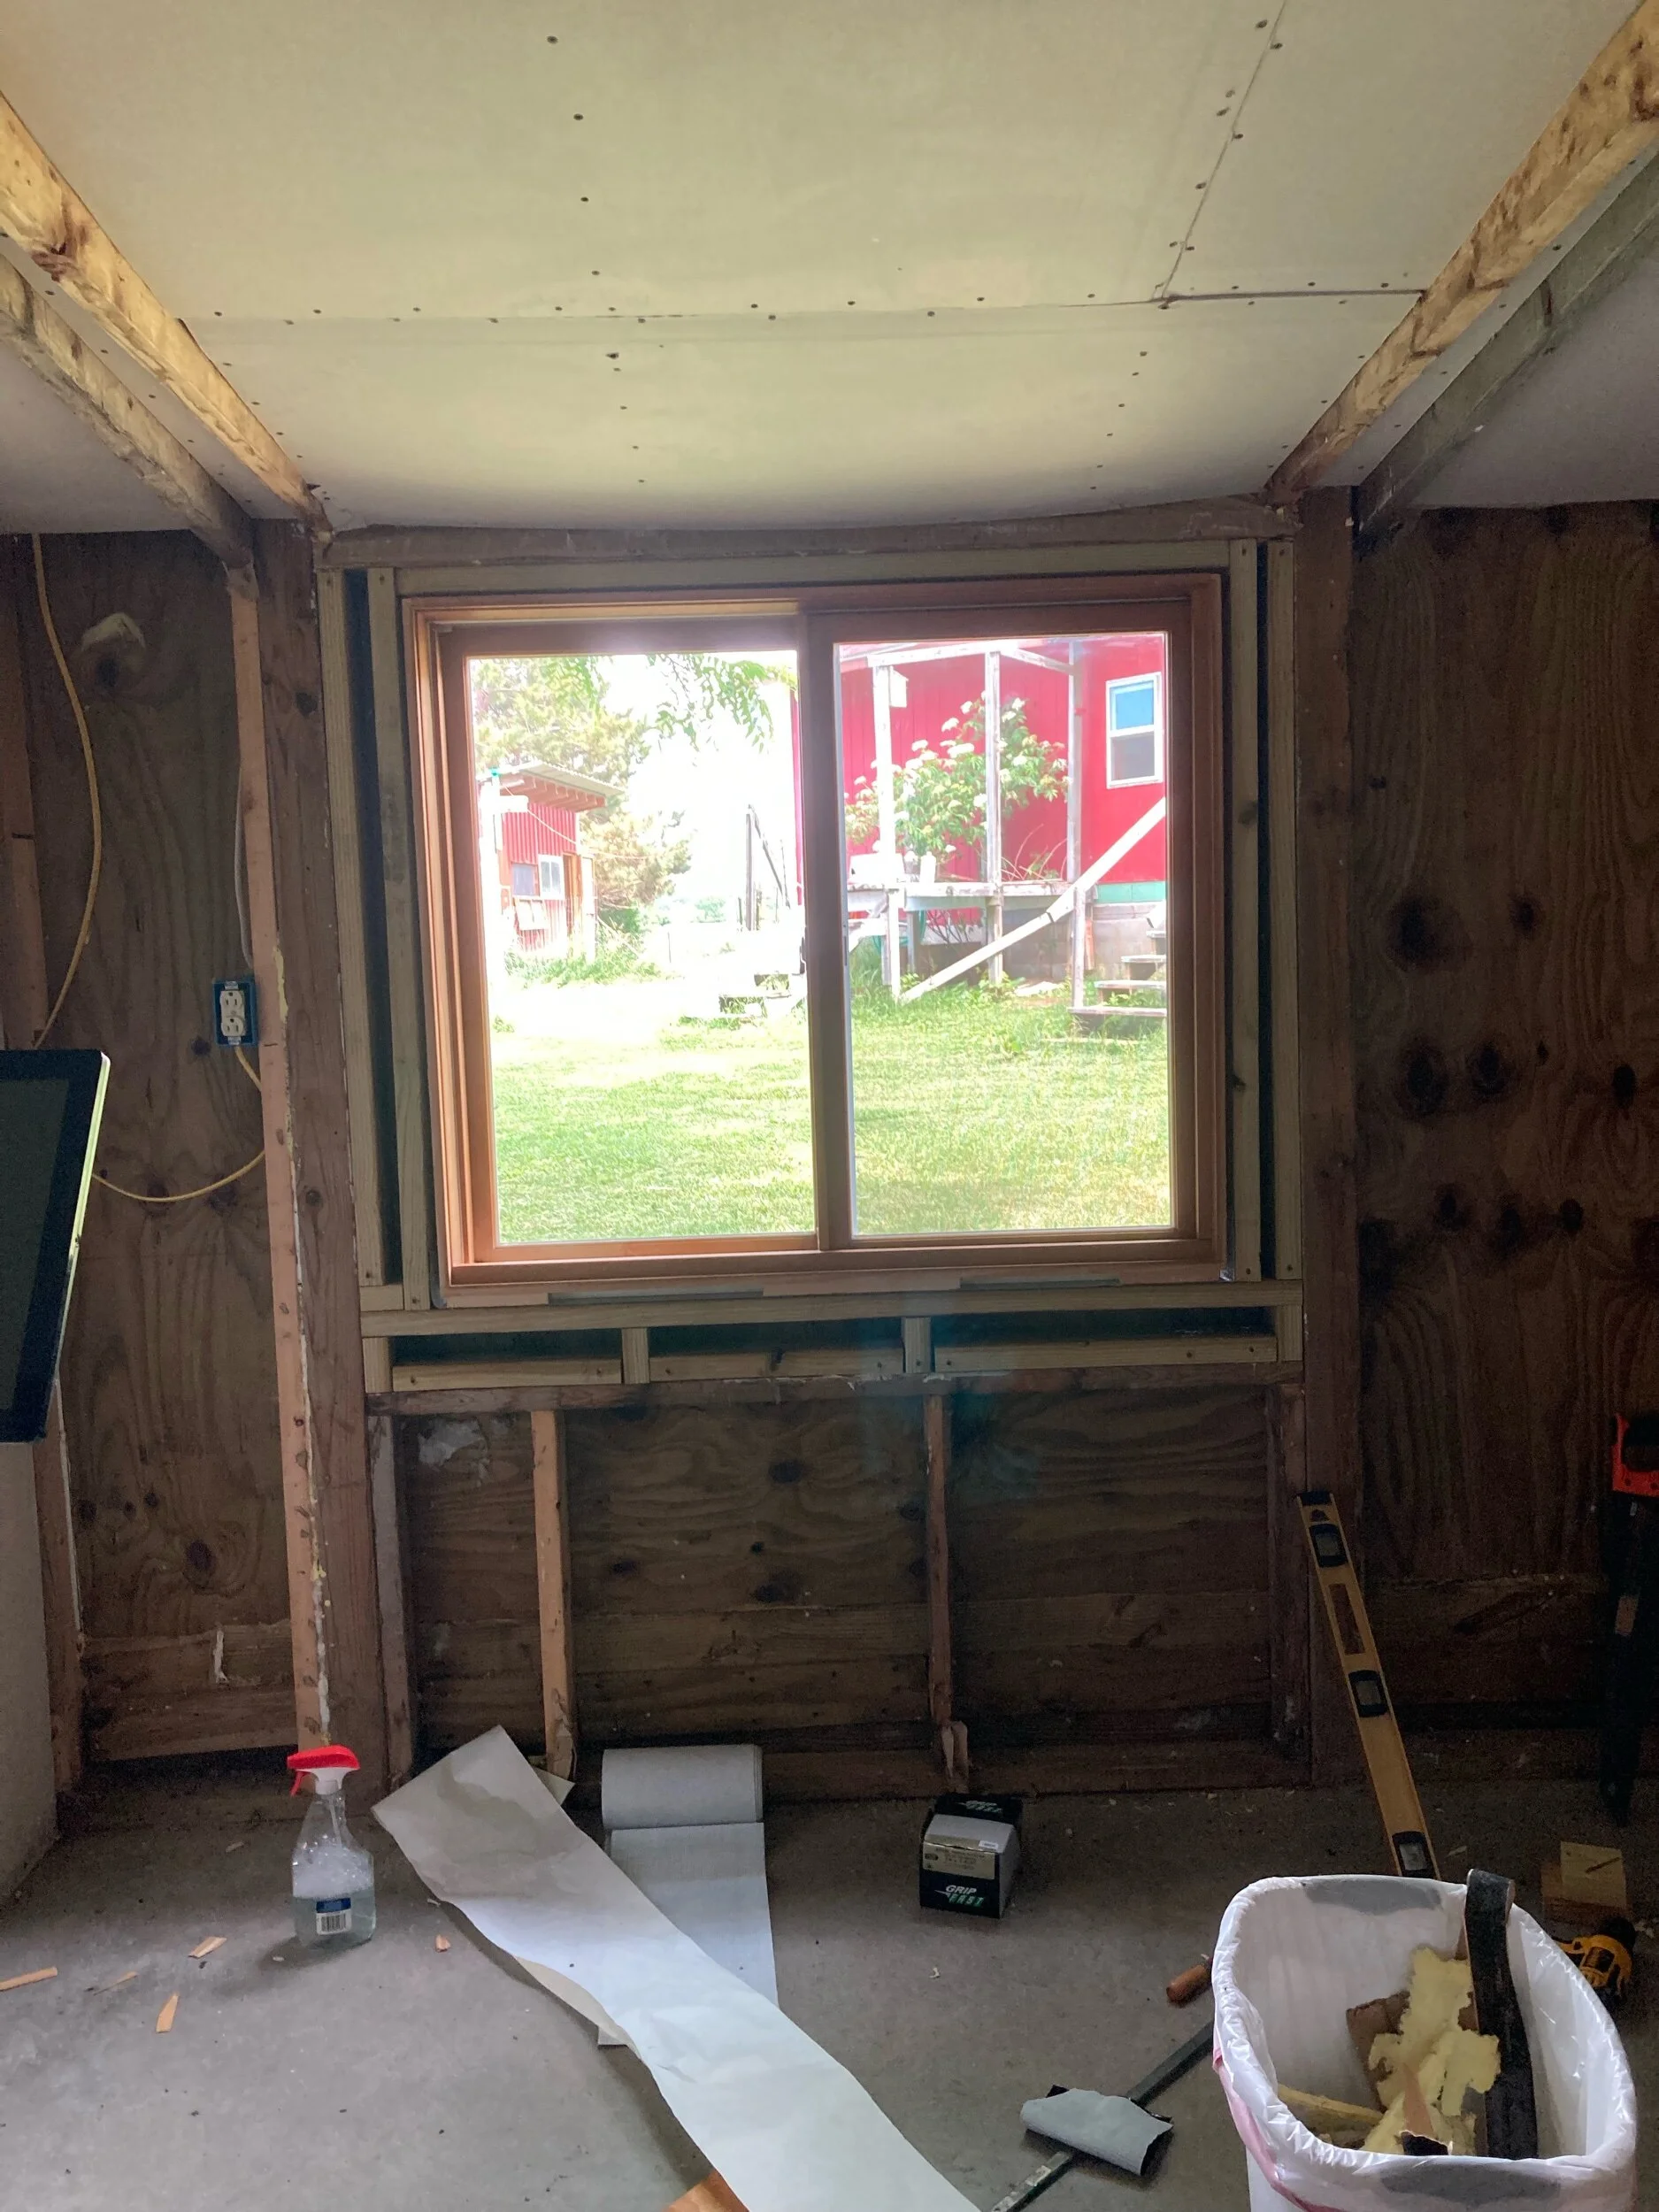
Because the two windows were not the same size, I had to reframe the rough opening.
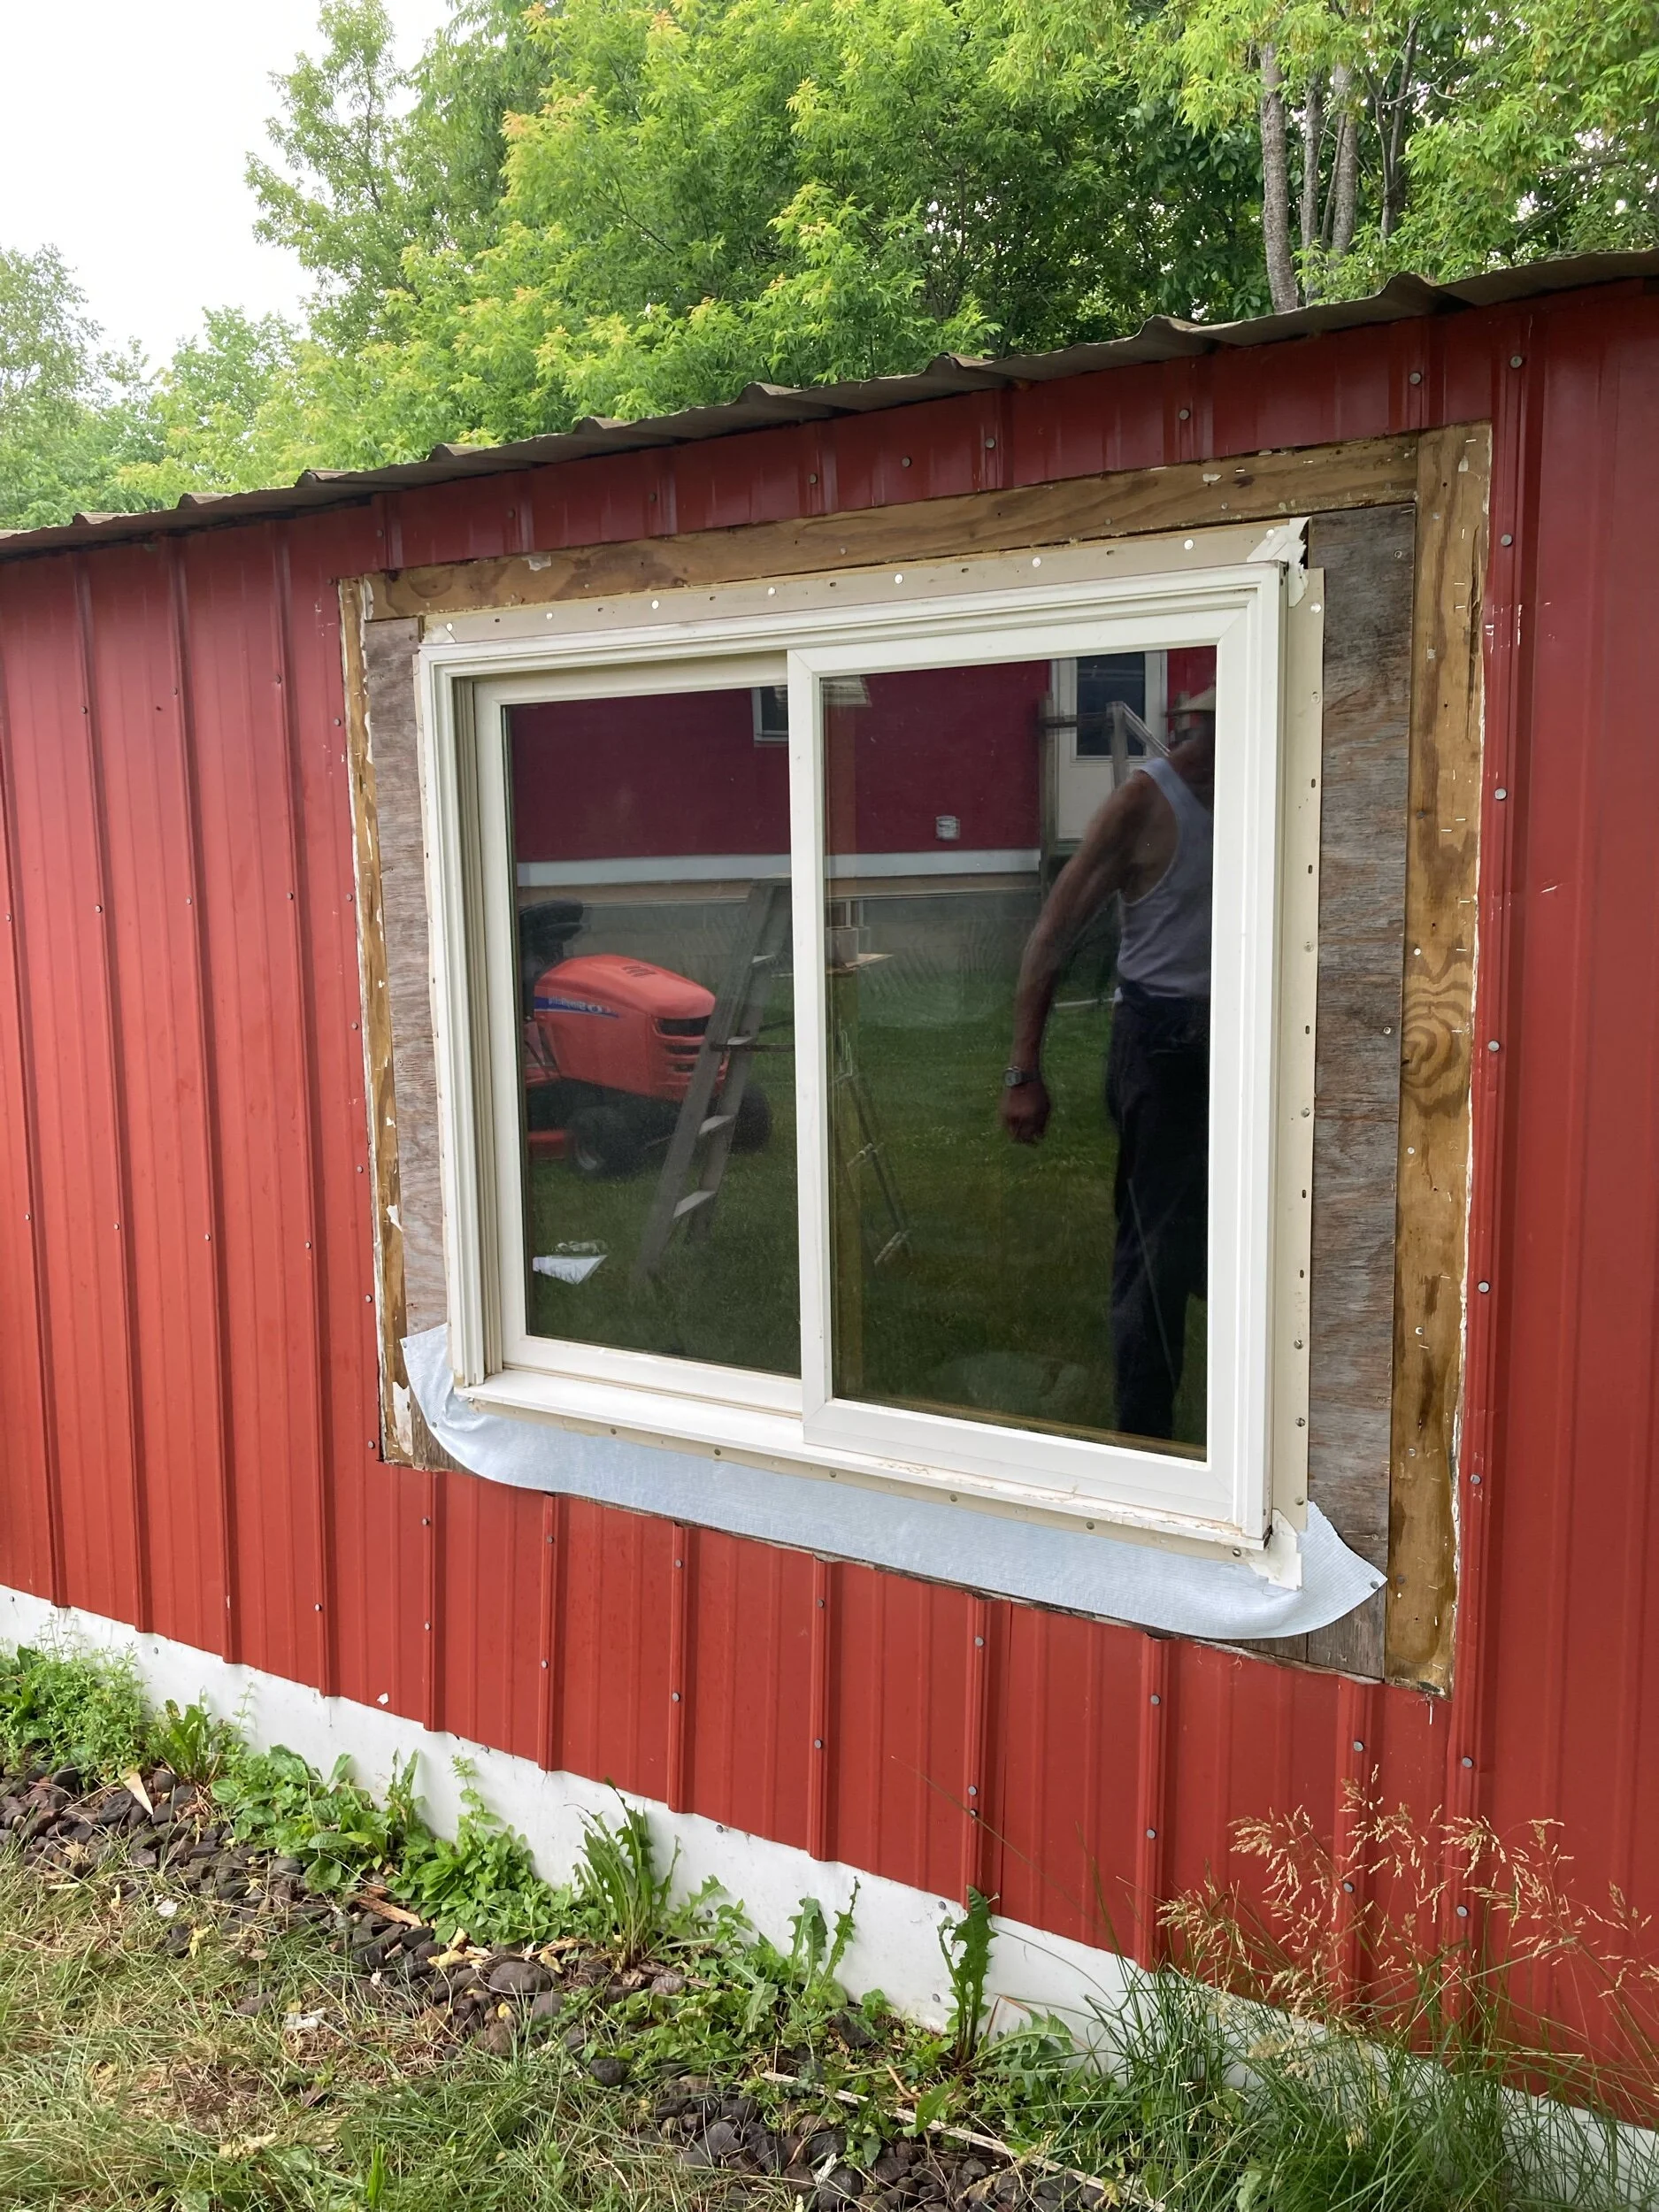
I lucked into a piece of 1/2” green plywood that filled the outside space. So nice to use scrap wood! The white stuff on the bottom is stick-on flashing.
After applying more flashing around the window (layered so as to shed water) I cut and installed J-channel around the window.
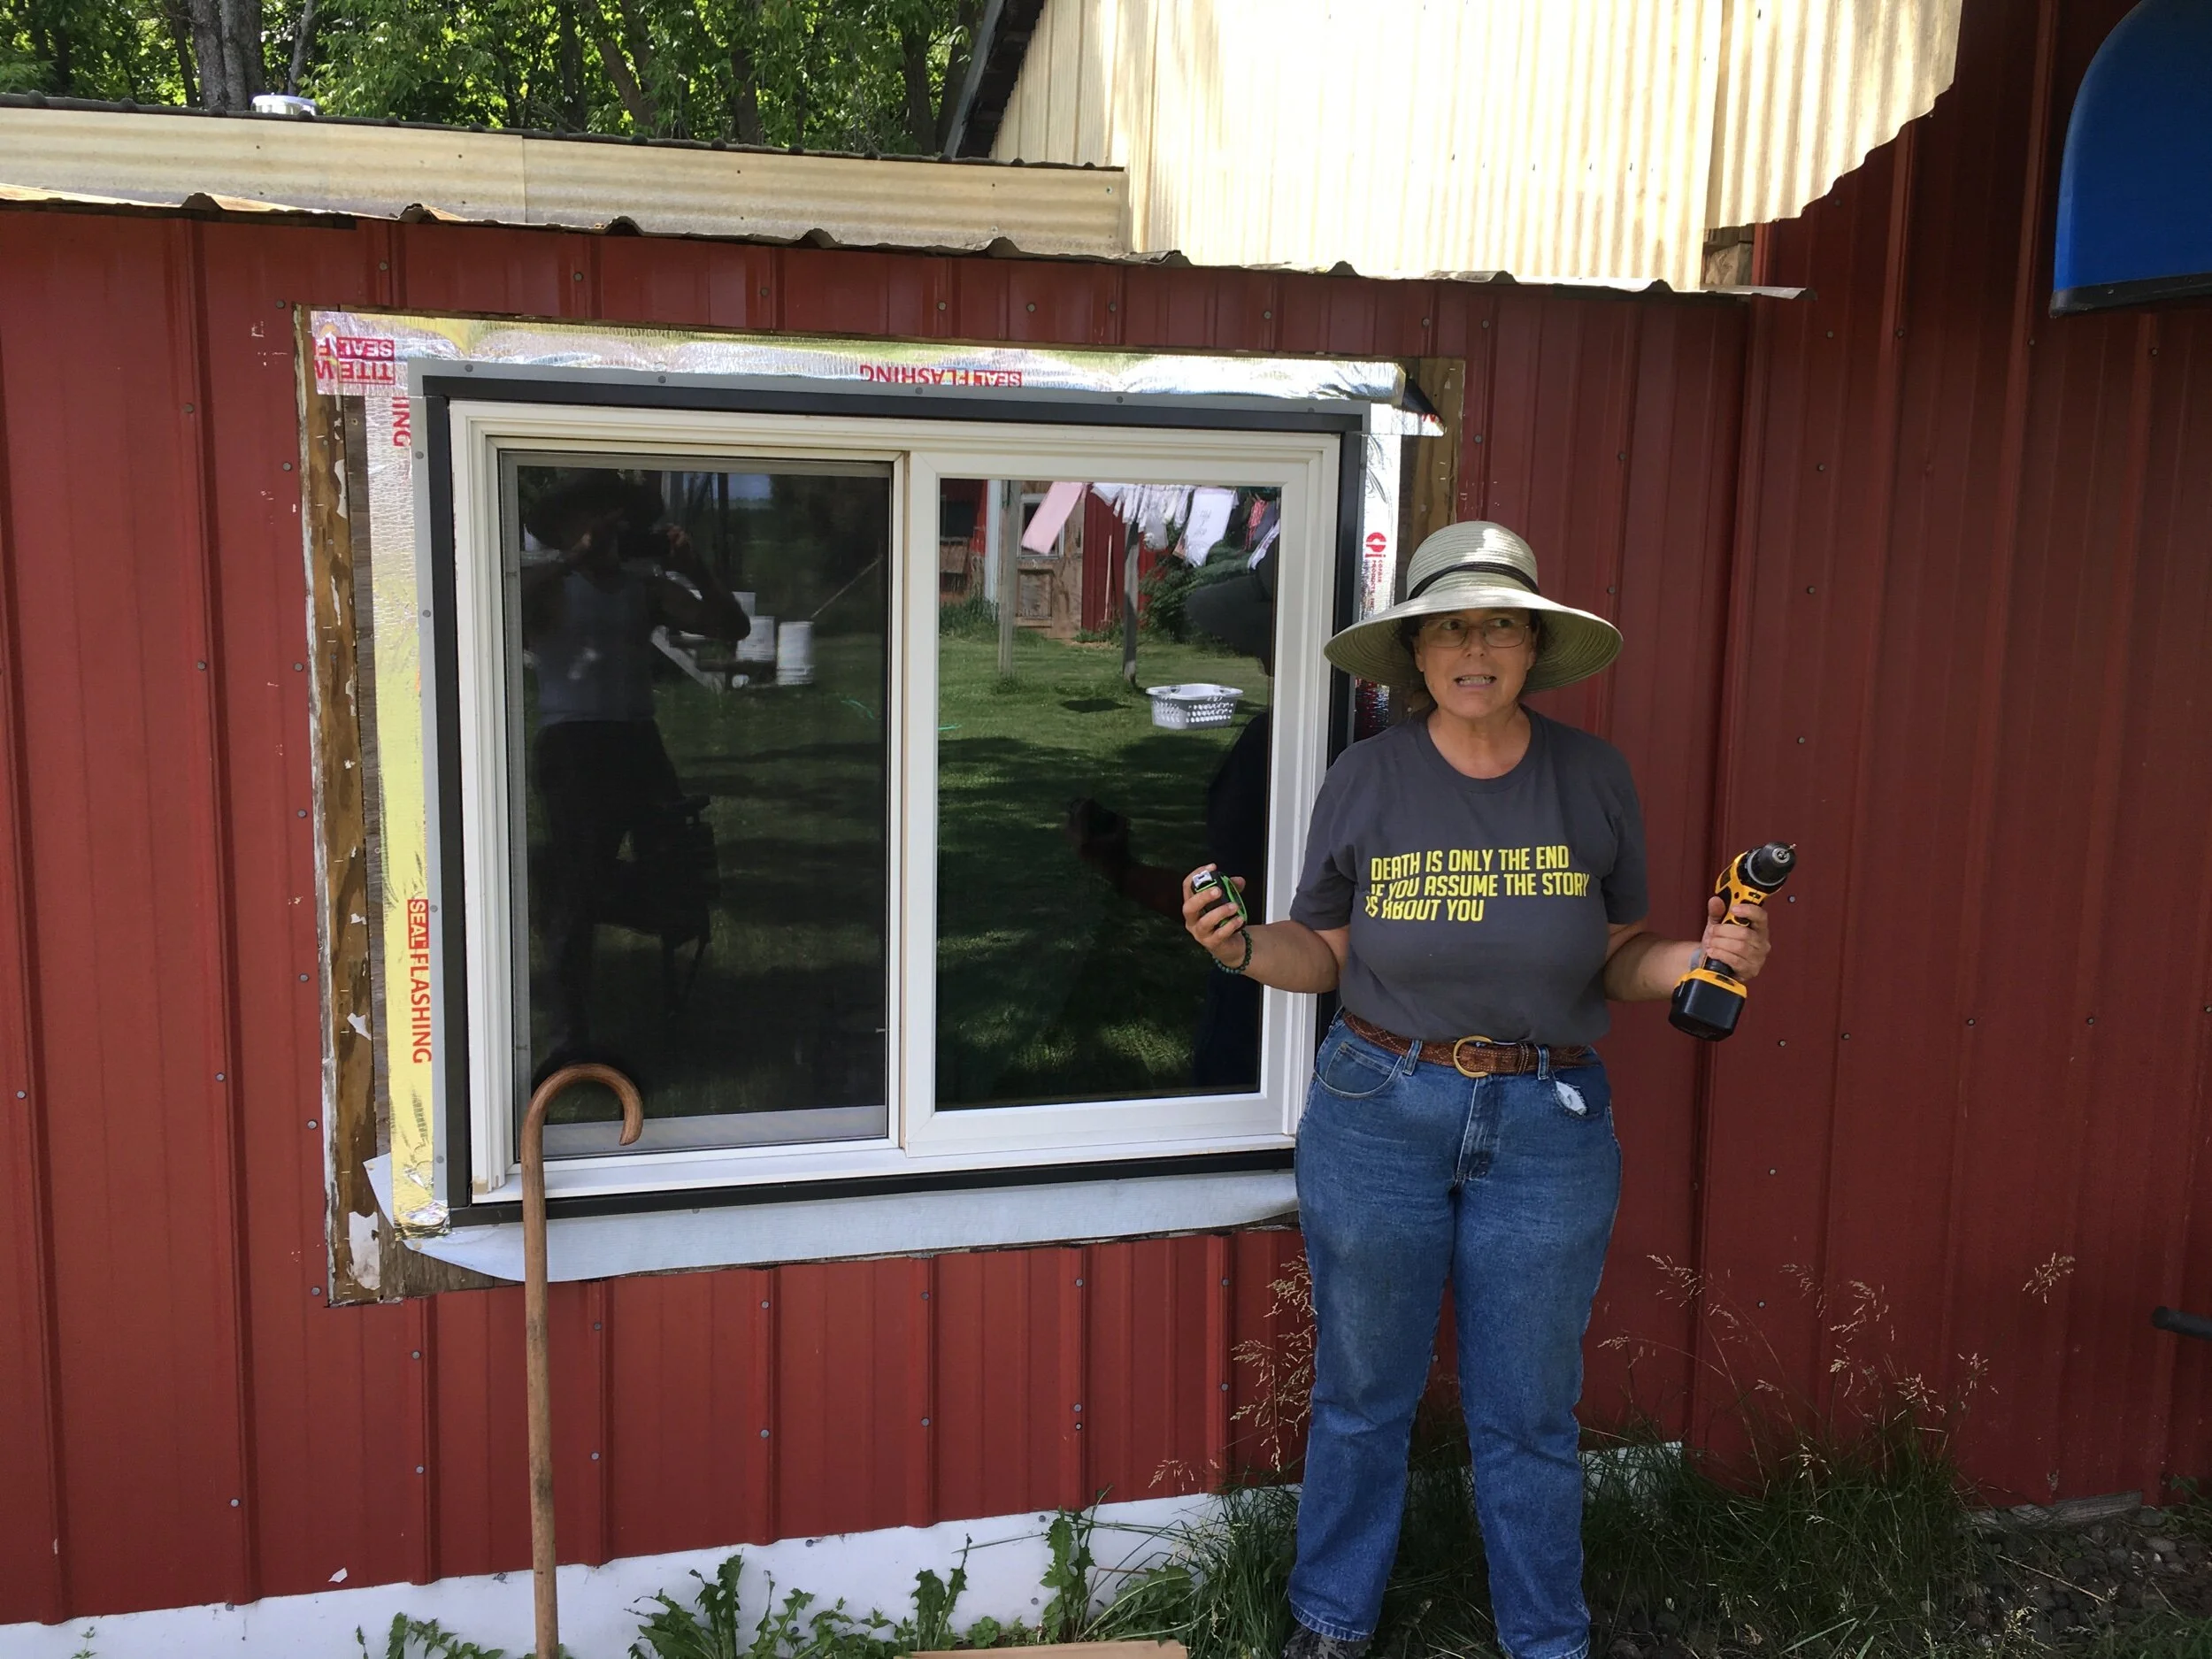
Today’s project was residing the cabin. We put up more J-channel along the top and rescued left-over metal siding from one of our myriad trailers. I even put J-channel around the outlet you can see at the very top left.
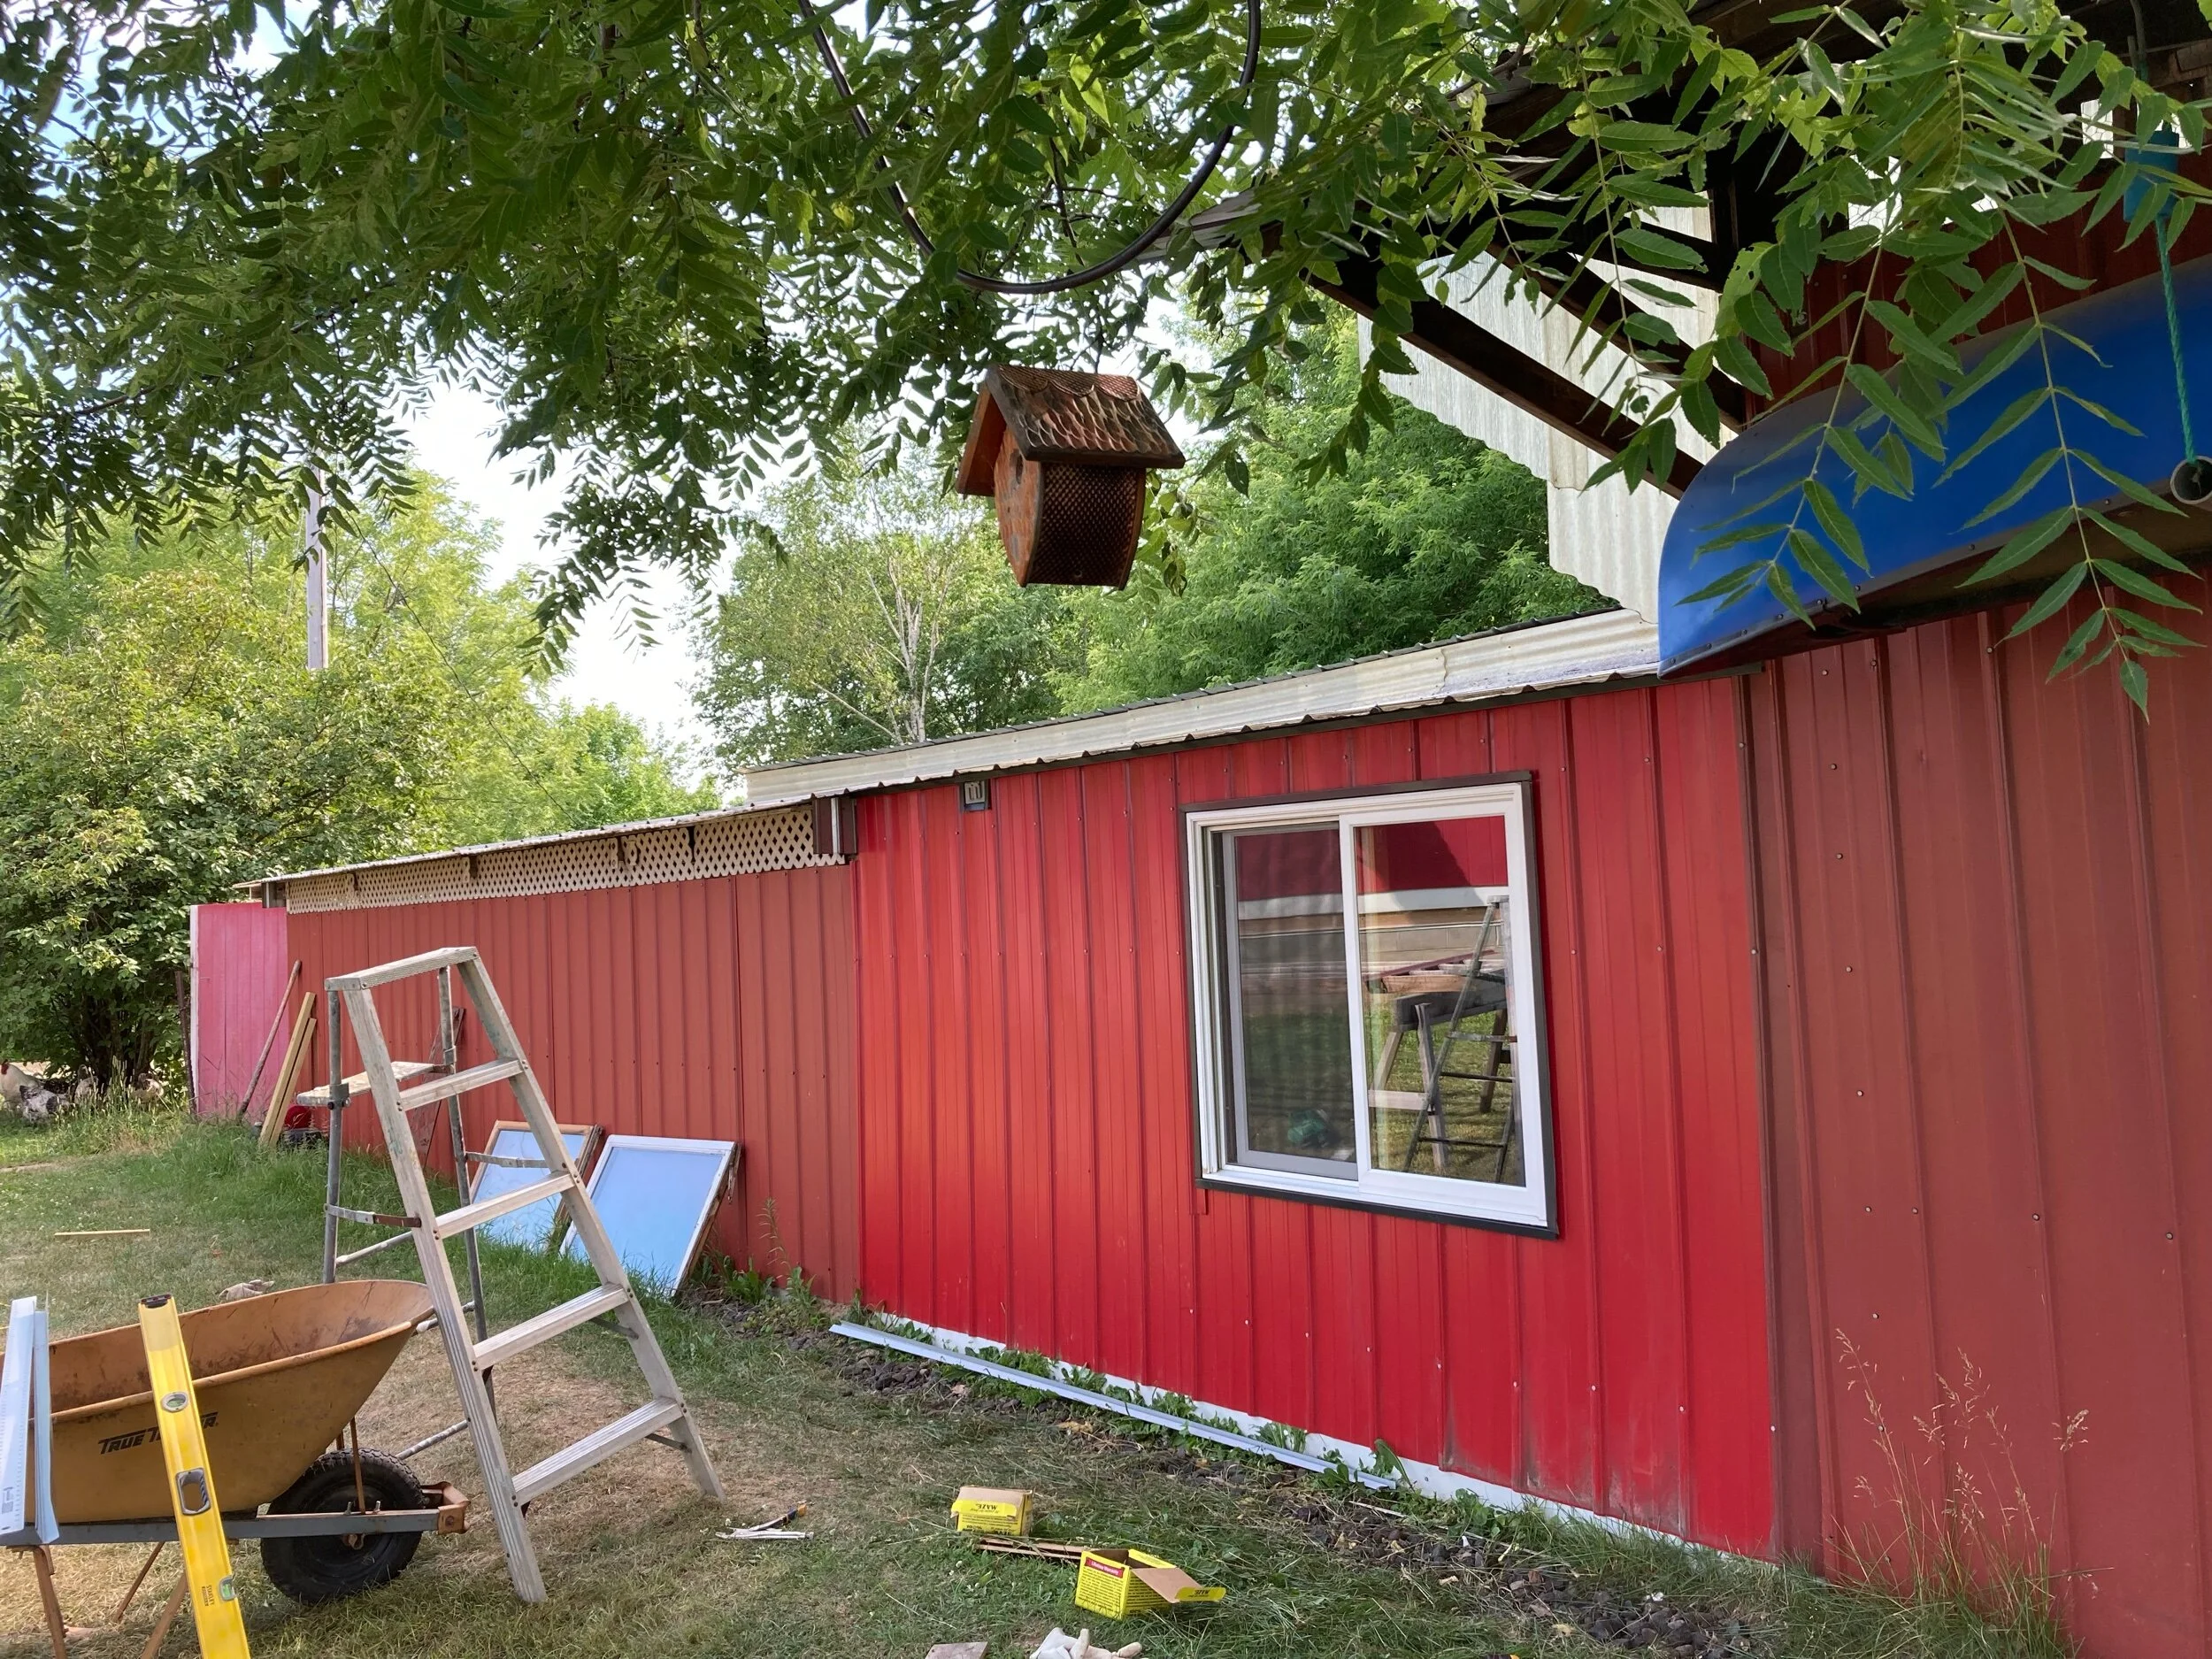
We still have to install bottom channel. It helps keep the wasps out. We are done for the day and have the outside weather proofed. No, the reds don’t match: such is the nature of recycling leftovers. Even so, I’m pleased with the results.
I am out to pick up the tools and start to find a home for a bunch of hardwood planks I inherited from a friend’s father. It is due to rain tonight. We need the rain, but not on the raw cut boards. We had to get the metal up so I can cannibalize the sawhorses we used to raise the metal cutting frame. Michael does amazing things on his peg leg, but cutting metal on the ground was not one of them. Now to find indoor space for those sawhorses and planks.
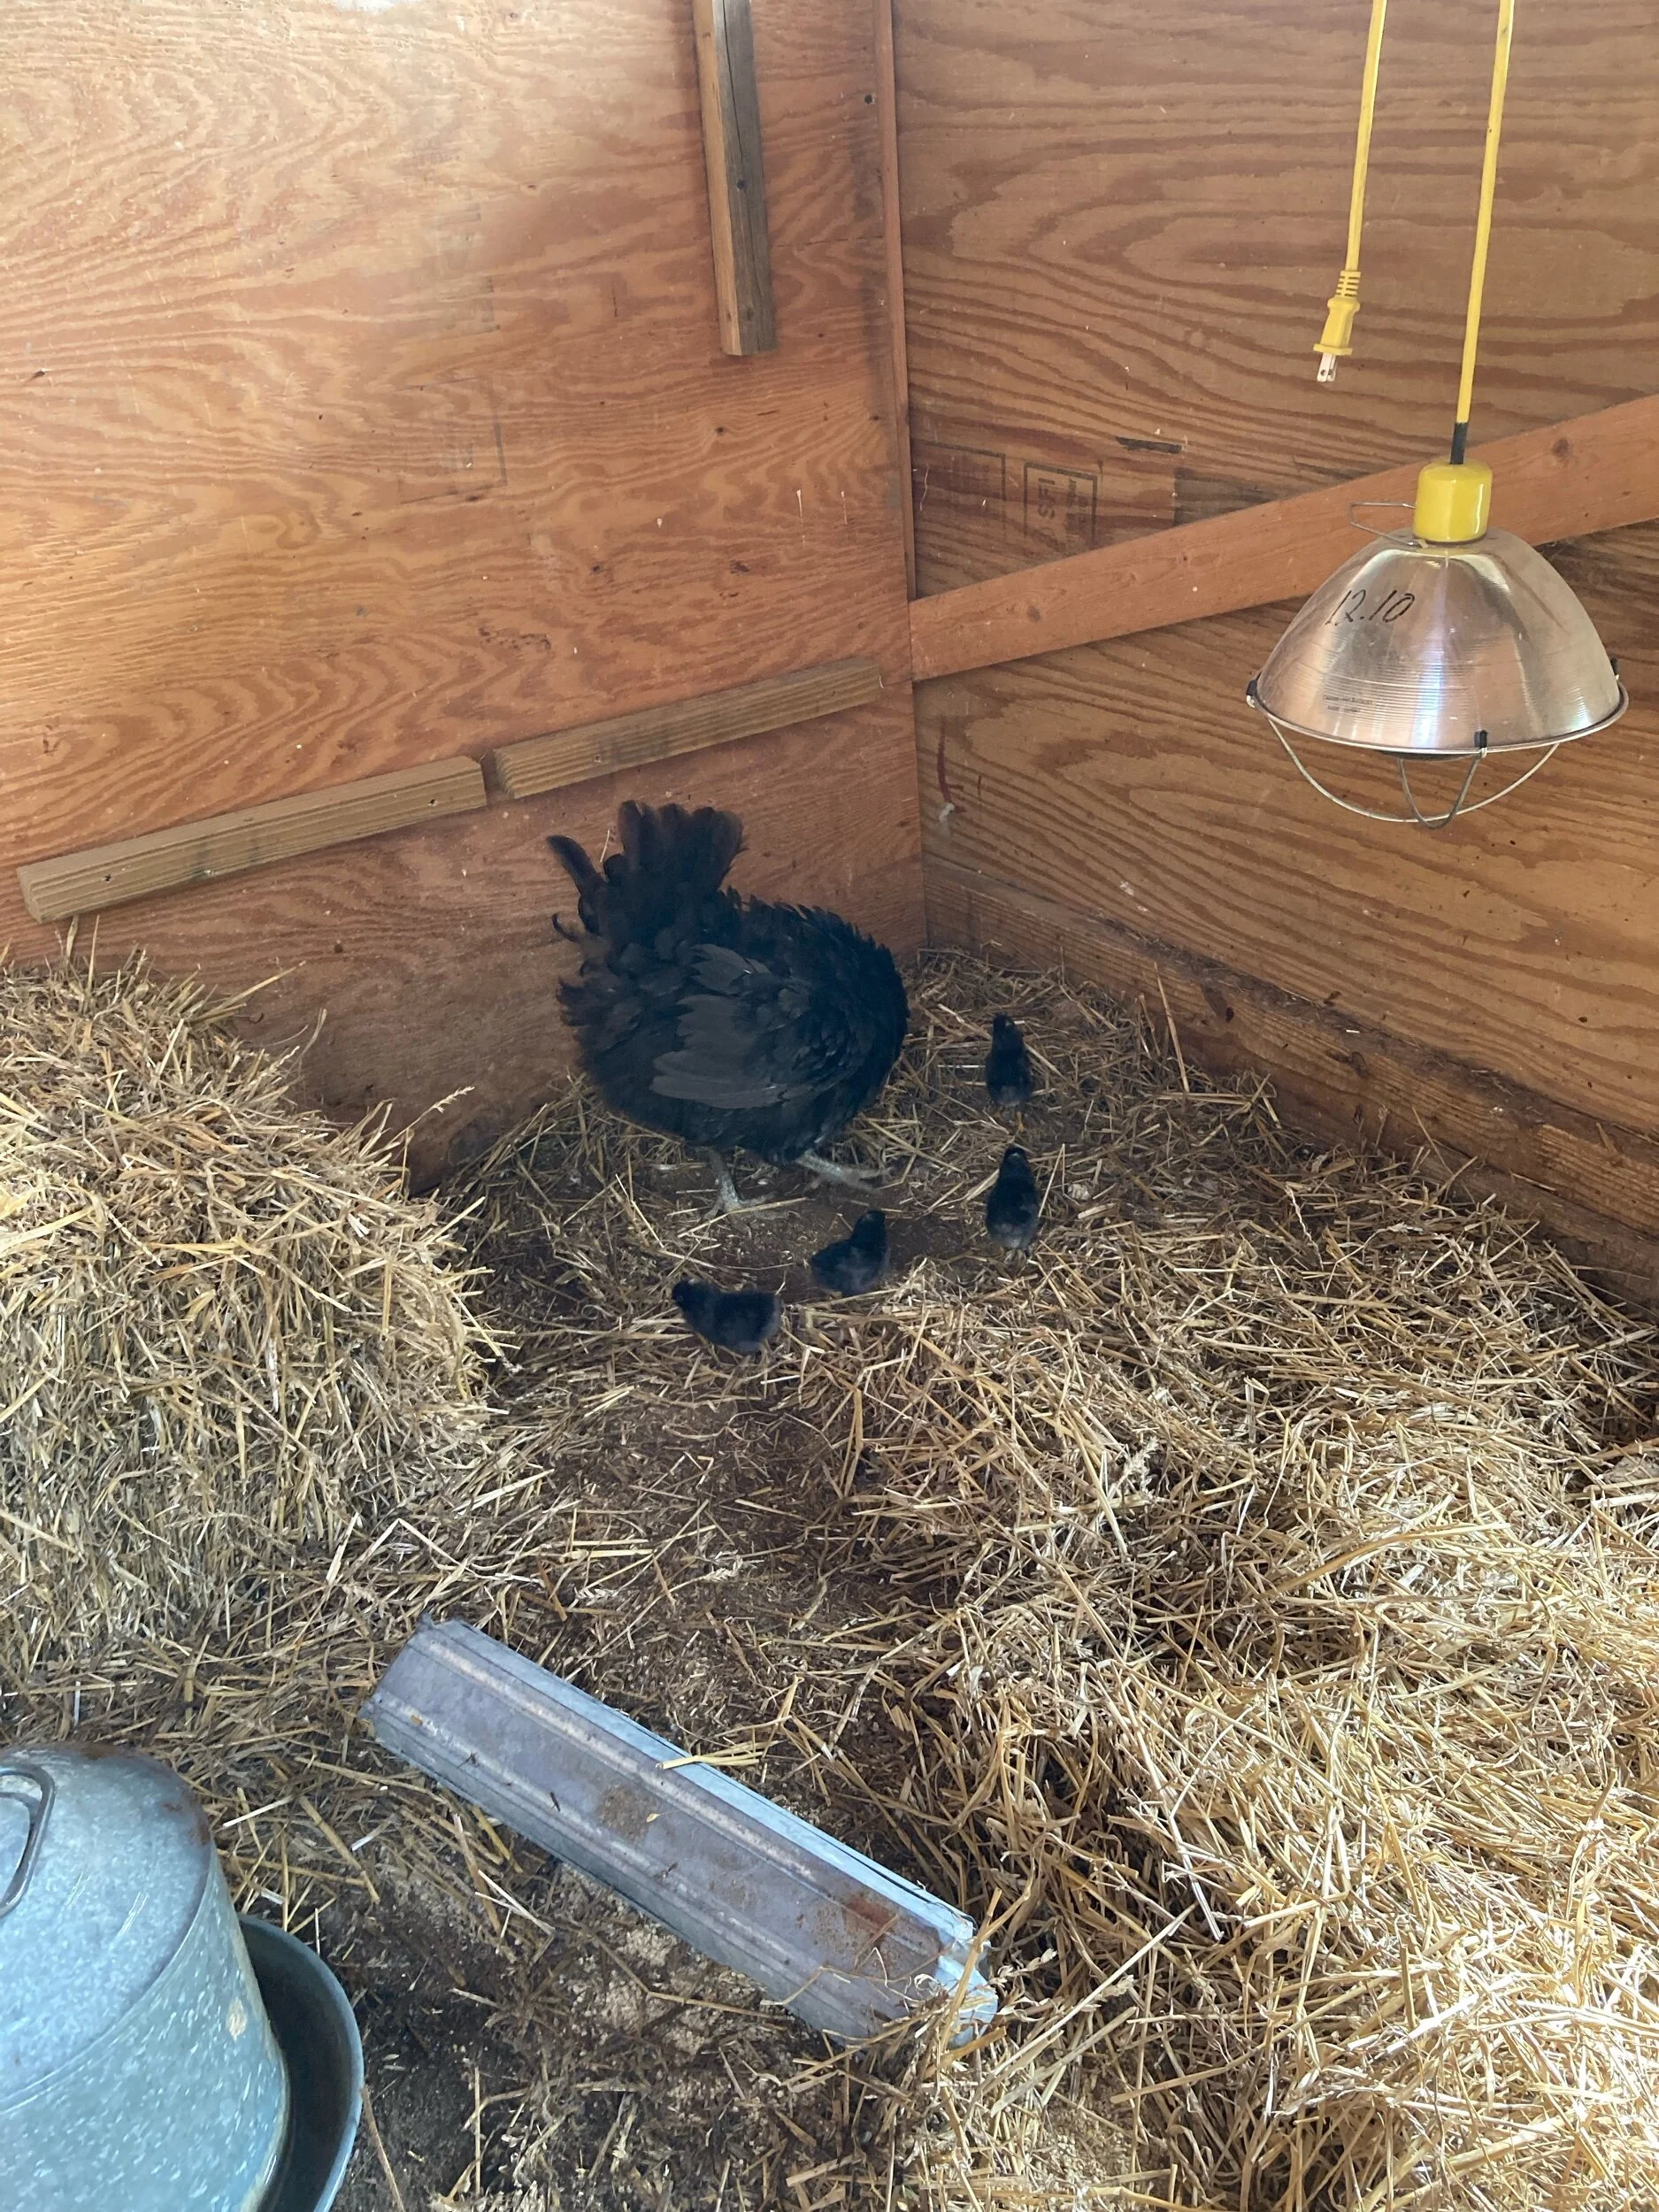
Bonus photo: Lil’ Blackie hatched 4 chicks on July 2-3.
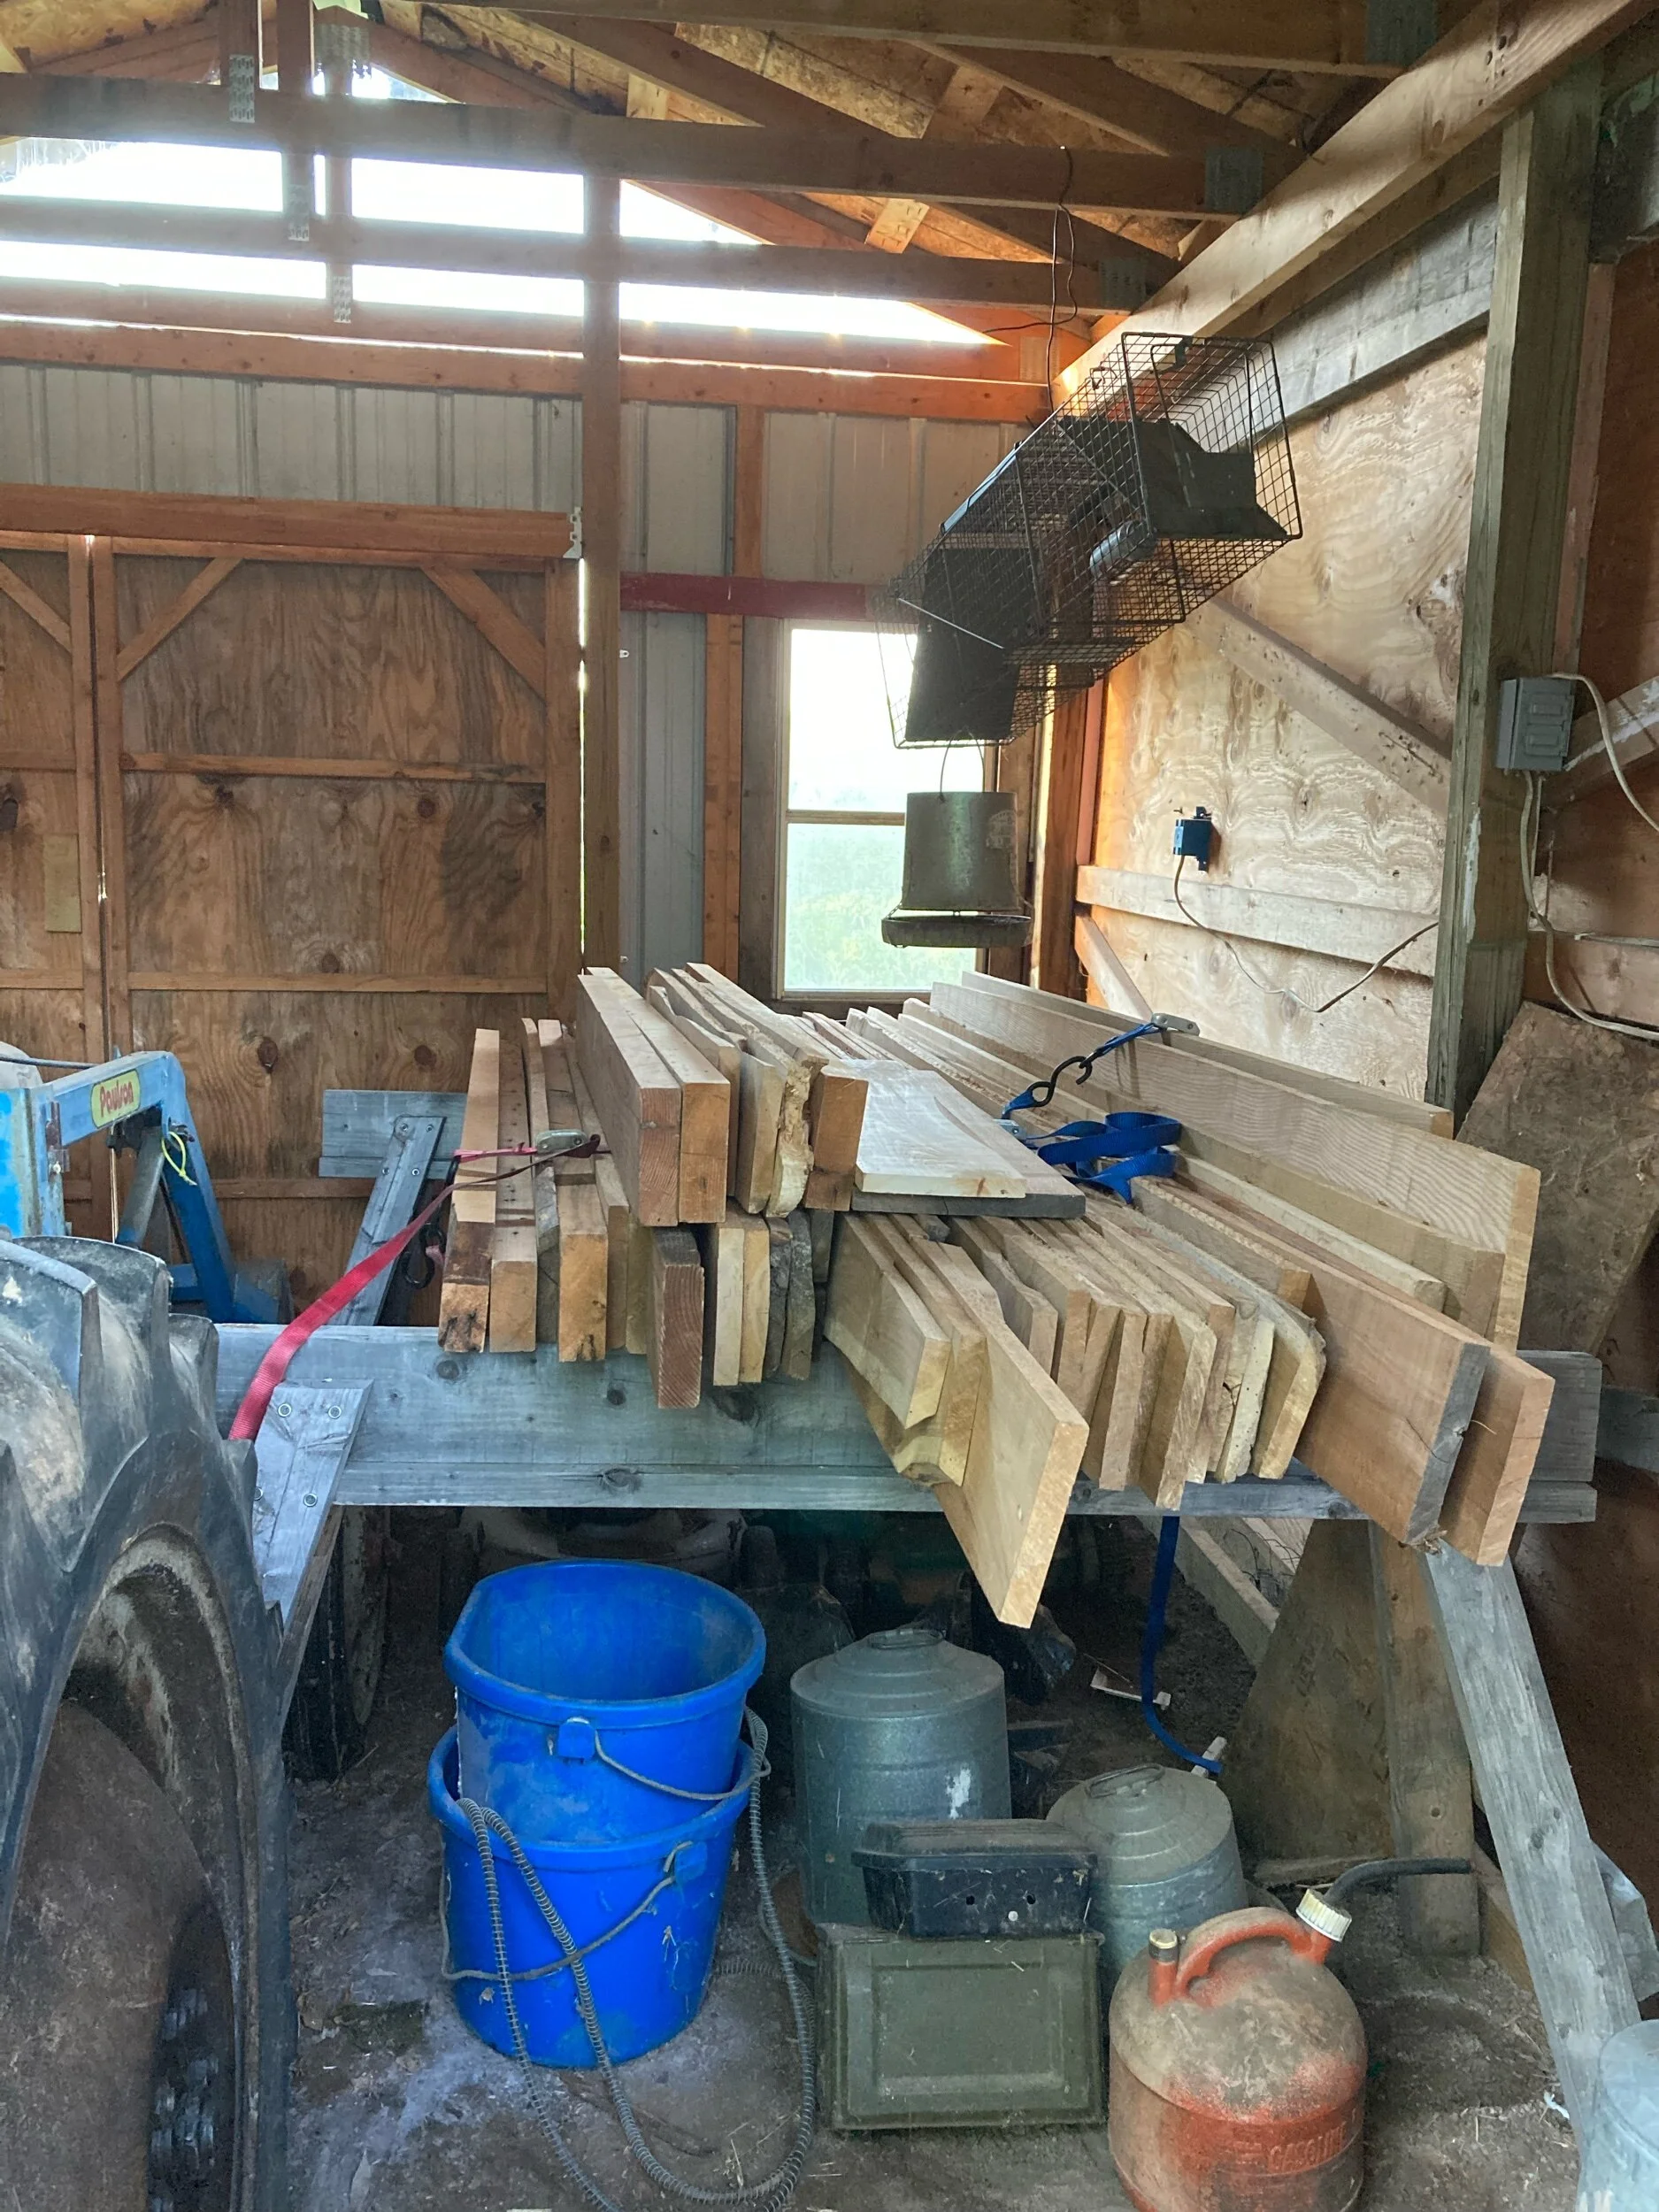
Added bonus: the wood fit in the tractor shed! We scored cherry, white oak, red oak, butternut, poplar and old barn wood (that is, actual 2” x 4” s).