Construction journal: we are slowly getting finish work done
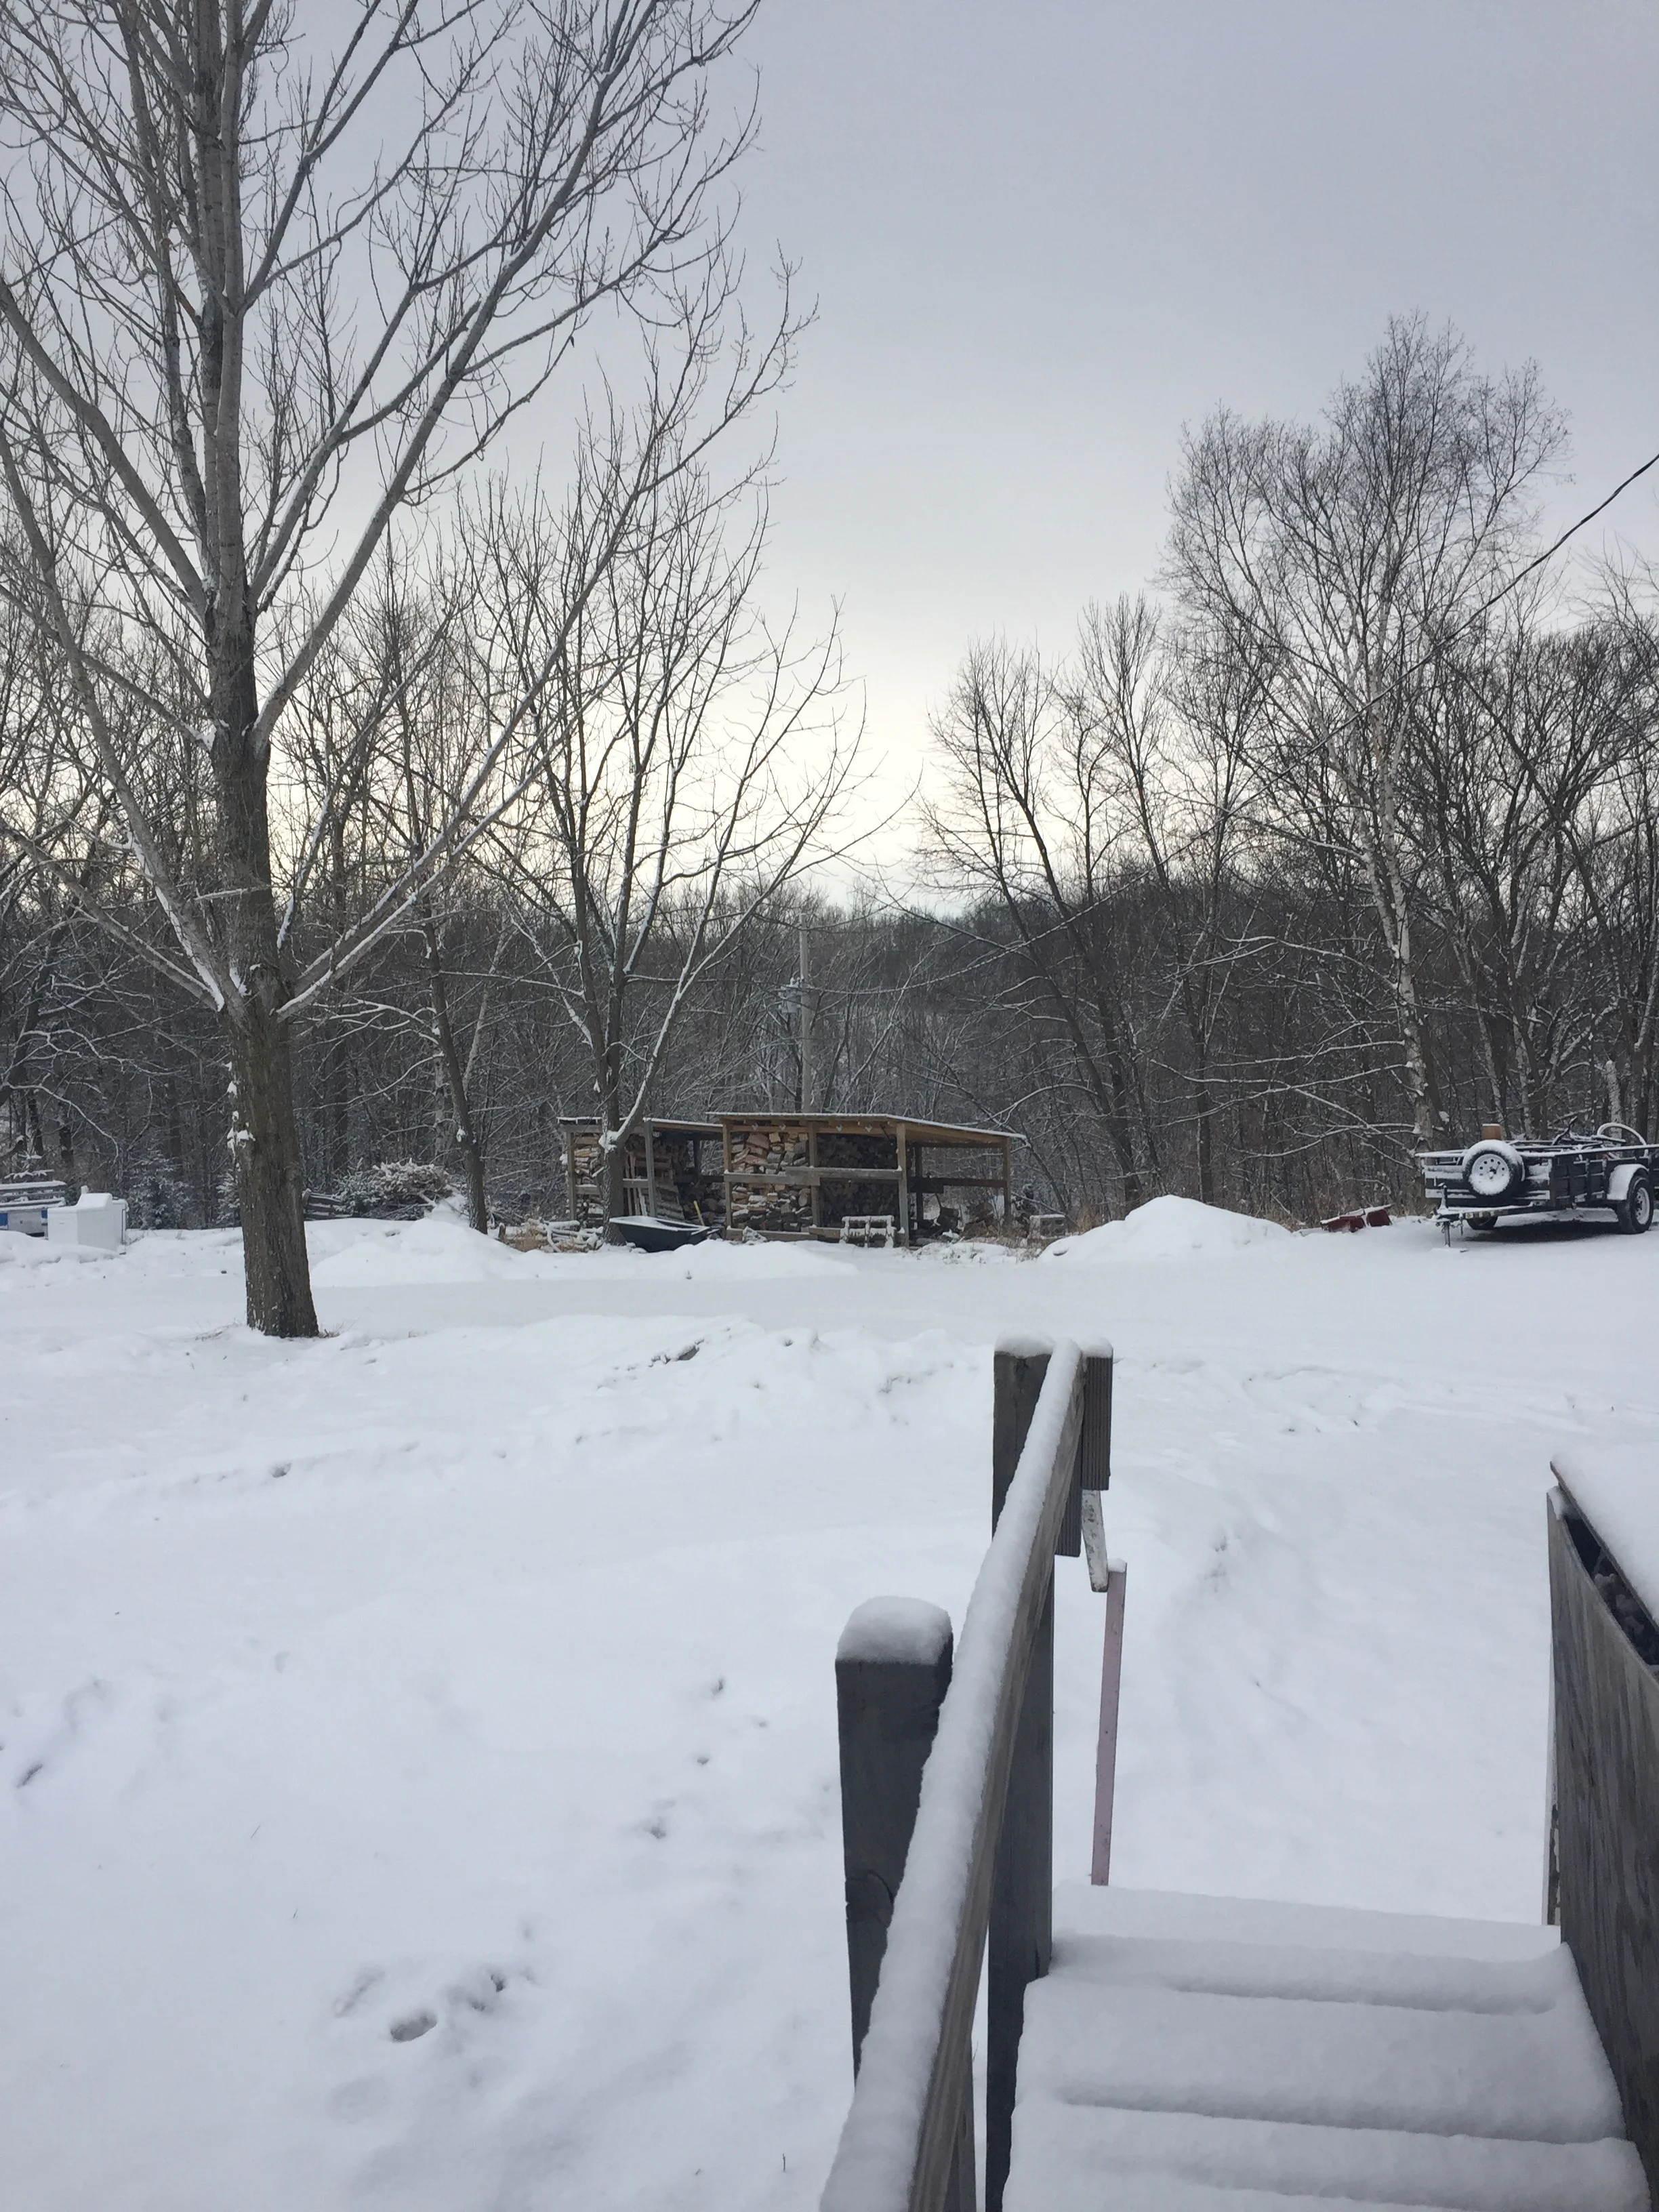
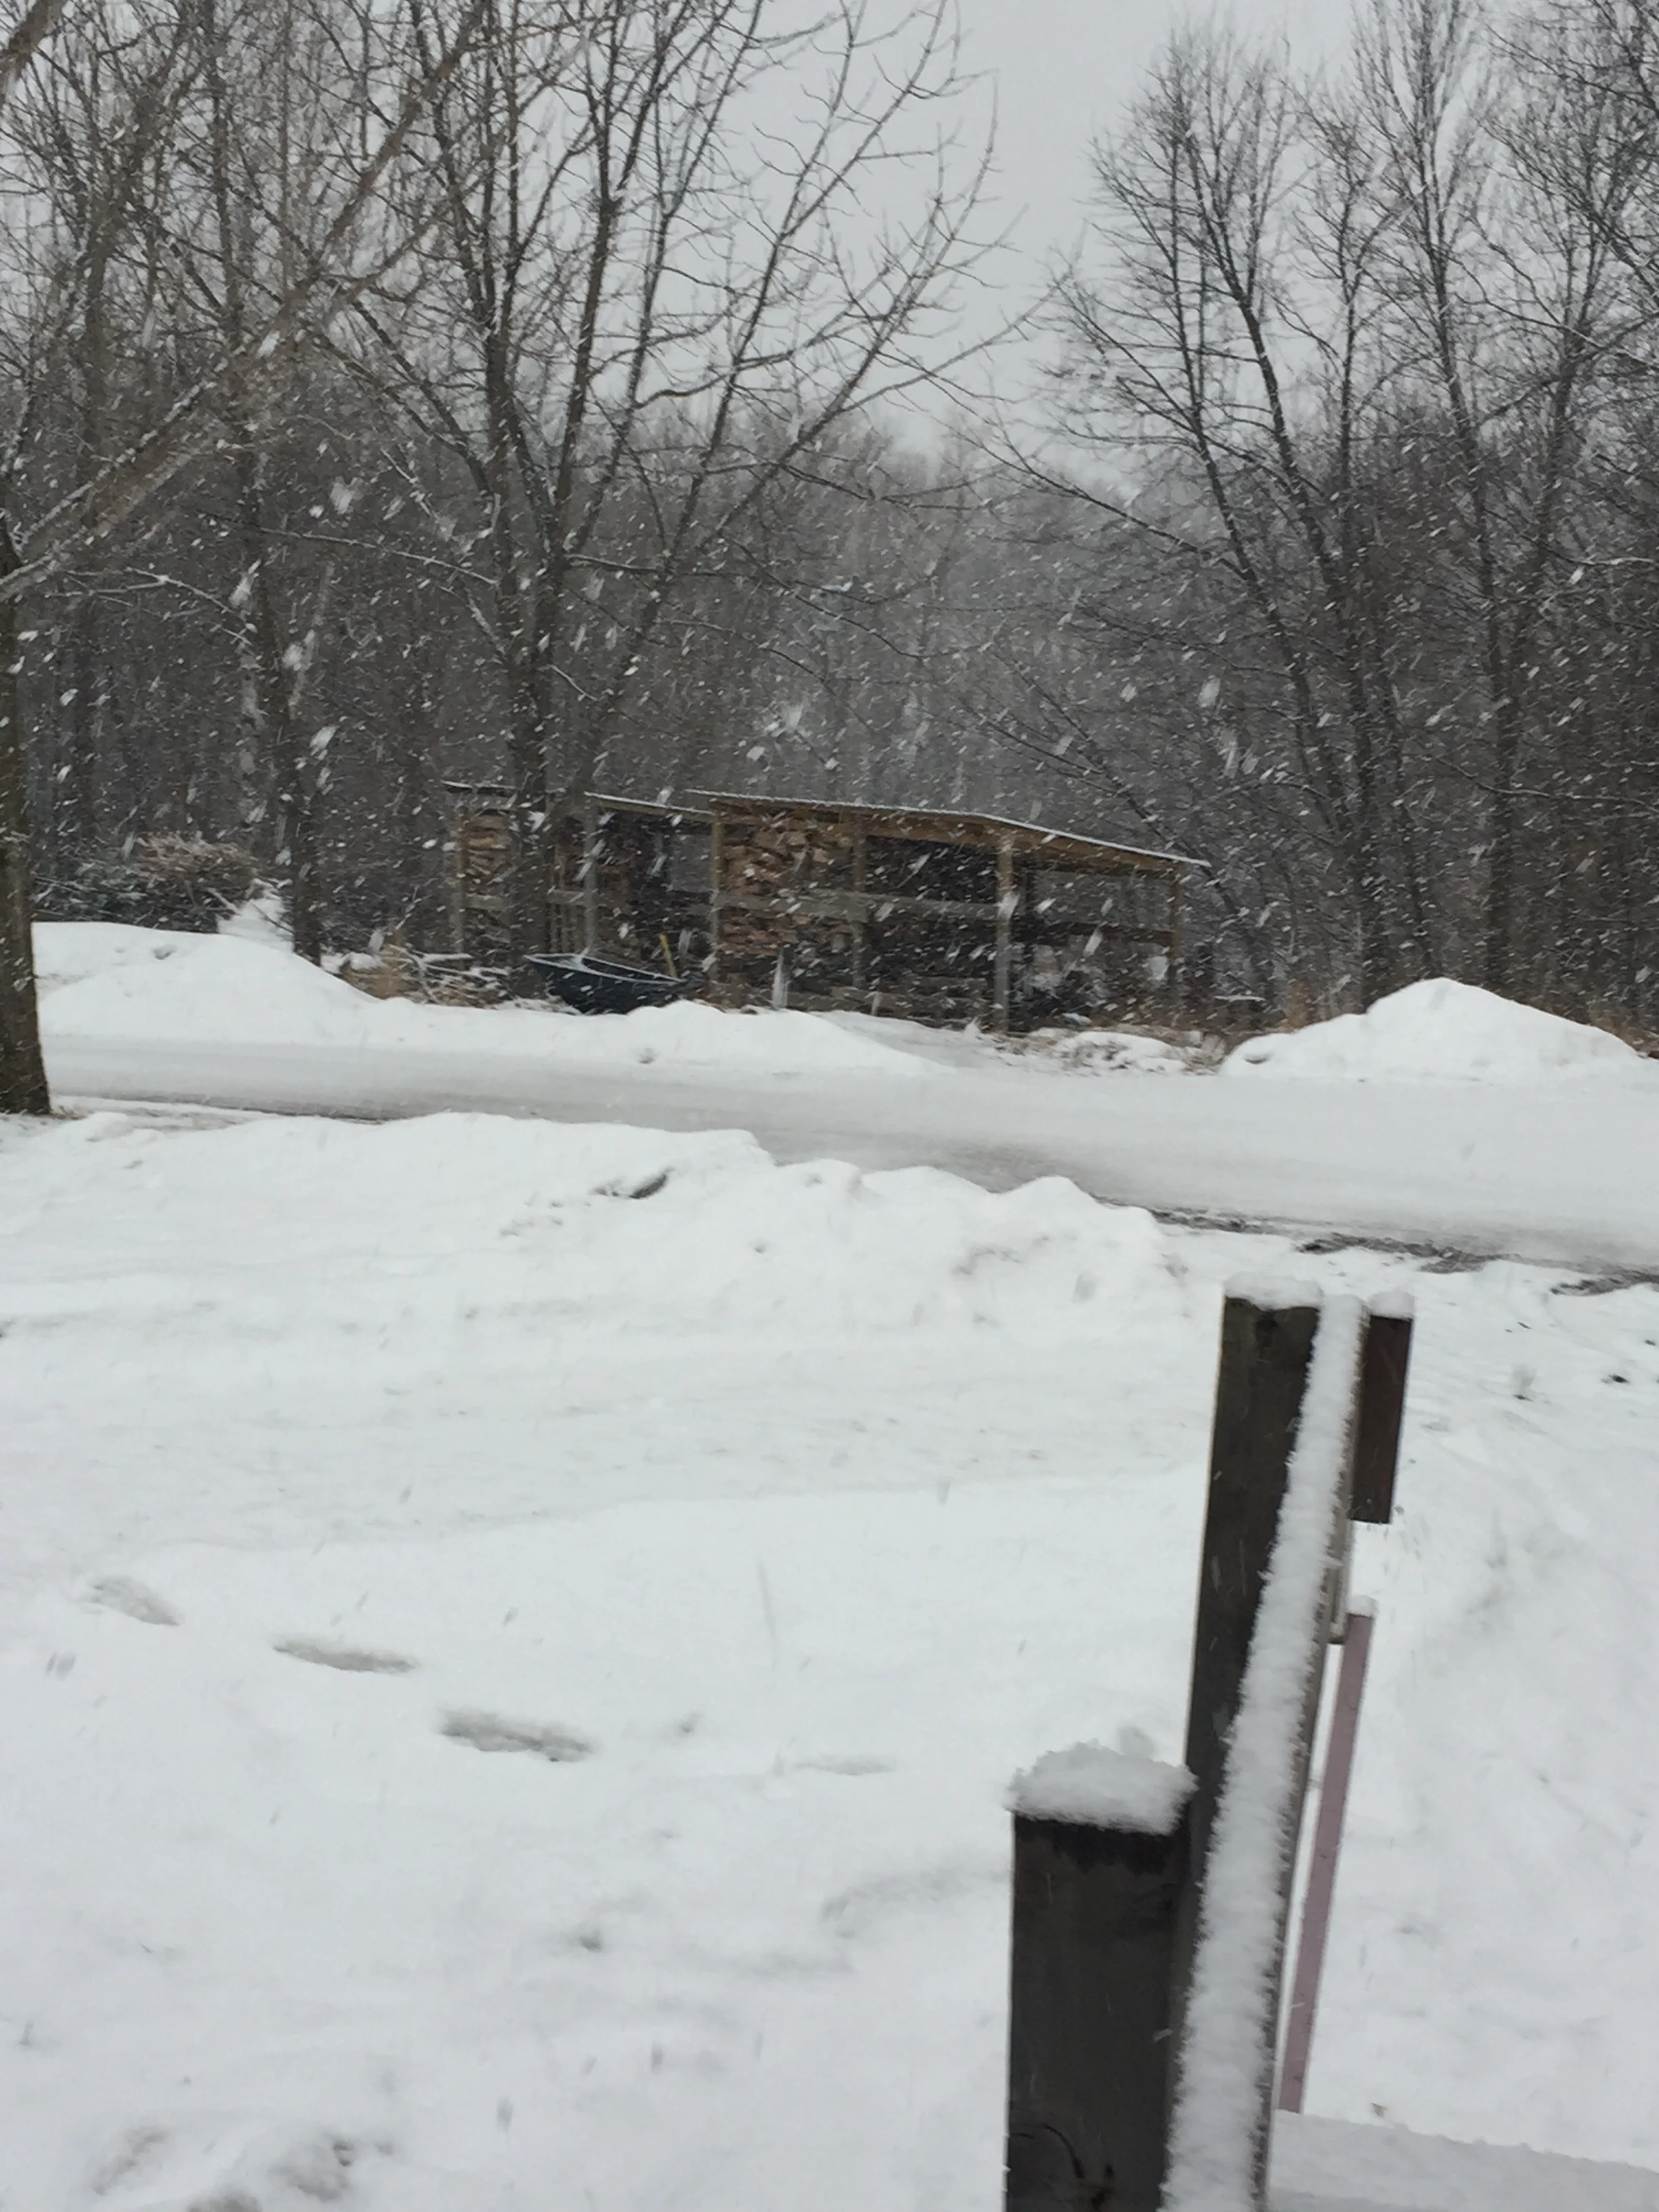
Irene’s birthday came. Irene’s birthday went. Her space still is not finished. Part of the delay is getting our daughter moved. Part is having the snow melt and outdoor work heat up. And part is a lack of space to work.
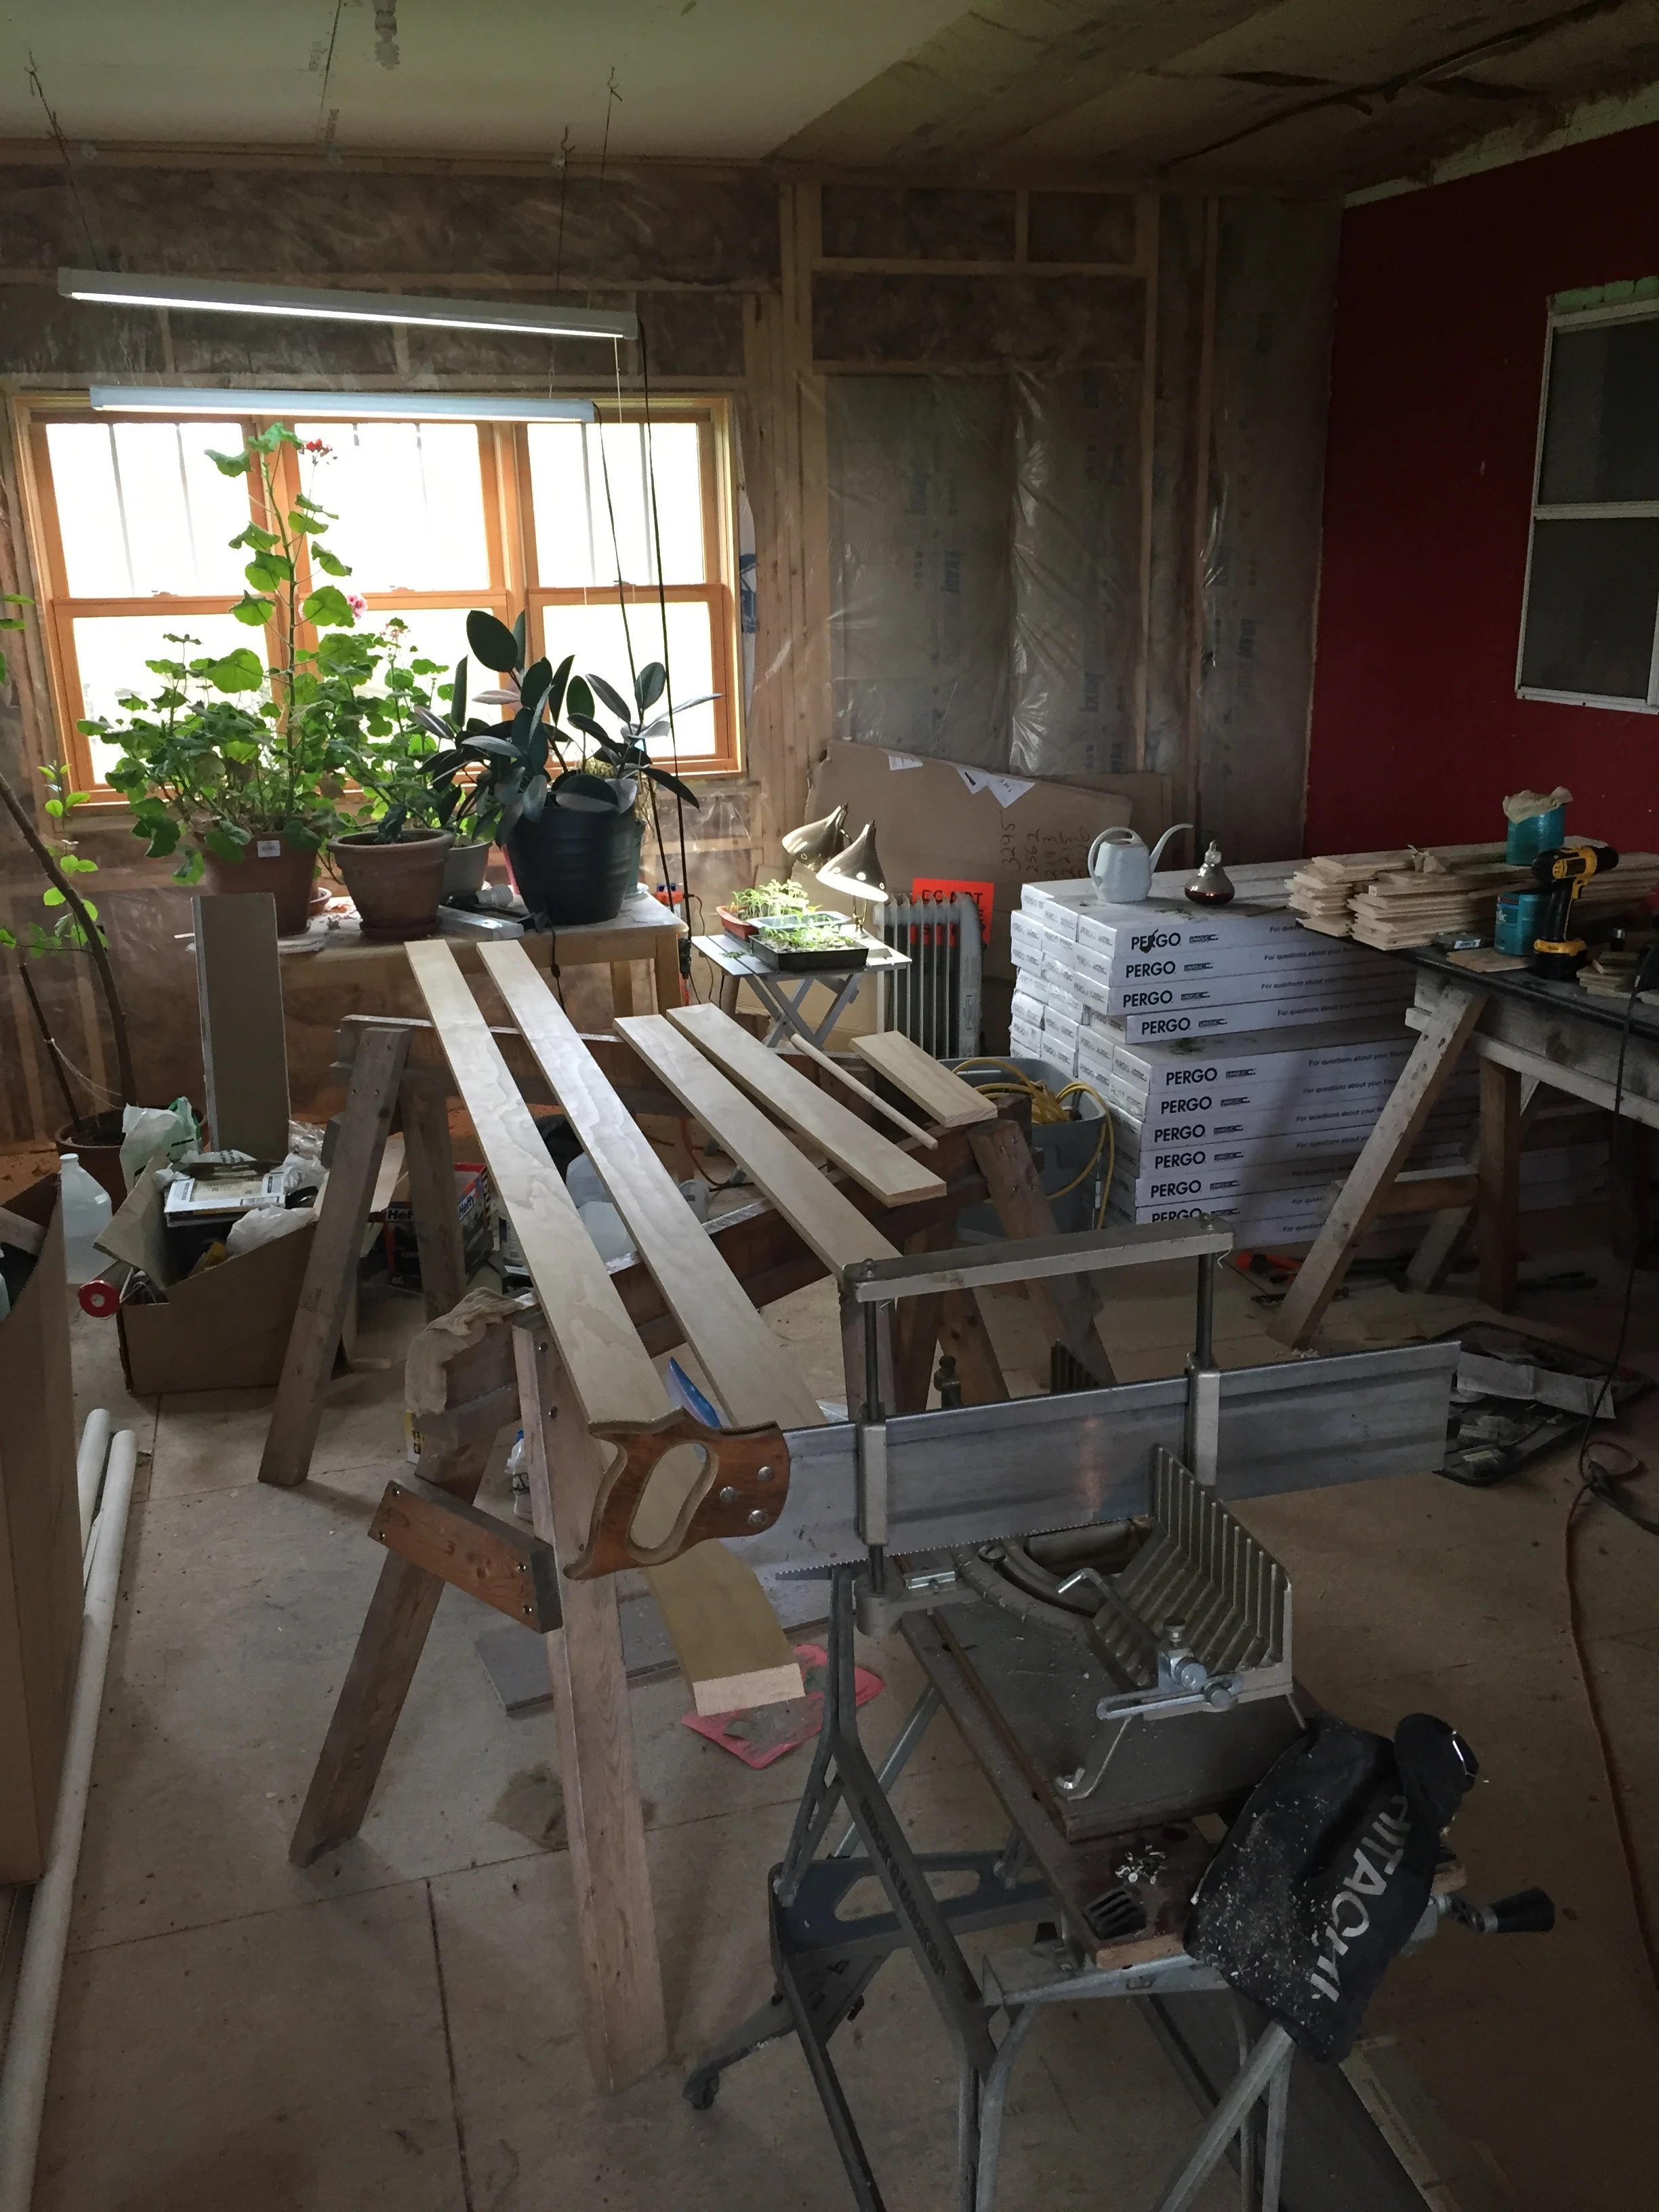
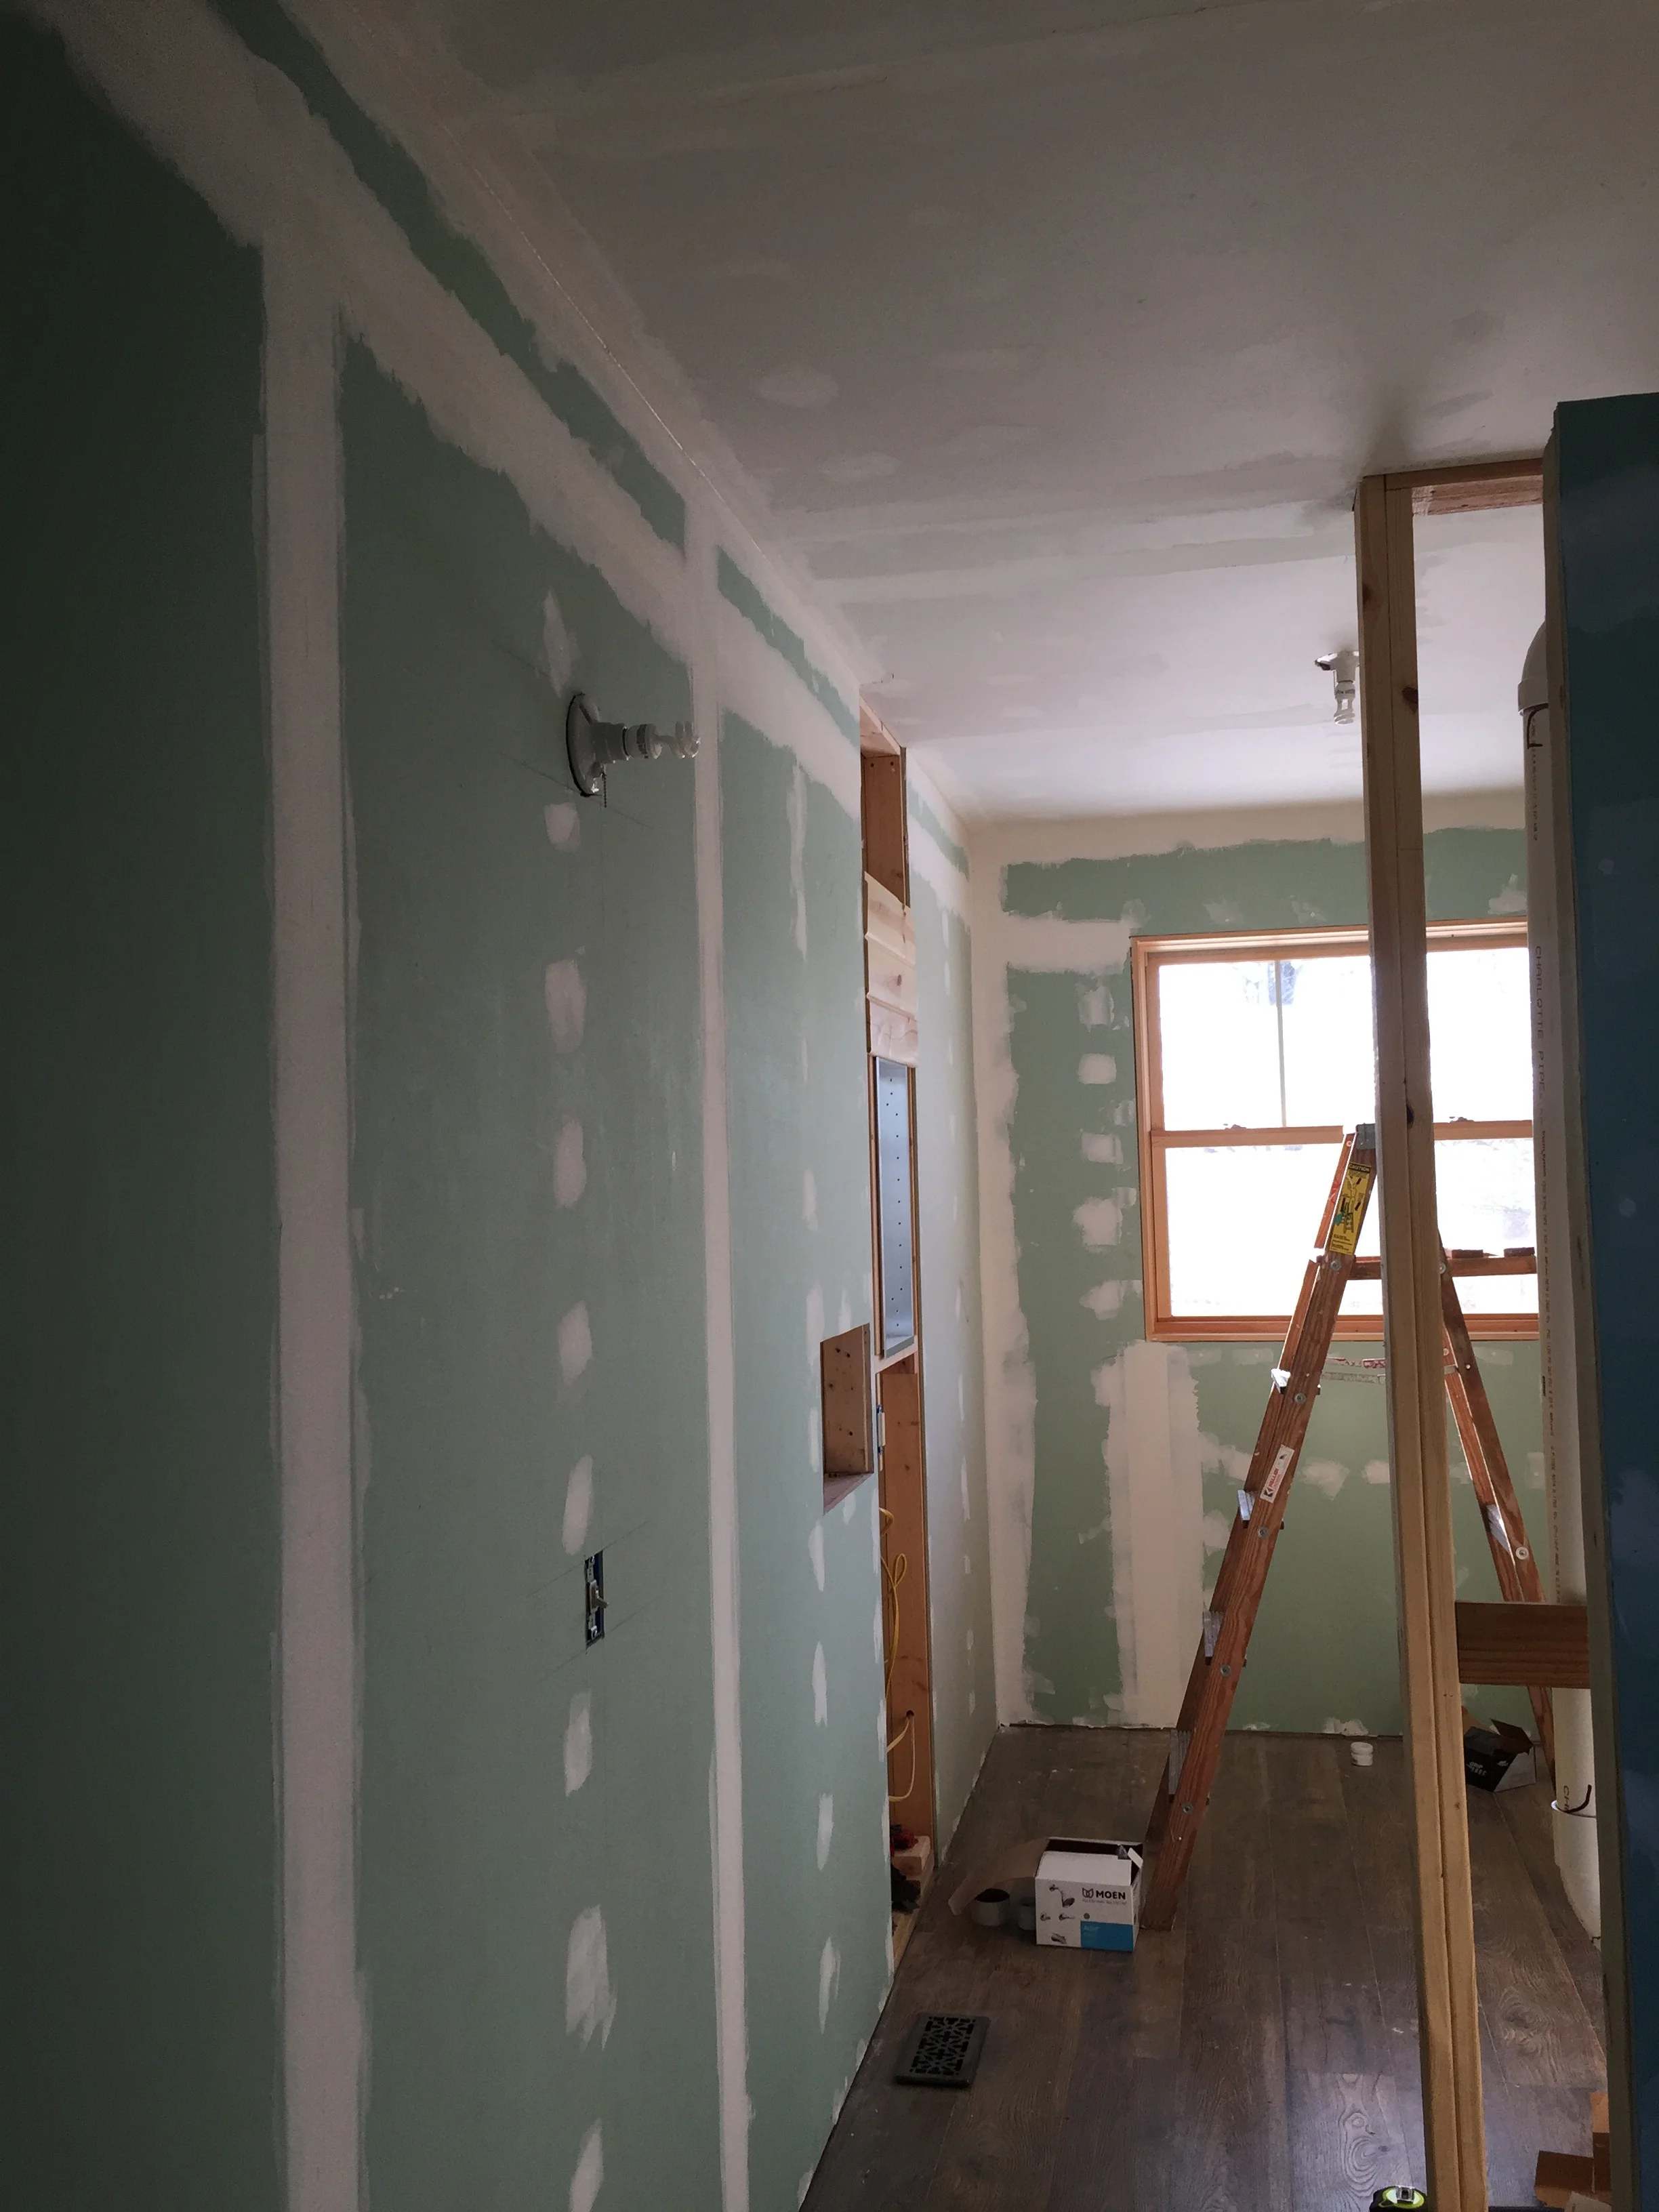
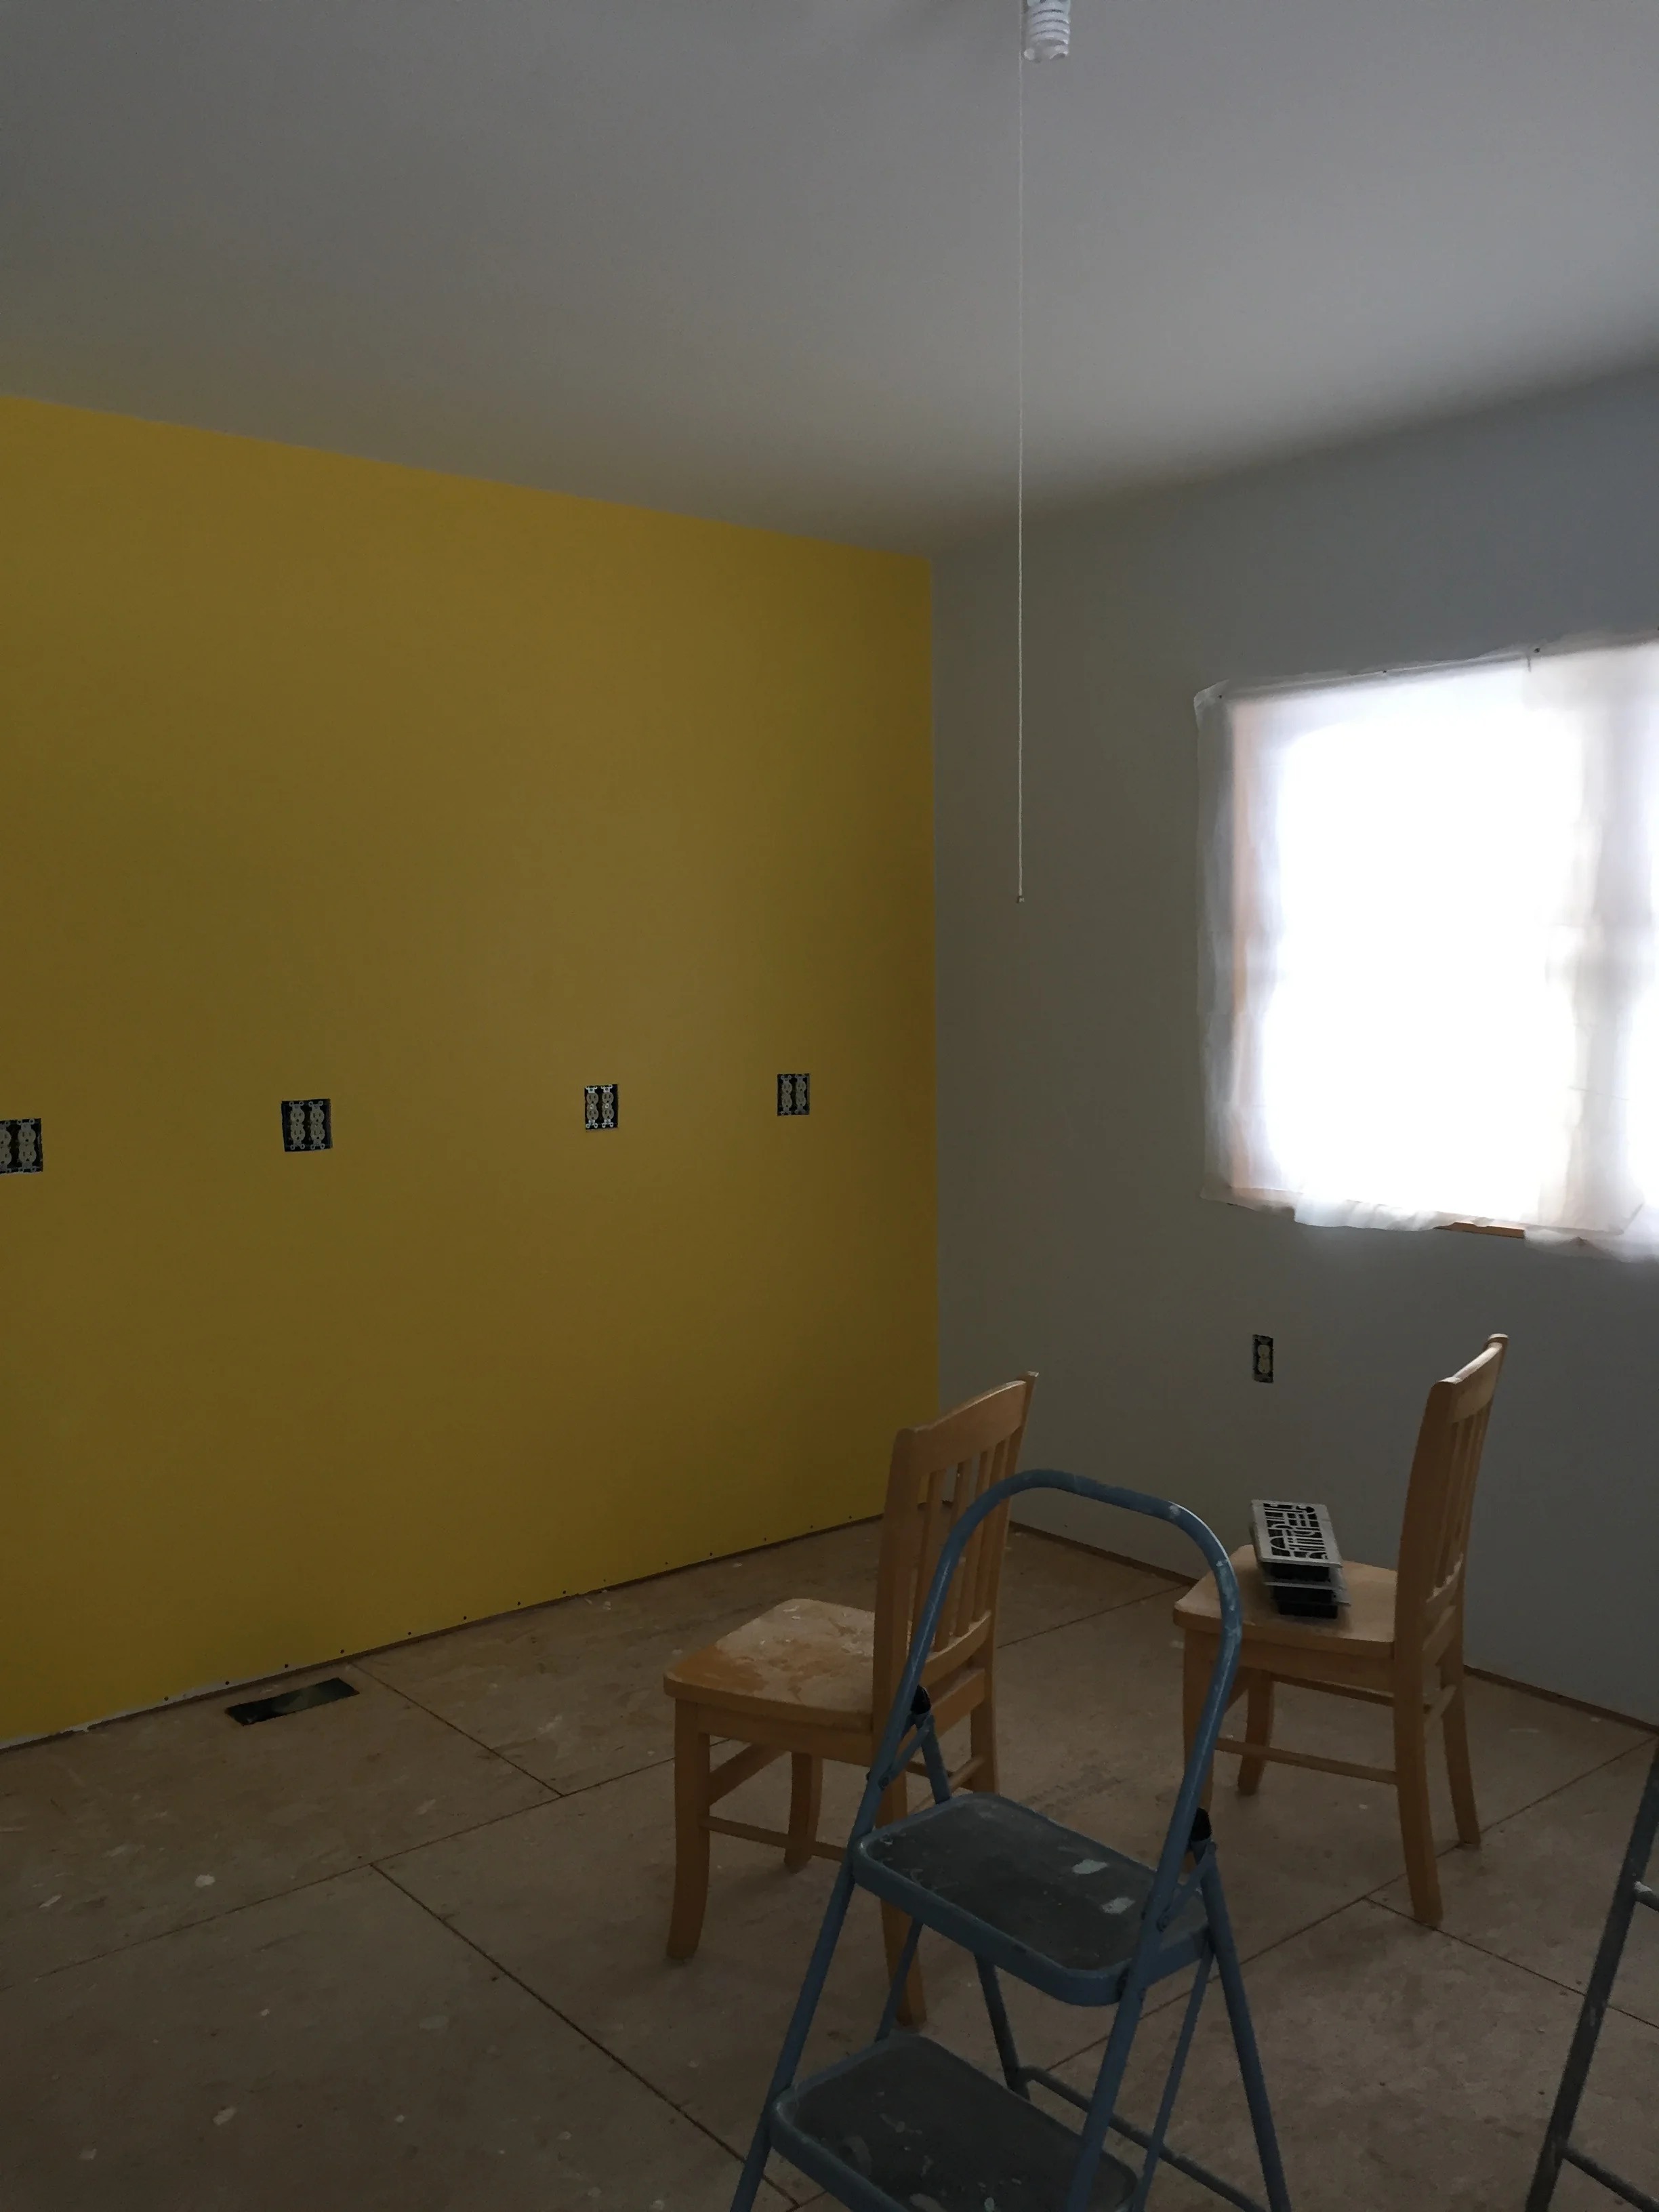
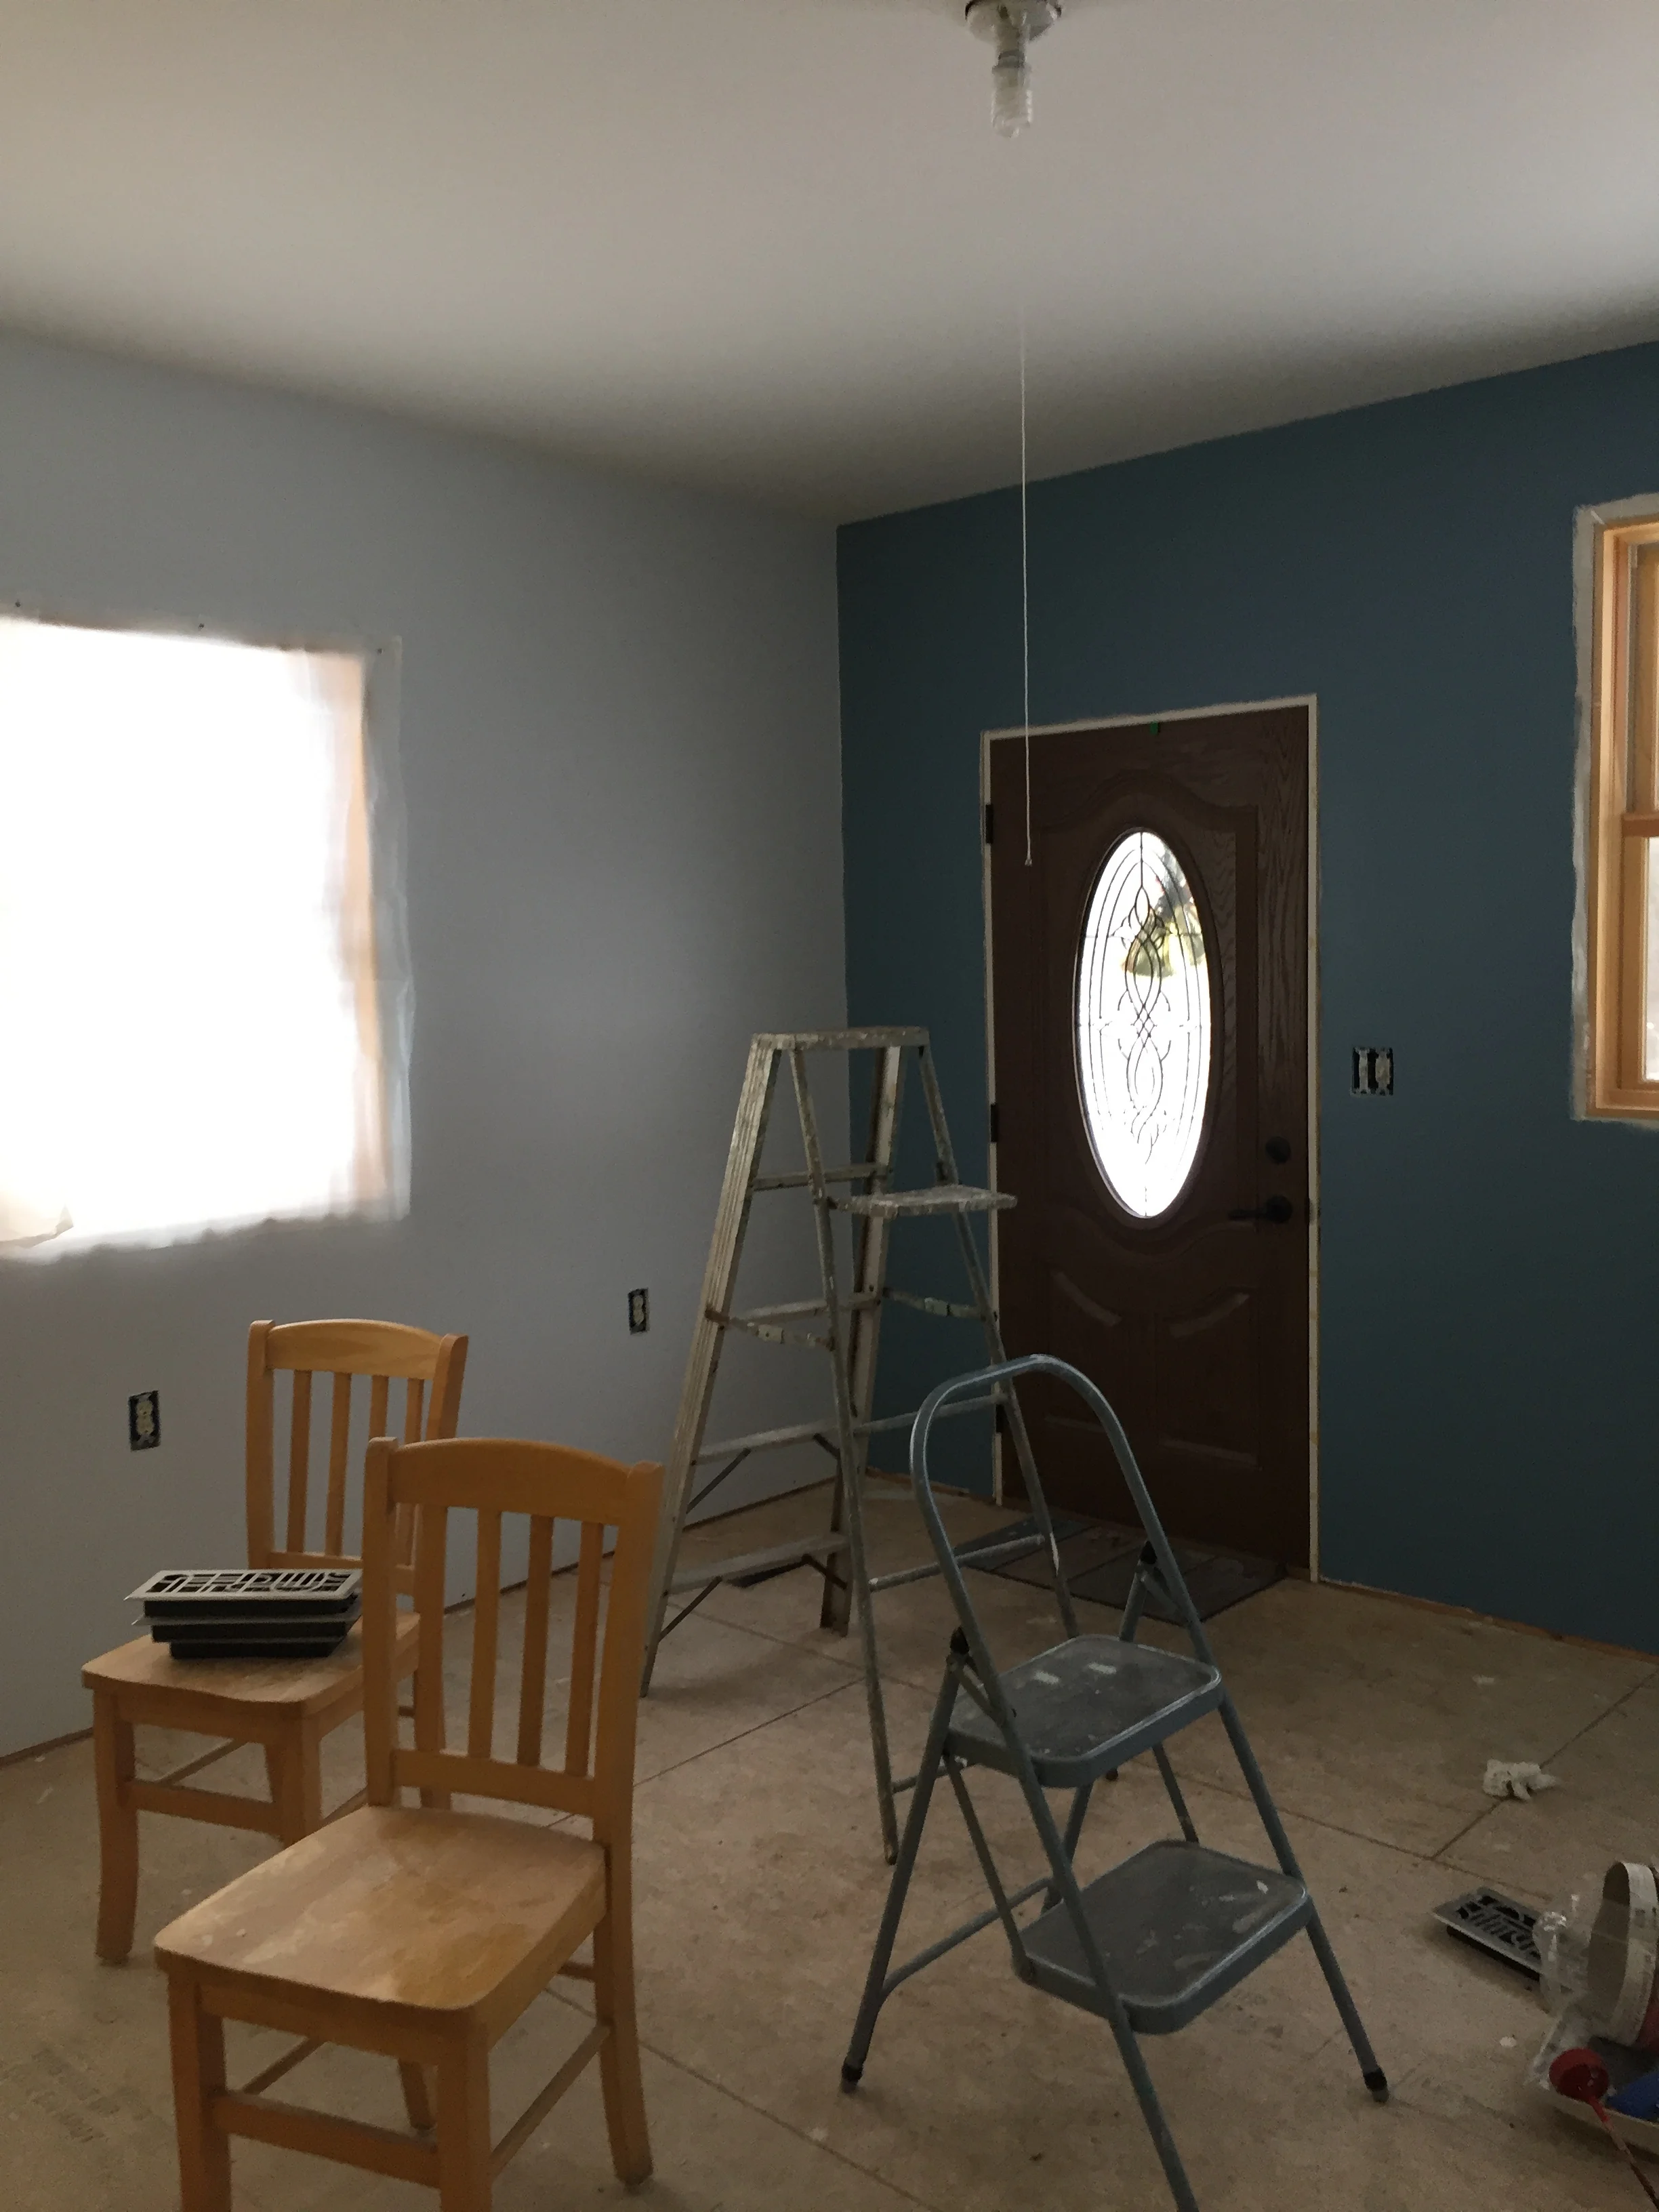
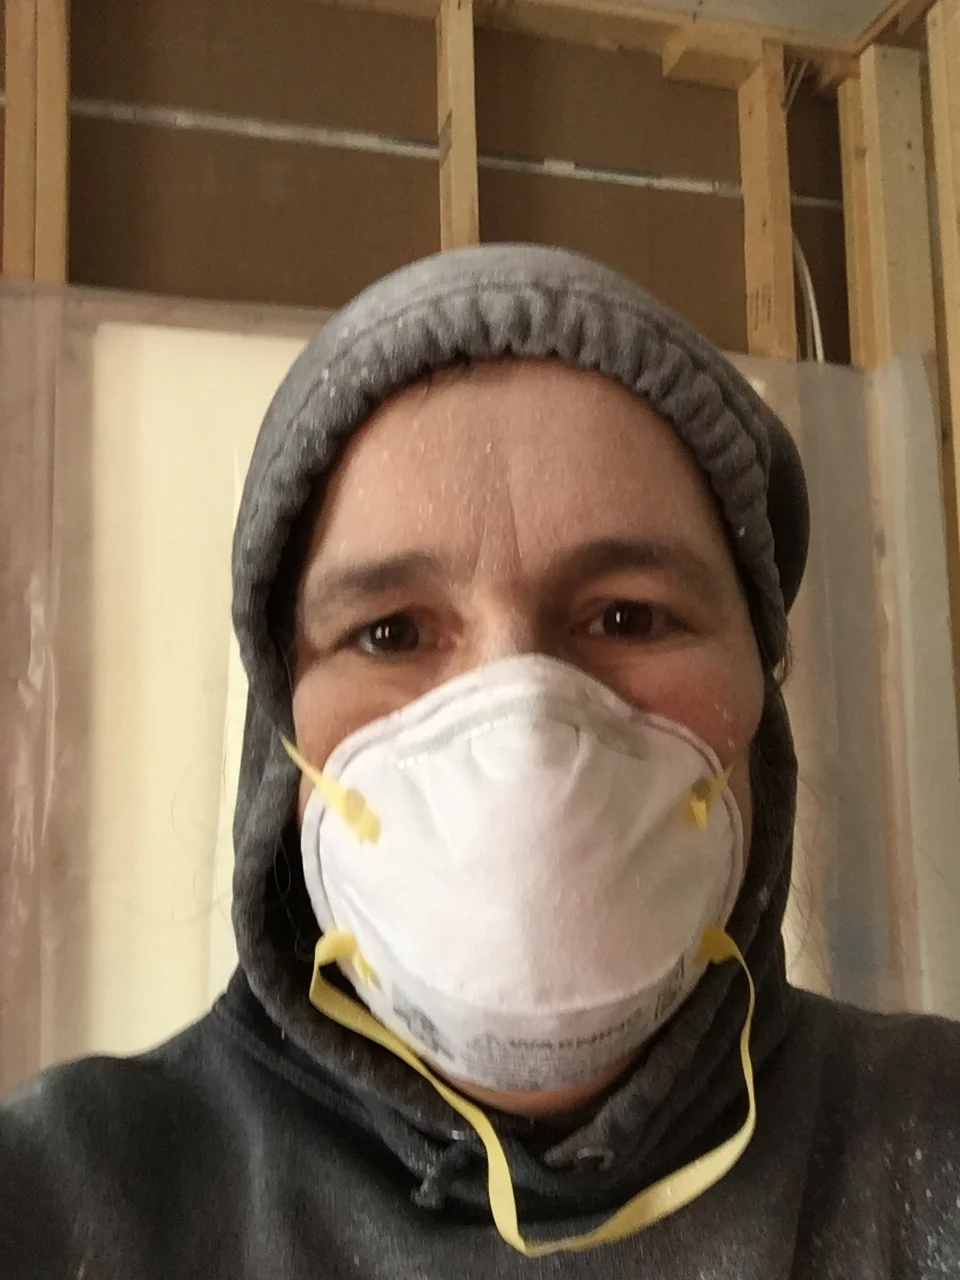
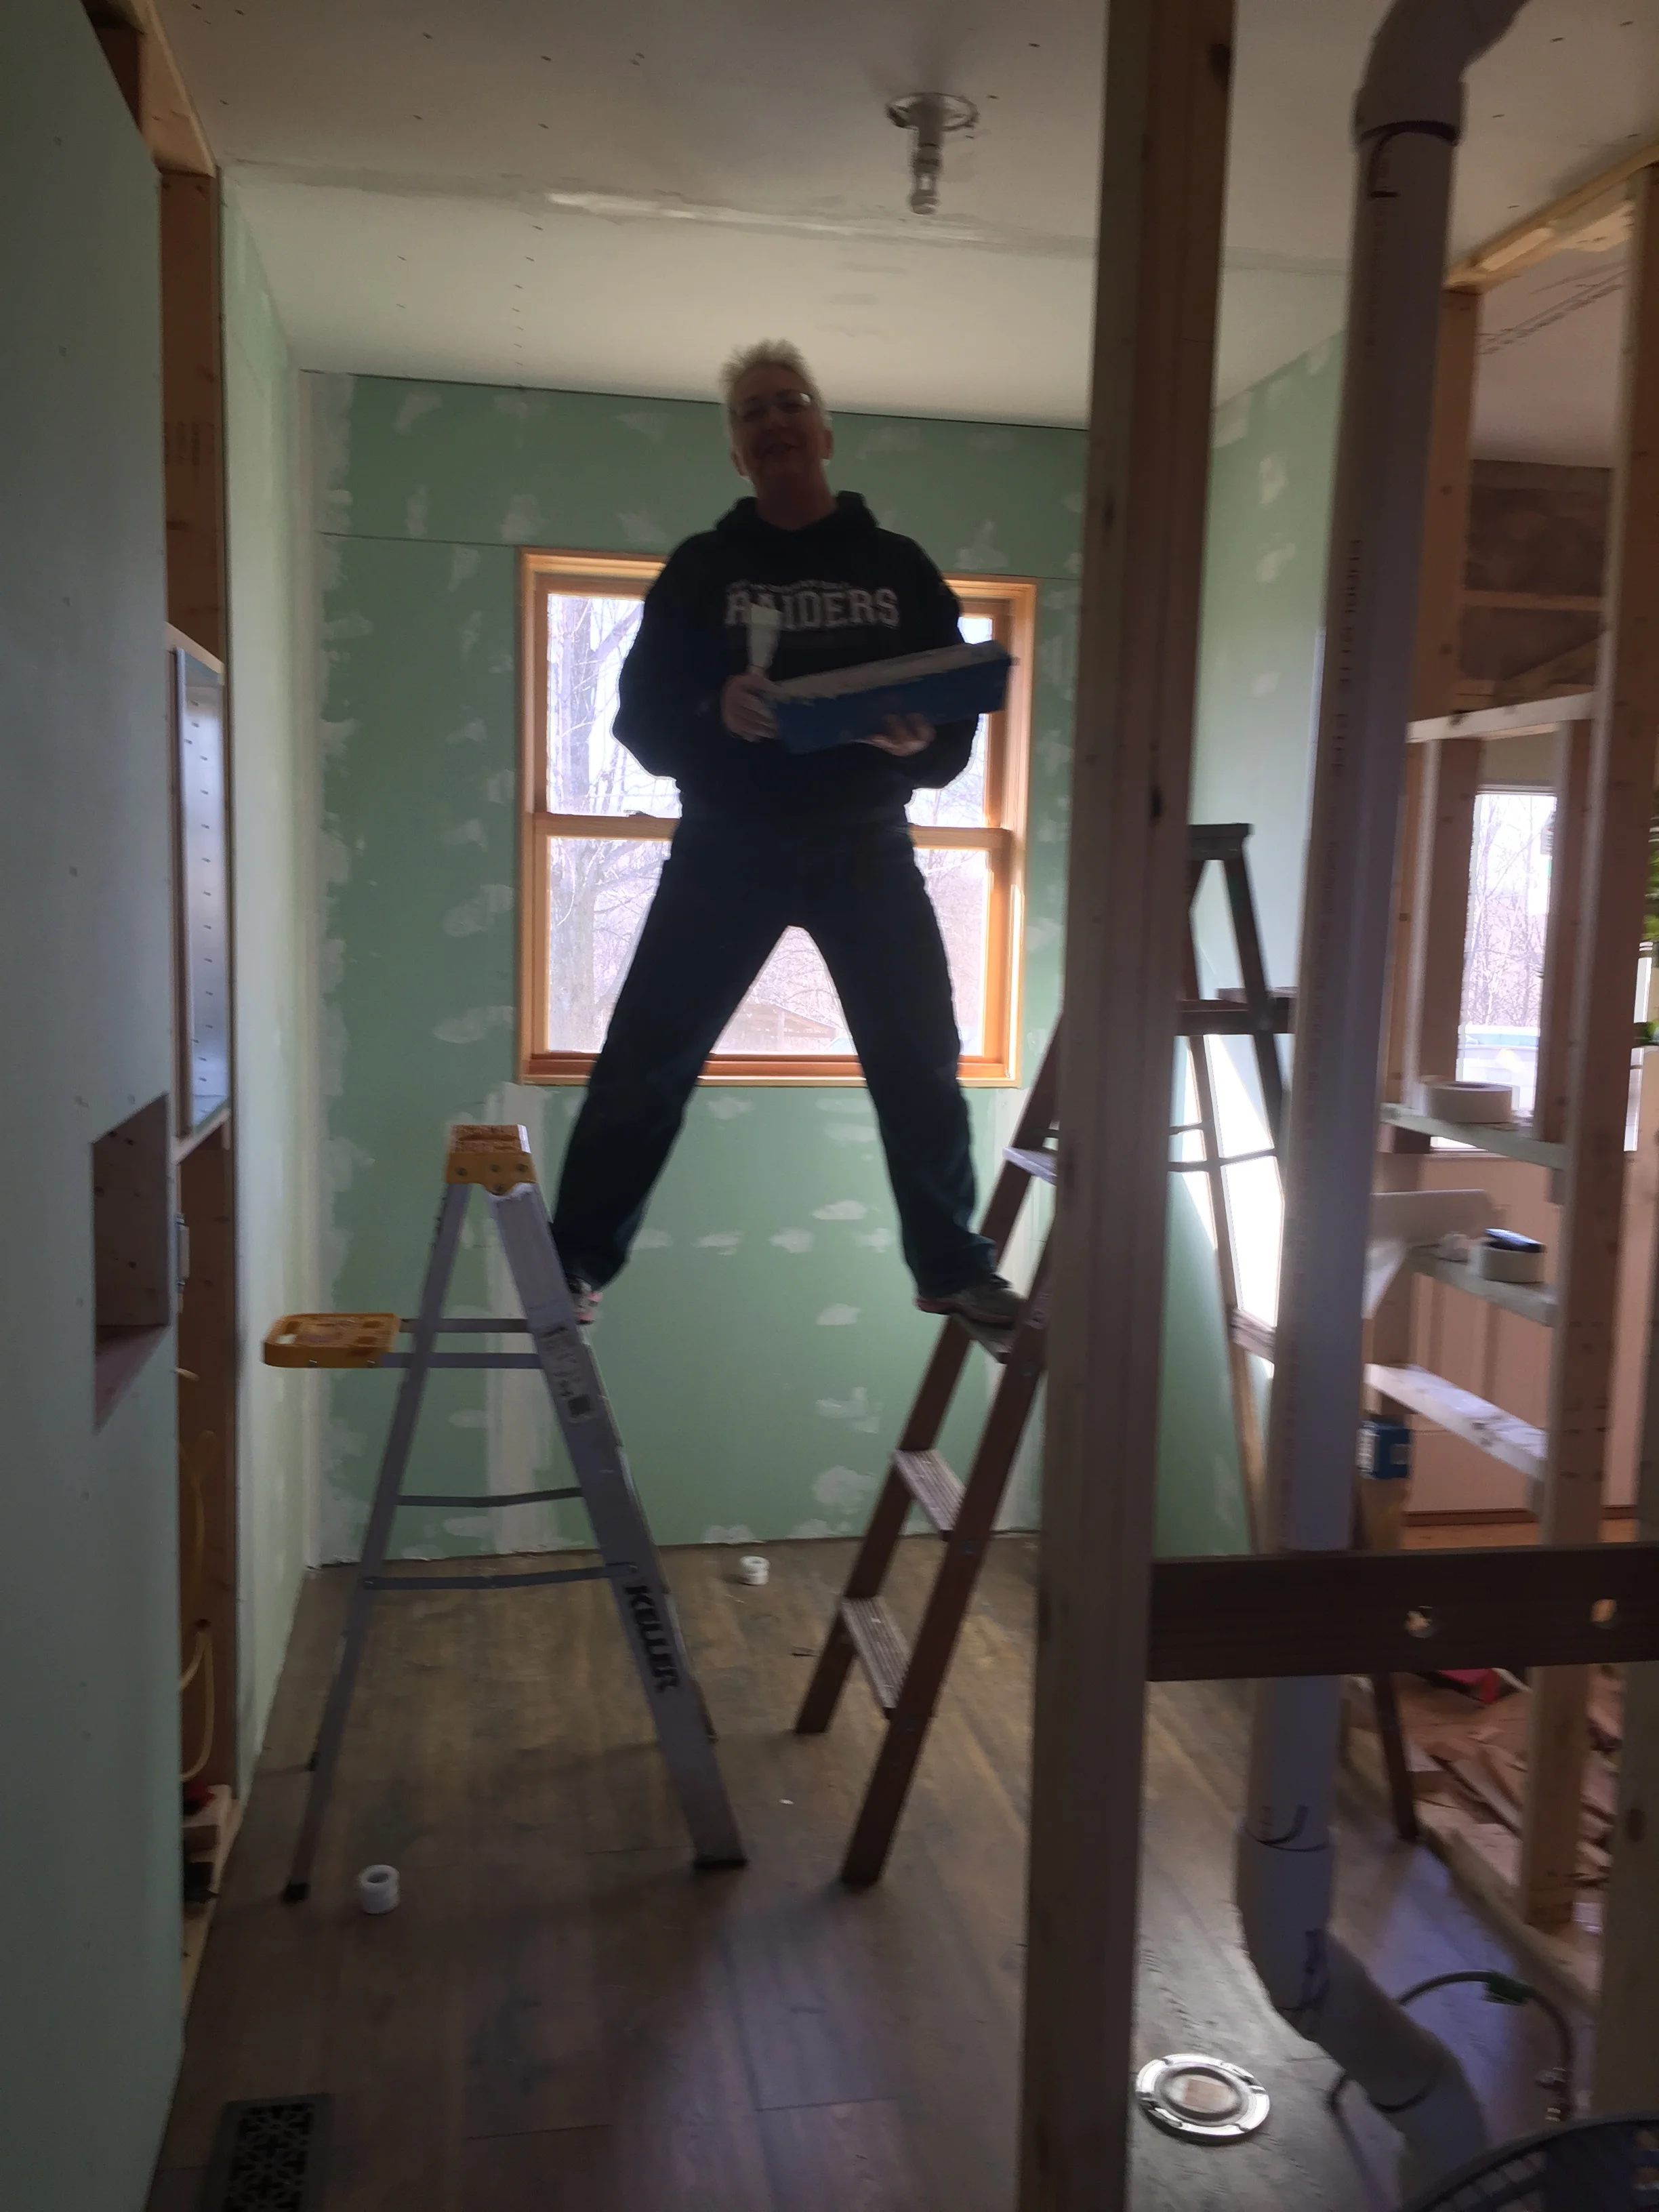
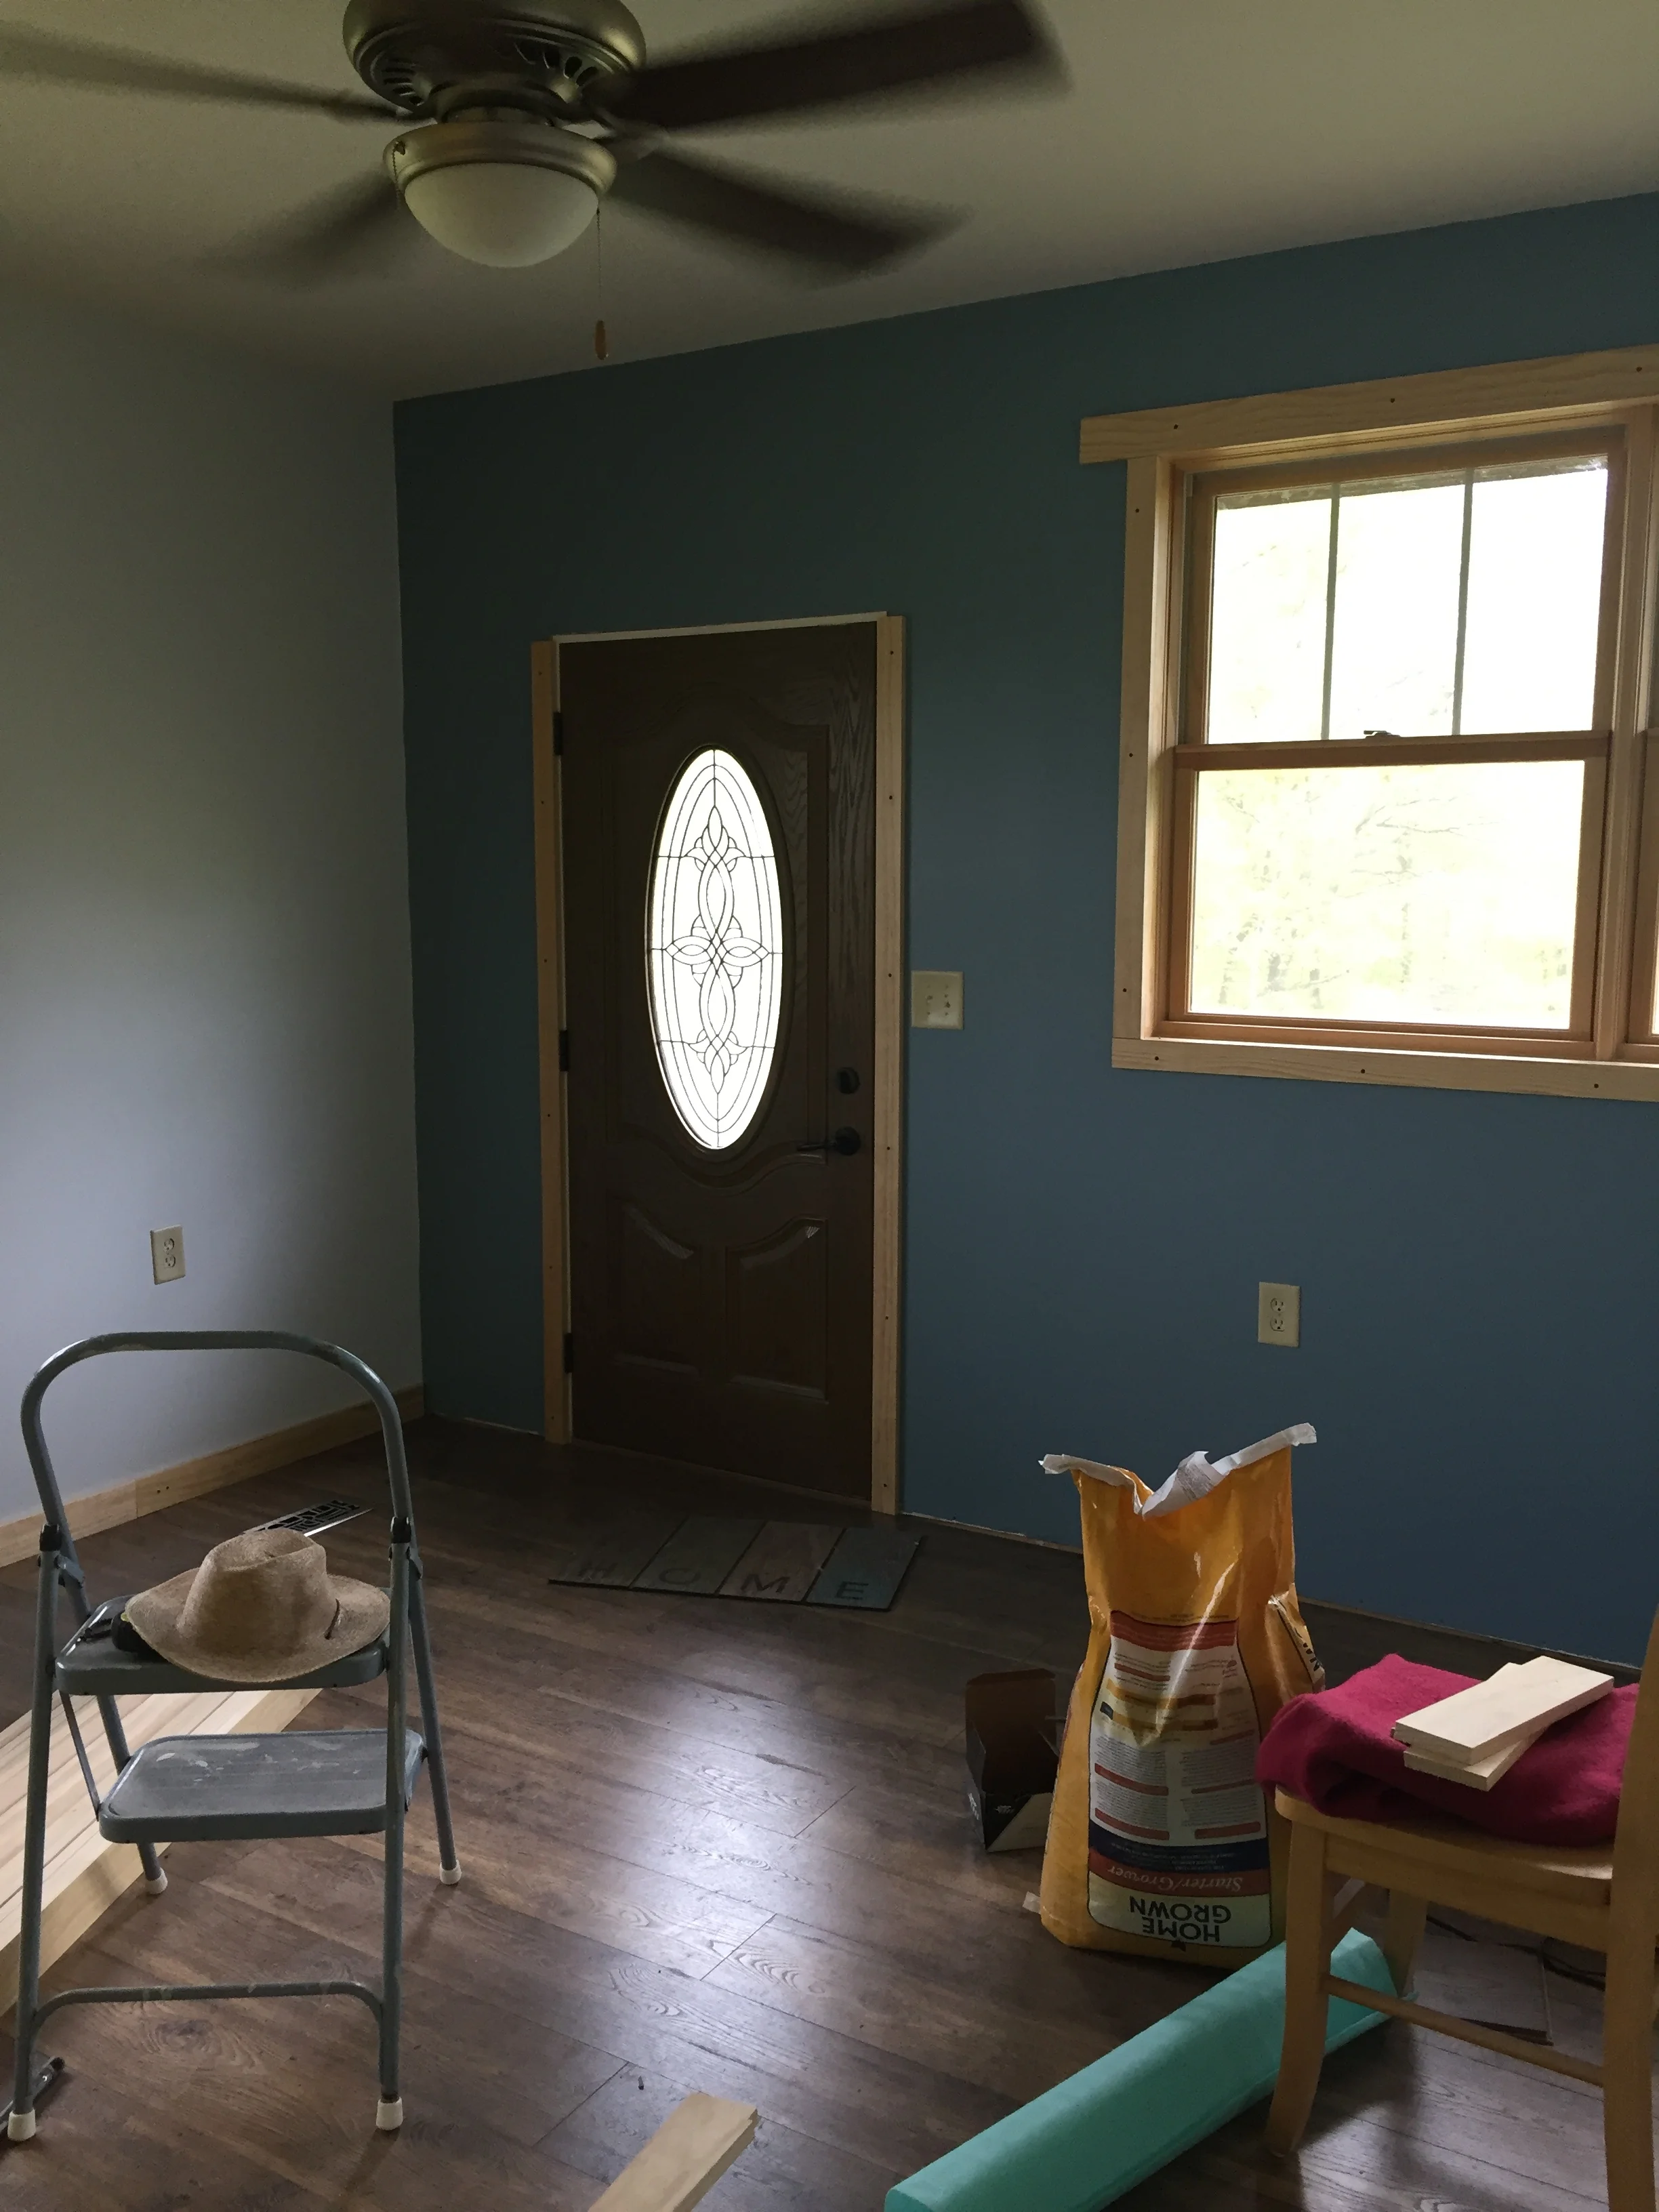
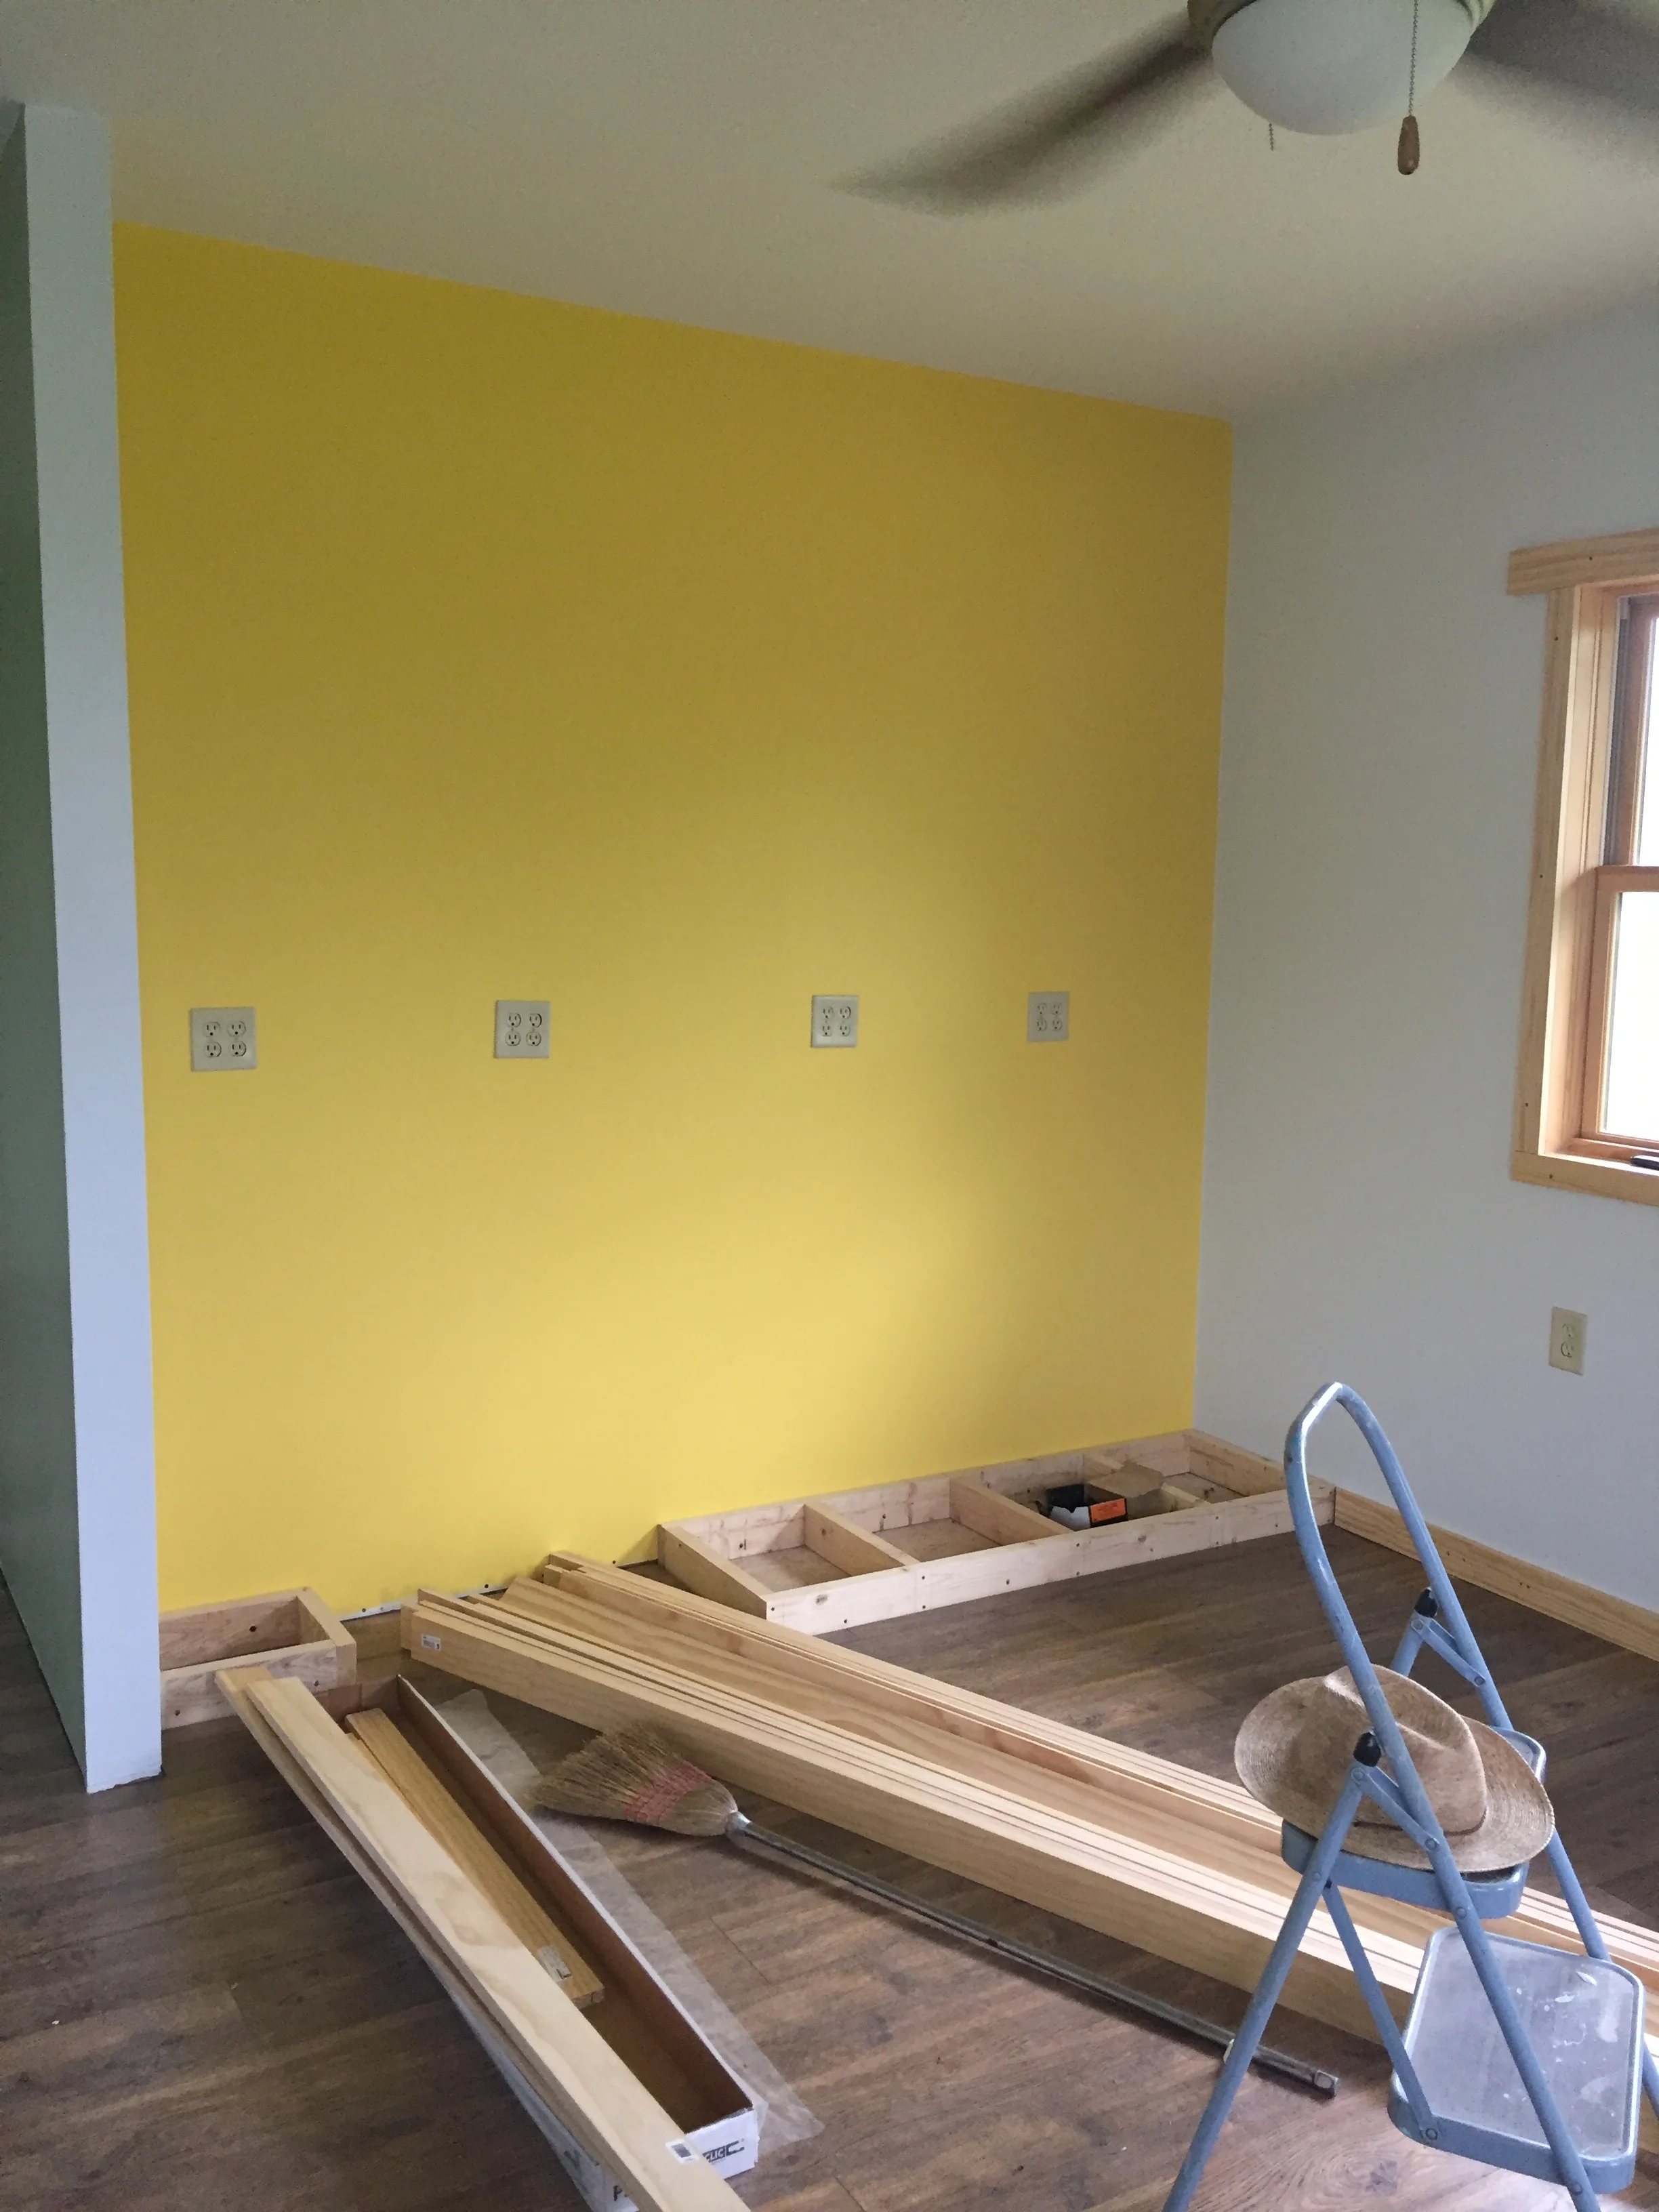
My indoor work space.
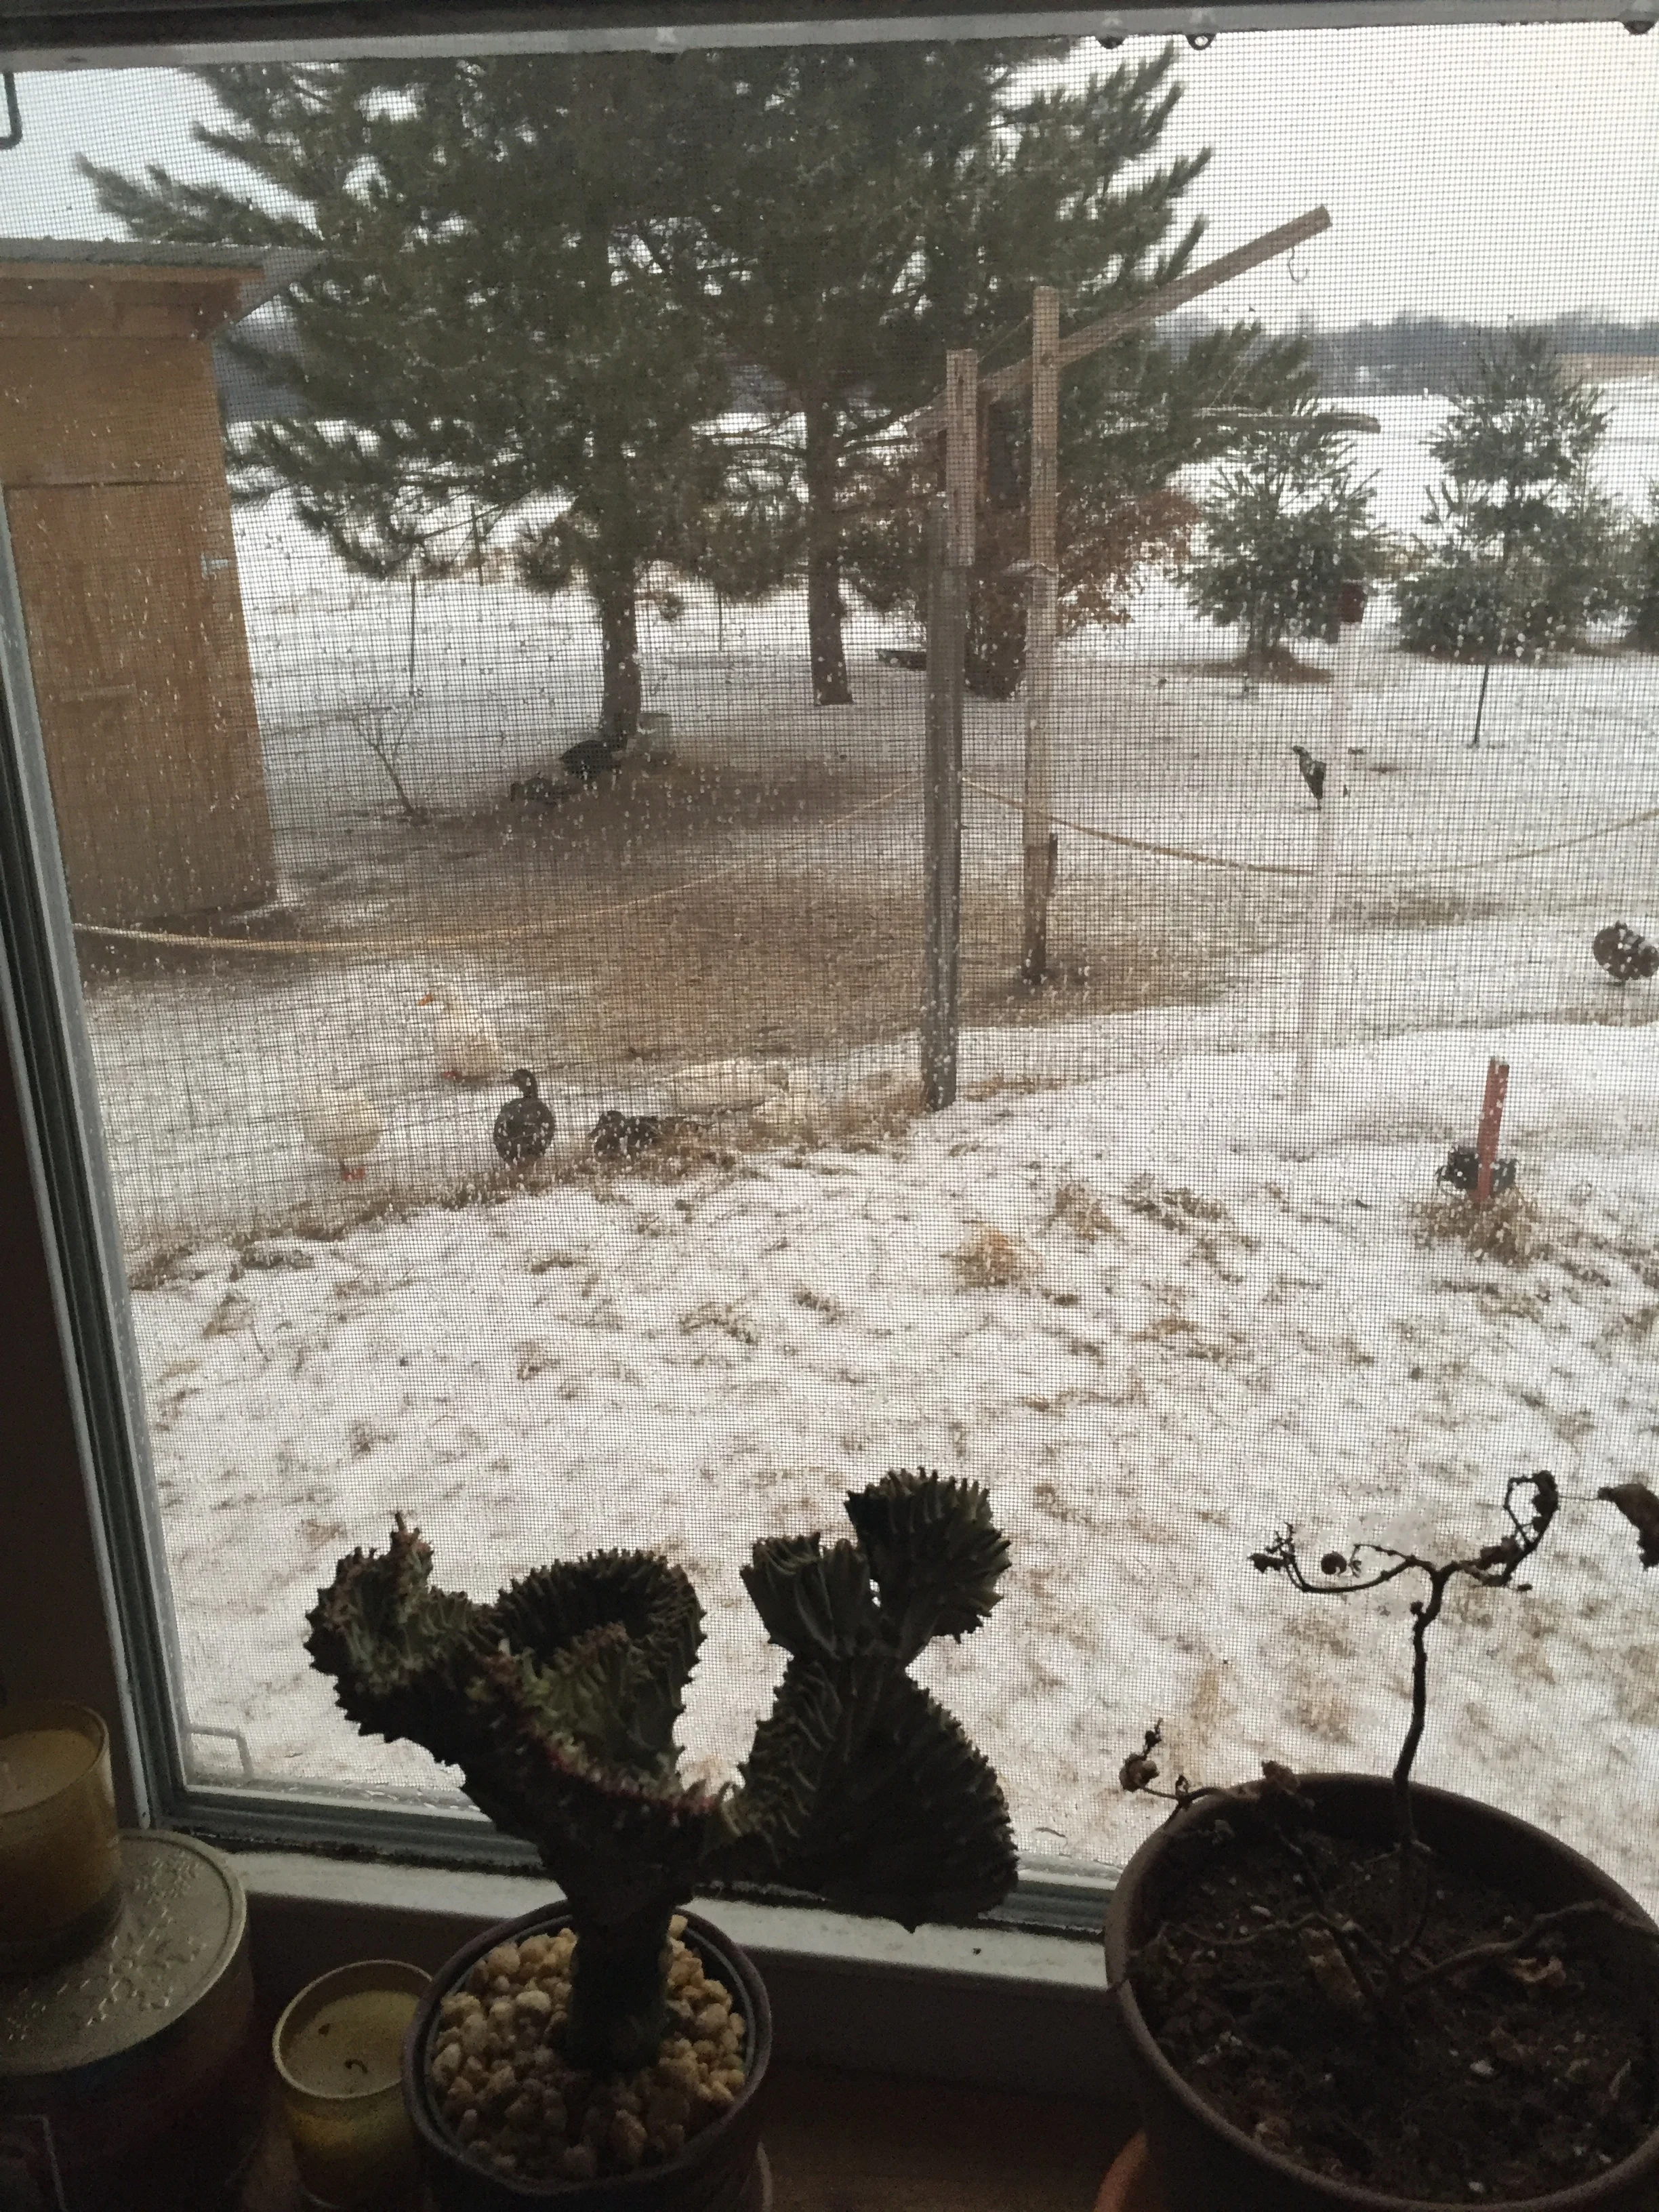
At the moment, we are using what will eventually be a living room/studio space (I can set up a loom in here some day!!!) to finish boards. It is also where equipment and supplies are stored: the flooring, the drywall lifter, a miter saw (handy for small finish pieces), extra drywall...and it’s where we have been fostering our indoor plants and starting our seedlings.
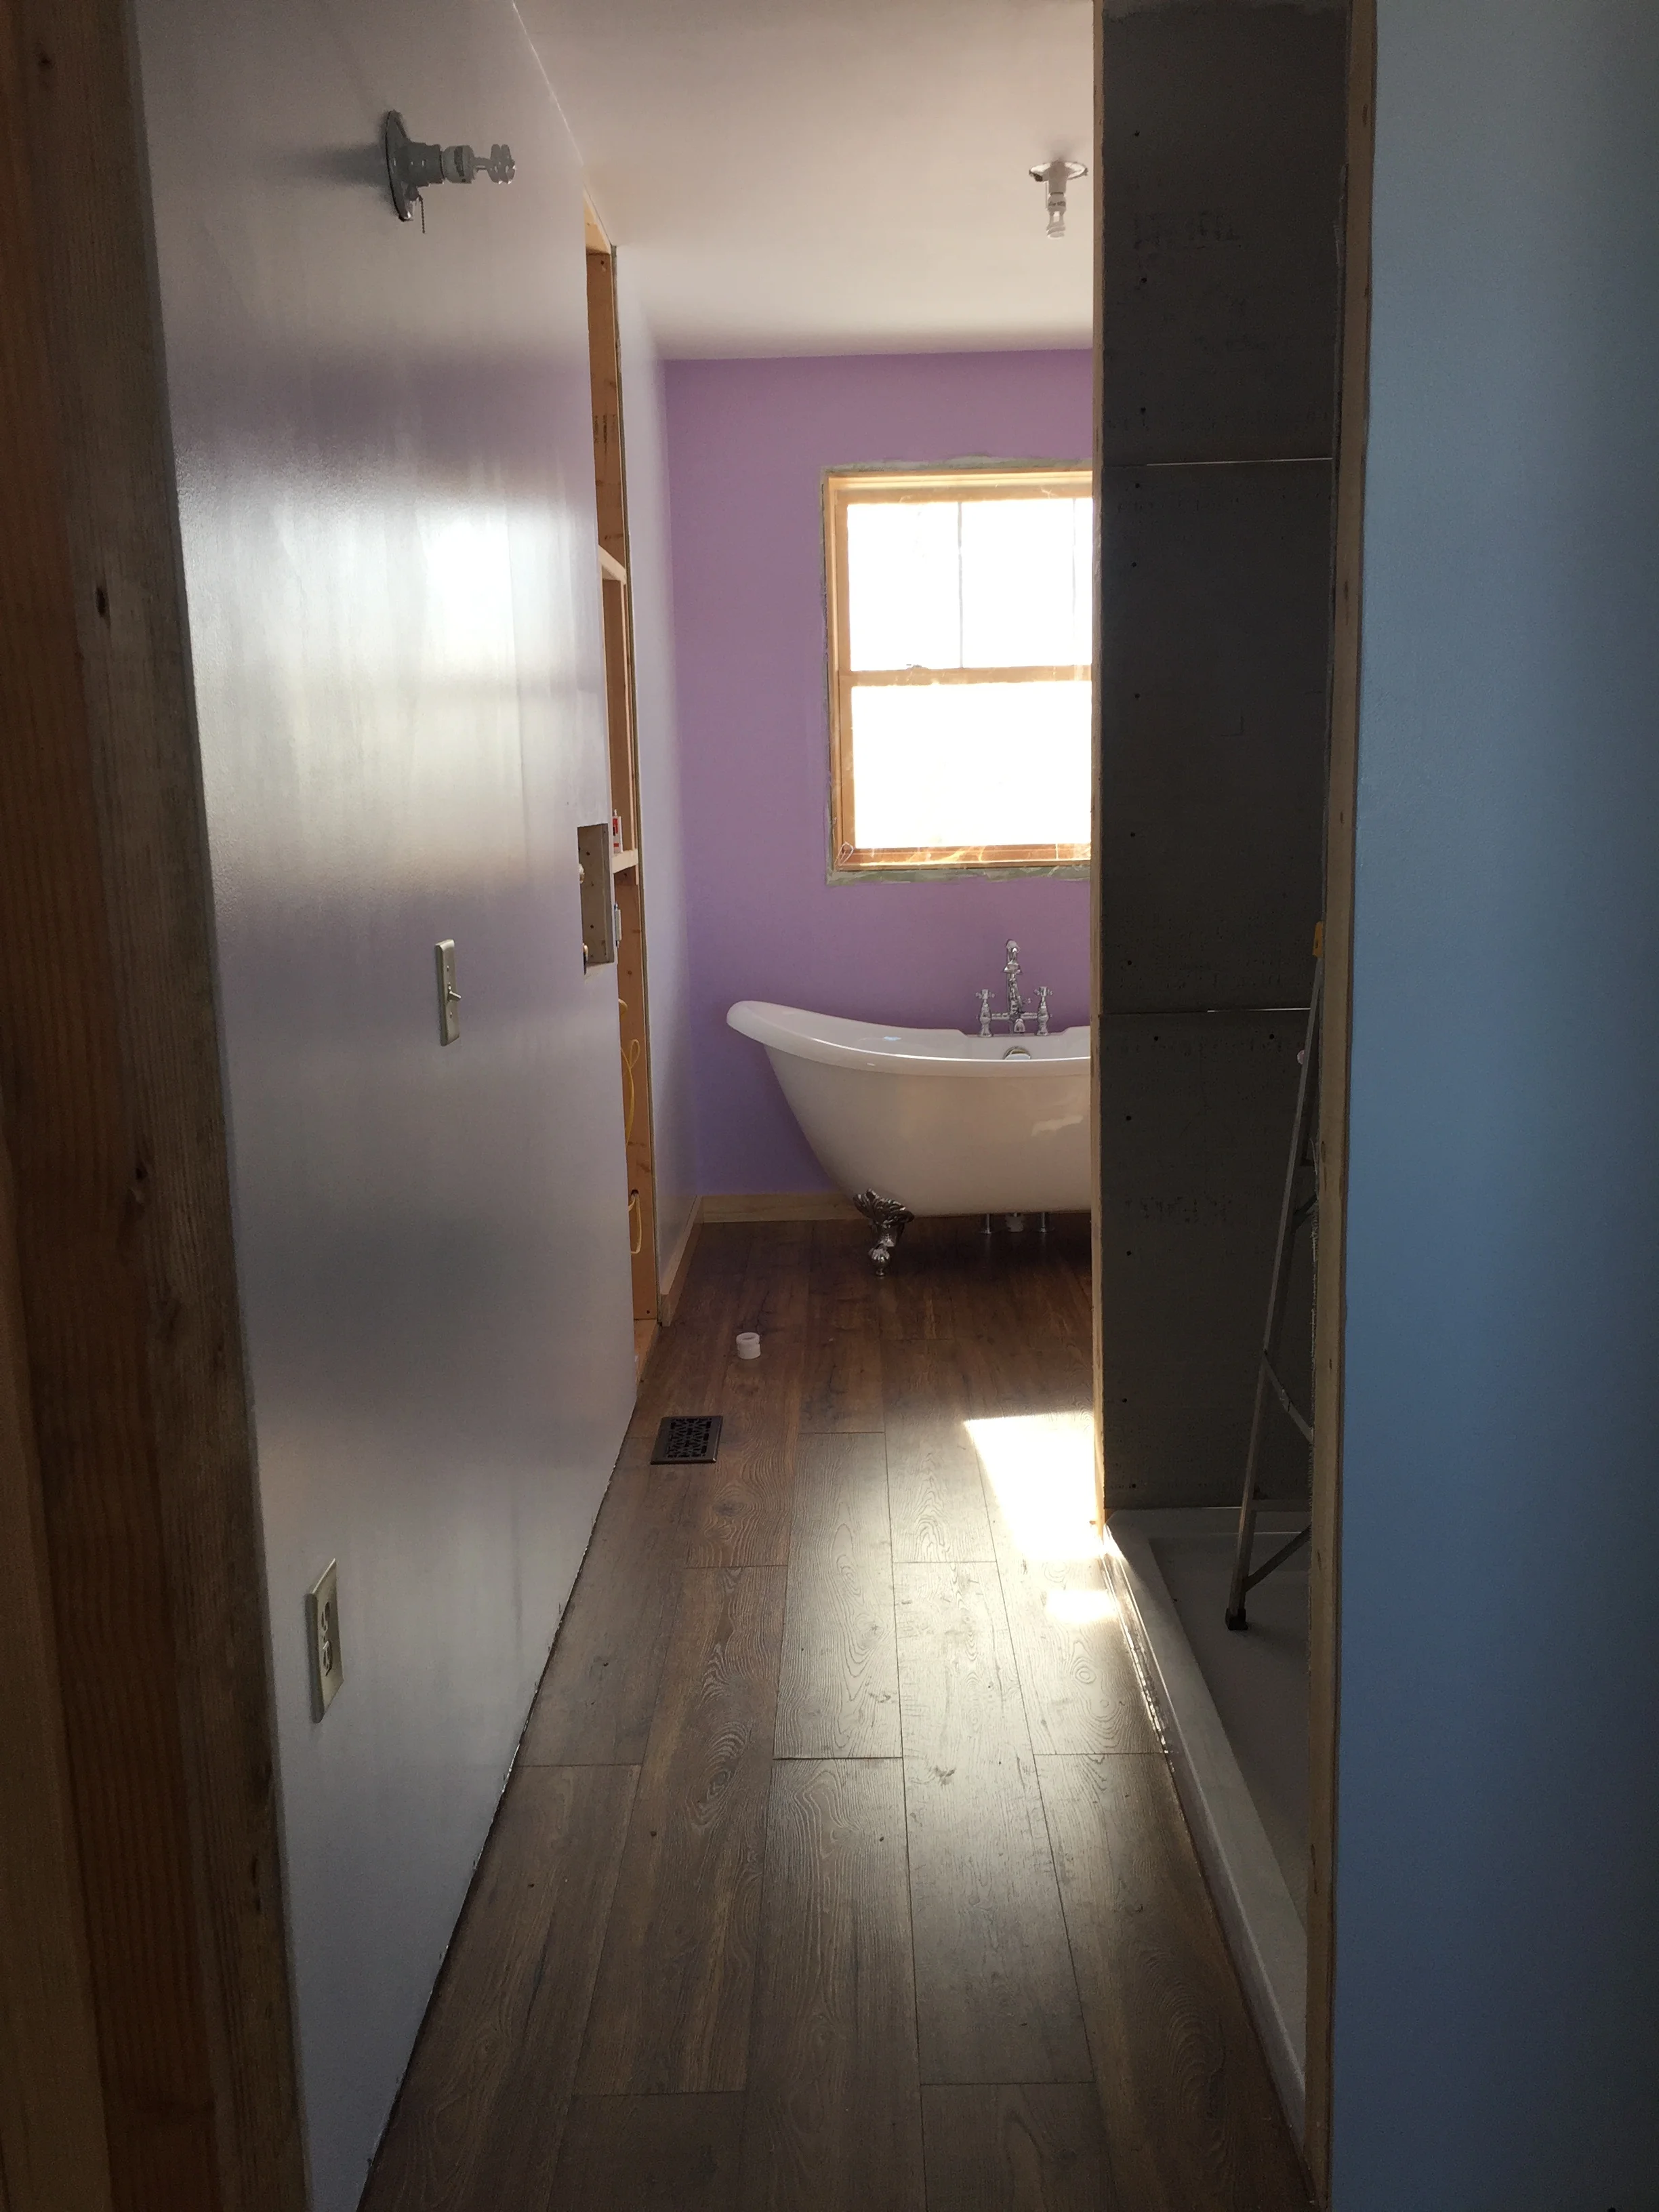
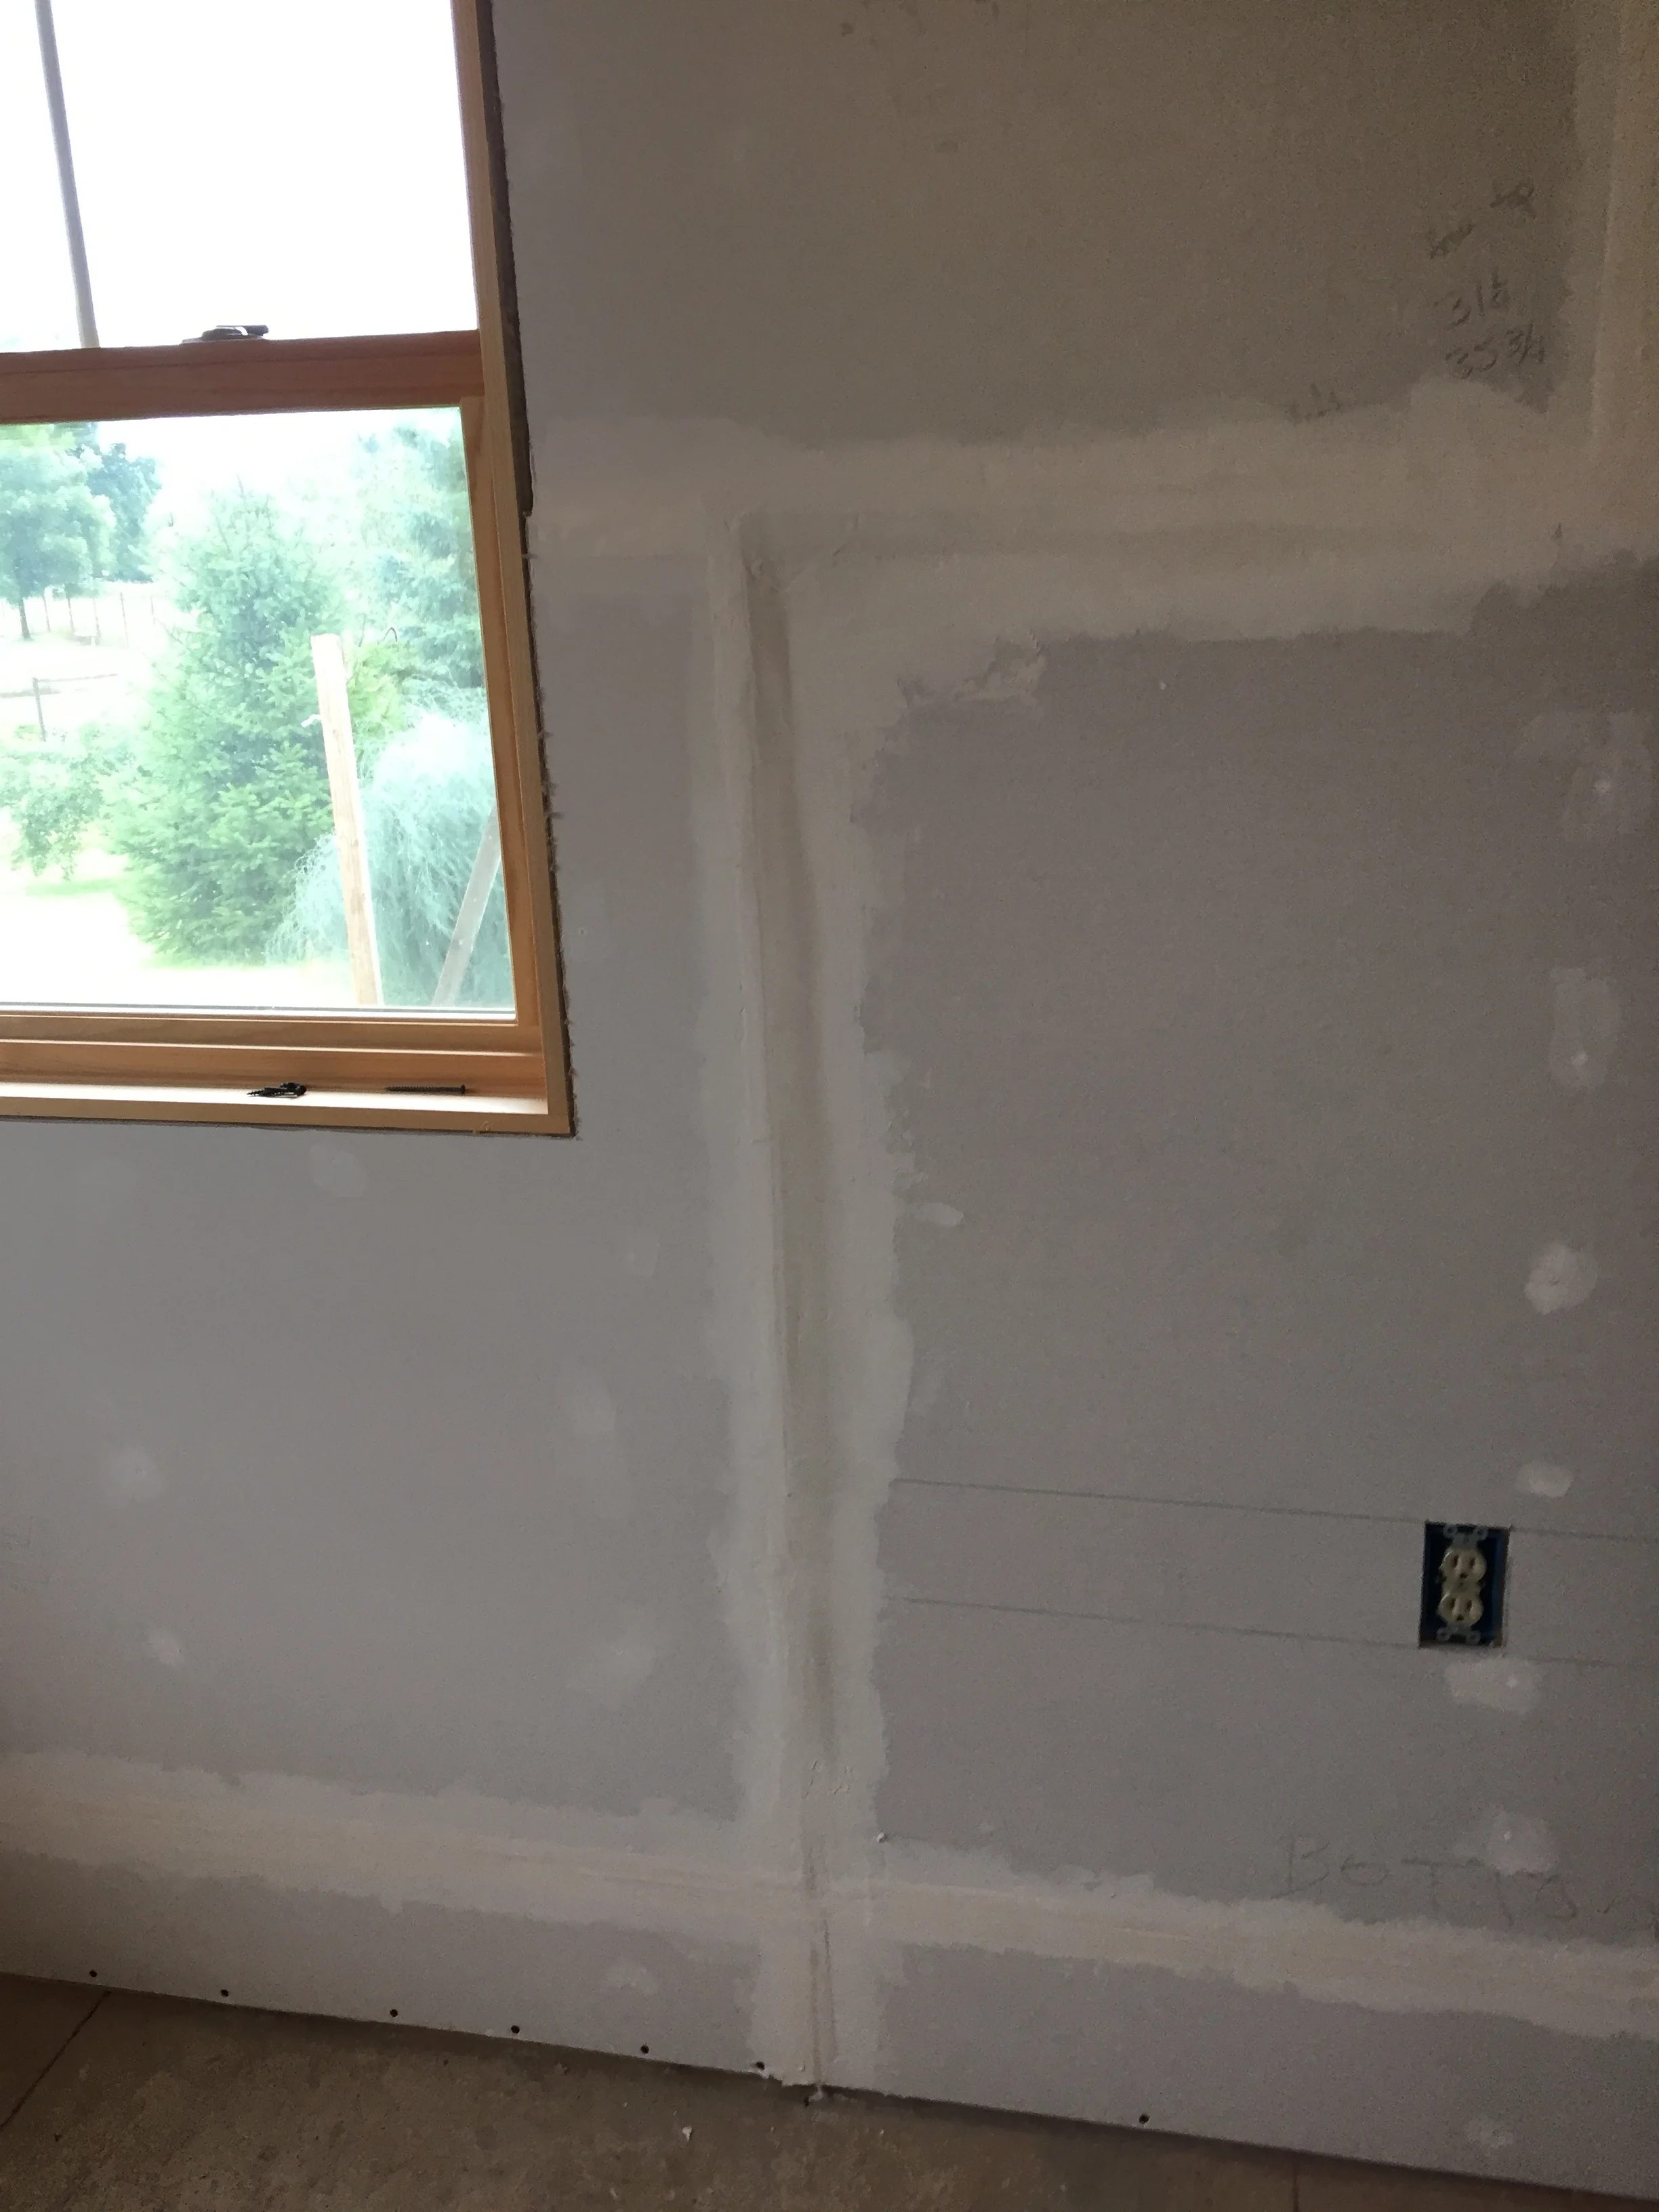
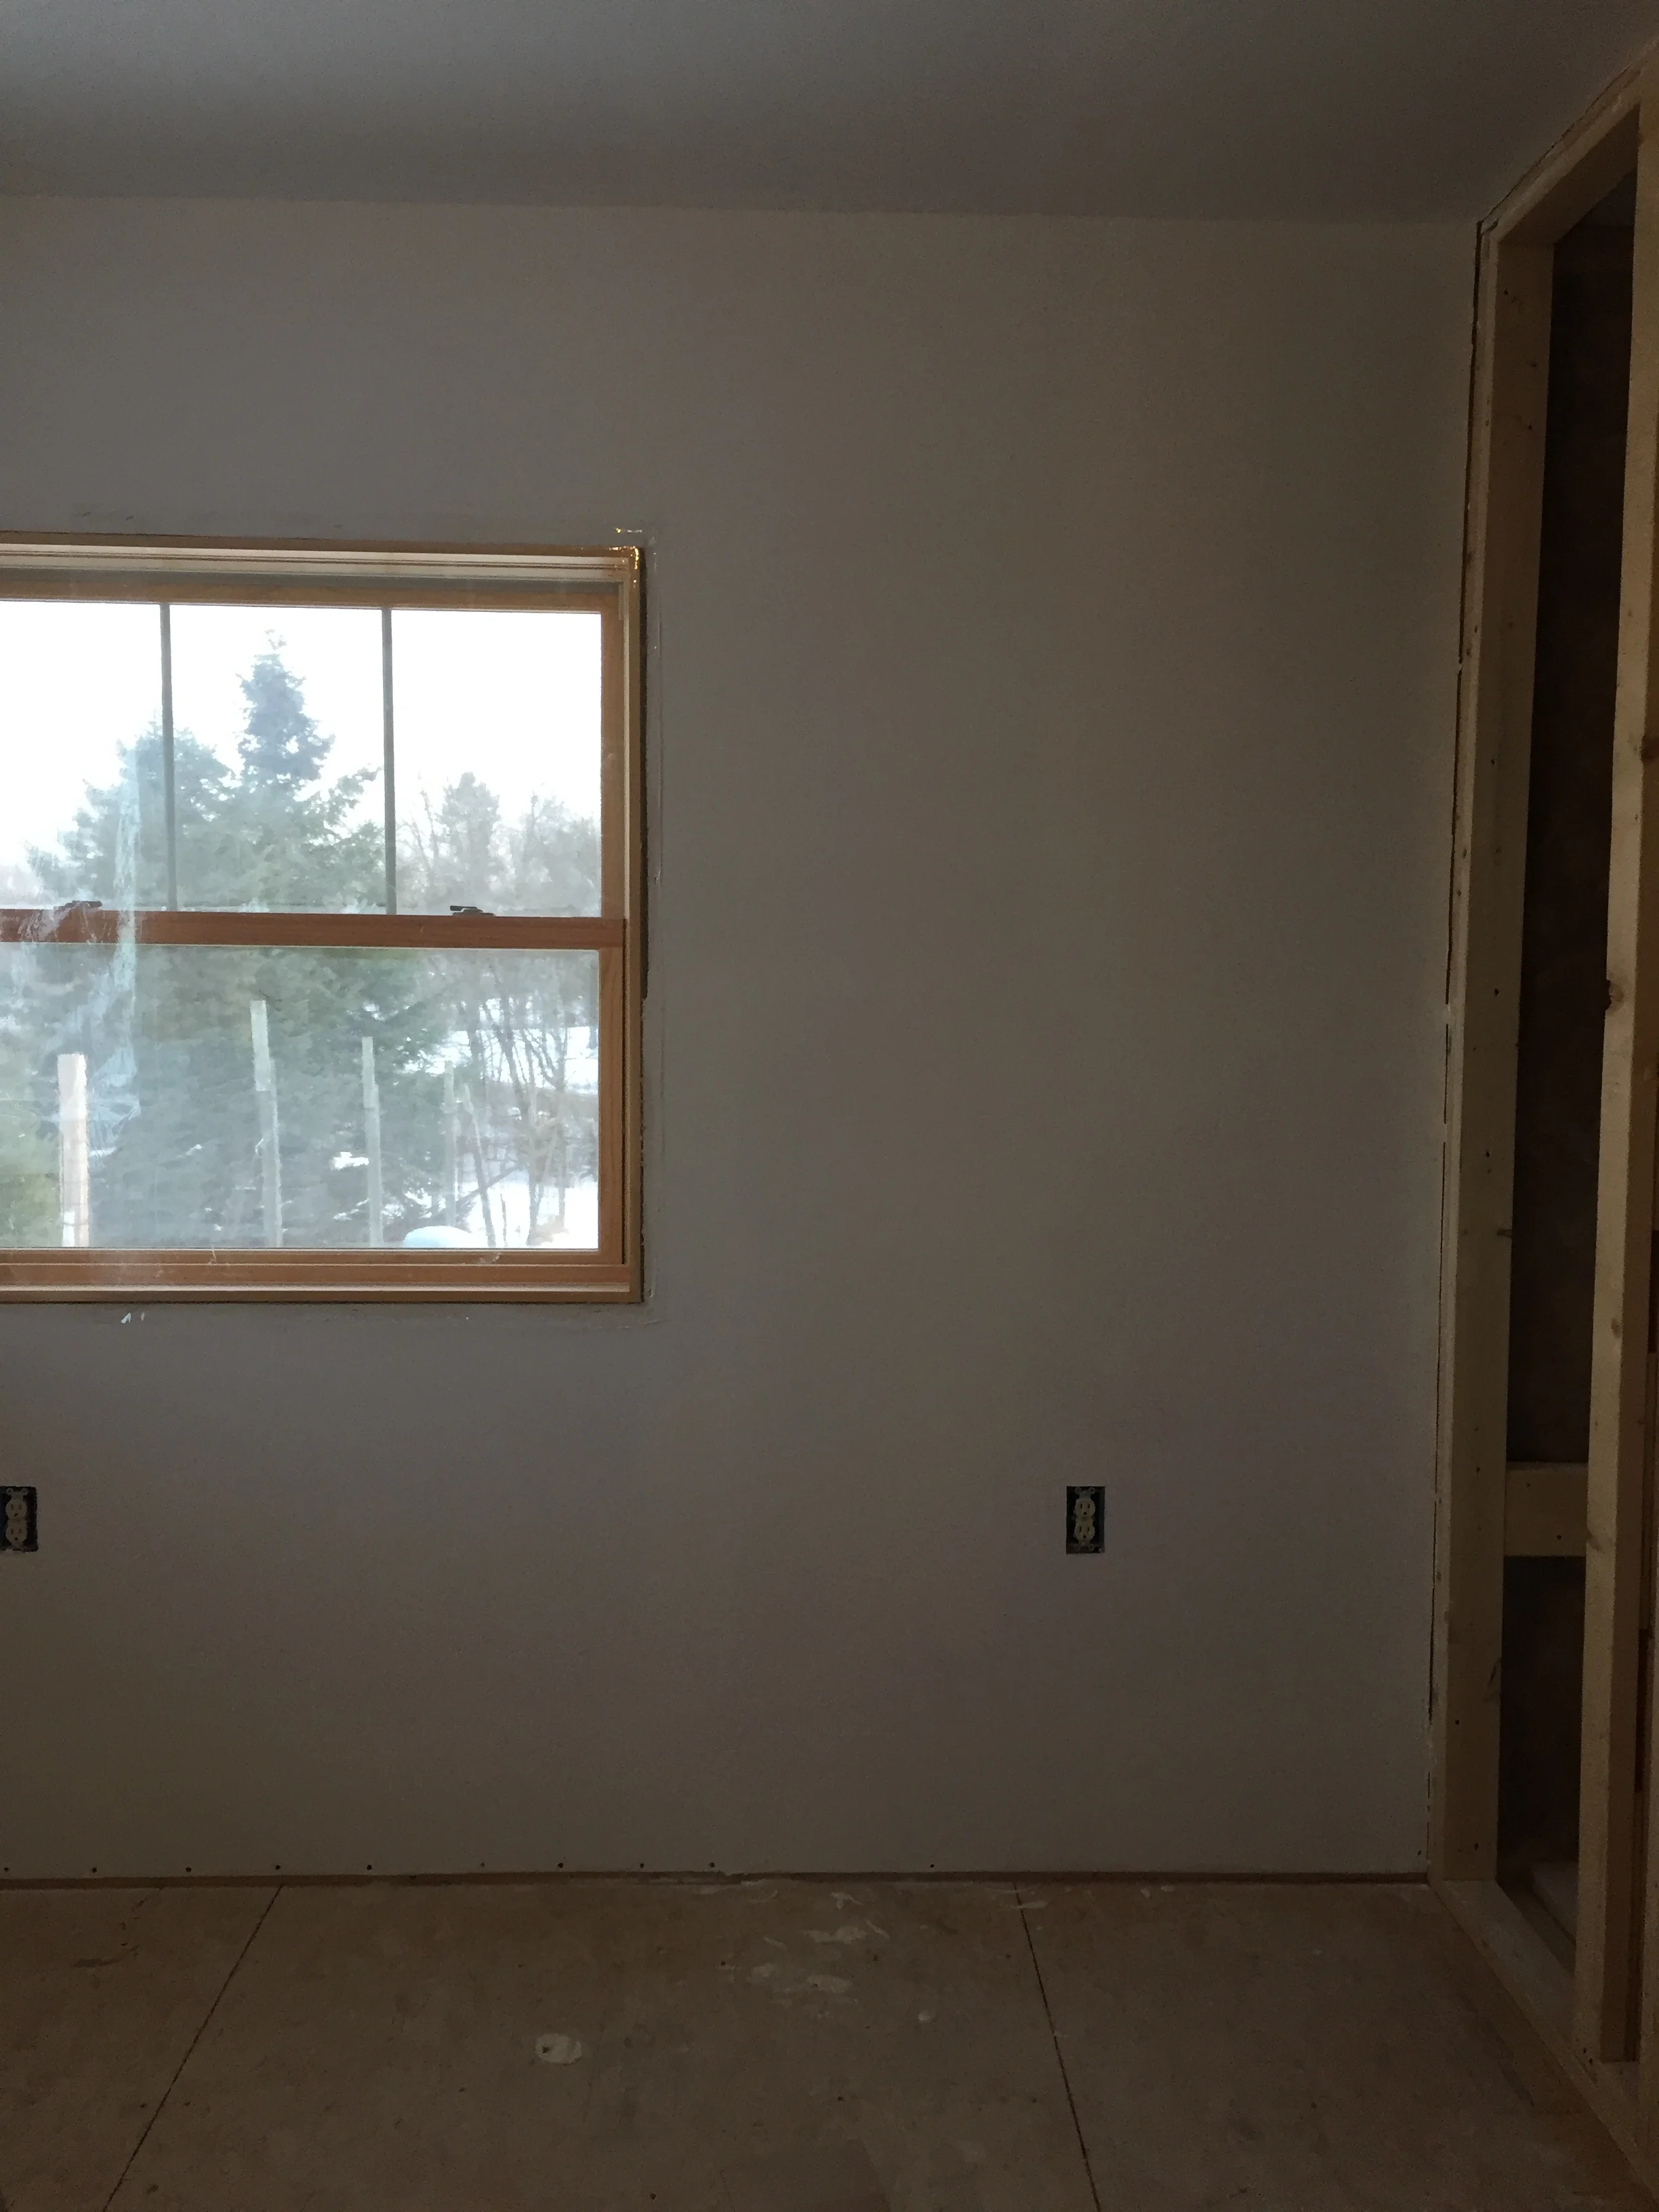
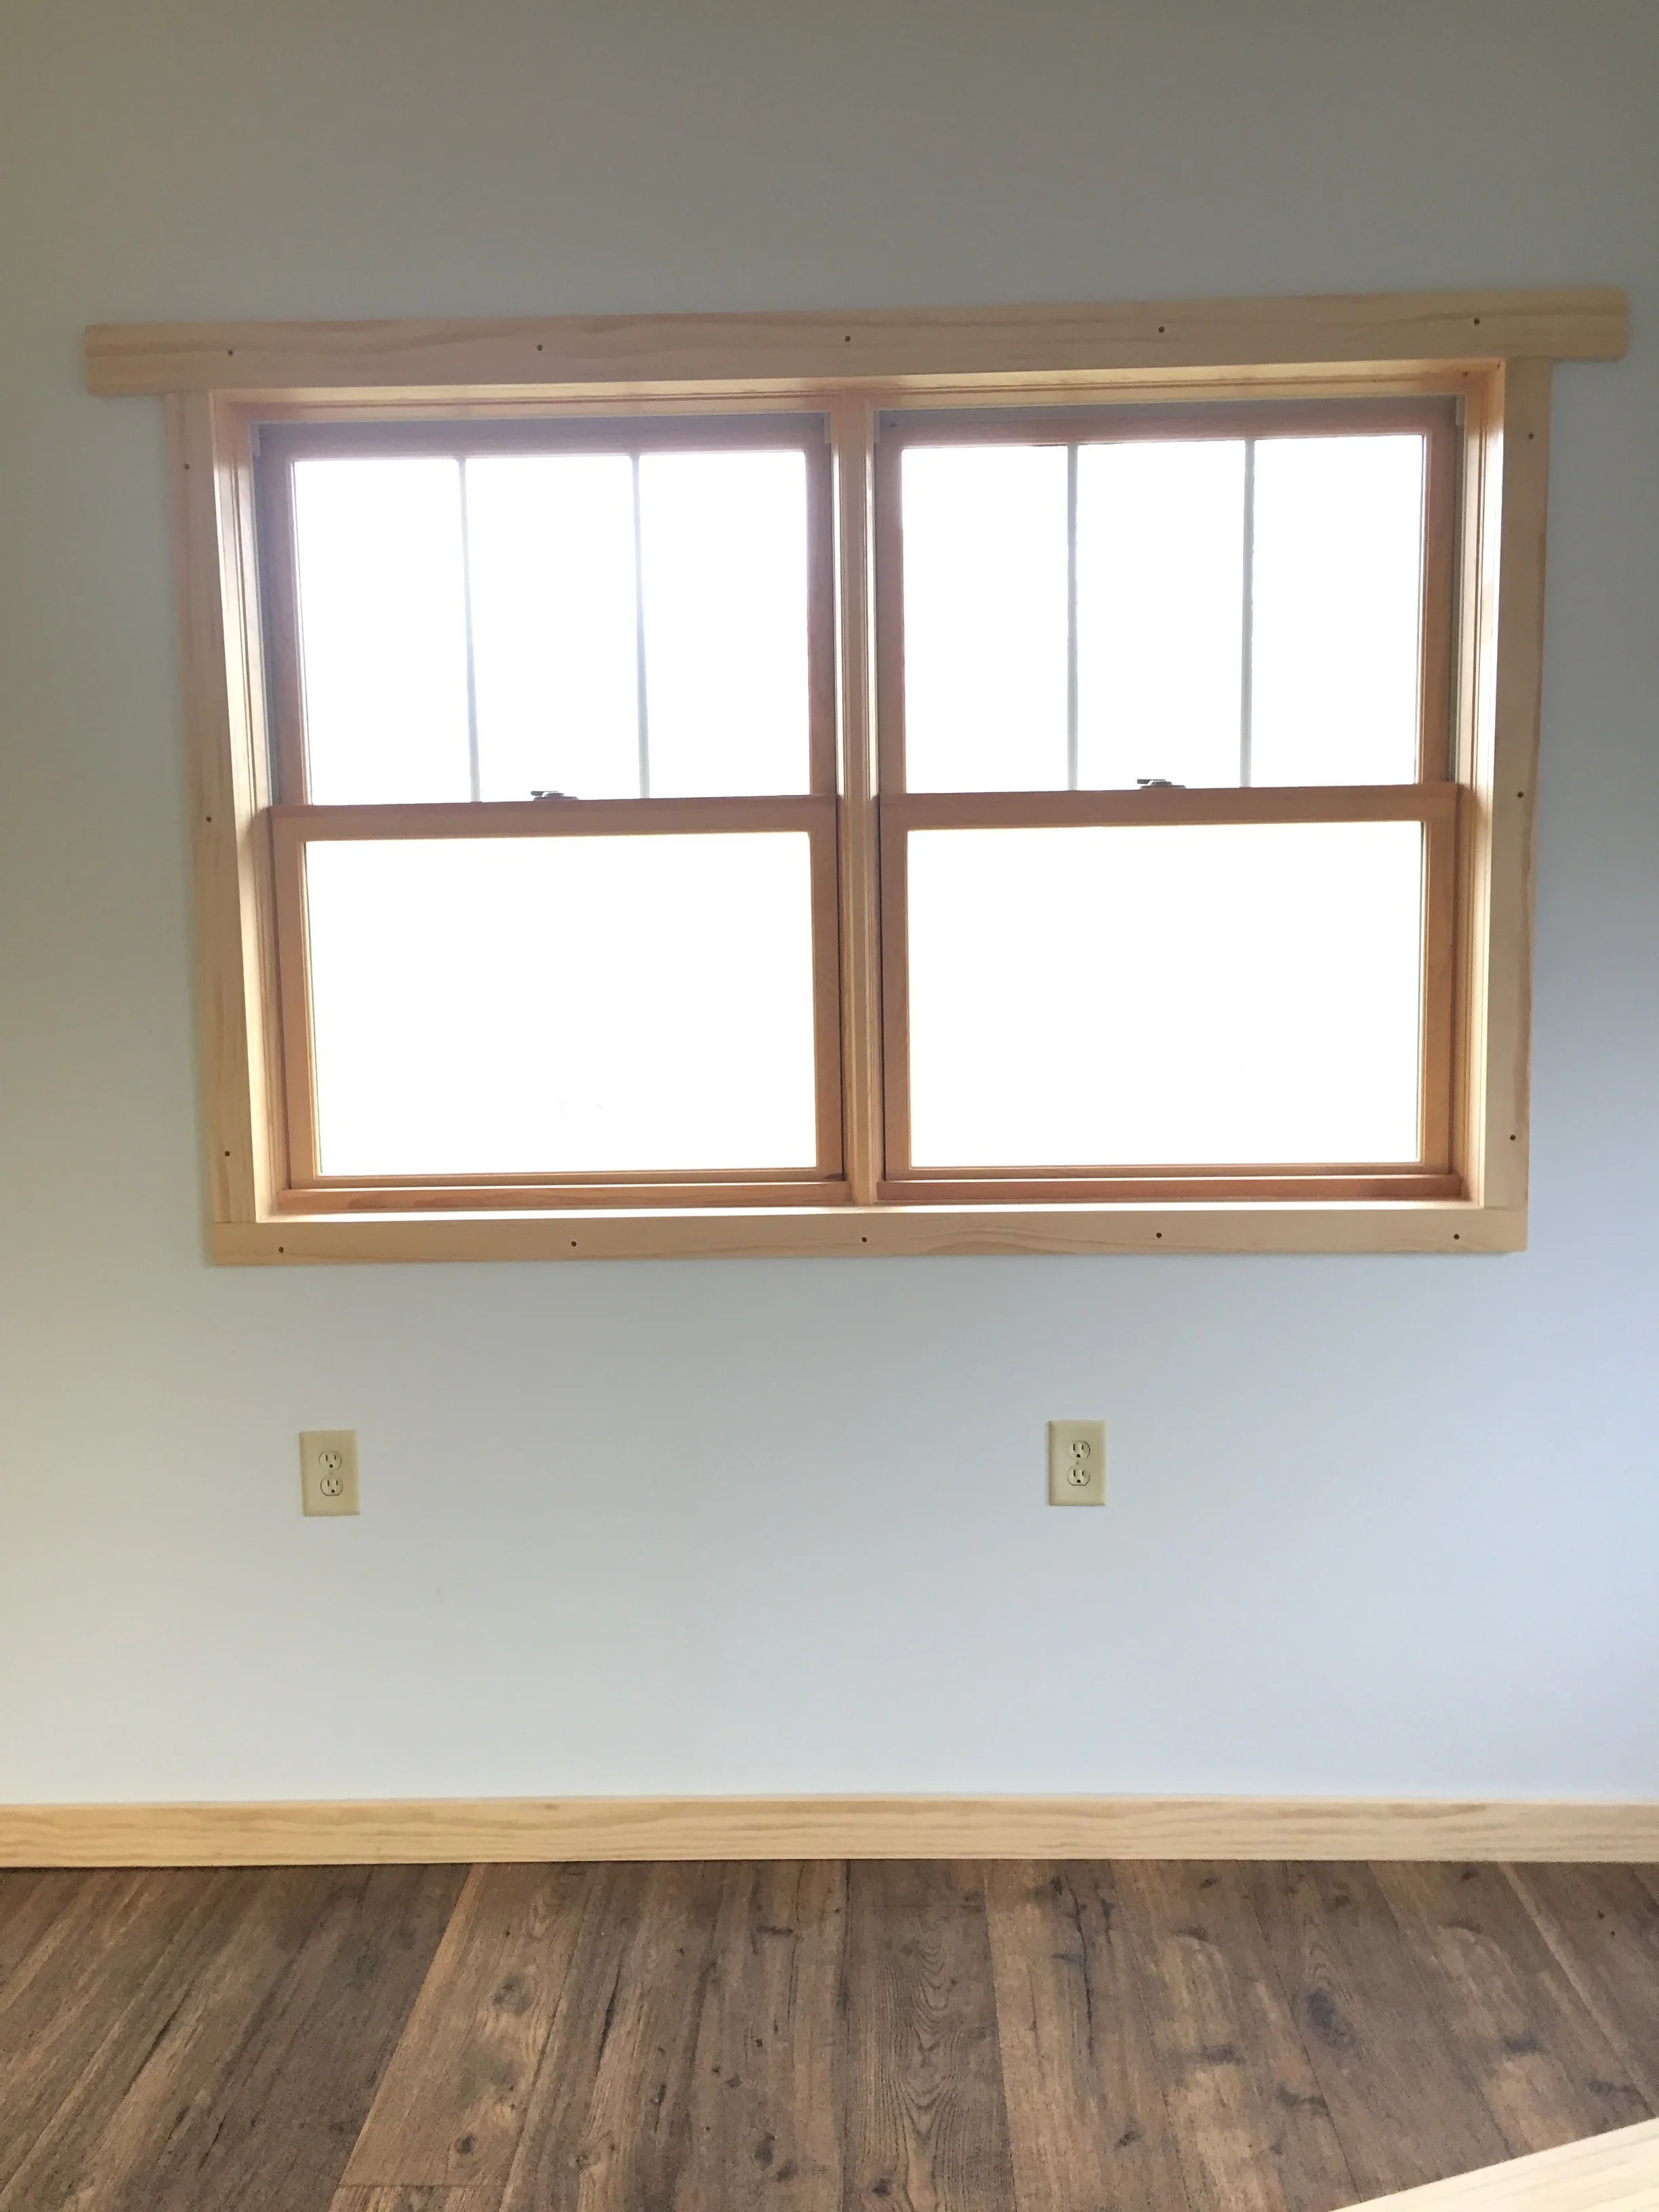
I have completed the window trim and am now working on the base boards.
I have to fill in the screw holes. A job for another day.
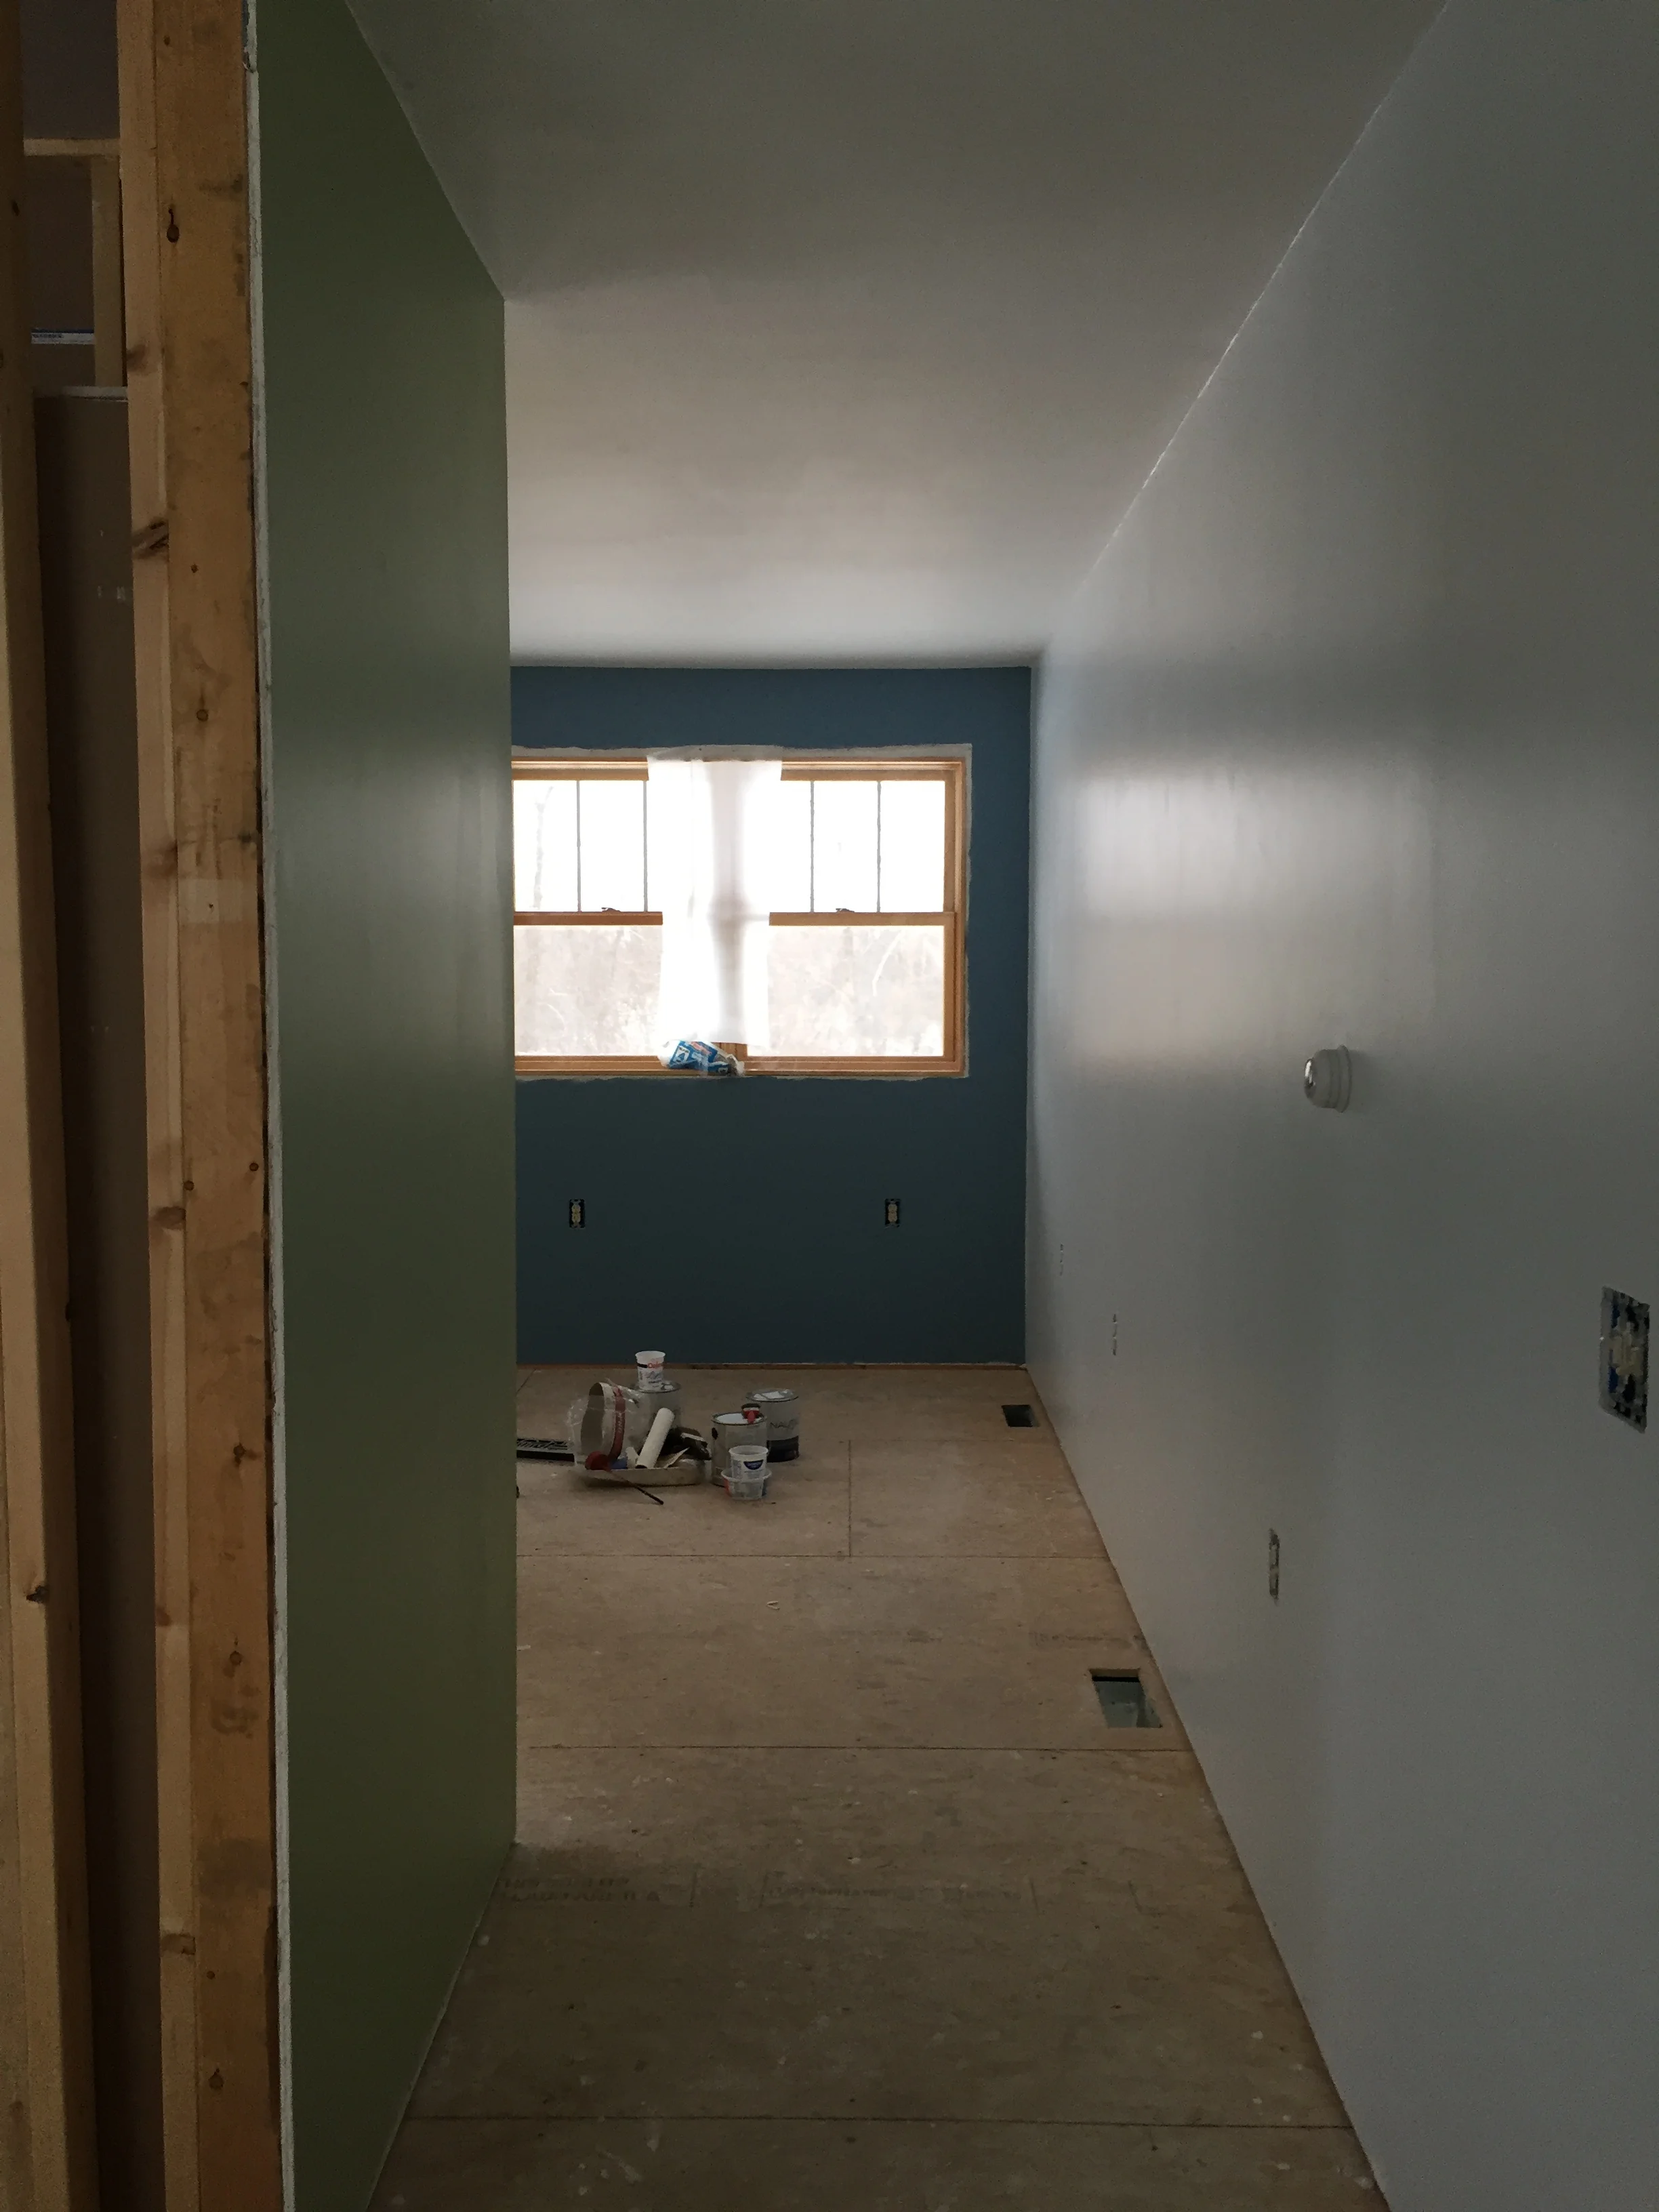
Michael has to put flooring in the closet, which needs to happen before we can put in the door...and then the trim.
Door trim is installed first to allow the accurate fitting of baseboard. The window trim is extended to support curtain rods.
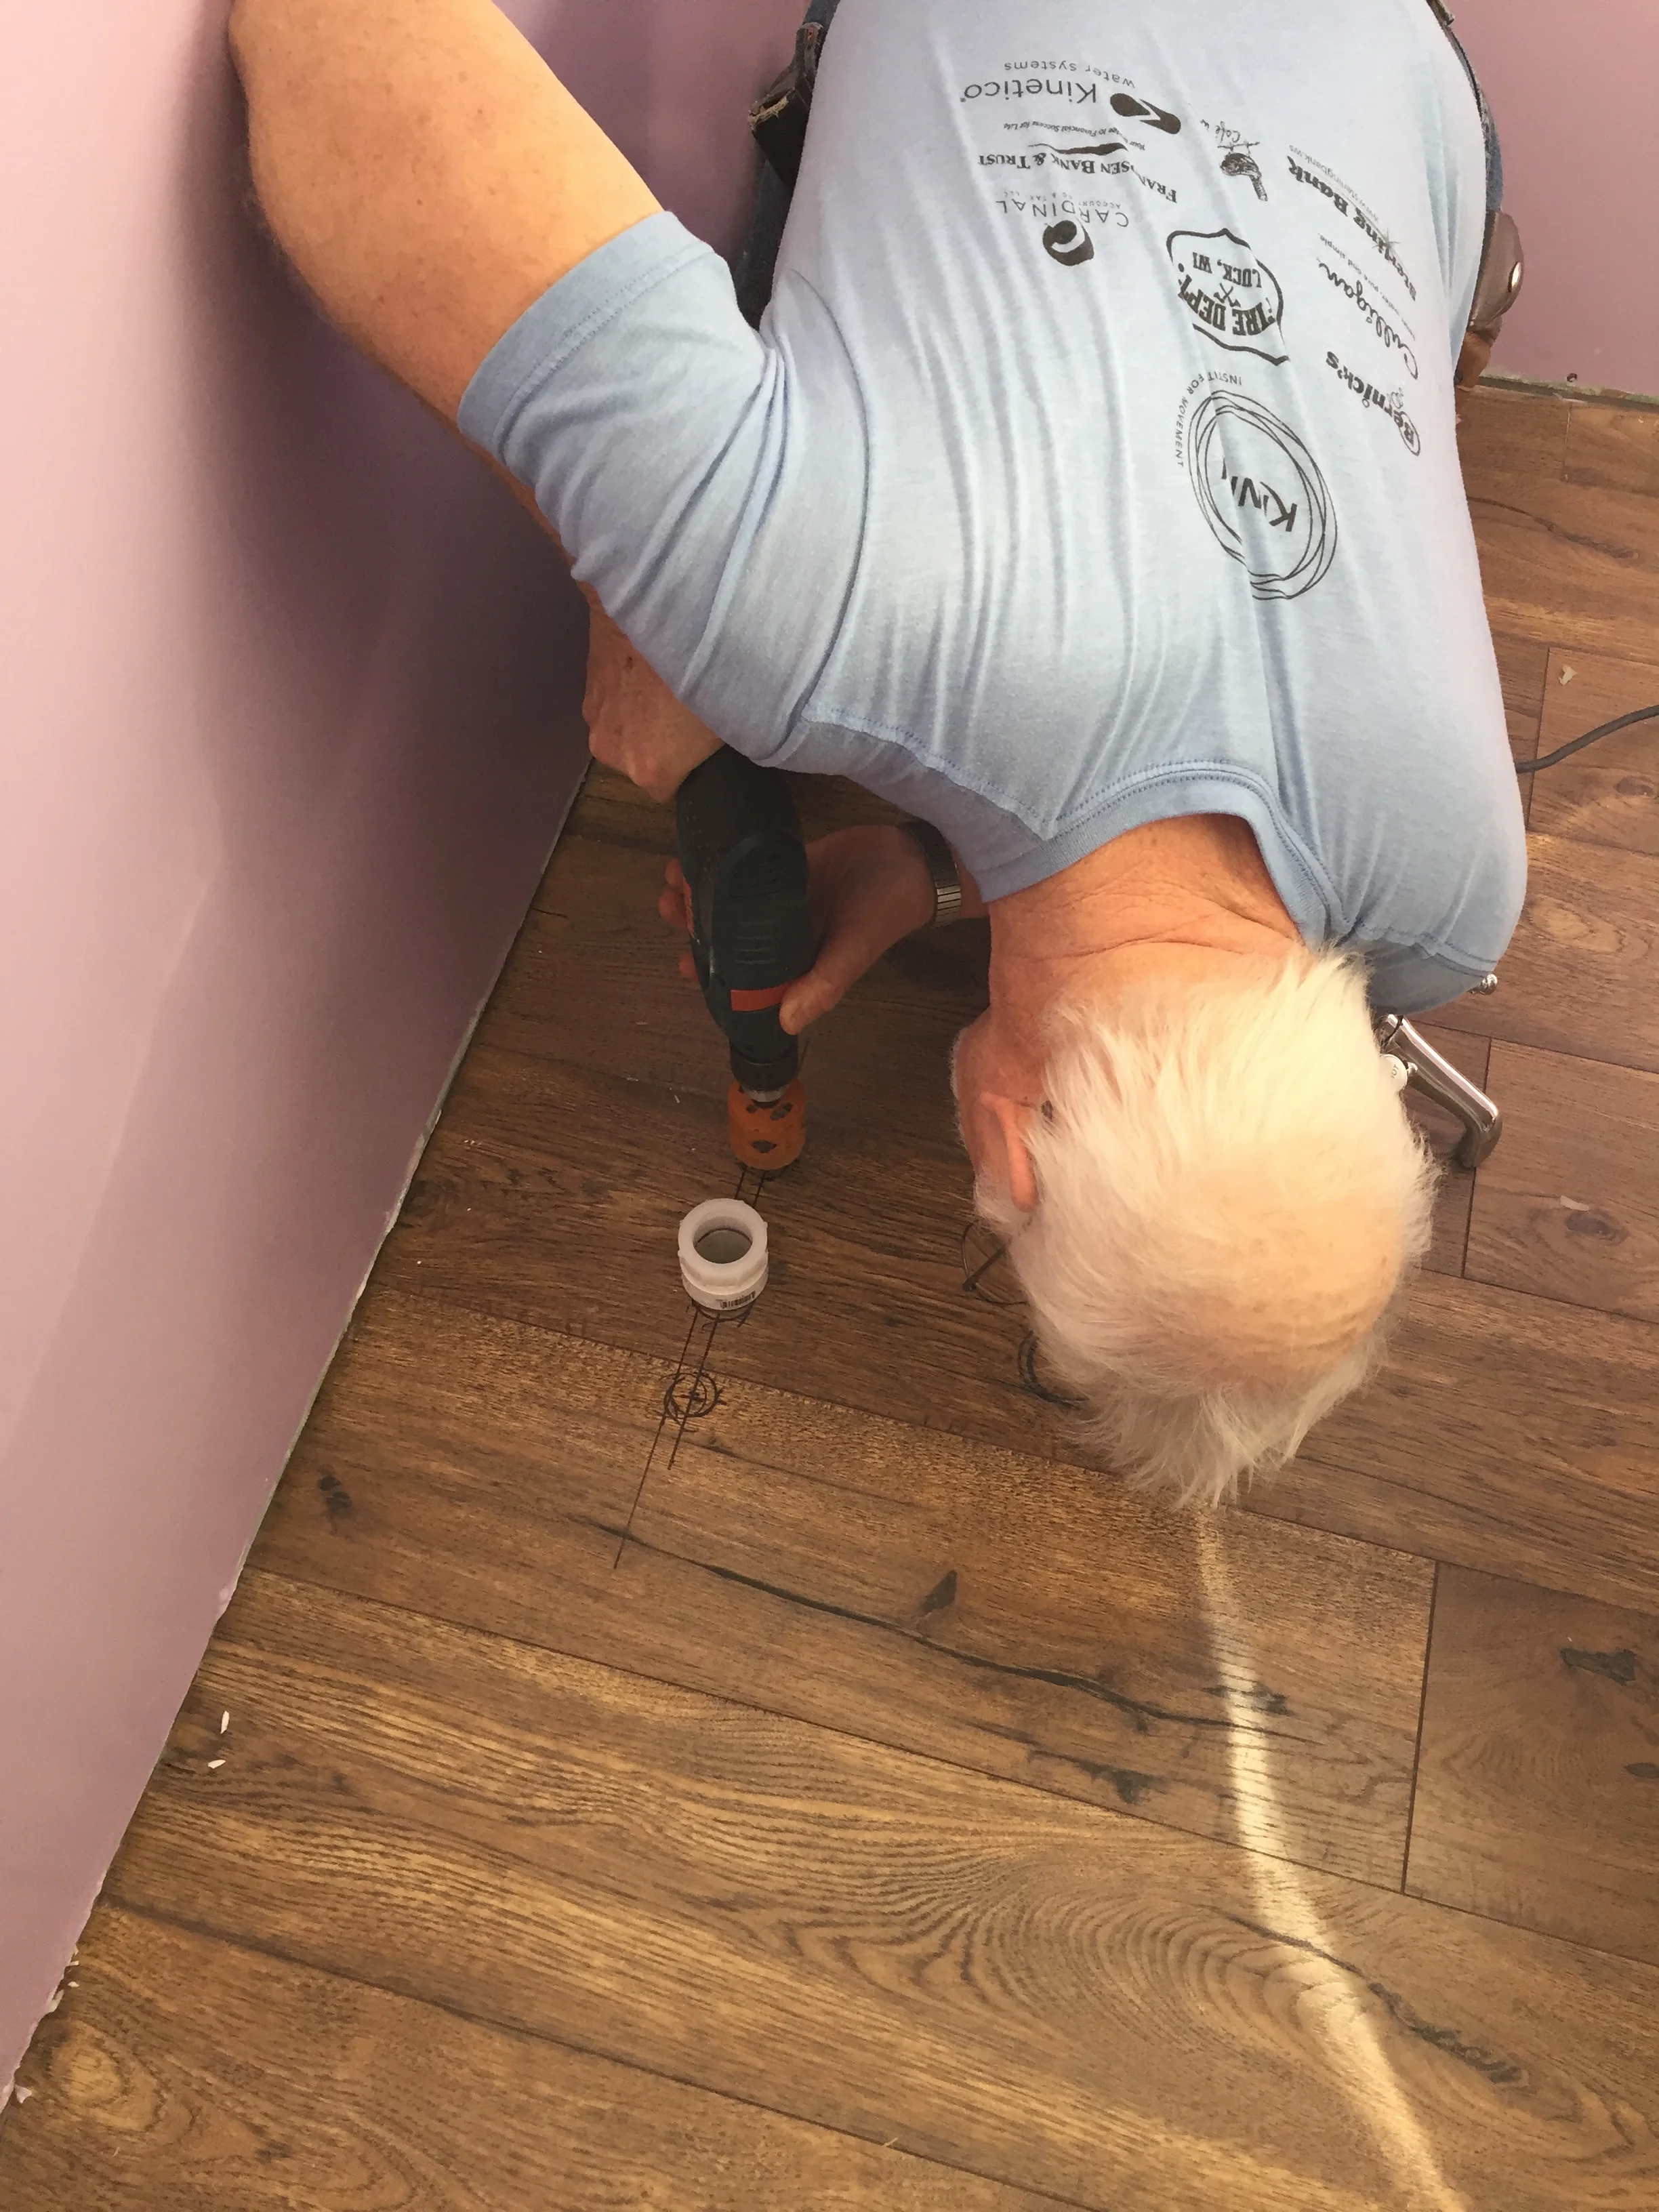
I have also been doing some clean up work on the flooring.
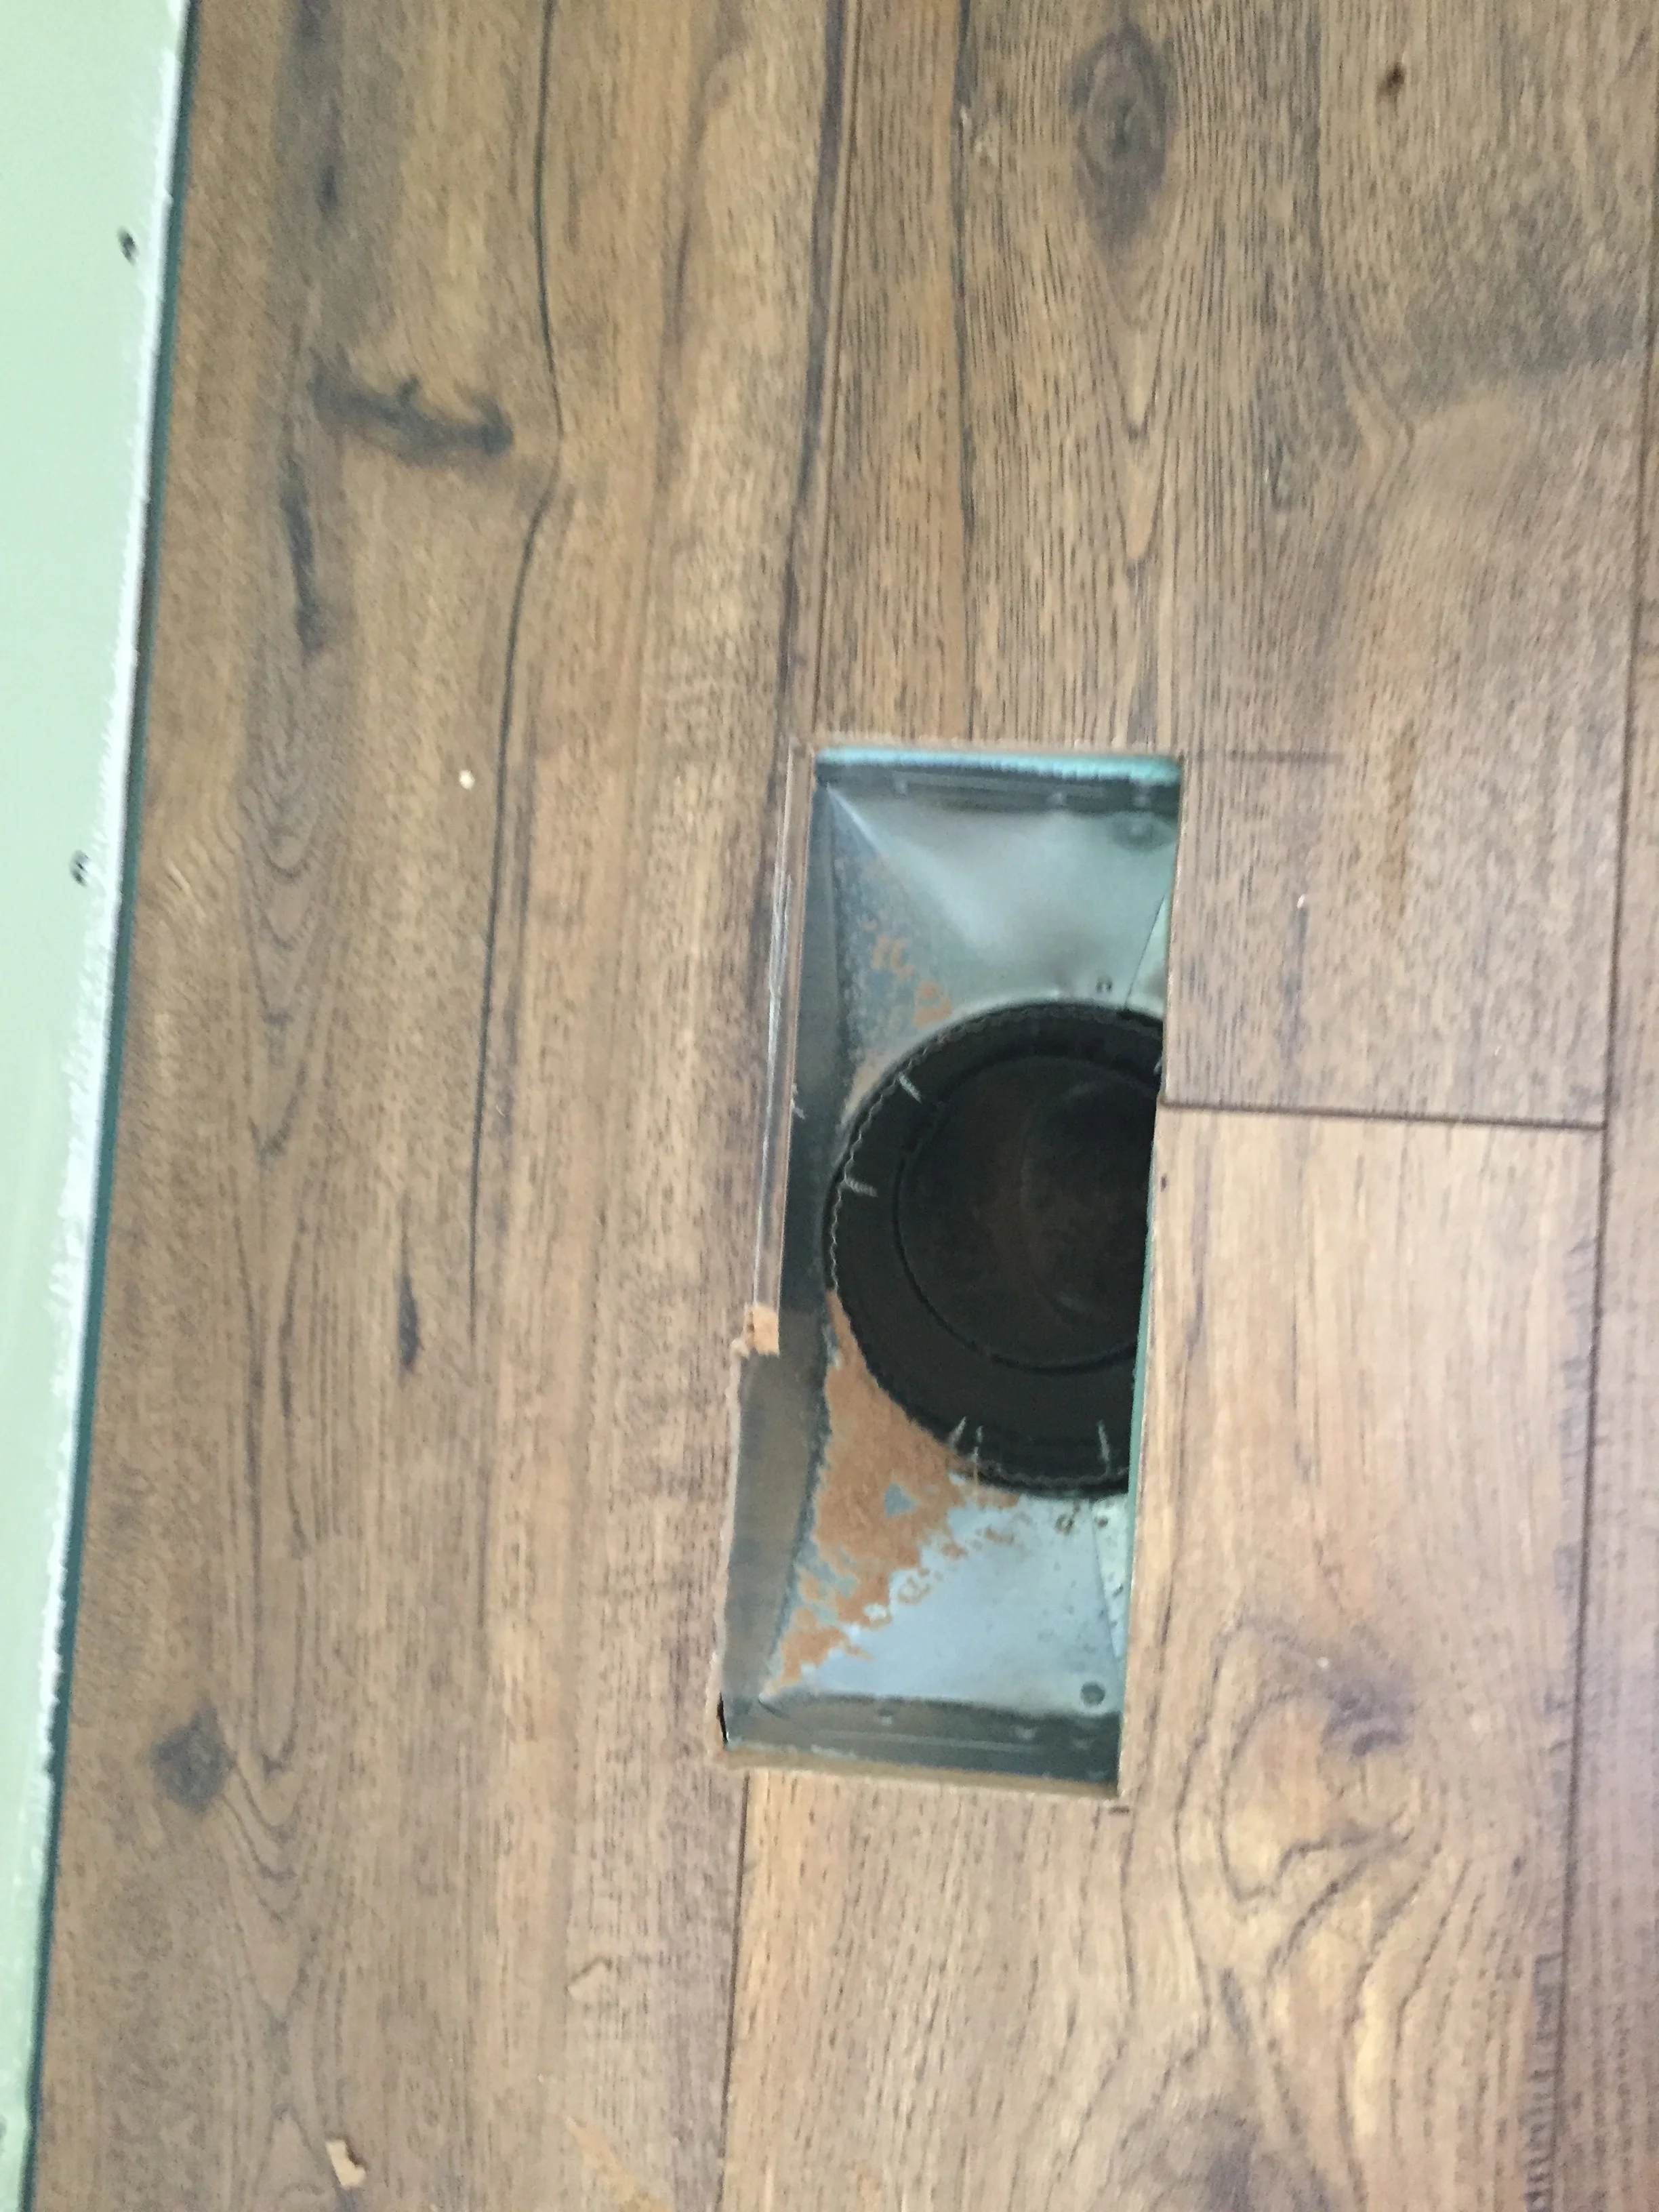
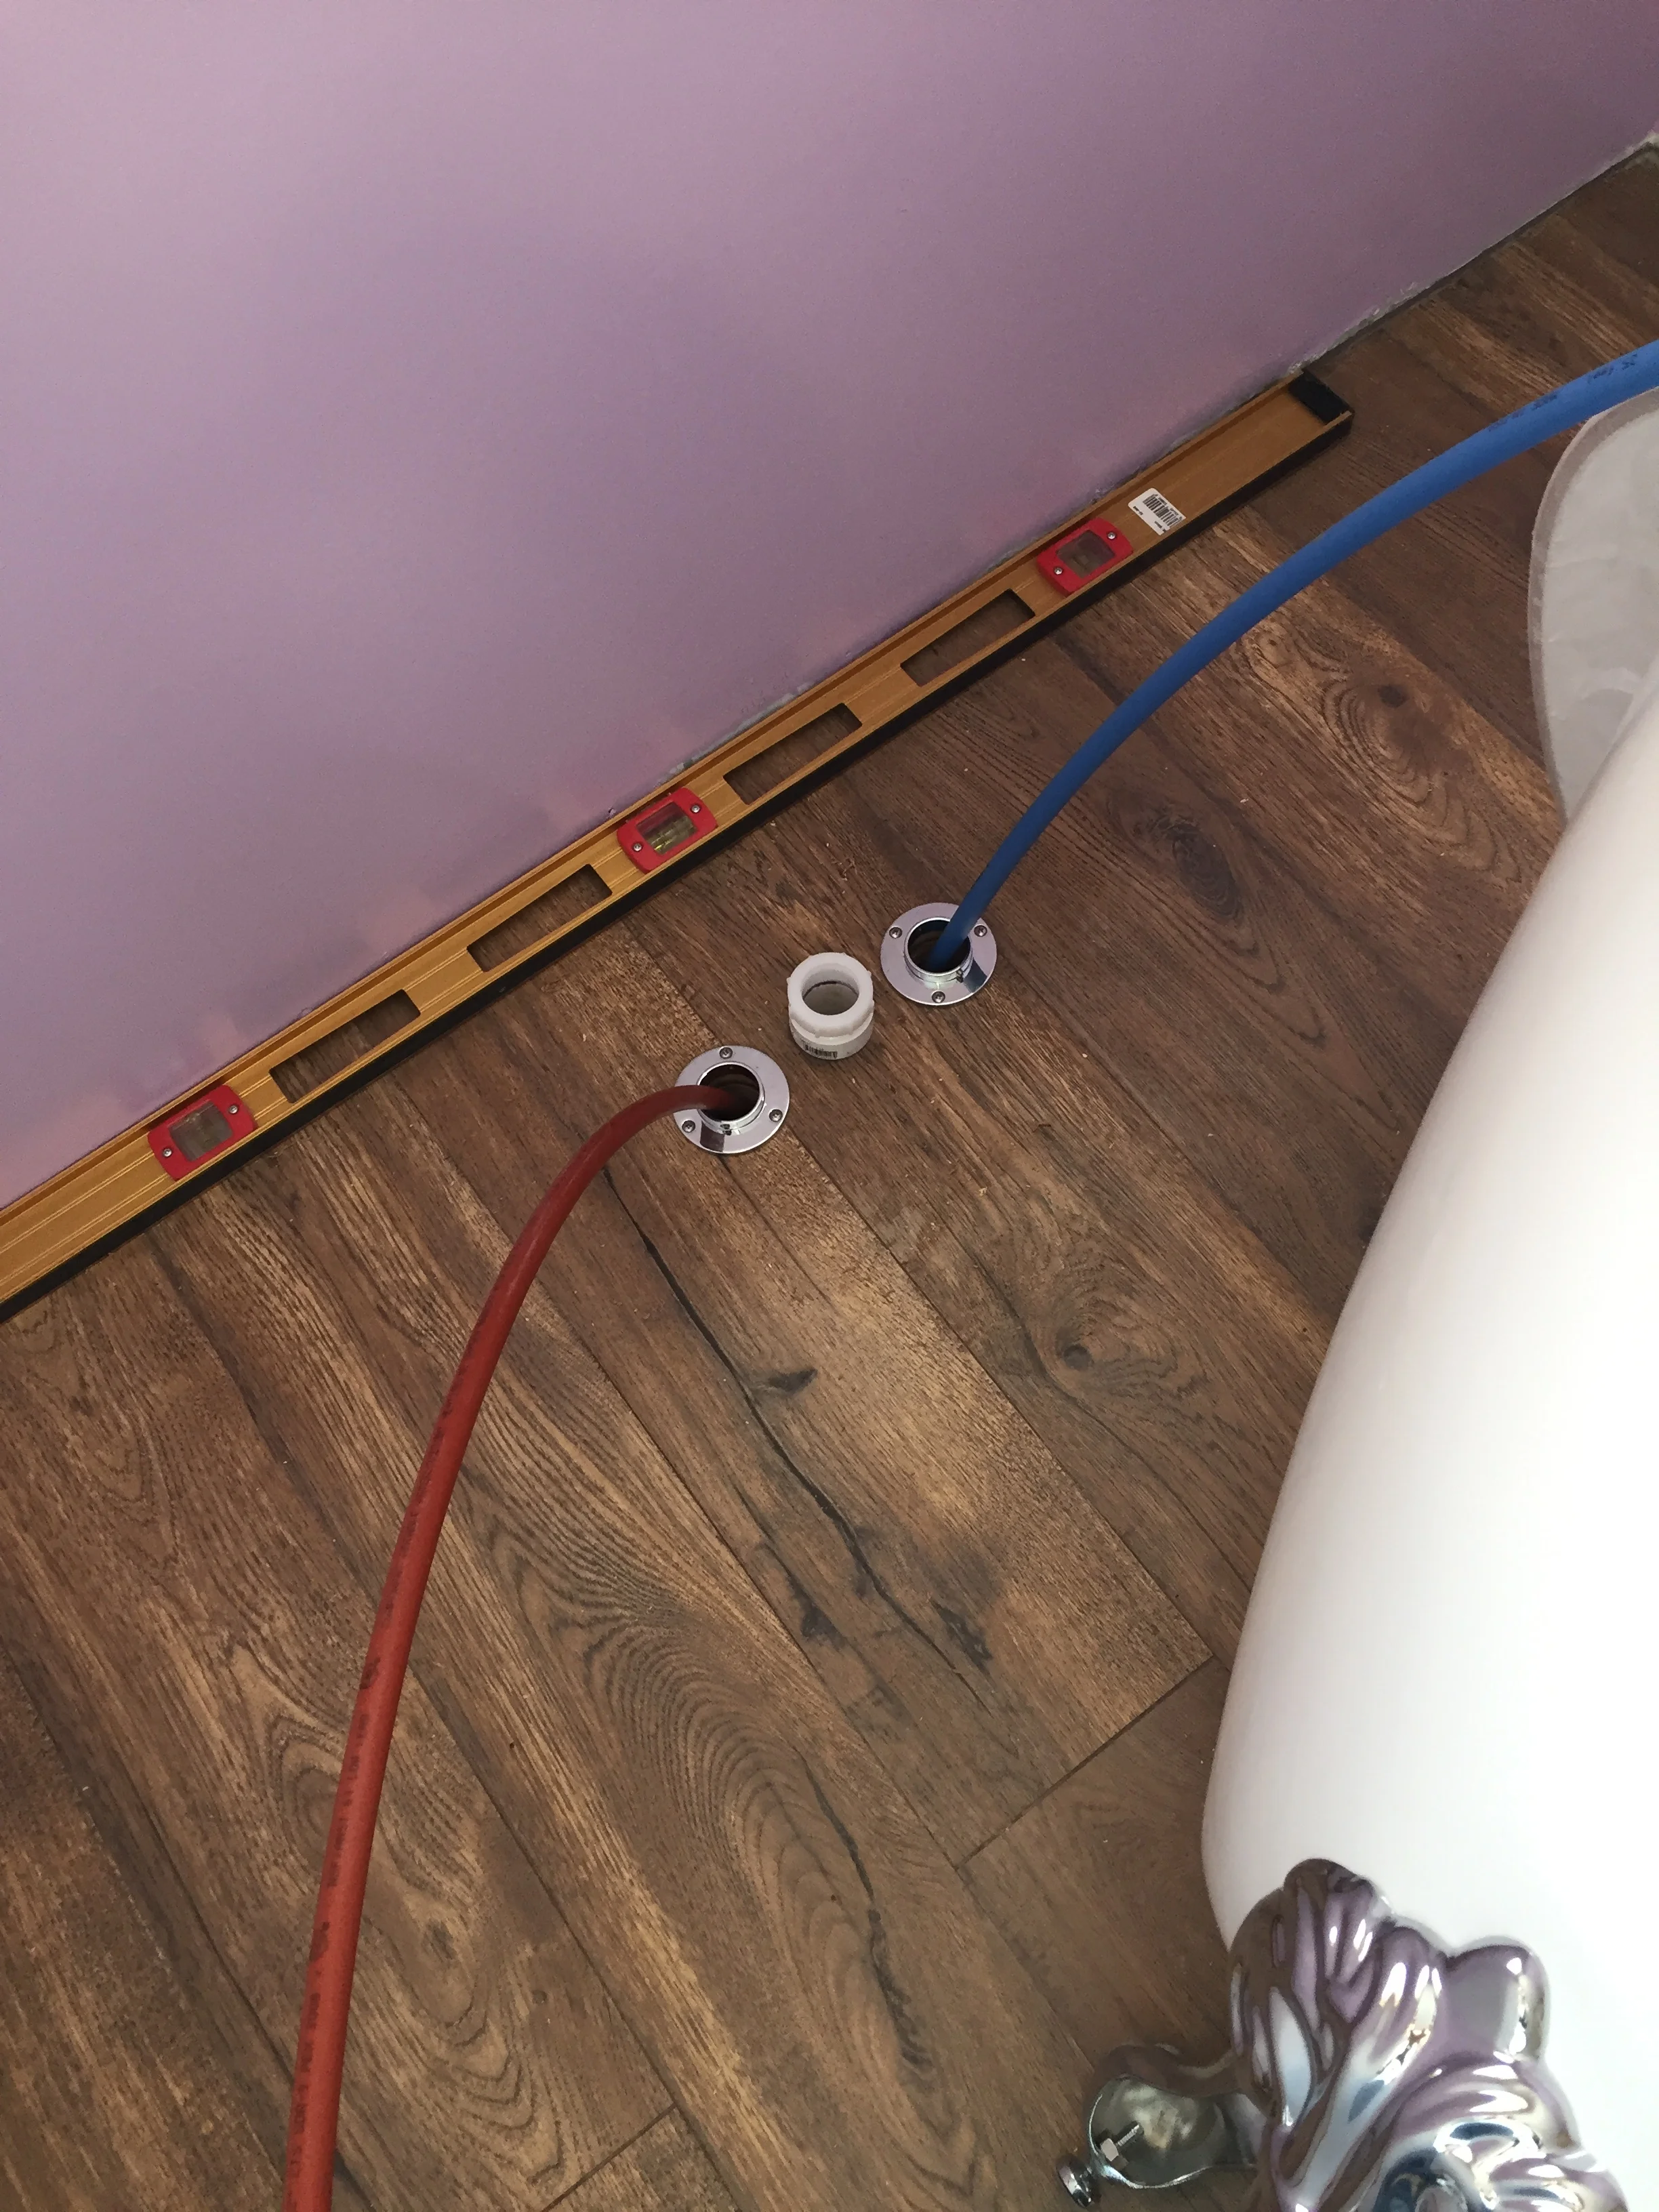
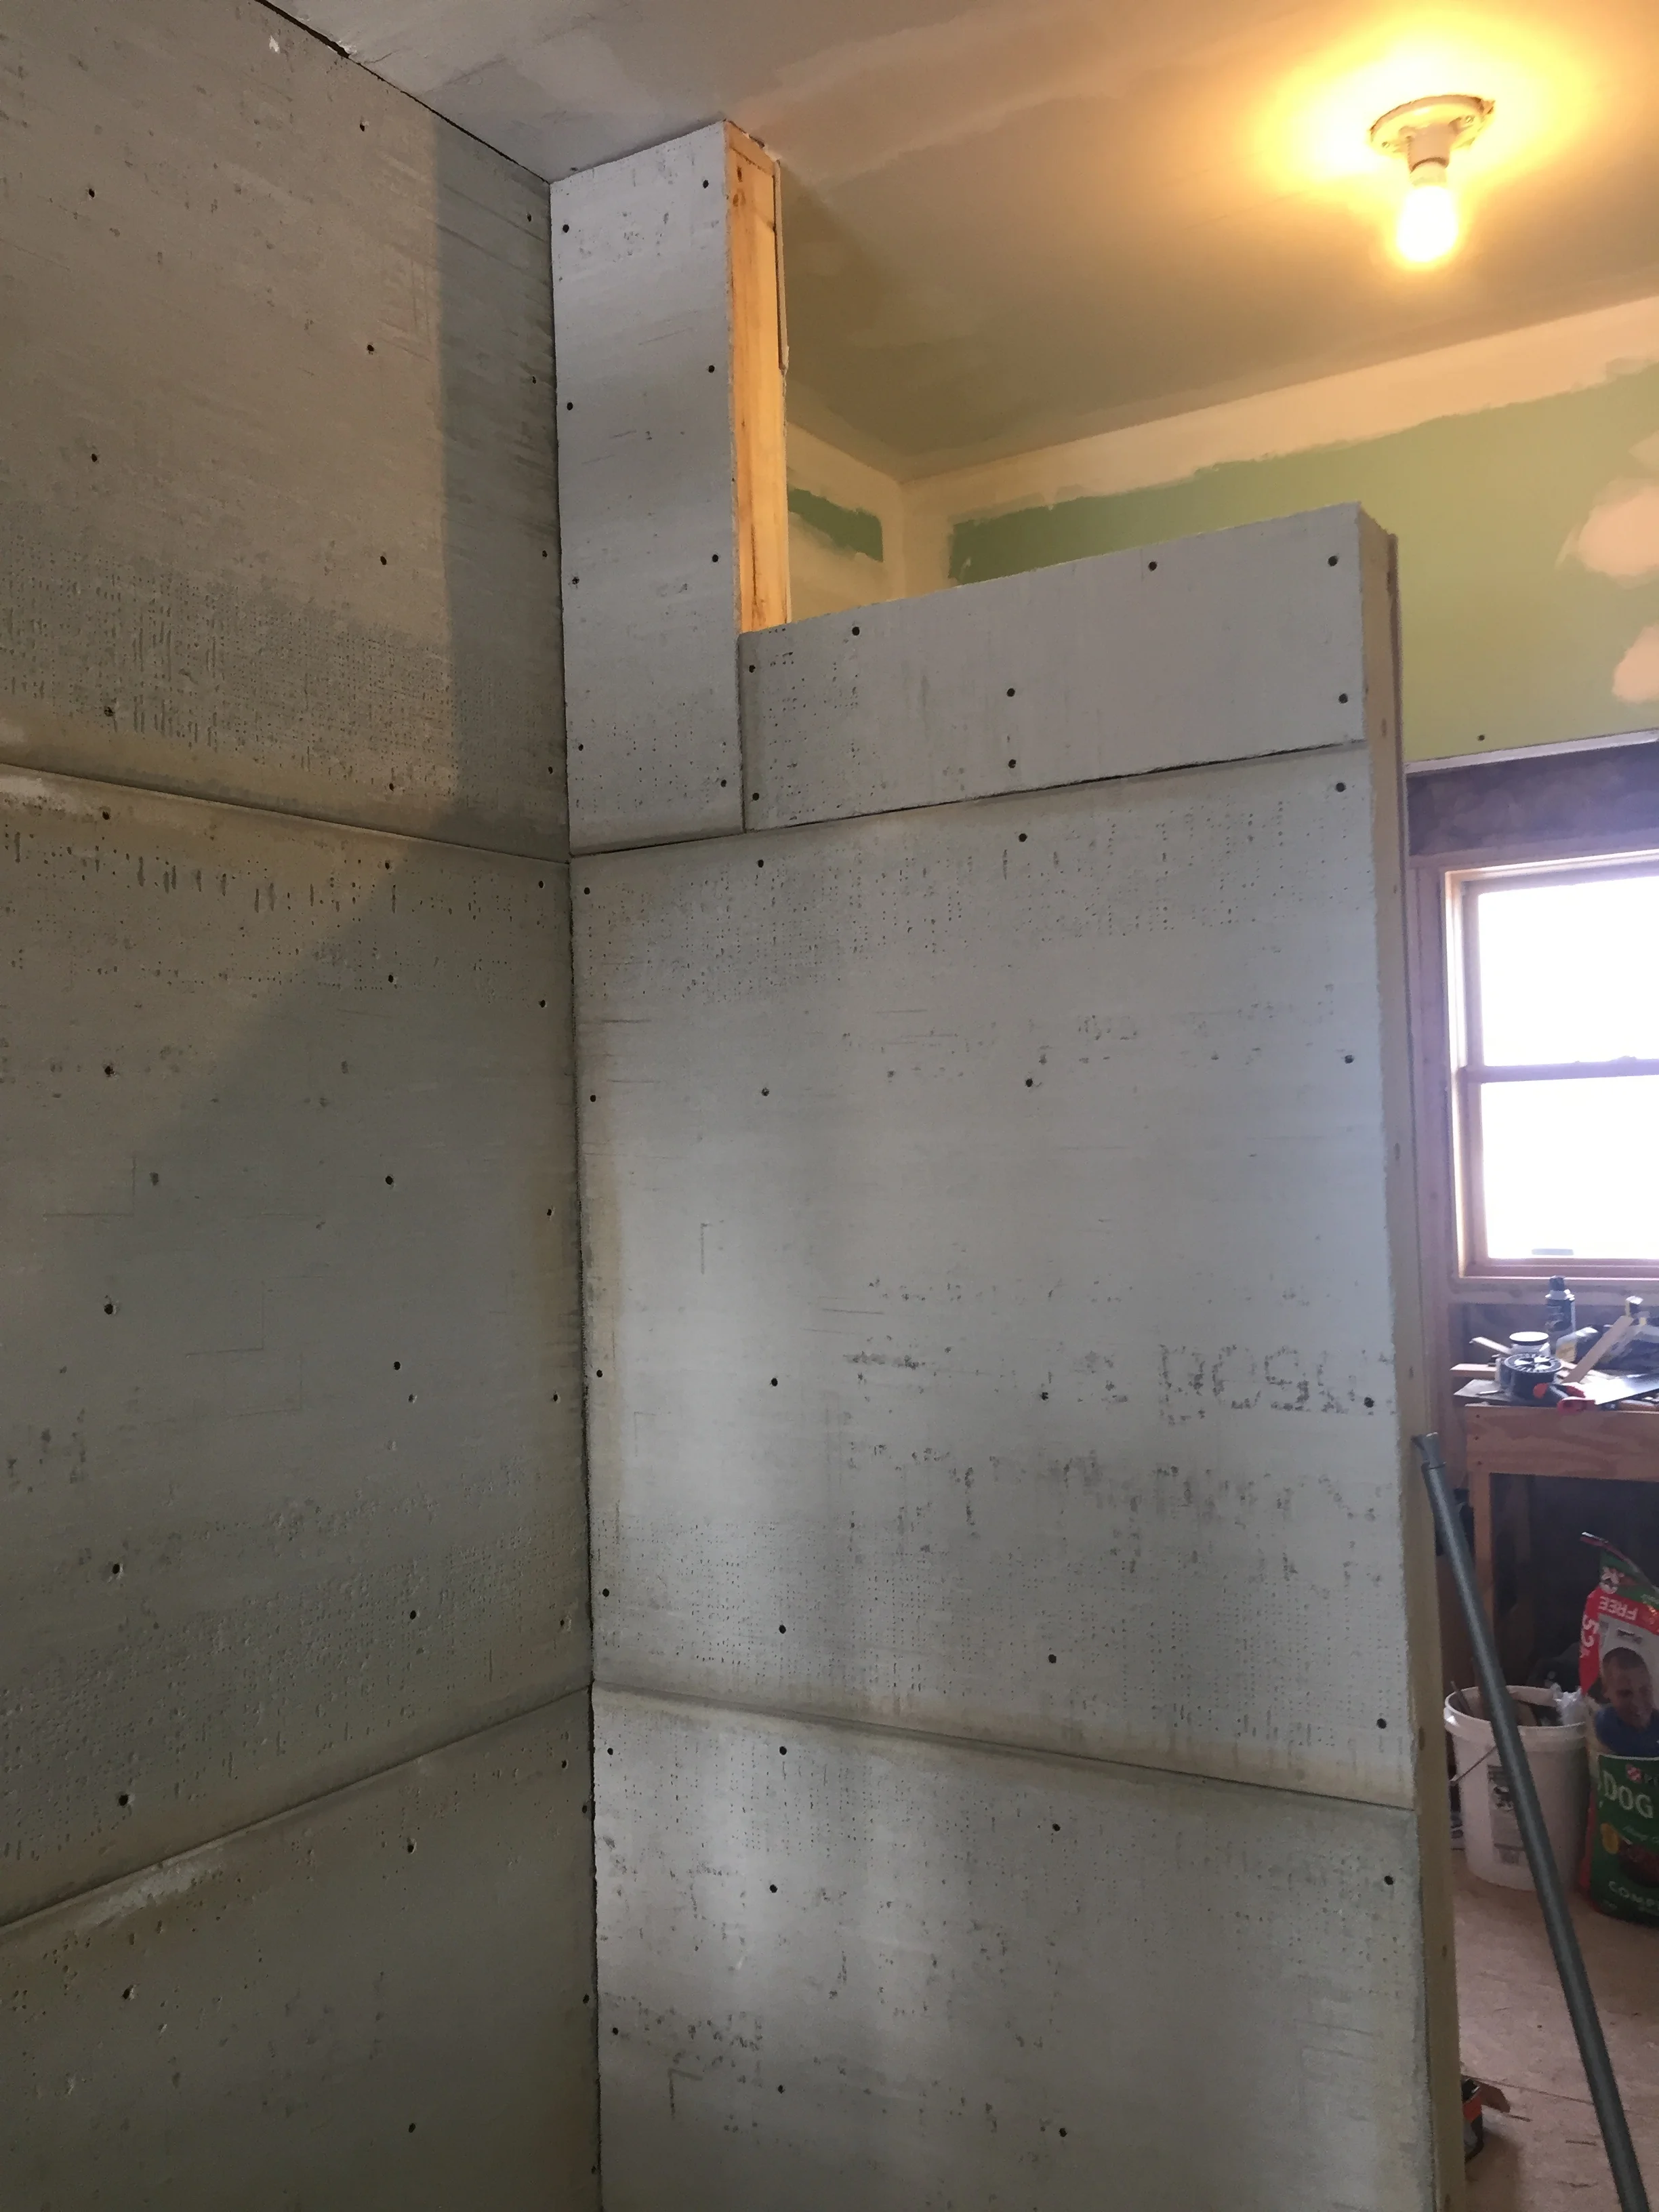
Michael cut the register opening too narrow. I haggled a corner with a utility knife, then widened the opening with a hand saw.
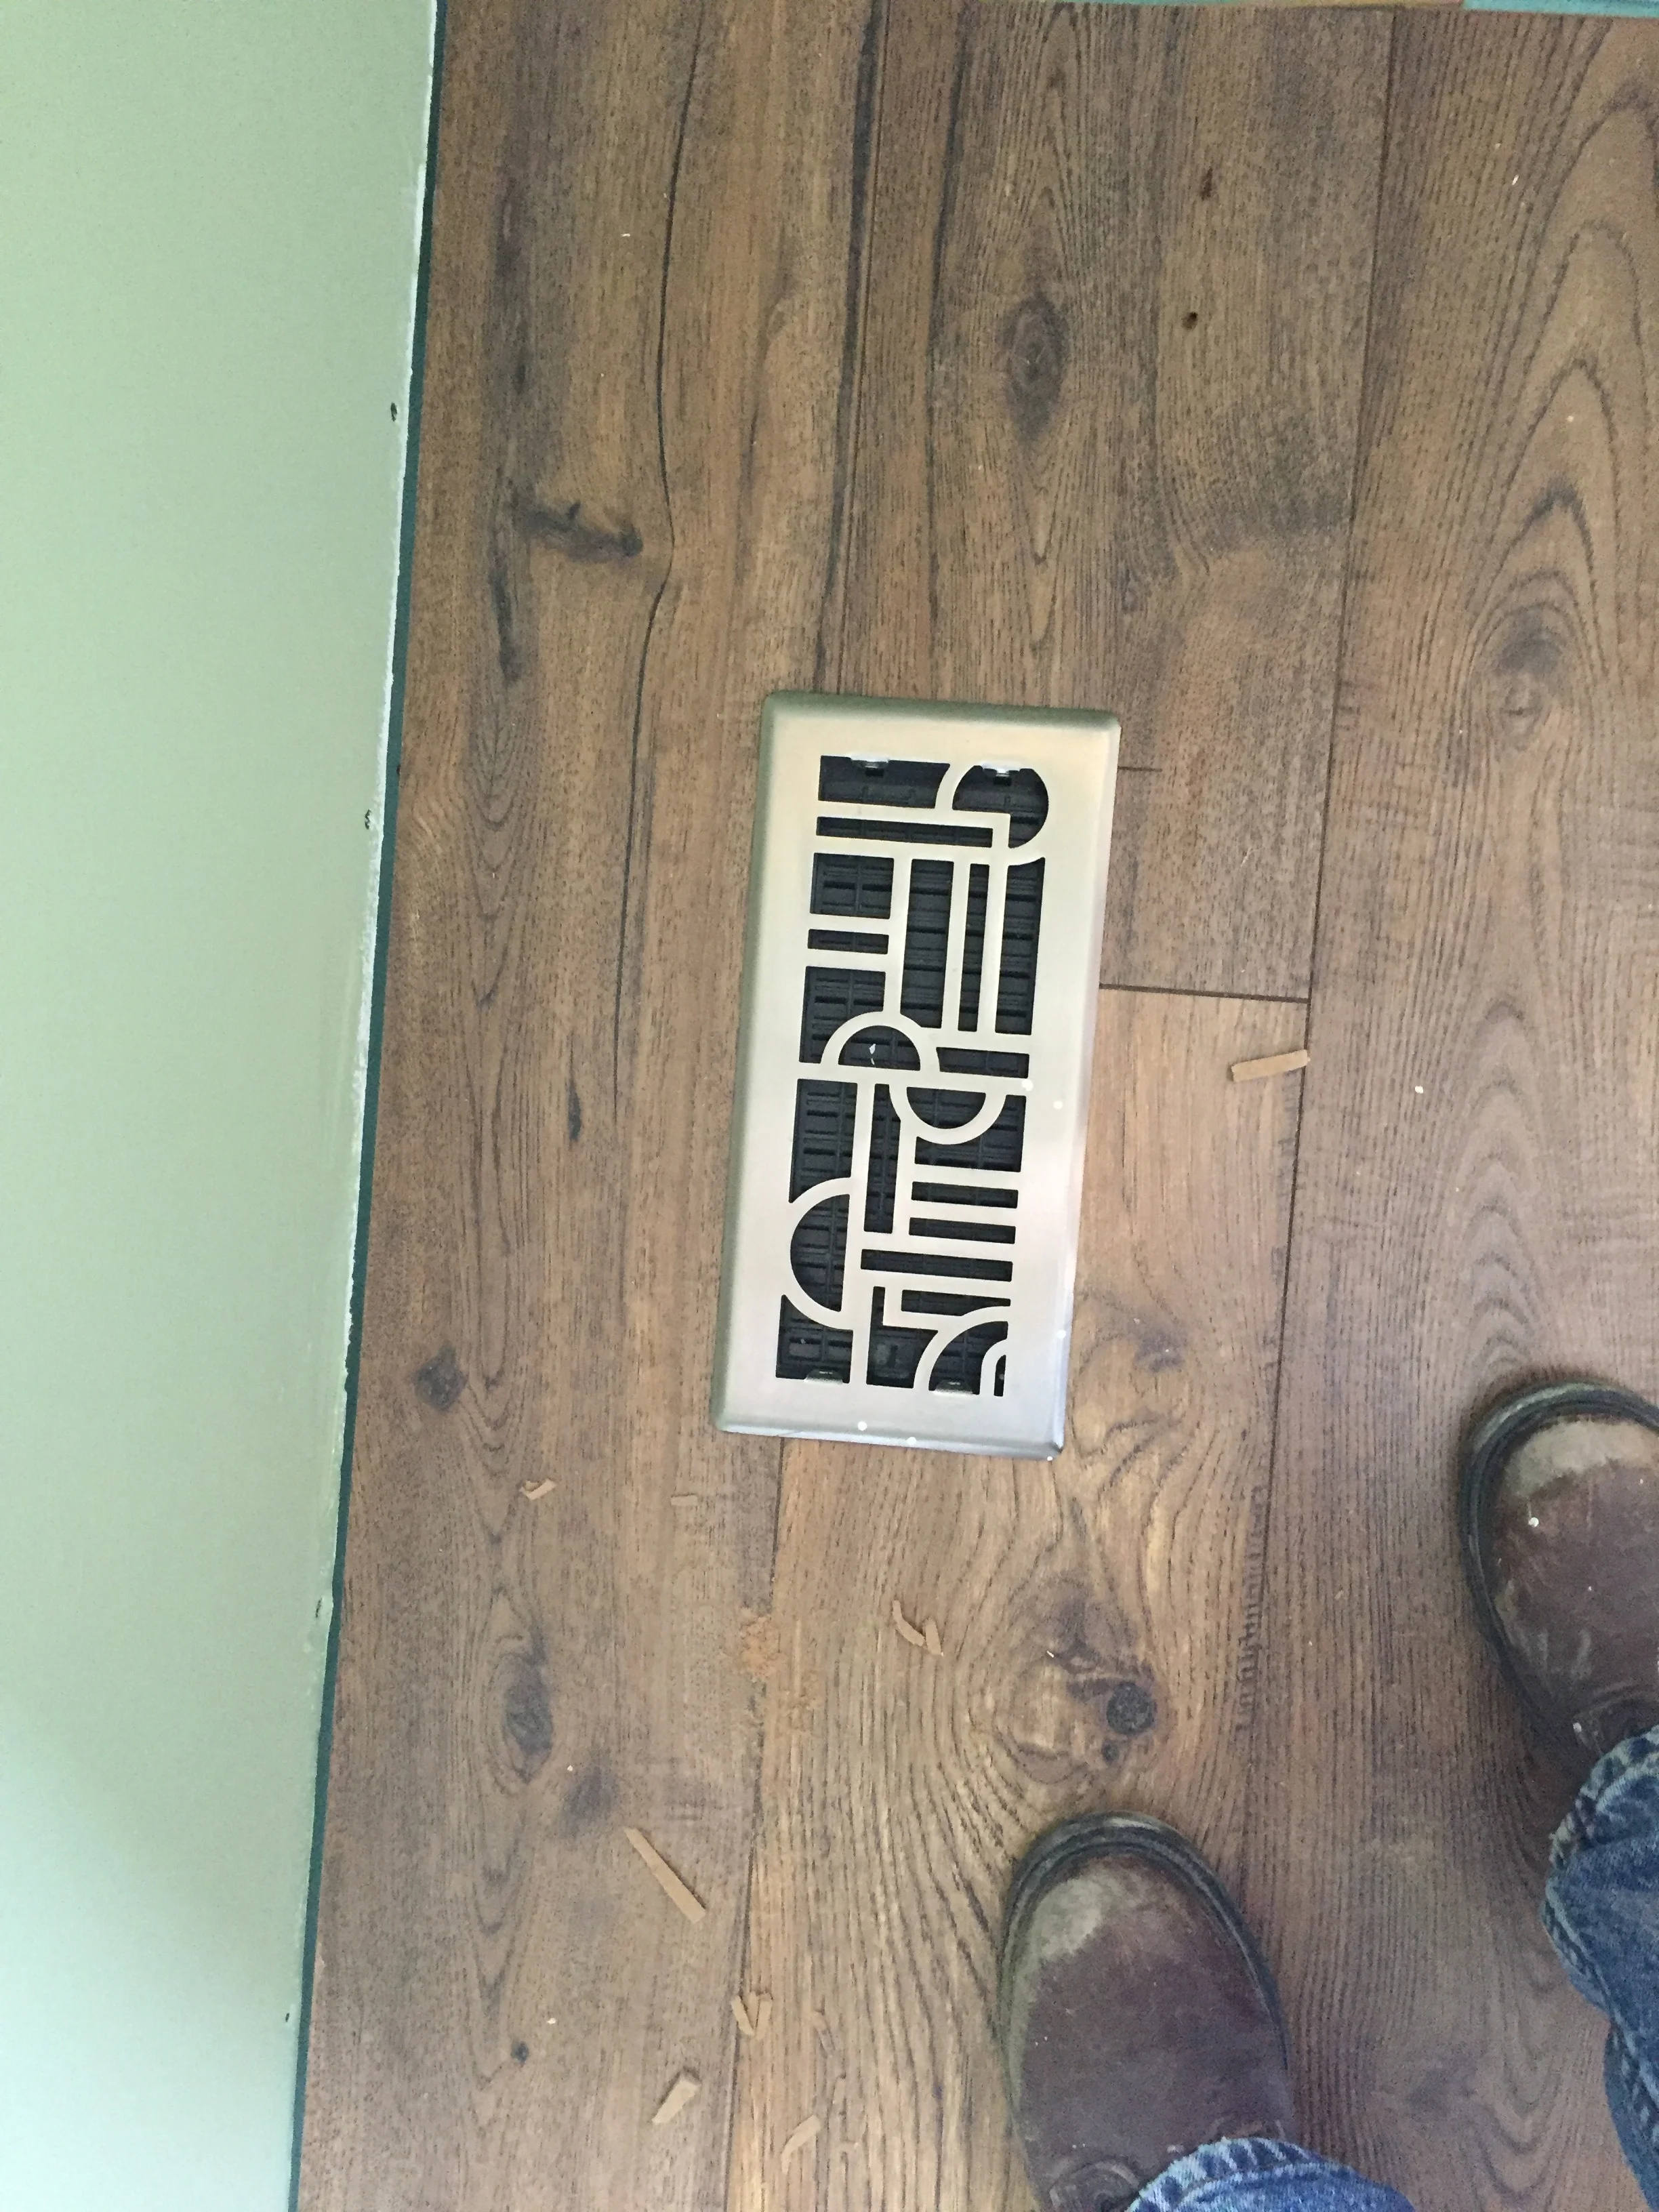
Et viola. It fits.
This little project took me a while to complete. I’m sure I could have been quicker with a power tool. I worried that a power tool would cut the tin work below. This way, I could work as close as possible to the duct, fearlessly.
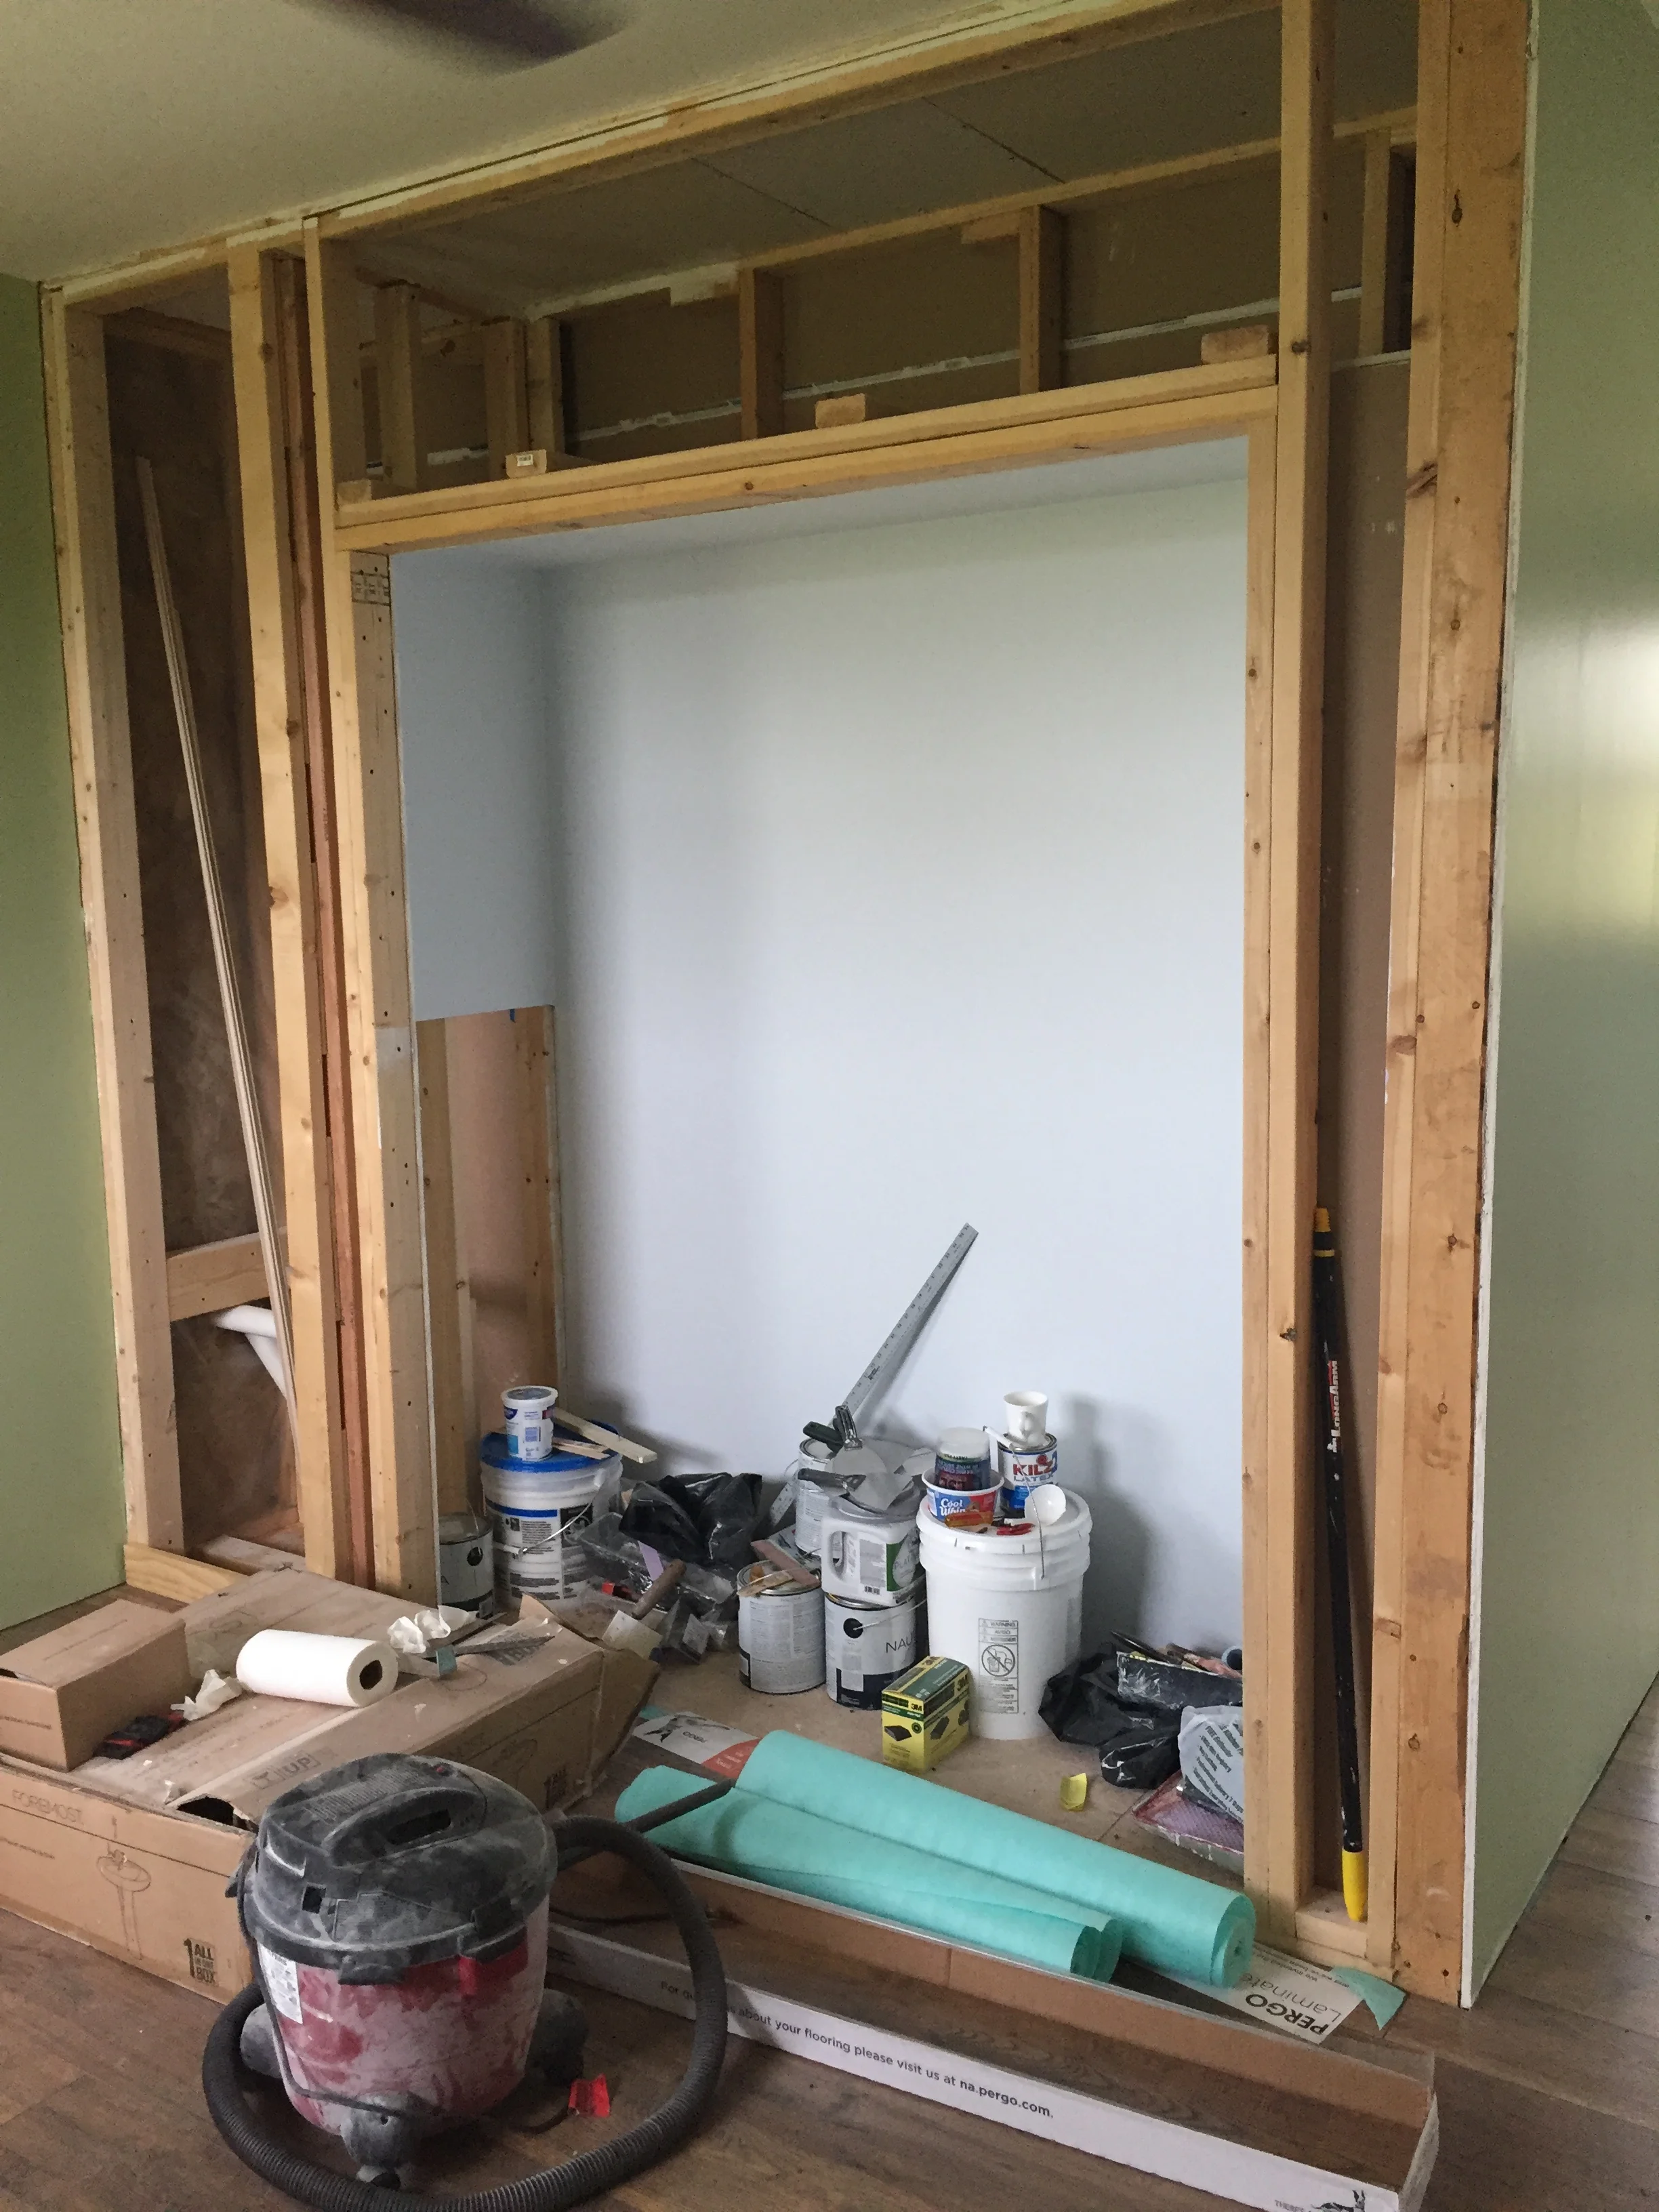
All the painting equipment will have to find a new home.
I will gather my courage and start on the counter with drawers/computer desk combo that goes in the living room.
The bases are made from 2x6s ripped down to a true 4” and inset 3” to serve as a toe-kick space.
I’ve never used a pocket screw jig. I’ve never made a carcase. Thank goodness for You Tube! And for the How-To books my Uncle Tom sent me, which show how to support the quartz composite countertop I bought for half price last year.
I do have another deadline looming:

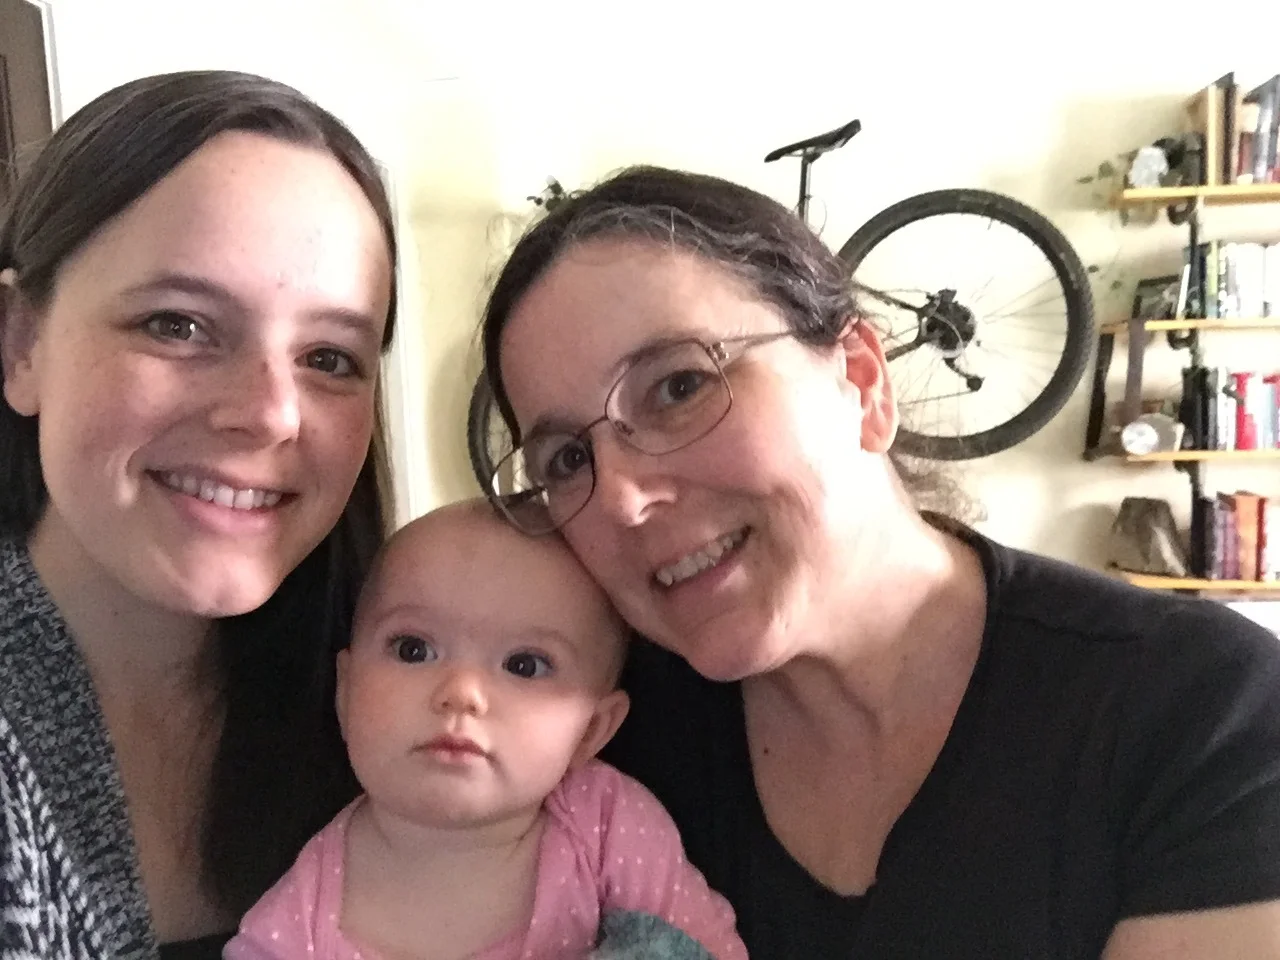
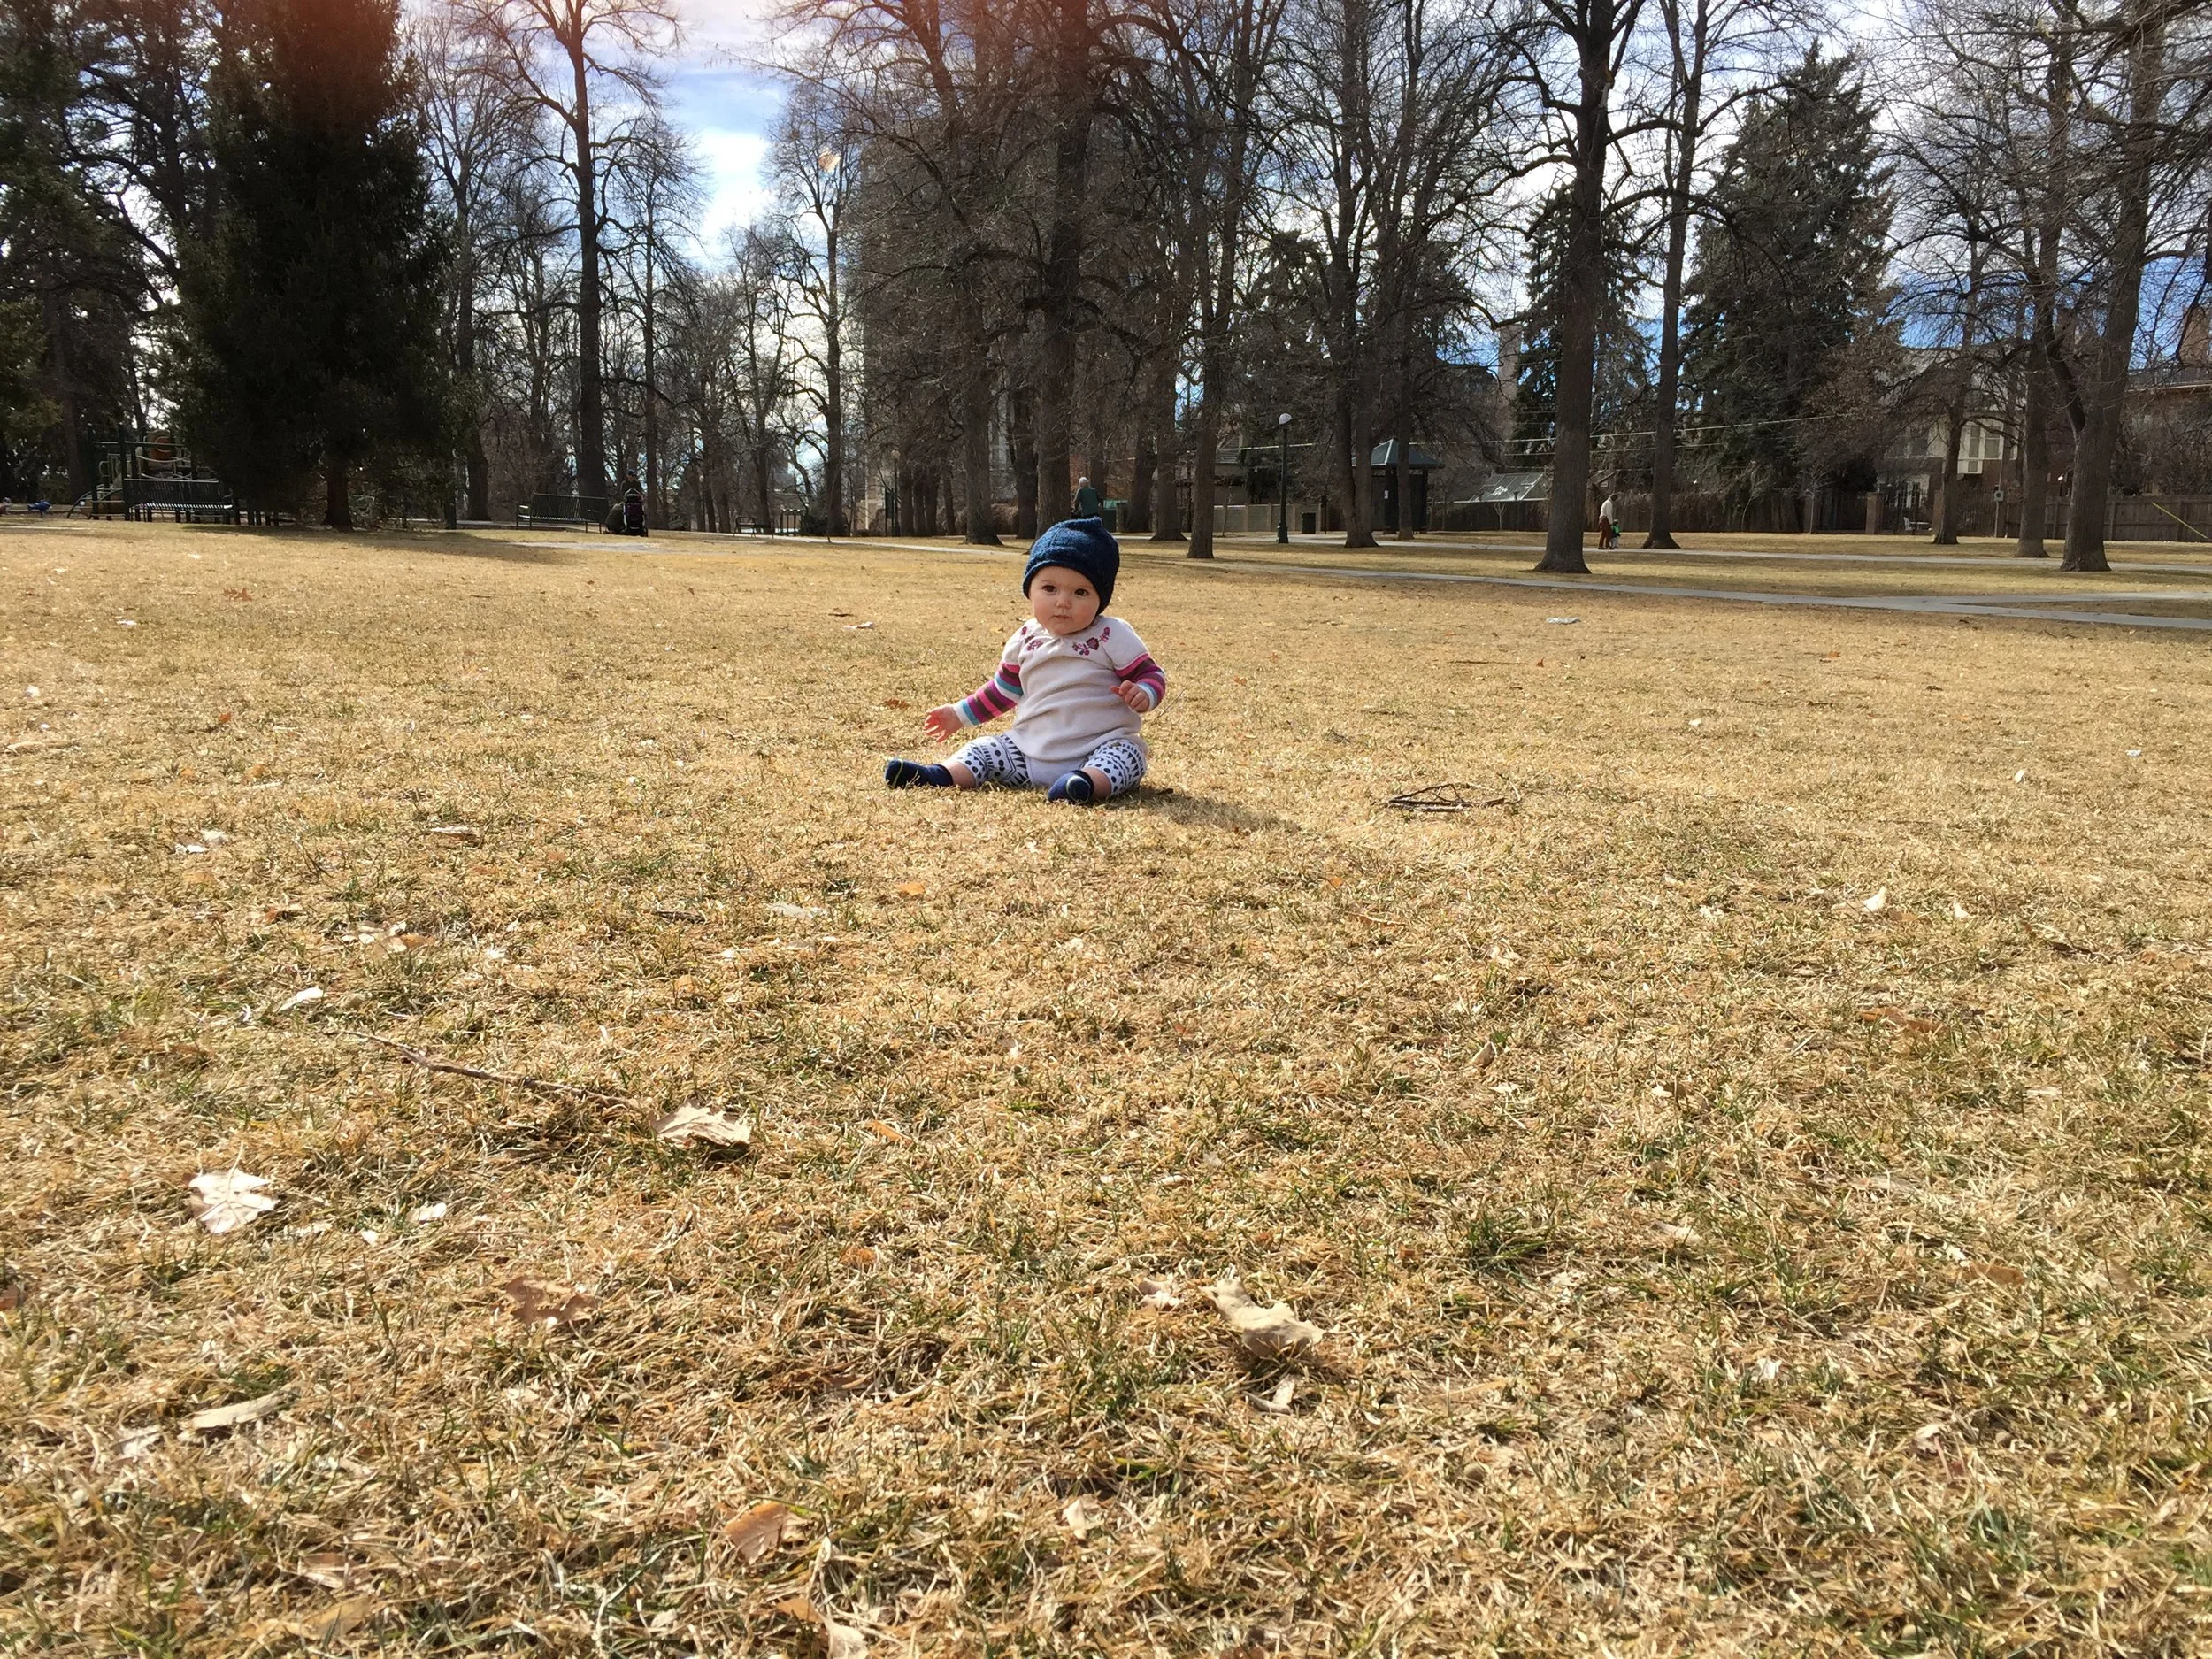
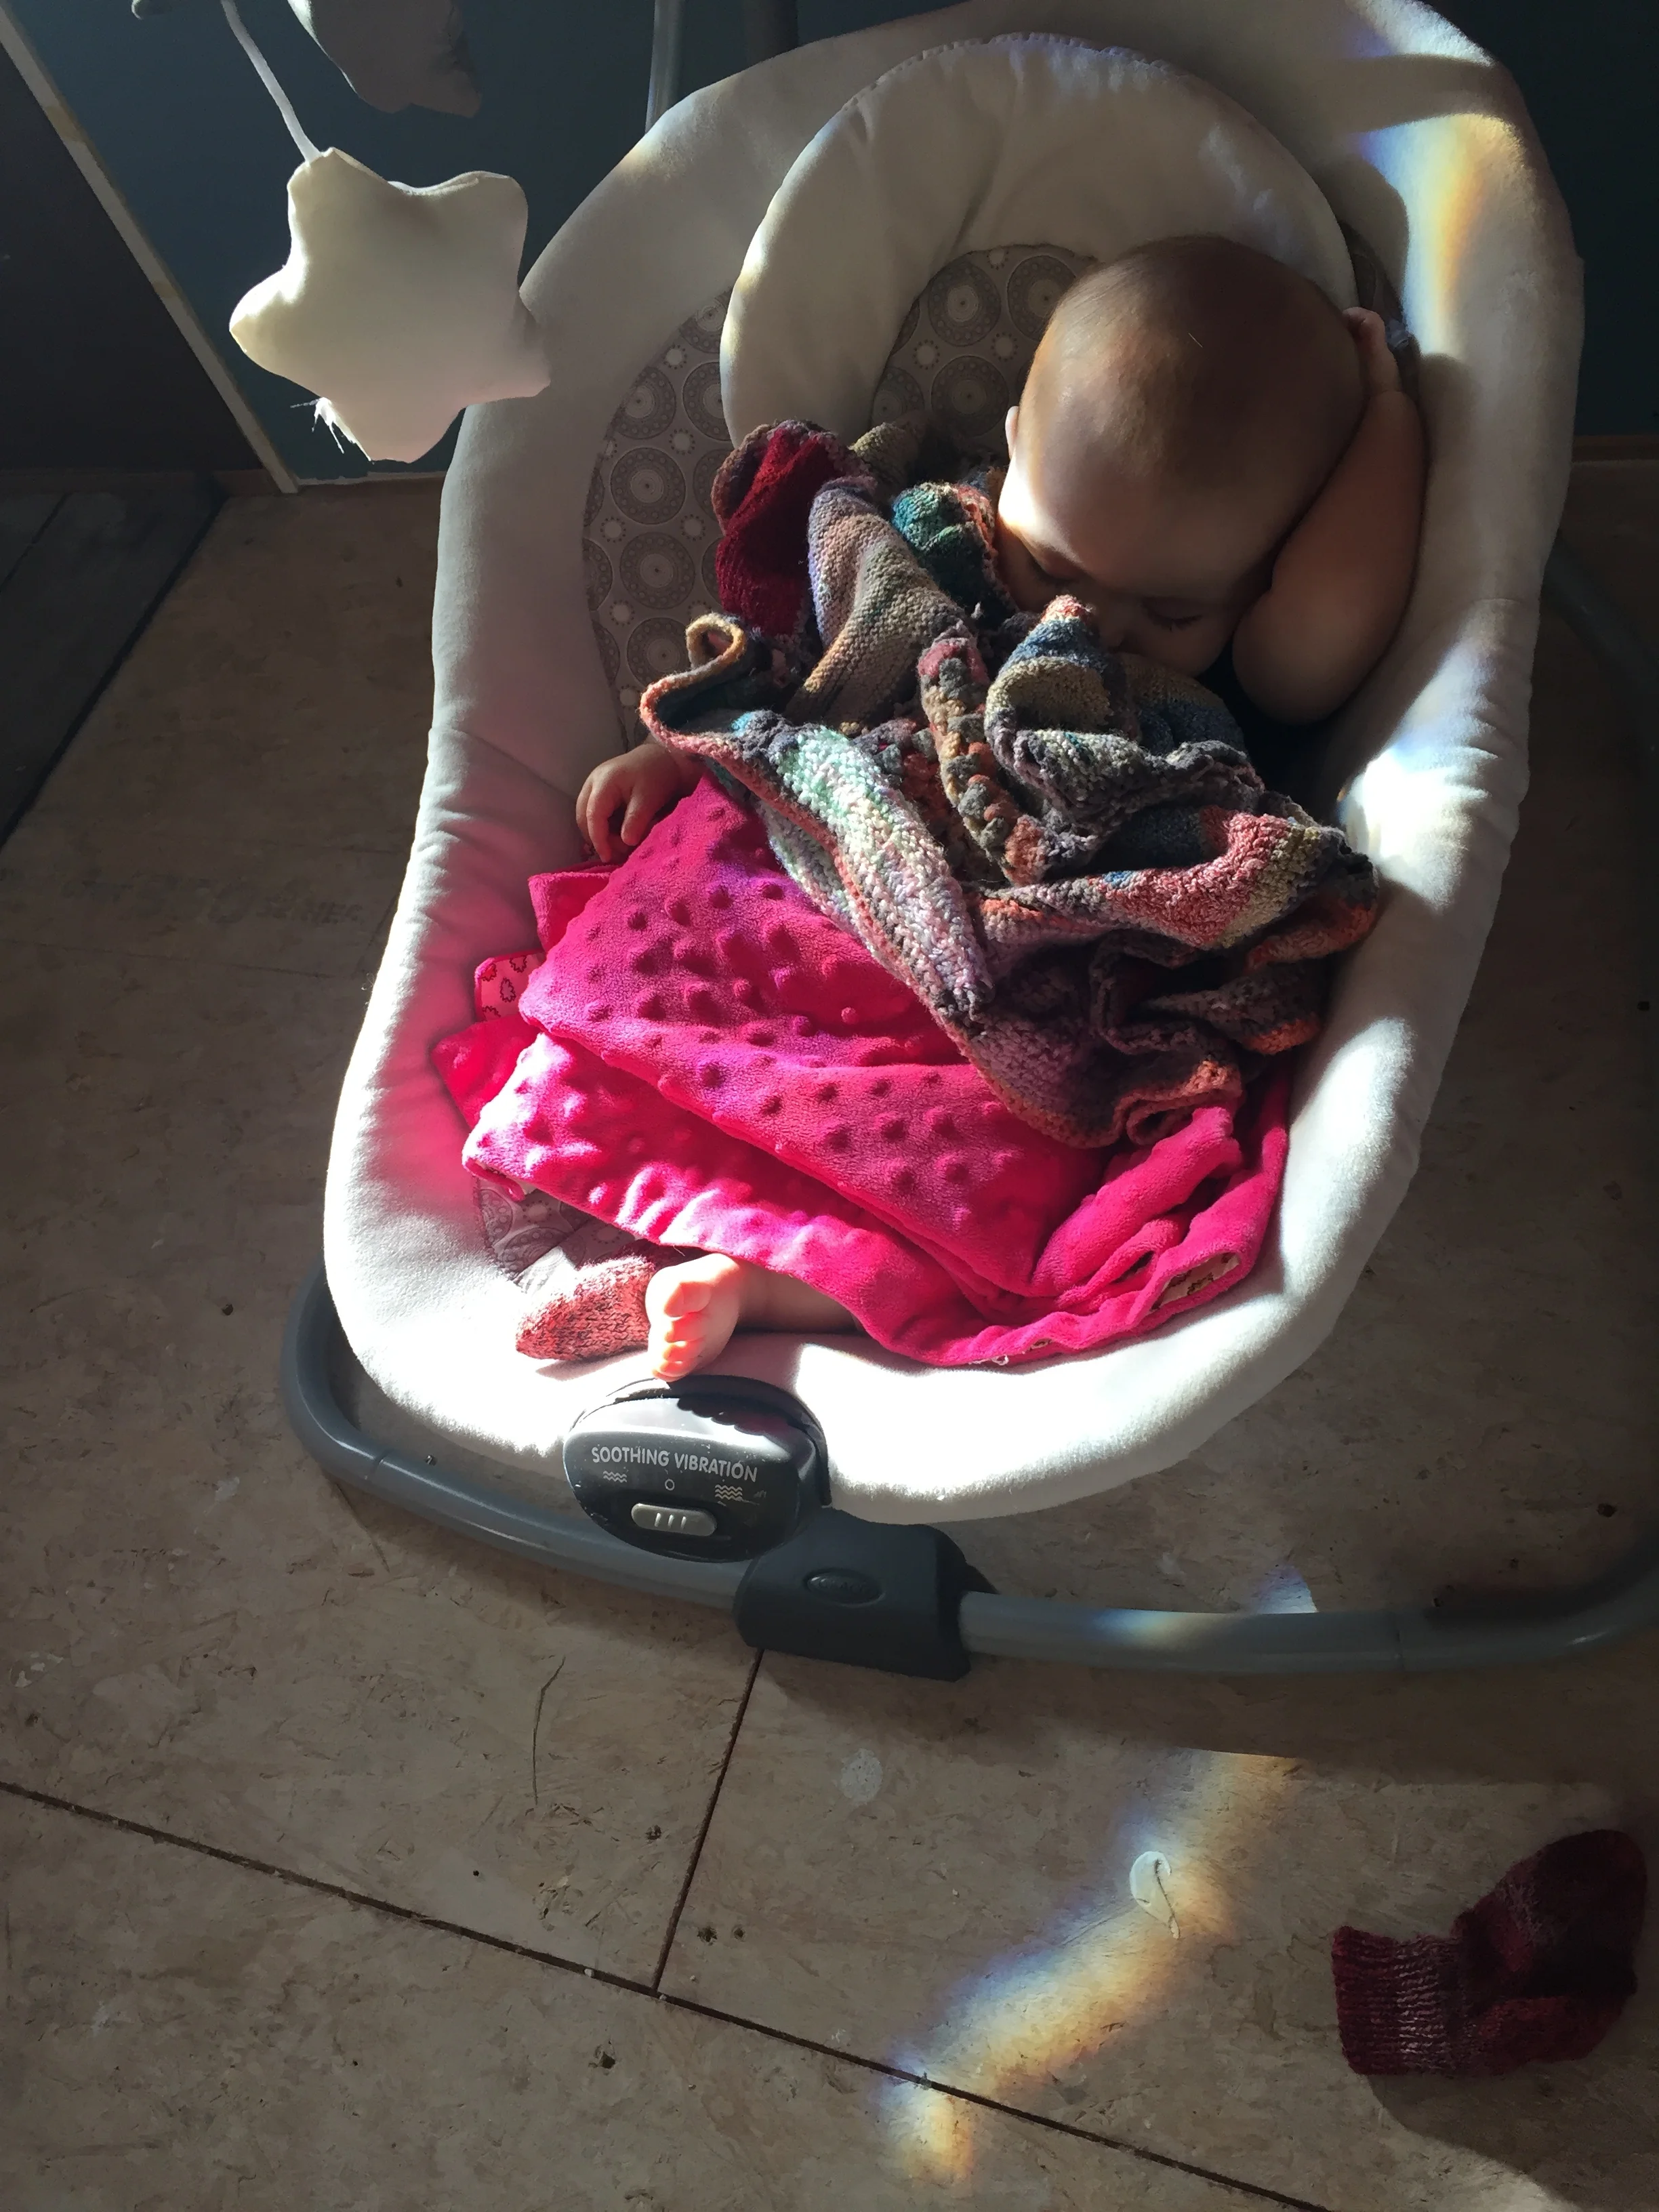
We will be throwing a birthday bash for the Grand Girl in June. Hope to have things cleaned up by then.