Construction journal: my first piece of furniture completed!!!
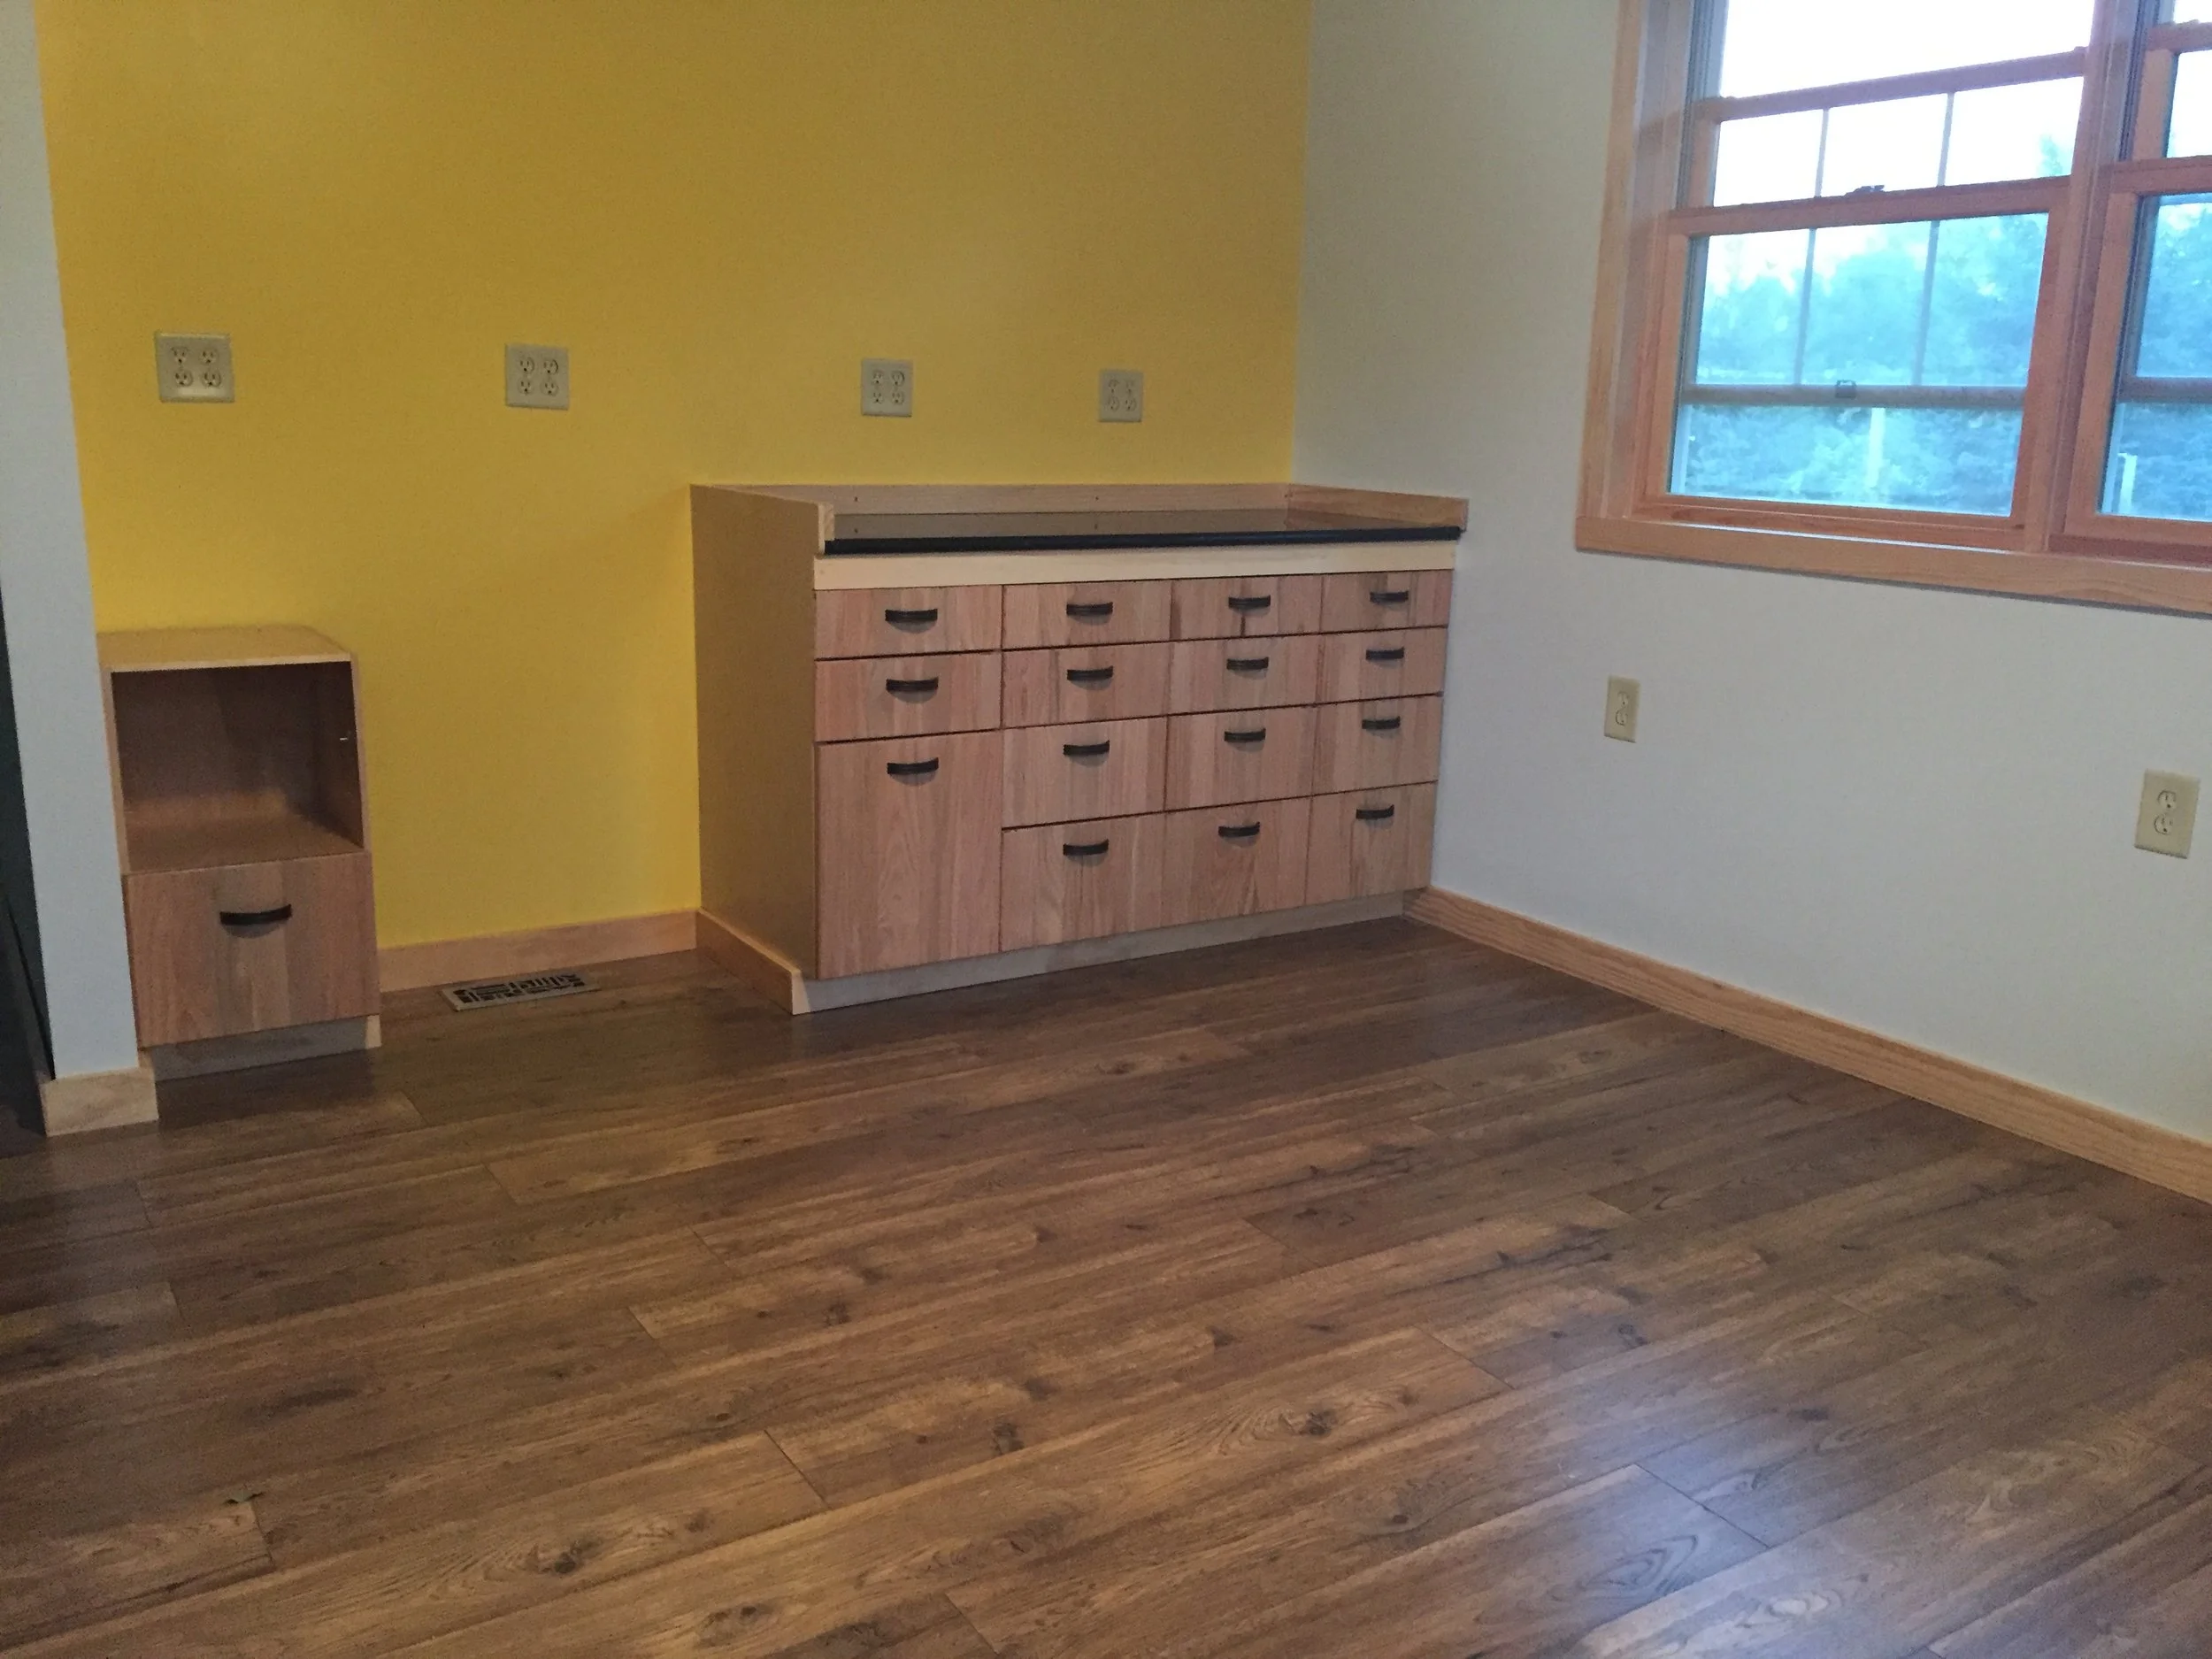
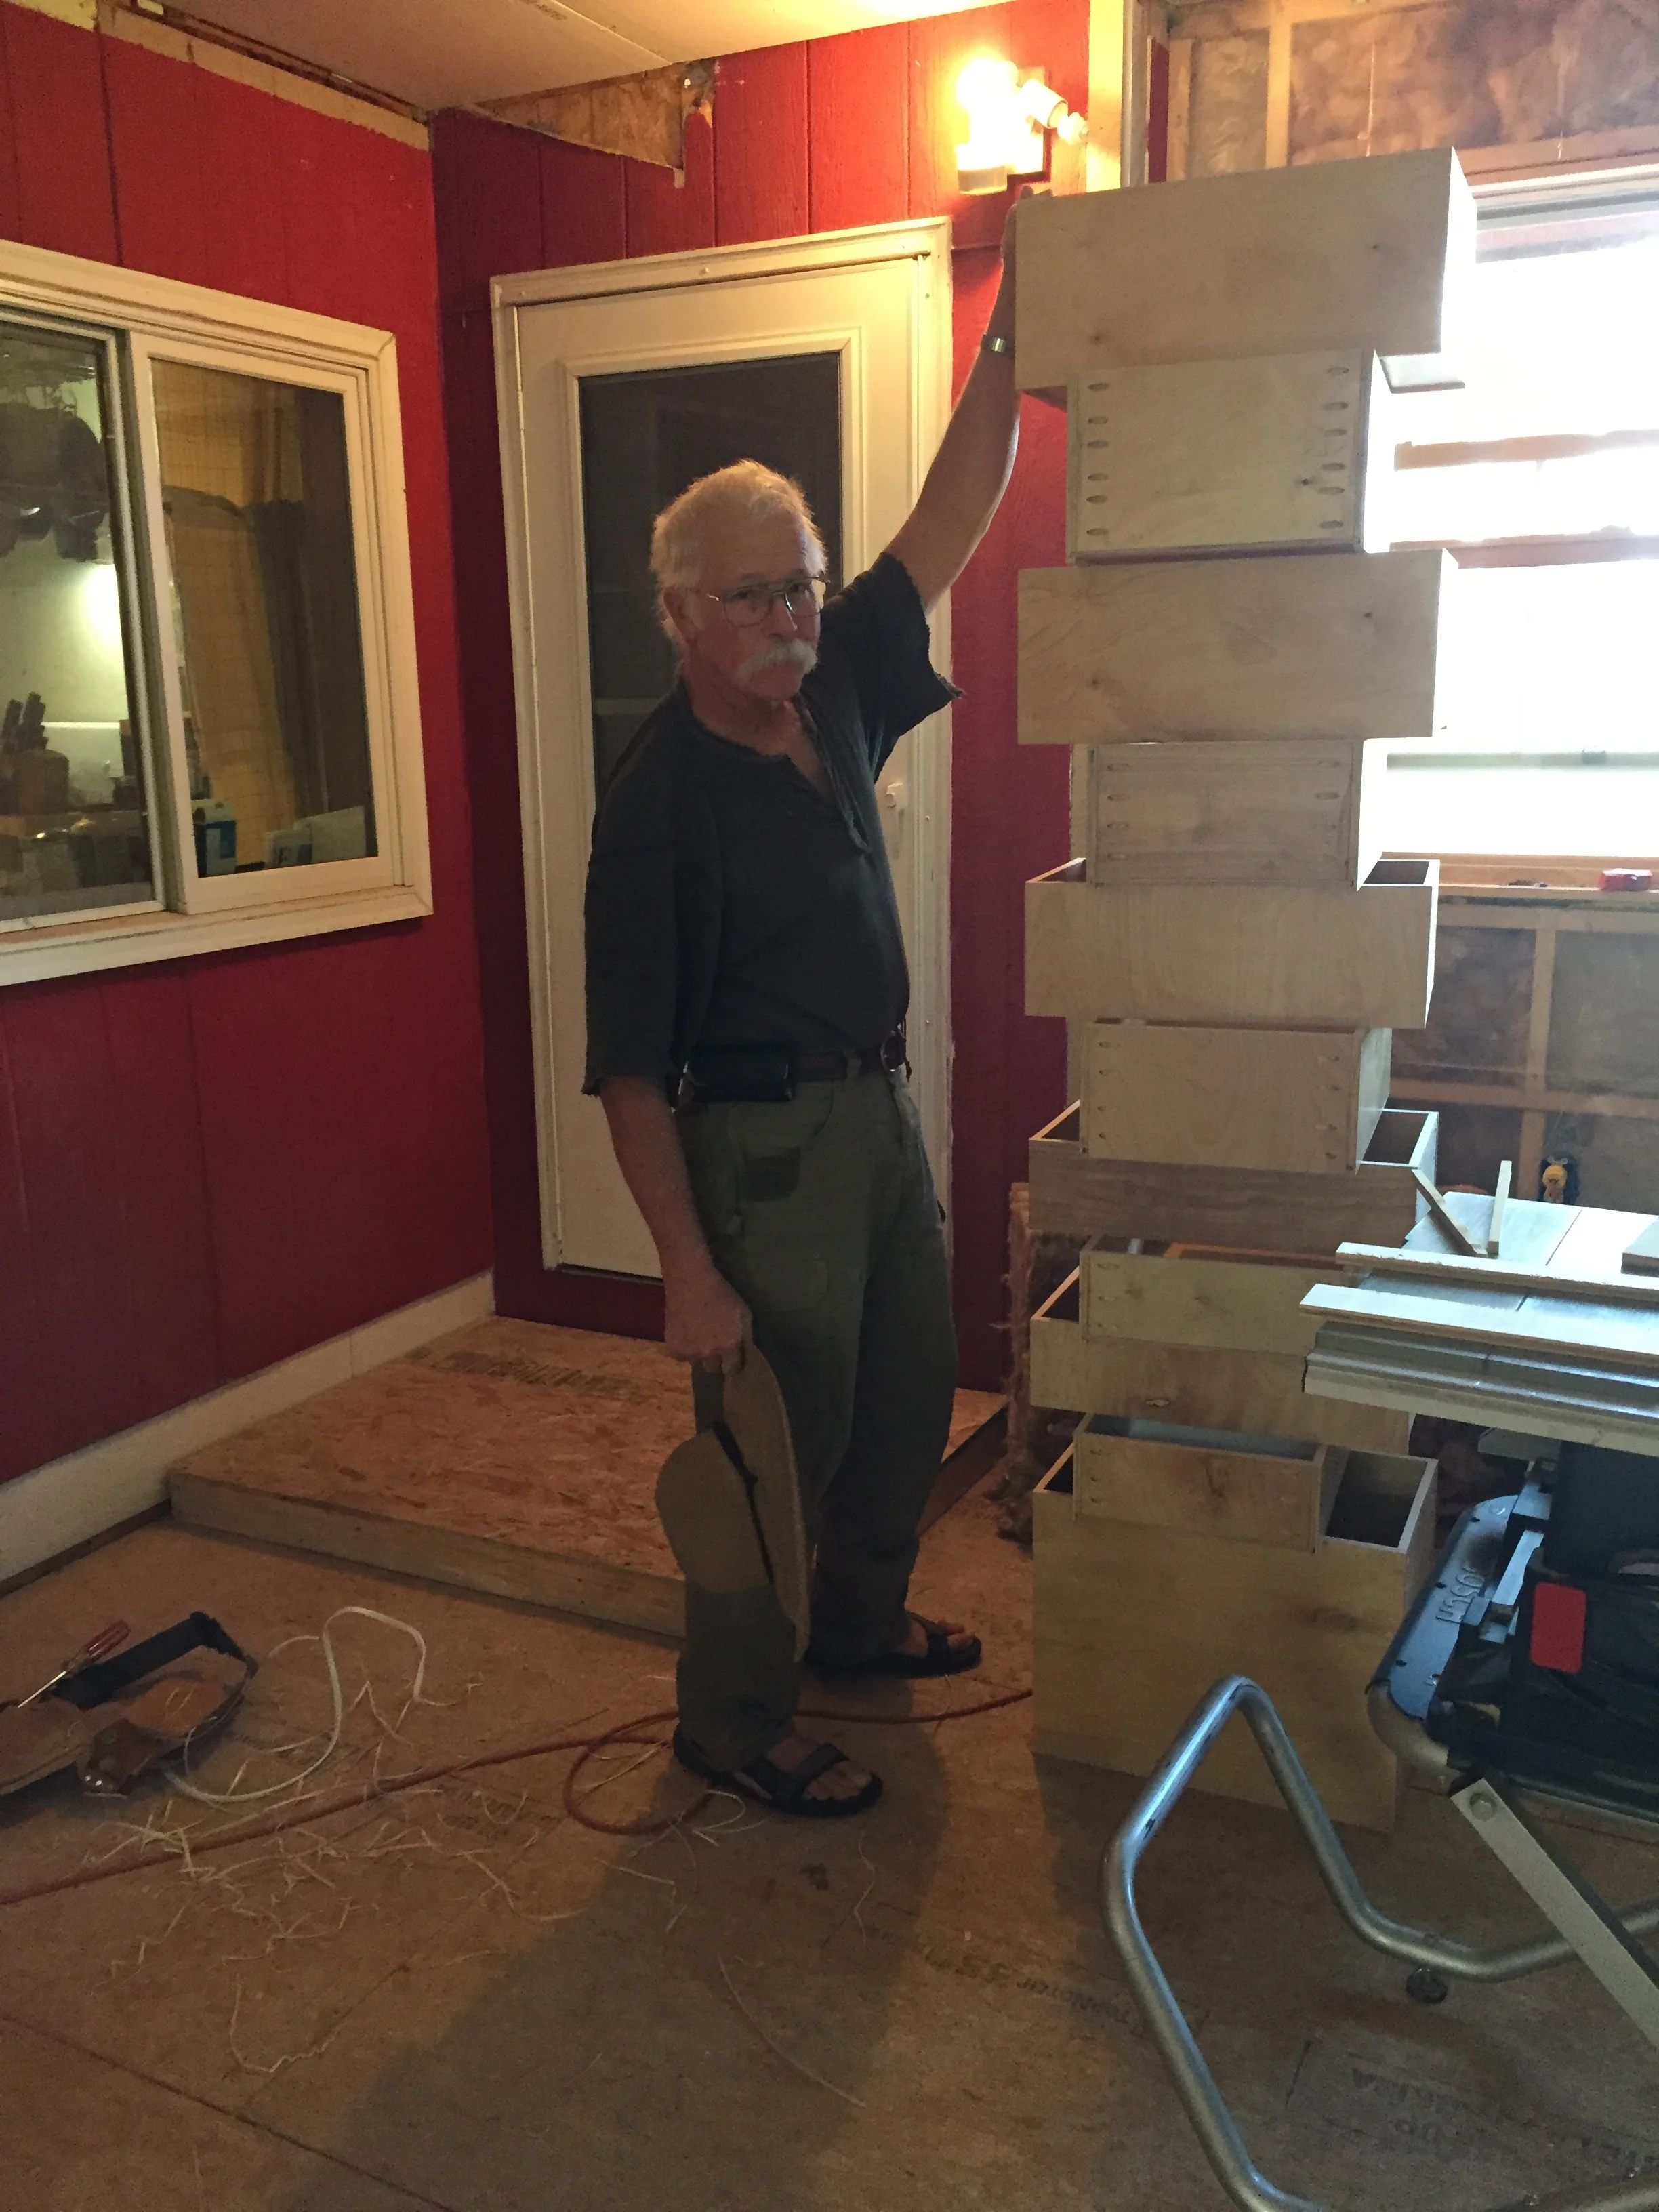
Ok. Maybe my second. The computer cabinet on the left was the first piece of furniture. I designed the set to accommodate Irene’s wishes, within physical limits.
I spent the past 10 hours attaching the drawer fronts to the drawers and installing the drawer pulls. It was slow going until Michael got back from picking up Irene’s new mattress and buying more wood. It is so much easier to site drawer fronts with an extra set of hands.
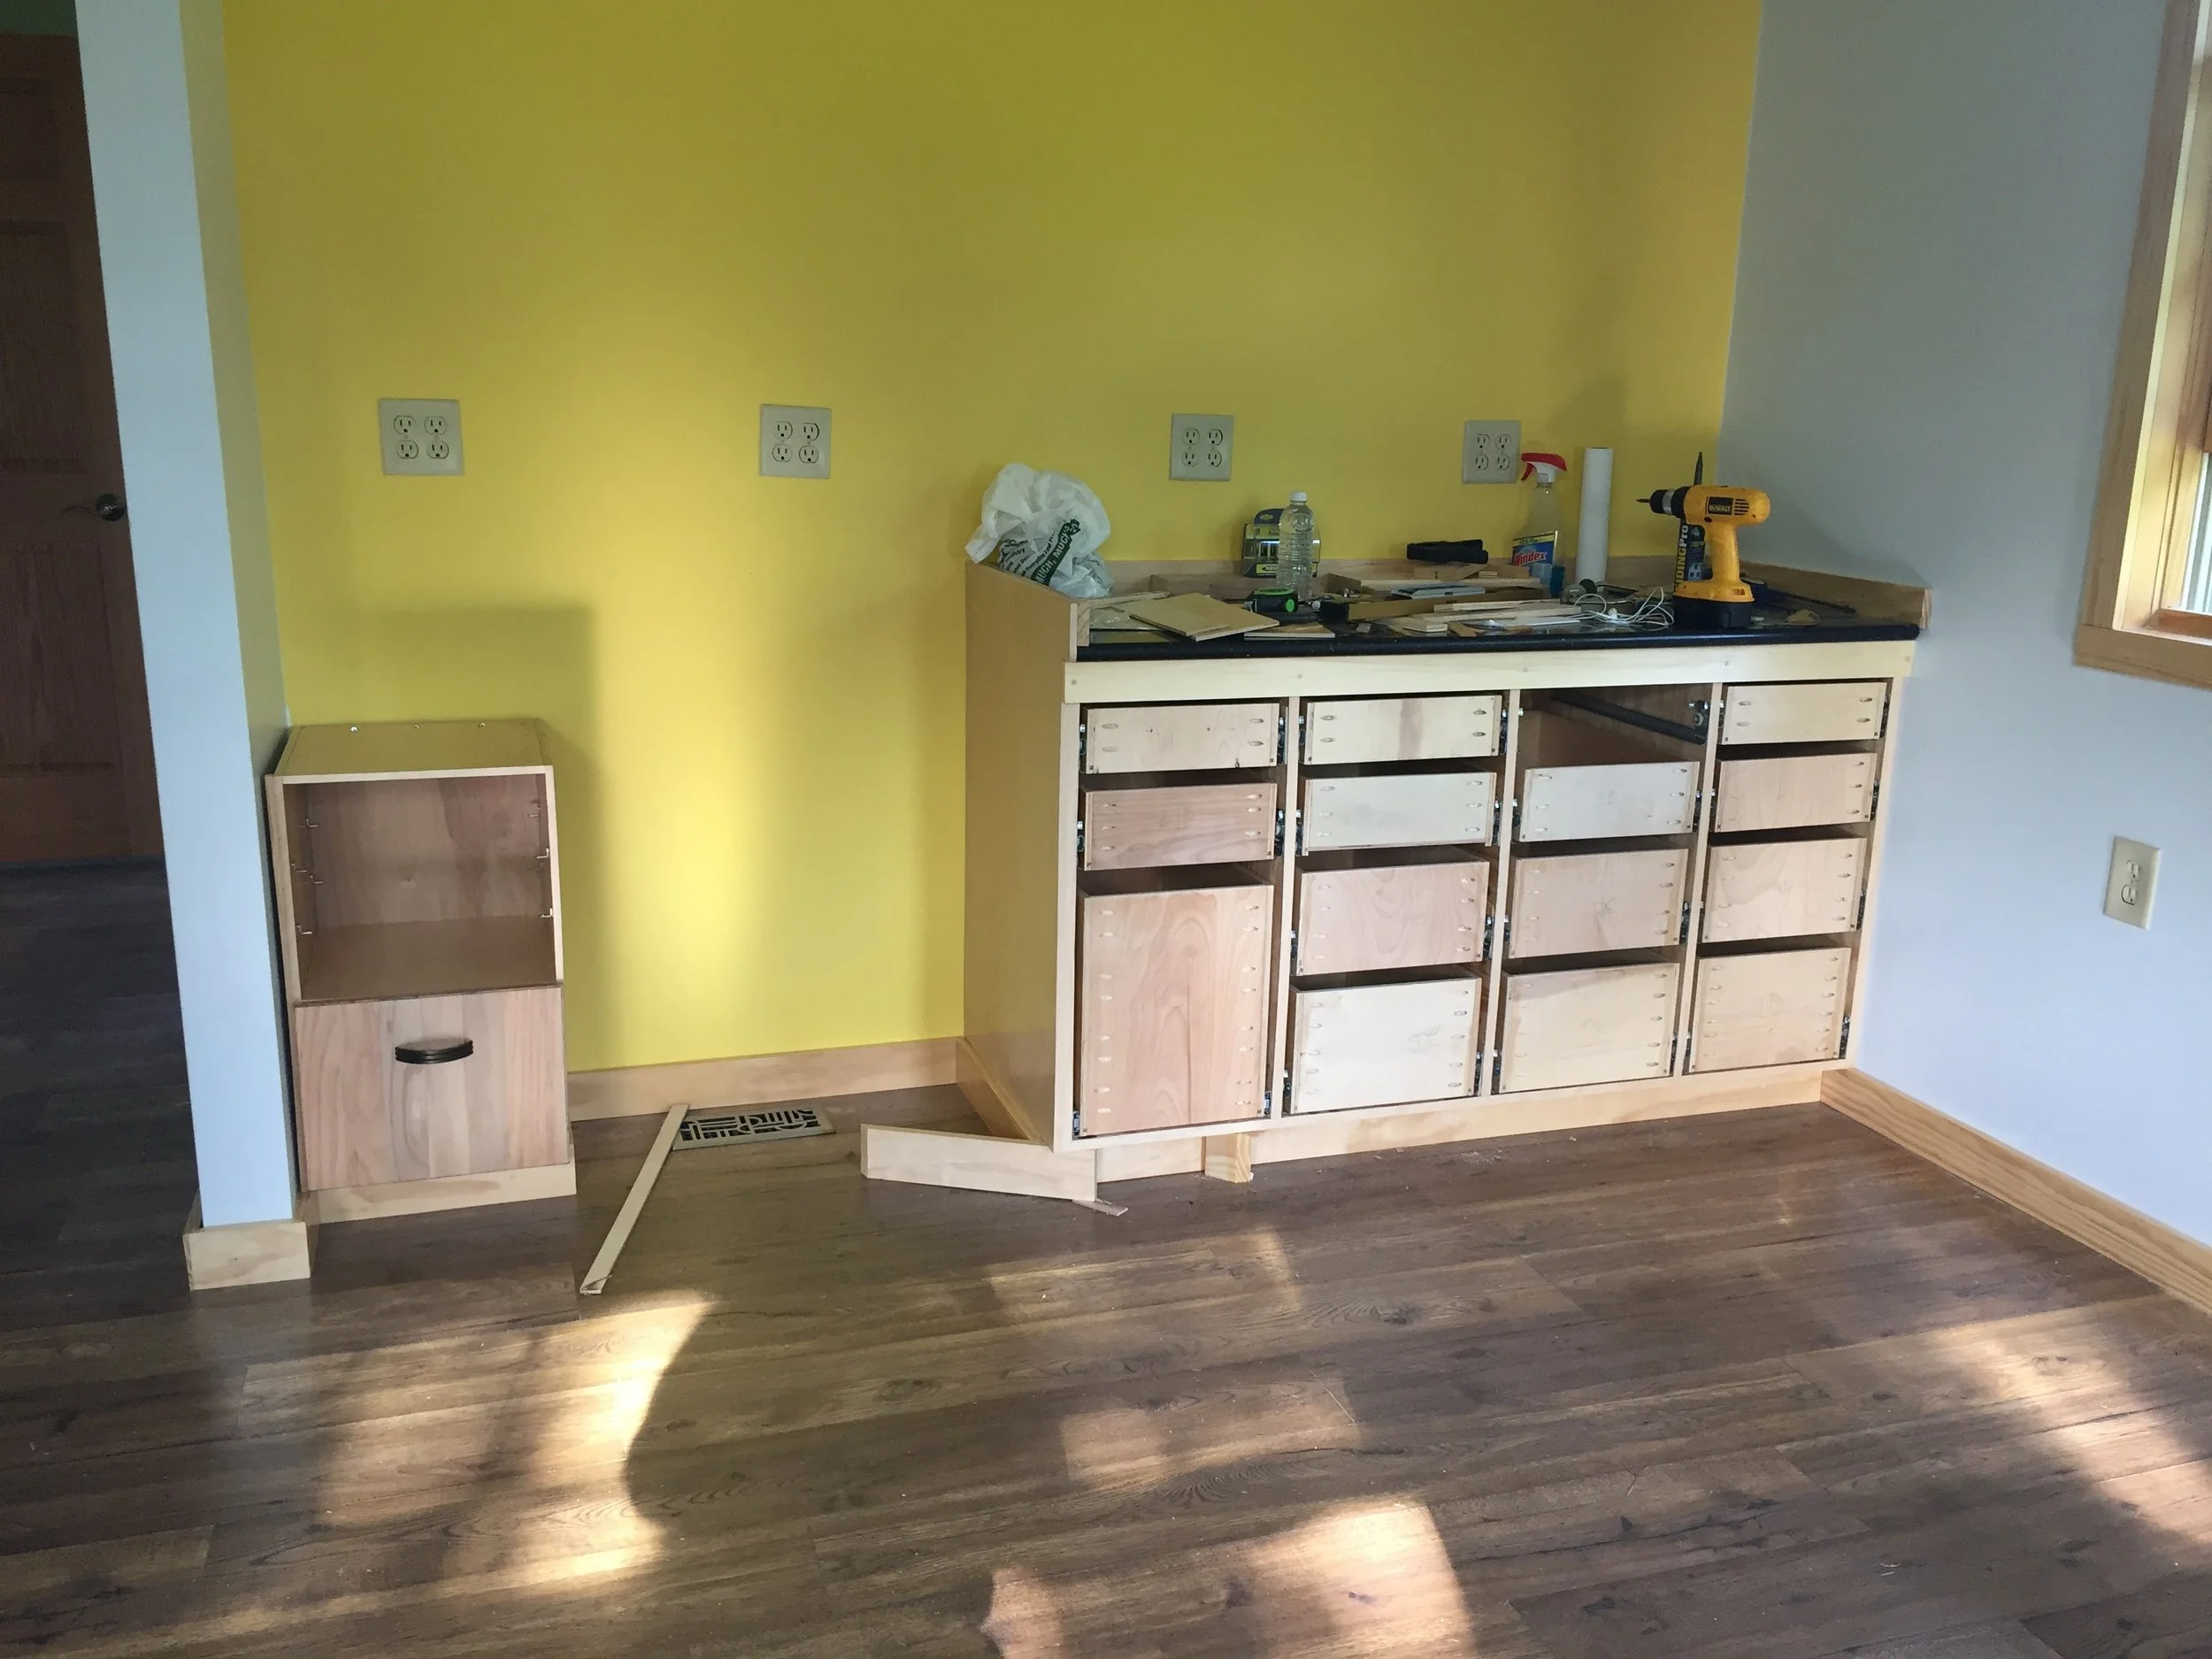
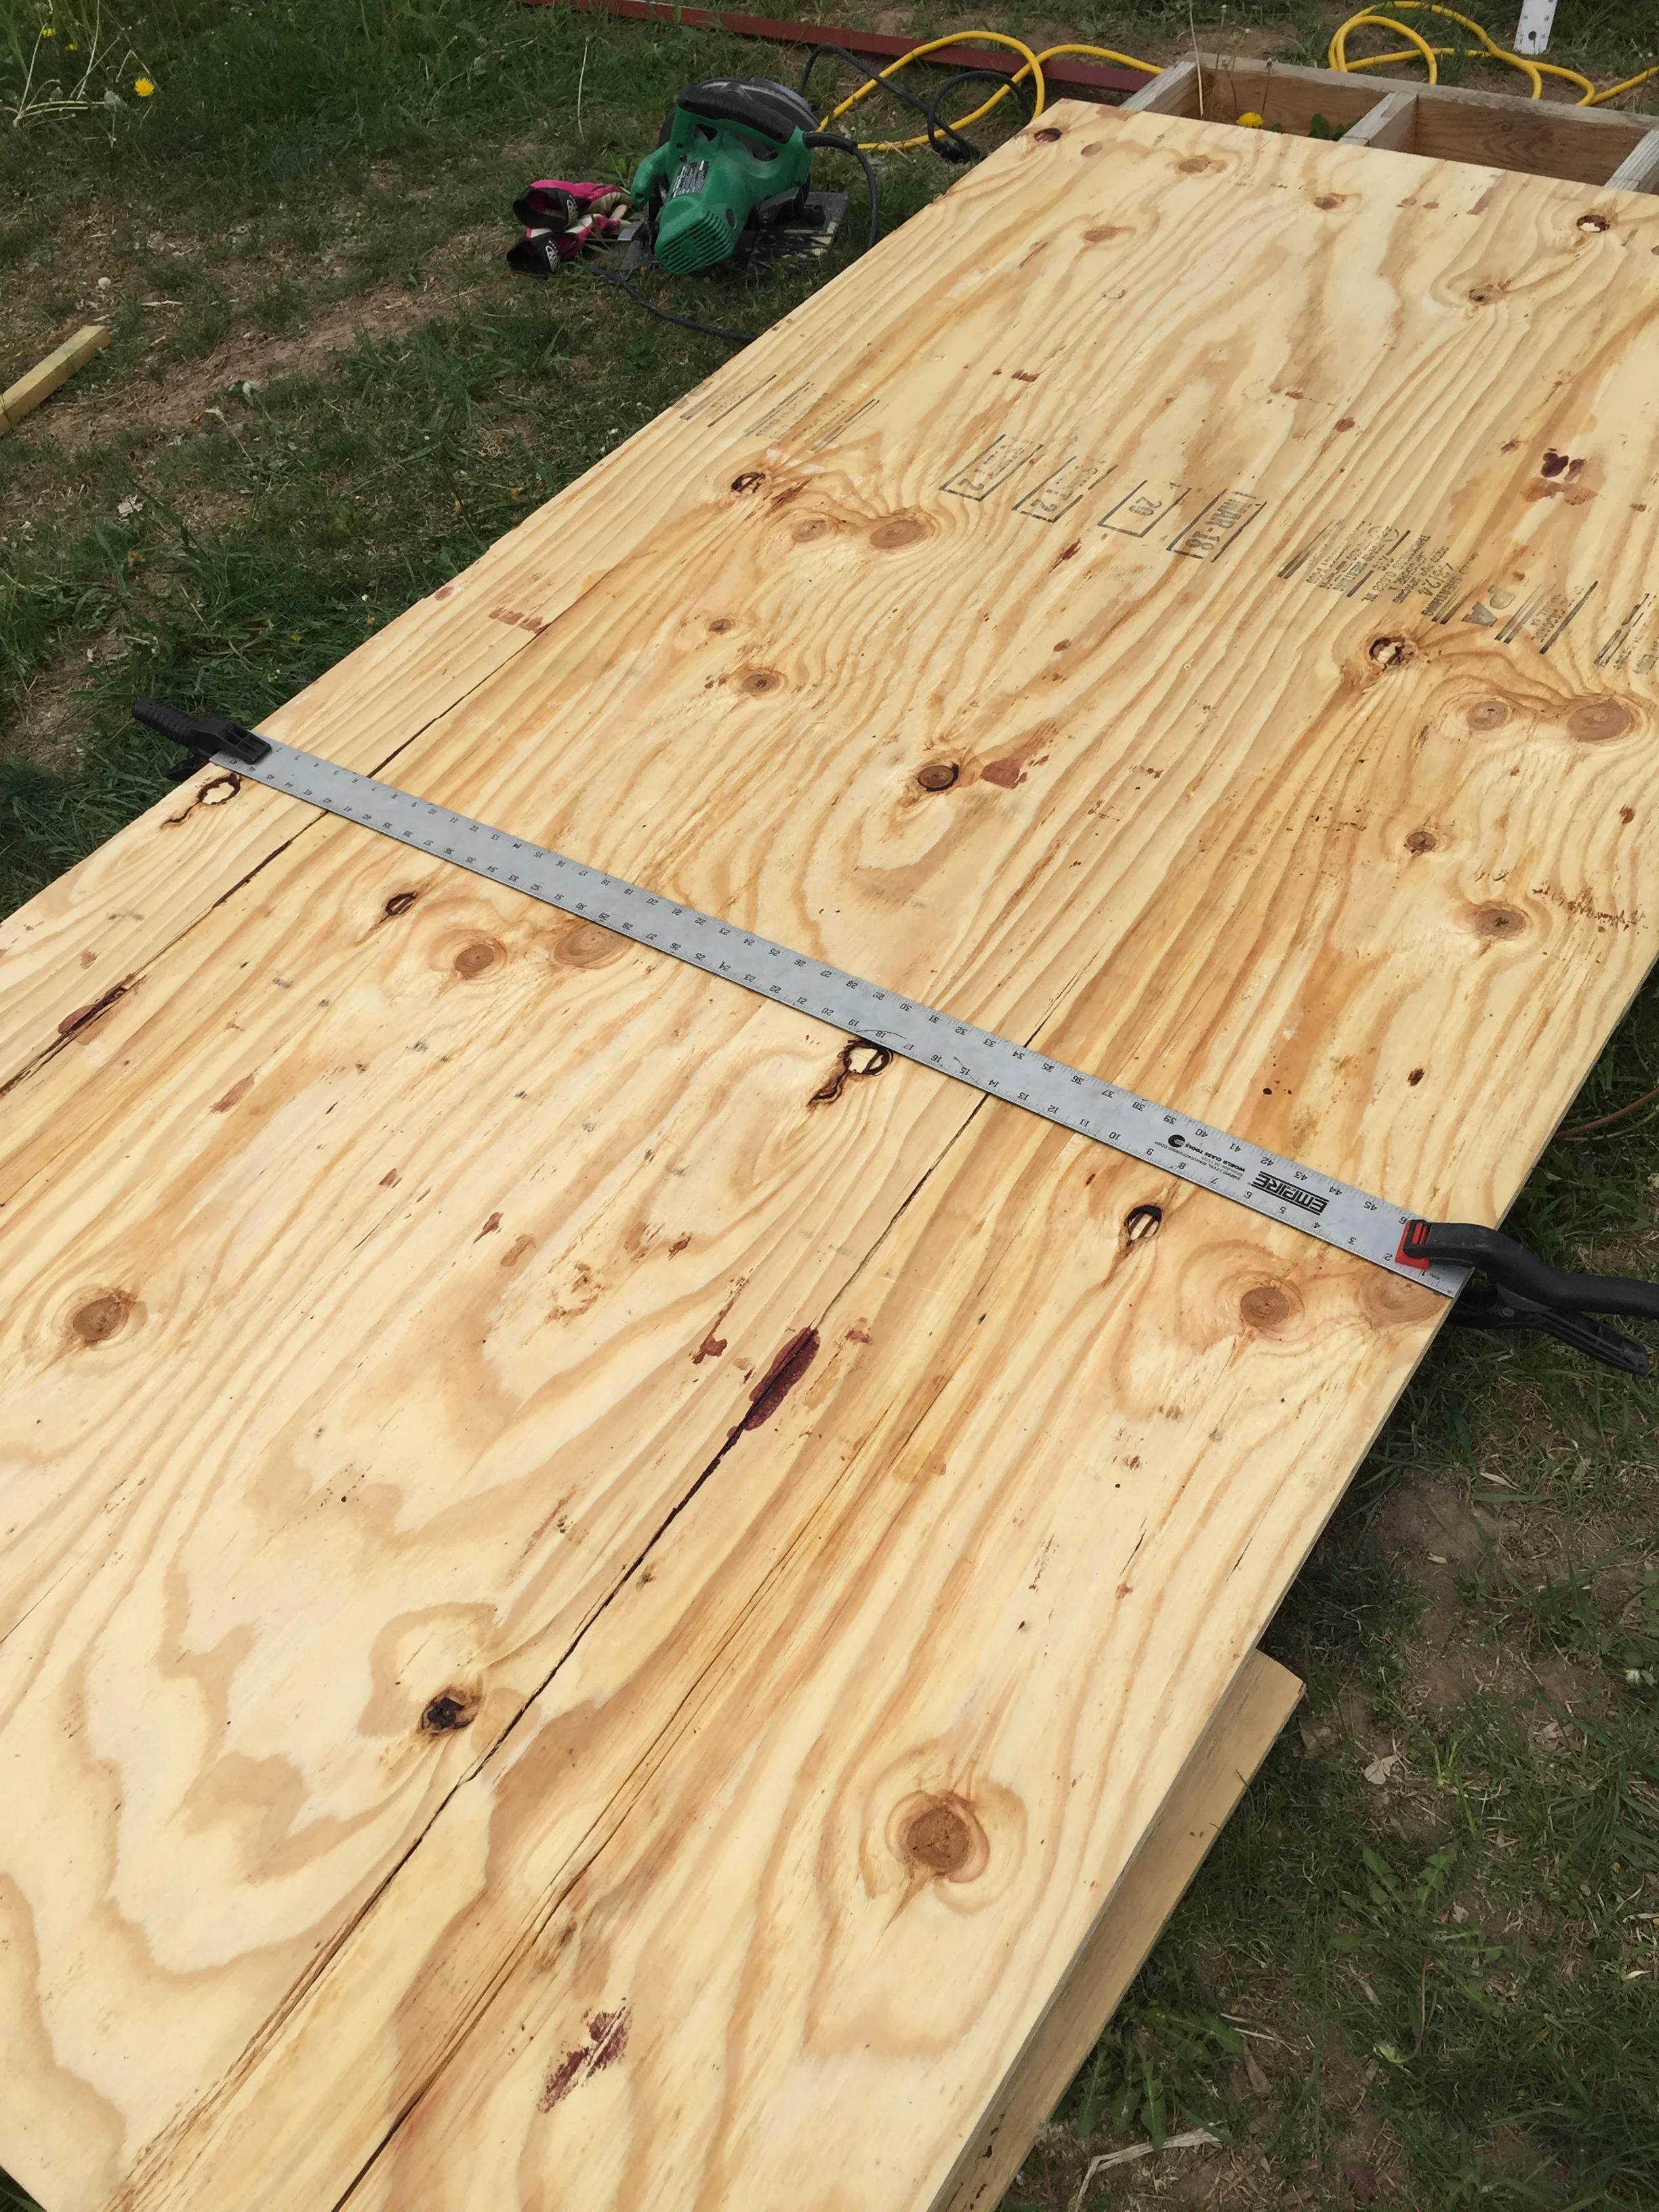
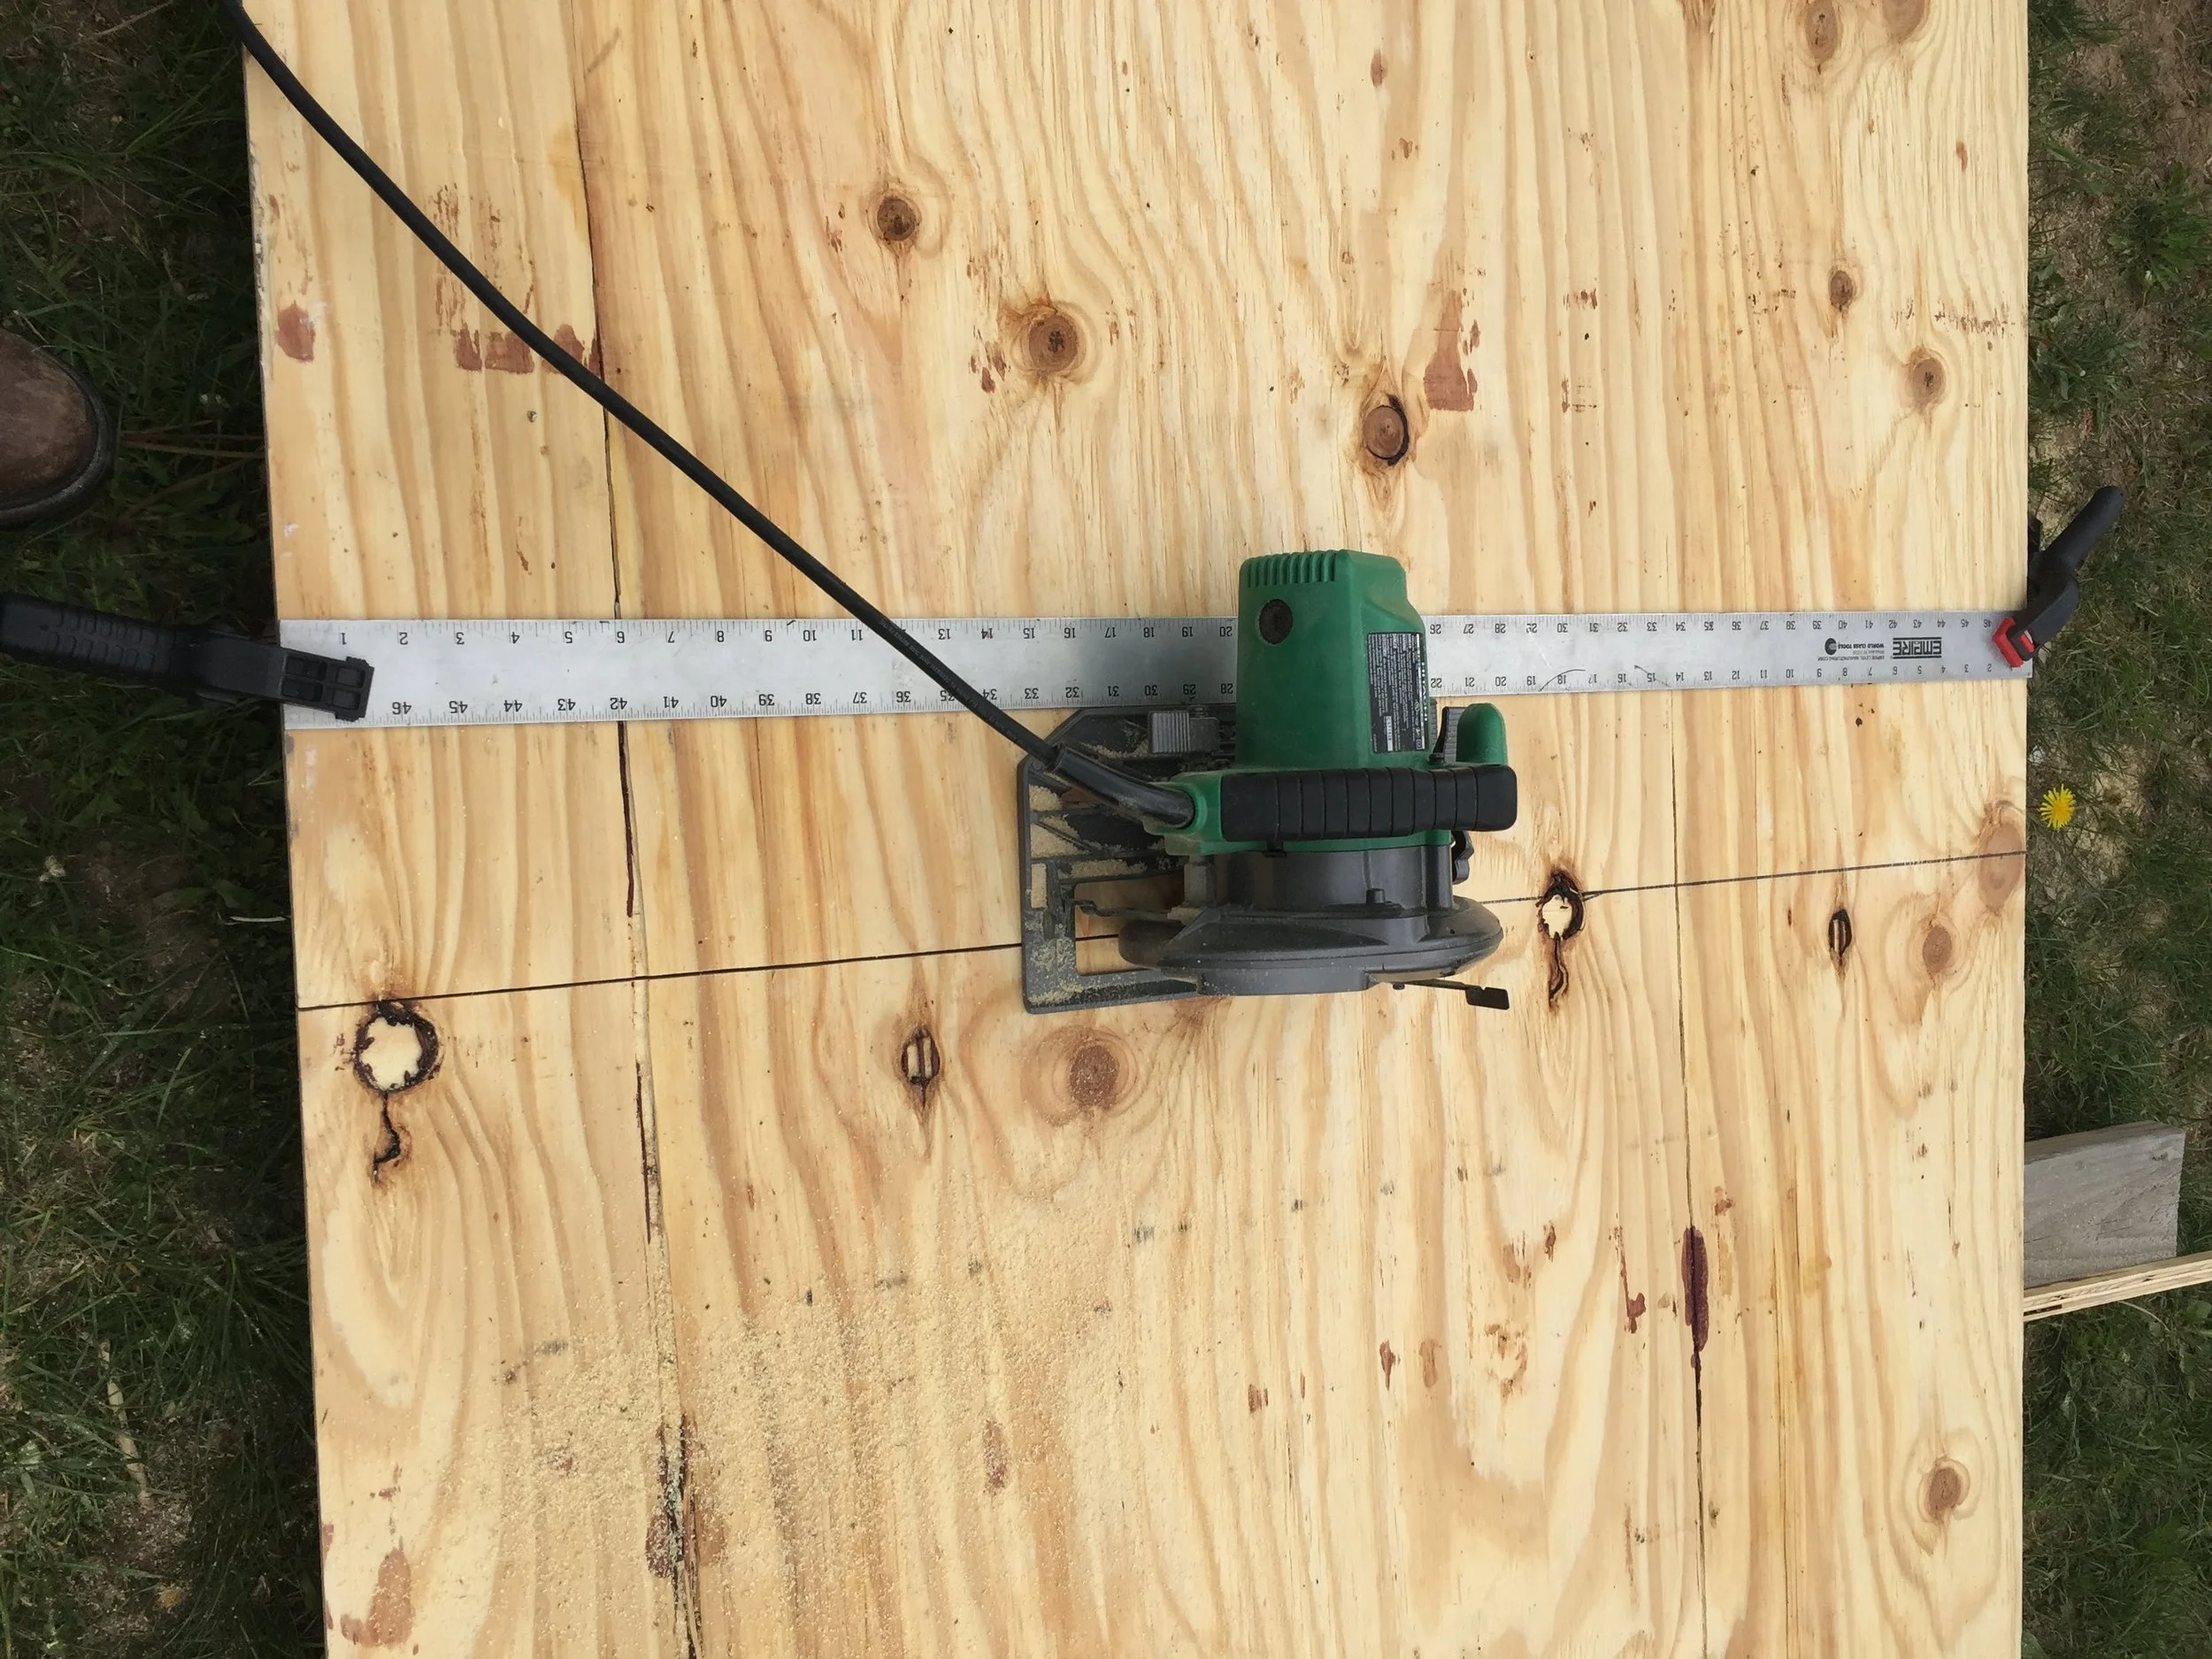
The one drawer is missing because I cut it an inch too wide. I had to remake that drawer.
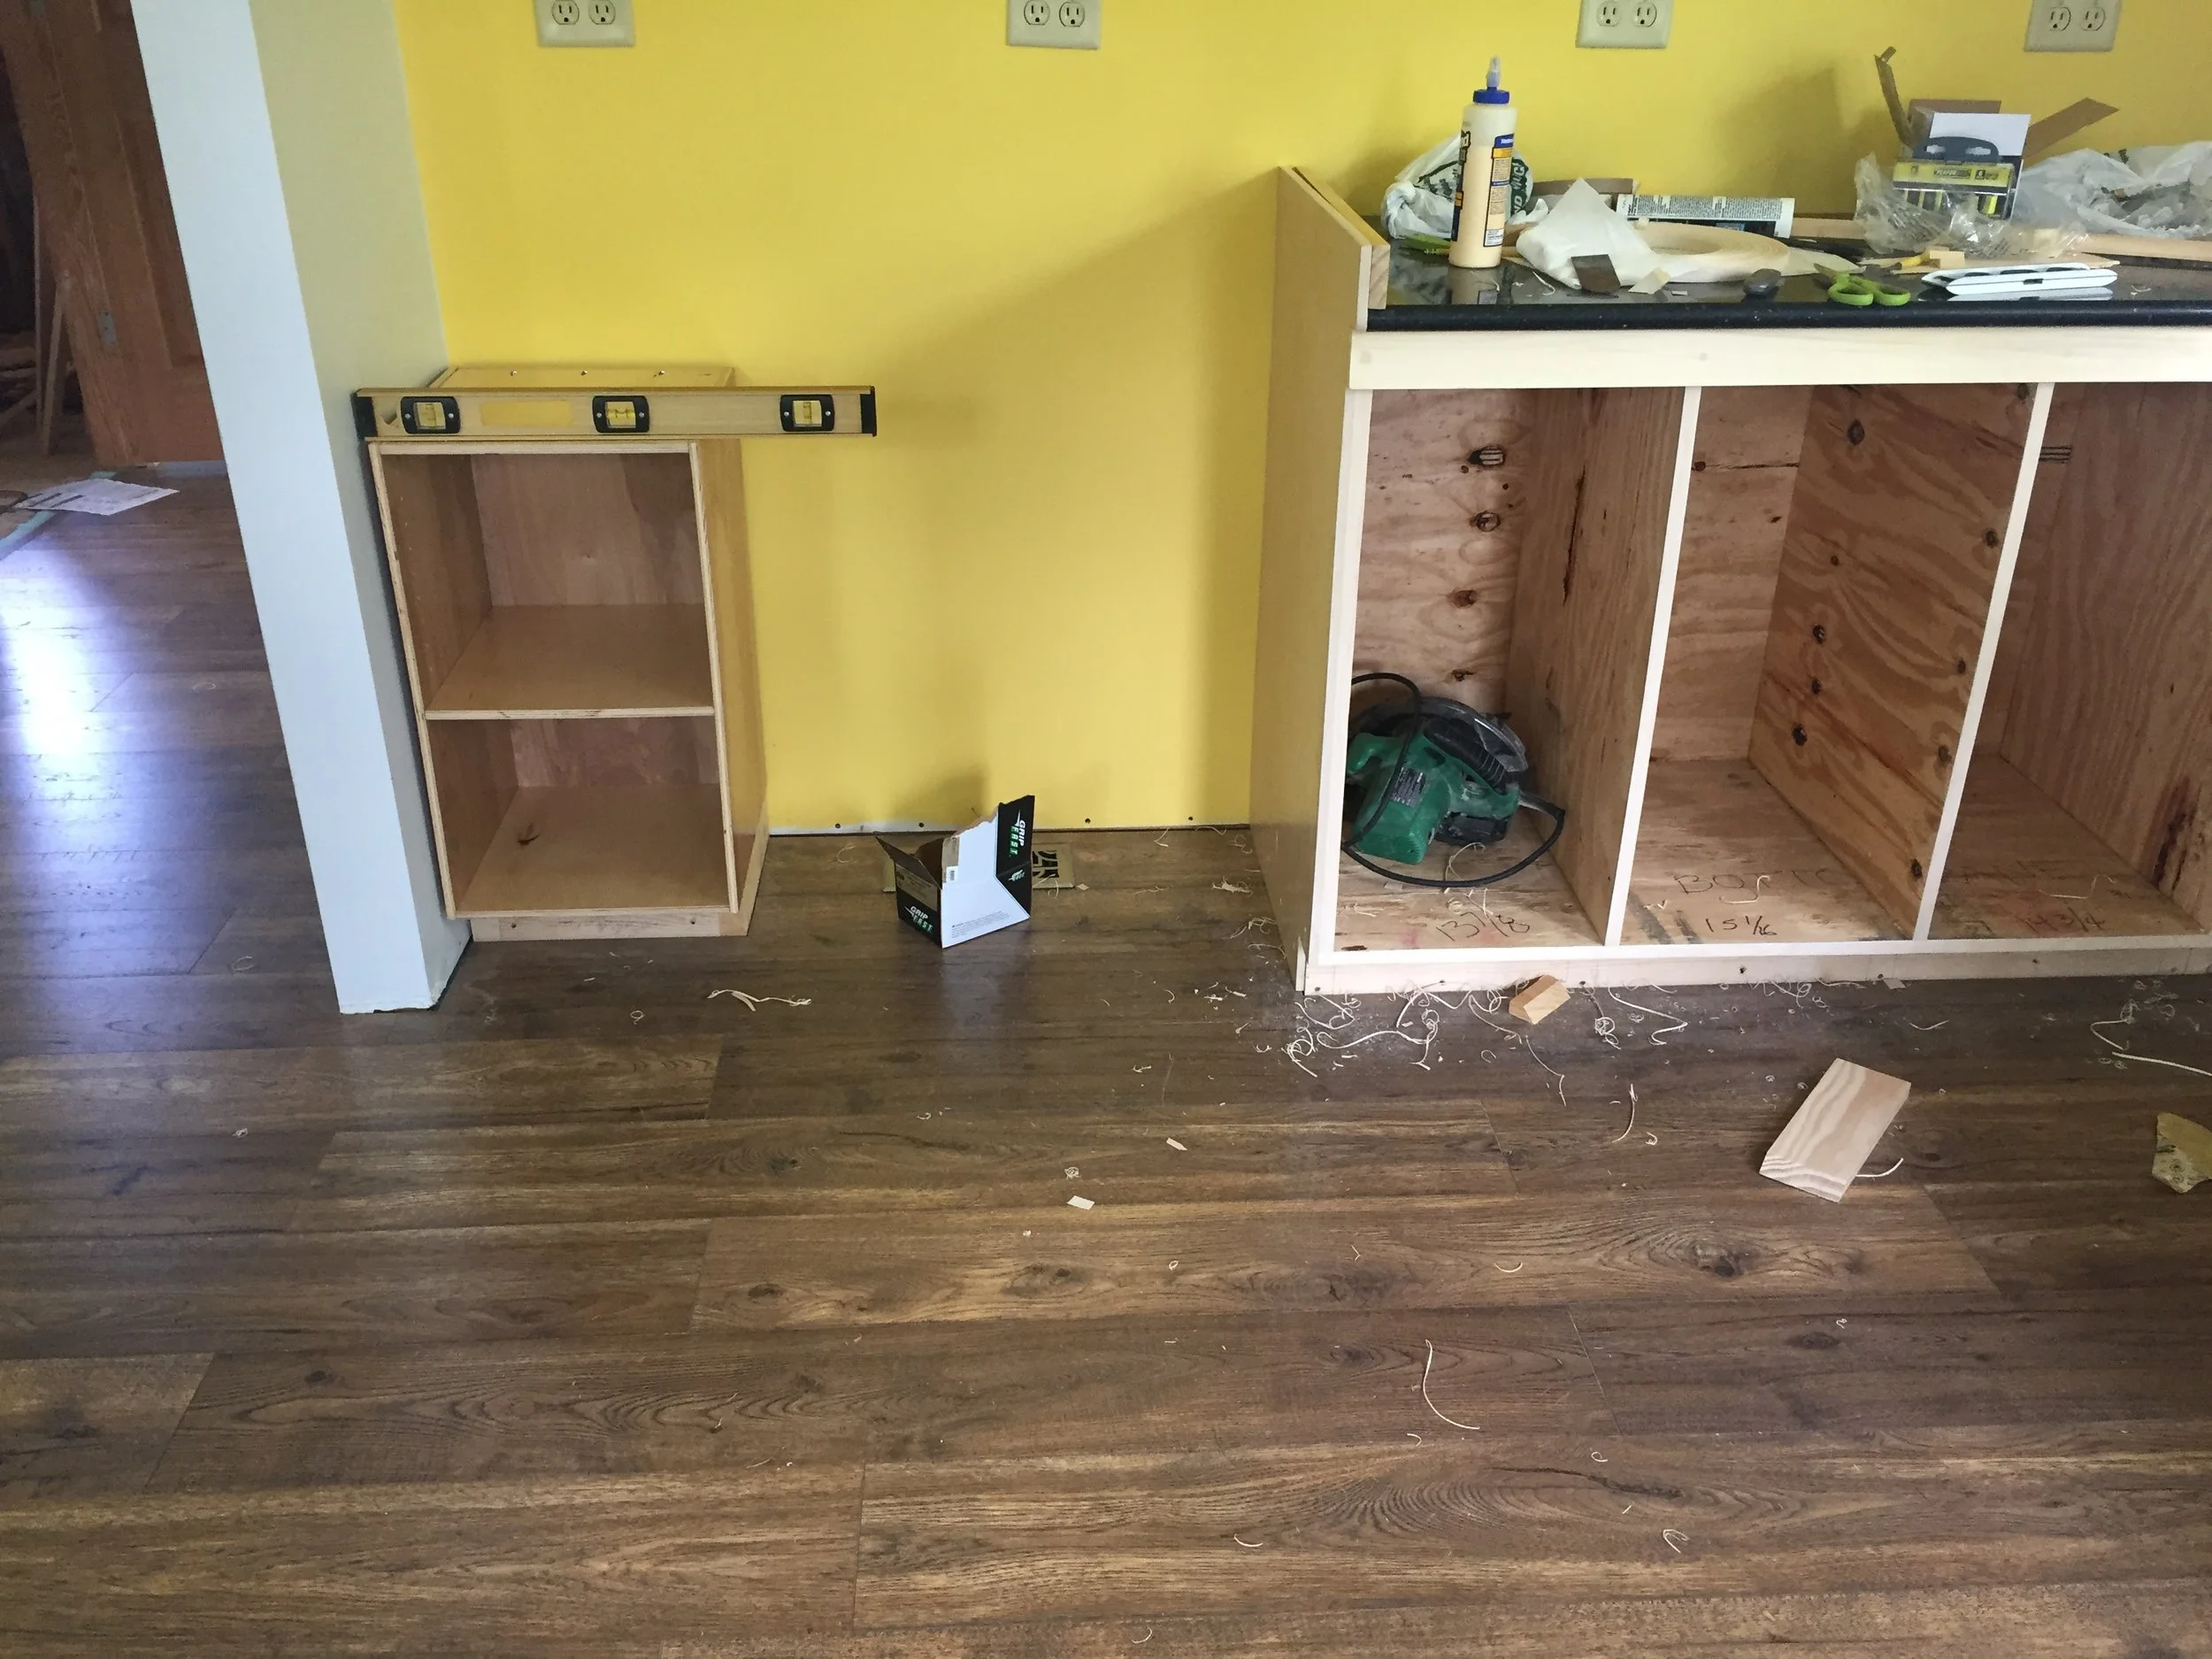
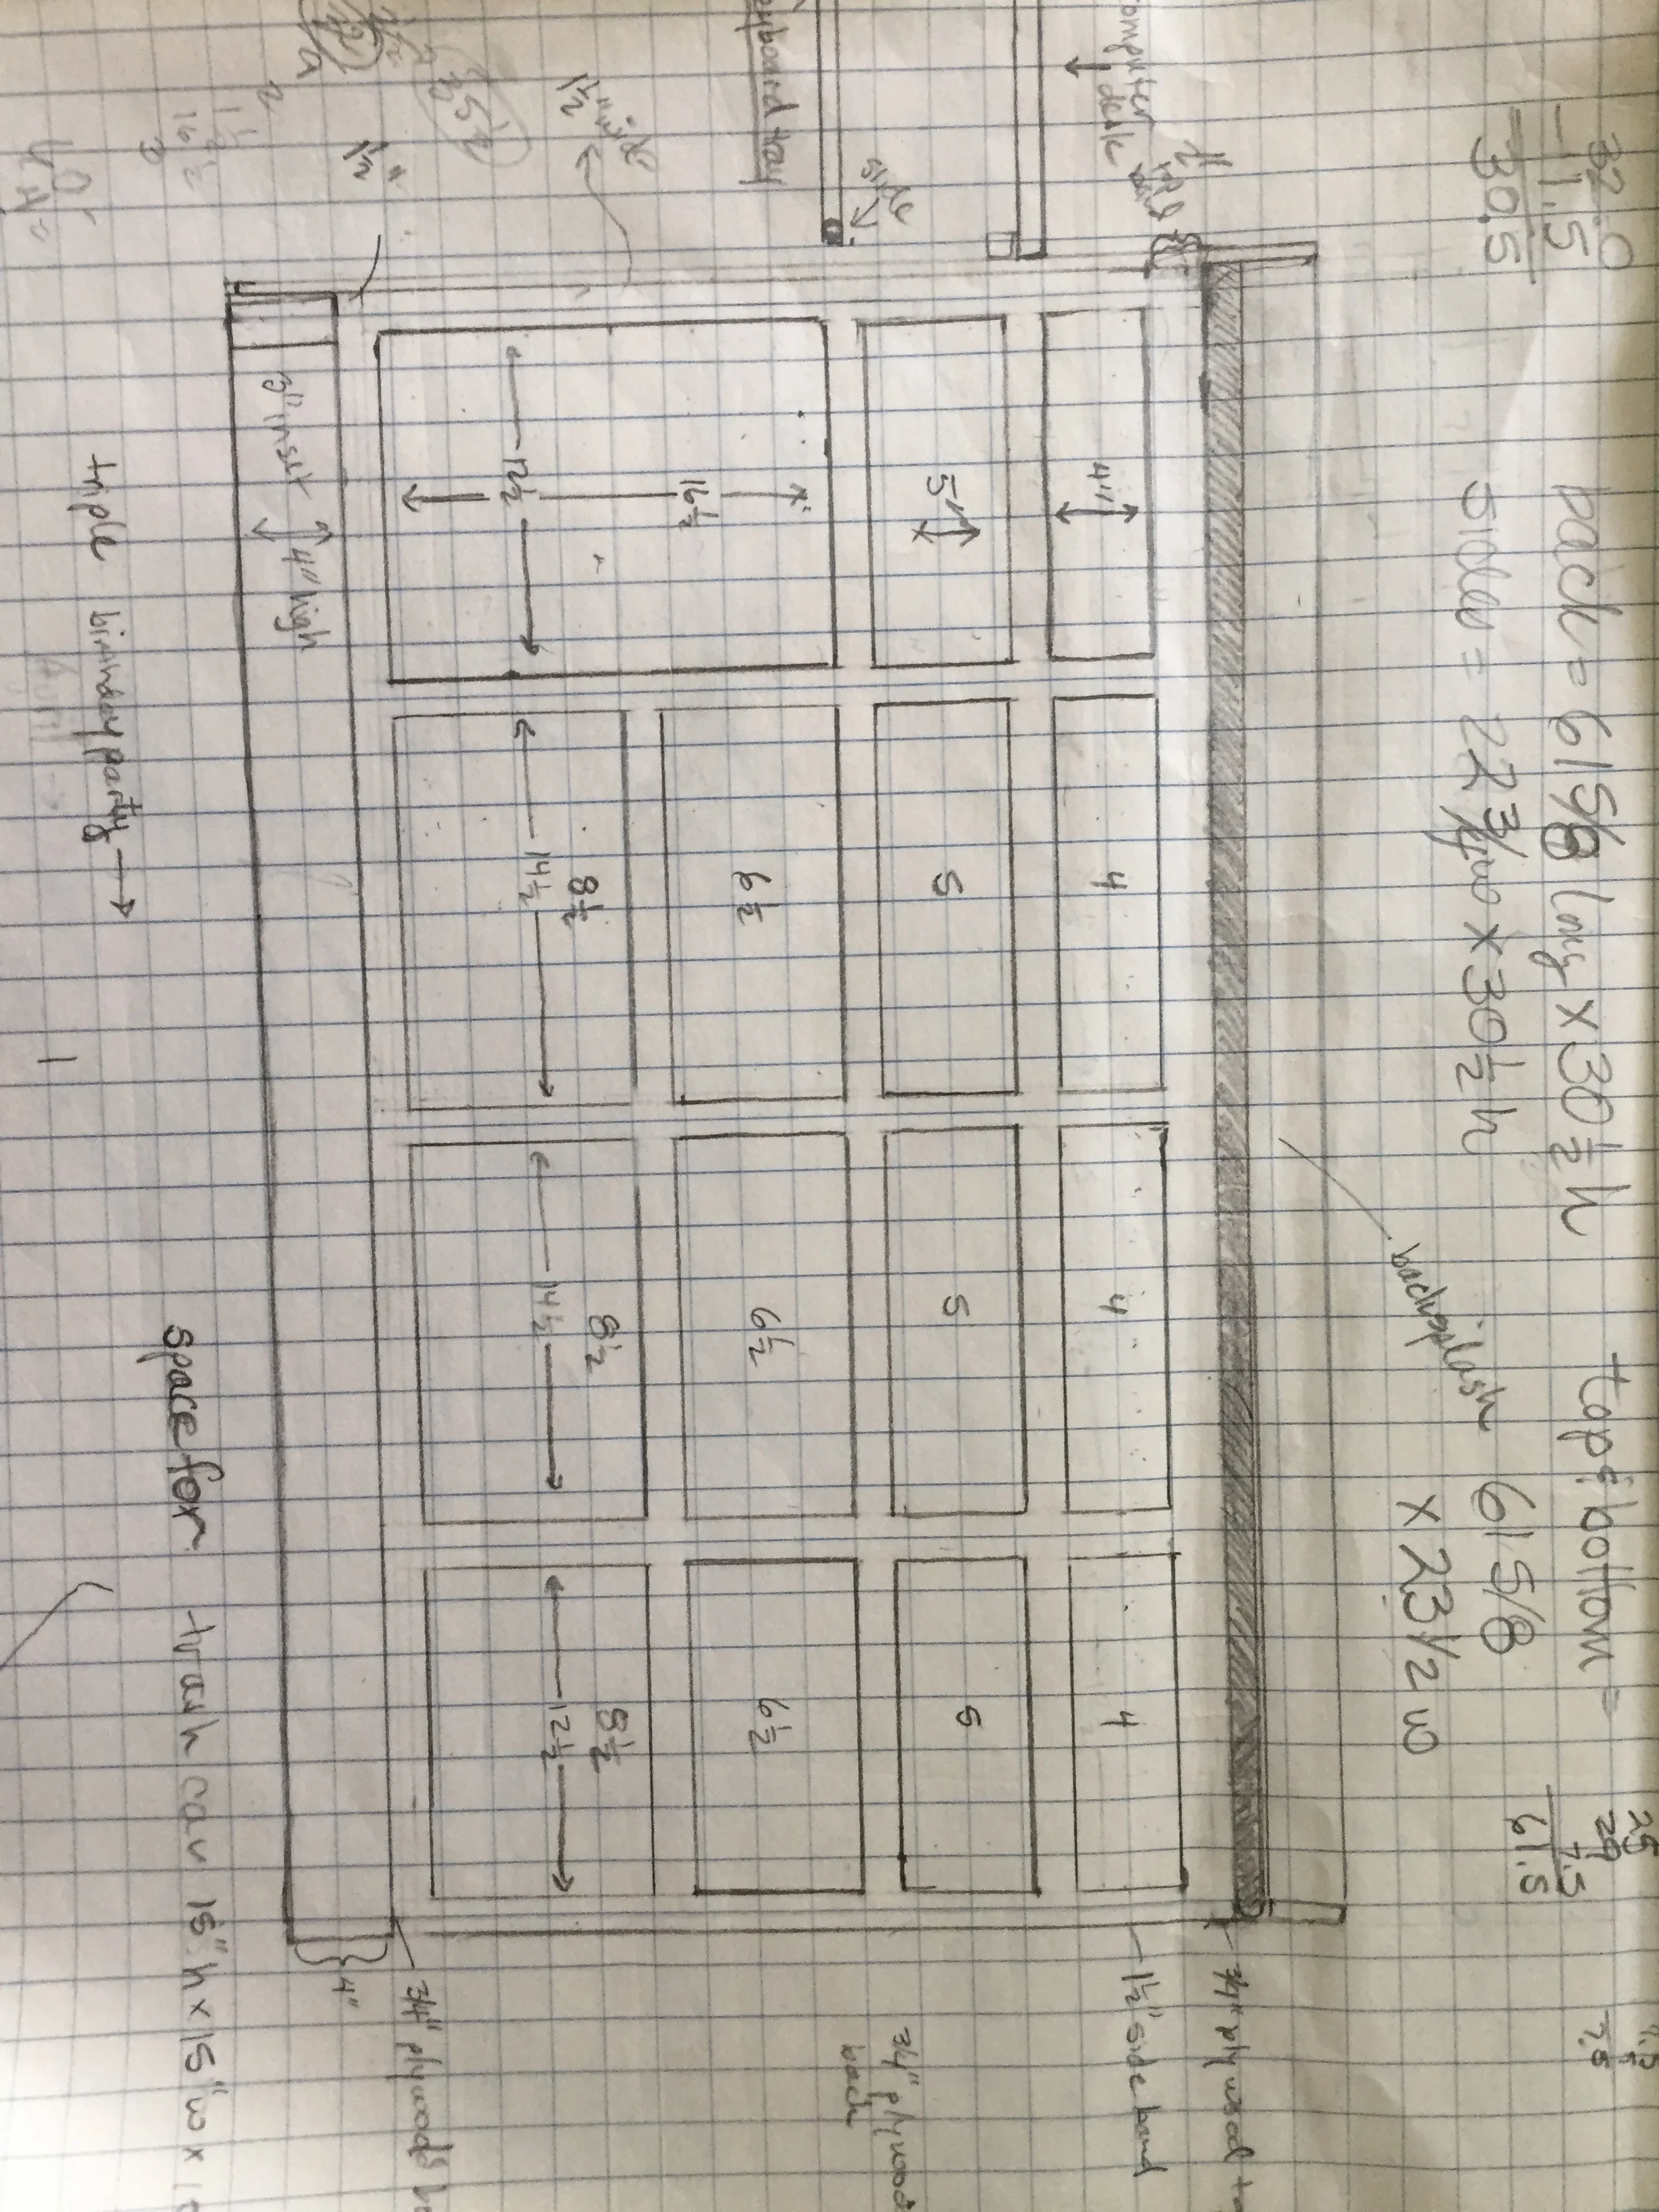
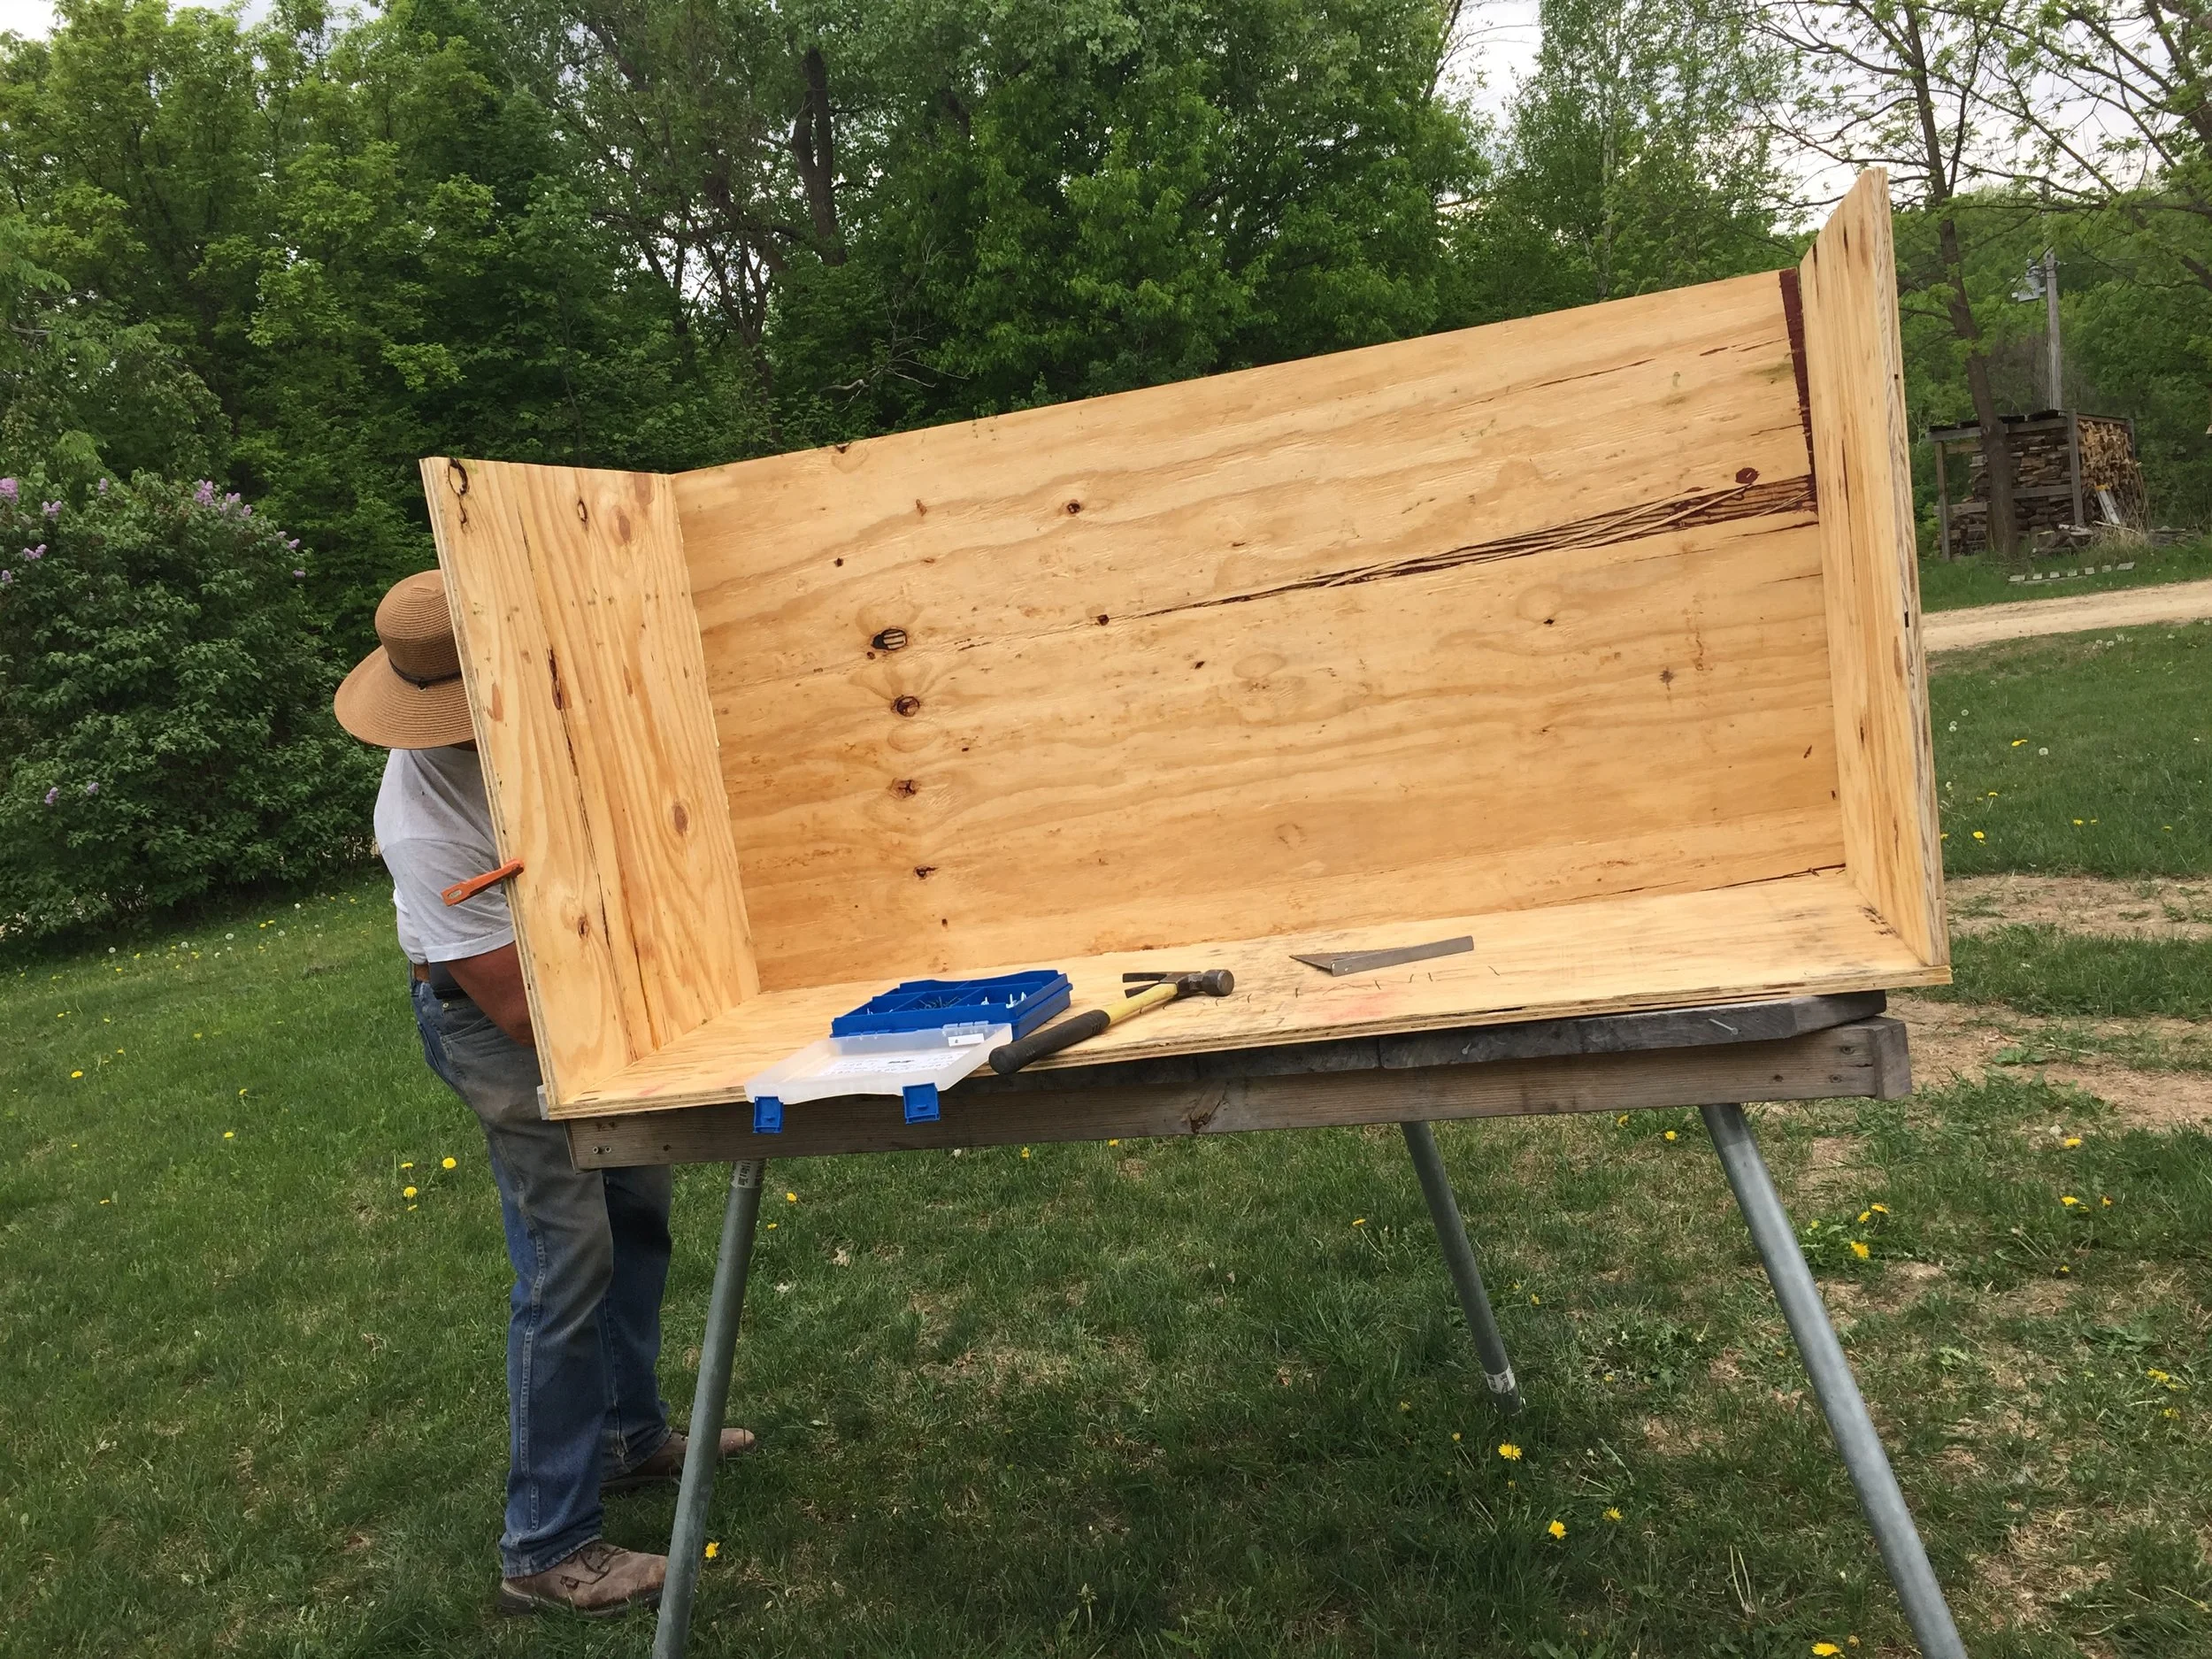
The last I wrote we had just constructed a tower of drawers. Drawers need to run on slides.
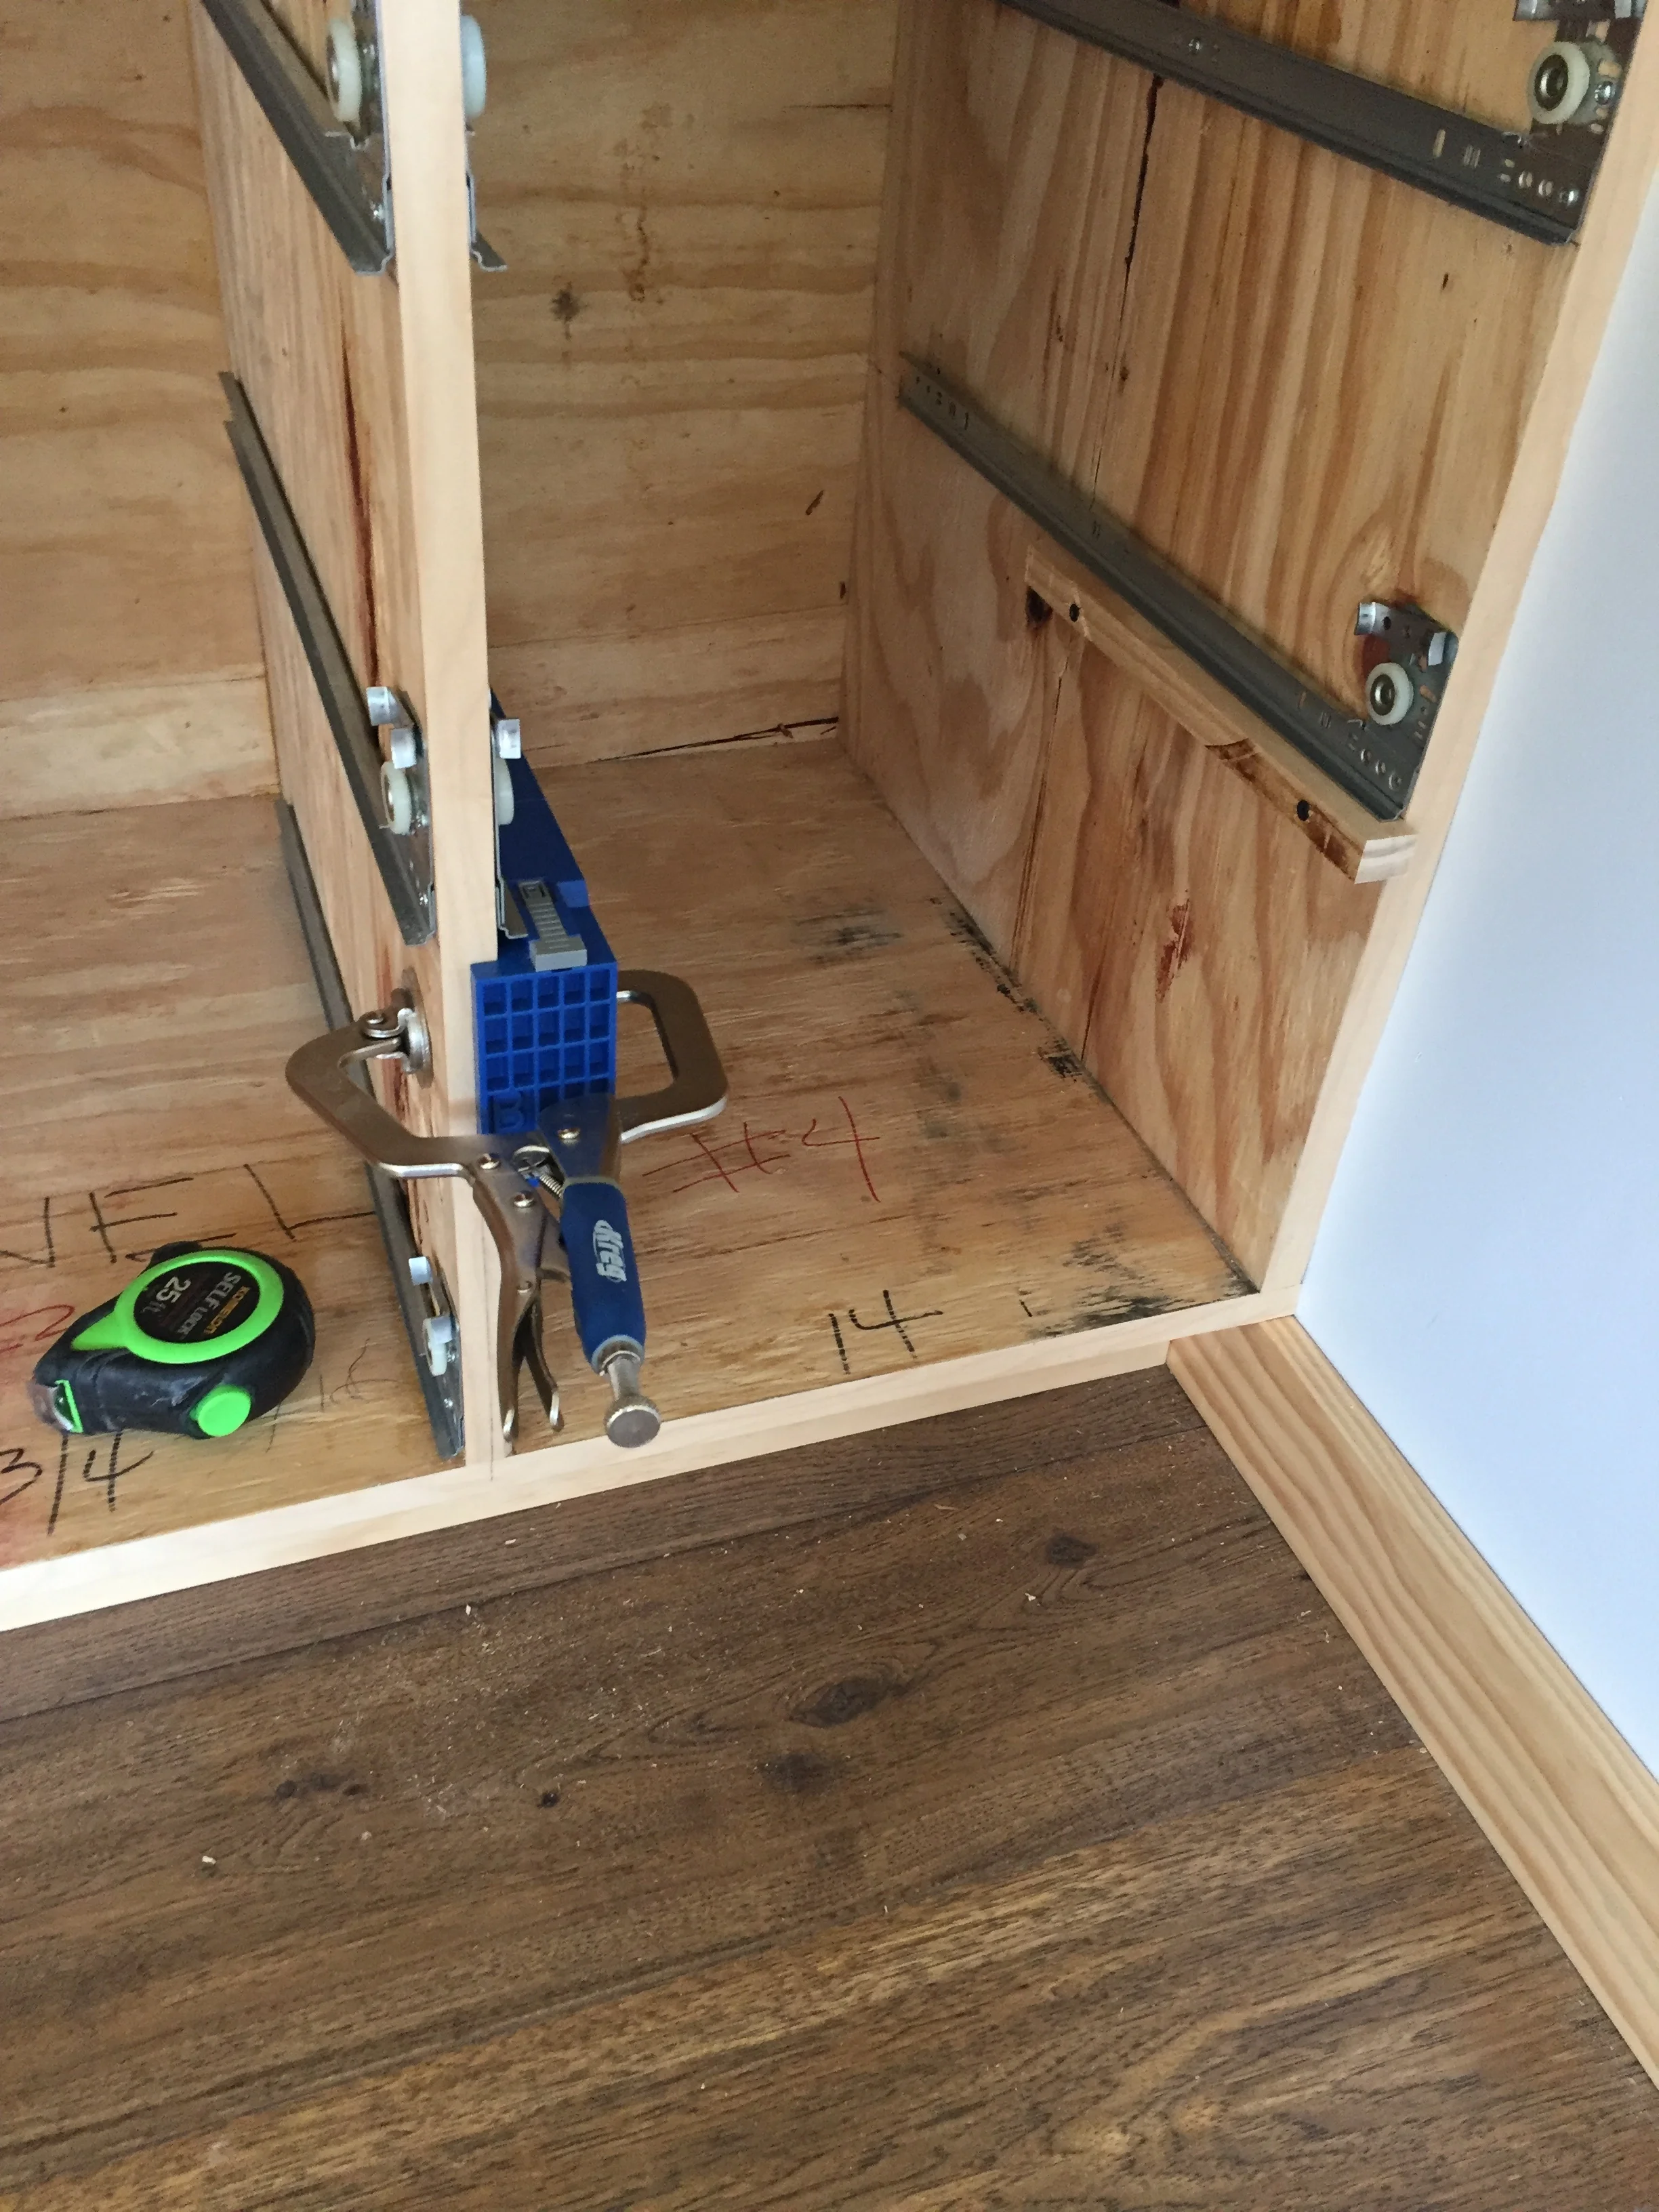
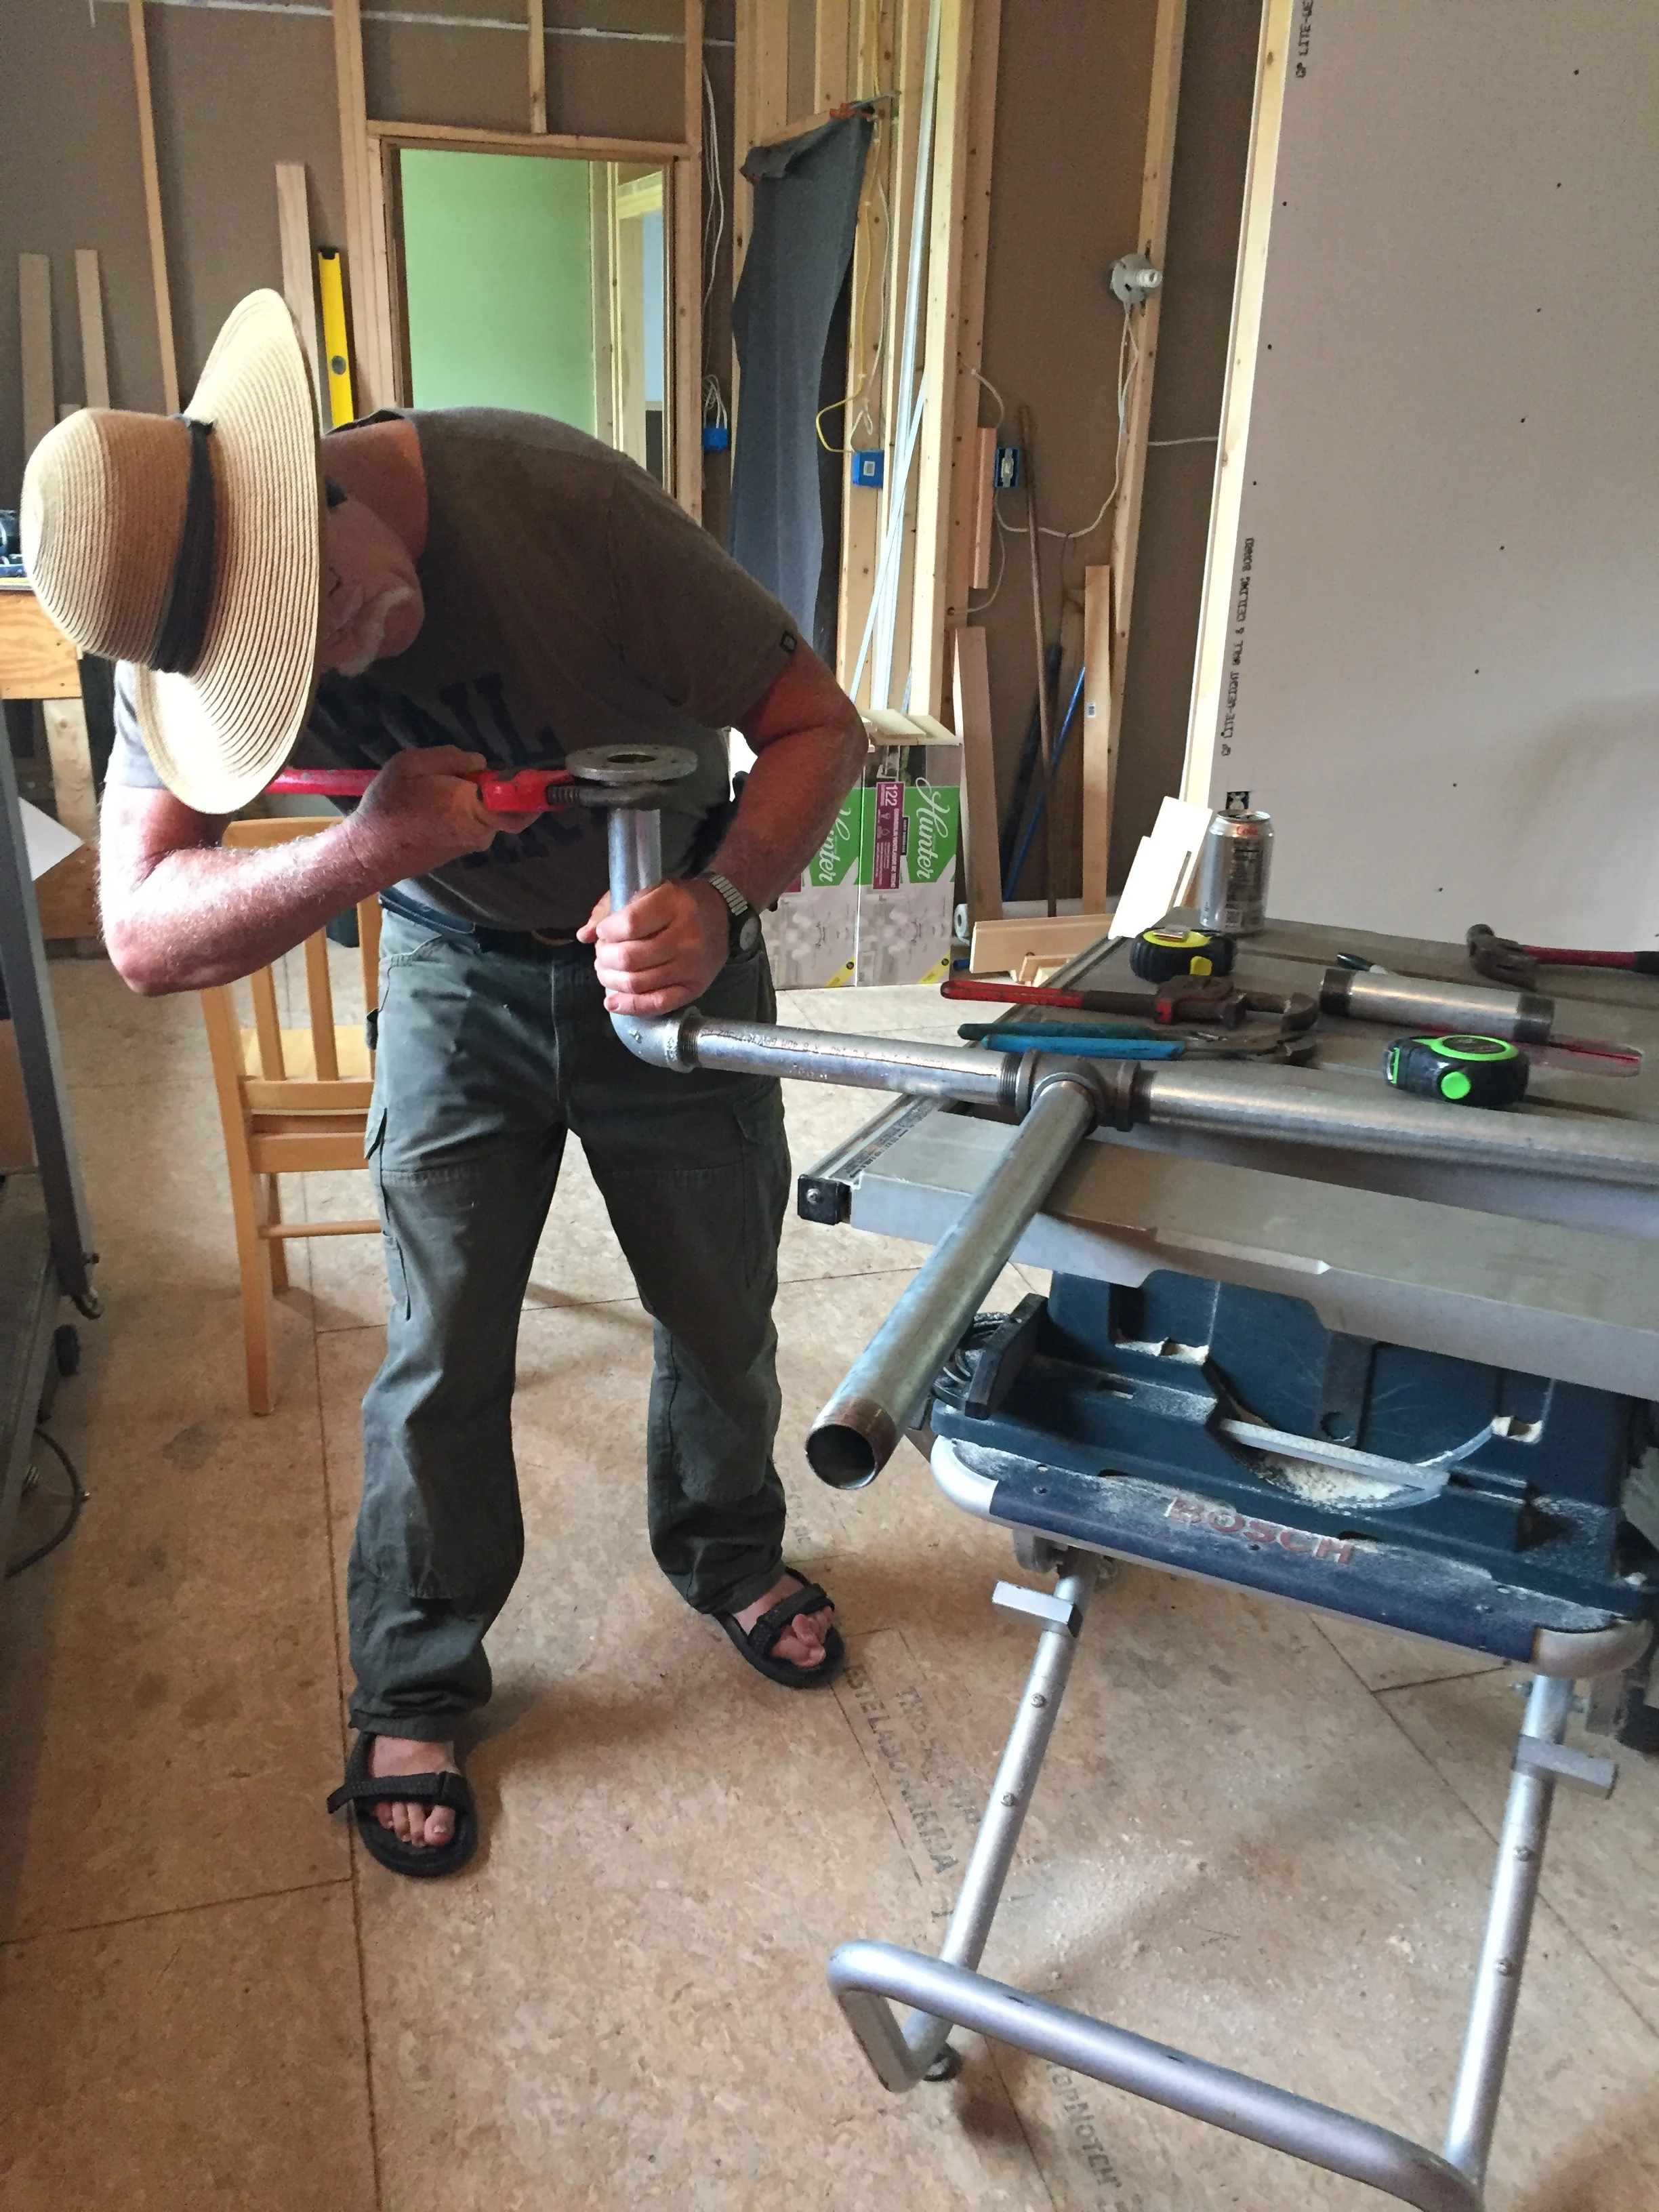
The handy jig for installing the slide didn’t work on the side without room for a clamp. I screwed a scrap piece of wood to the cabinet side. It worked.
I spent a day climbing inside narrow spaces learning how to use a screw driver left handed.

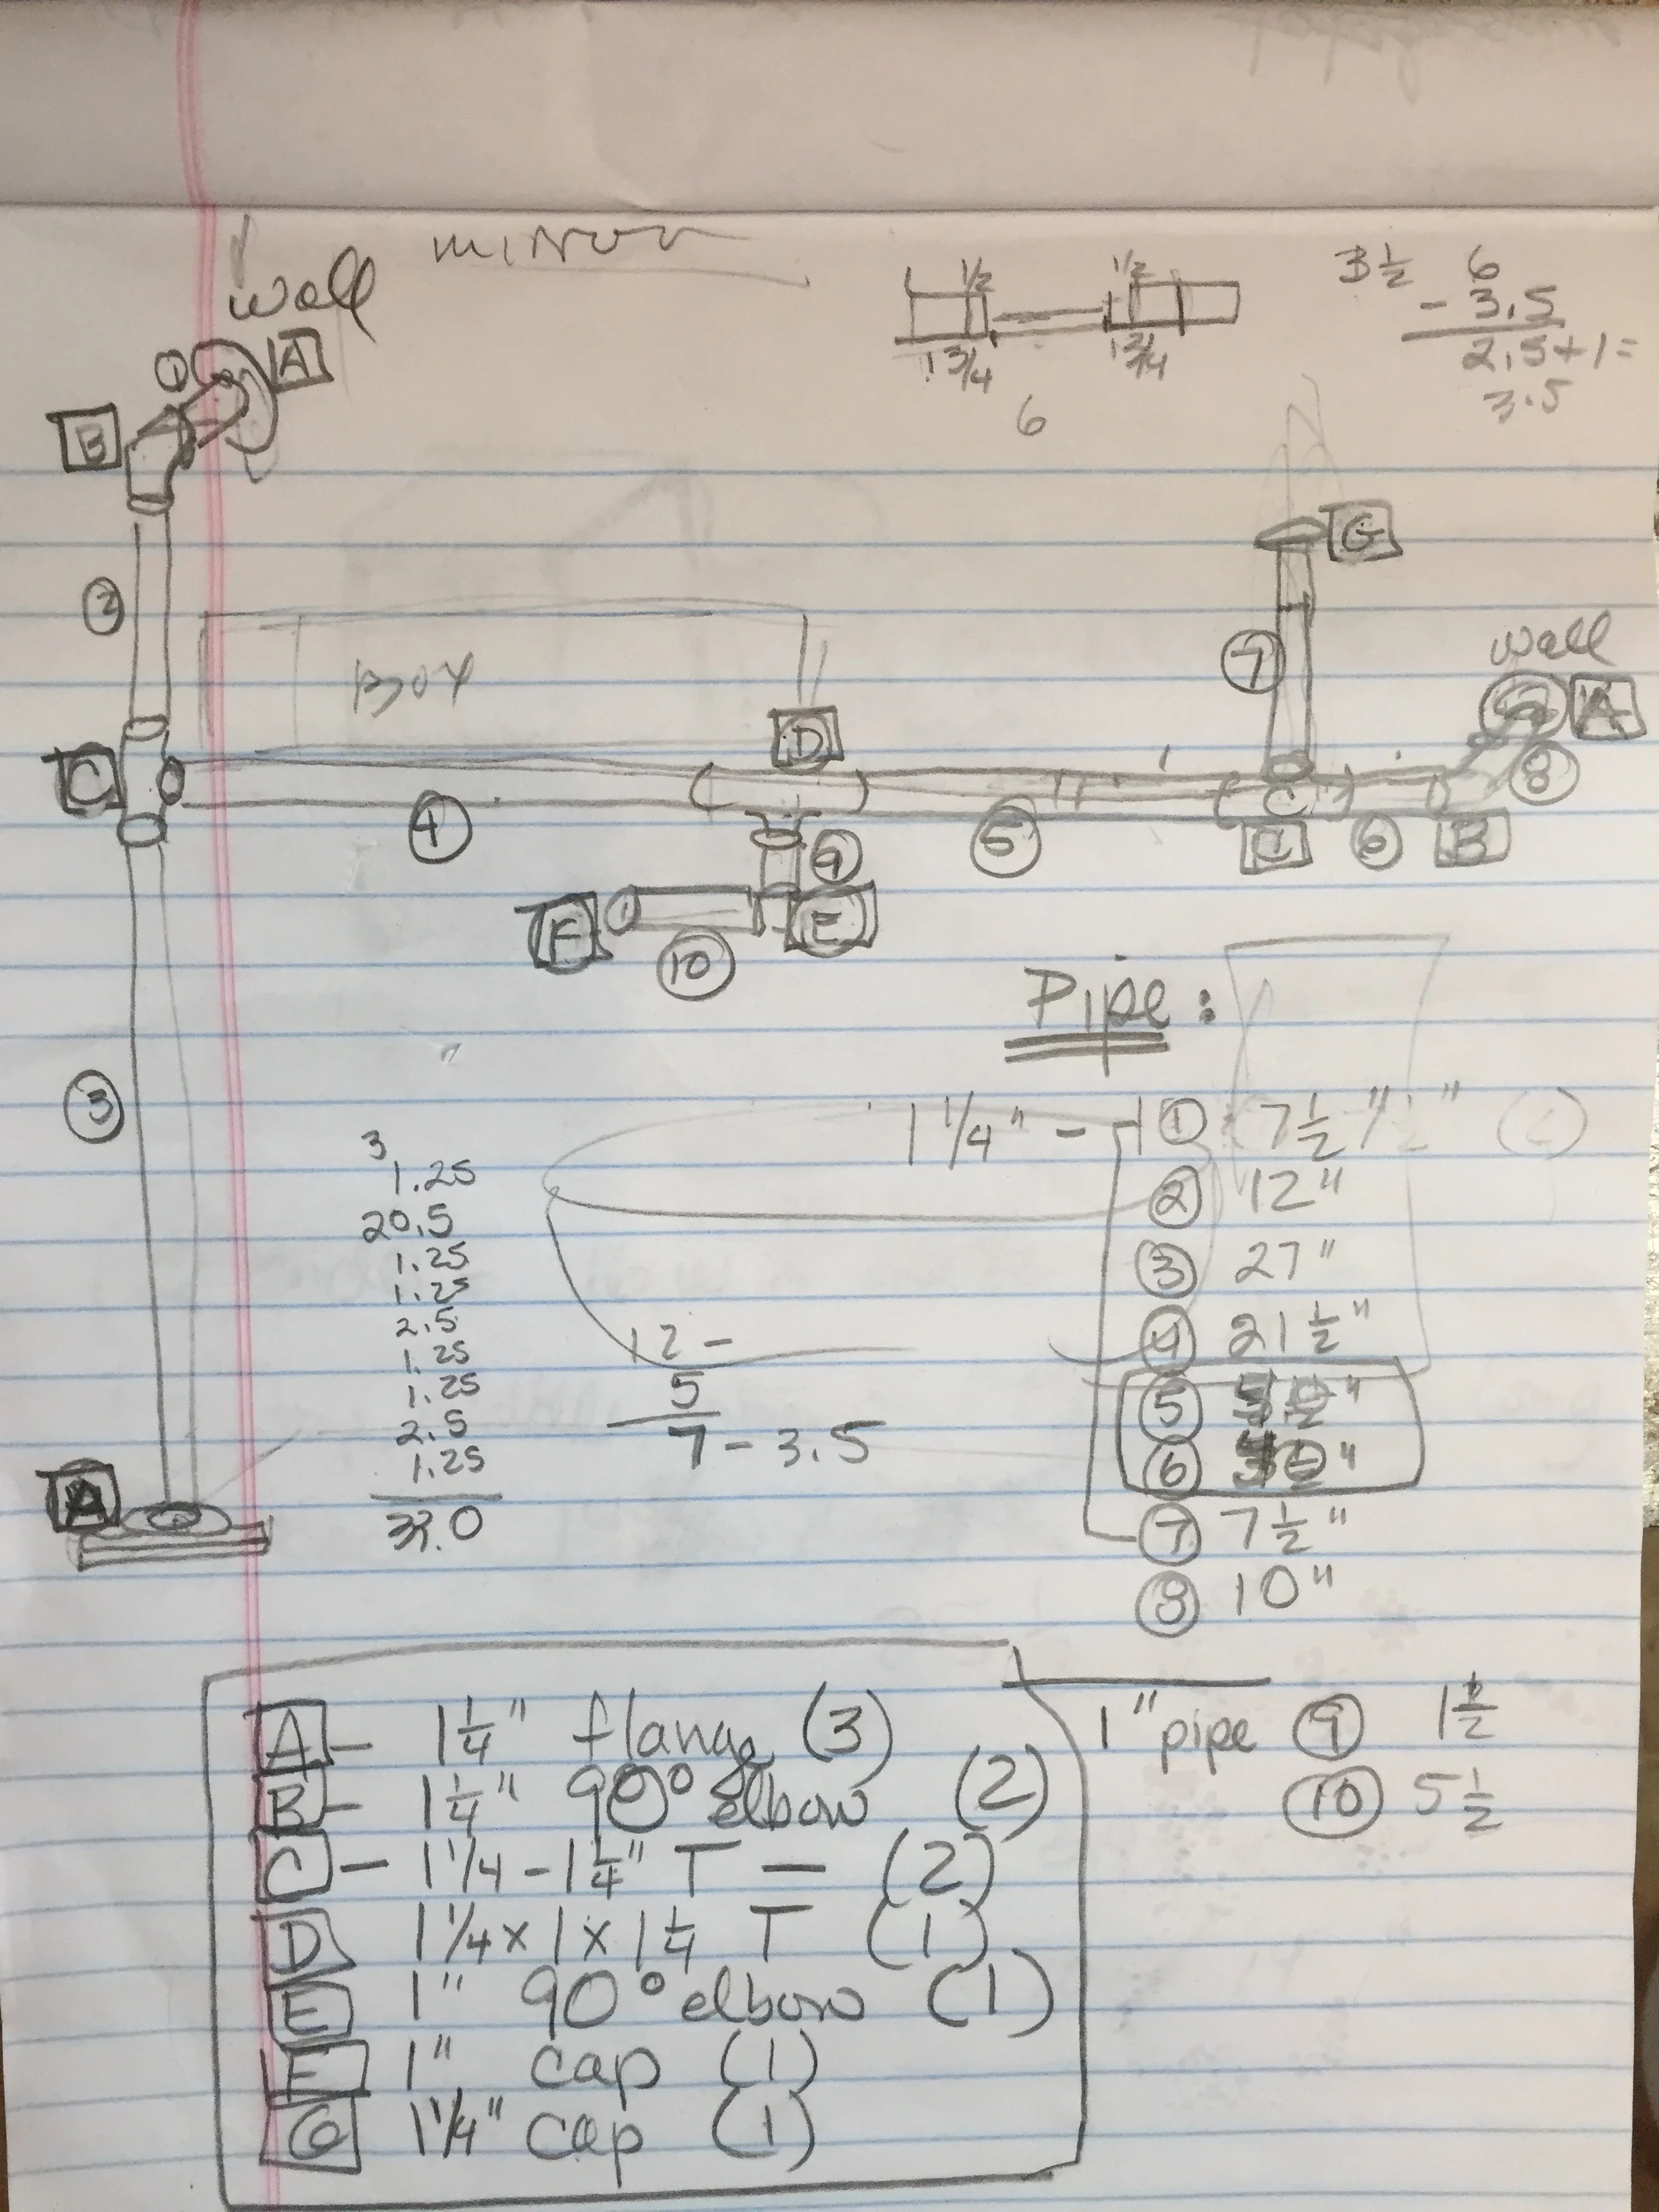
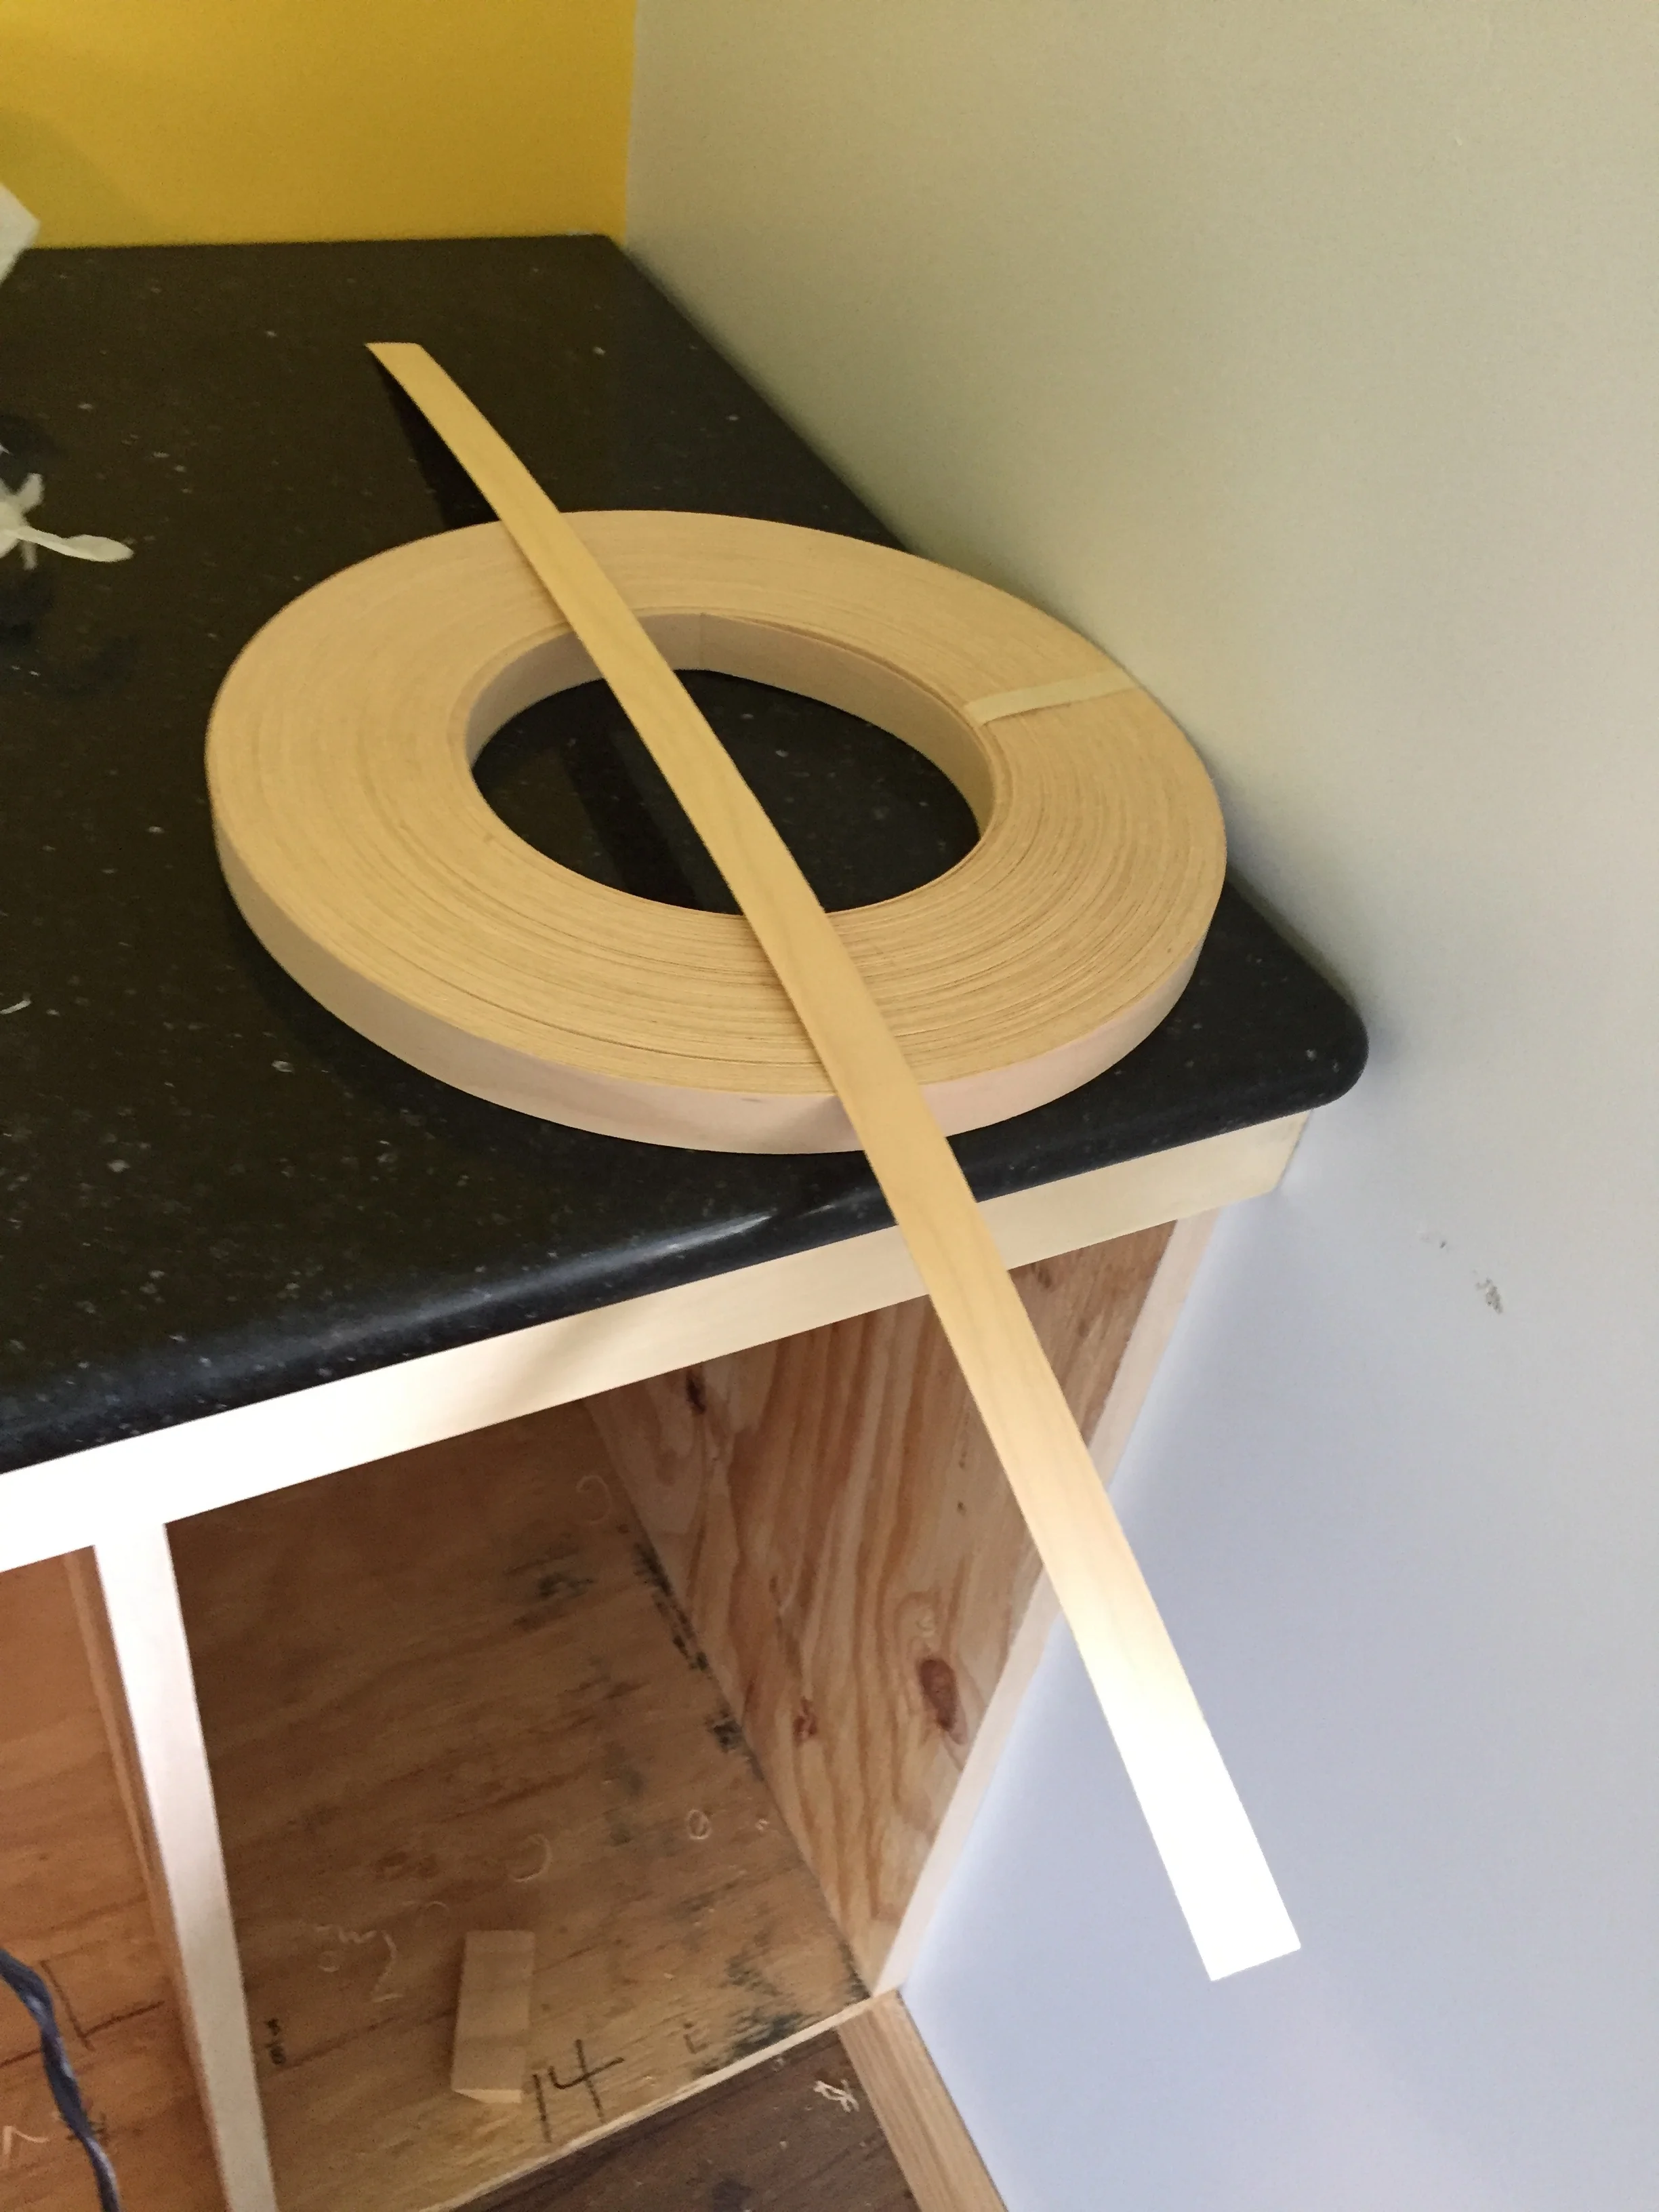
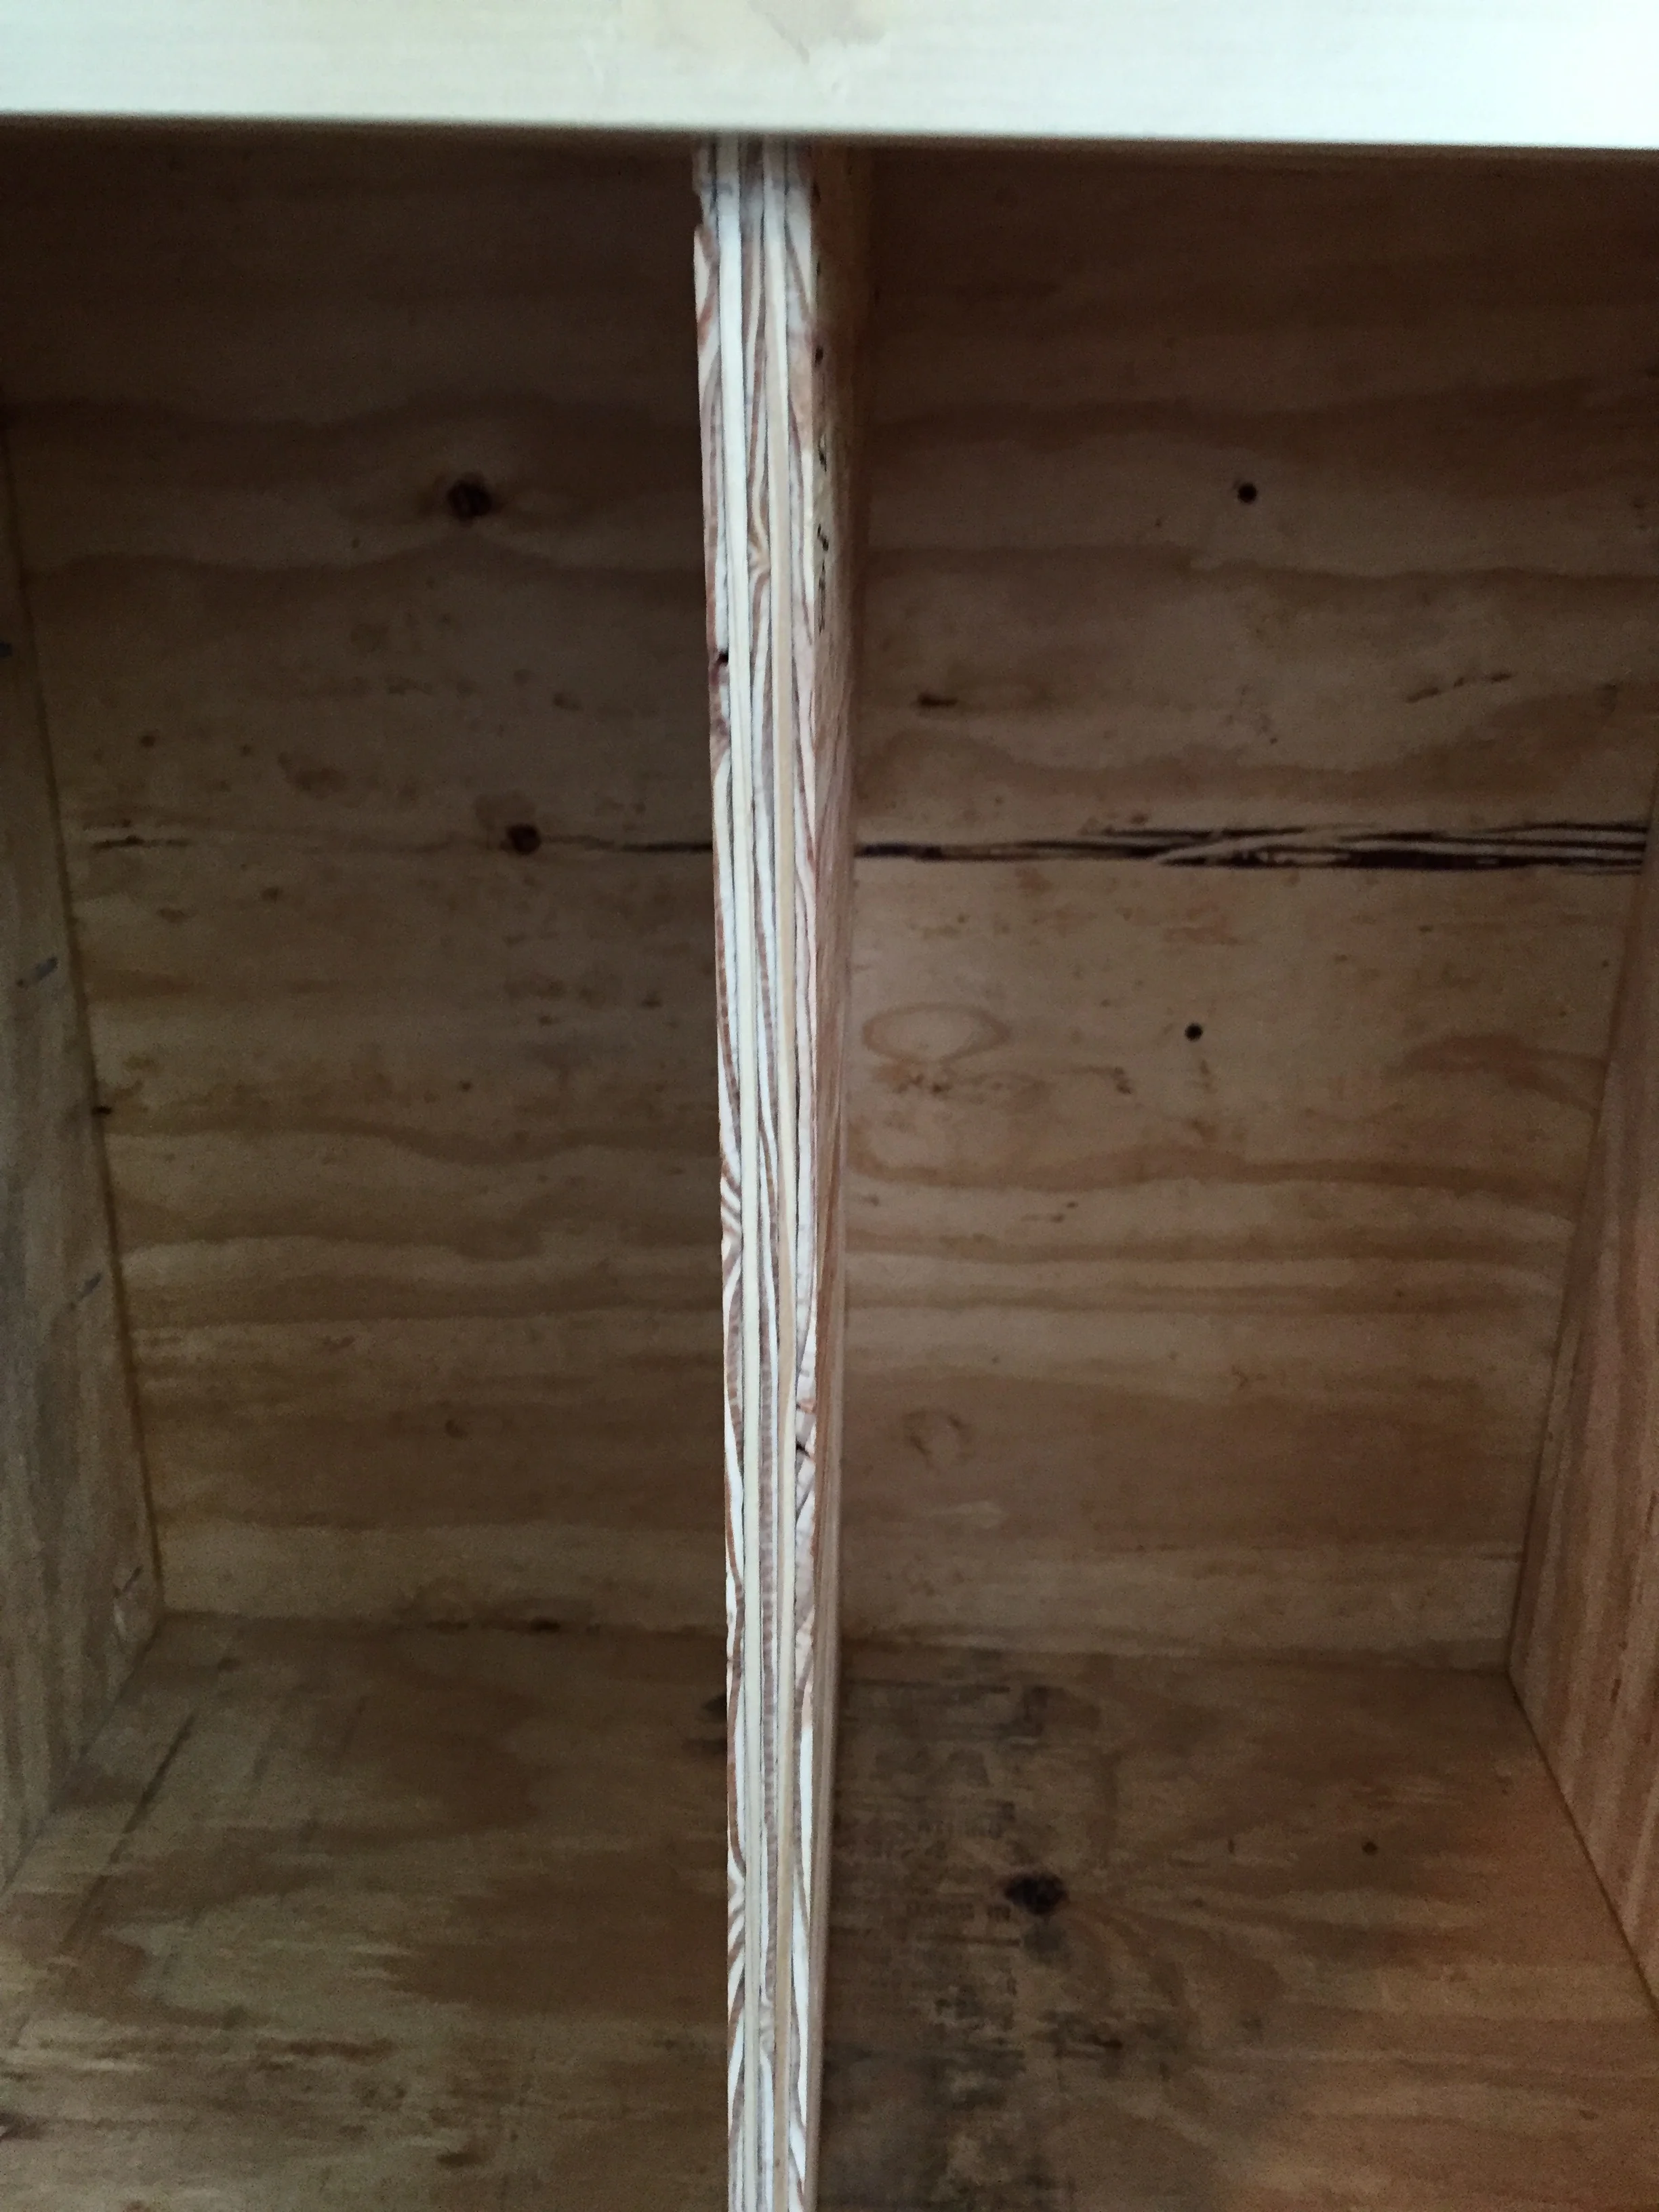
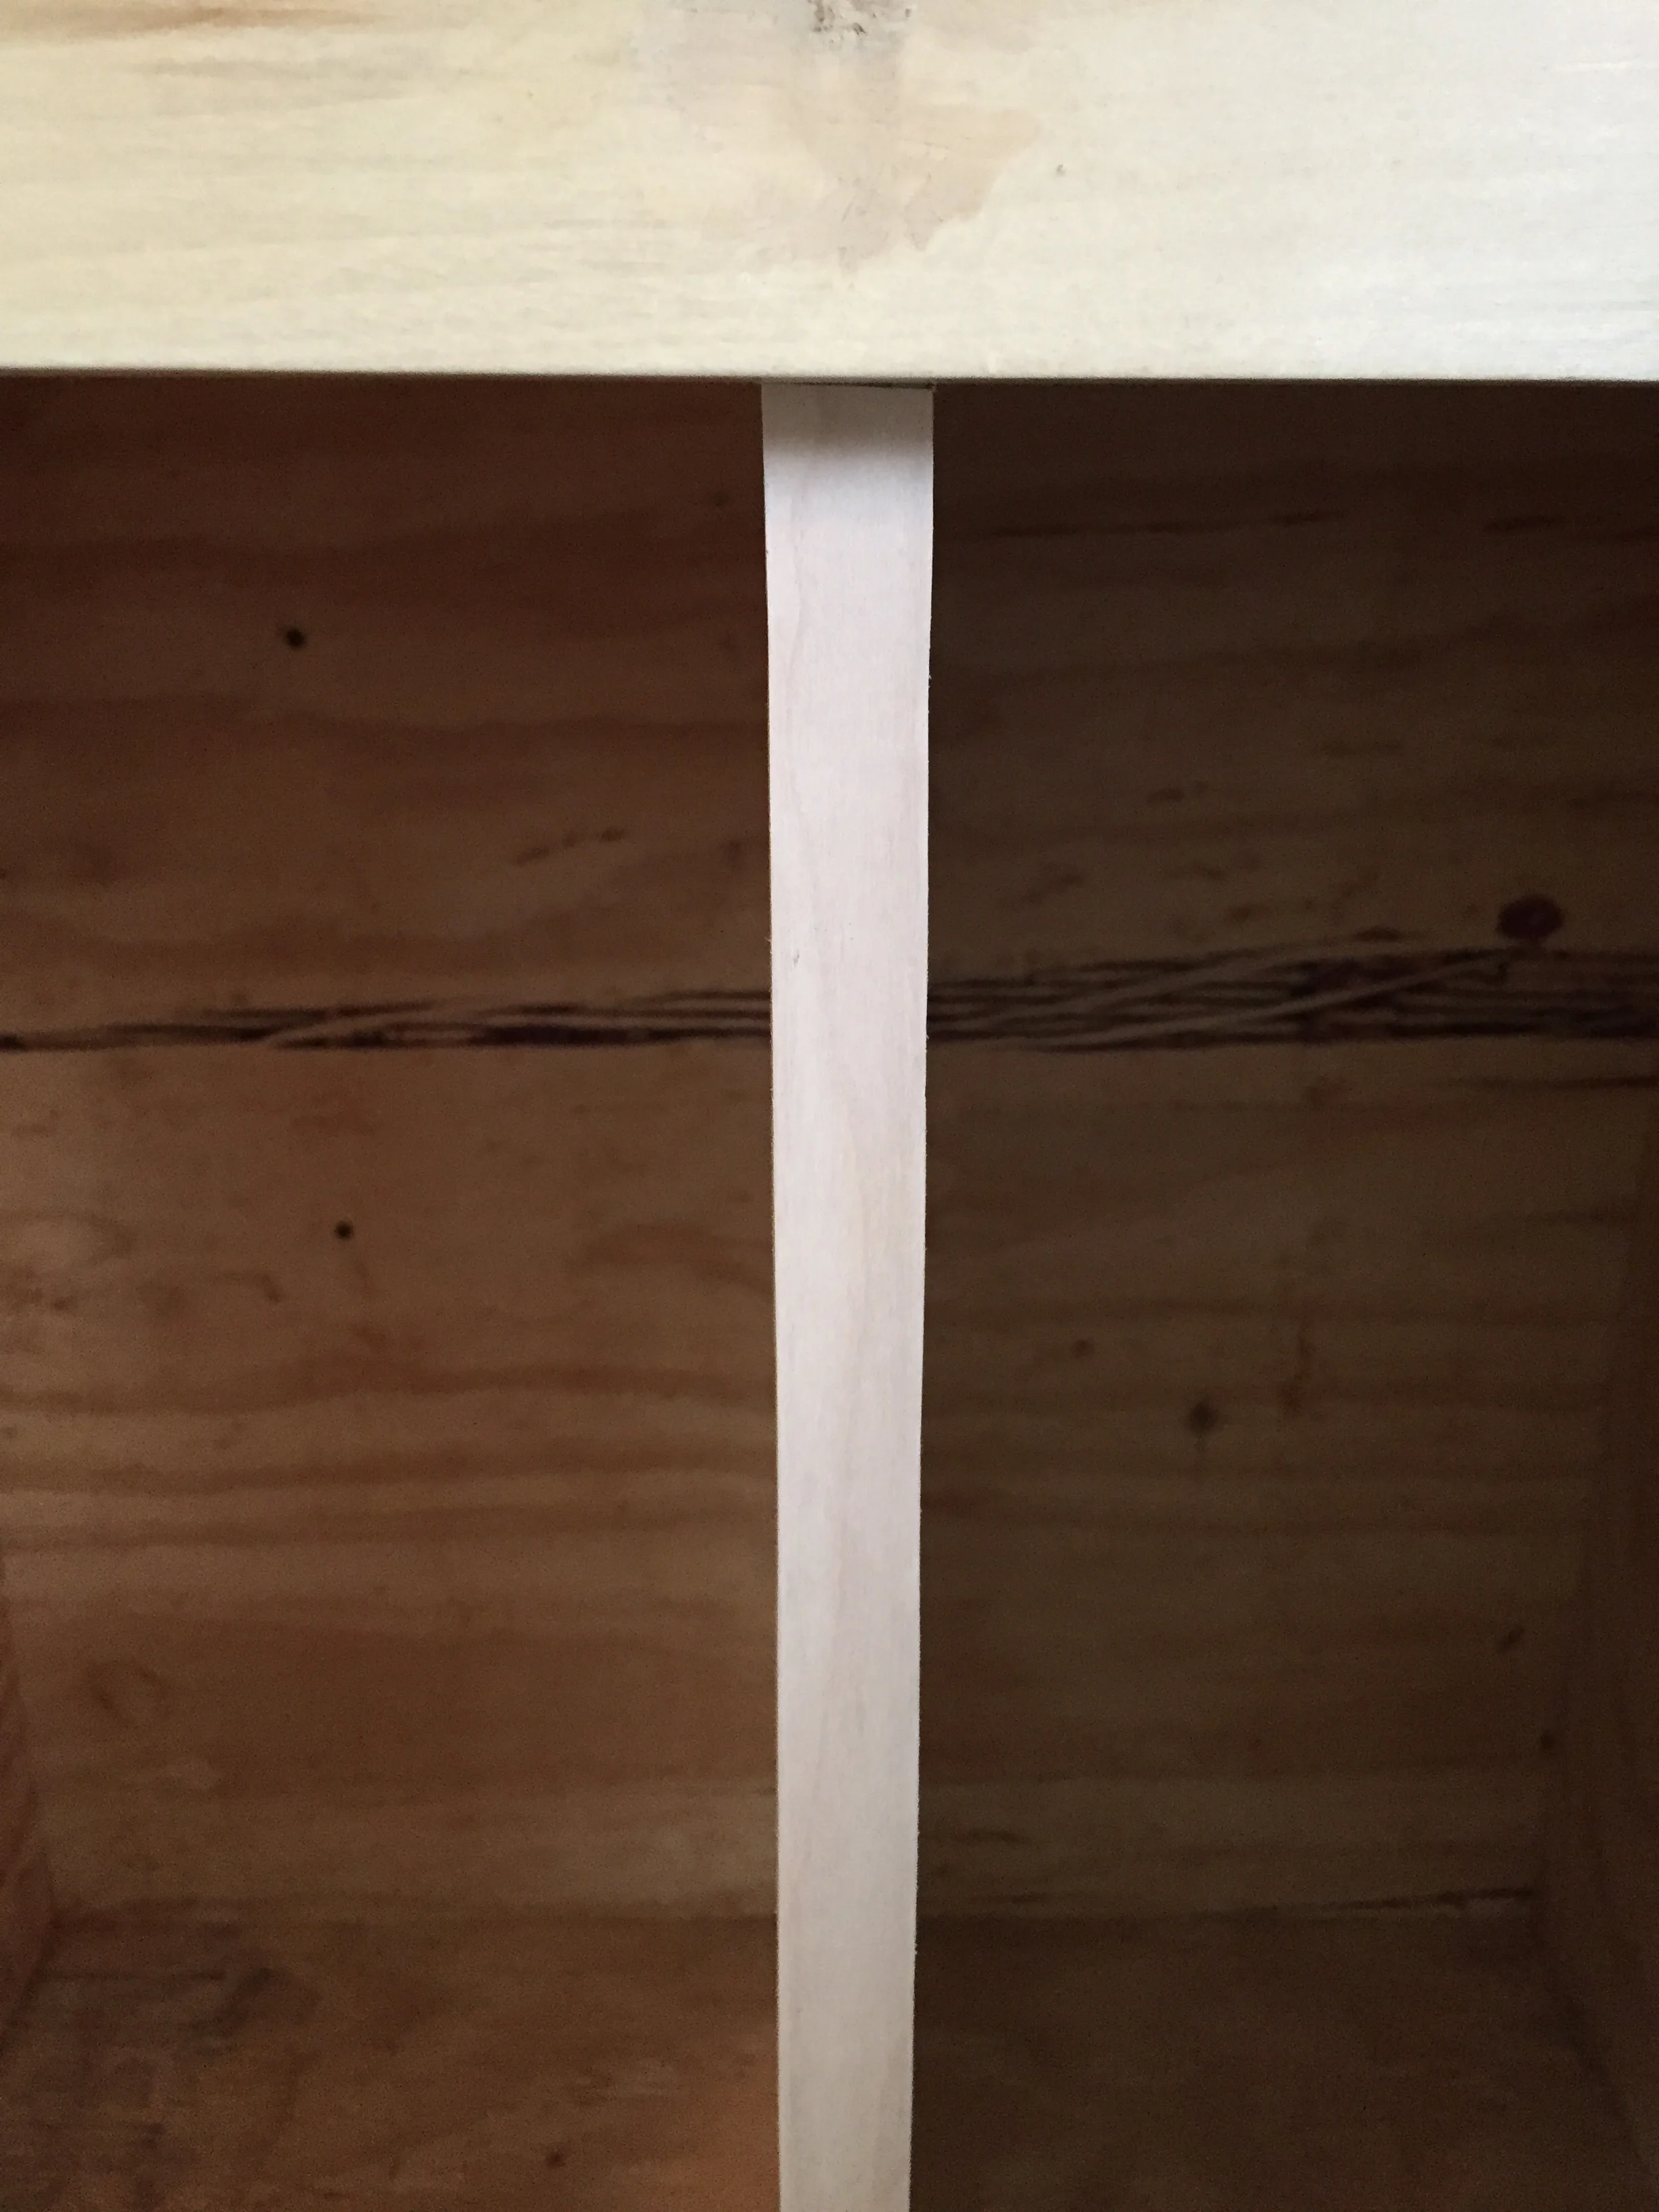
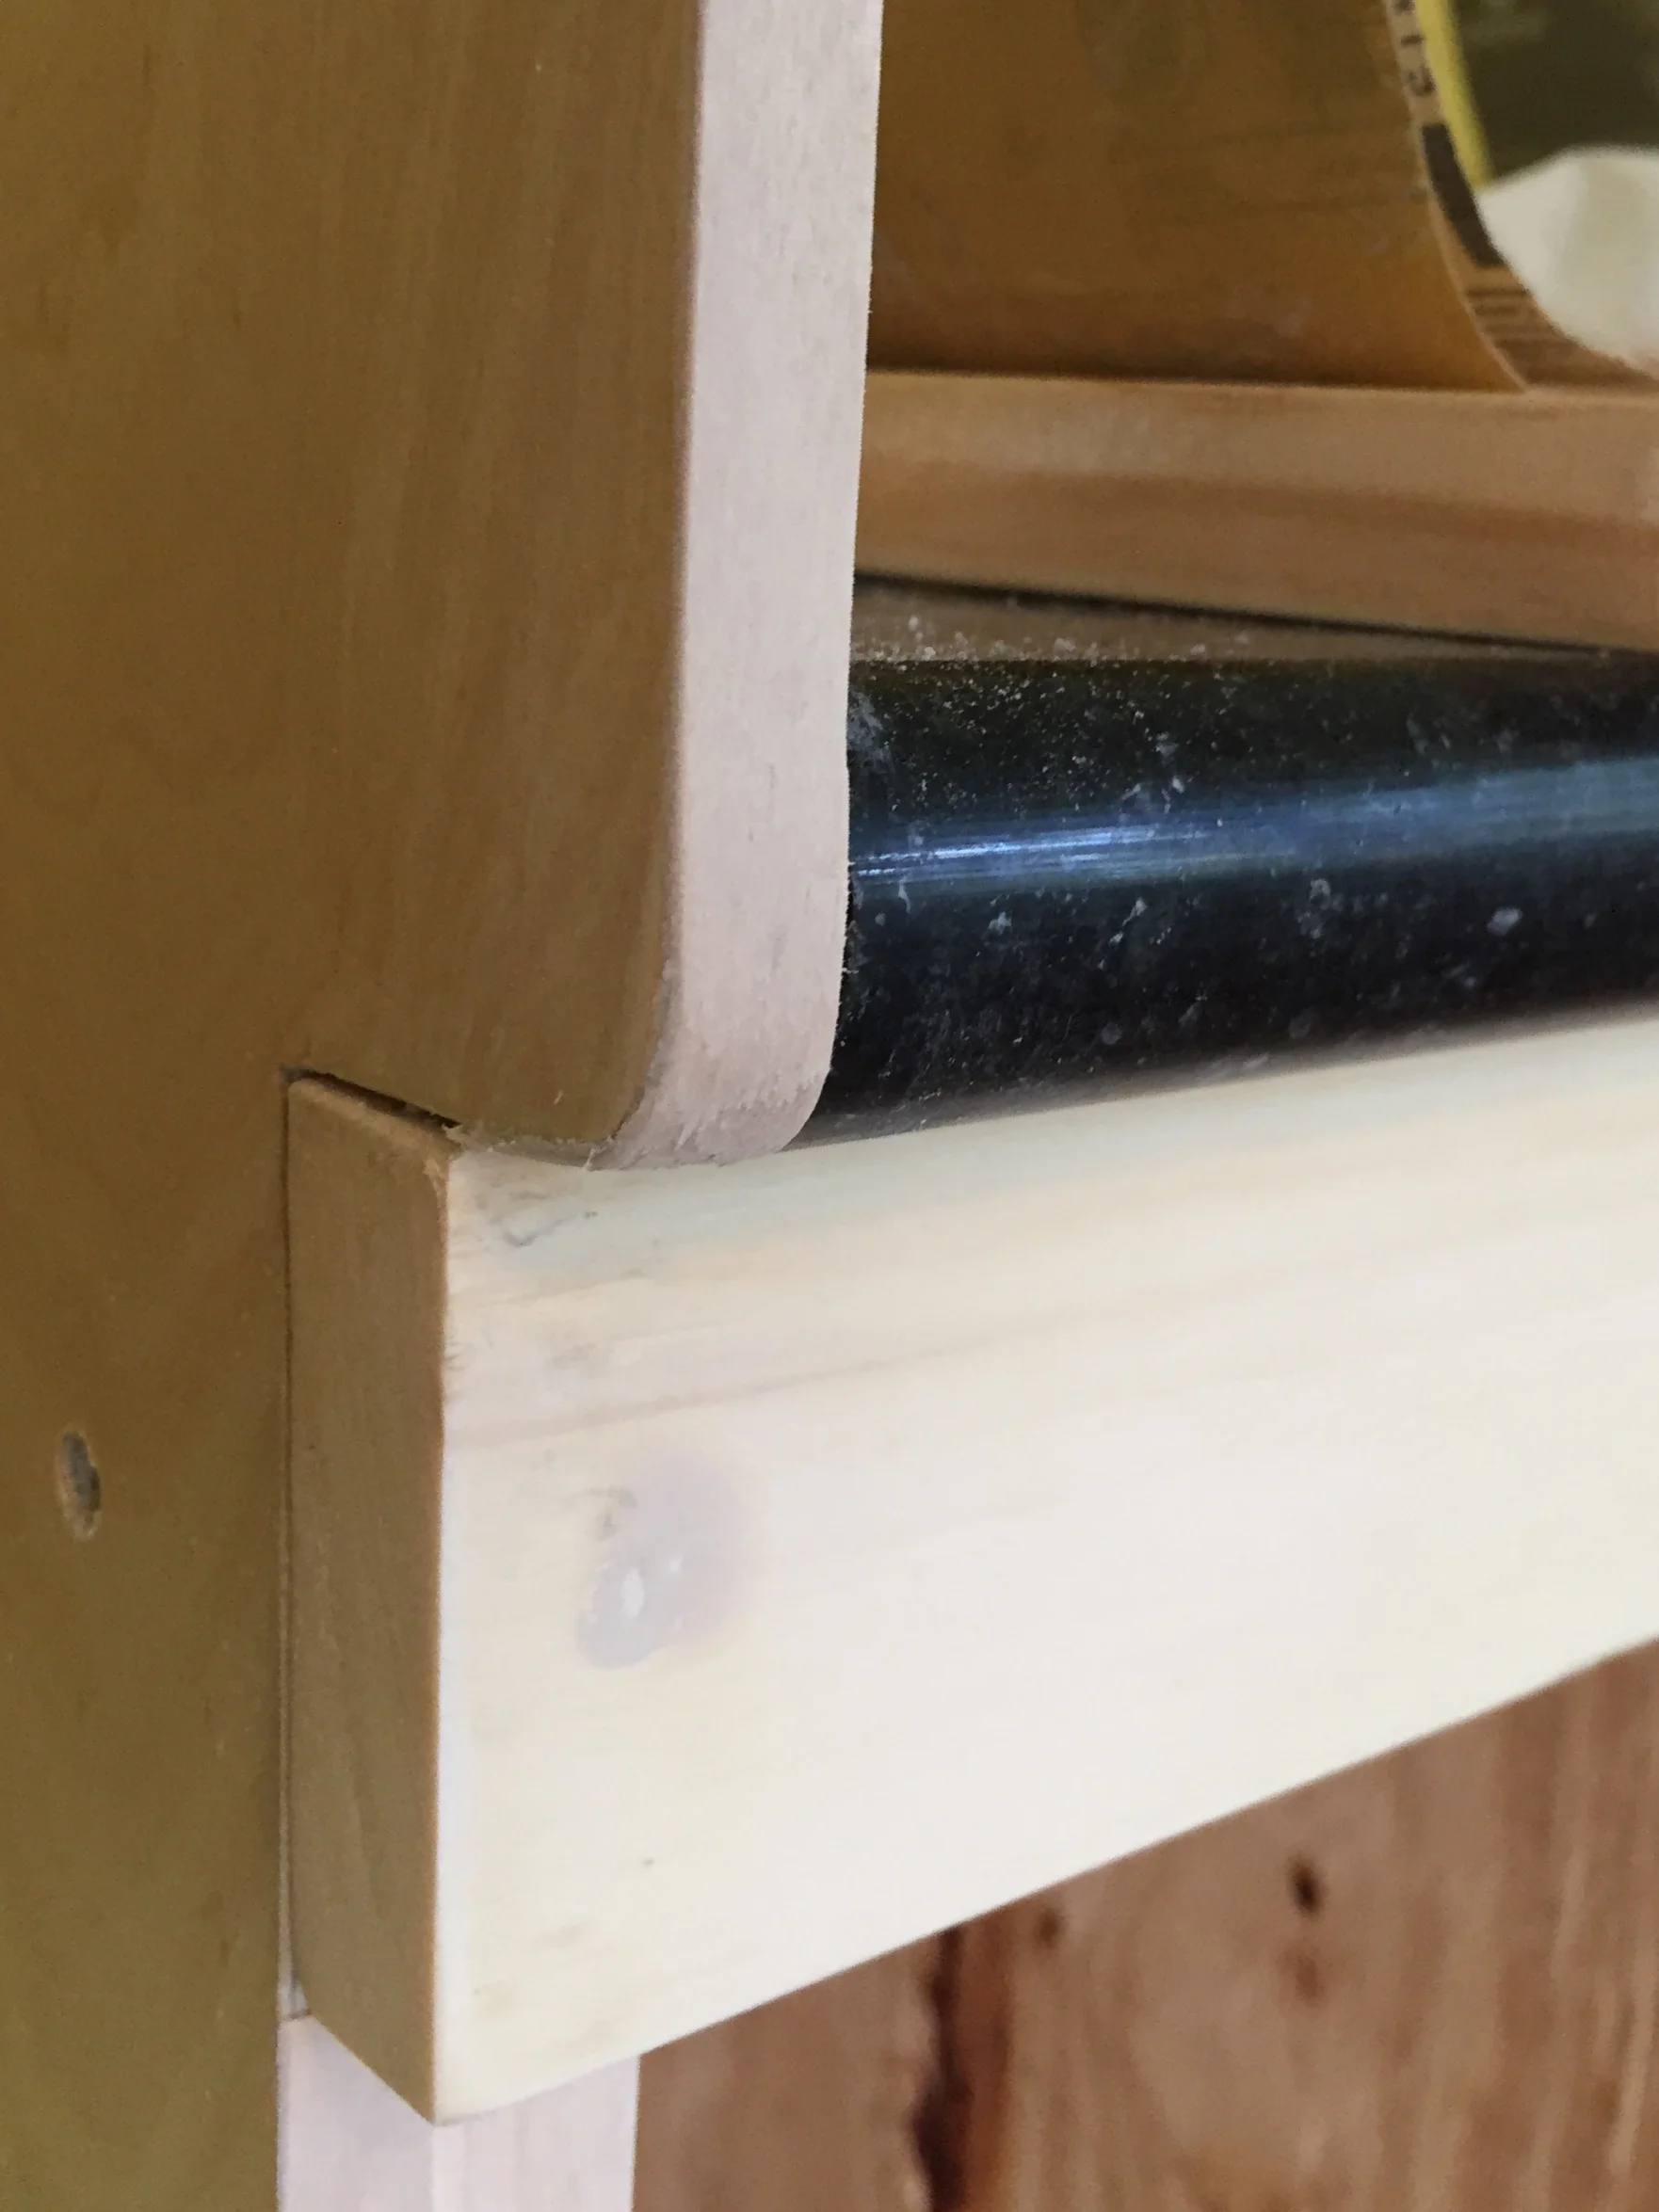
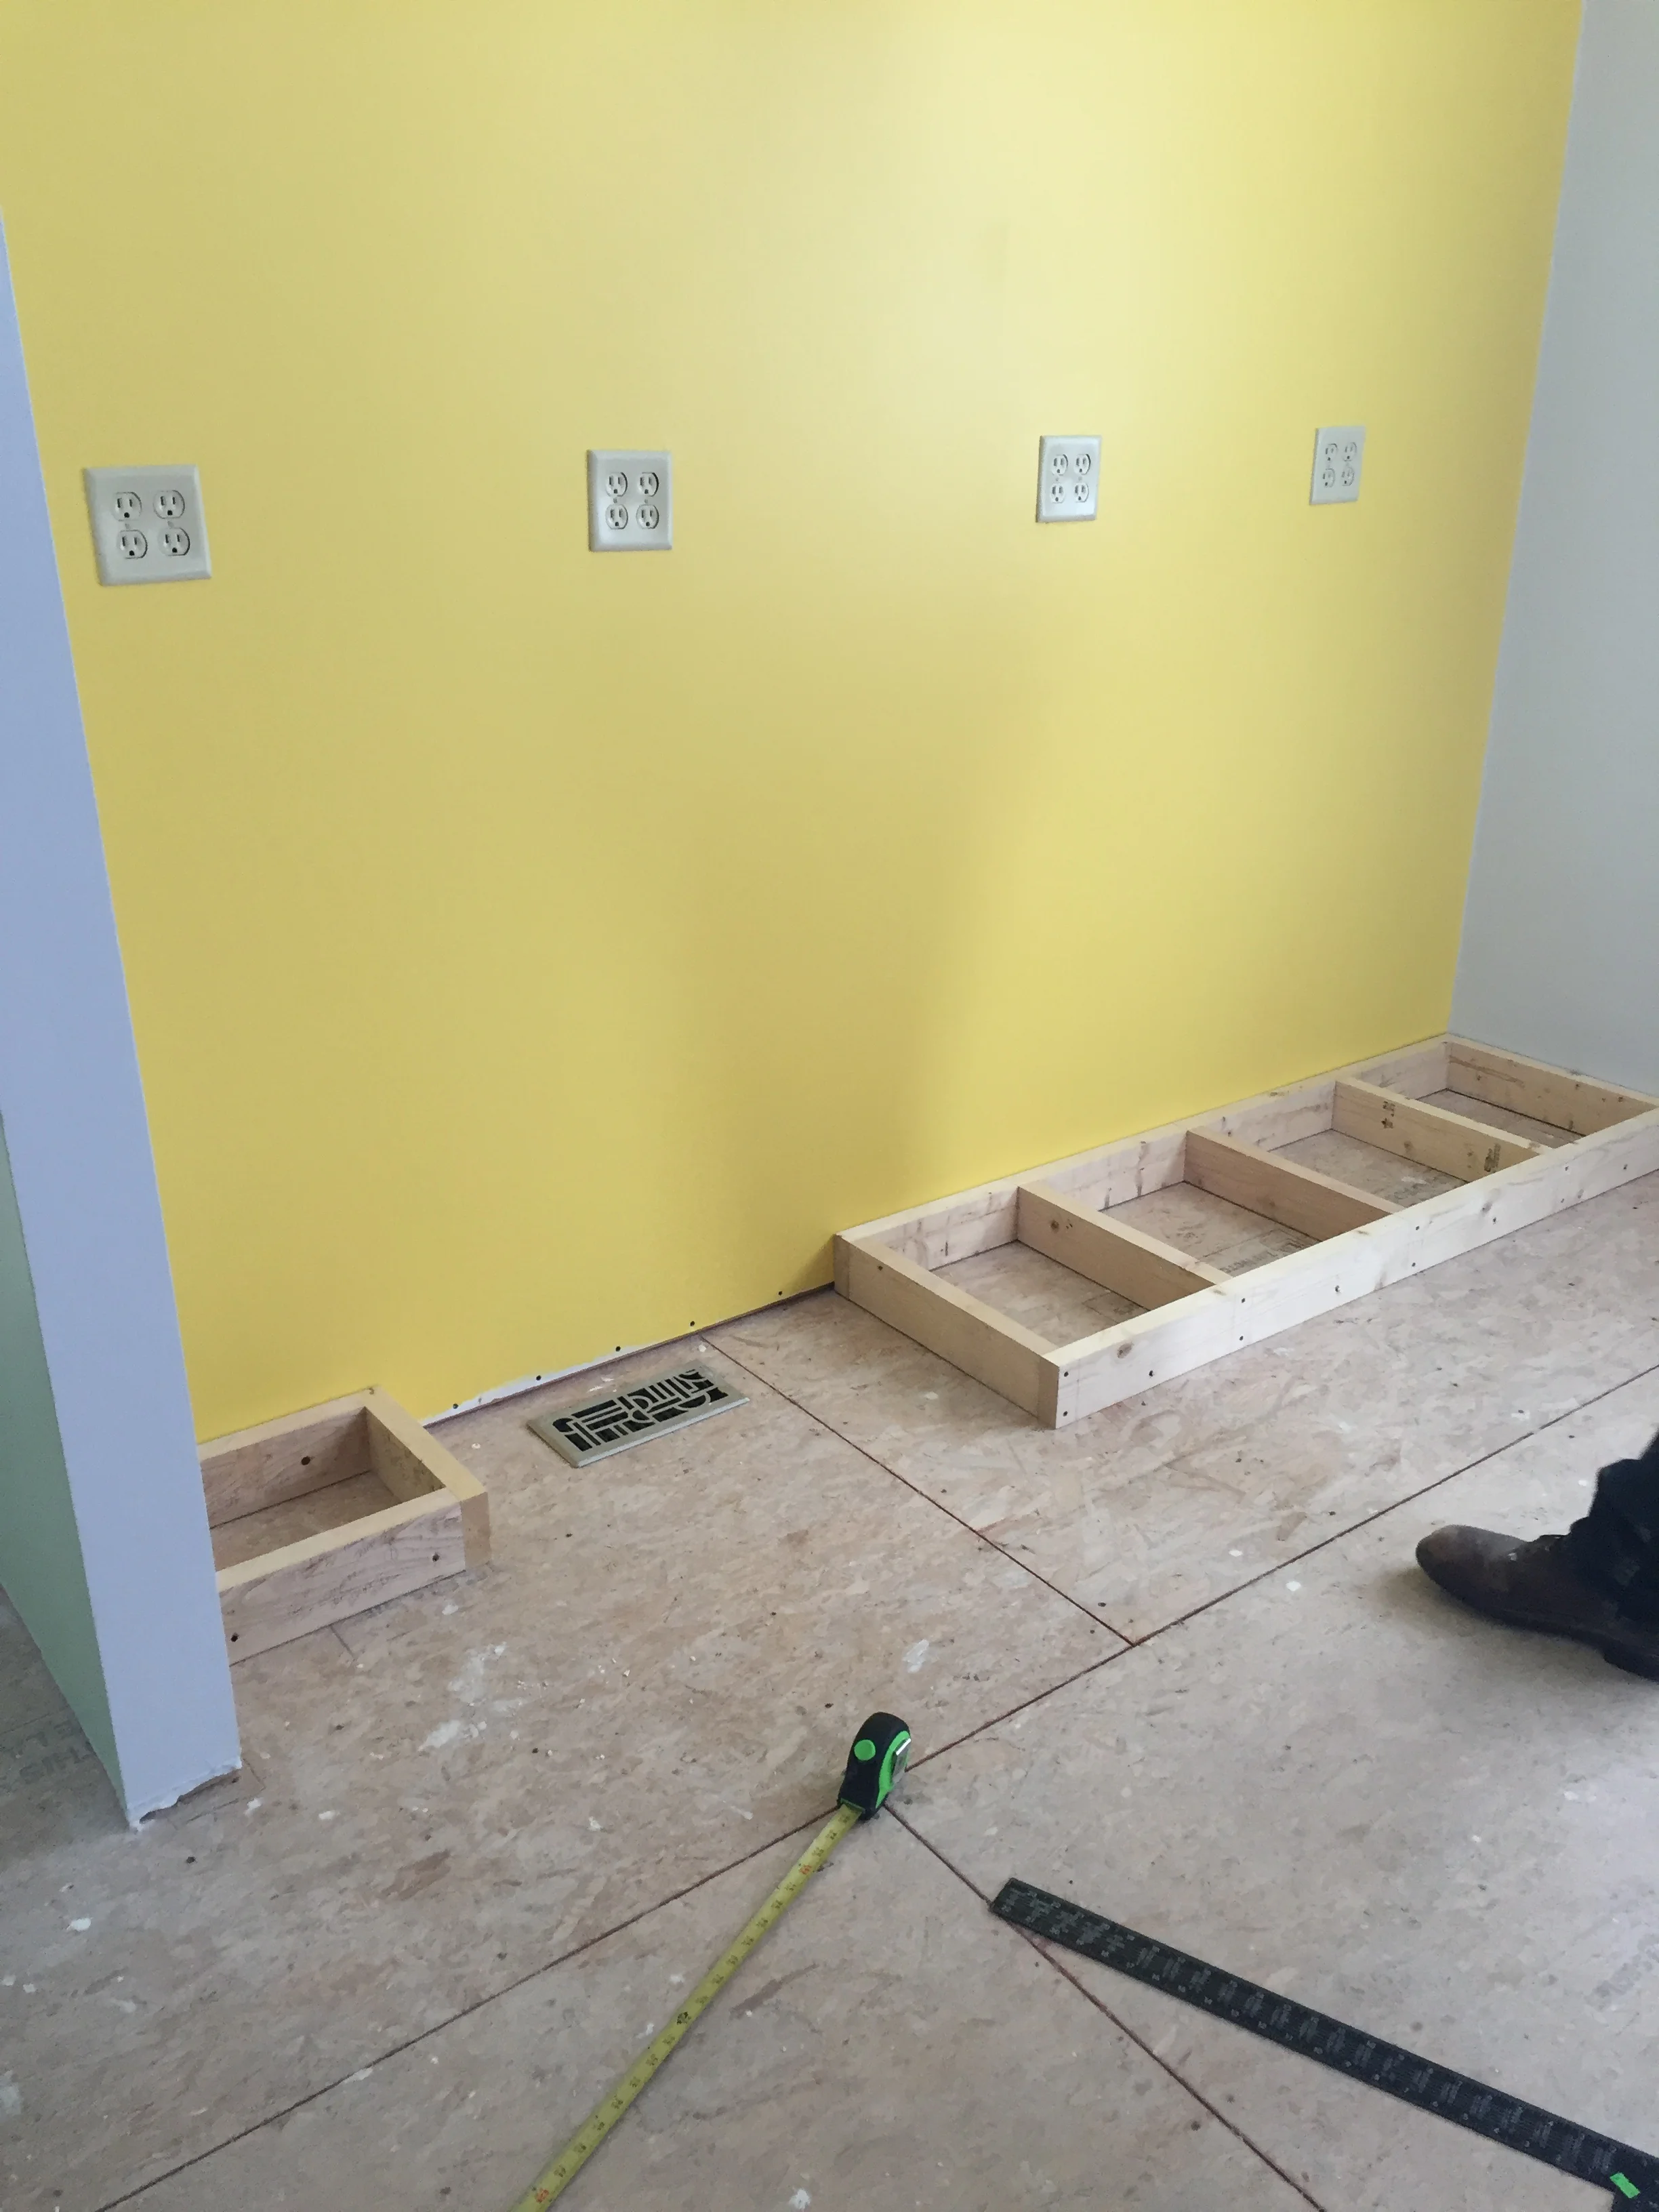
Paint stirring sticks measure a convenient eighth inch, the space needed between drawers.
The drawer pulls Irene selected had an odd measurement between screw holes. In order to get them placed, I made a pattern by stretching a piece of paper over the screw side of the handle and poking holes through the paper into the screw holes. I transferred the measurement to a piece of wood I cut to give me 2” below the top of the drawer. I folded the paper in half and marked the mid line on my wooden jig. I drew a line from one corner of the drawer face to the kitty corner, both ways, which gave me the mid point of the drawer face. I clamped my jig to the drawer face, lining up mid lines. I used a drill press to drill my screw holes. This took a while, but worked well.
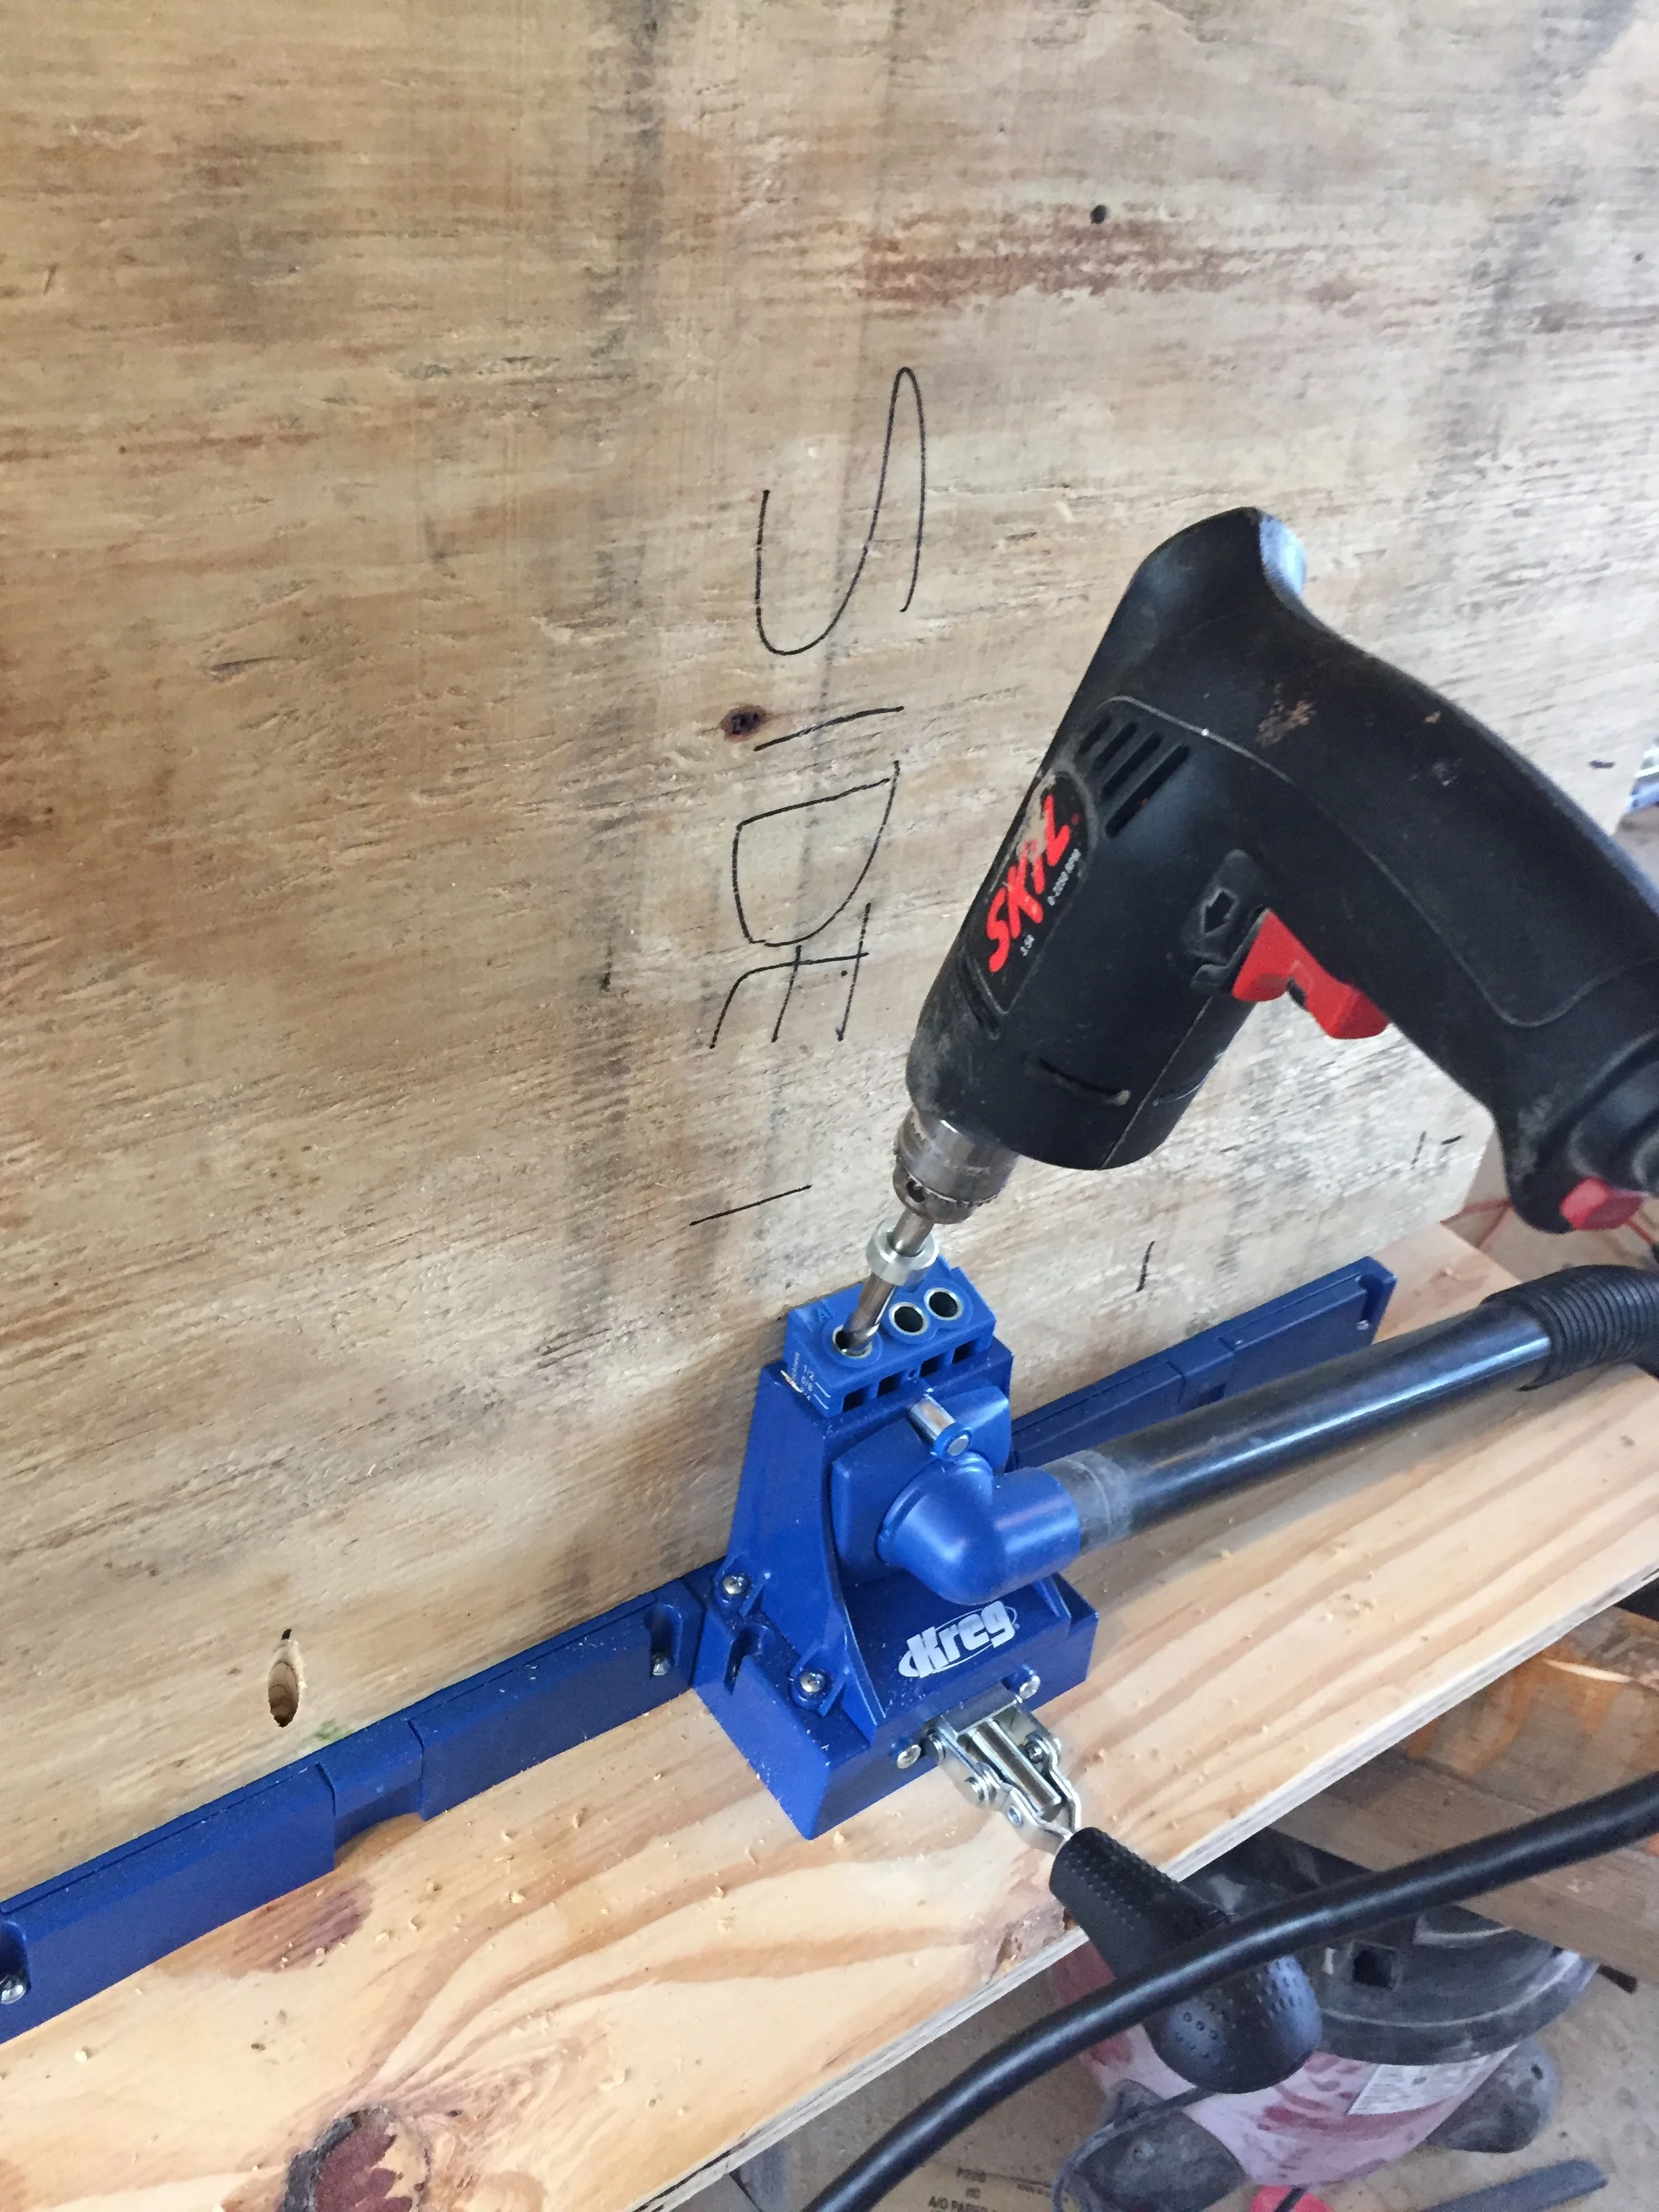
To make the holes in the drawers (drawer screws fit only the drawer face, not the drawer face AND the drawer) Michael found me a nail set that fit in my screw holes. After I fit the drawer fronts in place, I punched indents into the drawer, unscrewed the drawer face, then used a large drill bit to make holes in the drawer aligned with the screw holes in the drawer face. We then replaced the drawer front and installed the drawer slide. This is why it took 10 hours to place all the drawer fronts and pulls.
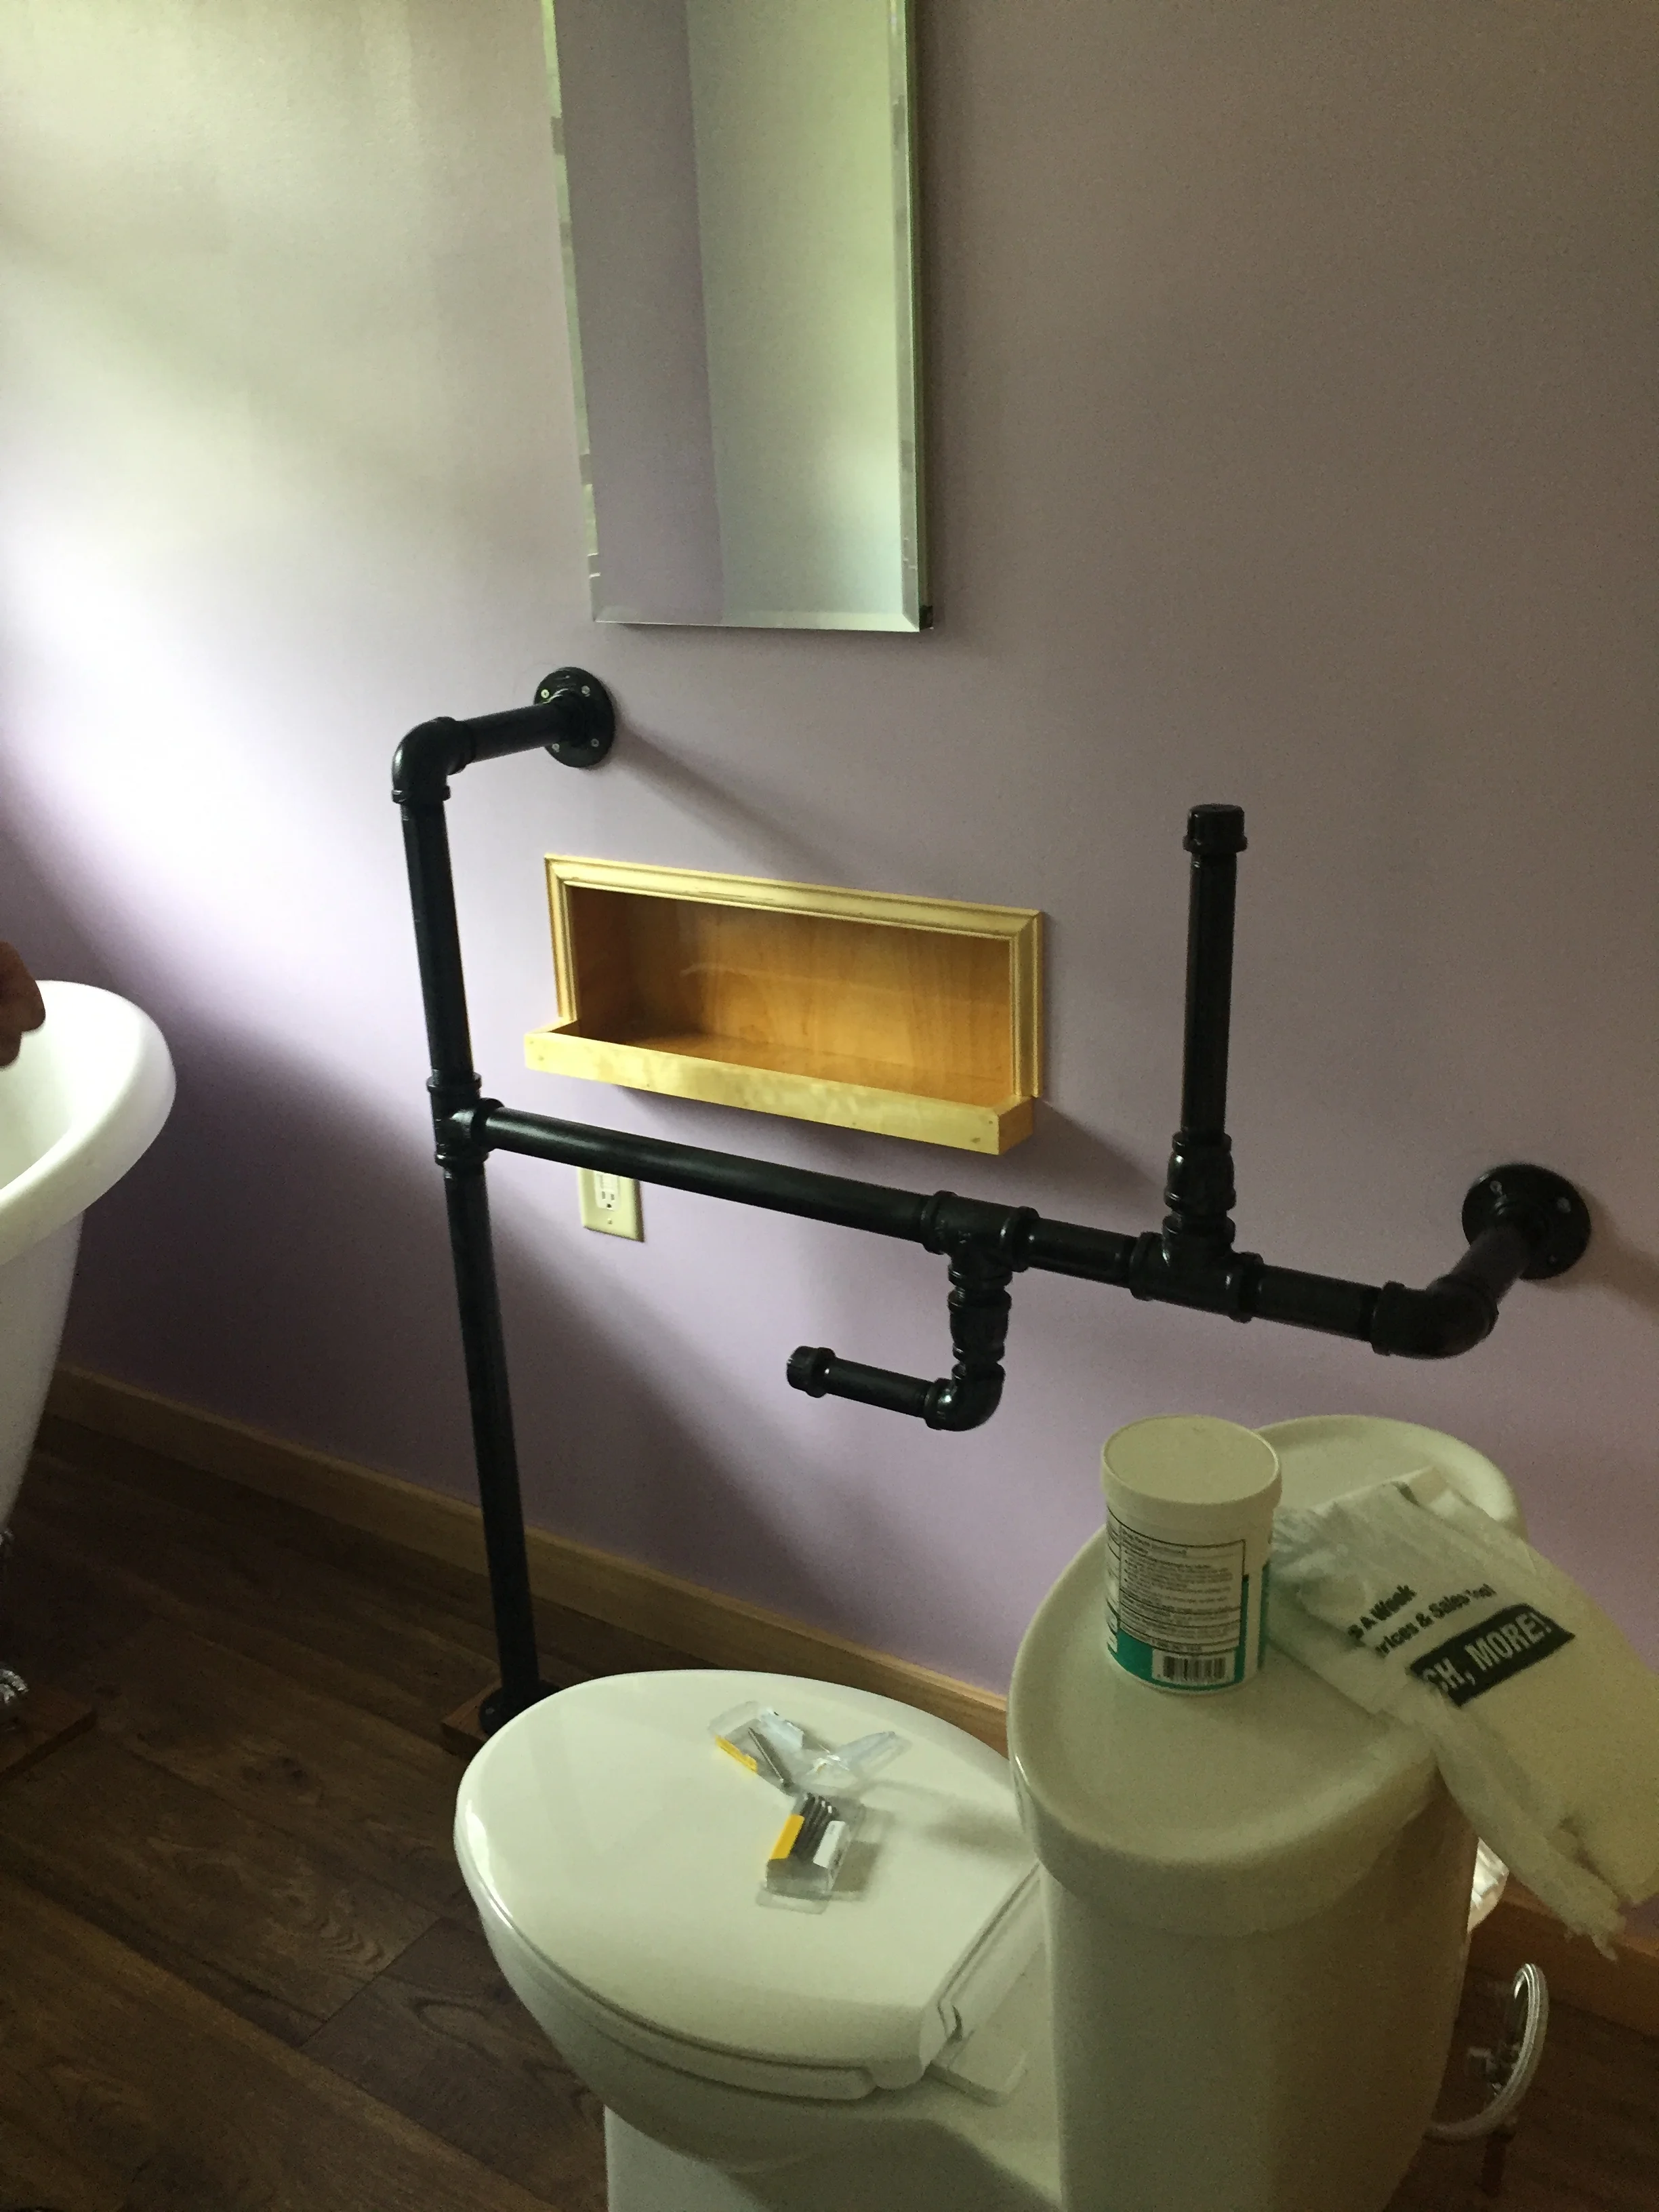
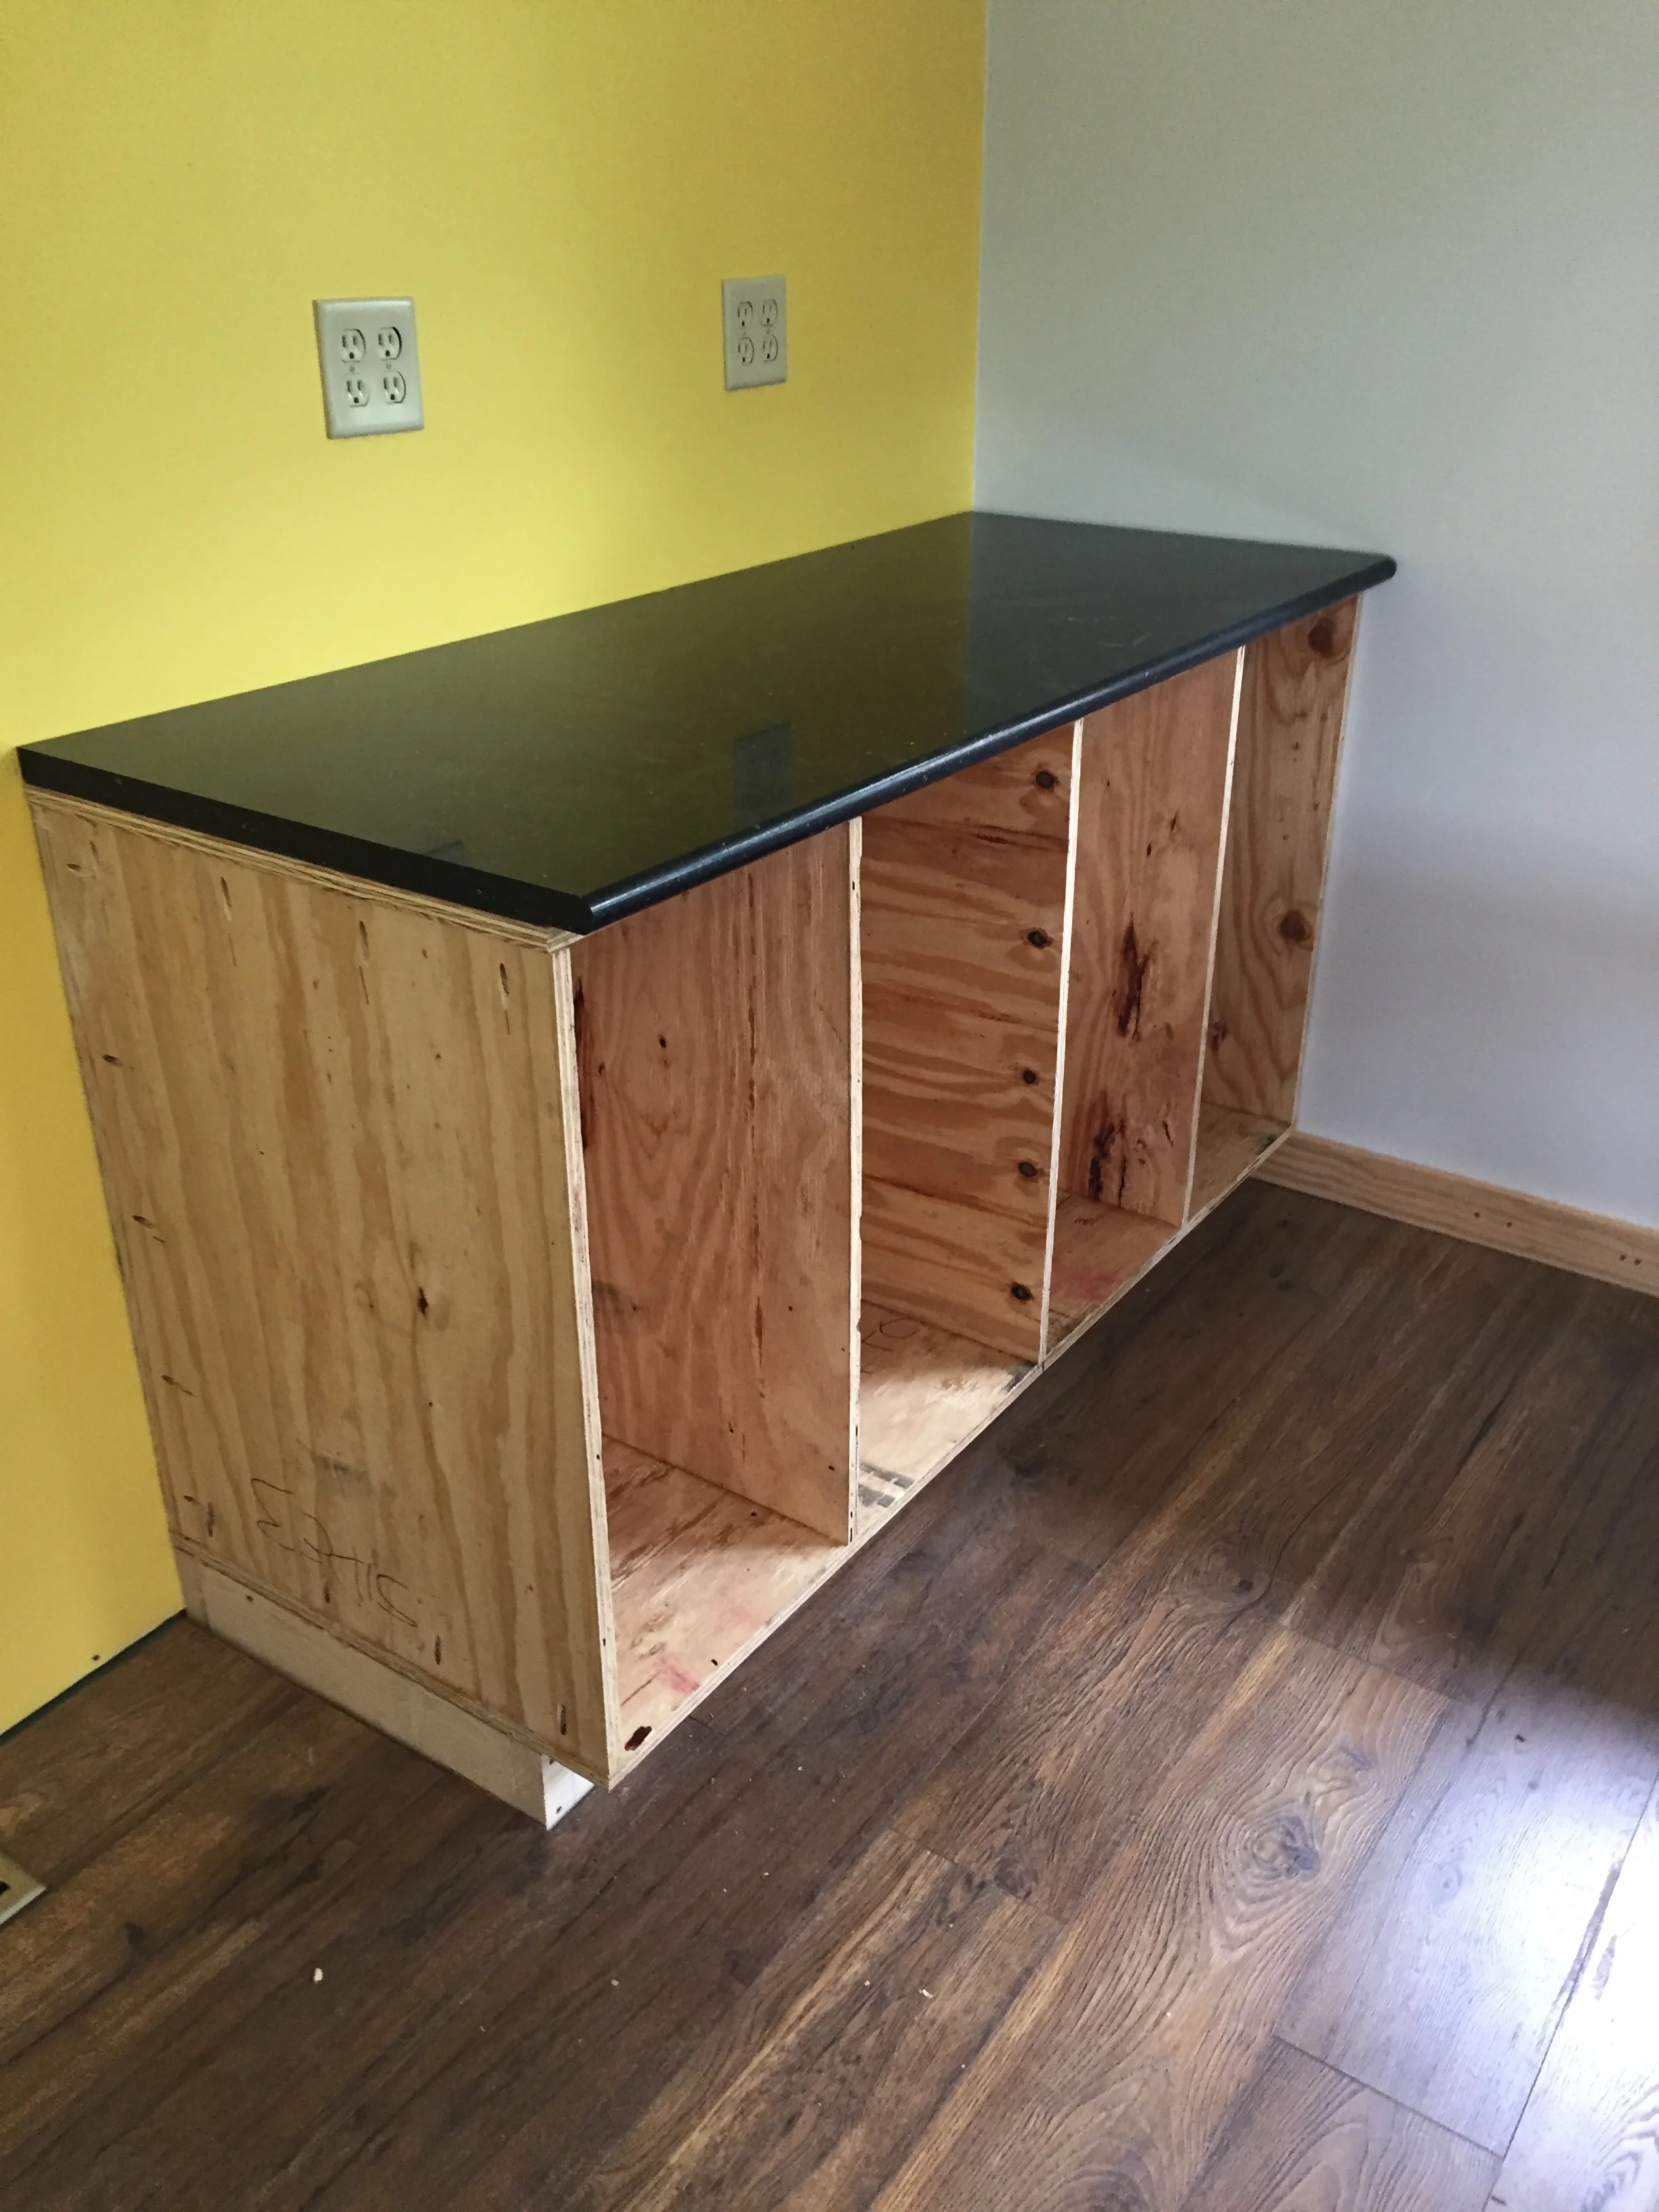
A built-in set of dresser drawers seems an odd piece of furniture for a living room. However, Irene considers this her “kitchen”. A refrigerator/freezer, toaster, coffee maker, paper towel holder, and microwave will fit on the countertop. The tall drawer will fit a trash can and cleaning items. The drawers are different depths to accommodate a variety of items, including office supplies, silverware, dishes, dish towels, and files.
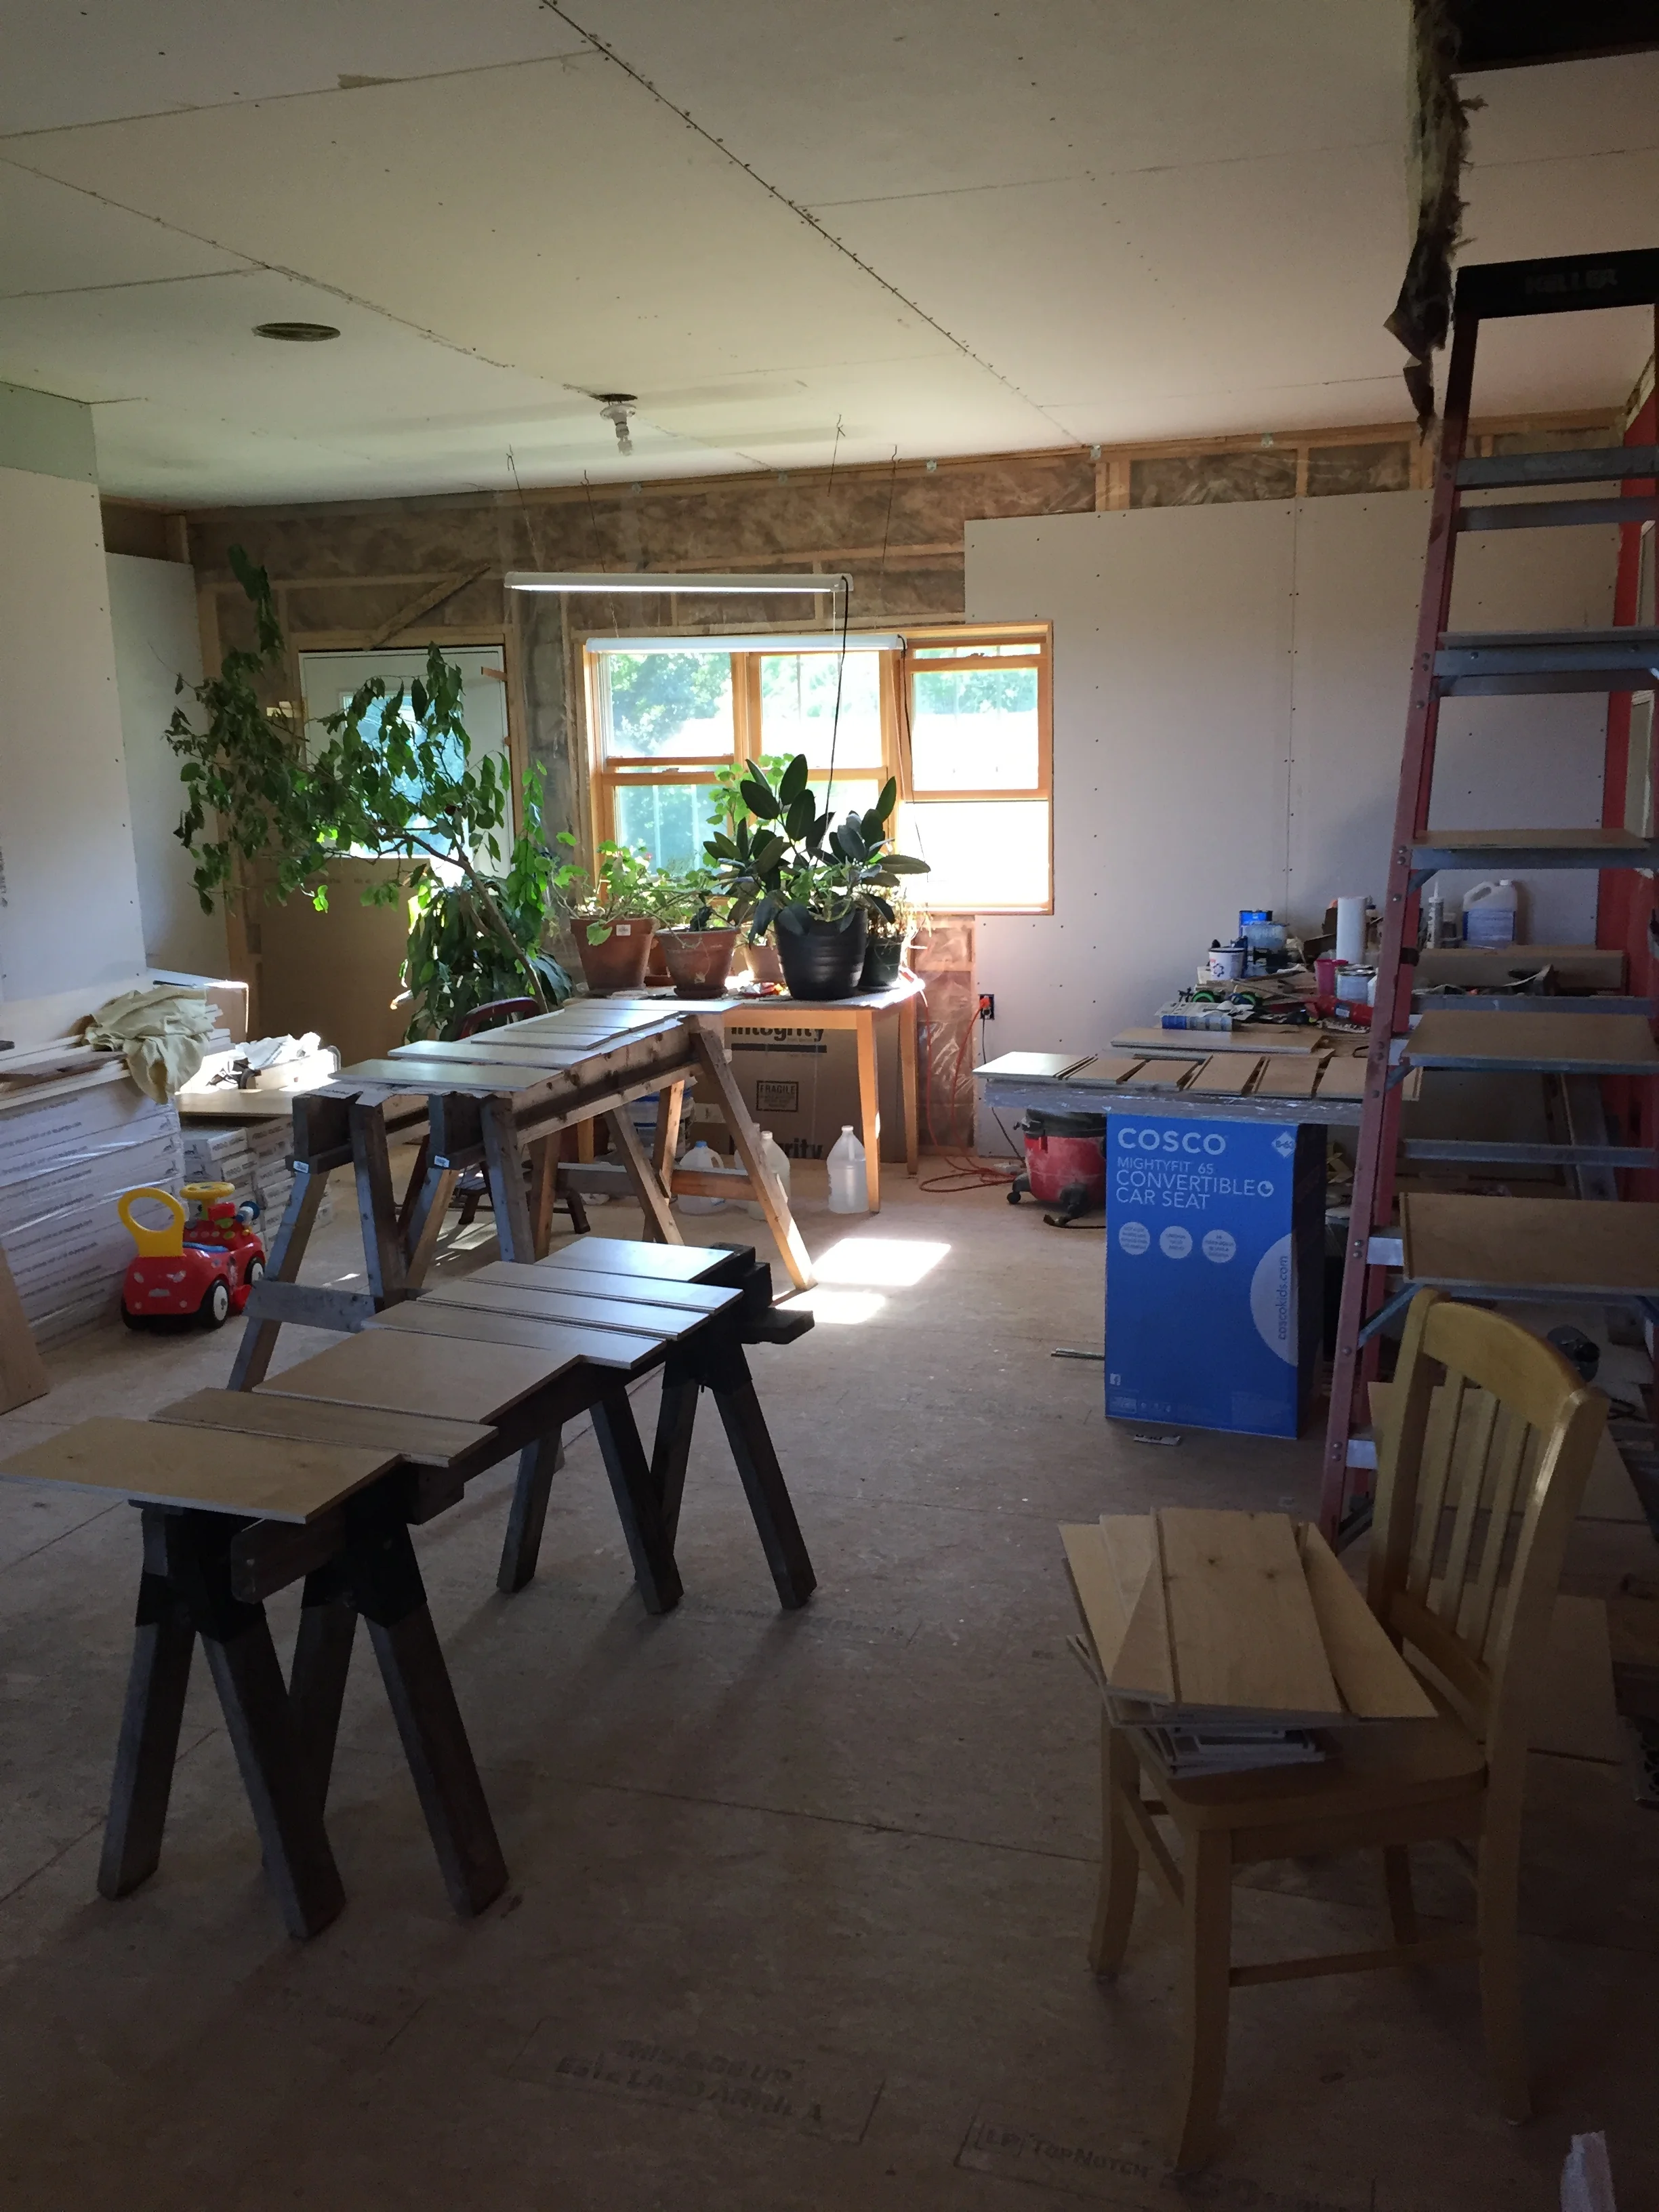
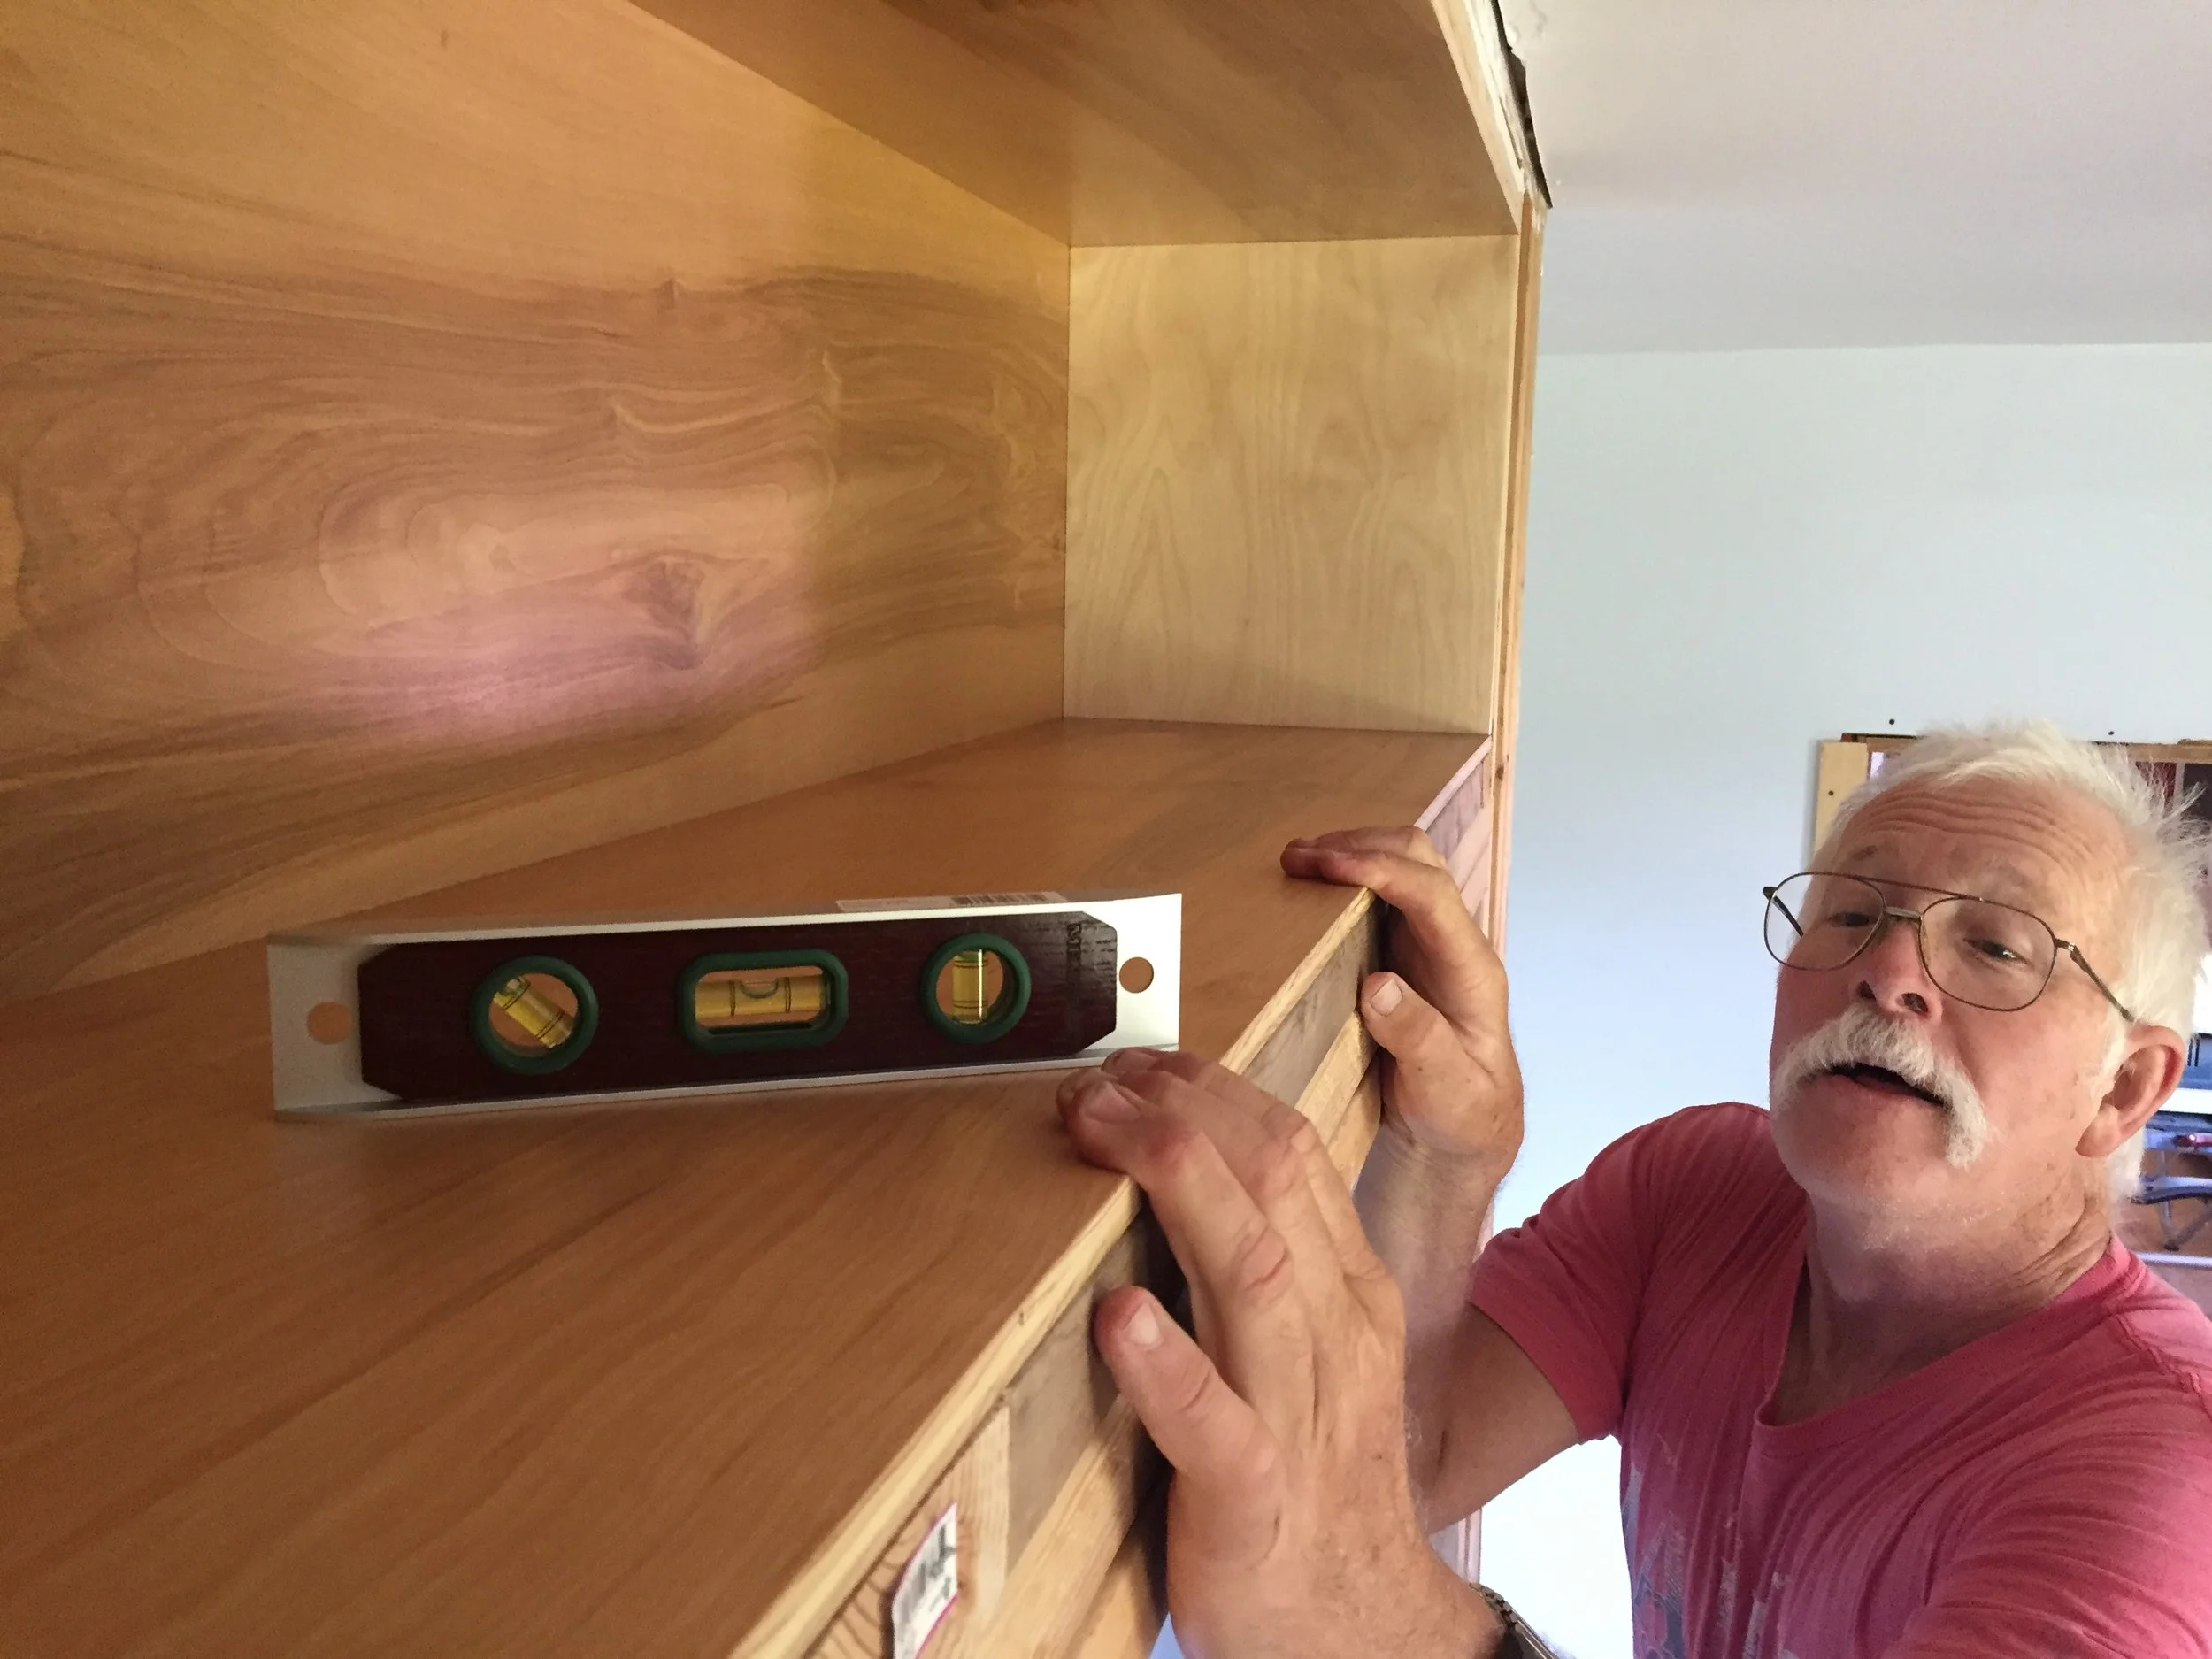
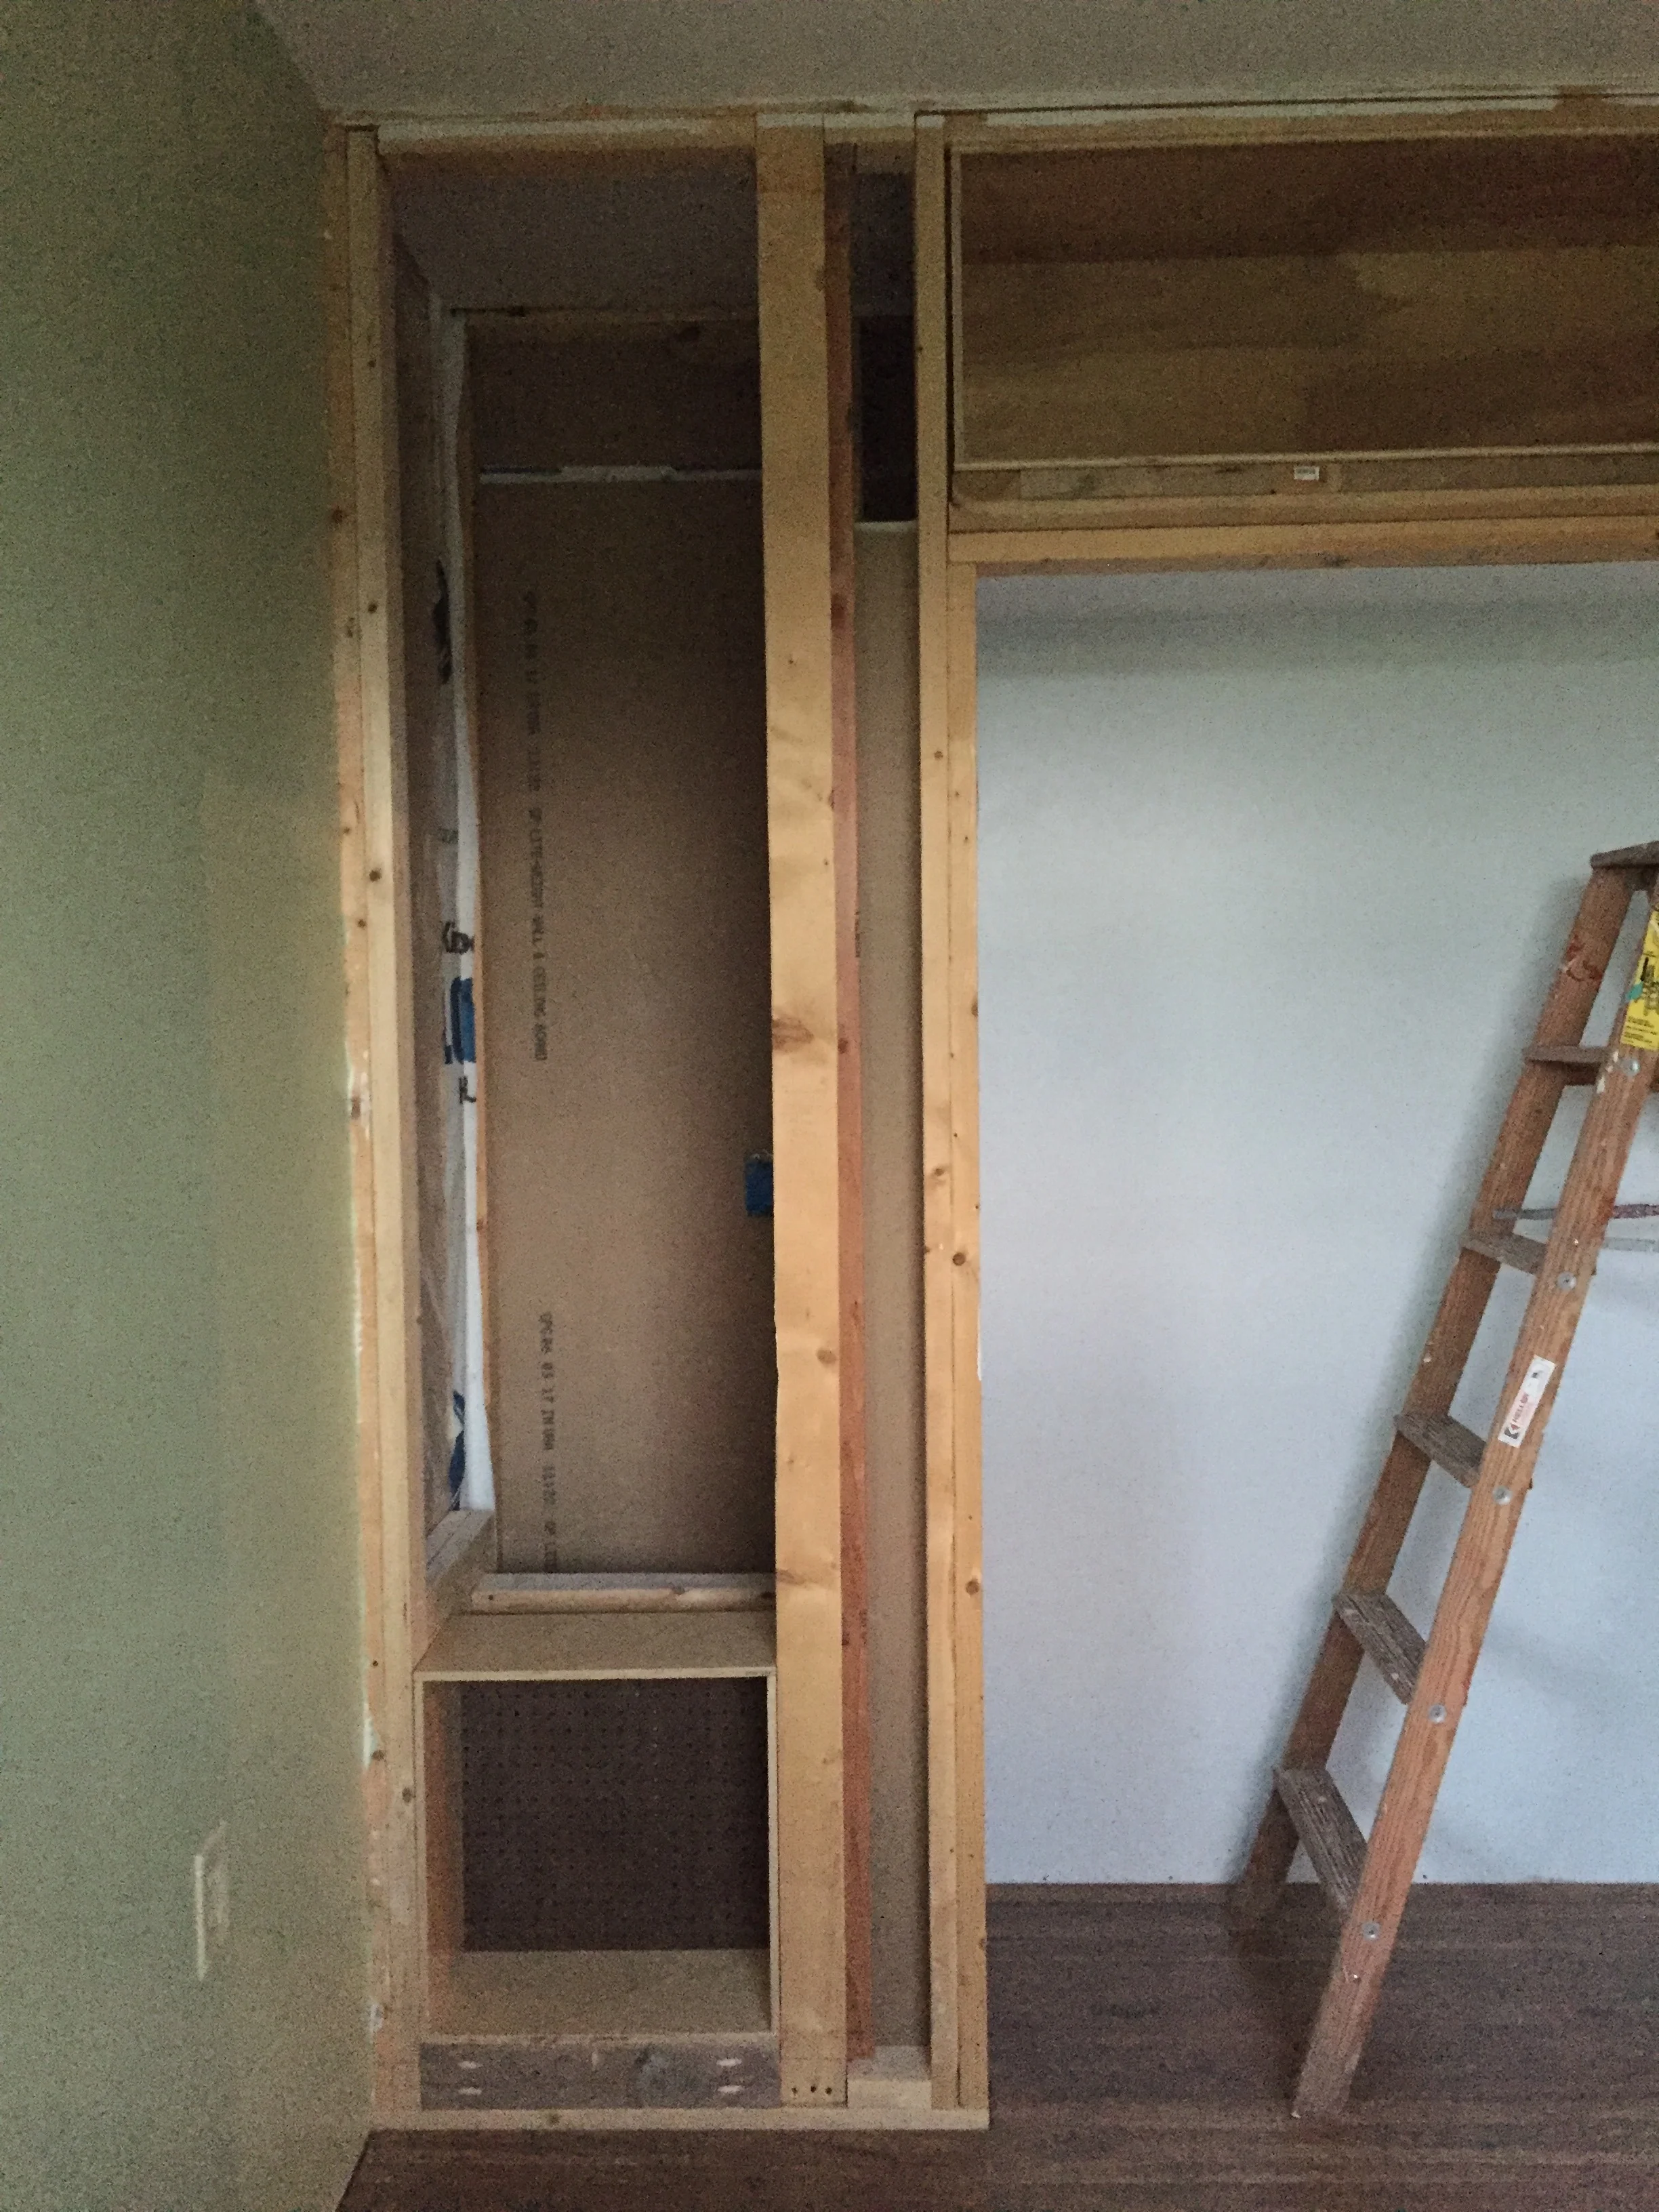
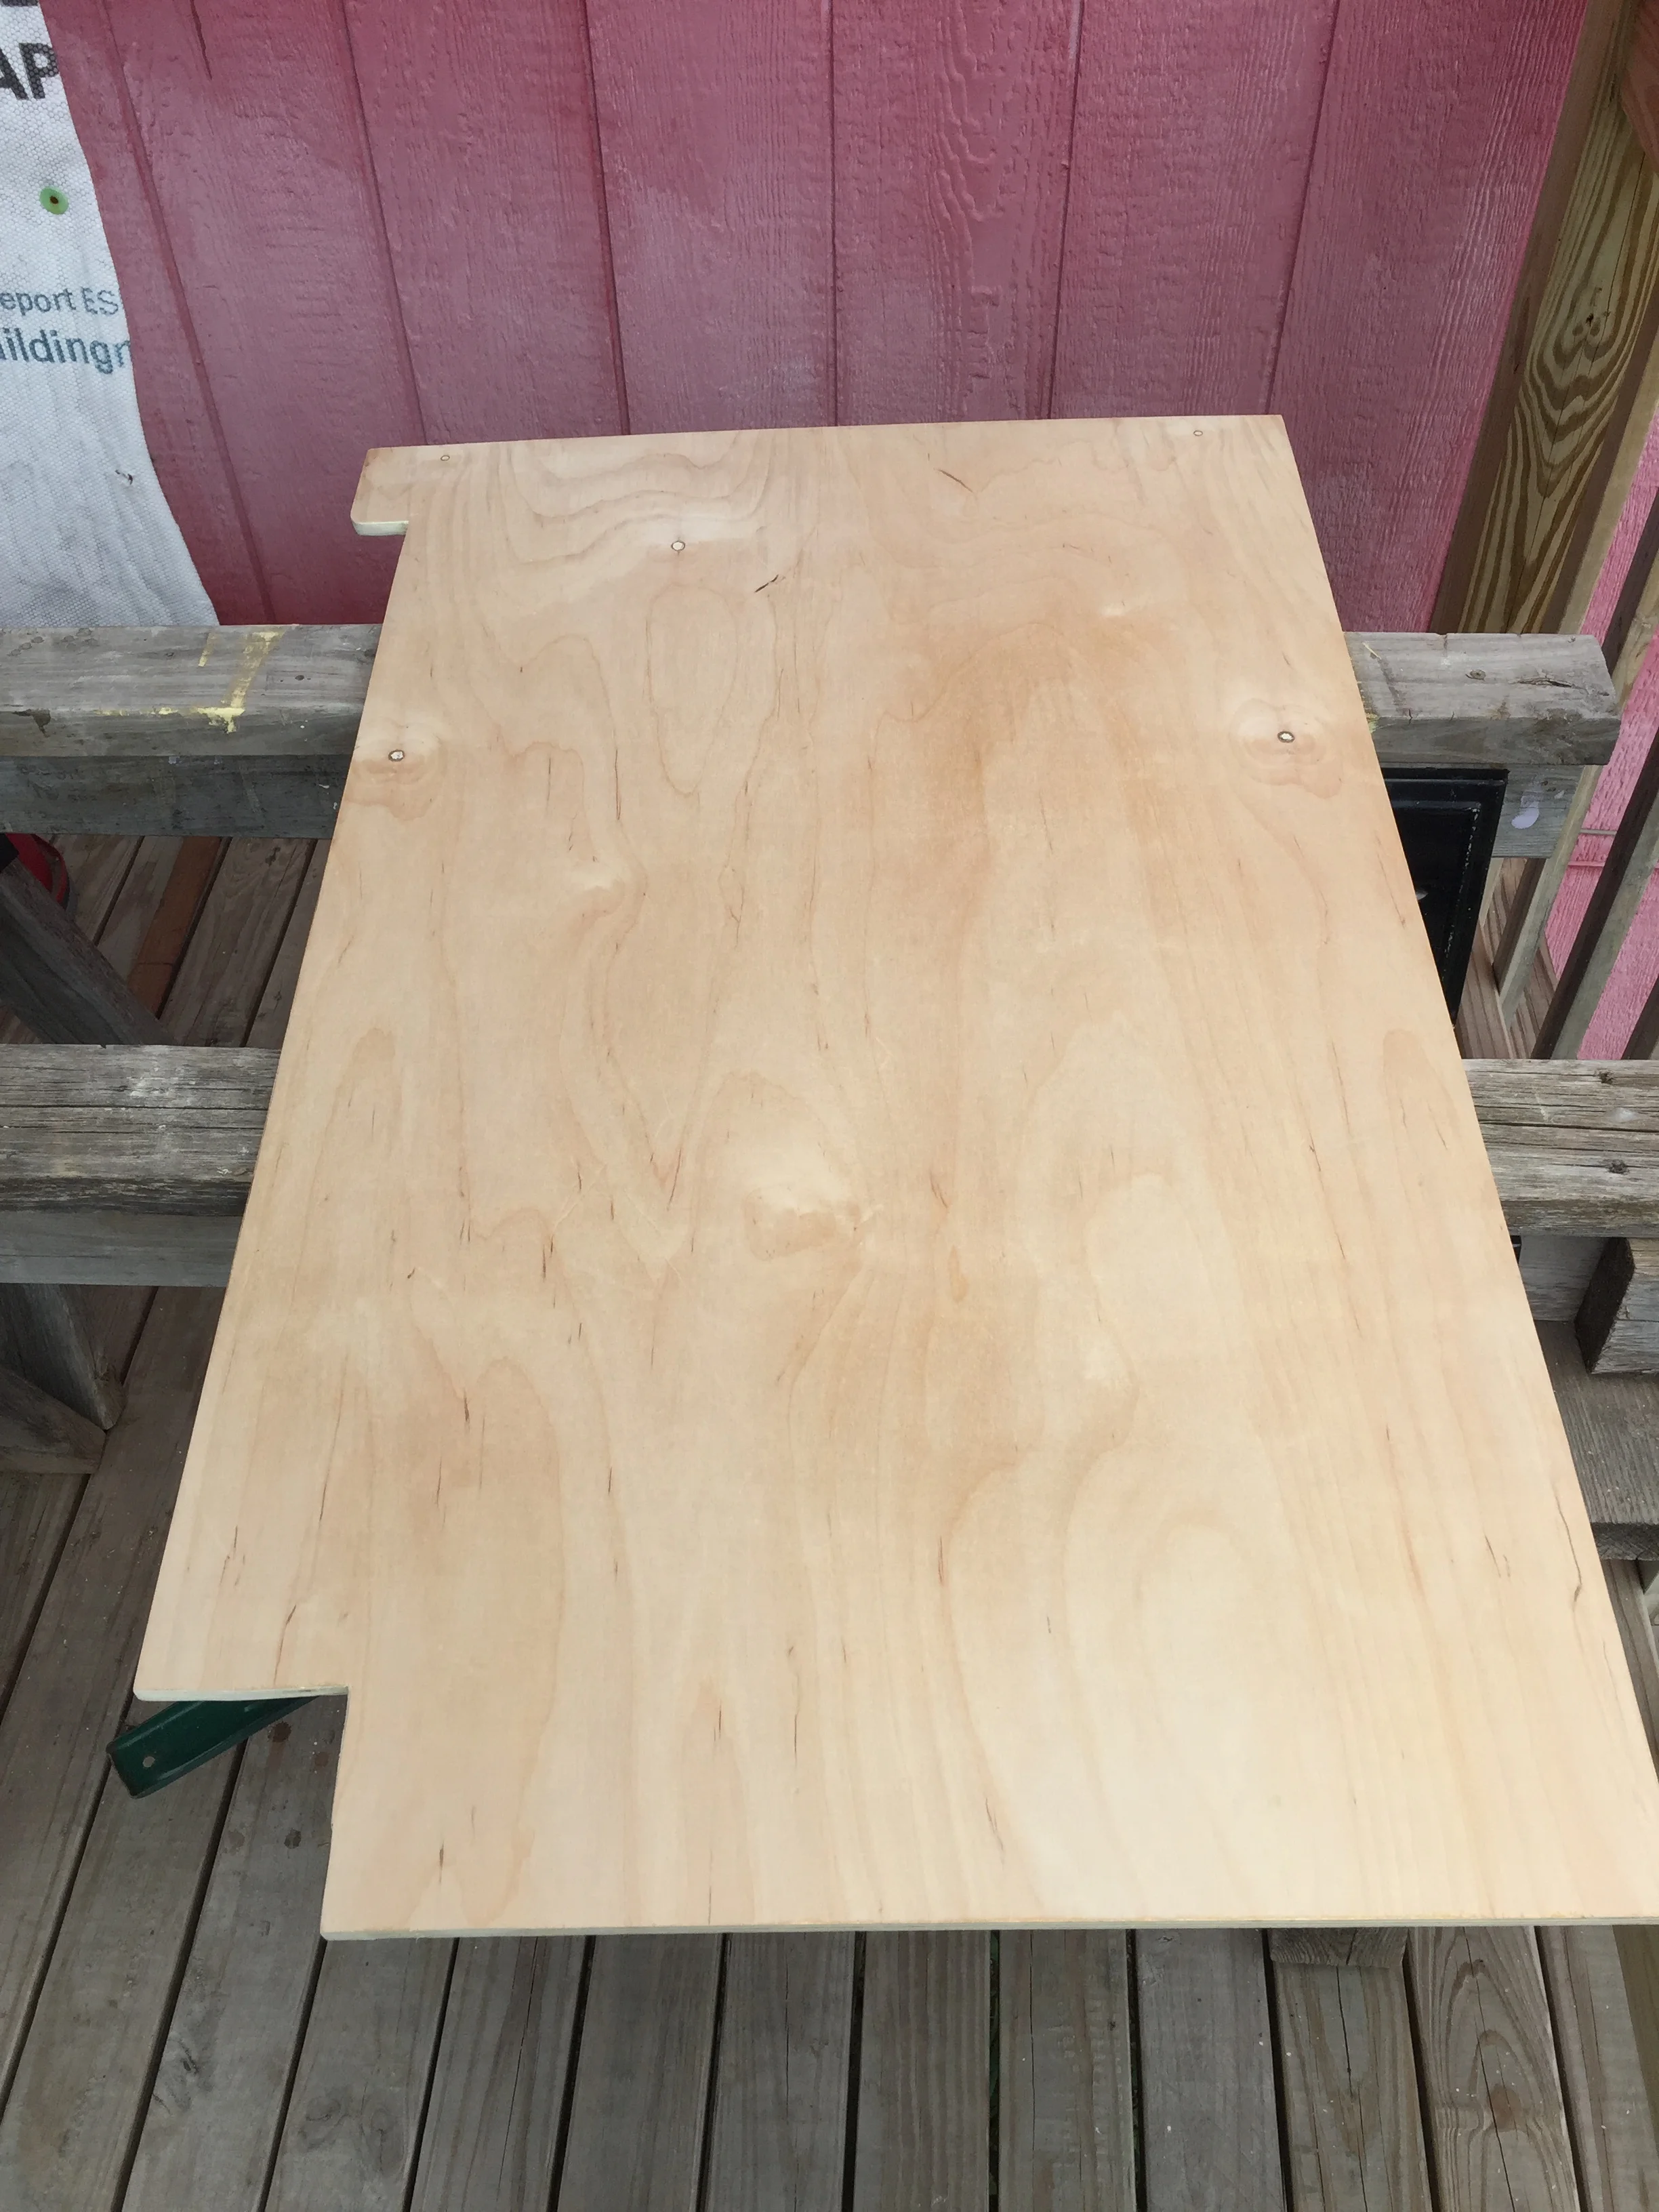
We hope to get the computer desk and pull out keyboard tray installed tomorrow. Michael completed refinishing the bed stead yesterday. I have yet to cut the boards for the closet face. I also need to make shelves for the closet boxes and the computer desk.
I don’t think we will have Irene moved in before she comes back from Michigan on Saturday. But we will have her moved within the week.
Whew. We are both exhausted.