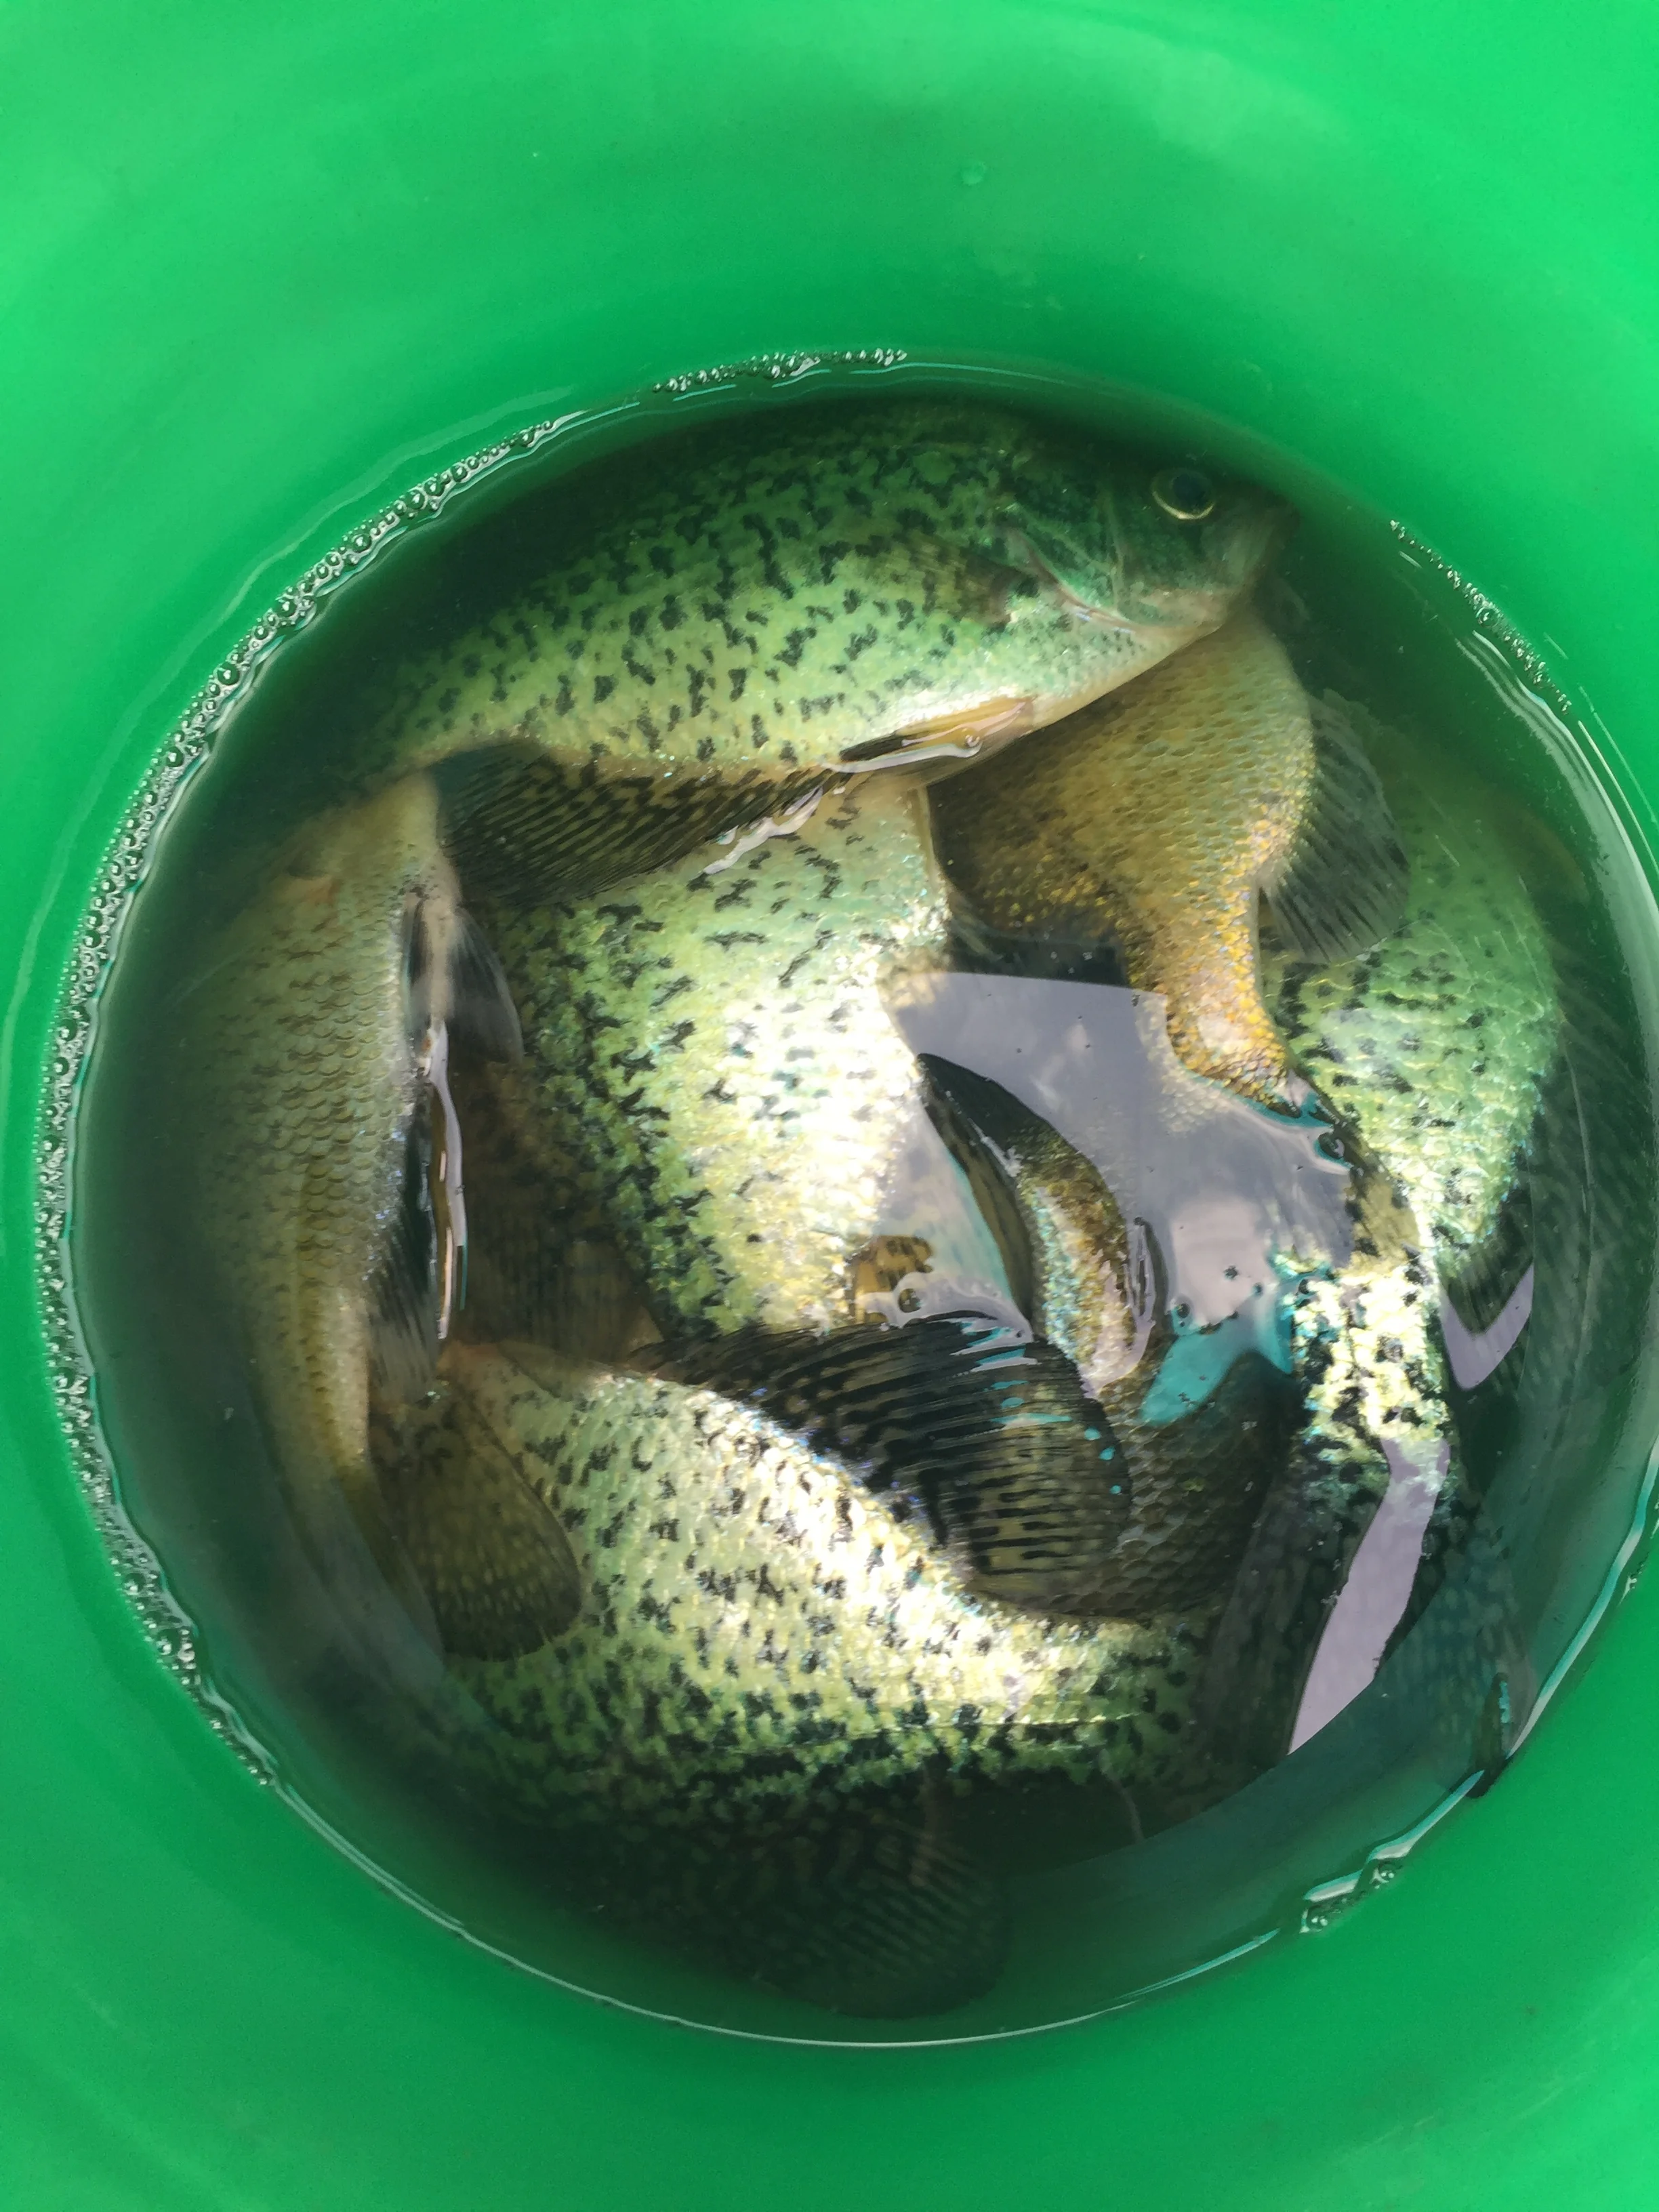
Harvest journal: first fish of the season
17 Crappies and 10 Sunnies
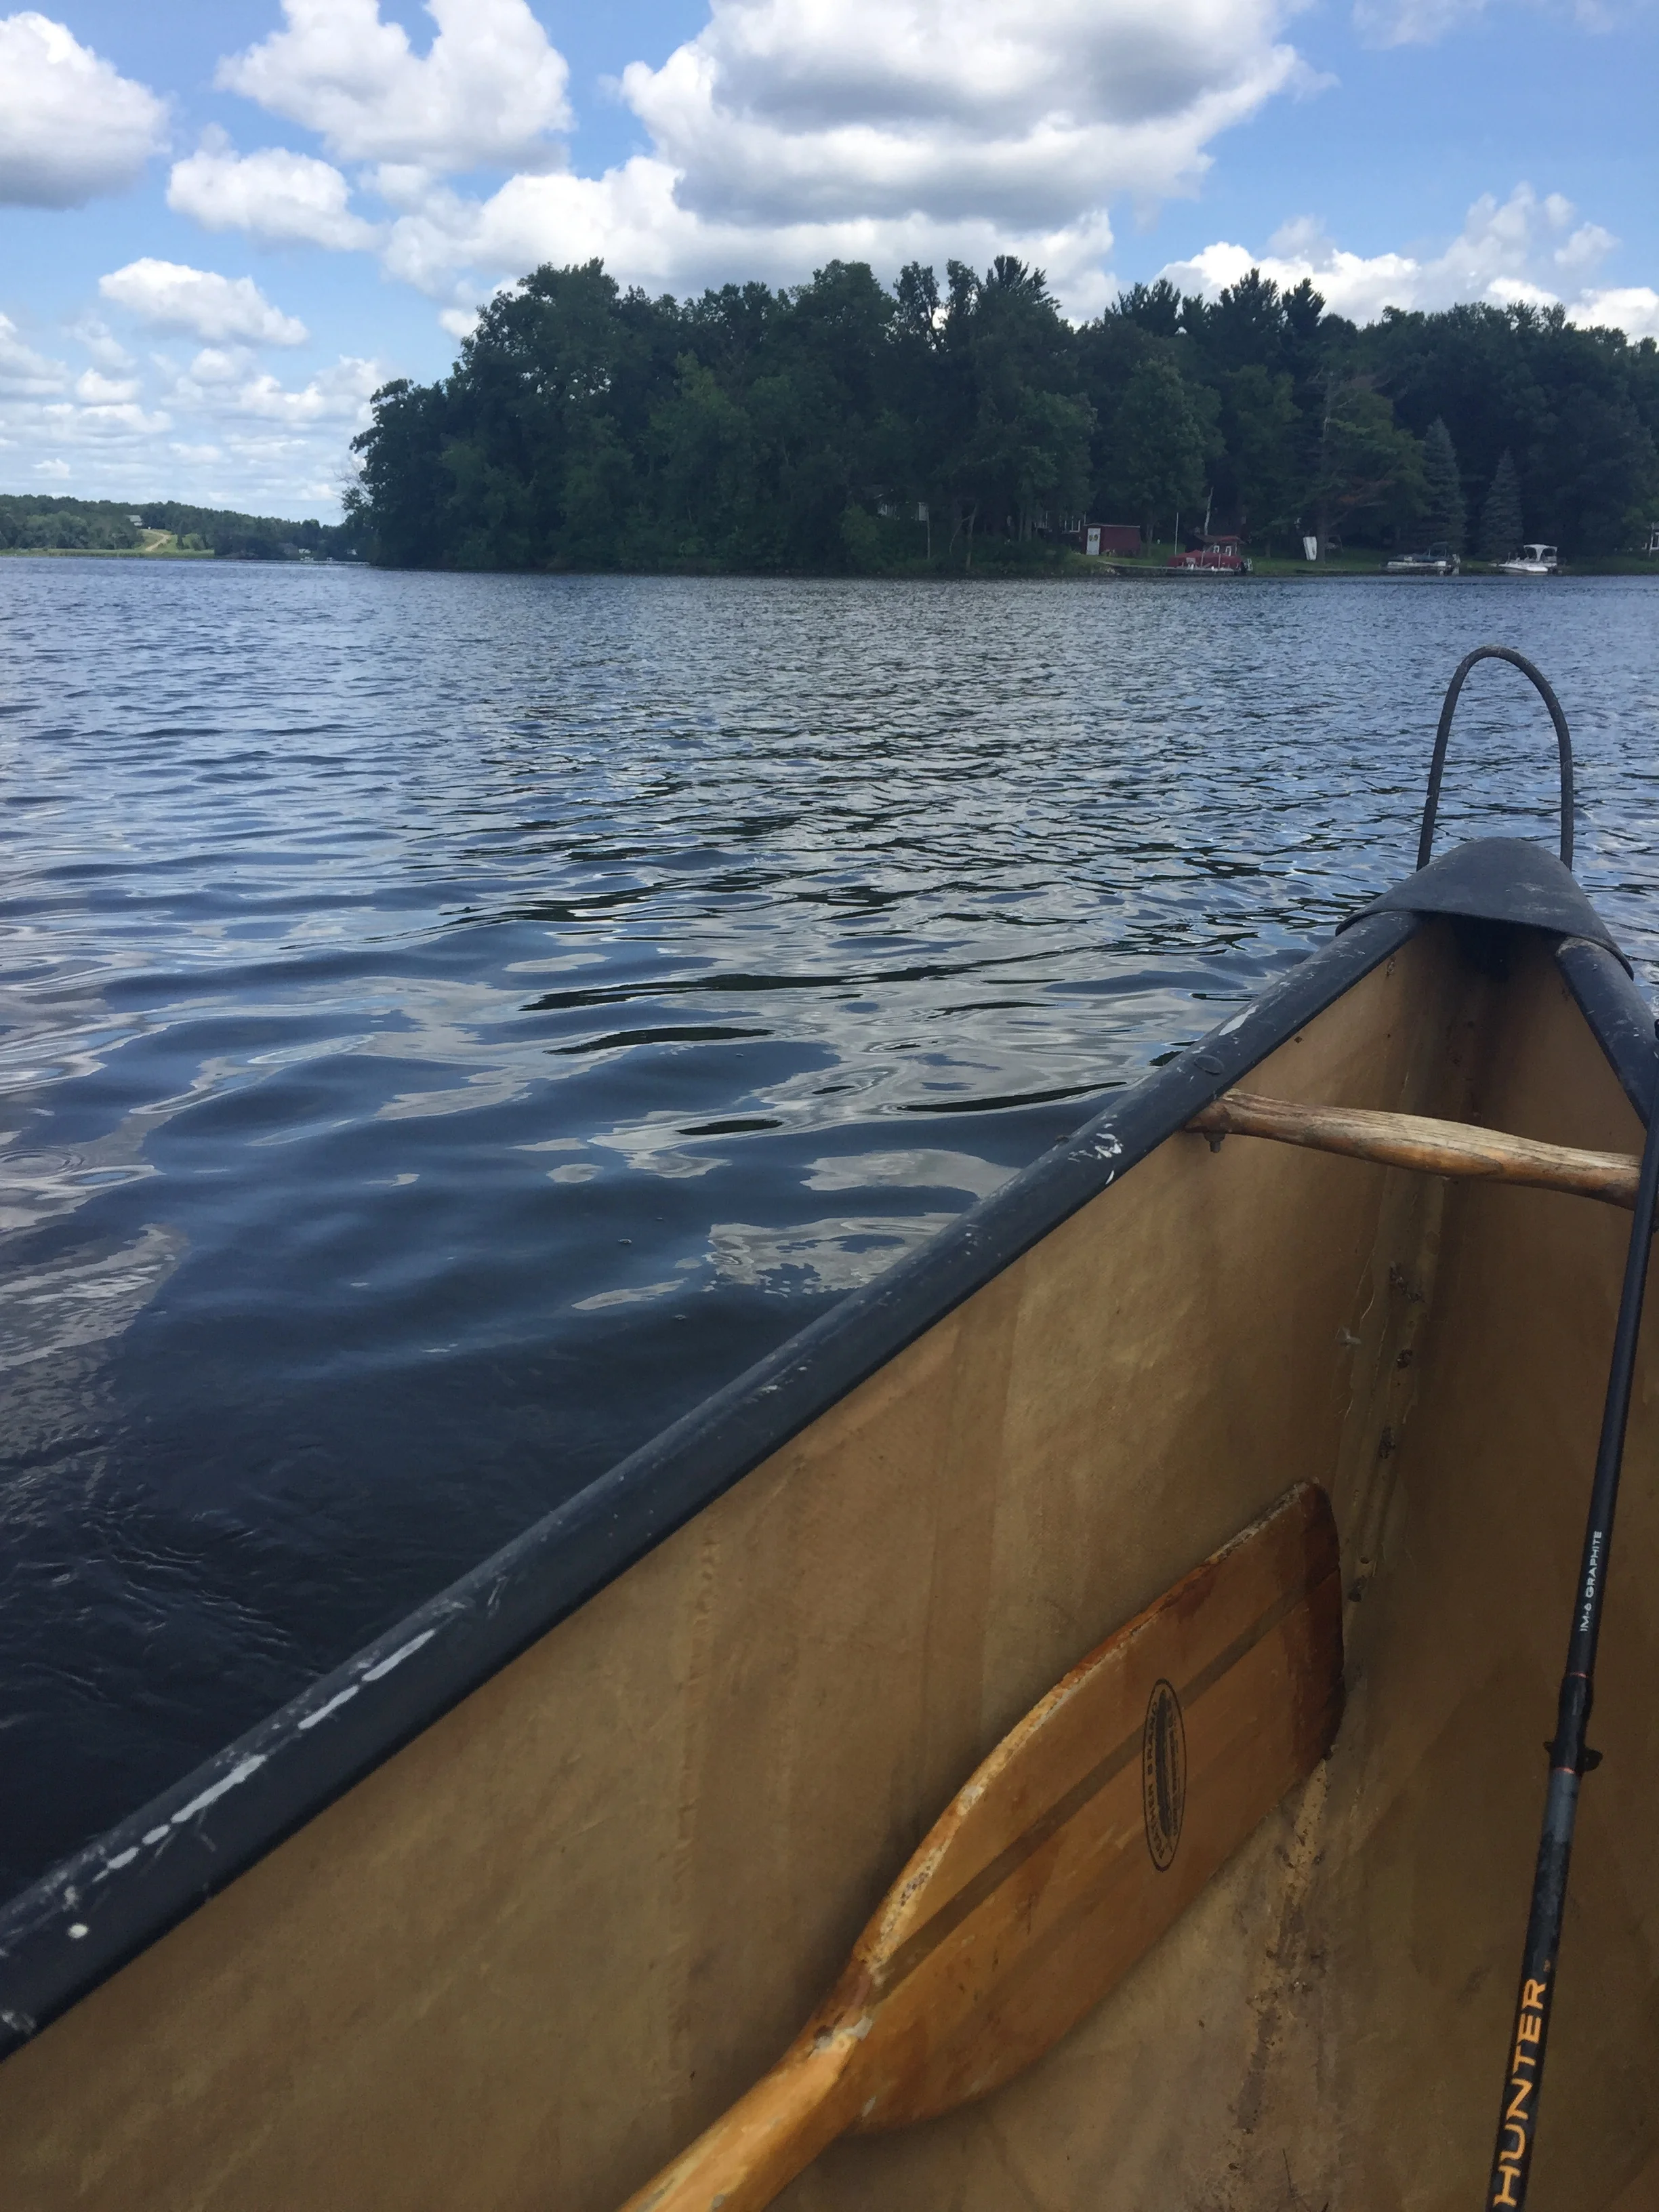
Atlas Millpond didn’t fail us.
Good to be on the water again.
Fish for dinner tomorrow.
17 Crappies and 10 Sunnies
Atlas Millpond didn’t fail us.
Good to be on the water again.
Fish for dinner tomorrow.
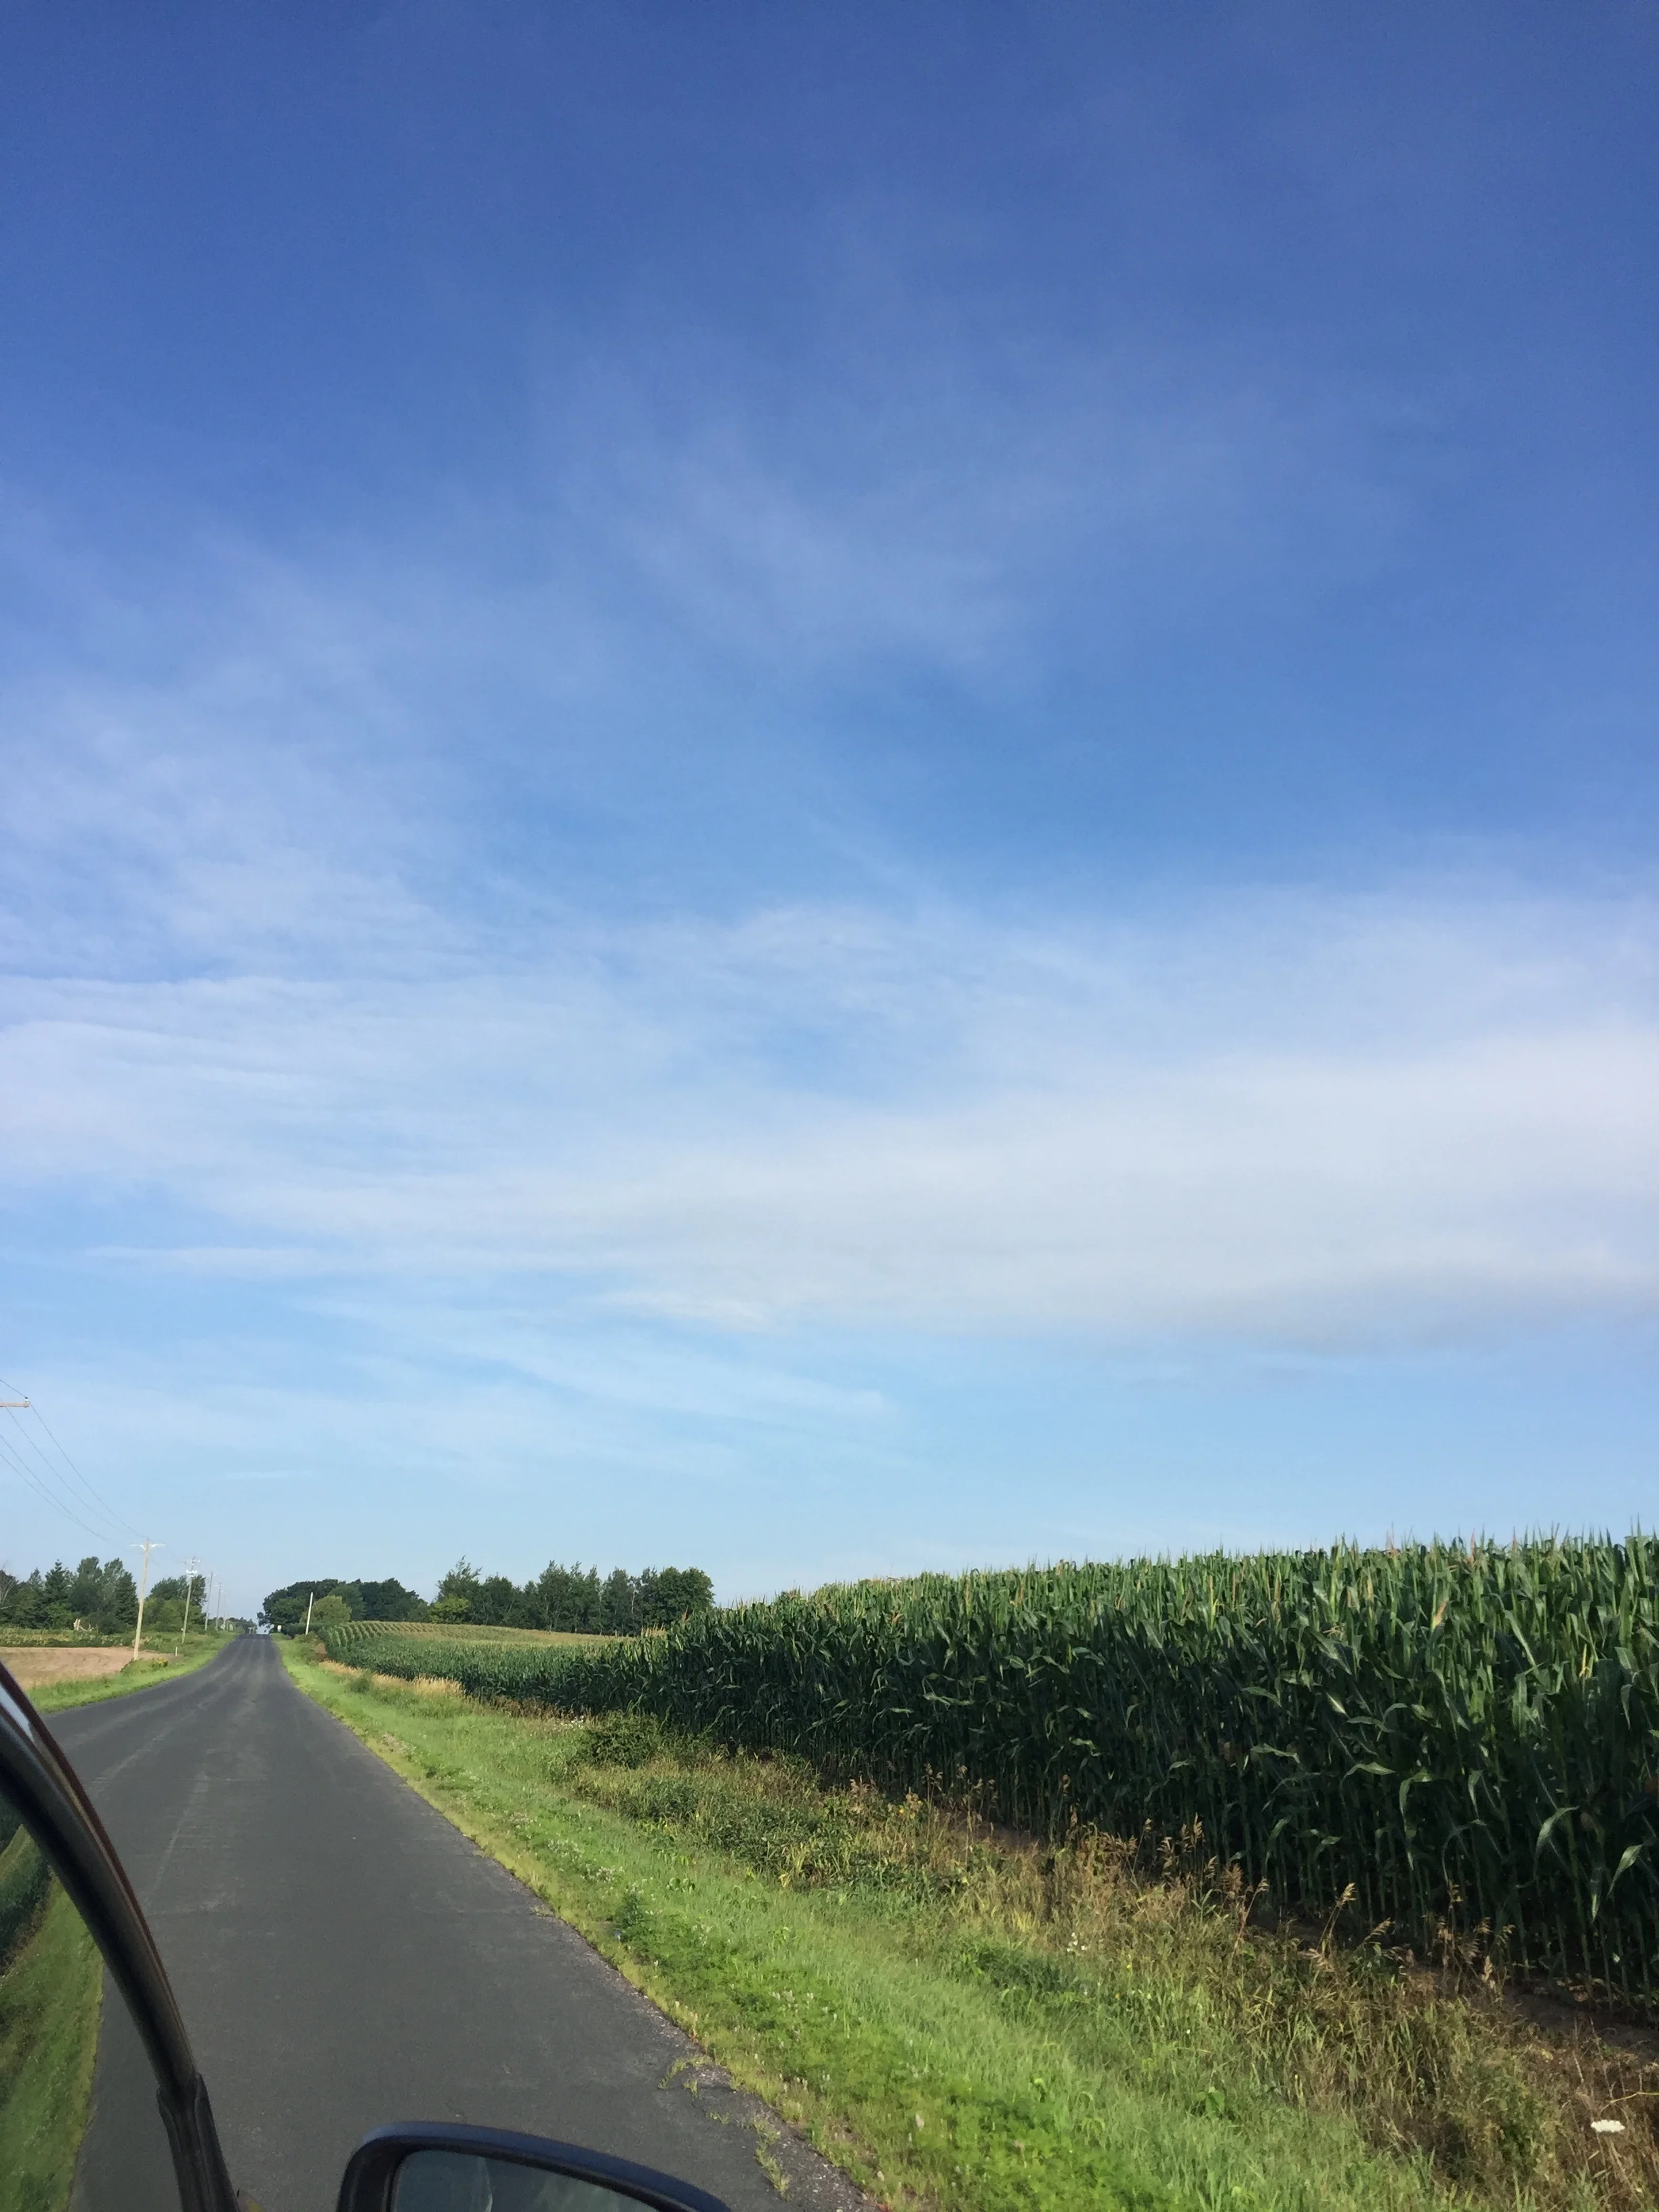
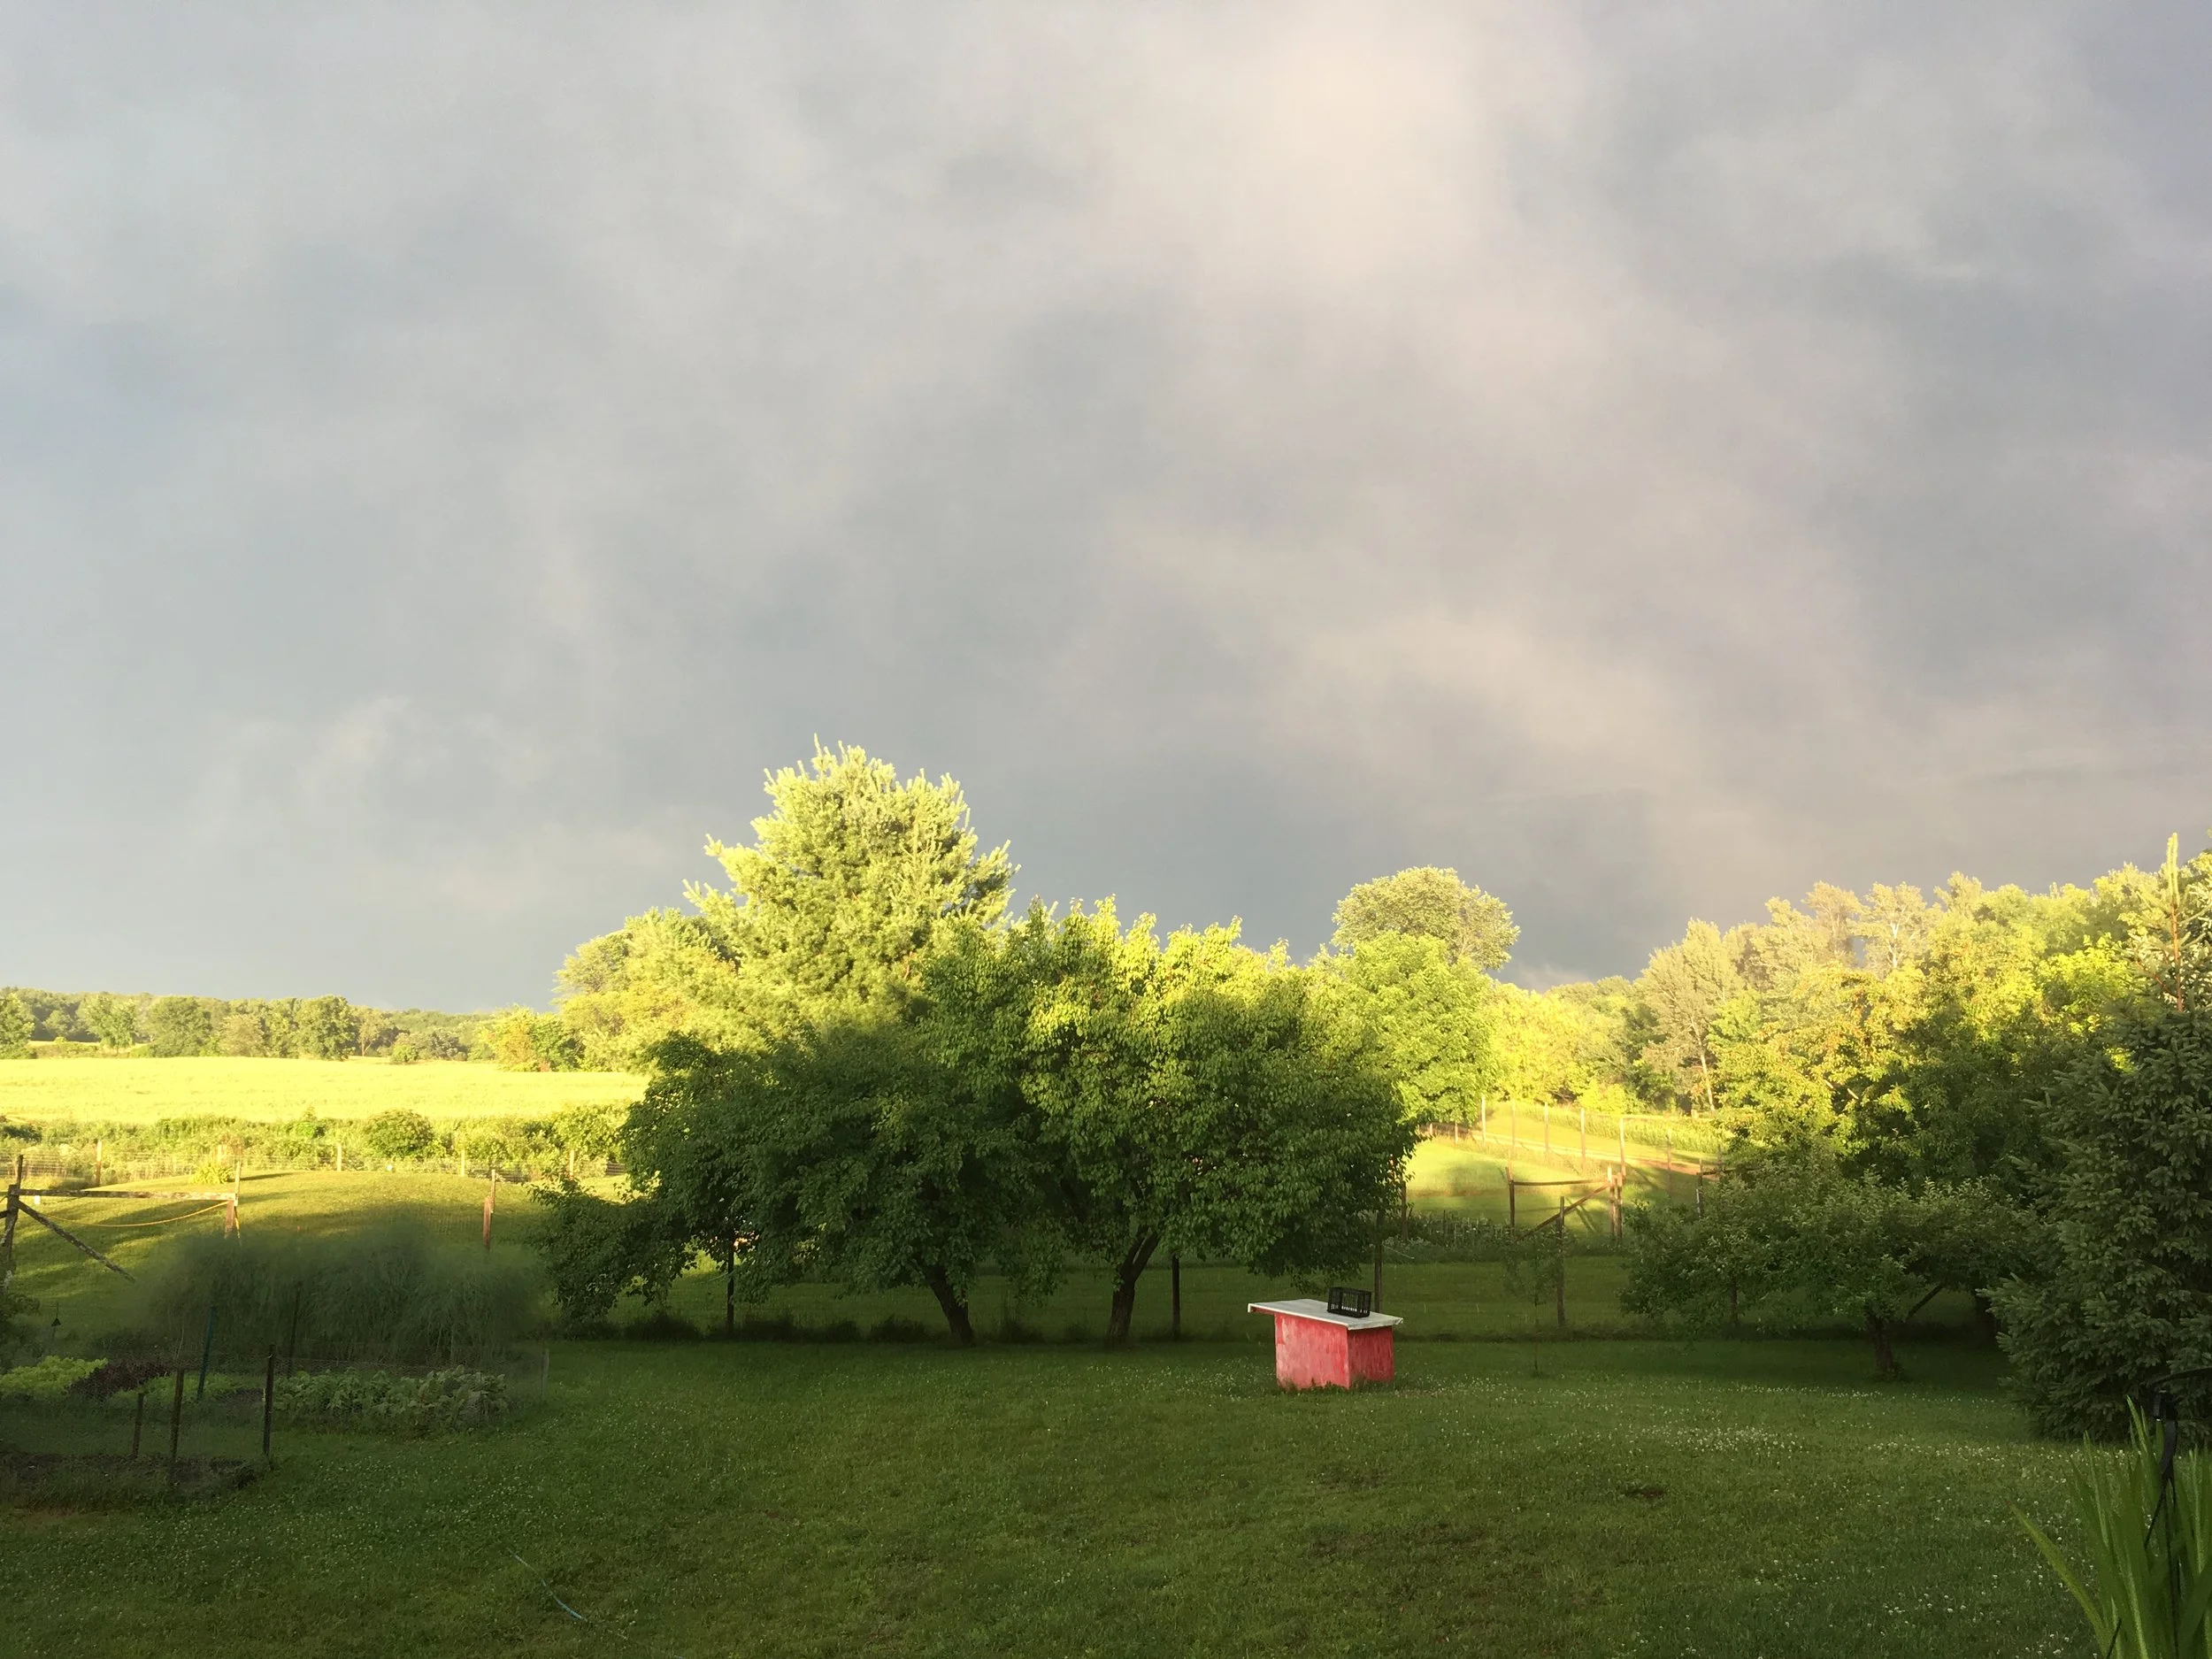
The air smells sweet like corn.
The long low light makes it all look greener still.
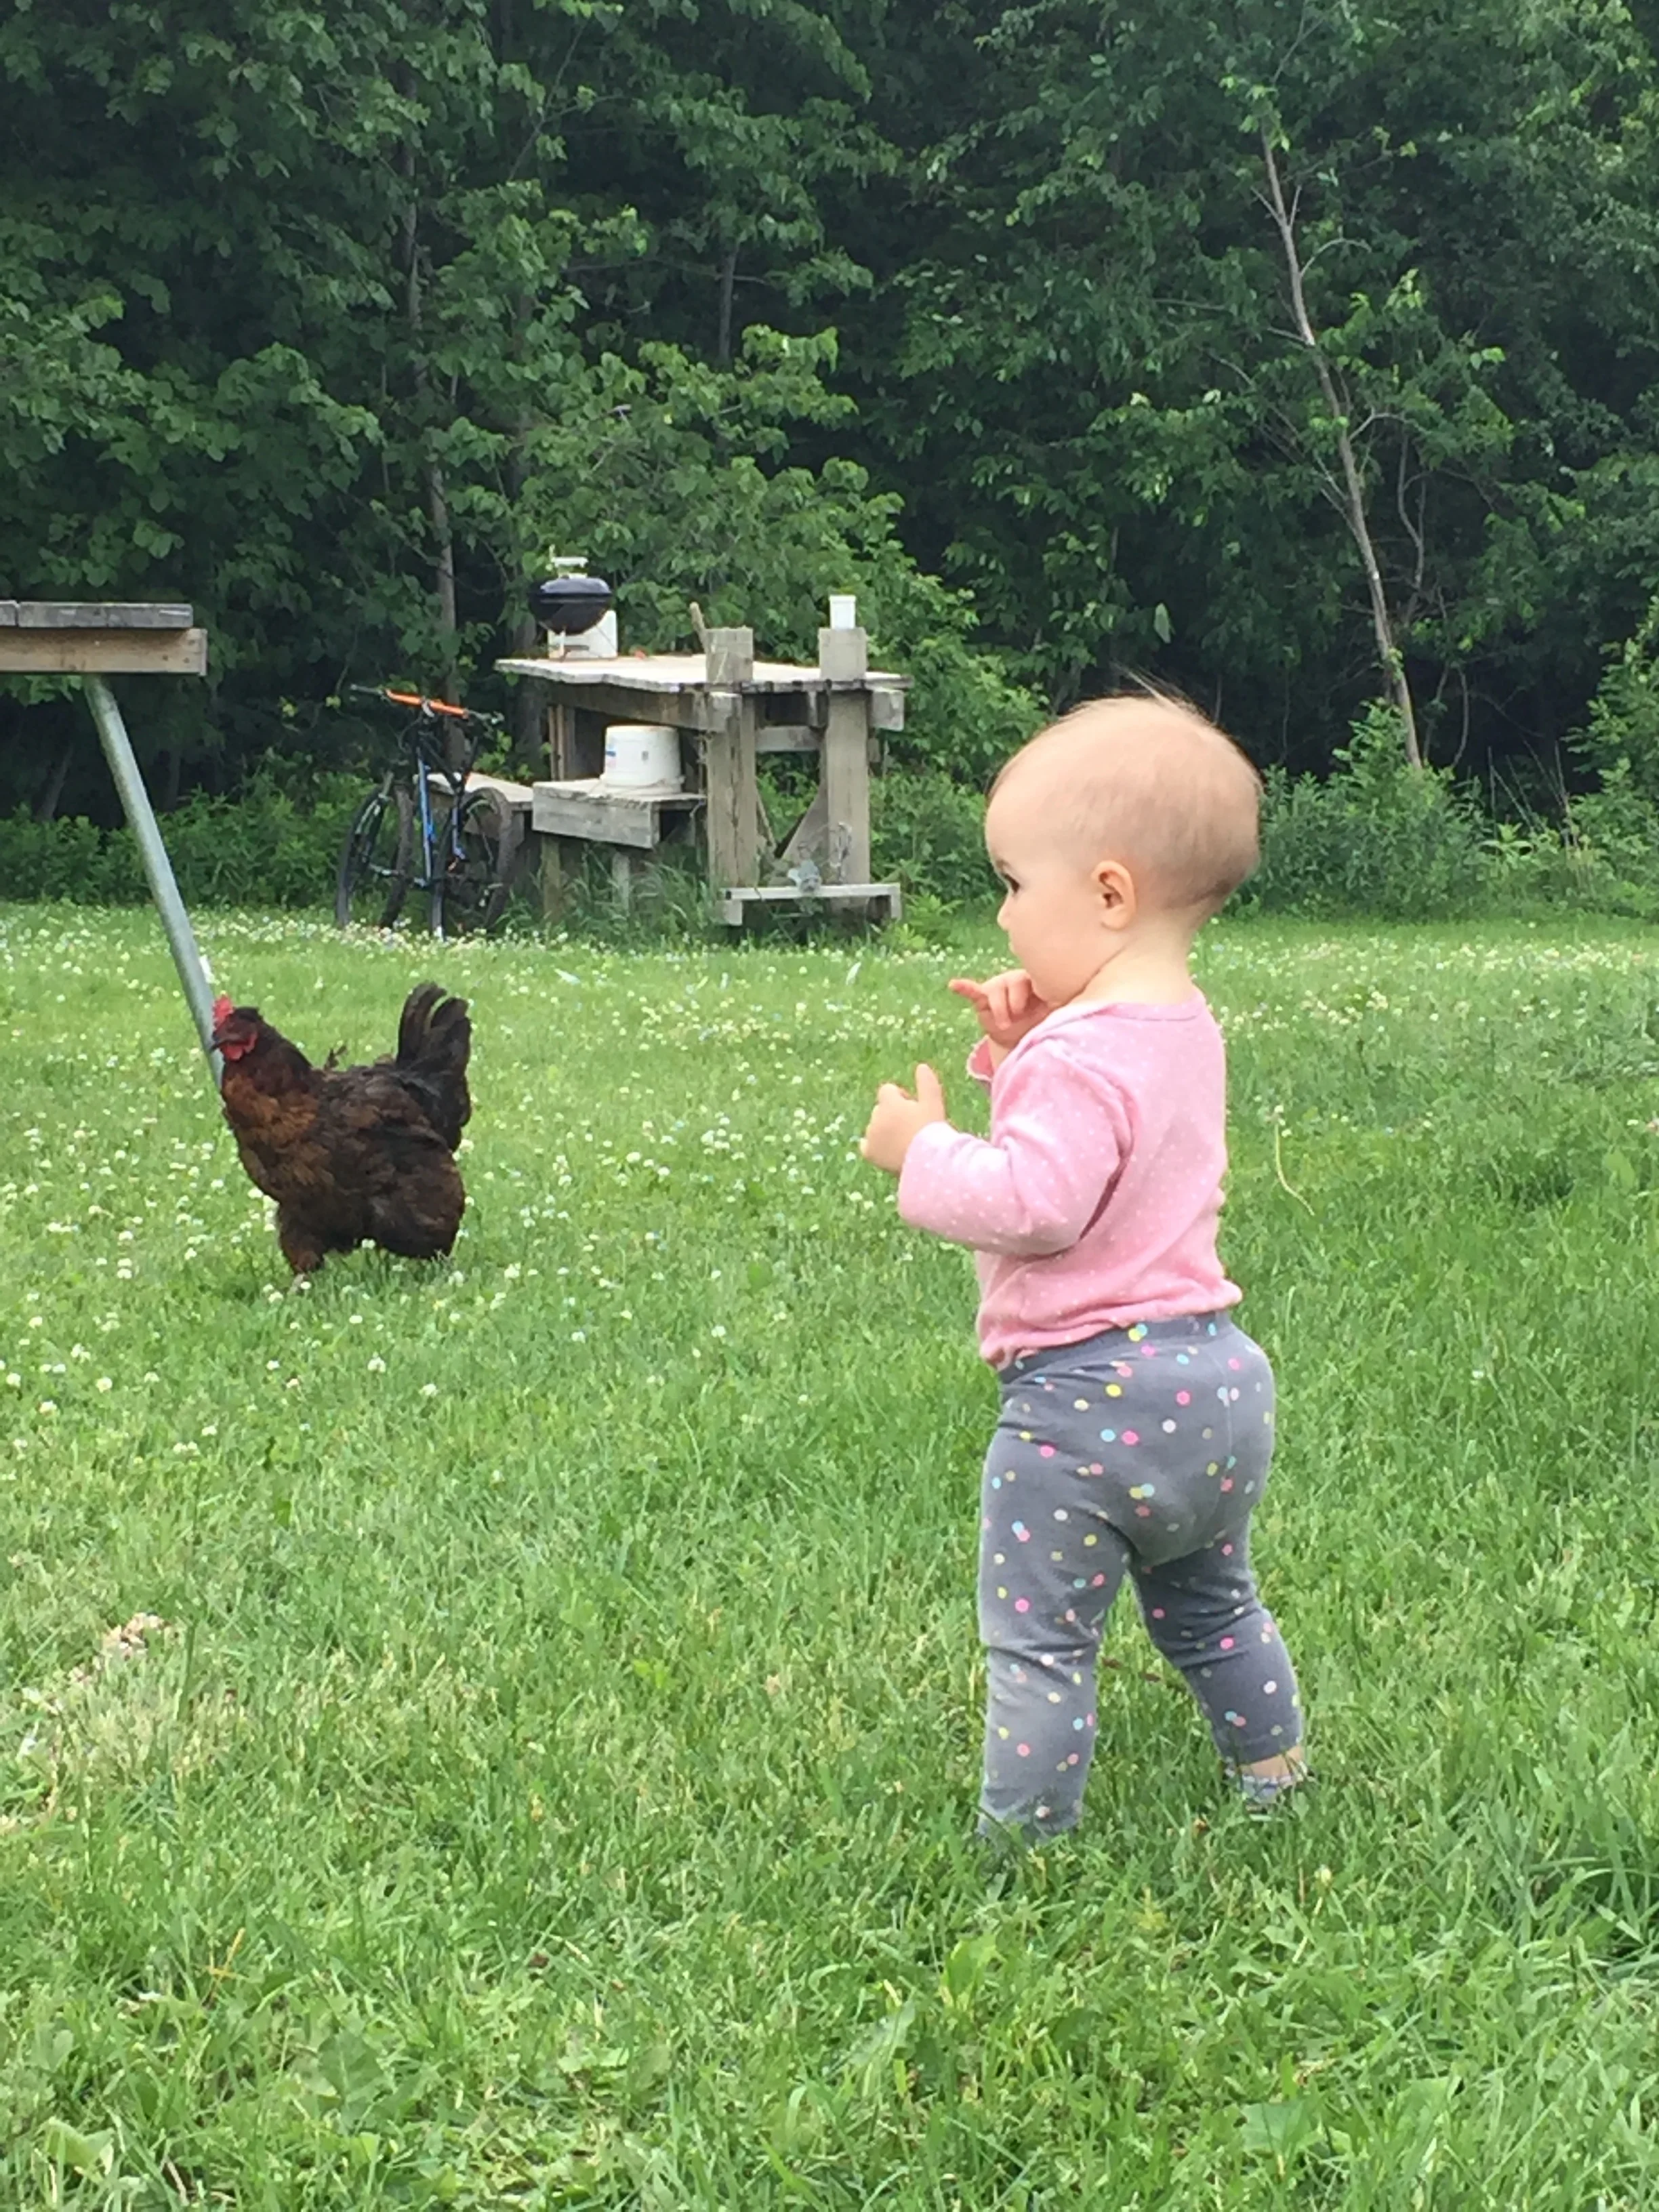
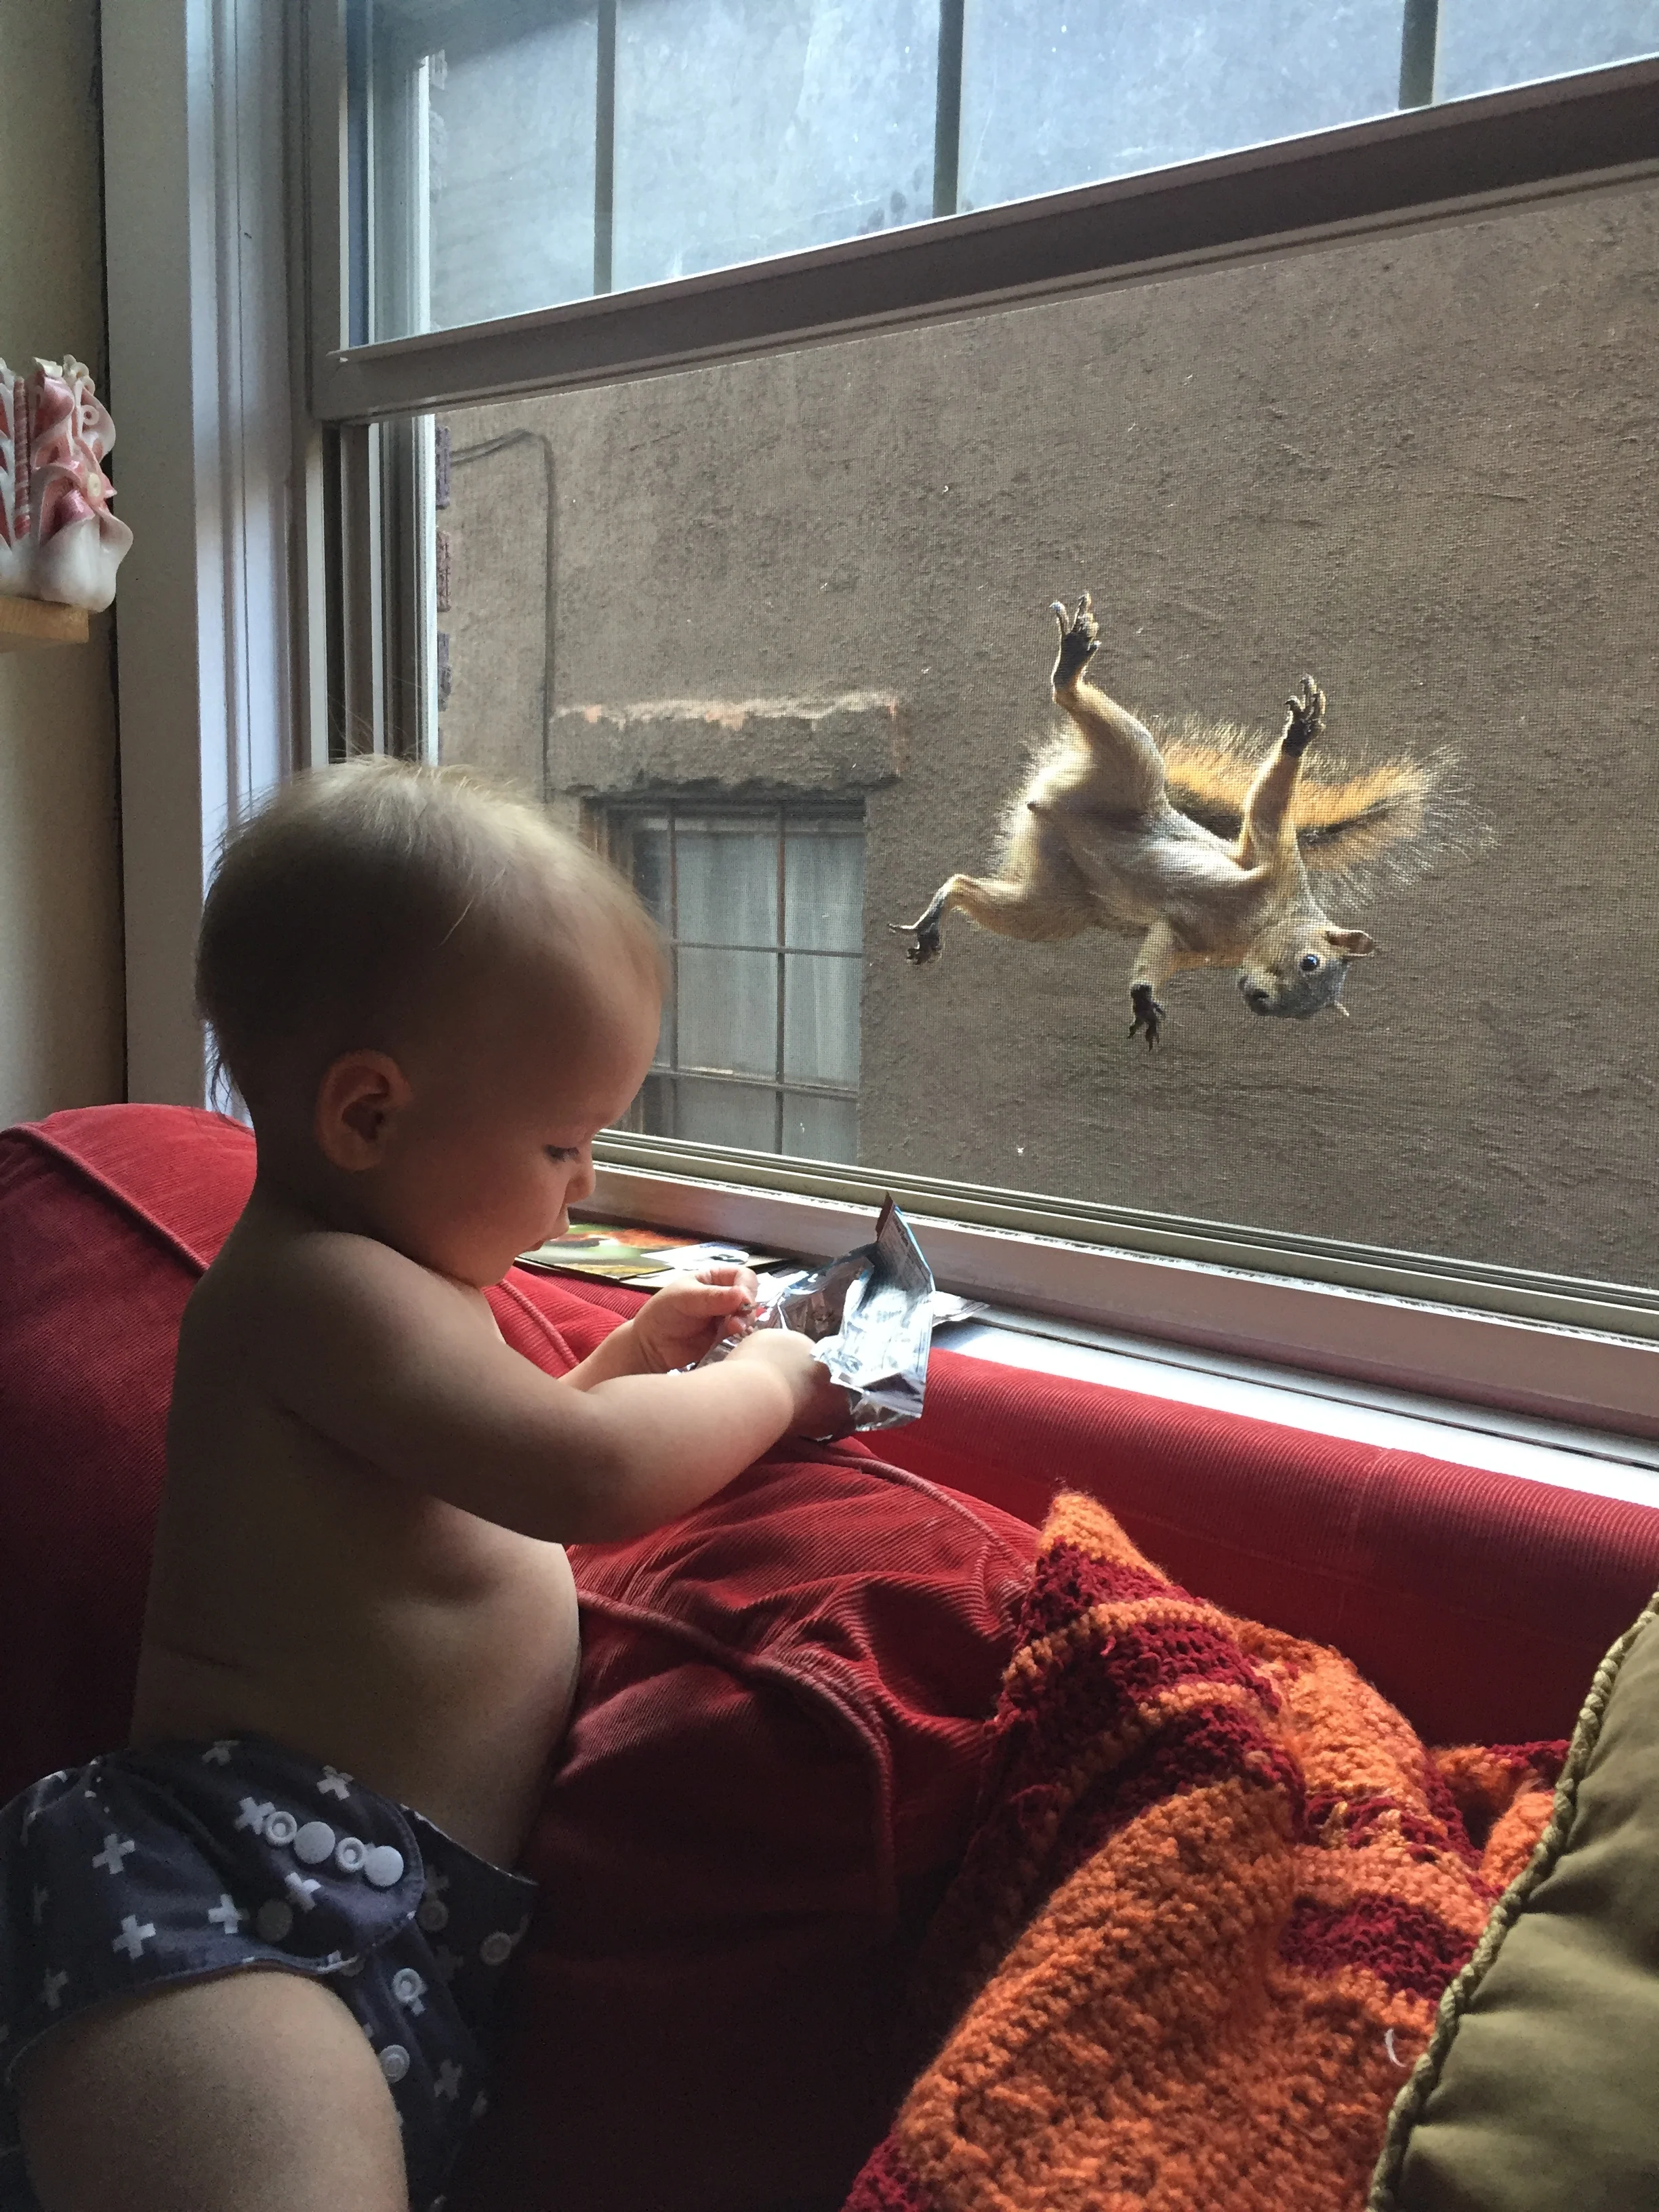
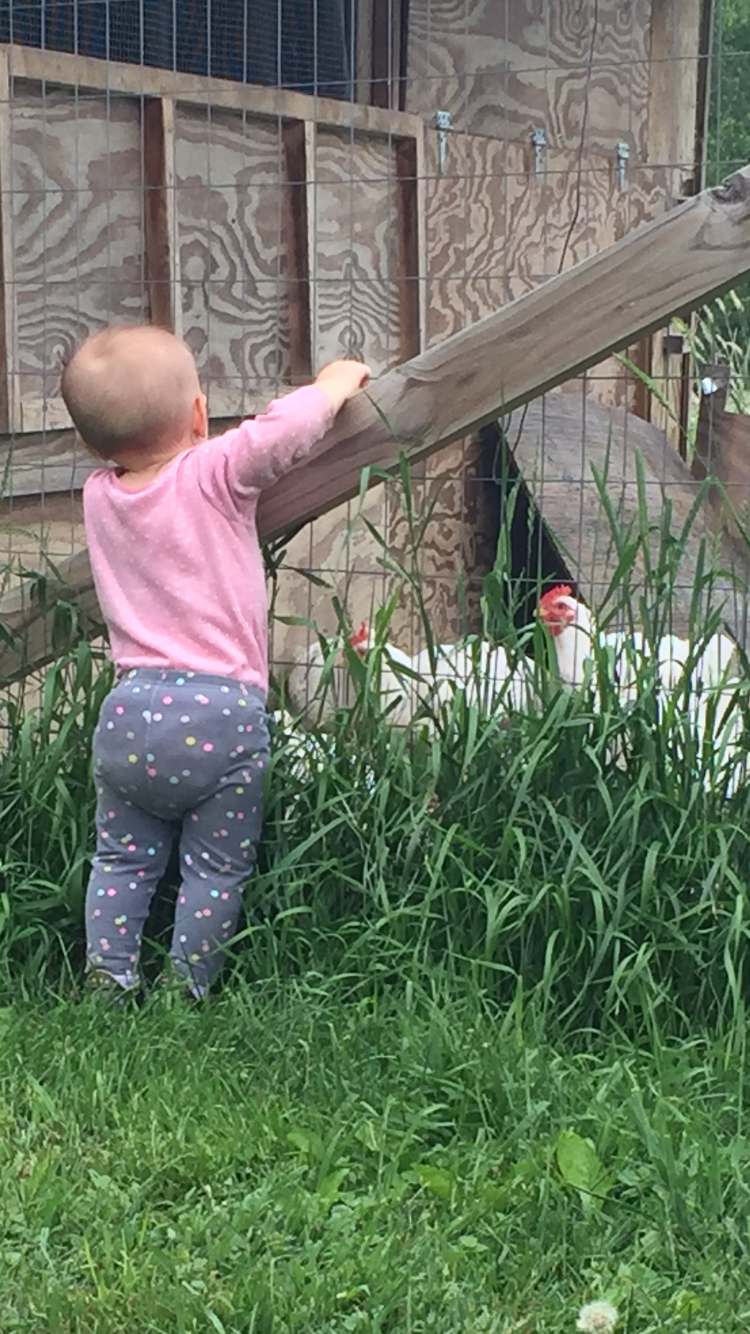
Elsewhere, the Grand Girl ignores an aggressive interloper.
The rain gauge measured slightly over 2” yesterday. The pond didn’t overflow, but the ducks have more water than usual for this time of year.
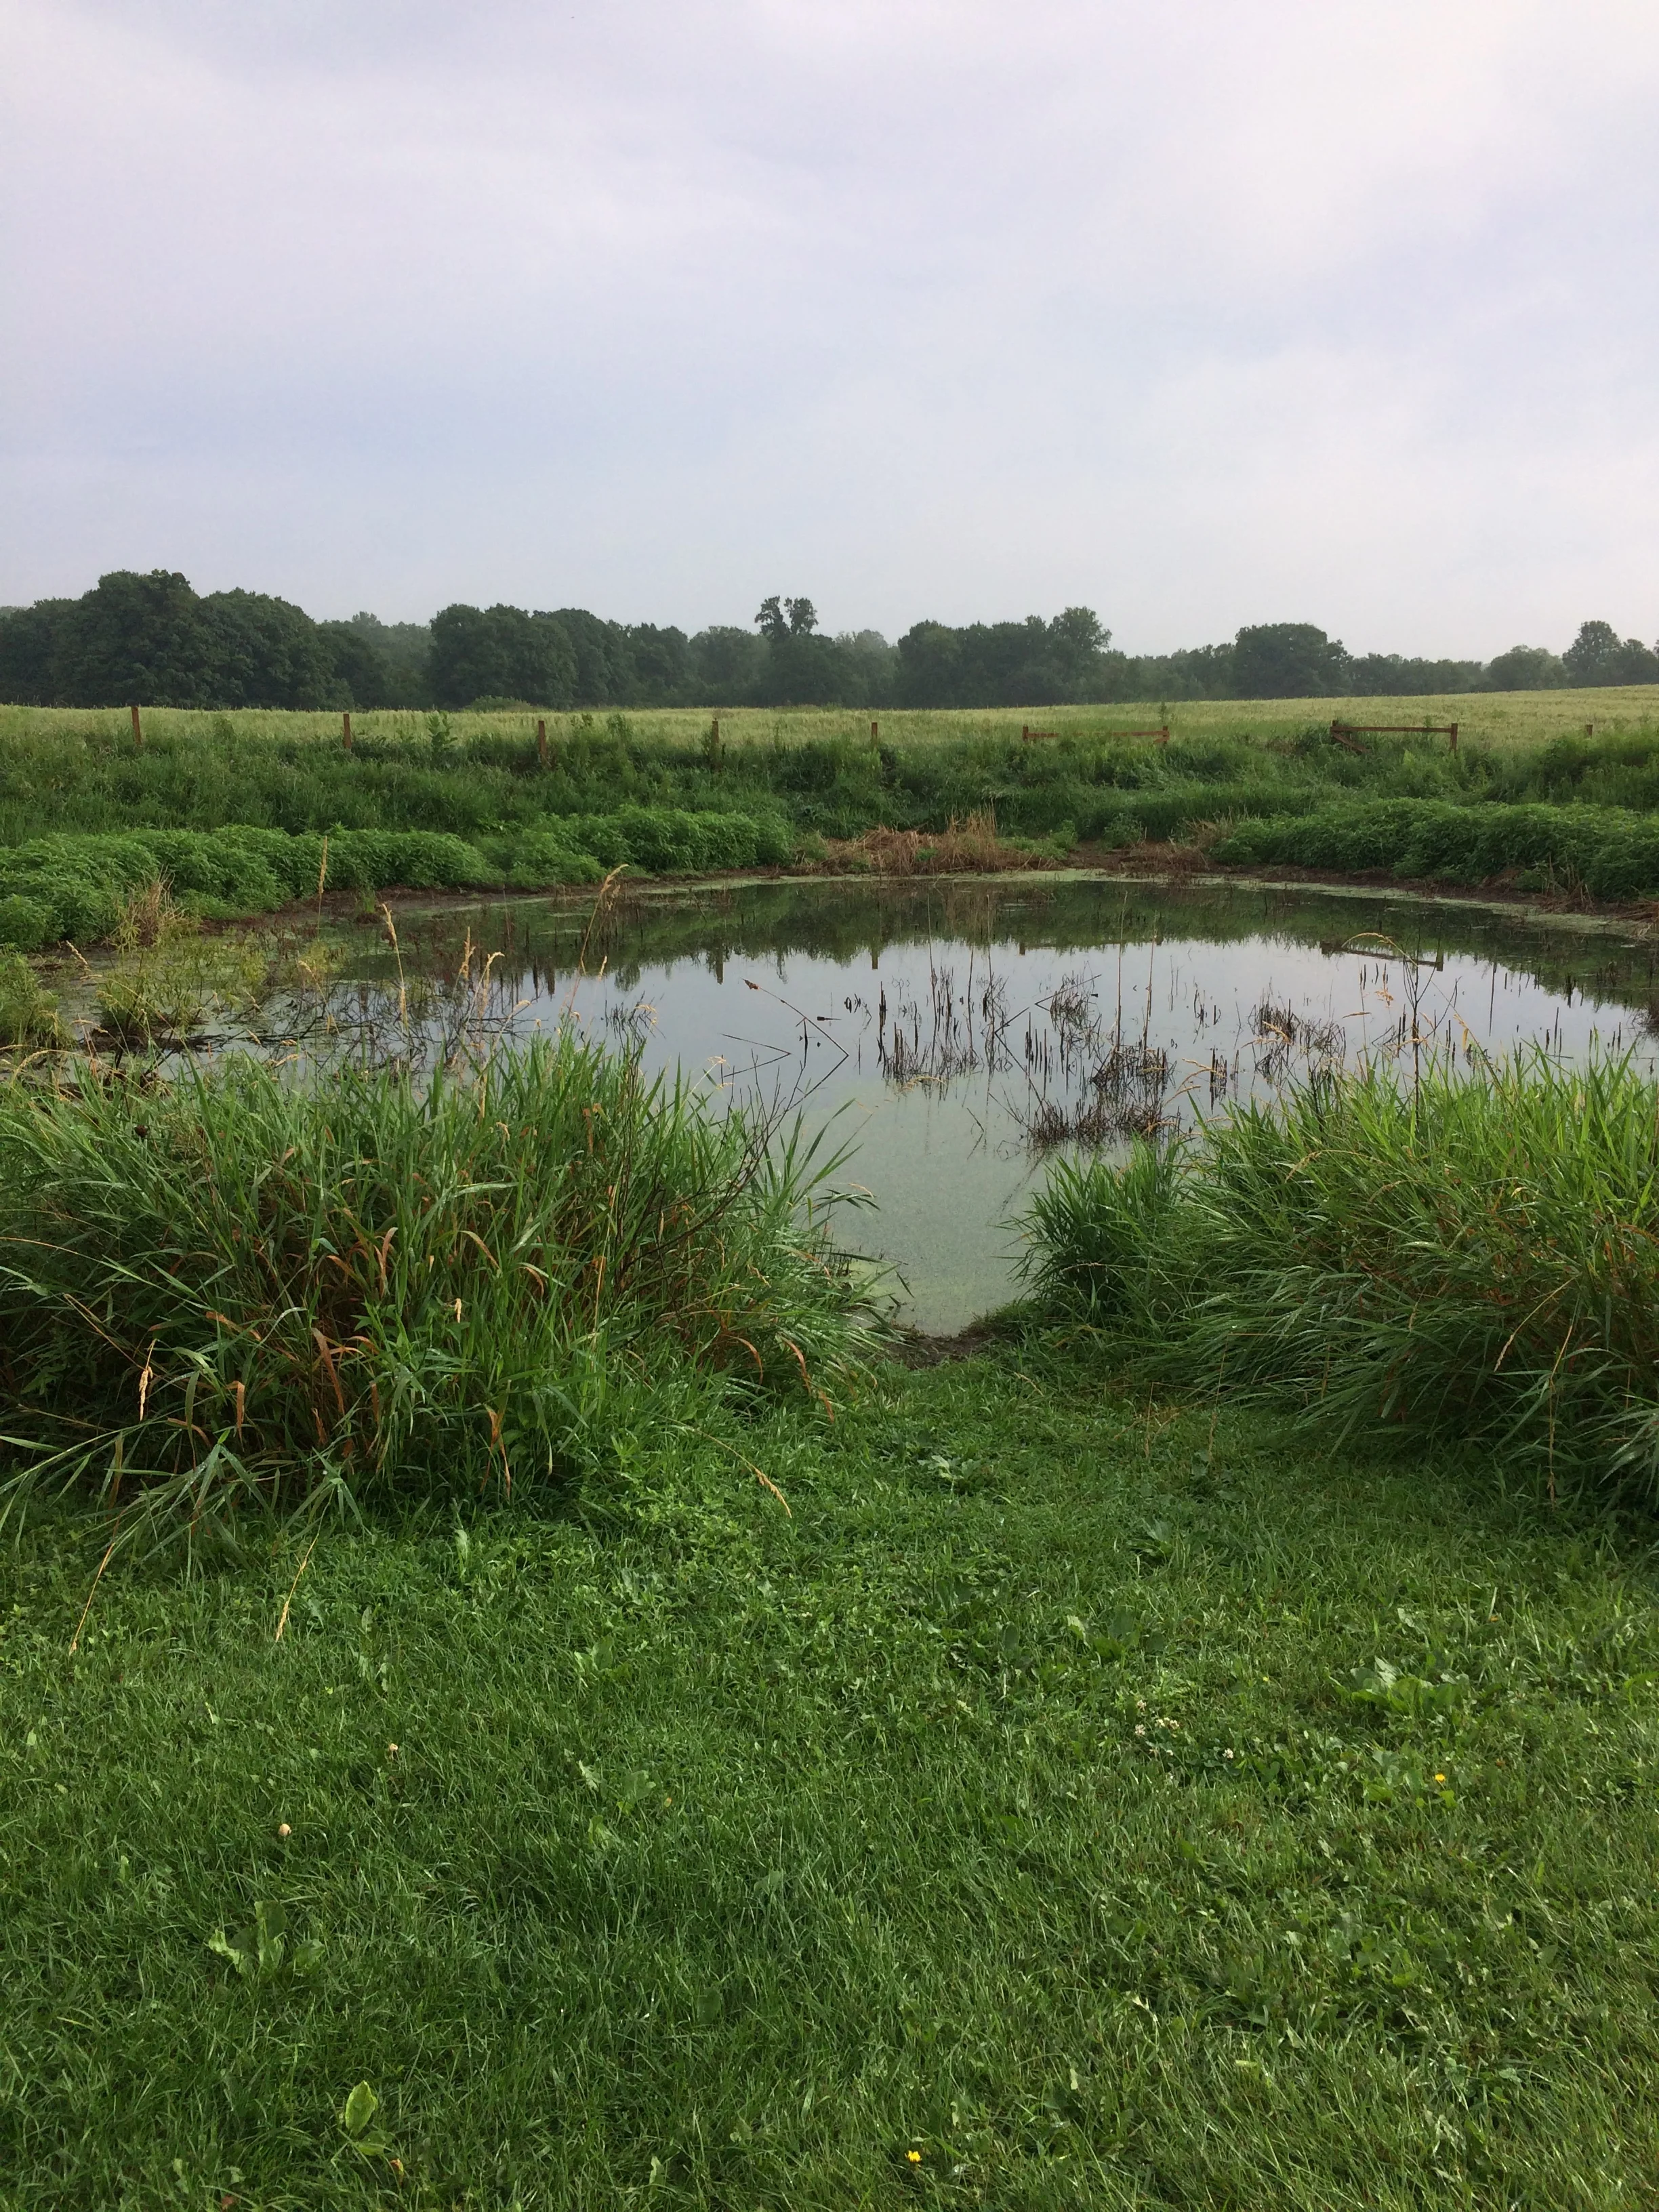
Two inches of rain raised the water level by about a foot.
Constant rain slowed down our beginning this addition project in 2015. It still slows us down somewhat, as it is difficult to cut large pieces of plywood indoors, and good pieces of plywood are expensive! On the other hand, we now have individual mini projects that take time...which is what the rain gives us. Yesterday, we planned the grab bar system for the new bathroom.
The toilet paper holder is drawn in backwards, but we compensated for that later.
Irene needs help in standing up from a sitting position, as do I after I’ve spent several days on a ladder or kneeling on hard surfaces without remembering the knee pads. We built ourselves a problem by leaving plenty of room around the commode...a function of having too little space in the original cabin.
Great for cleaning! Lousy for pre-made grab bars.
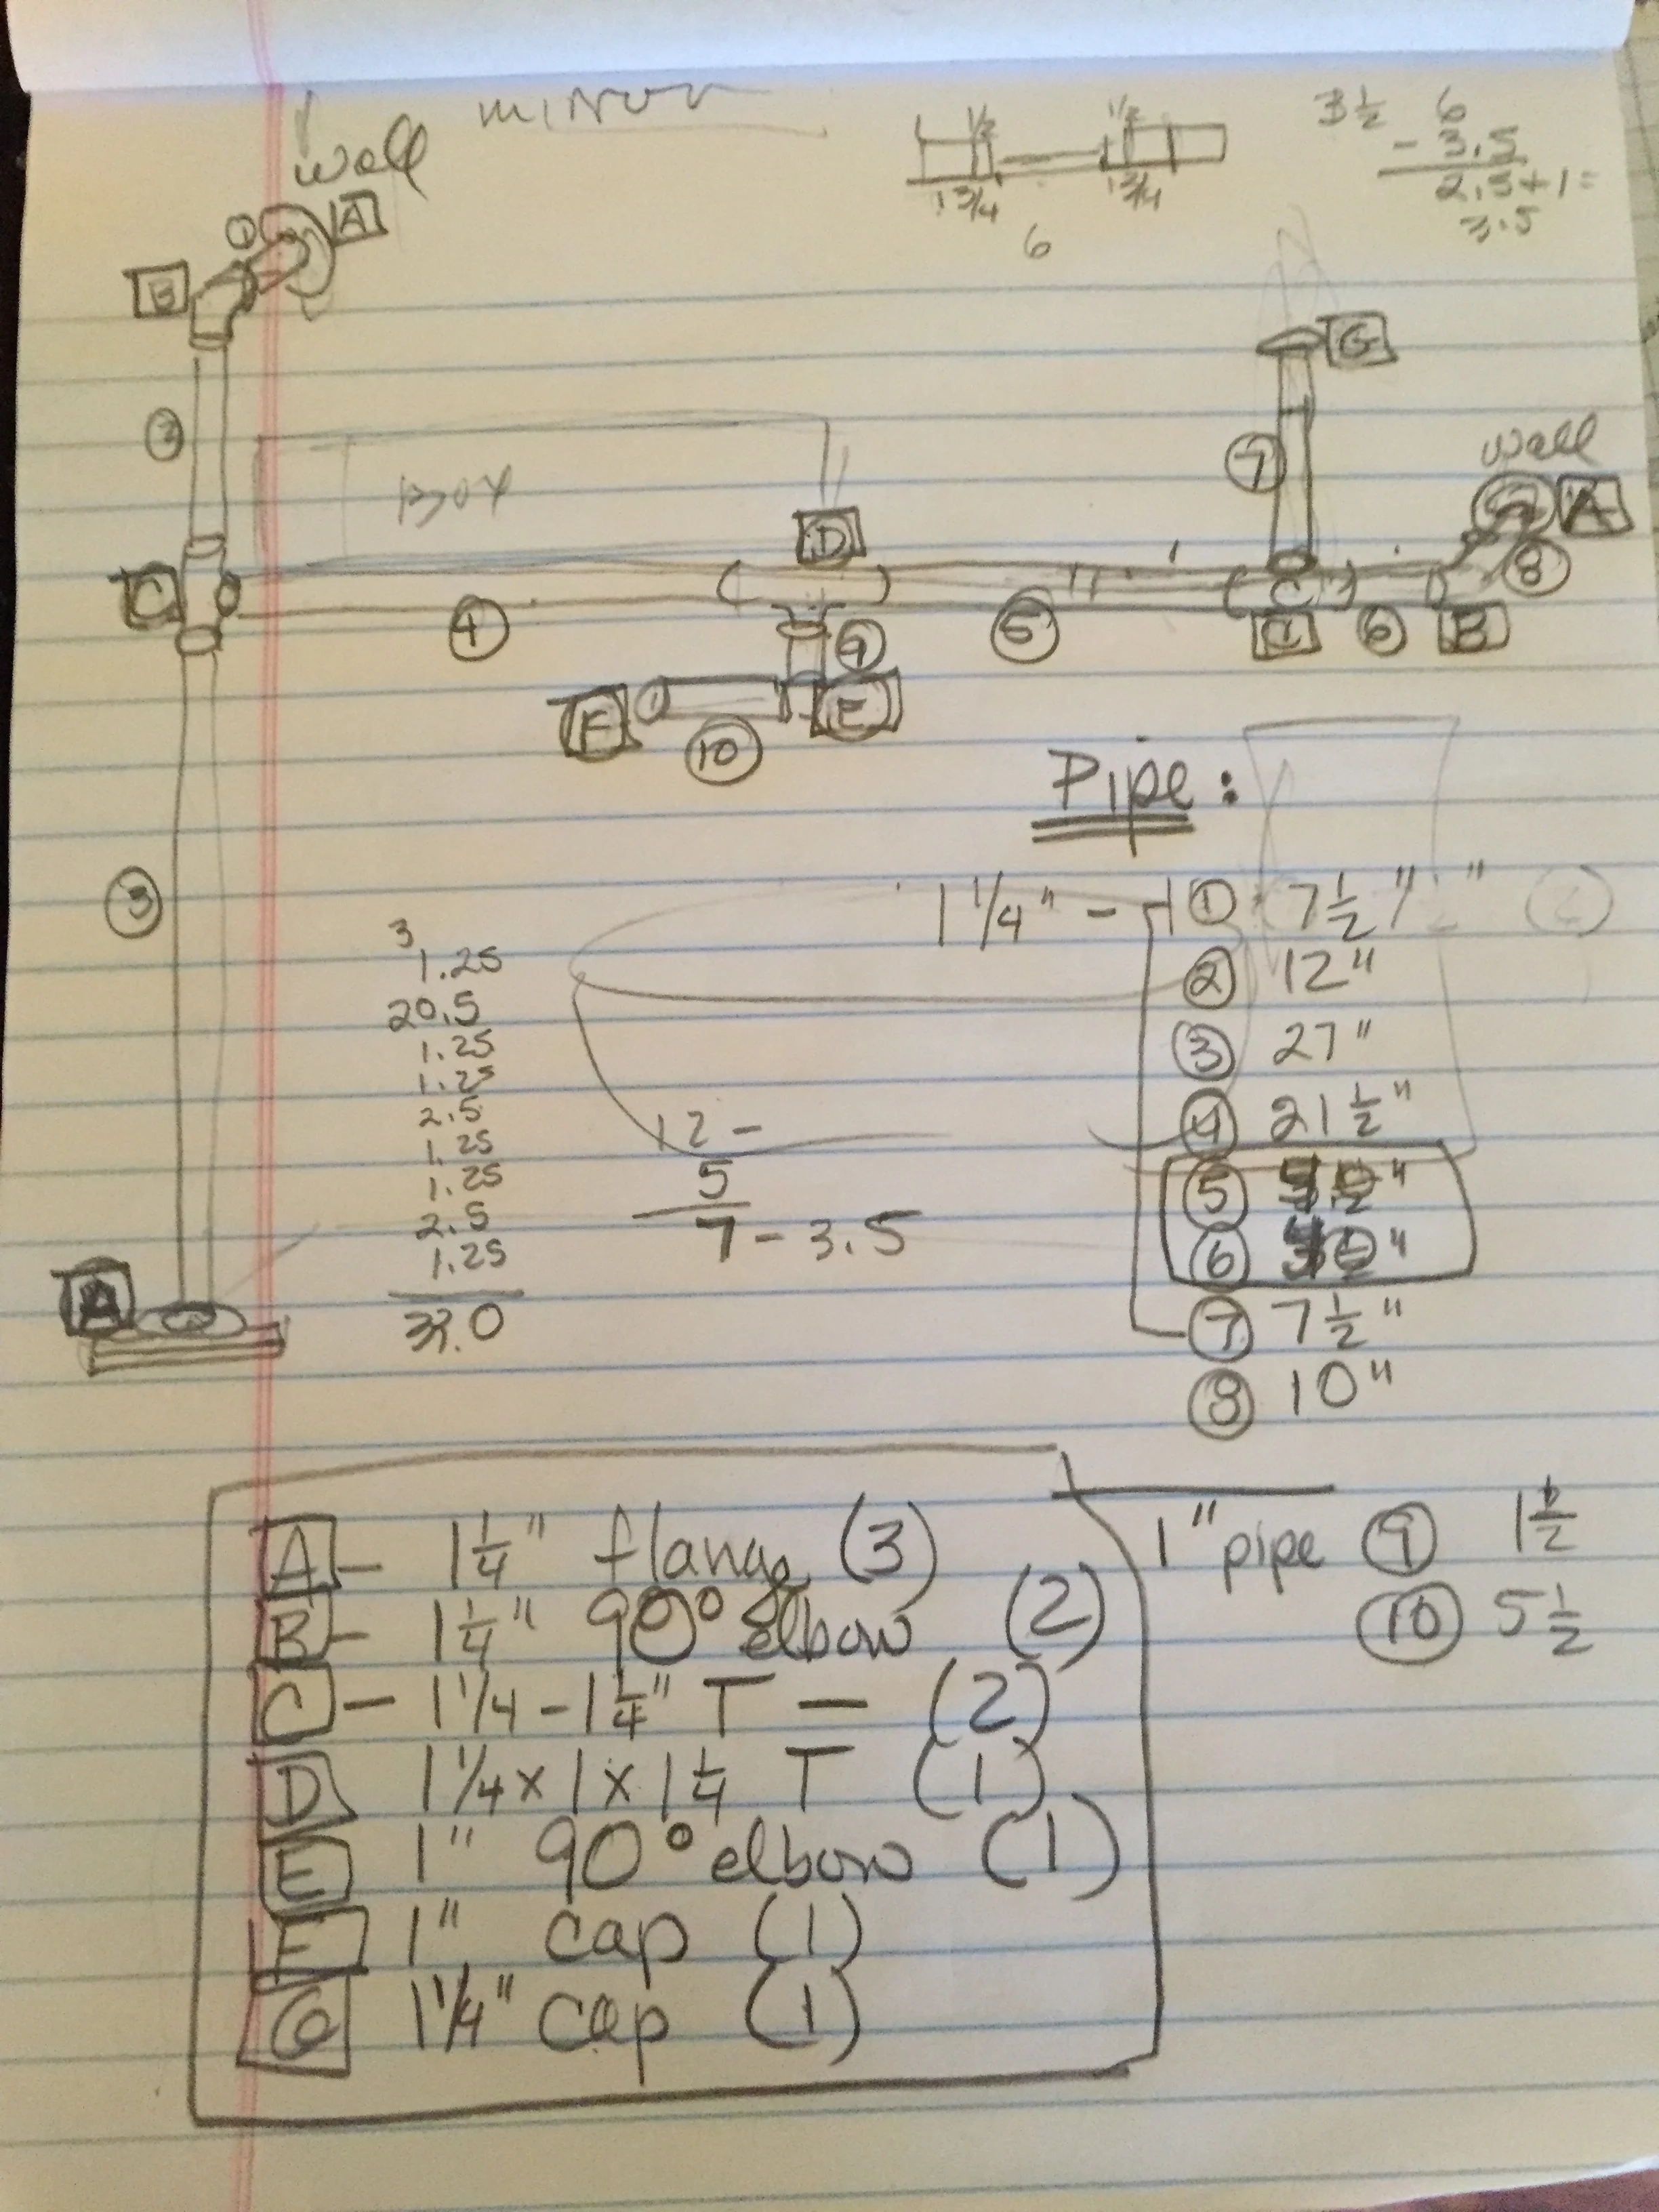
We made the trek to a local hardware store that cuts and threads pipe. Our big box stores won’t do that. It took us almost all day, between checking ADA standards and looking up dimensions for various connectors, and then triple-checking measurements and calculations. The math matters, as pipes thread into fittings and so you have to add an inch to the length you think you need. Then the hardware store didn’t have certain connector parts, so we made some seat-of-the-pants adjustments. We will assemble the parts once ready, and then paint the assemblage before installing it. More to come on this!
In the meantime, I installed my first in-wall bathroom shelving unit.
I am happy to report the railing on the shelf is SOLID!
My next design challenge is how to finish the face of the closet.
Part of the problem is that I don’t want to tape any more wall board in this room!
More design work. It’s still raining. Life is good.

And I’m back to ending with long-distance photos of the Grand Girl!

Our rain gauge measured 0.5” fifteen minutes after I took this photo.
Our pond remains full. Despite the three weeks of drought immediately following the last snow melt, we have had regular rainfalls measuring between half an inch of water (said fast sounds like “half an enchilada”) and an inch and a half. The mosquitoes love it.
The inability to work outside gave me the opportunity to have Michael, that ever-moving dervish, sit still long enough to give him a trim.

In process of taming the candy floss.

“The difference between a good haircut and a bad haircut is two weeks” is Michael’s favorite saying.
After 30 some-odd years, I may be getting the hang of this.
Tip of the hat to my mom, who let me know from her shining example that you can do pretty much anything given the knowledge and the right equipment.
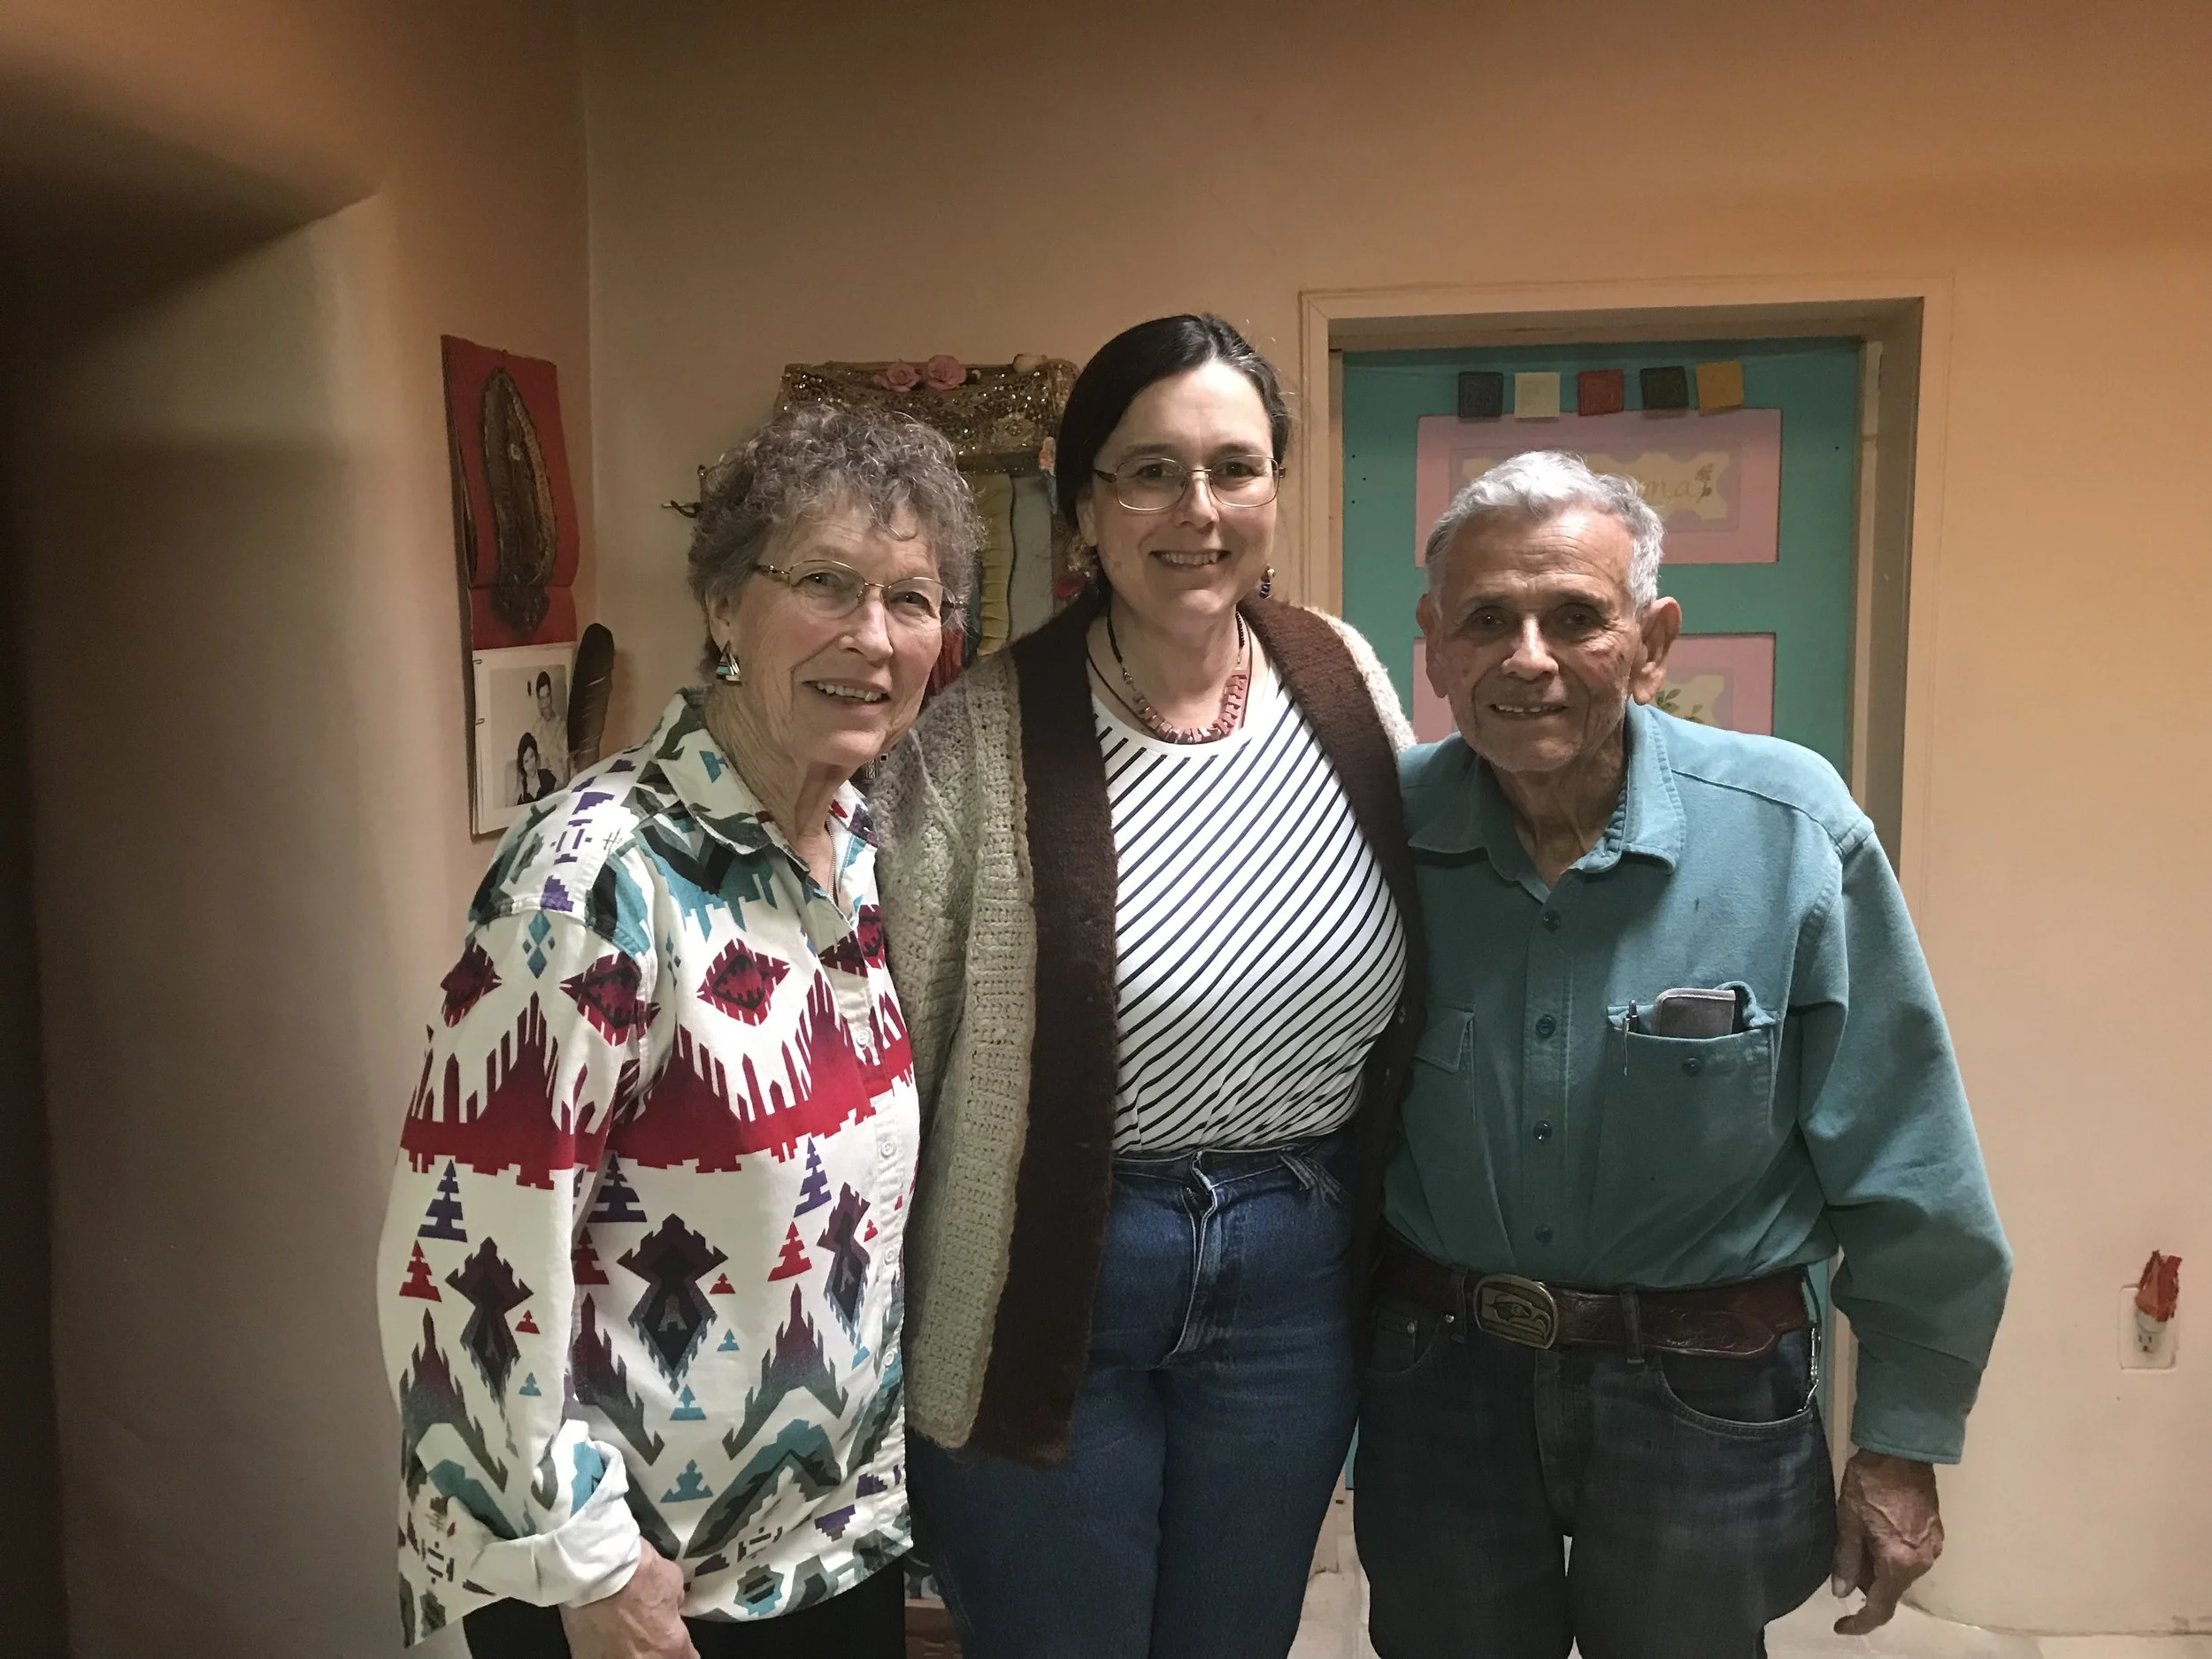
My father celebrated a time to die today.

I can hear his laughter in my soul.
He has left the world a wonderful legacy.
Life marches on...
We picked up our broiler chicks on May 2nd this year. By June 18th, they were almost as large as the Grand Girl!
Well, maybe only a third as big. We started with 15 chicks. One died within a day...trampled by its nest-mates. Another died at about 4 weeks. We figure it rolled onto its back and couldn’t right itself, like a turtle. We found another nest-mate who had rolled and appeared dead a few days later, but I found him in time to right him, and he walked away. This was a sure sign we needed to begin to harvest them, and so we did.

As my grandfather would say, “You like chicken? Take a wing!”...as he offered you his arm.
Our salad garden was planted at the end of May. Three weeks later, we are having our first salad. Seven weeks and the chickens were between 4 1/2 and 6 pounds. We left 5 to grow some more, for Thanksgiving and Christmas and other family gatherings. I love seasons!
If you were to check my blog from one year ago this week, you would get to read about how my brother Daniel was helping us put the plumbing into the addition. He also gifted us an instant hot water heater, which has been sitting in a dusty corner ever since. The problems with installing it were many, including the fact that we had used up all the ground wire connections in our electrical box. This meant we (meaning Michael) had to add a ground bar to the box. In order to have our box be up to code (which no one inspects here in the Big Woods), we had to run a ground wire to the...ground!
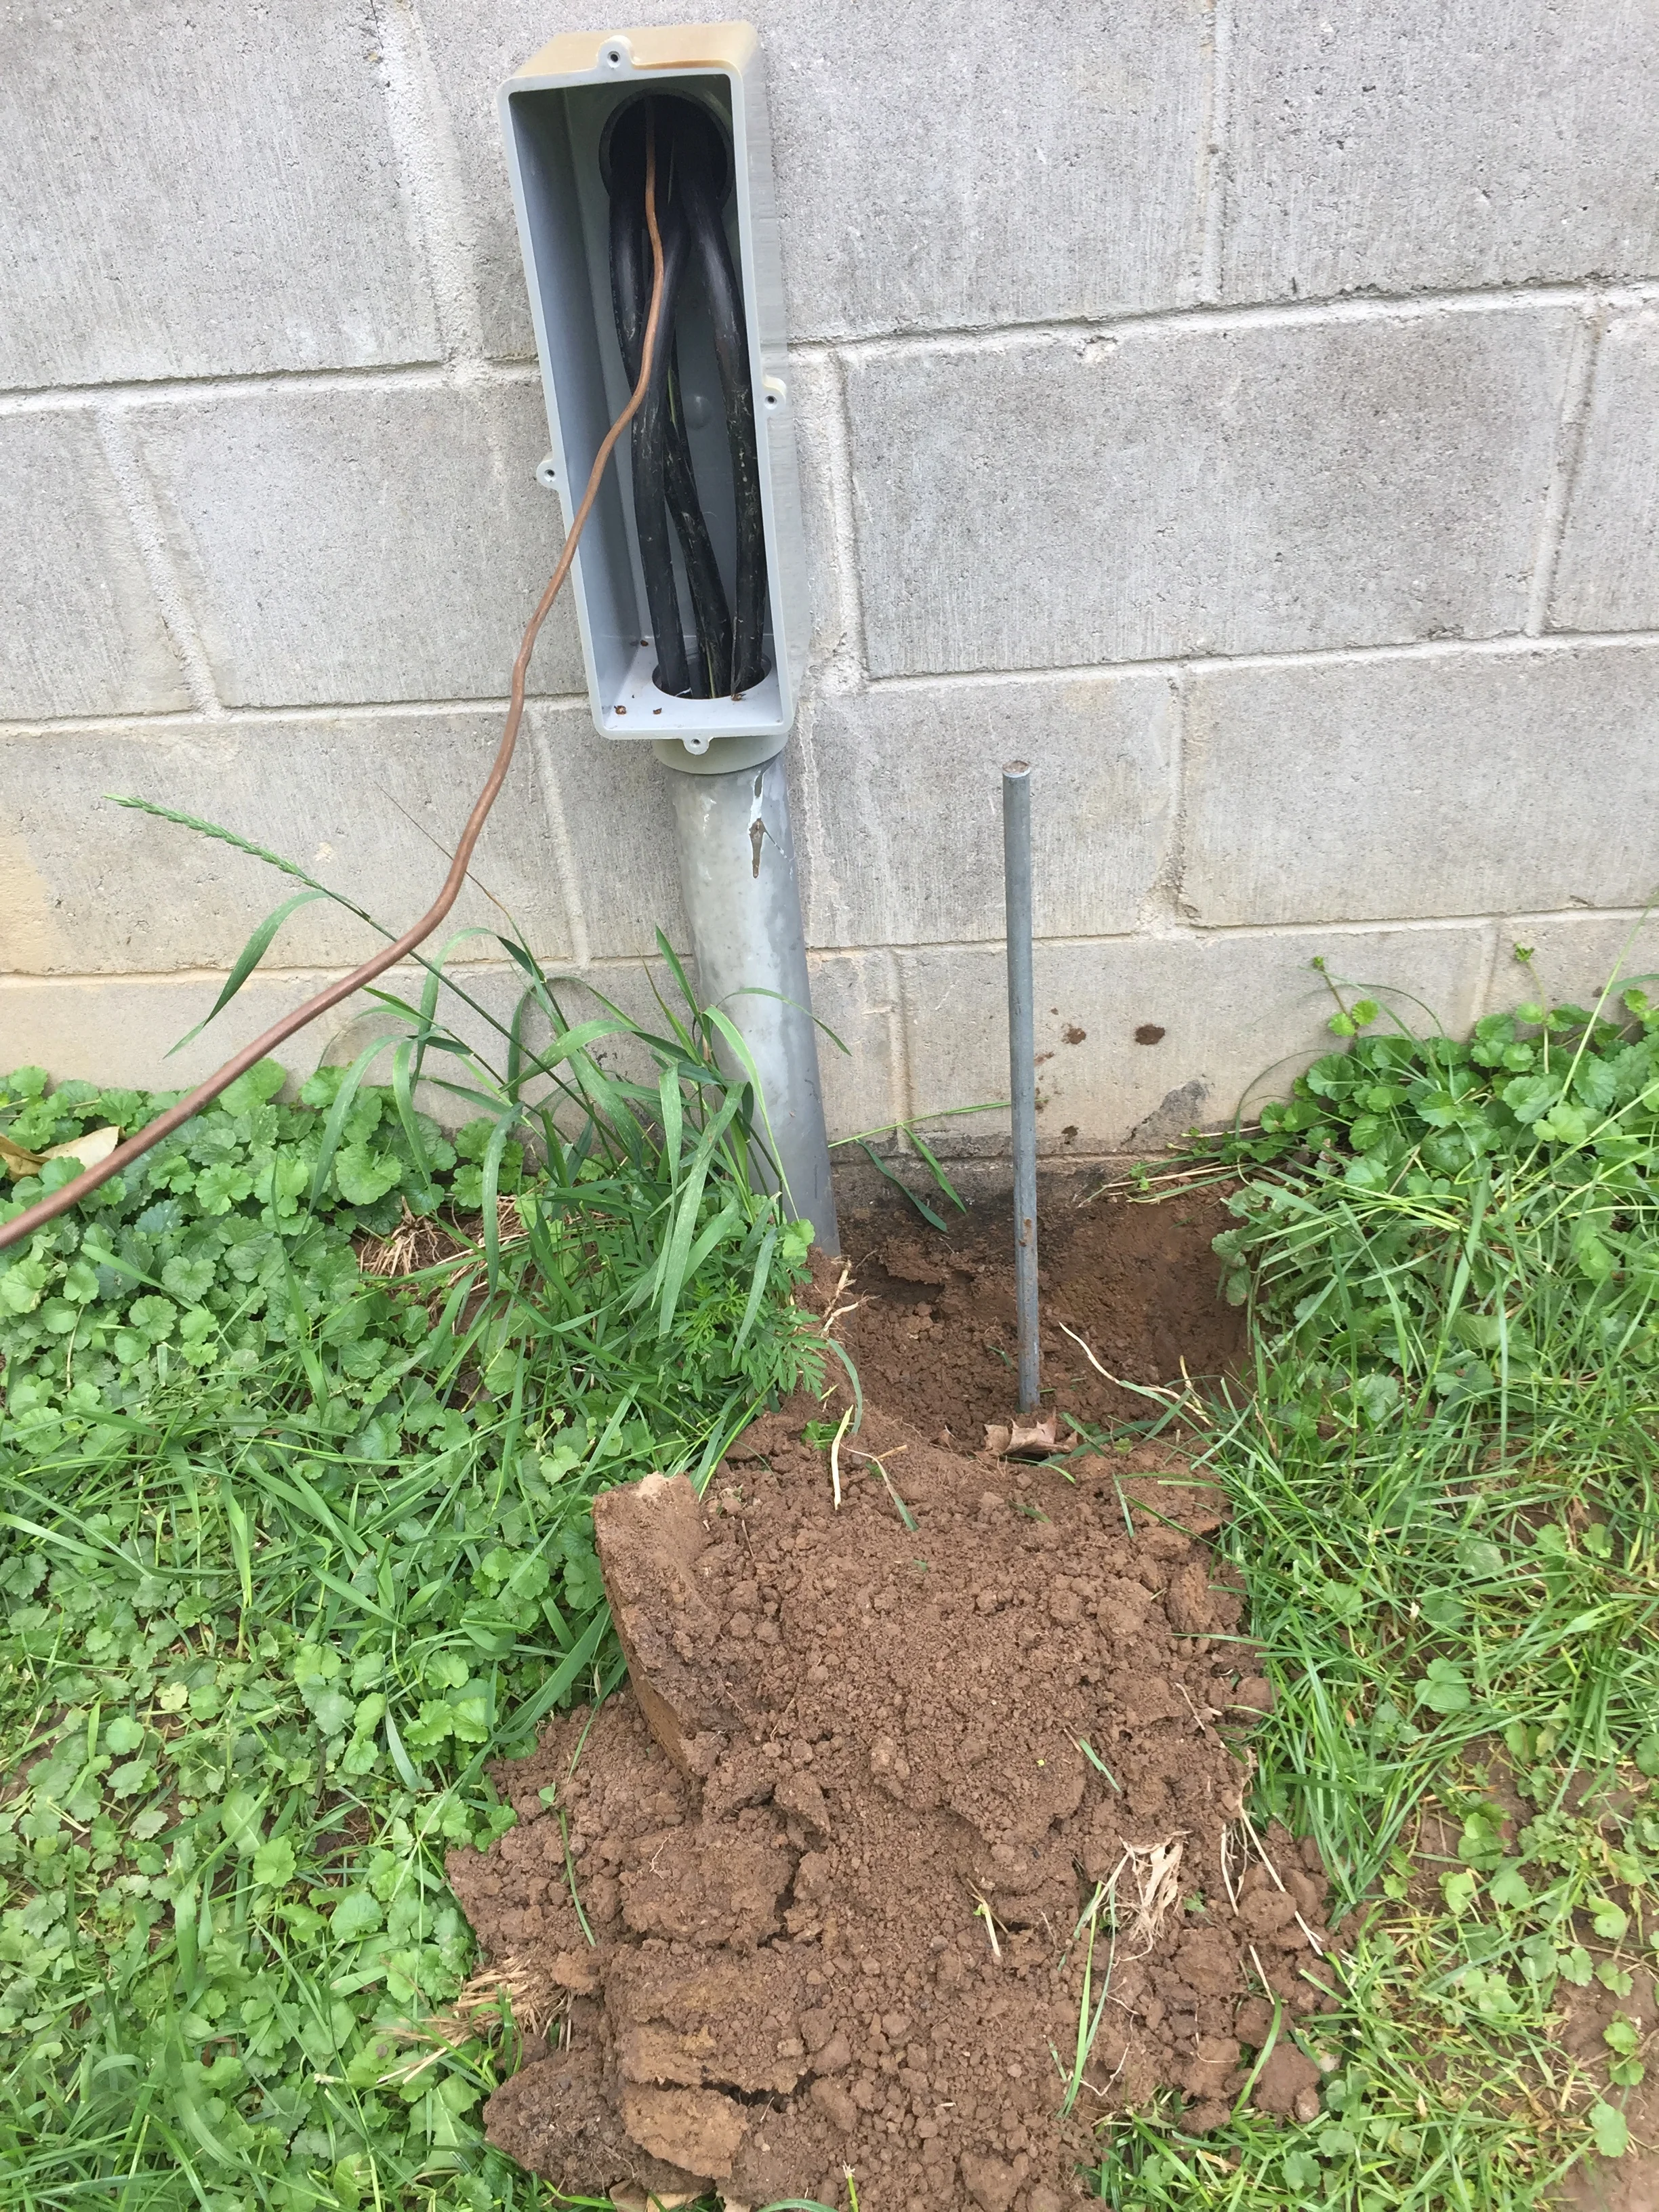
The metal post got pounded to below ground level, had an “acorn” added by which a thick copper wire was attached, which then ran through a hole Michael drilled in the outside box, with UV resistant RTV filling the hole so it won’t leak, so that the wire could be connected inside. The post got buried.
My role was to hold the flashlight, make a pattern to get the holes for the ground bar drilled in the correct place, and juggle equipment to hand to Michael.
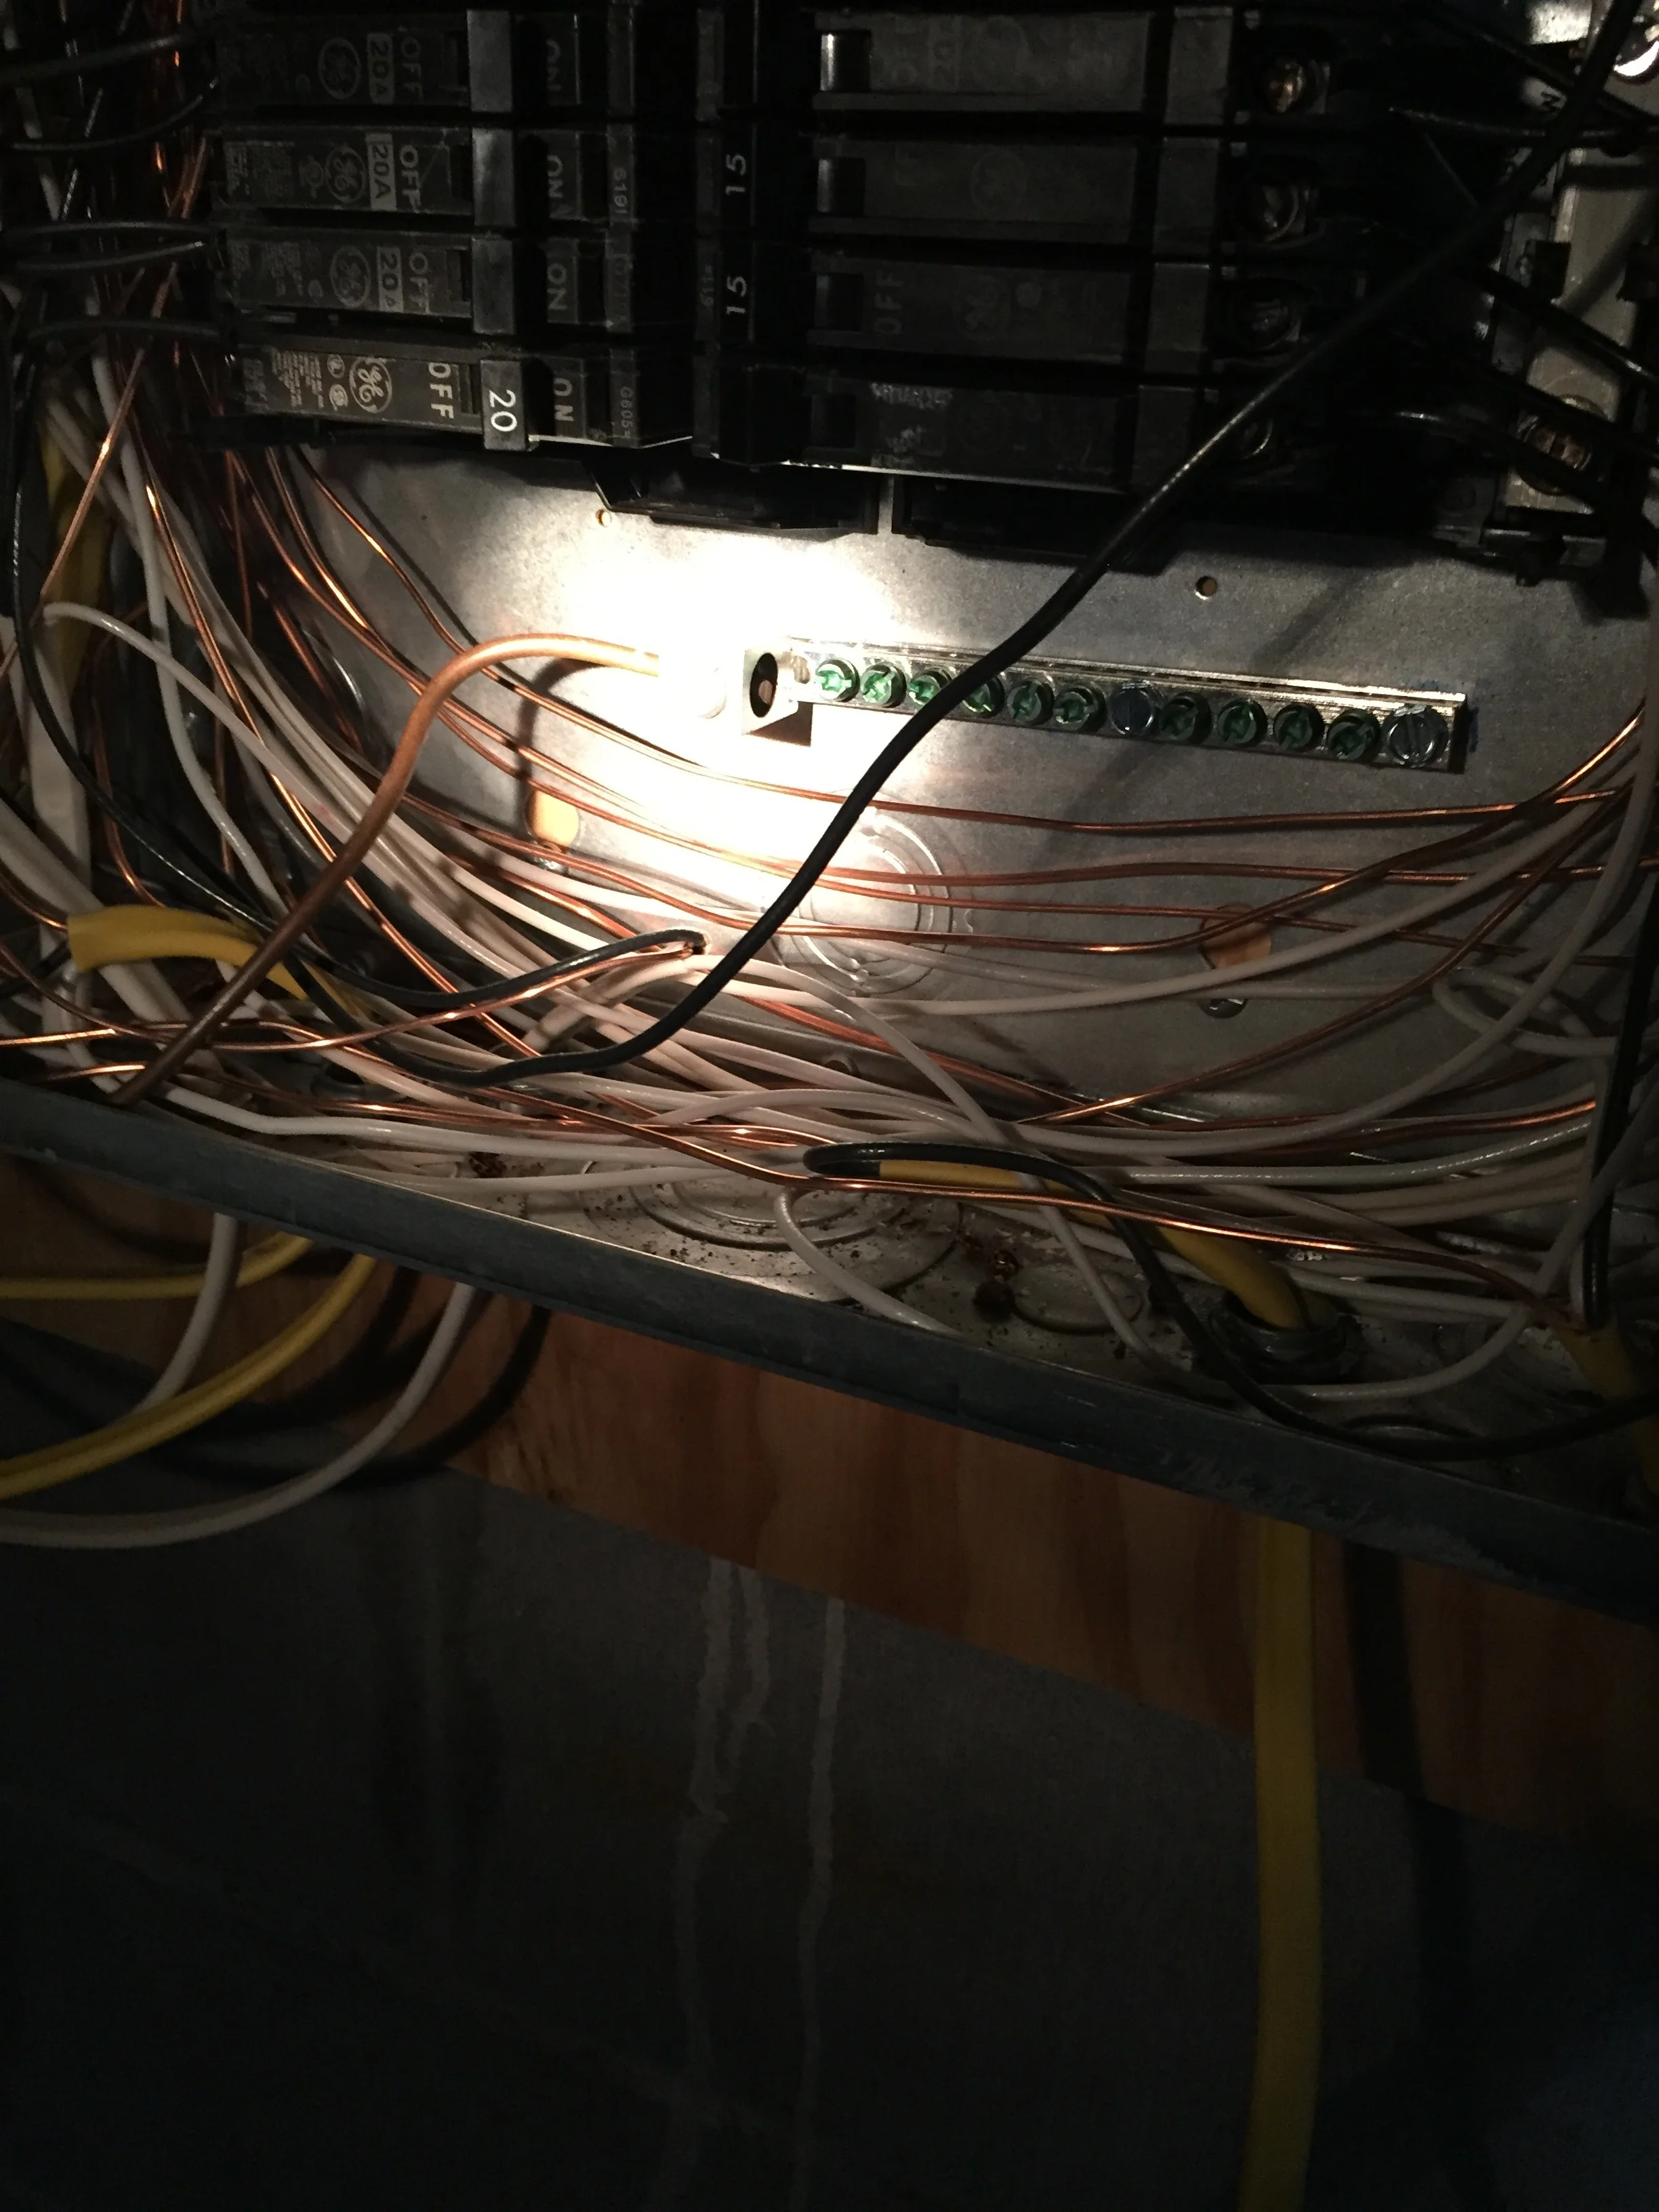
It looks messy, but the door should eventually fit over everything. Now to figure out which breakers control which circuits...
The water heater took very large wire as well as a safety switch.
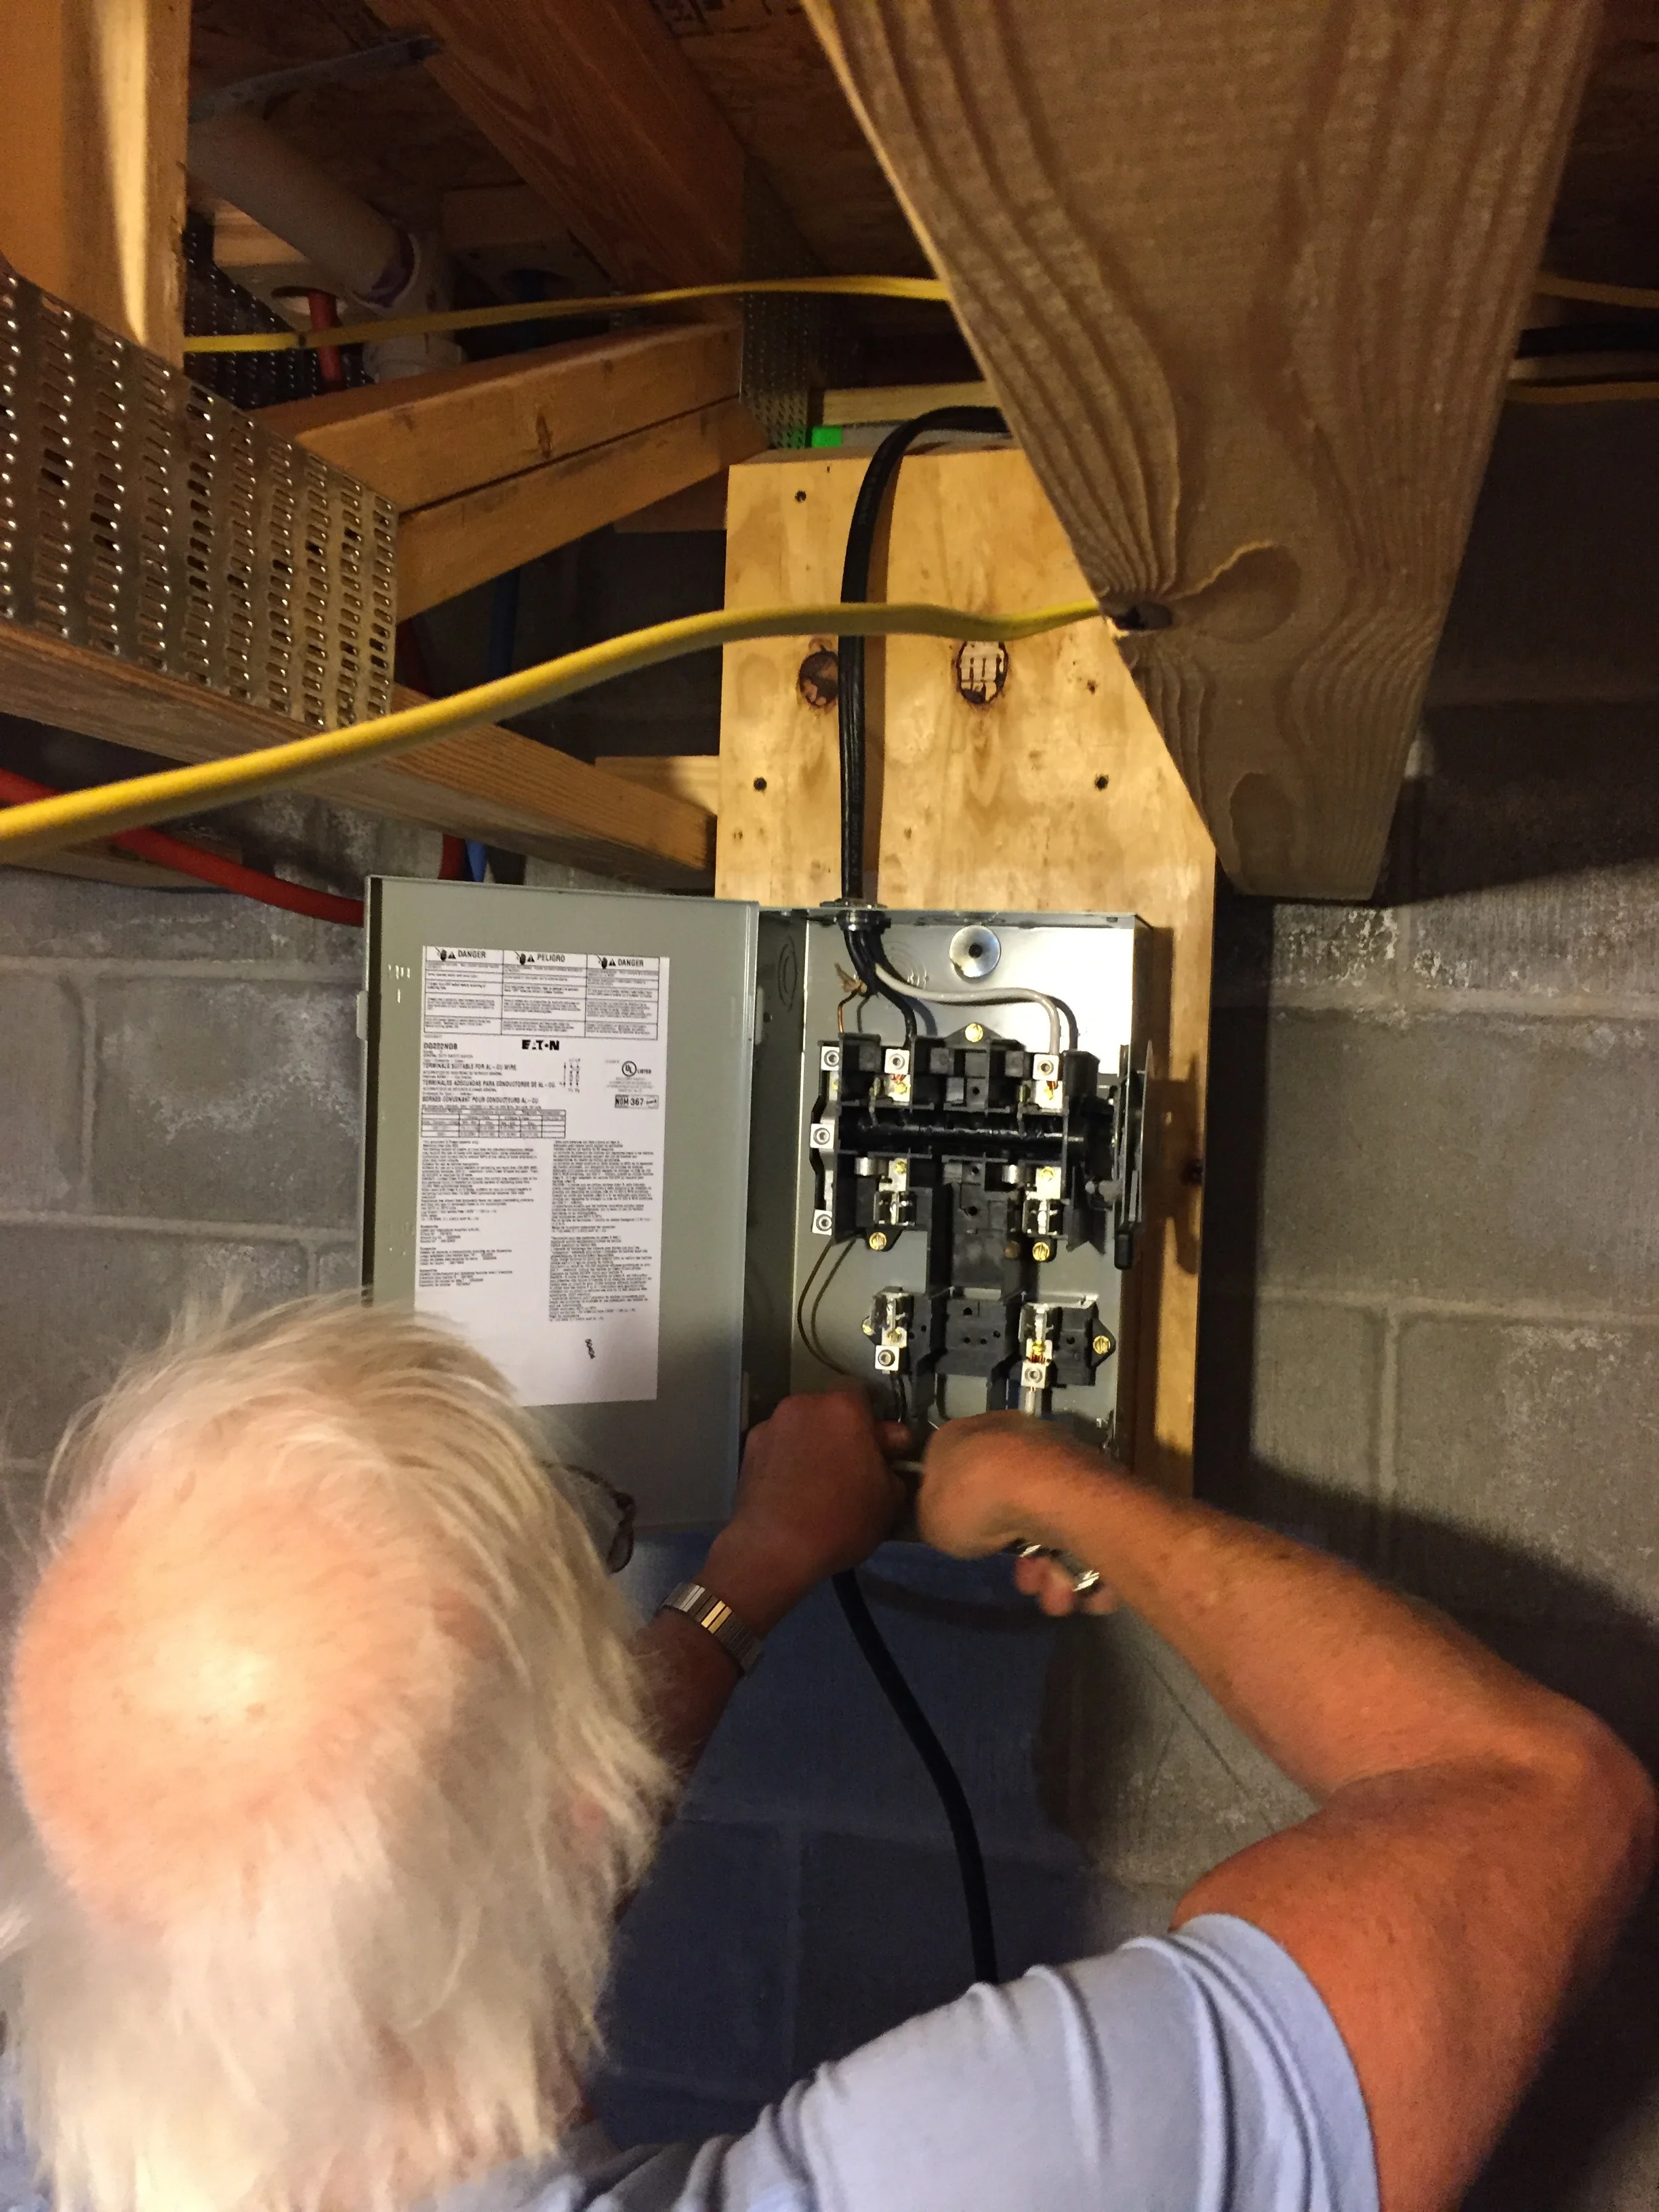
I cut the boards for the switch support, but it took Michael’s long arms to install them. Again, he is the electrician, I just hand him what he asks for.
We were all curious whether we would have sparks and explosions when we flipped the breaker and safety switch.
No drama. We like that.
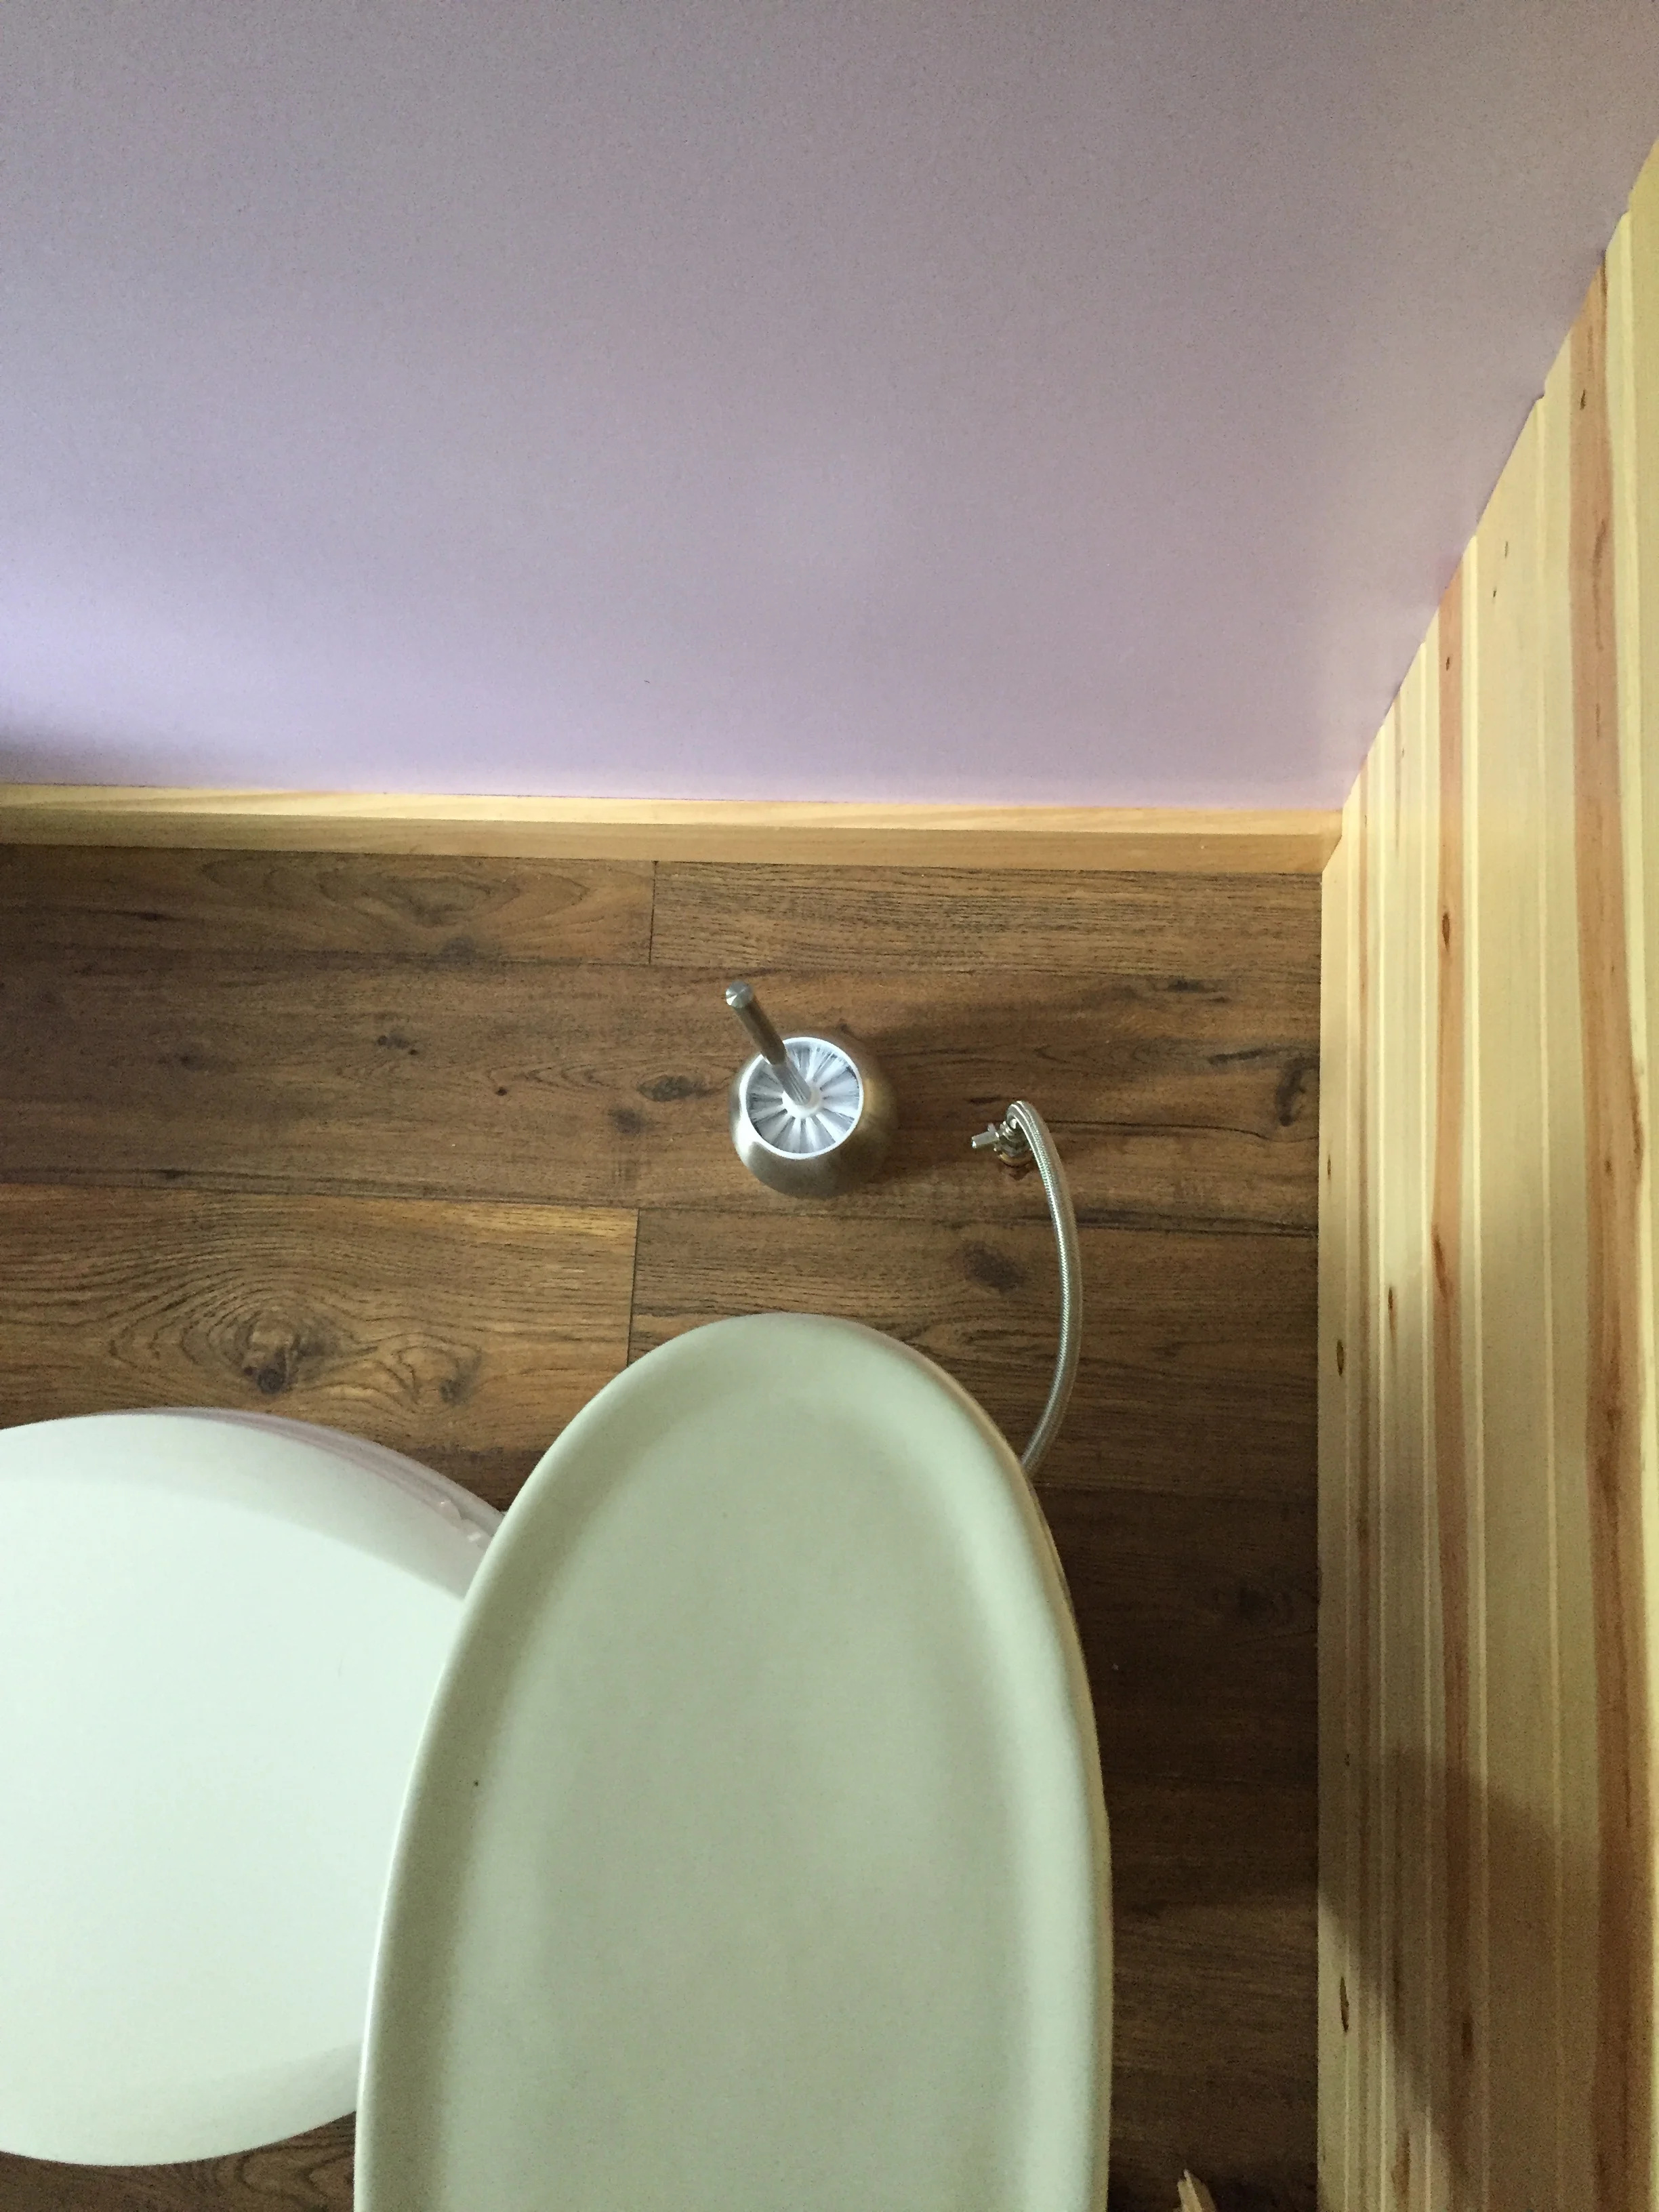
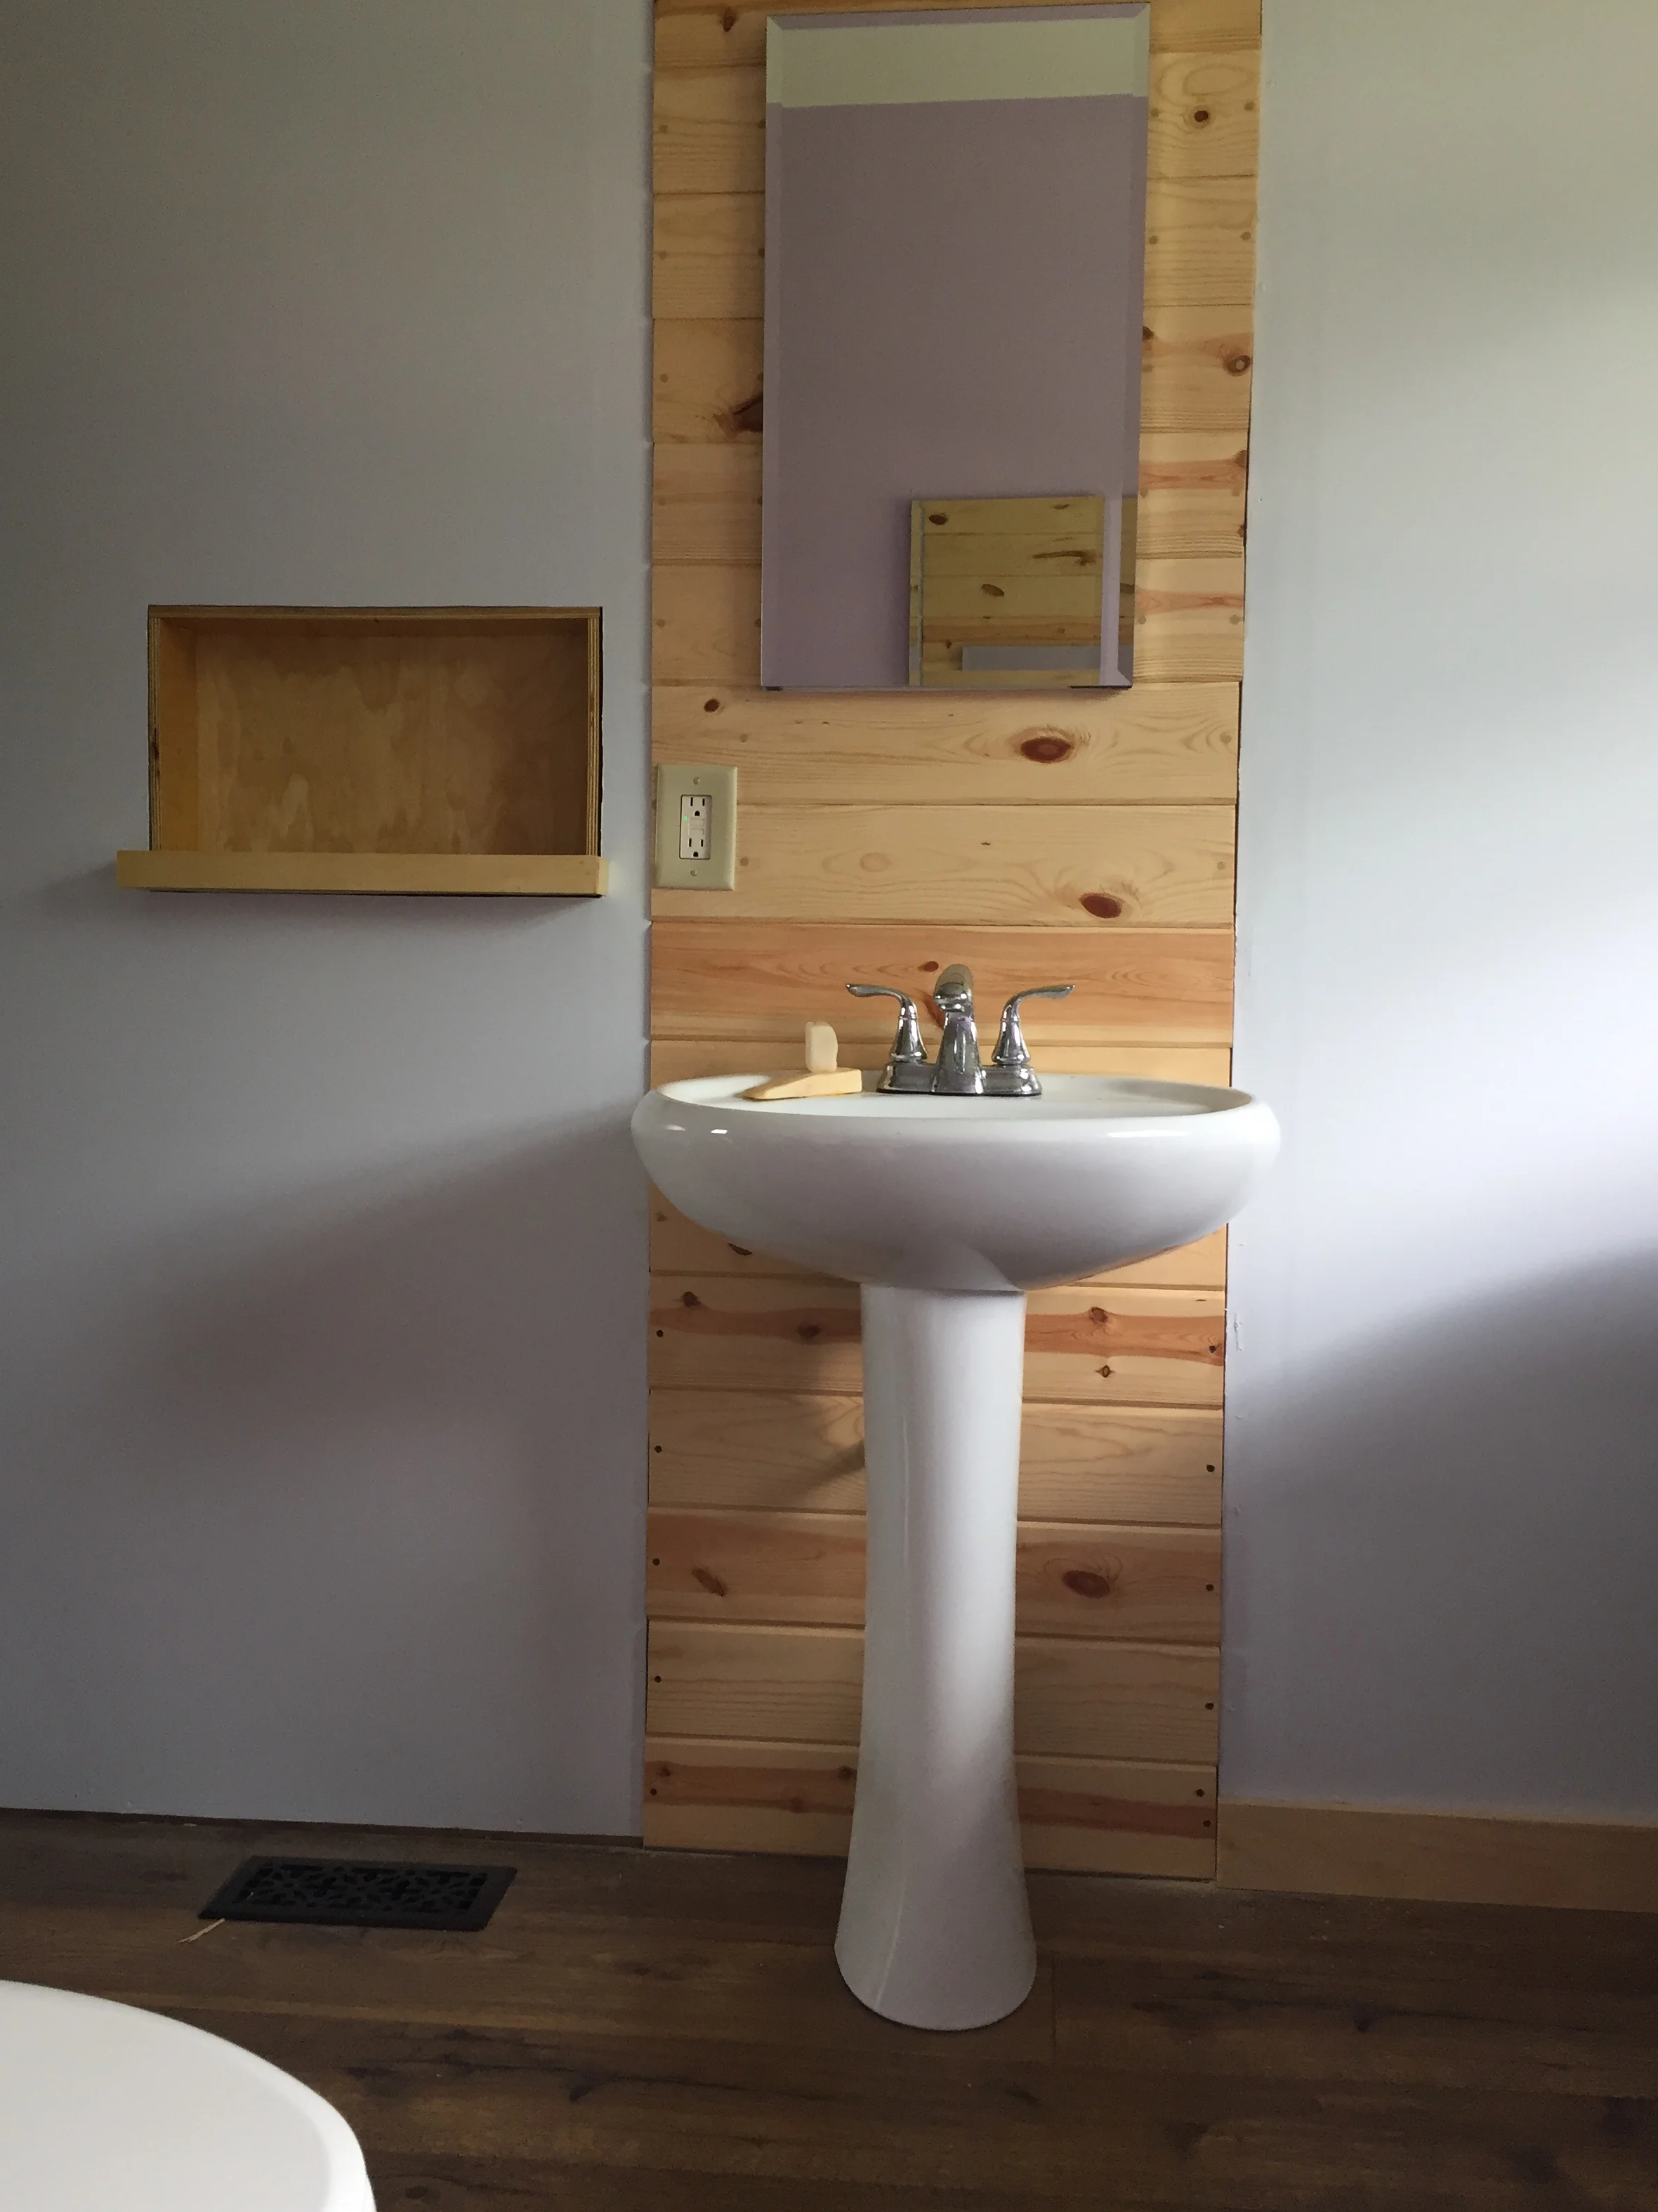
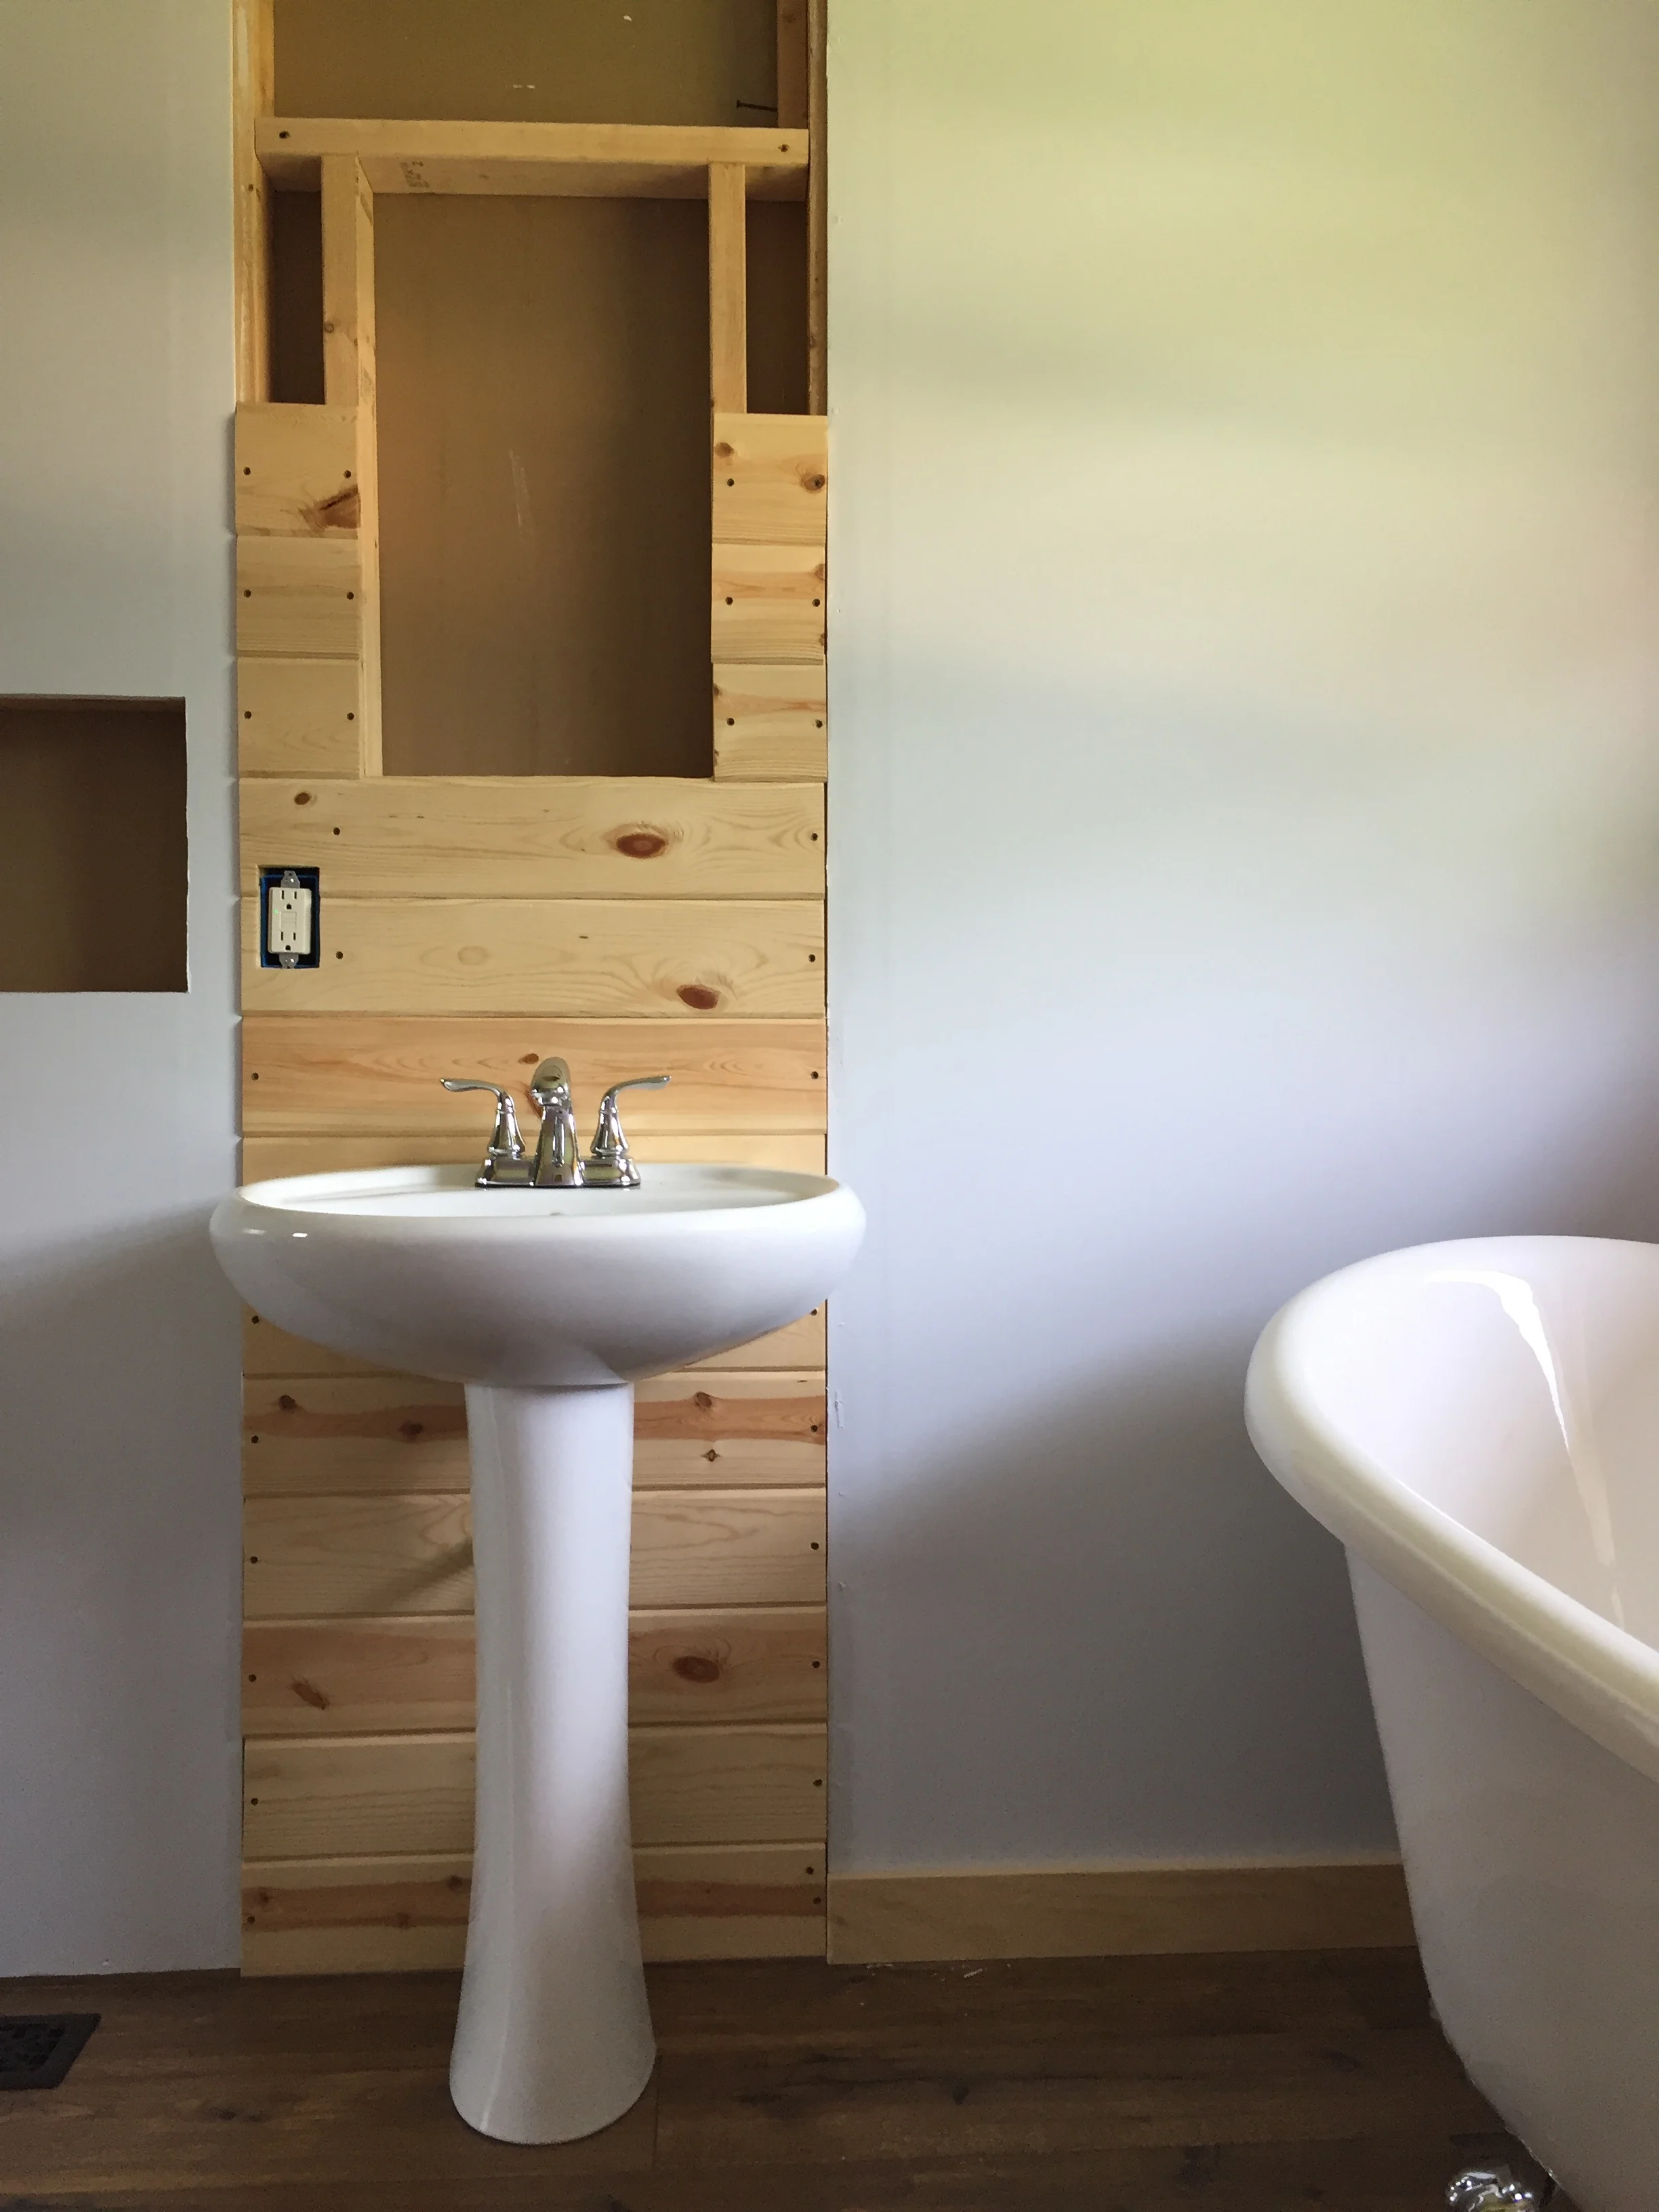
Before we could run water through our sink, we had to attach the drain.
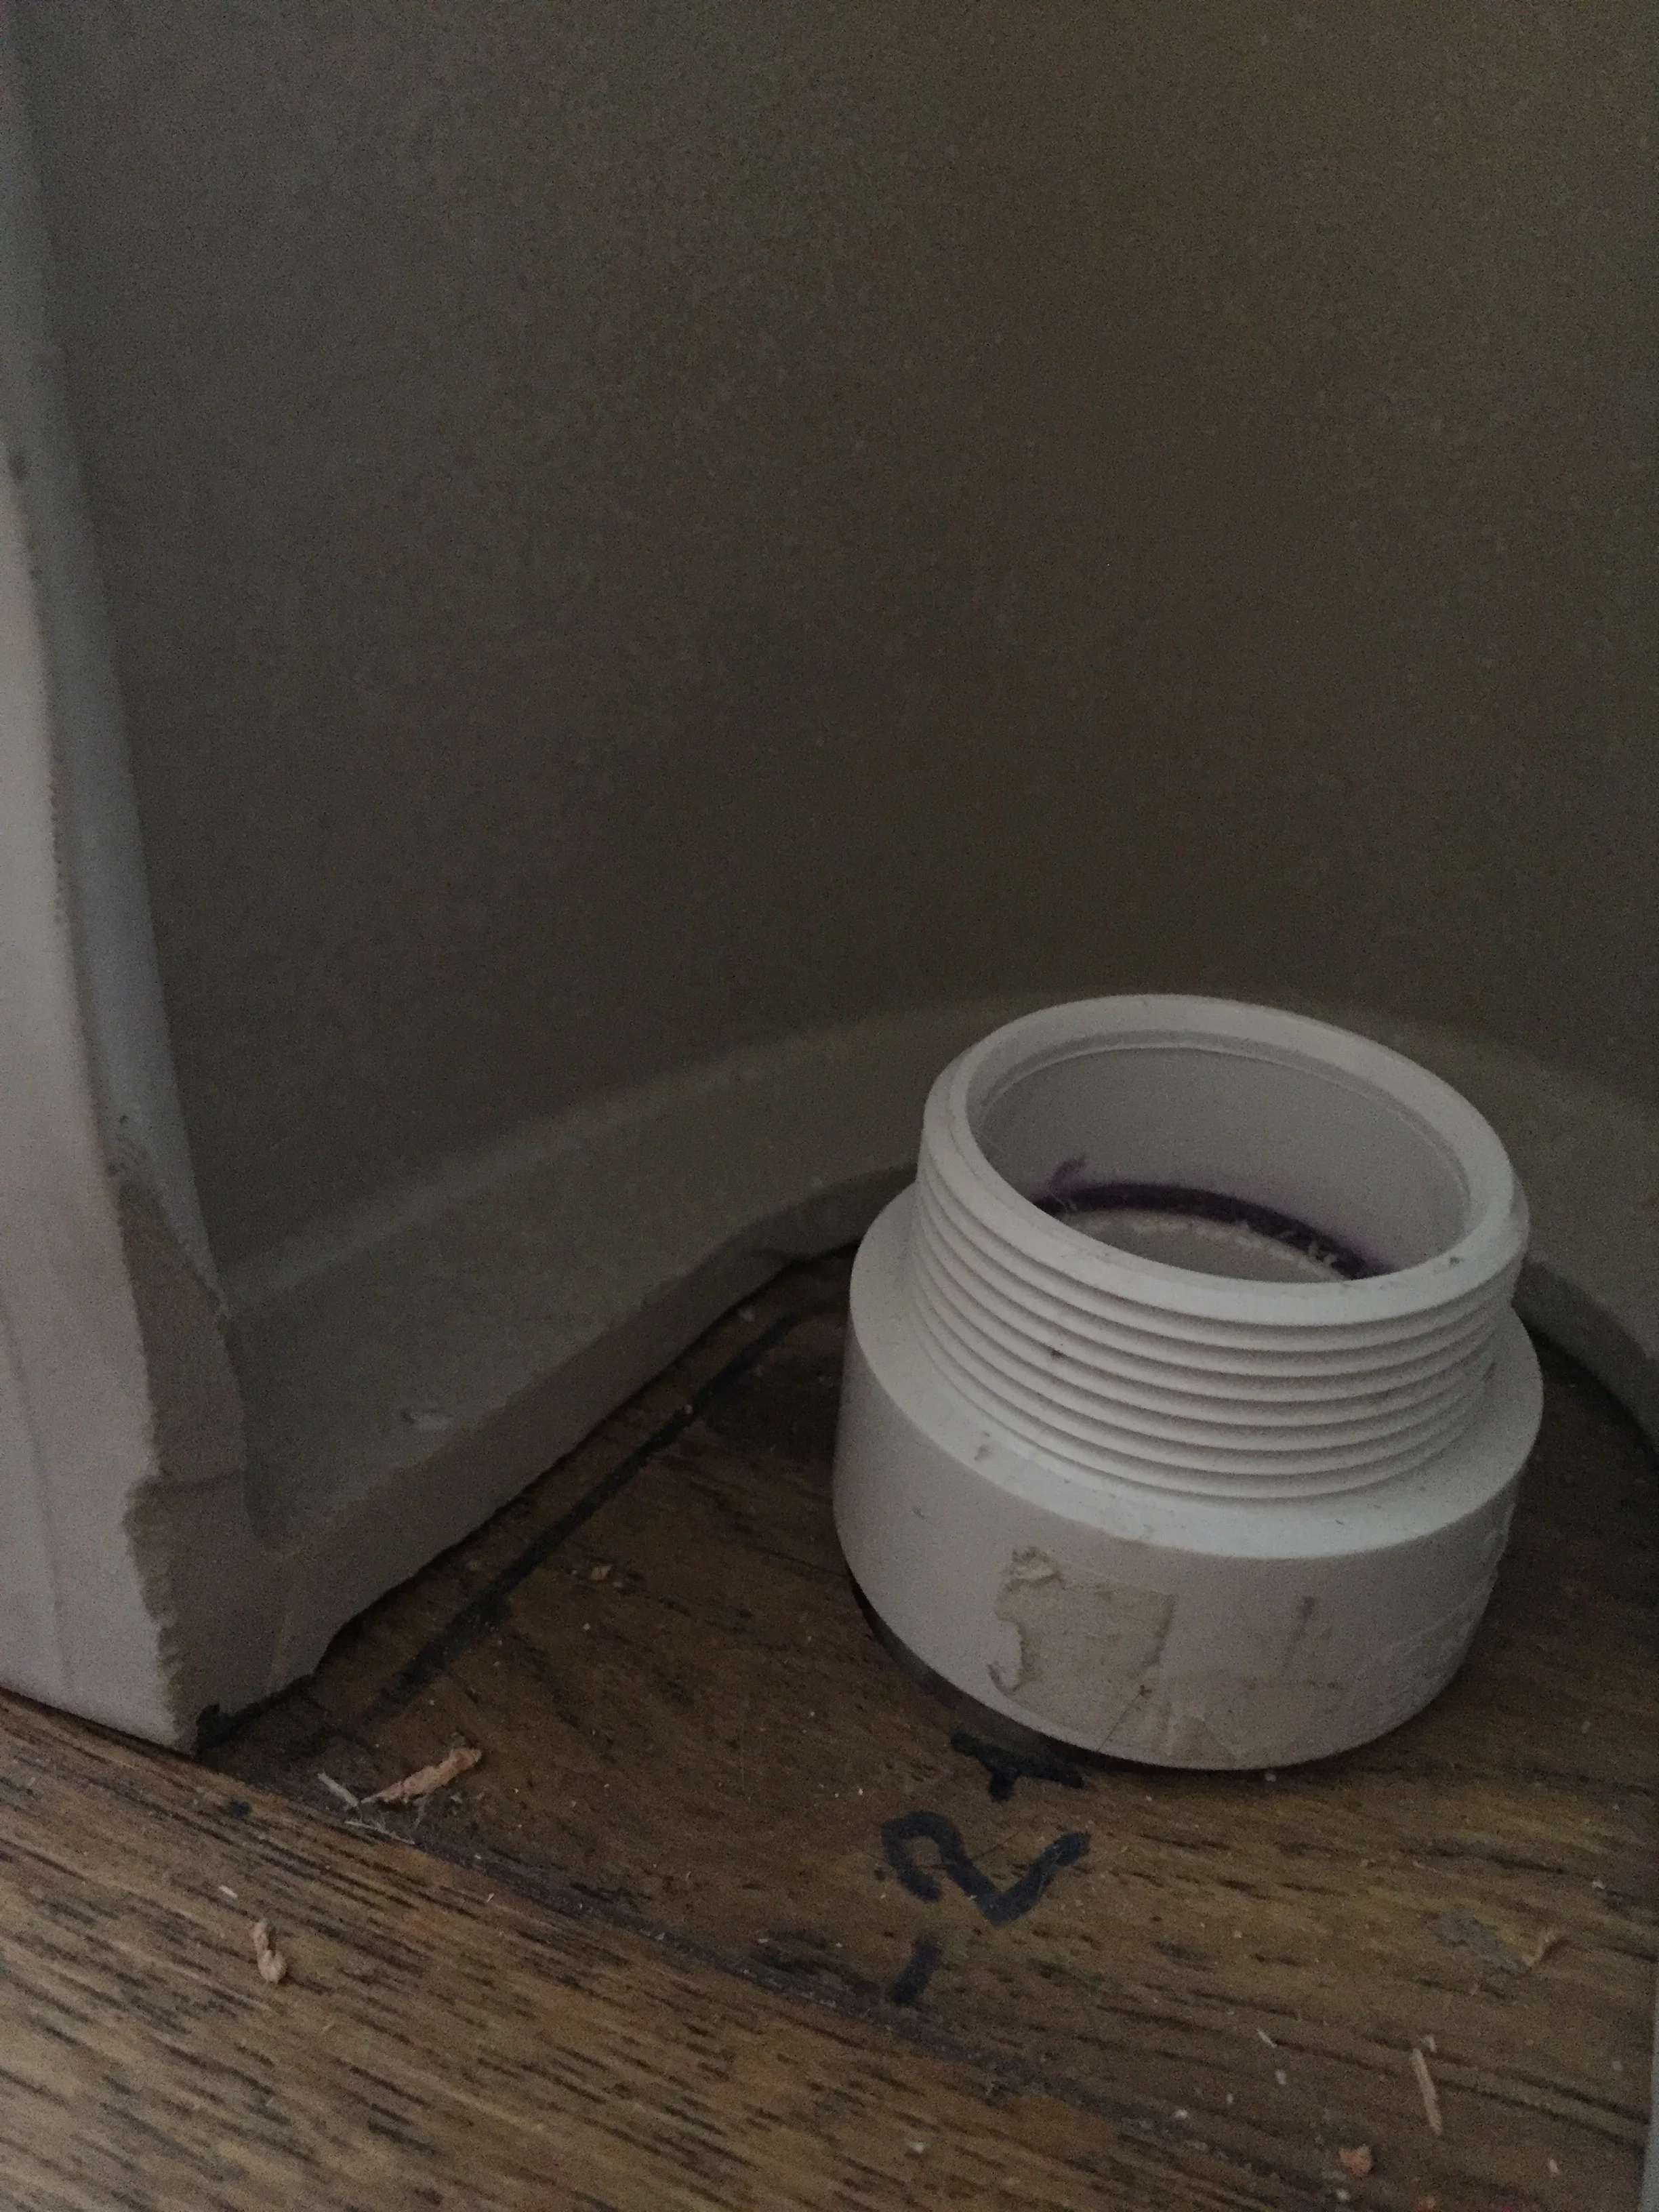
The P trap sits just under the floor. The pedestal hides the drain pipe.
The normal equipment to connect the drain to the sewer wasn’t going to work for us, so we had to figure out a work around.
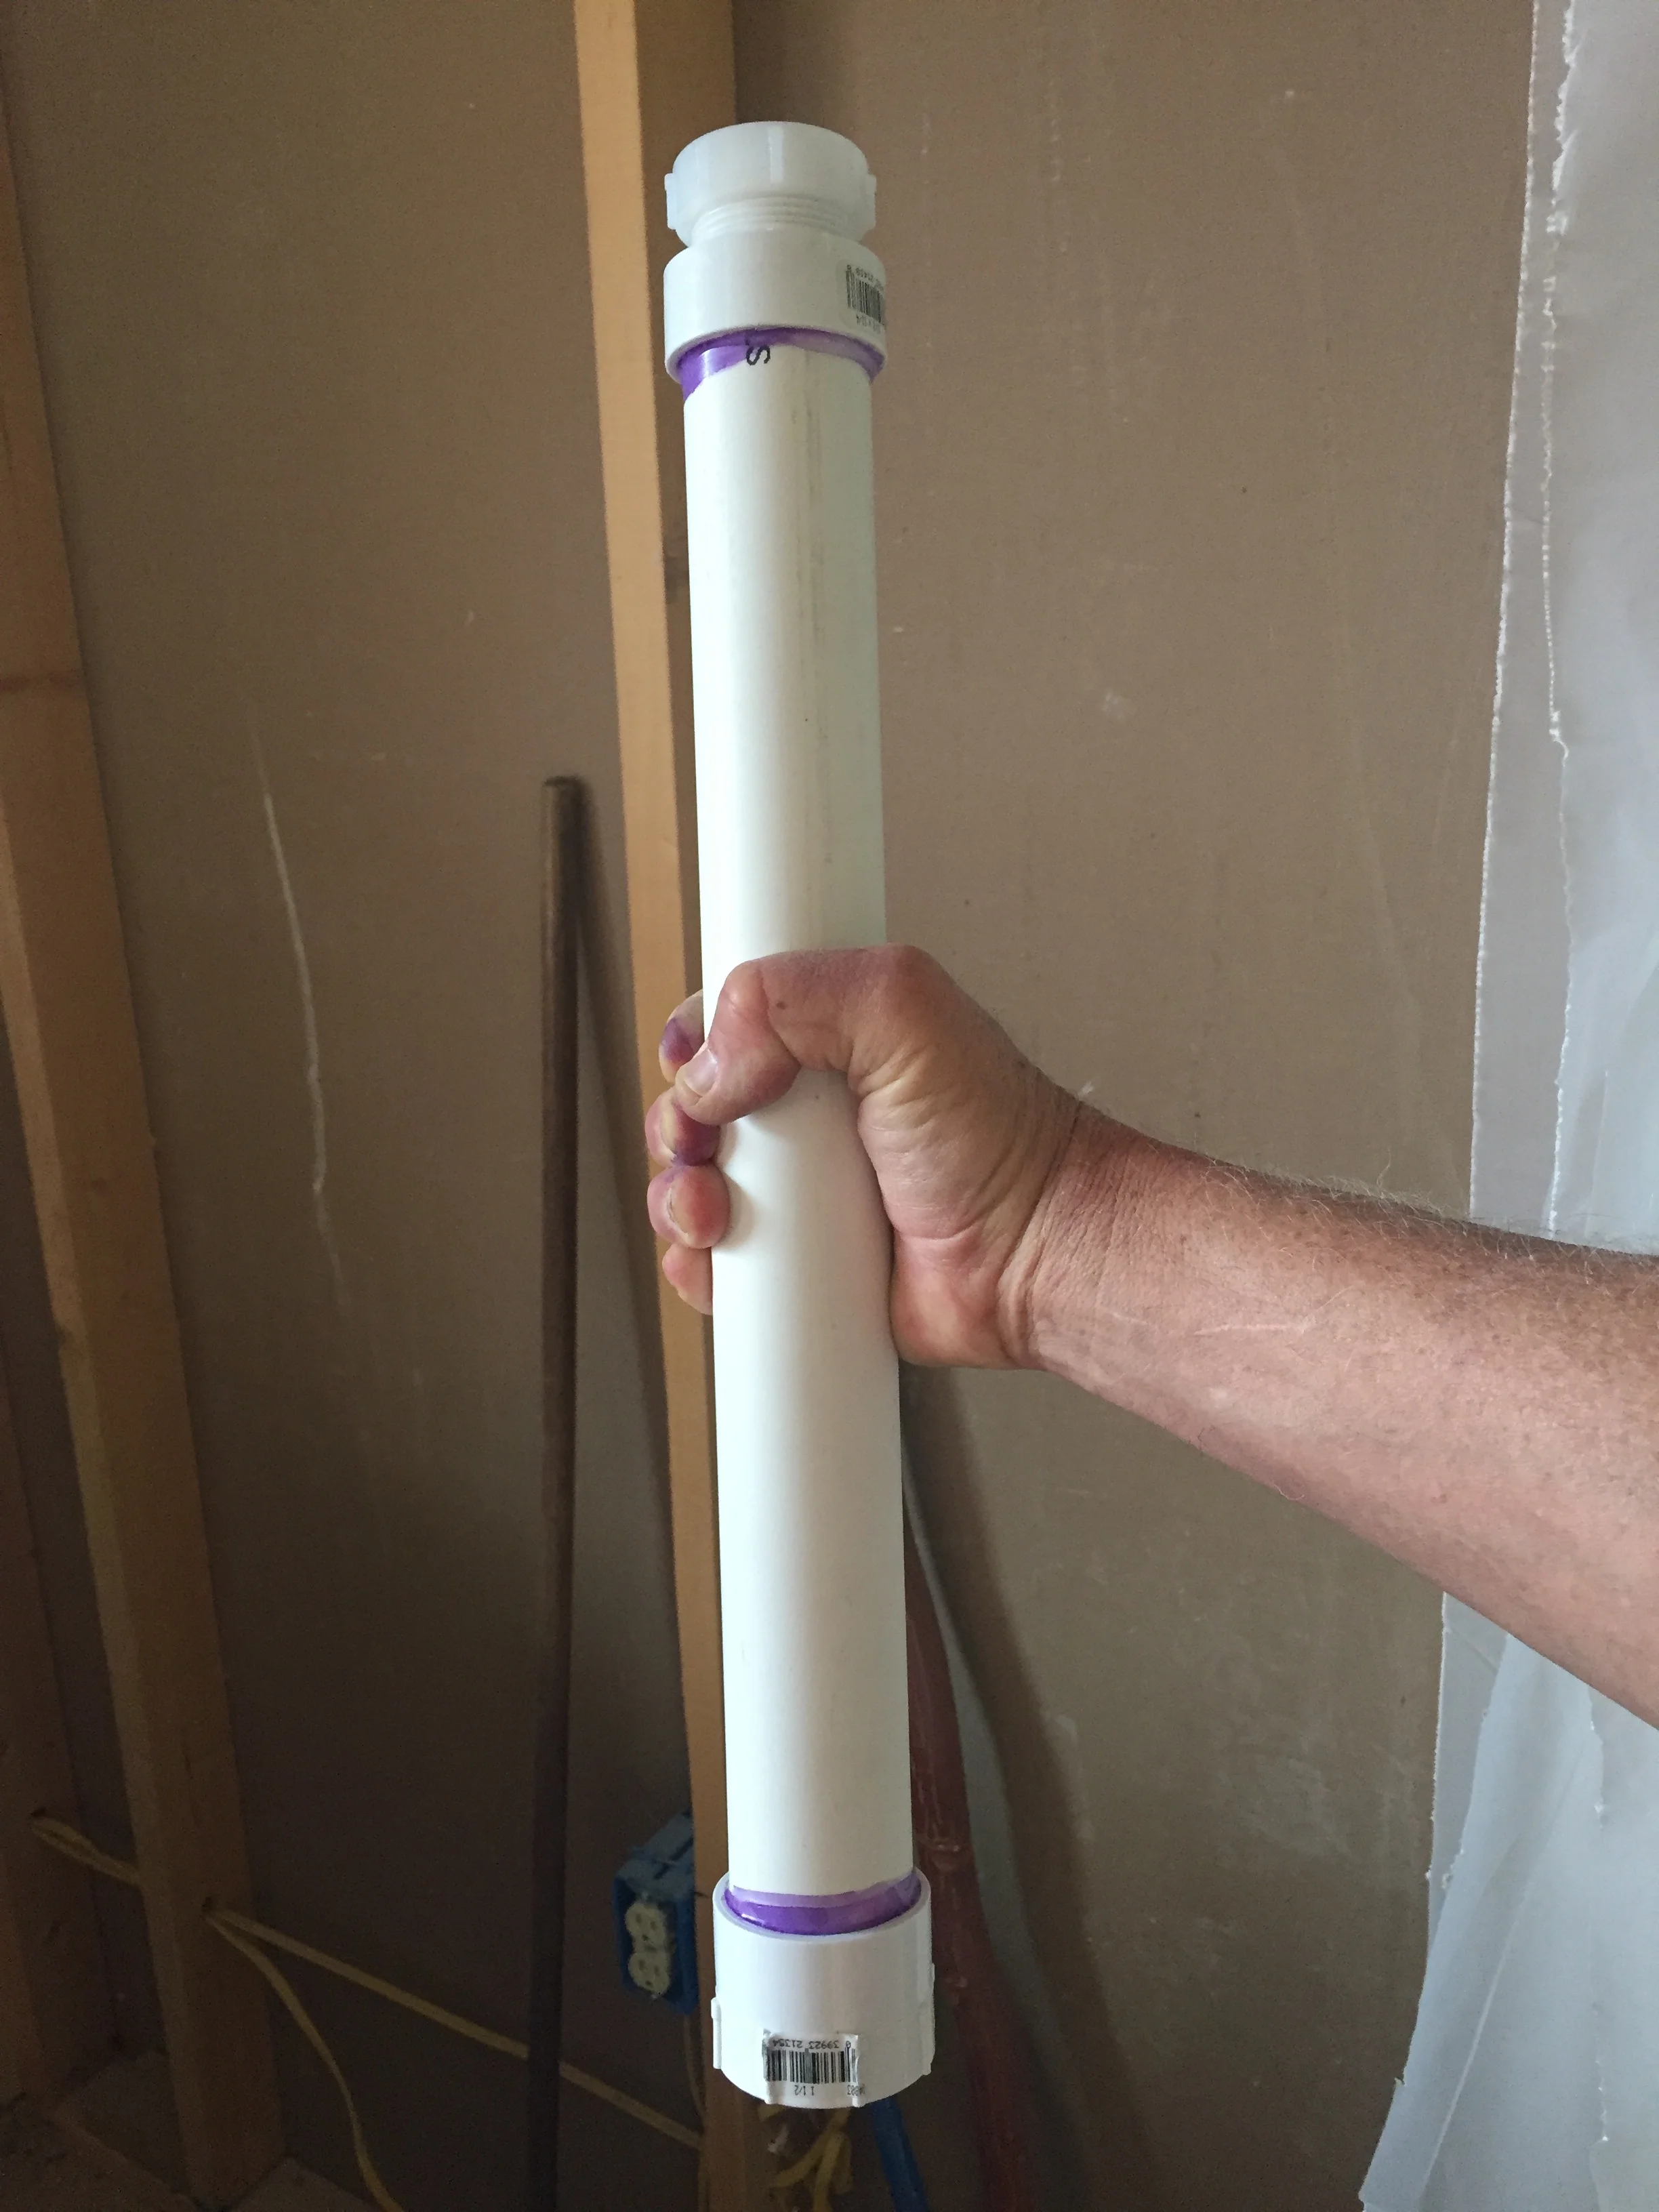
A home made transition pipe.
The coupling on the floor was installed at an angle, which posed a problem when we tried to screw it on with the sink installed. We eventually figured out that we had to take the sink off the wall, which made it so much easier to get everything where it needed to be so there are no leaks.
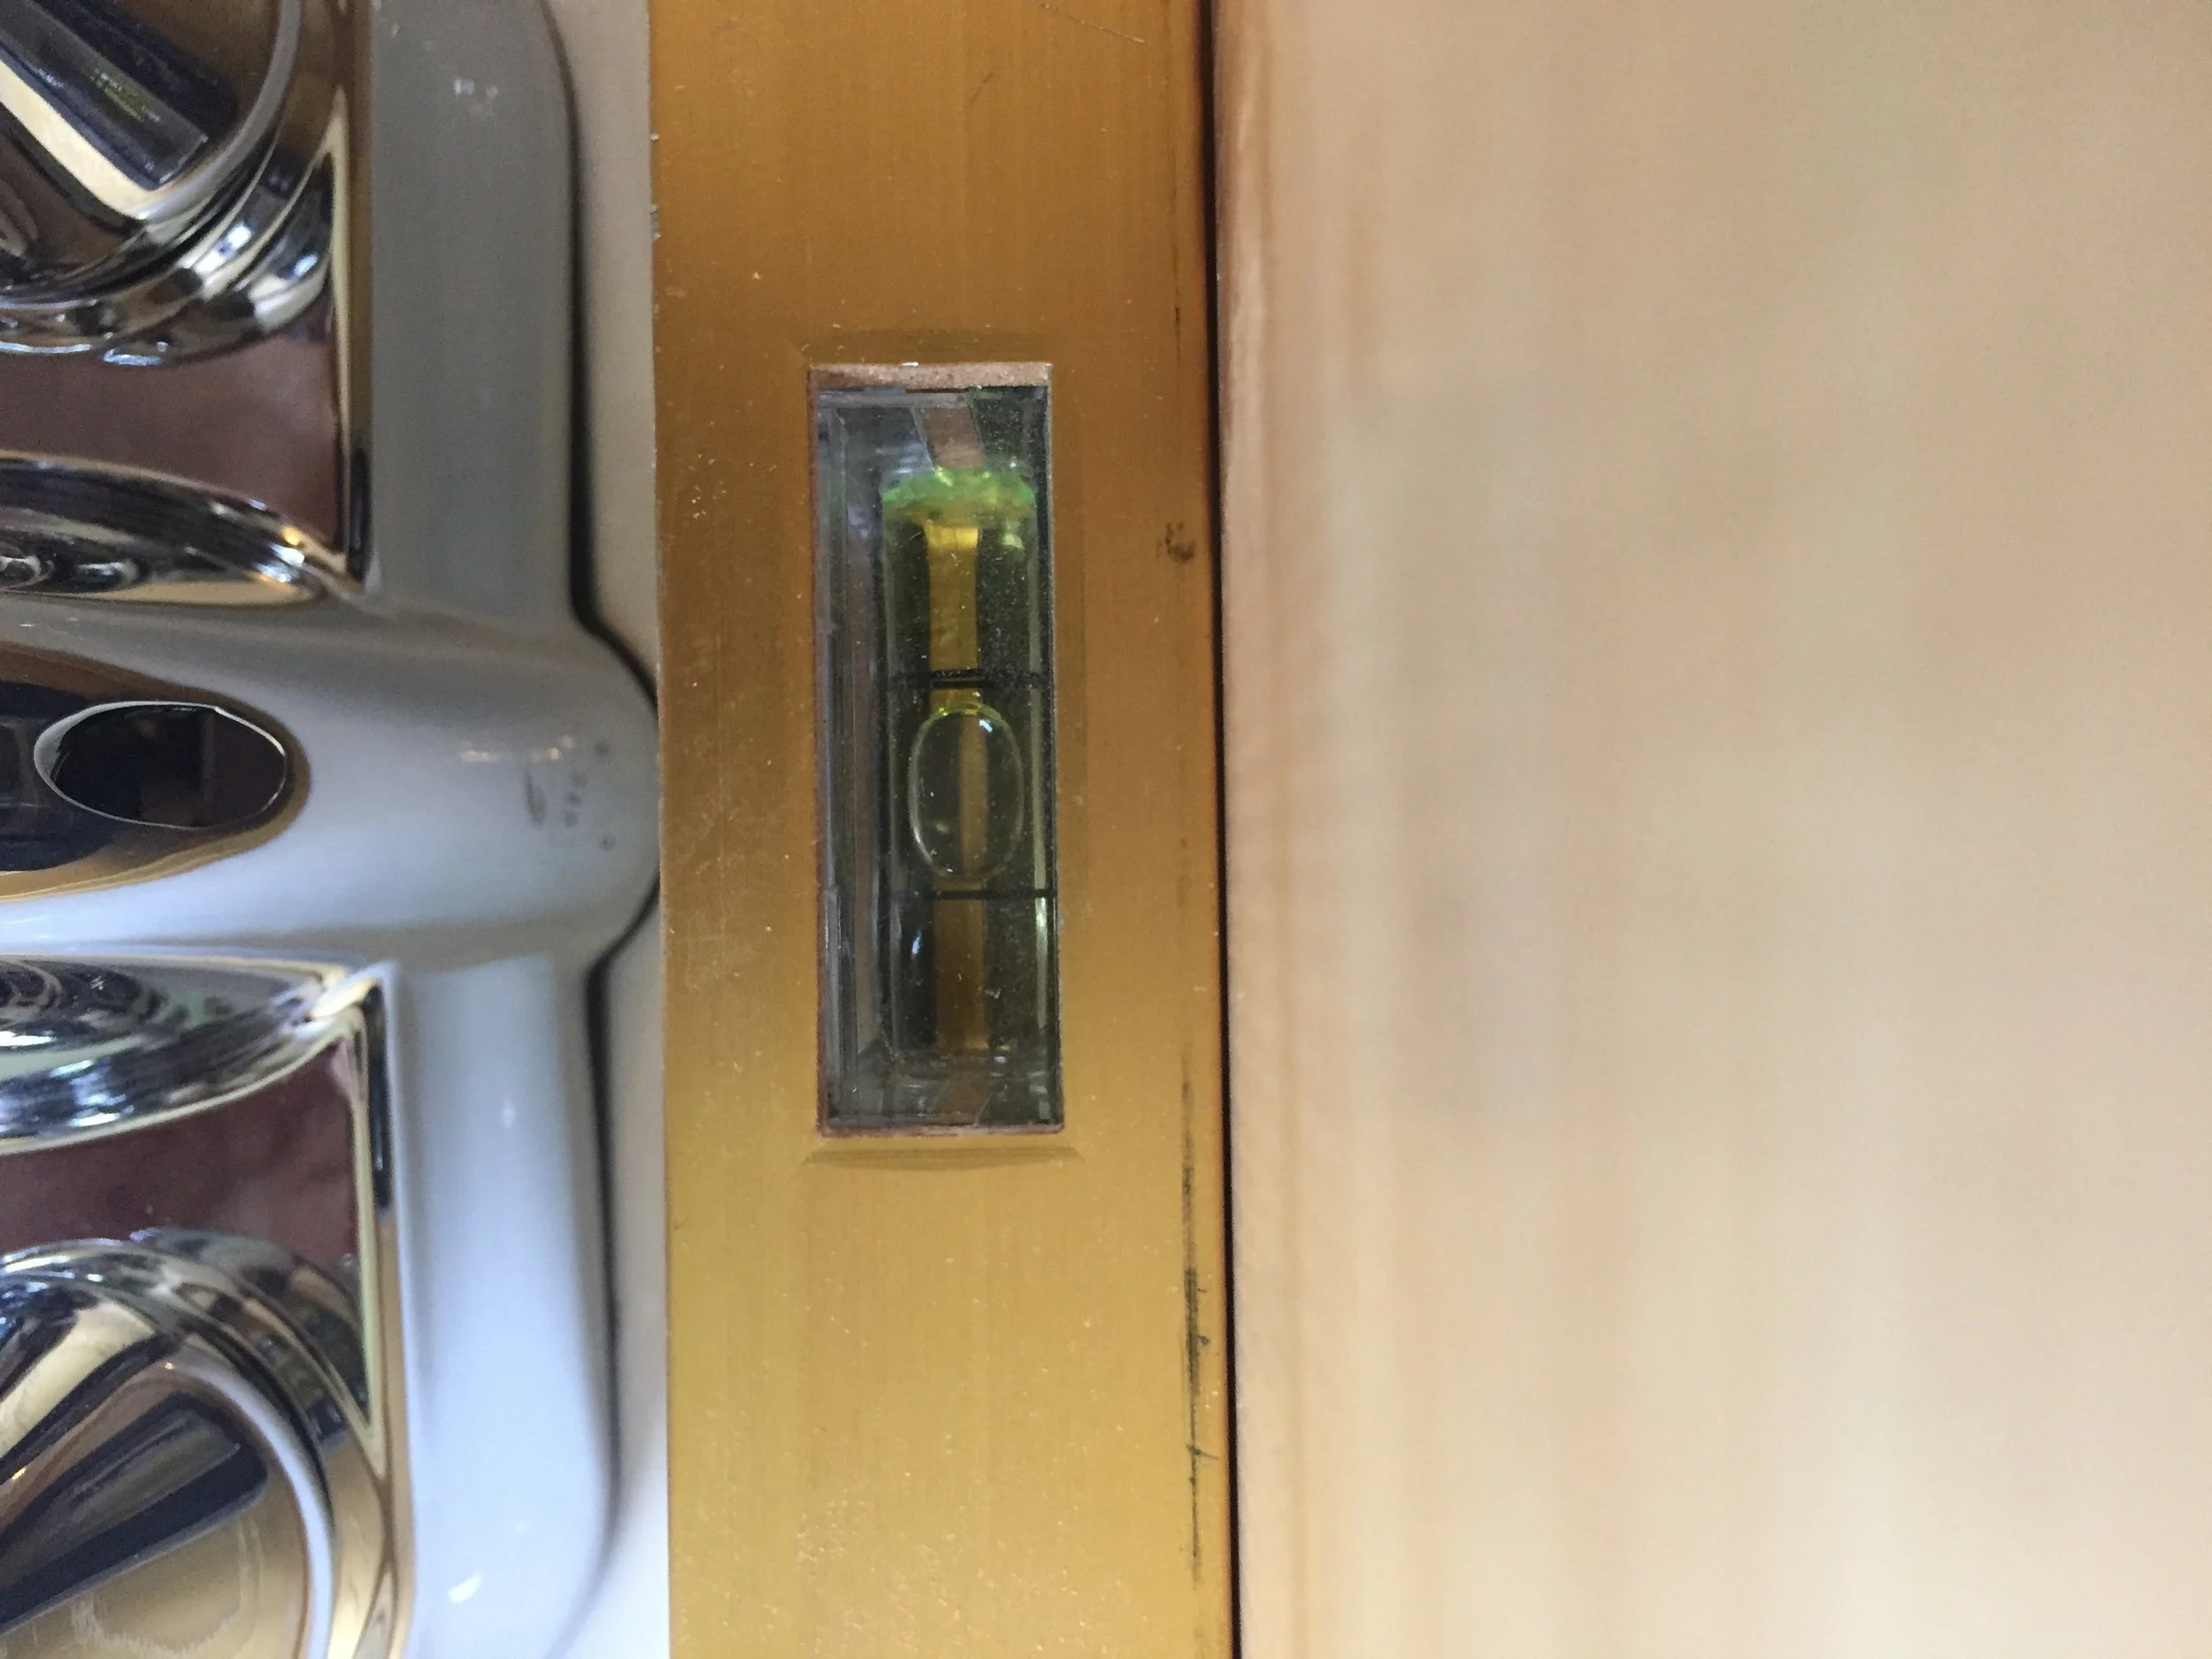
Sink finally installed and level!
By the way, you may notice that I have this thing with making sure fixtures are leveled. This is why:
To be fair, Clyde didn’t have many avid assistants...or a level that was accurate.
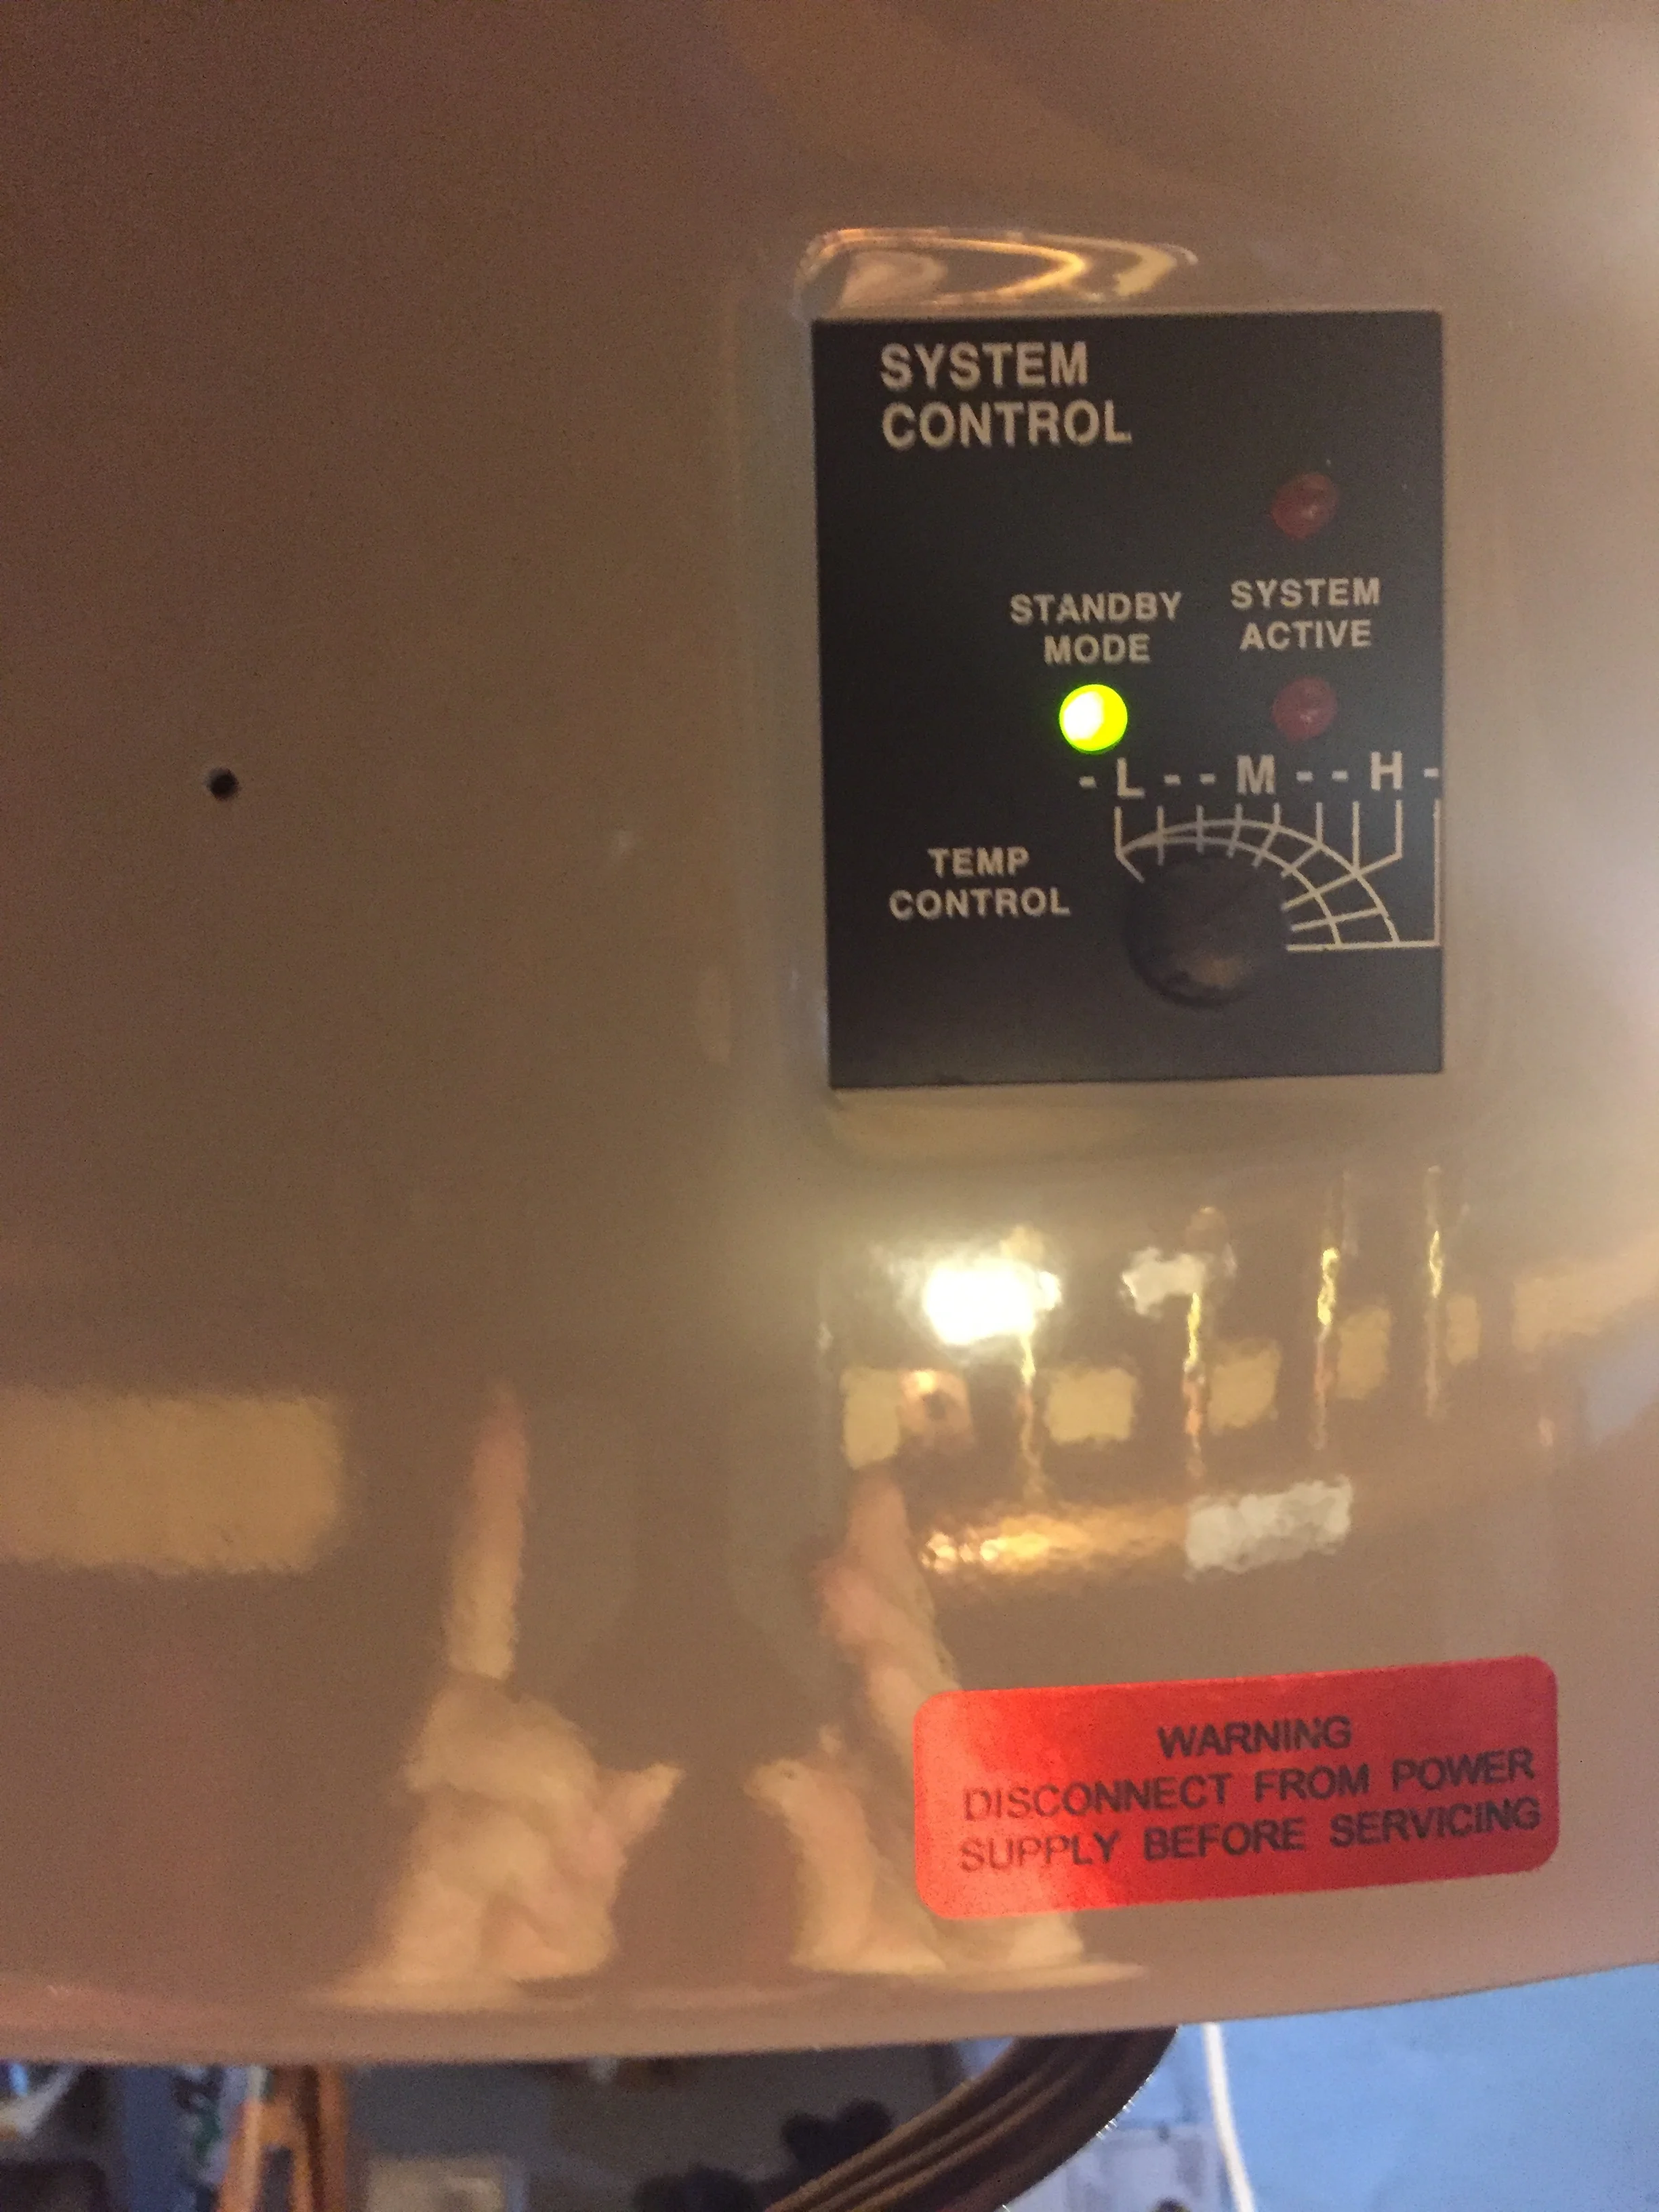
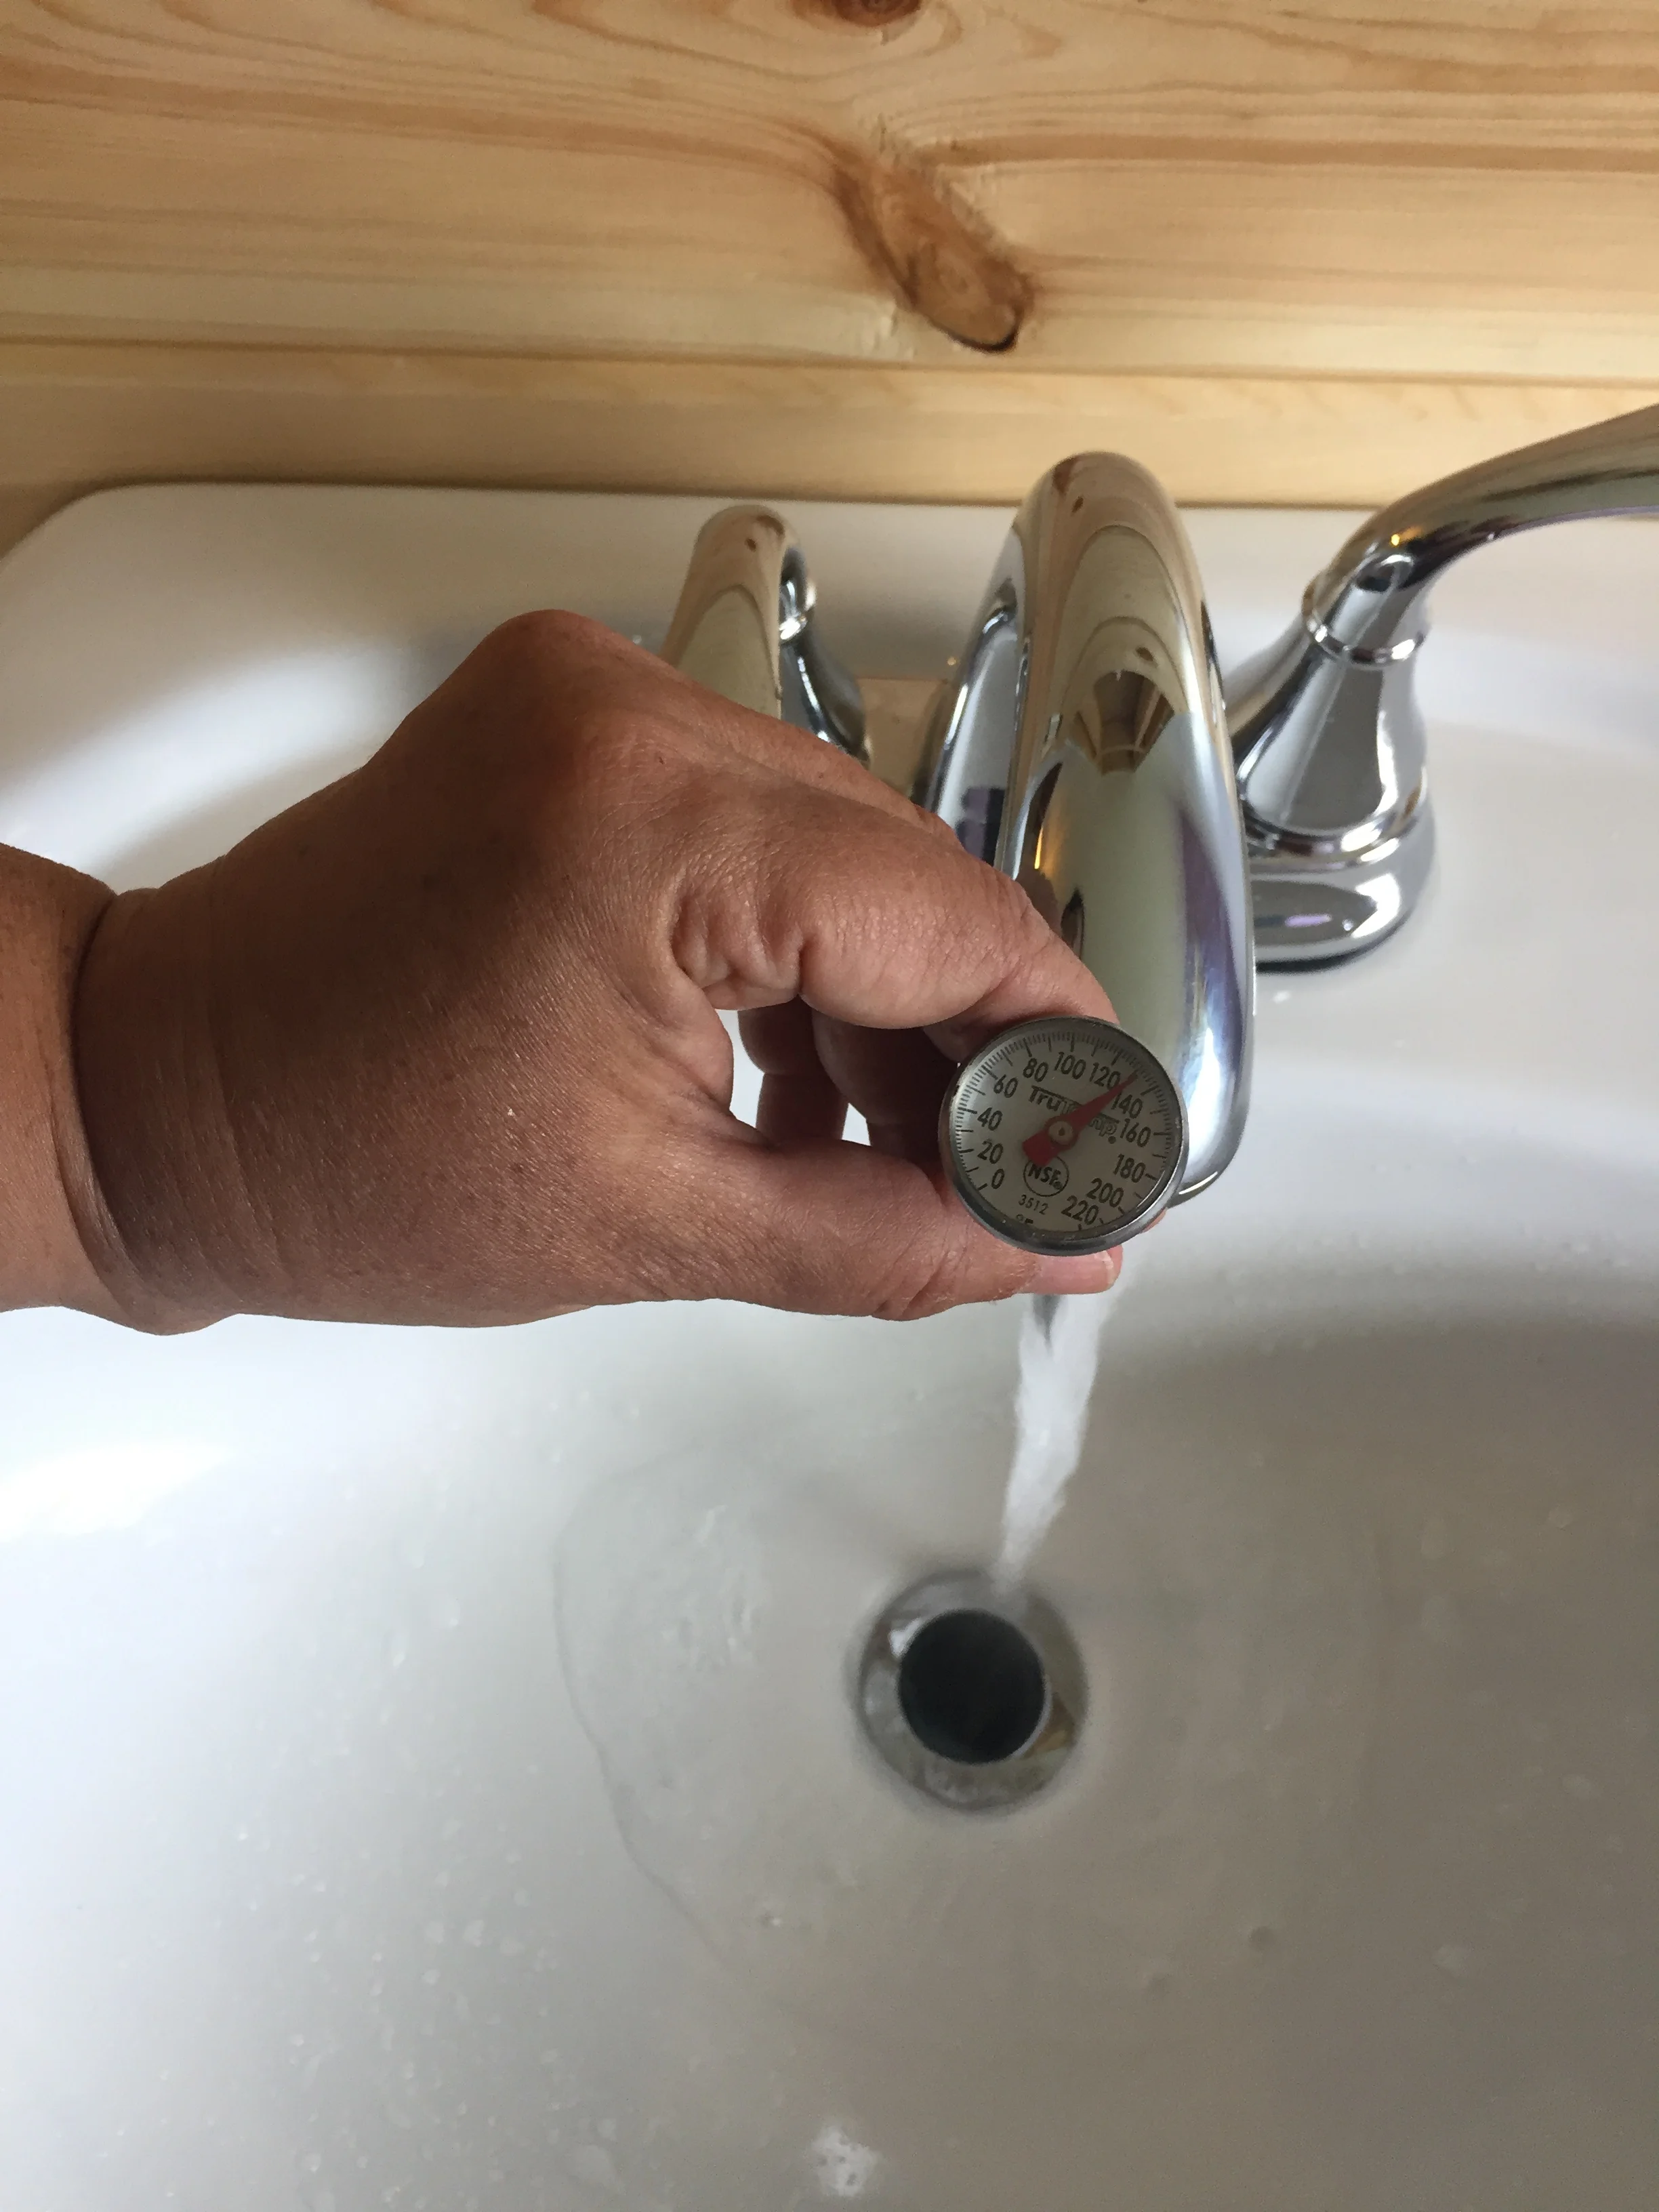
We have hot water!
We still need to install the shower walls and plumbing and cabinetry and grab bars and...but for the moment, I think the new bathroom is beautiful.
Note the tricky hole cut for the electrical outlet.
The Grand Girl and her parents arrive tomorrow, late. Nice to have a second functioning bathroom.
We have been busy here in Big Woods country. Our riding lawn mower started eating belts, which means the push mower has become Michael’s new best friend. In the meantime, I’ve been learning how to use a variety of saws. Michael has always been in charge of making big ones into little ones, but he has these 3-4 acres of grass calling his name...which left me on my own. So, this is what I’ve learned:
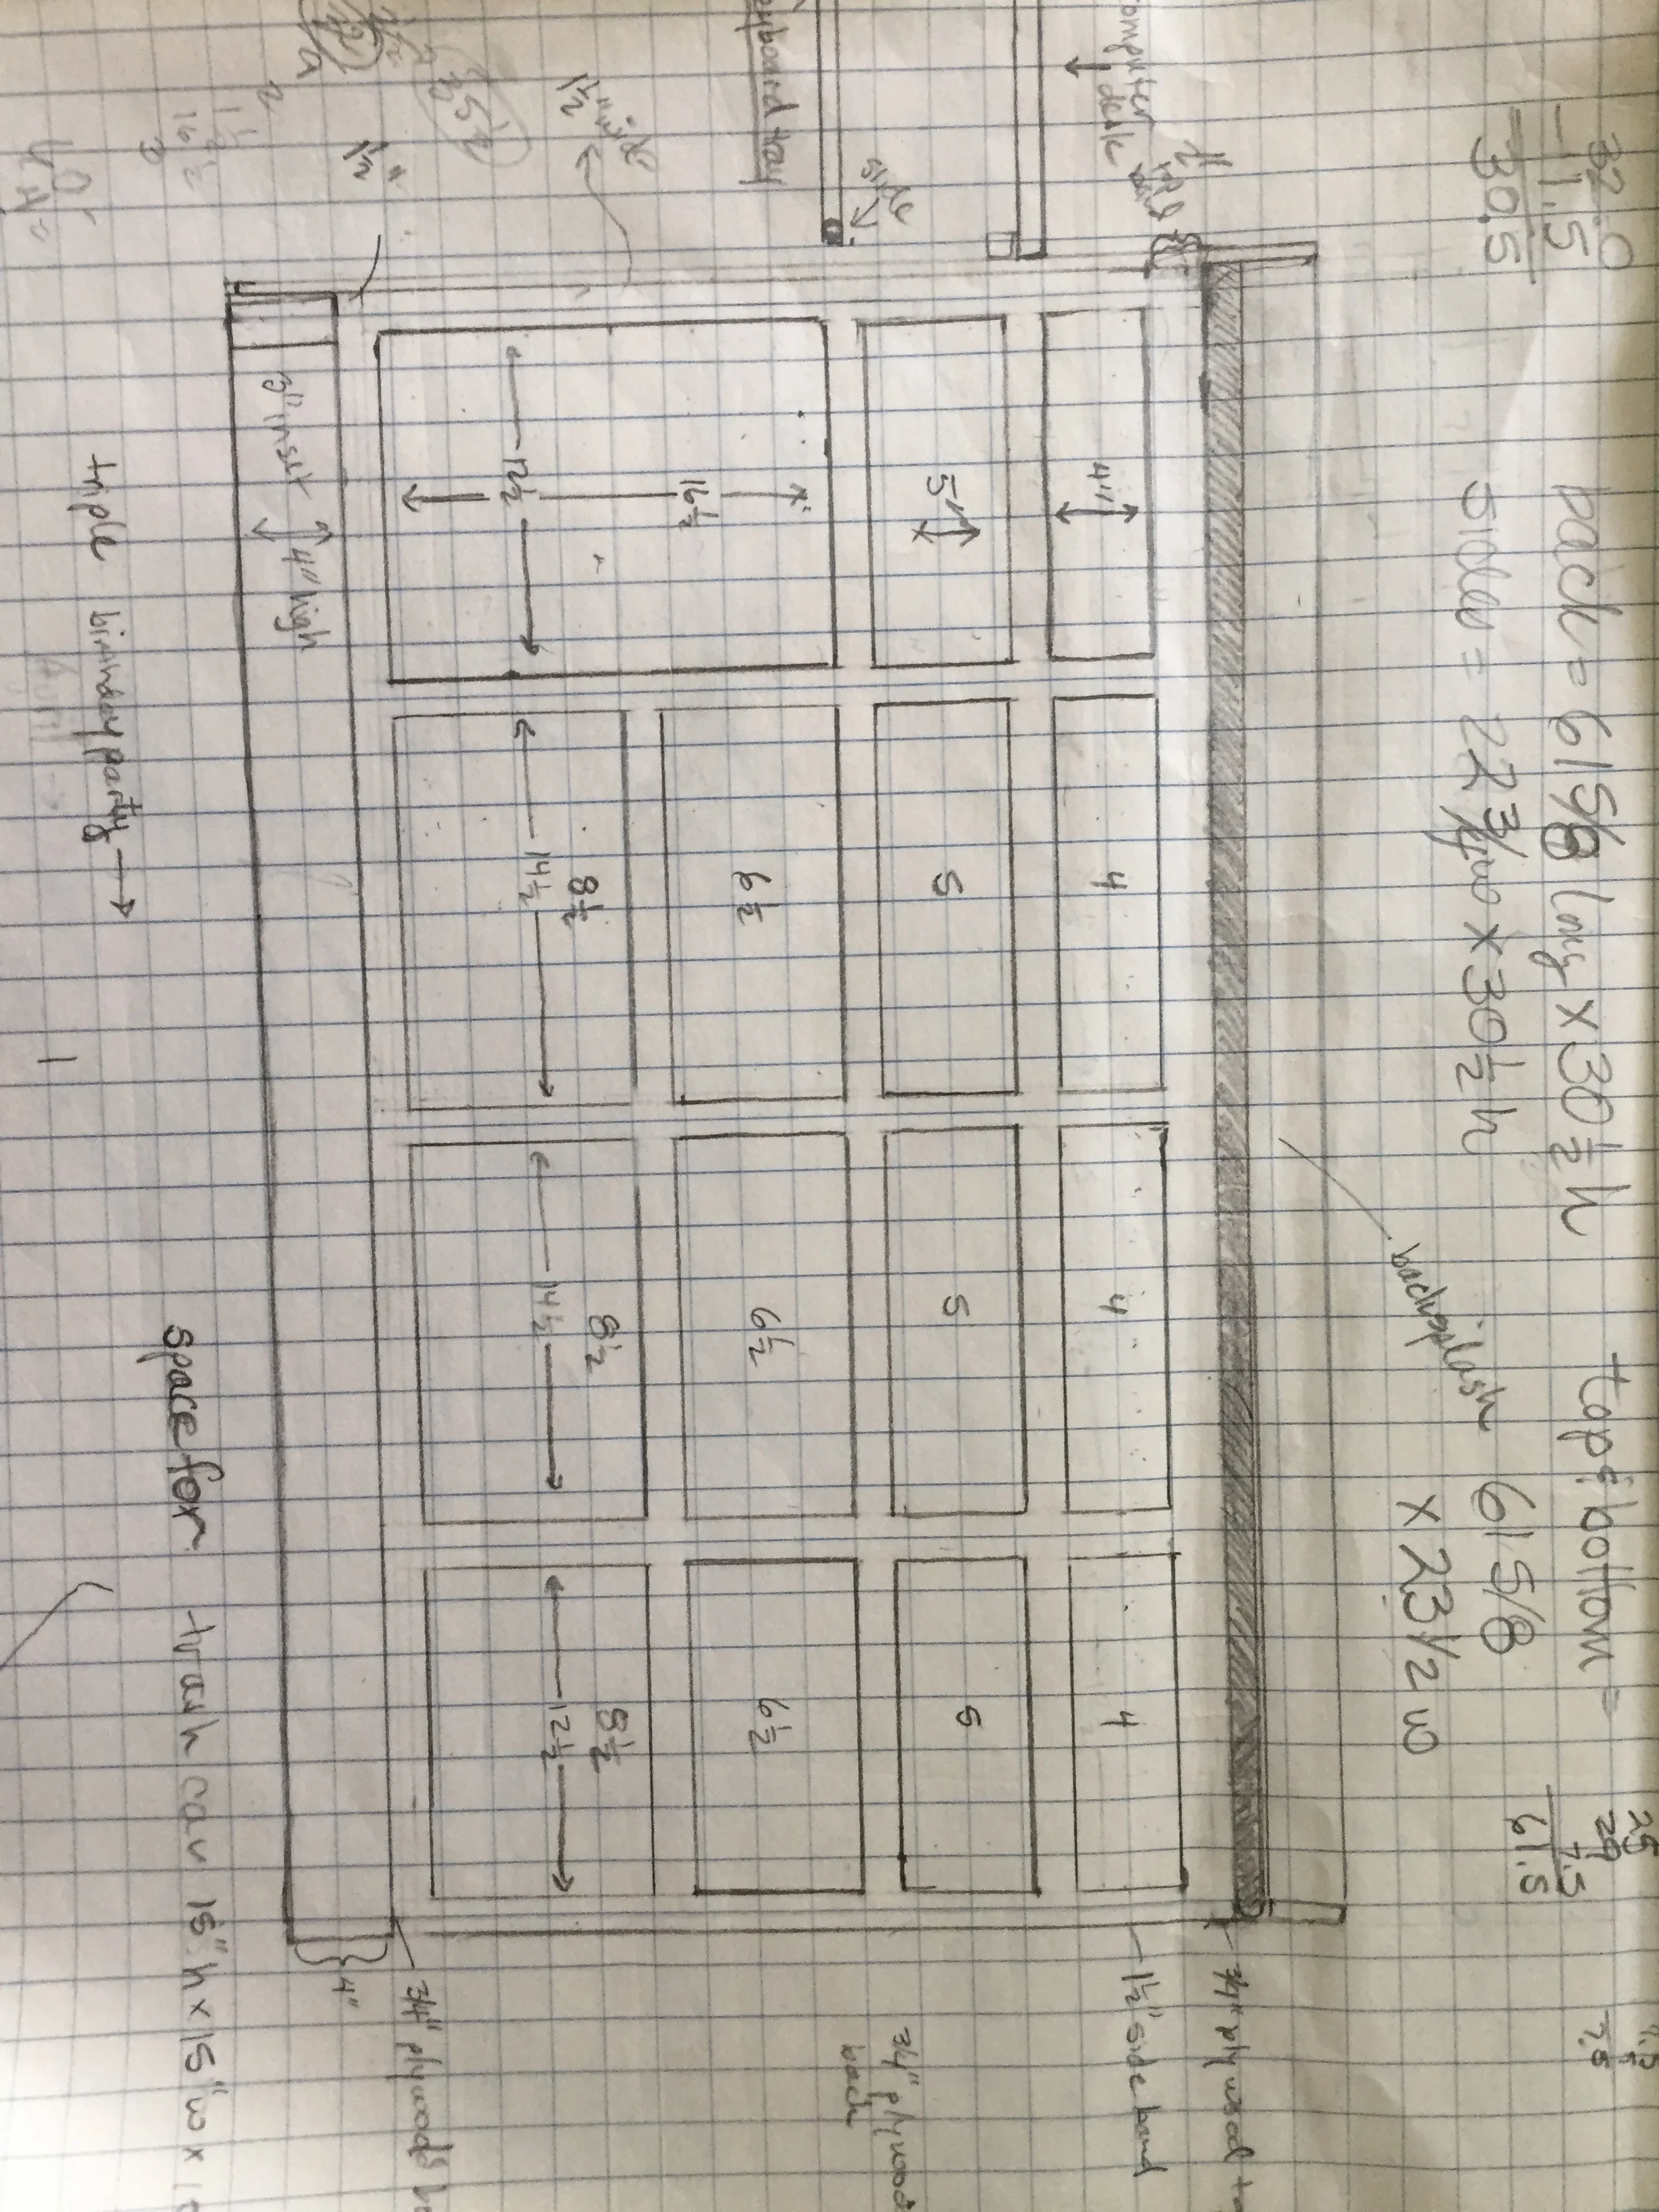
First, I designed a counter with drawers for Irene’s new space using information from books my Uncle Tom sent to me.
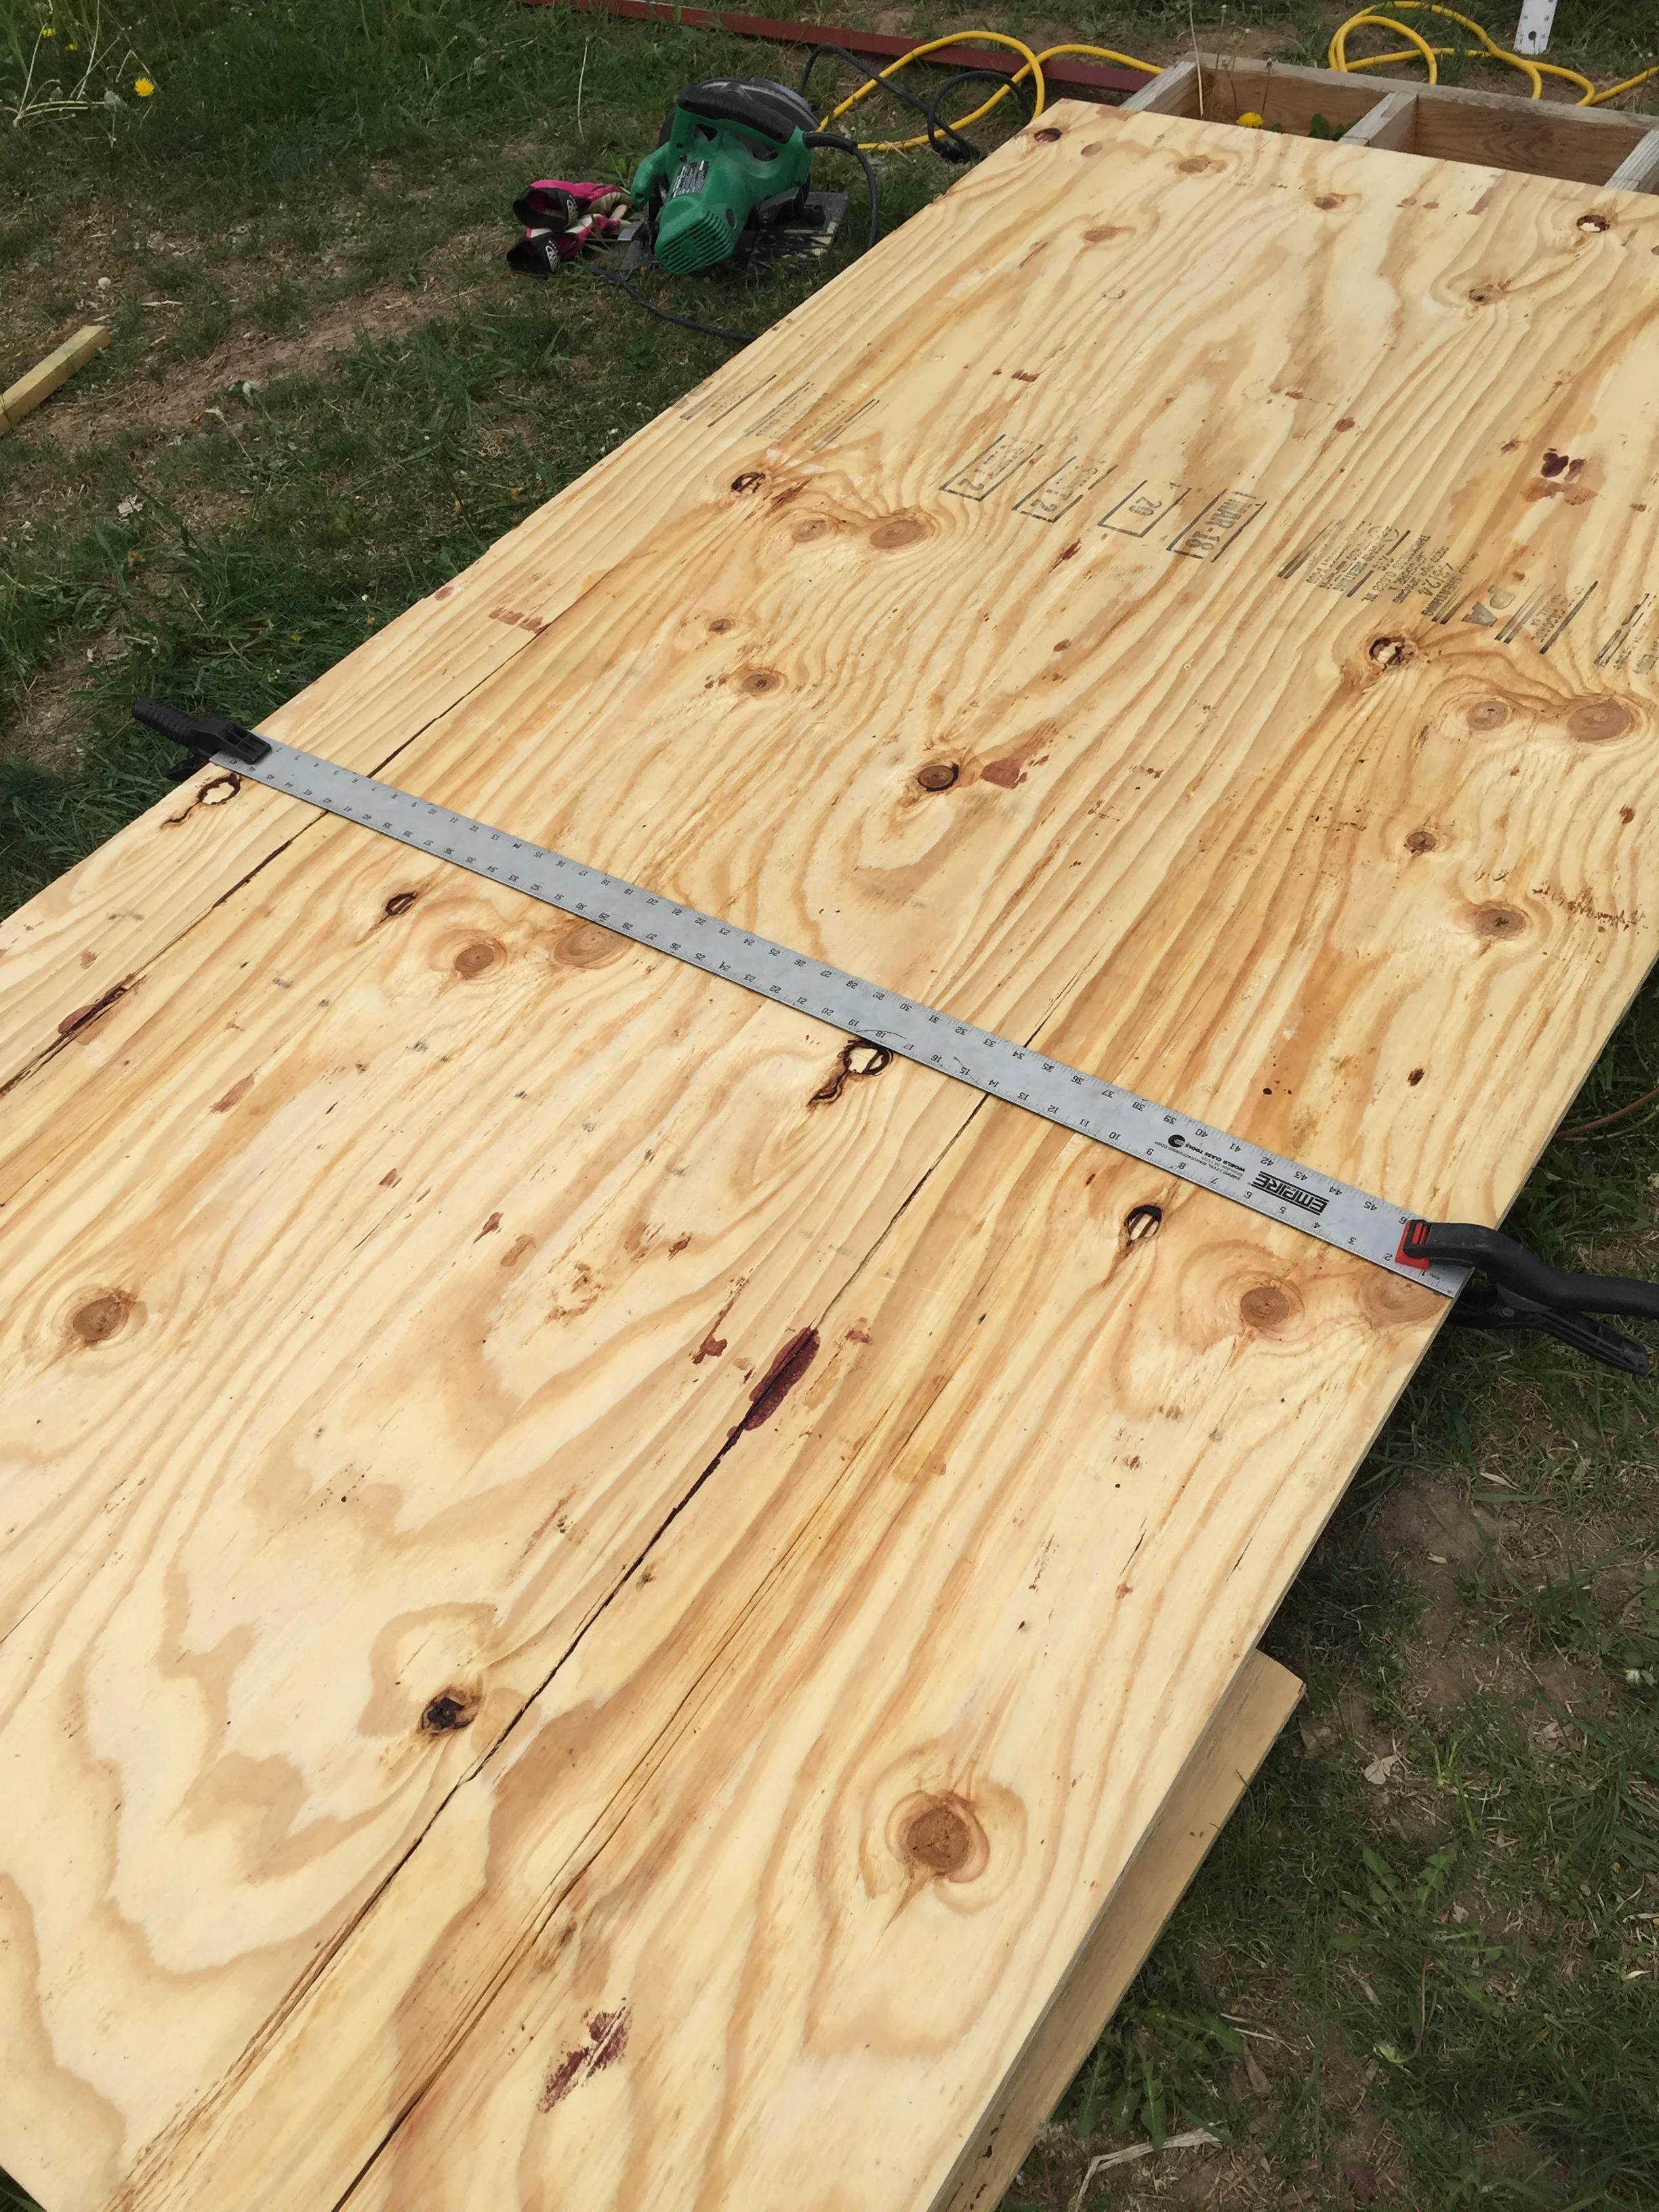
I found a quartz countertop that fit the space we made last summer. It was beautiful and half price, so I bought it. It has been gathering dust ever since. It’s size controlled other dimensions. We bought 3/4” plywood, as my Uncle Tom books said that is what it takes to support heavy countertops. Michael helped me lay the plywood on top of the frame he made last fall to cut our metal siding.

I used scrap lumber to support the board beyond the frame so I didn’t have to cut through the frame itself. Michael just cut through the frame with the metal, but I didn’t want to deal with the different resistances.
In order to keep my lines straight, I clamped my straight edge to the plywood.
No wiggles!
I then clamped my straight edge 5 1/8” down from my line, so I had a guide to help me keep my actual cut straight.
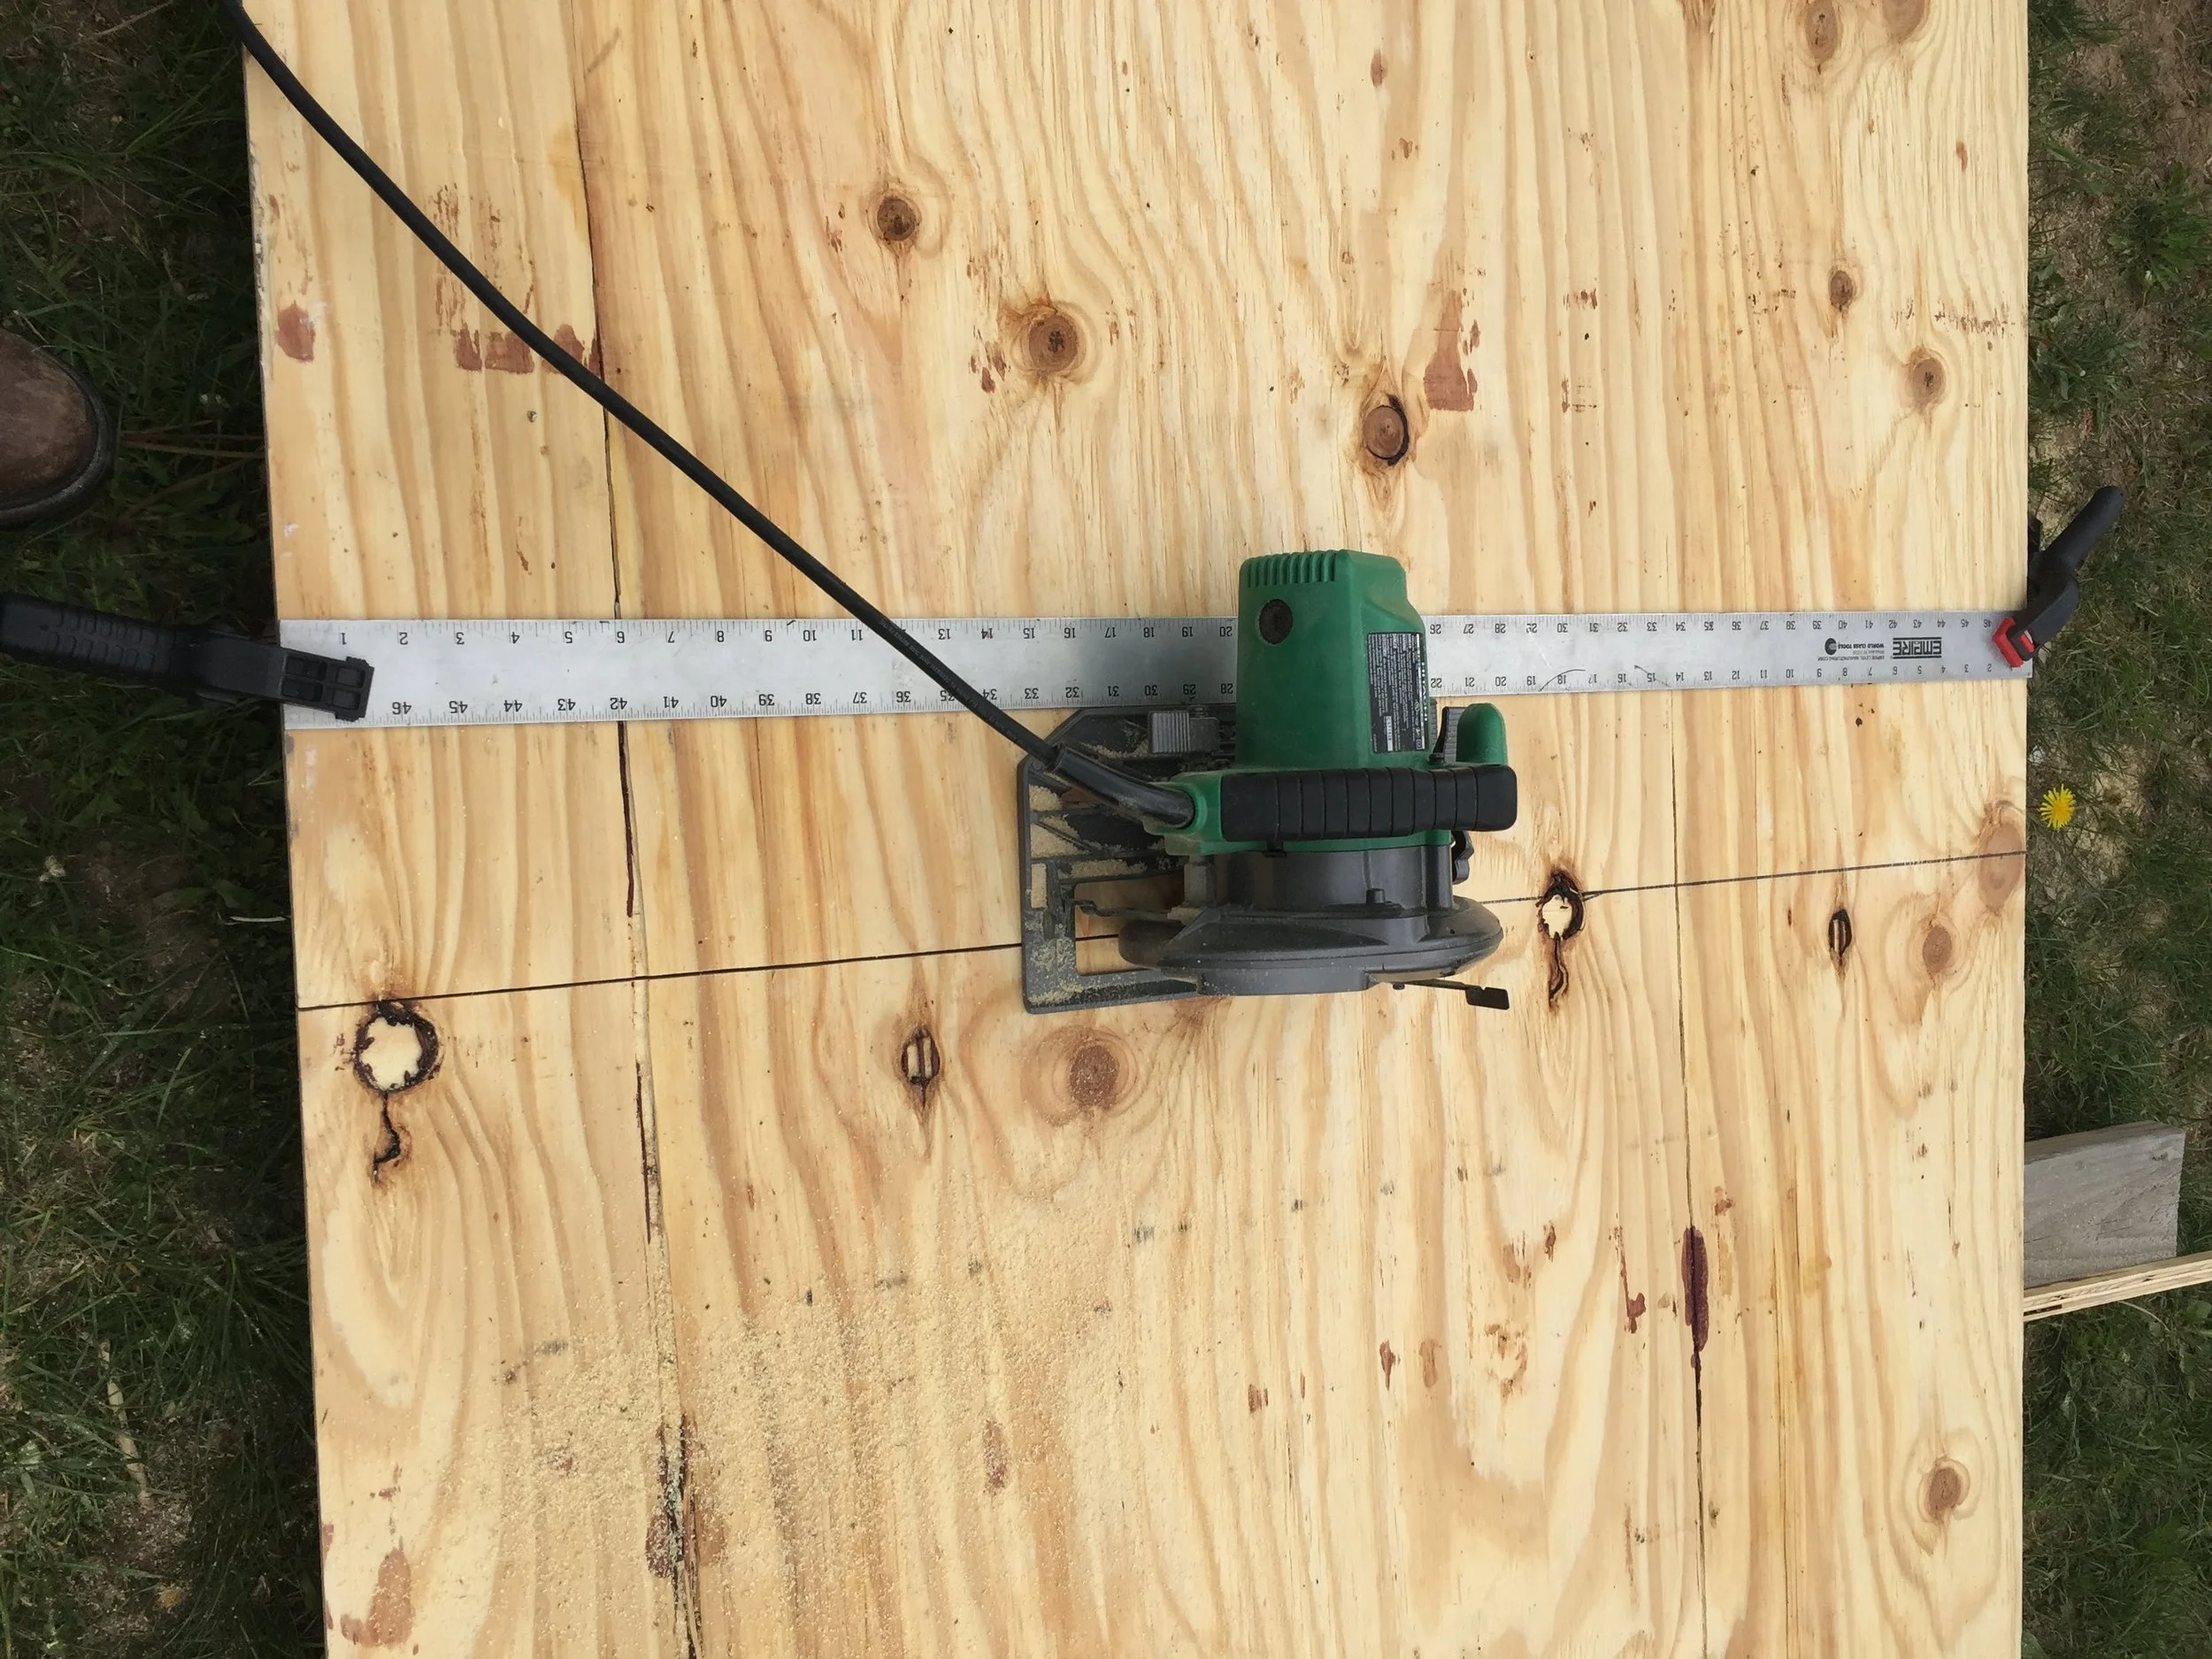
This may seem like a lot of bother, but I really needed my boards to be uniform. The guys on You Tube had great table saw supports in fabulous workshops. I have a lawn.
Once I got all of my boards cut, they needed to be put together. A real carpenter would use specially cut joints that interlock. I just wanted this to go together and not fall apart. The You Tube guys recommended pocket screws as being the fast and dirty way to go. I decided to give it a whirl.
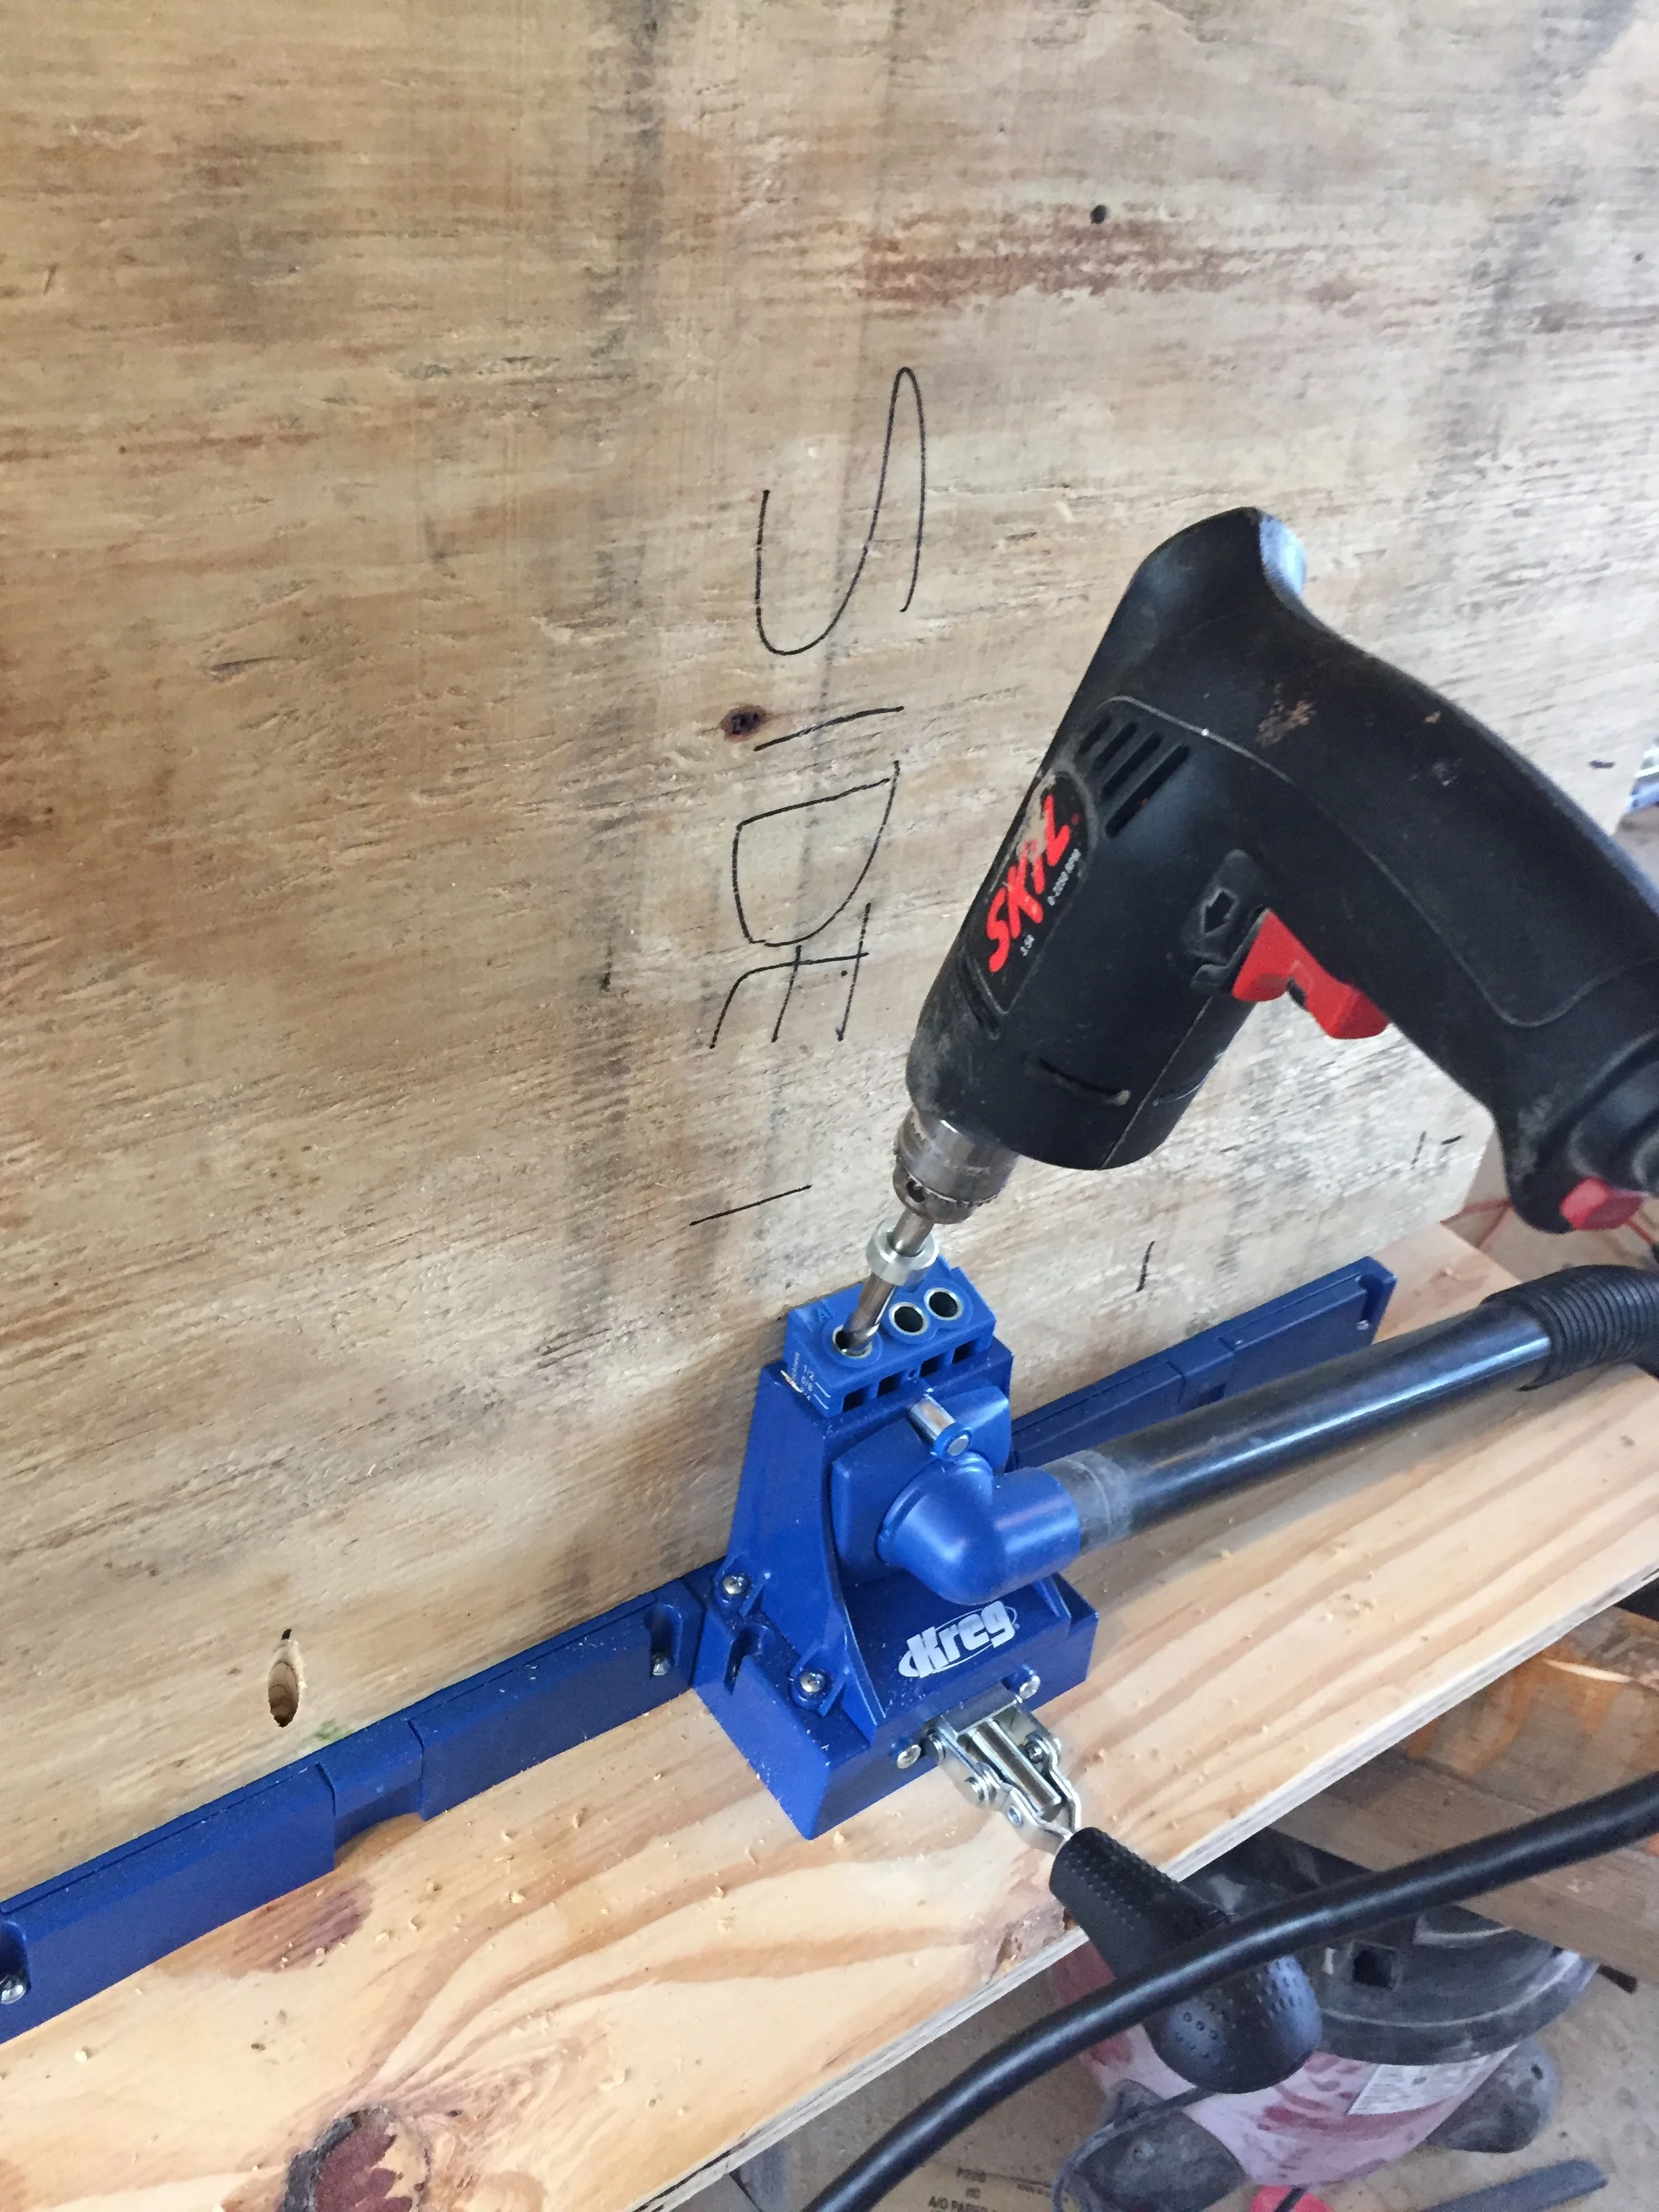
EBay. We love EBay. I put the pocket jig together. Michael helped me hold the big pieces. He needed a break from mowing anyway.
The next step was to screw the pieces together.
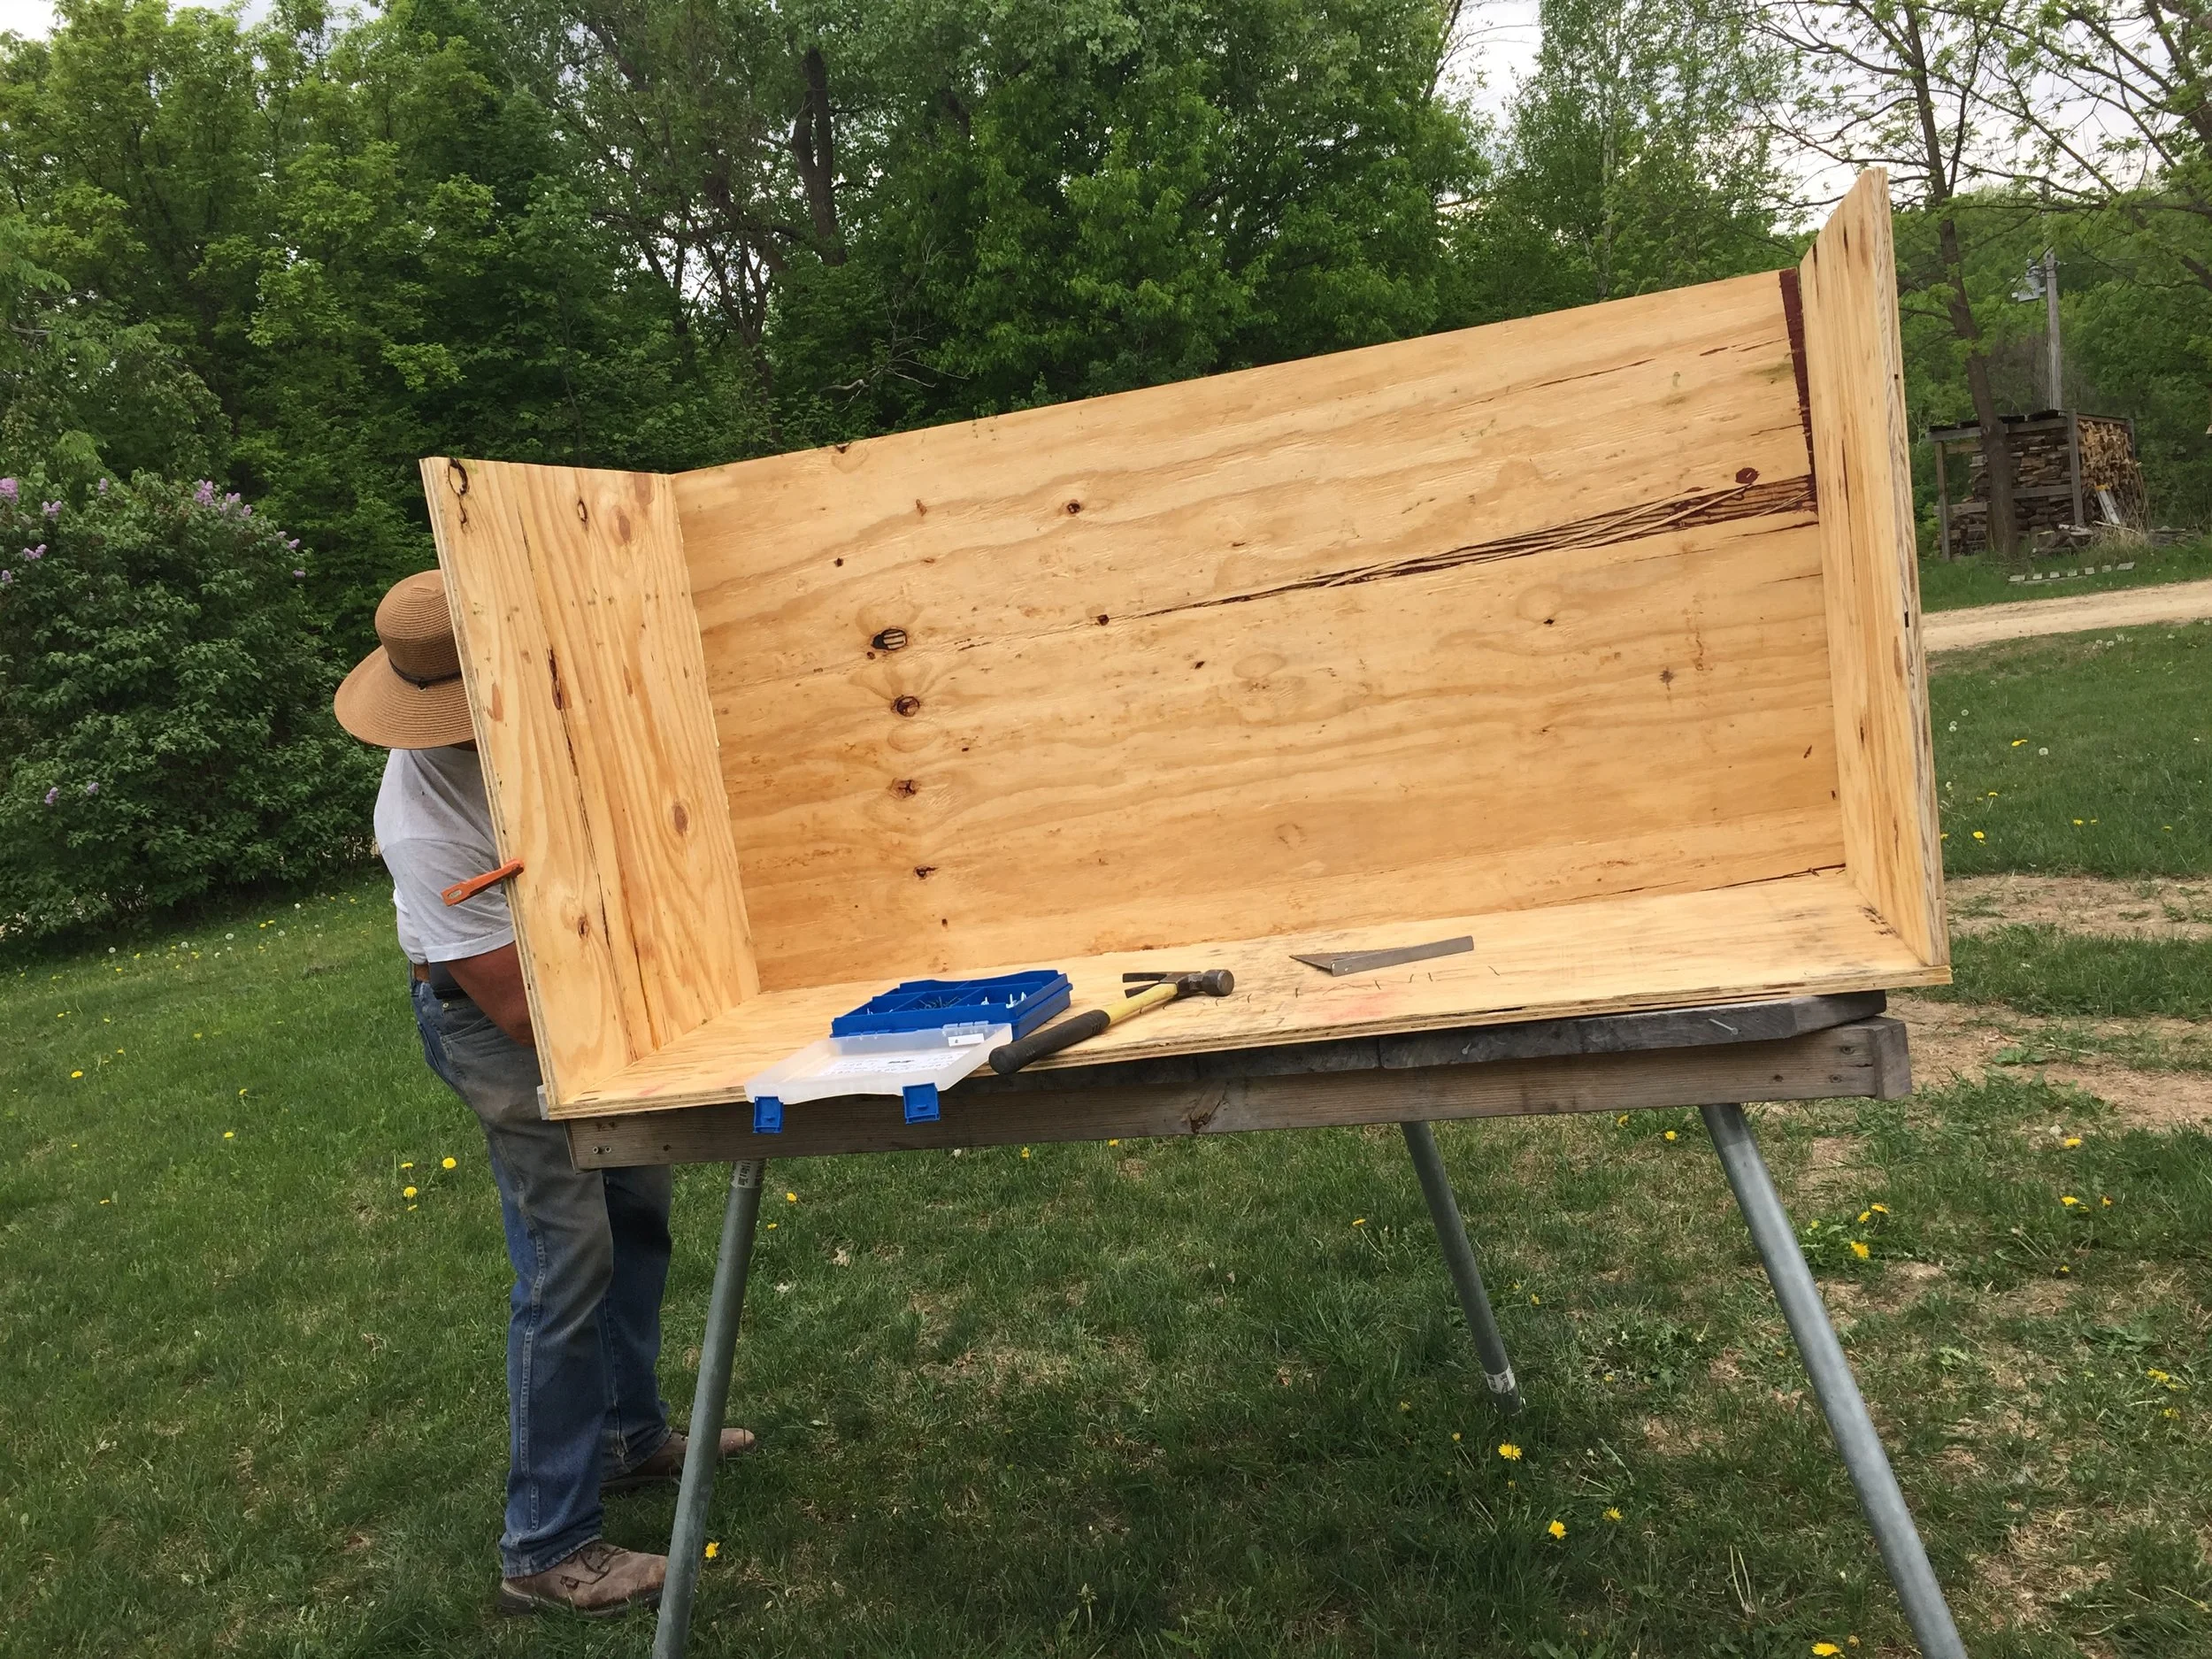
Plywood is never straight. We had to muscle it into square as we screwed the sections together. Clamps are only so helpful at this stage (although we did use them when screws didn’t want to sink properly). We also glued.
Once all the pieces were together, we set the box on top of the 4” high supports we installed prior to laying the flooring.
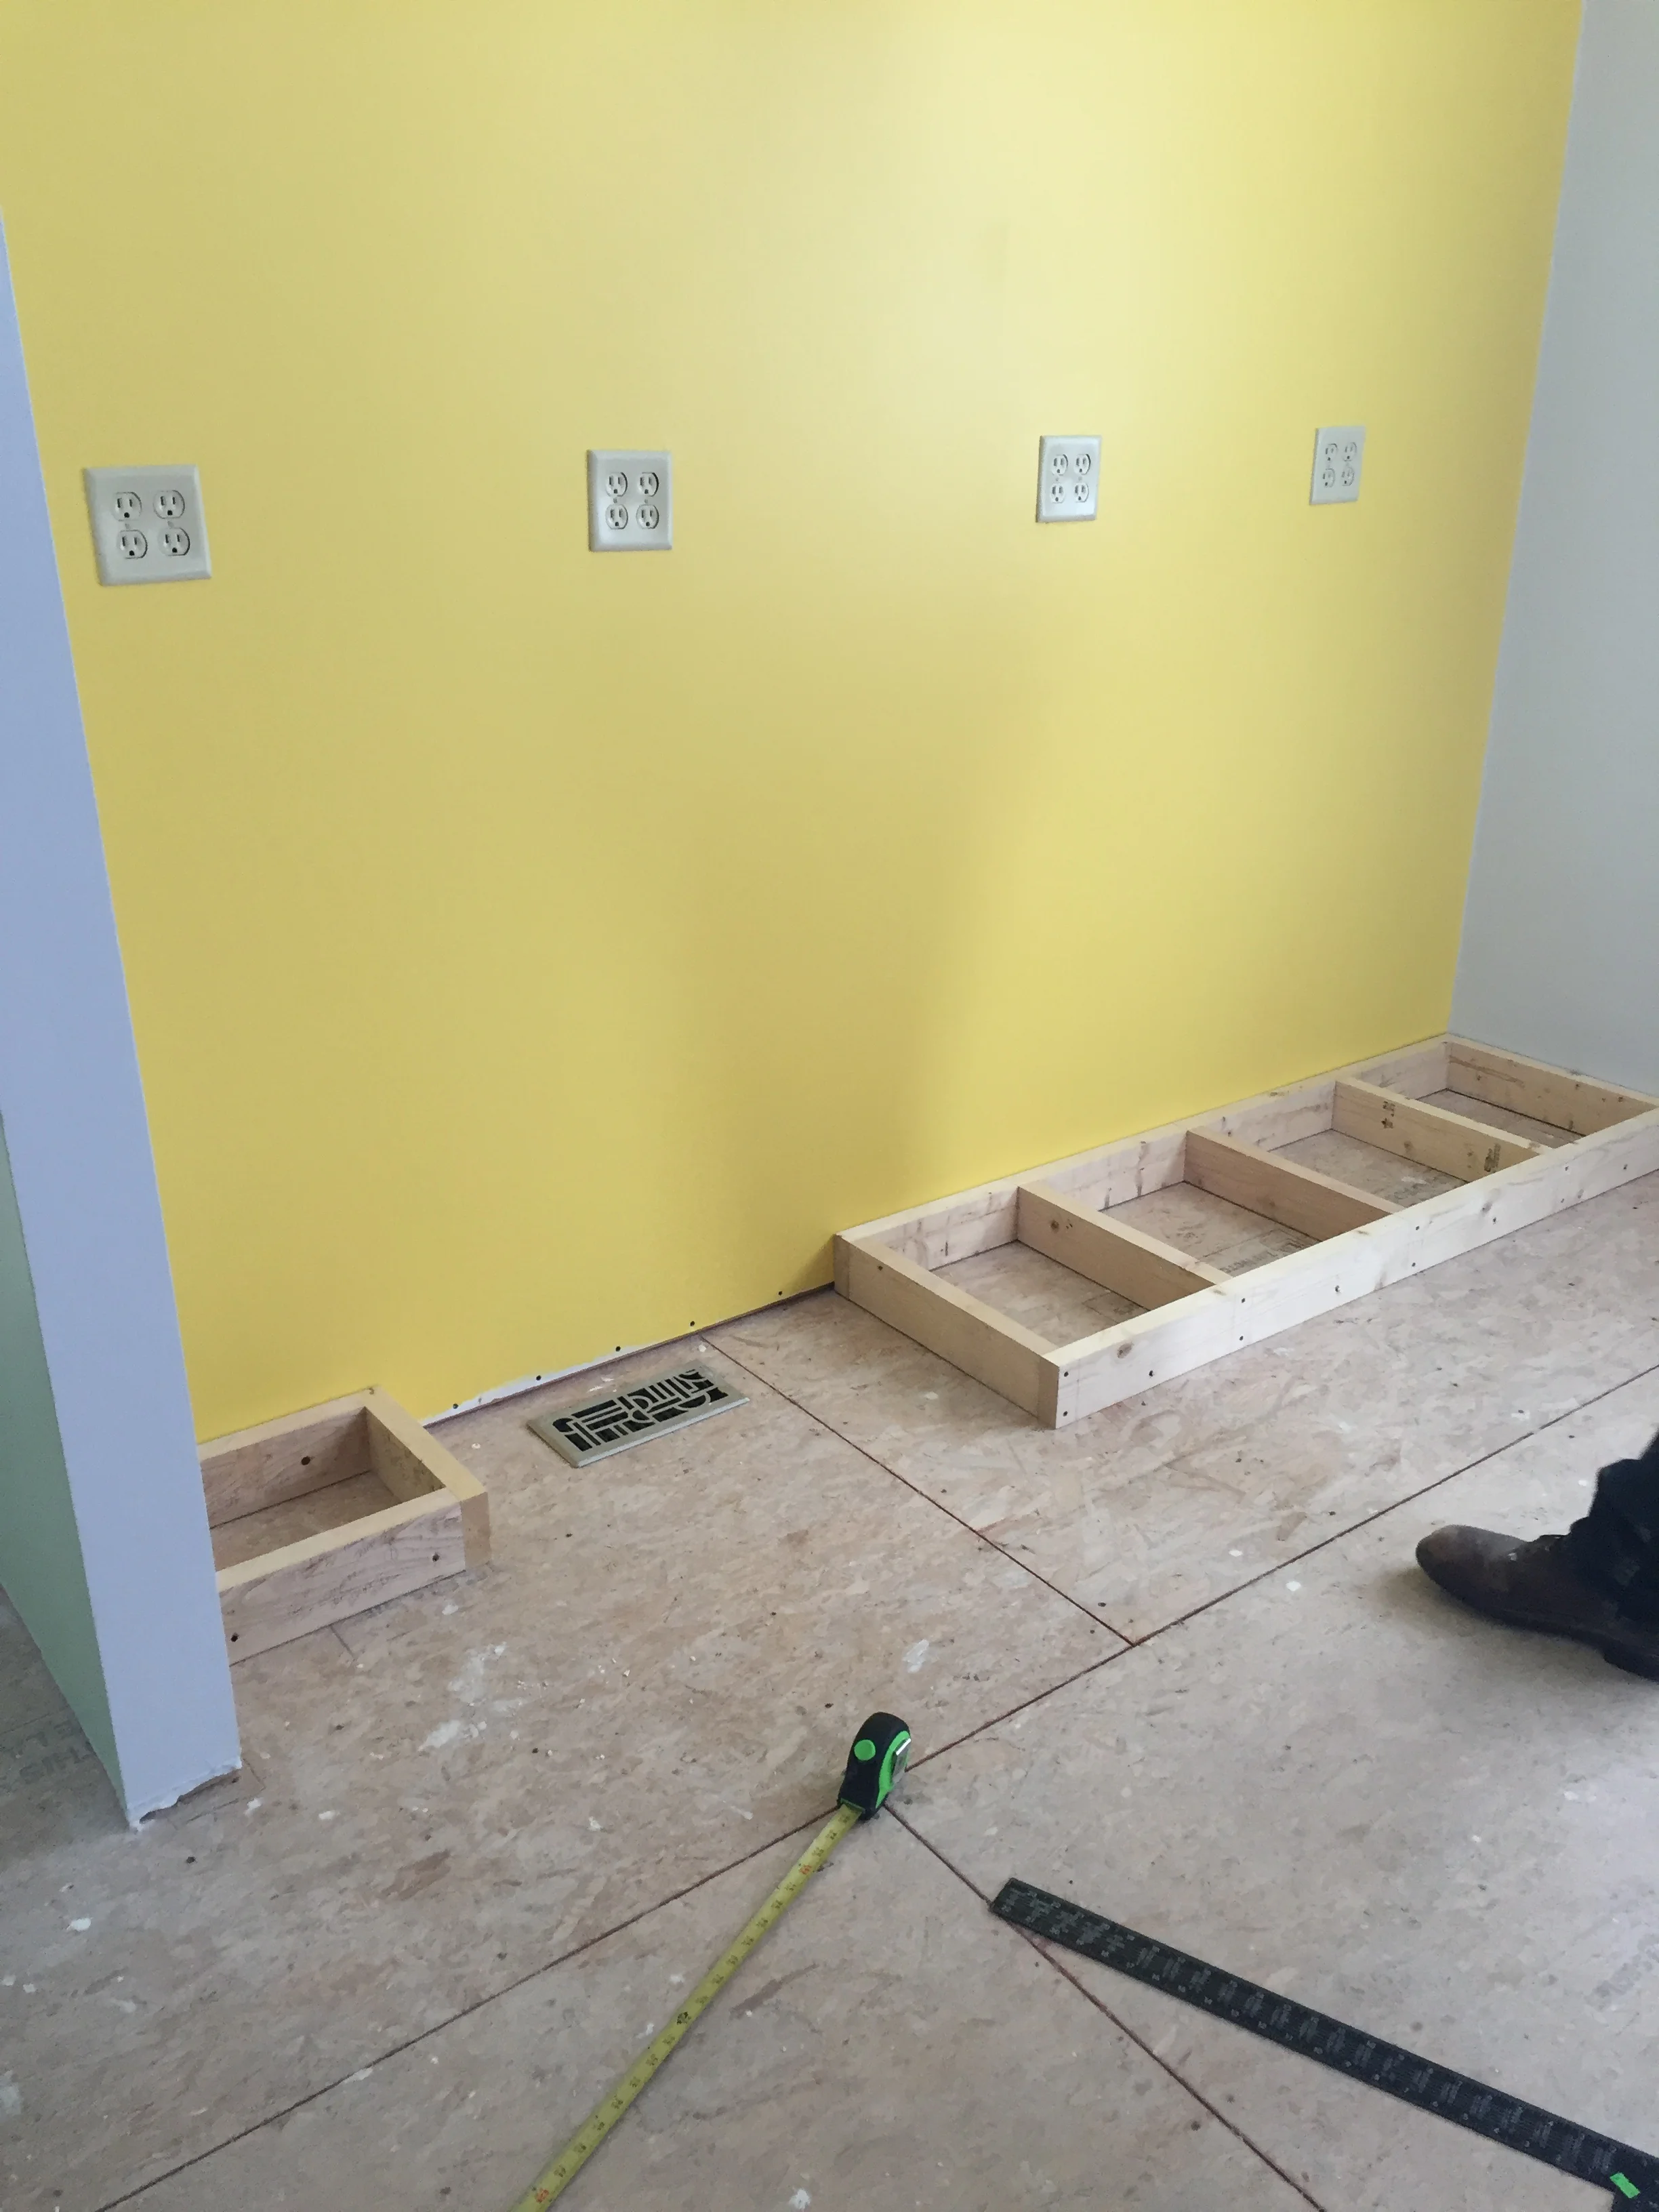
I had to plan the cabinetry ages before I could start the construction of the carcase.
The base is narrower than the carcase to allow room for the toe kick.
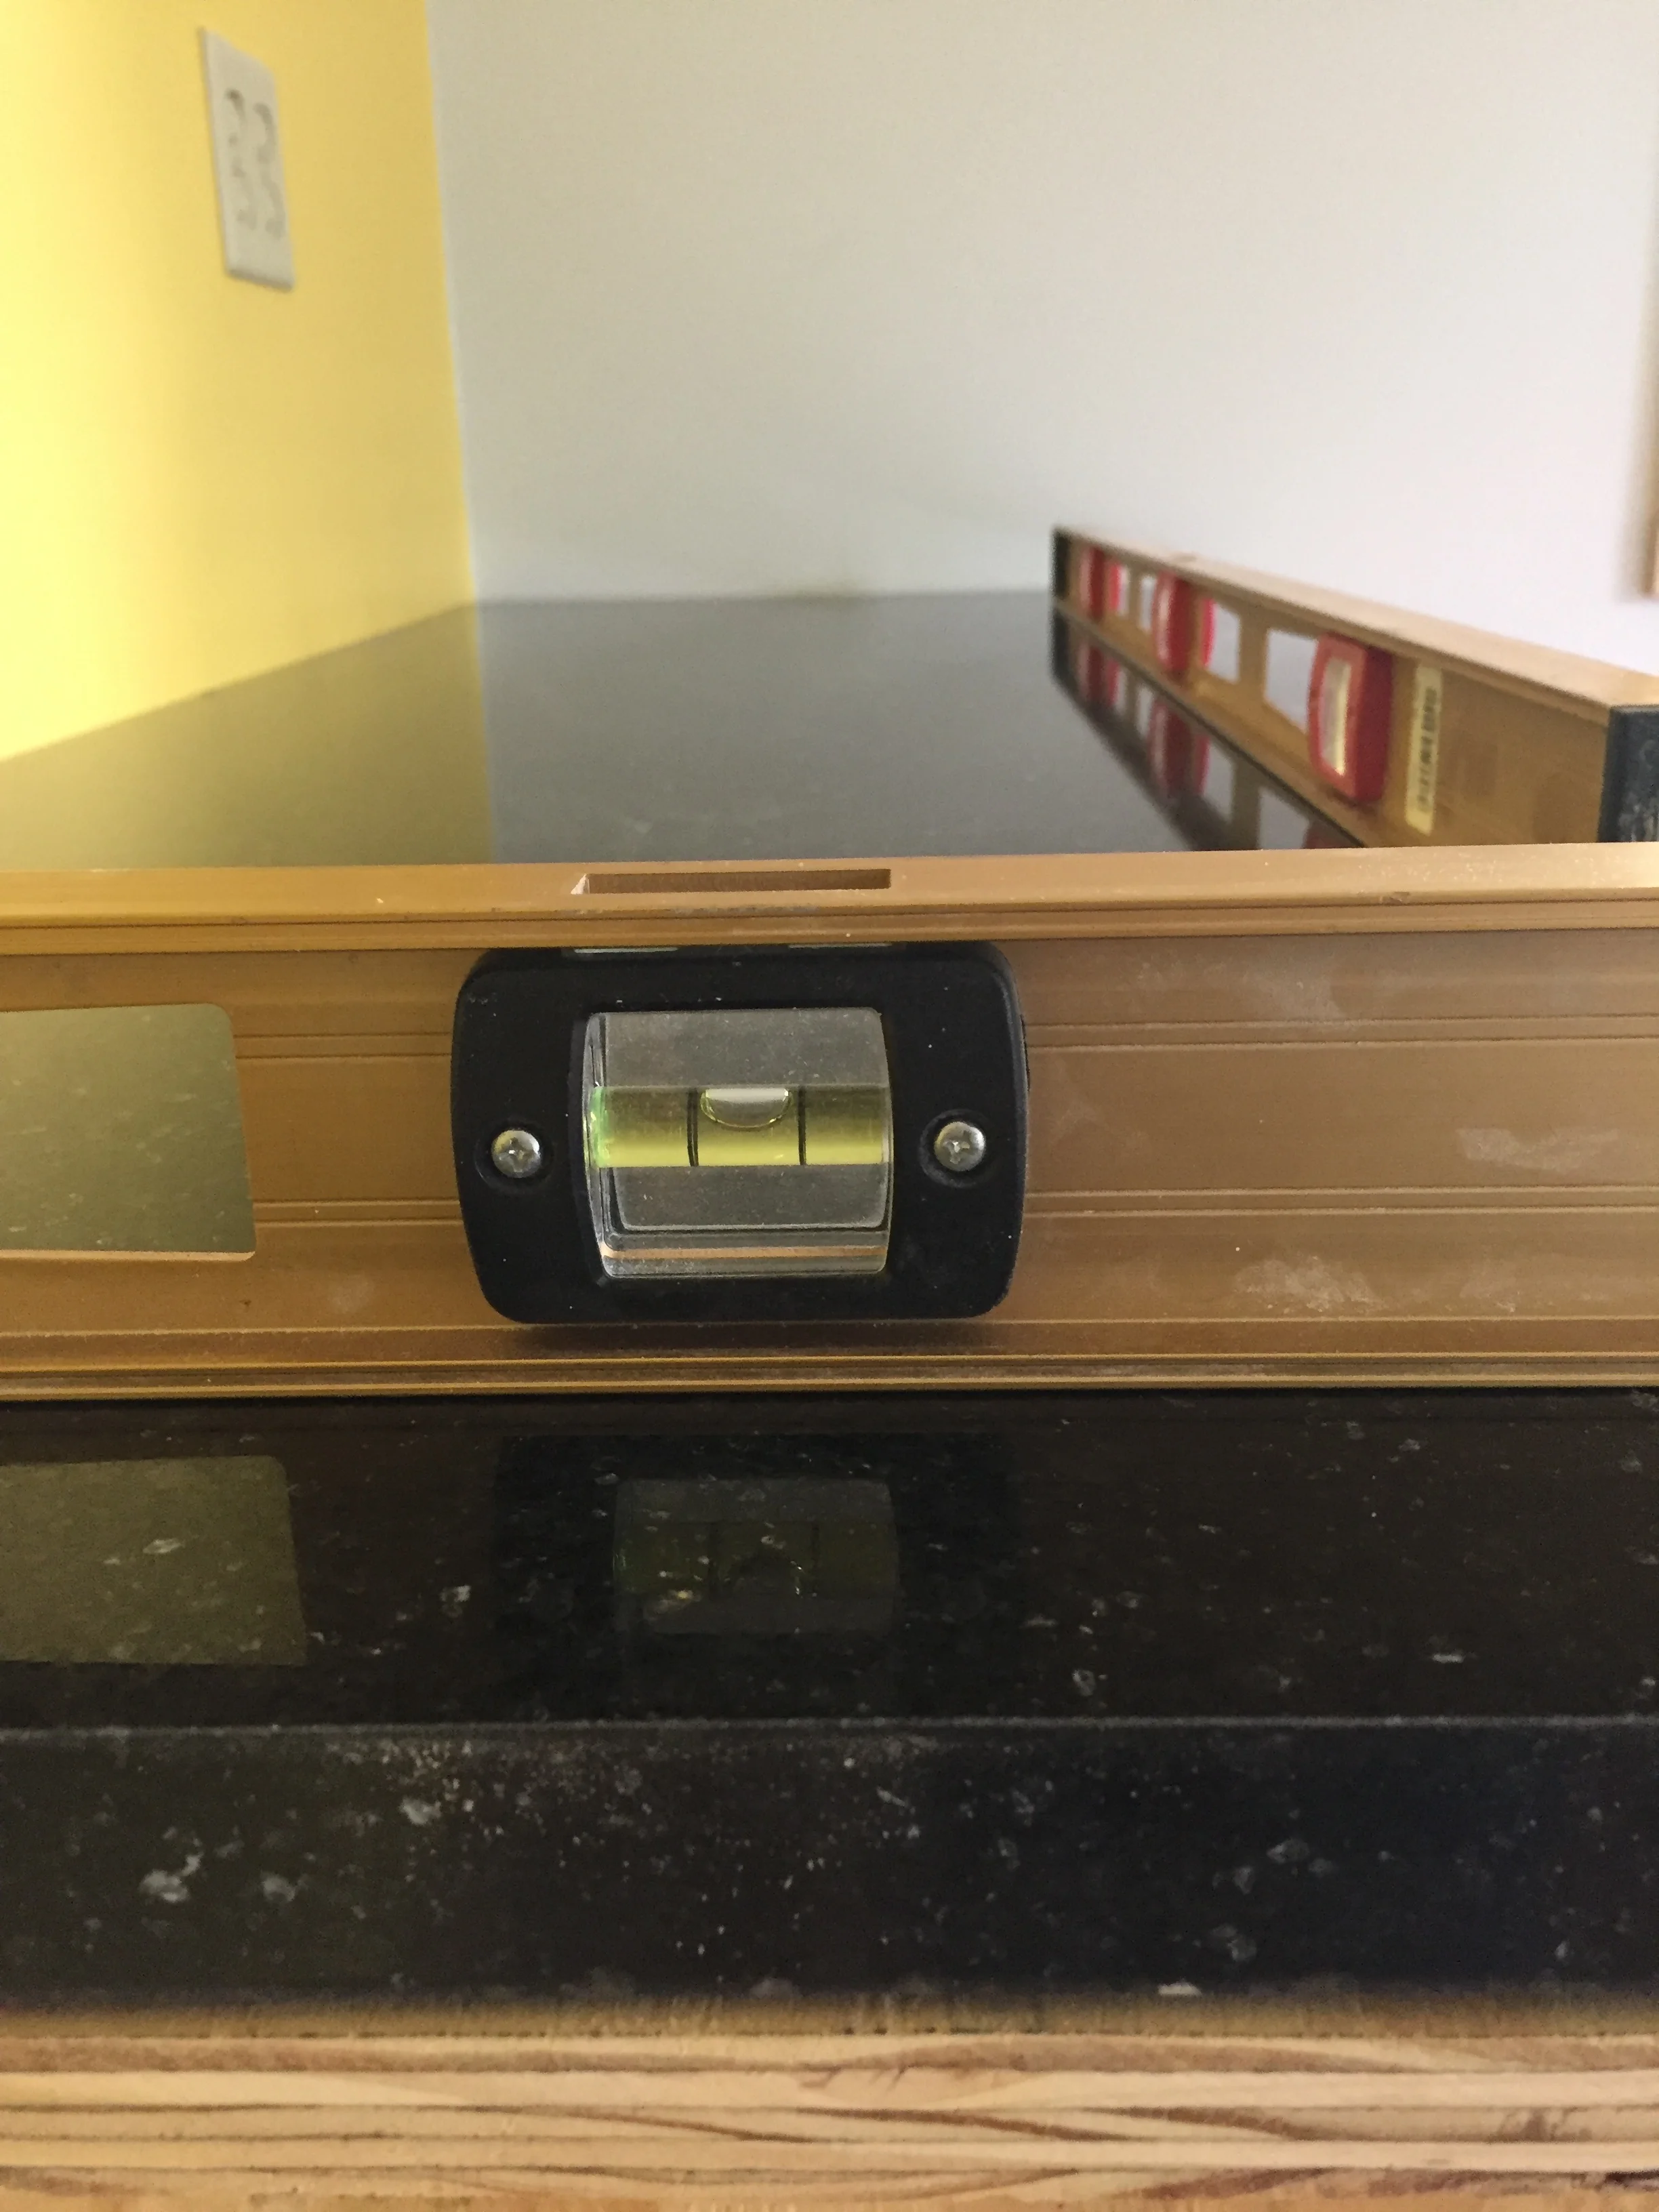
We dry fitted the countertop and I leveled it by shimming the carcase.
We used construction glue left over from putting down the underlayment for the flooring to attach the quartz to the carcase.
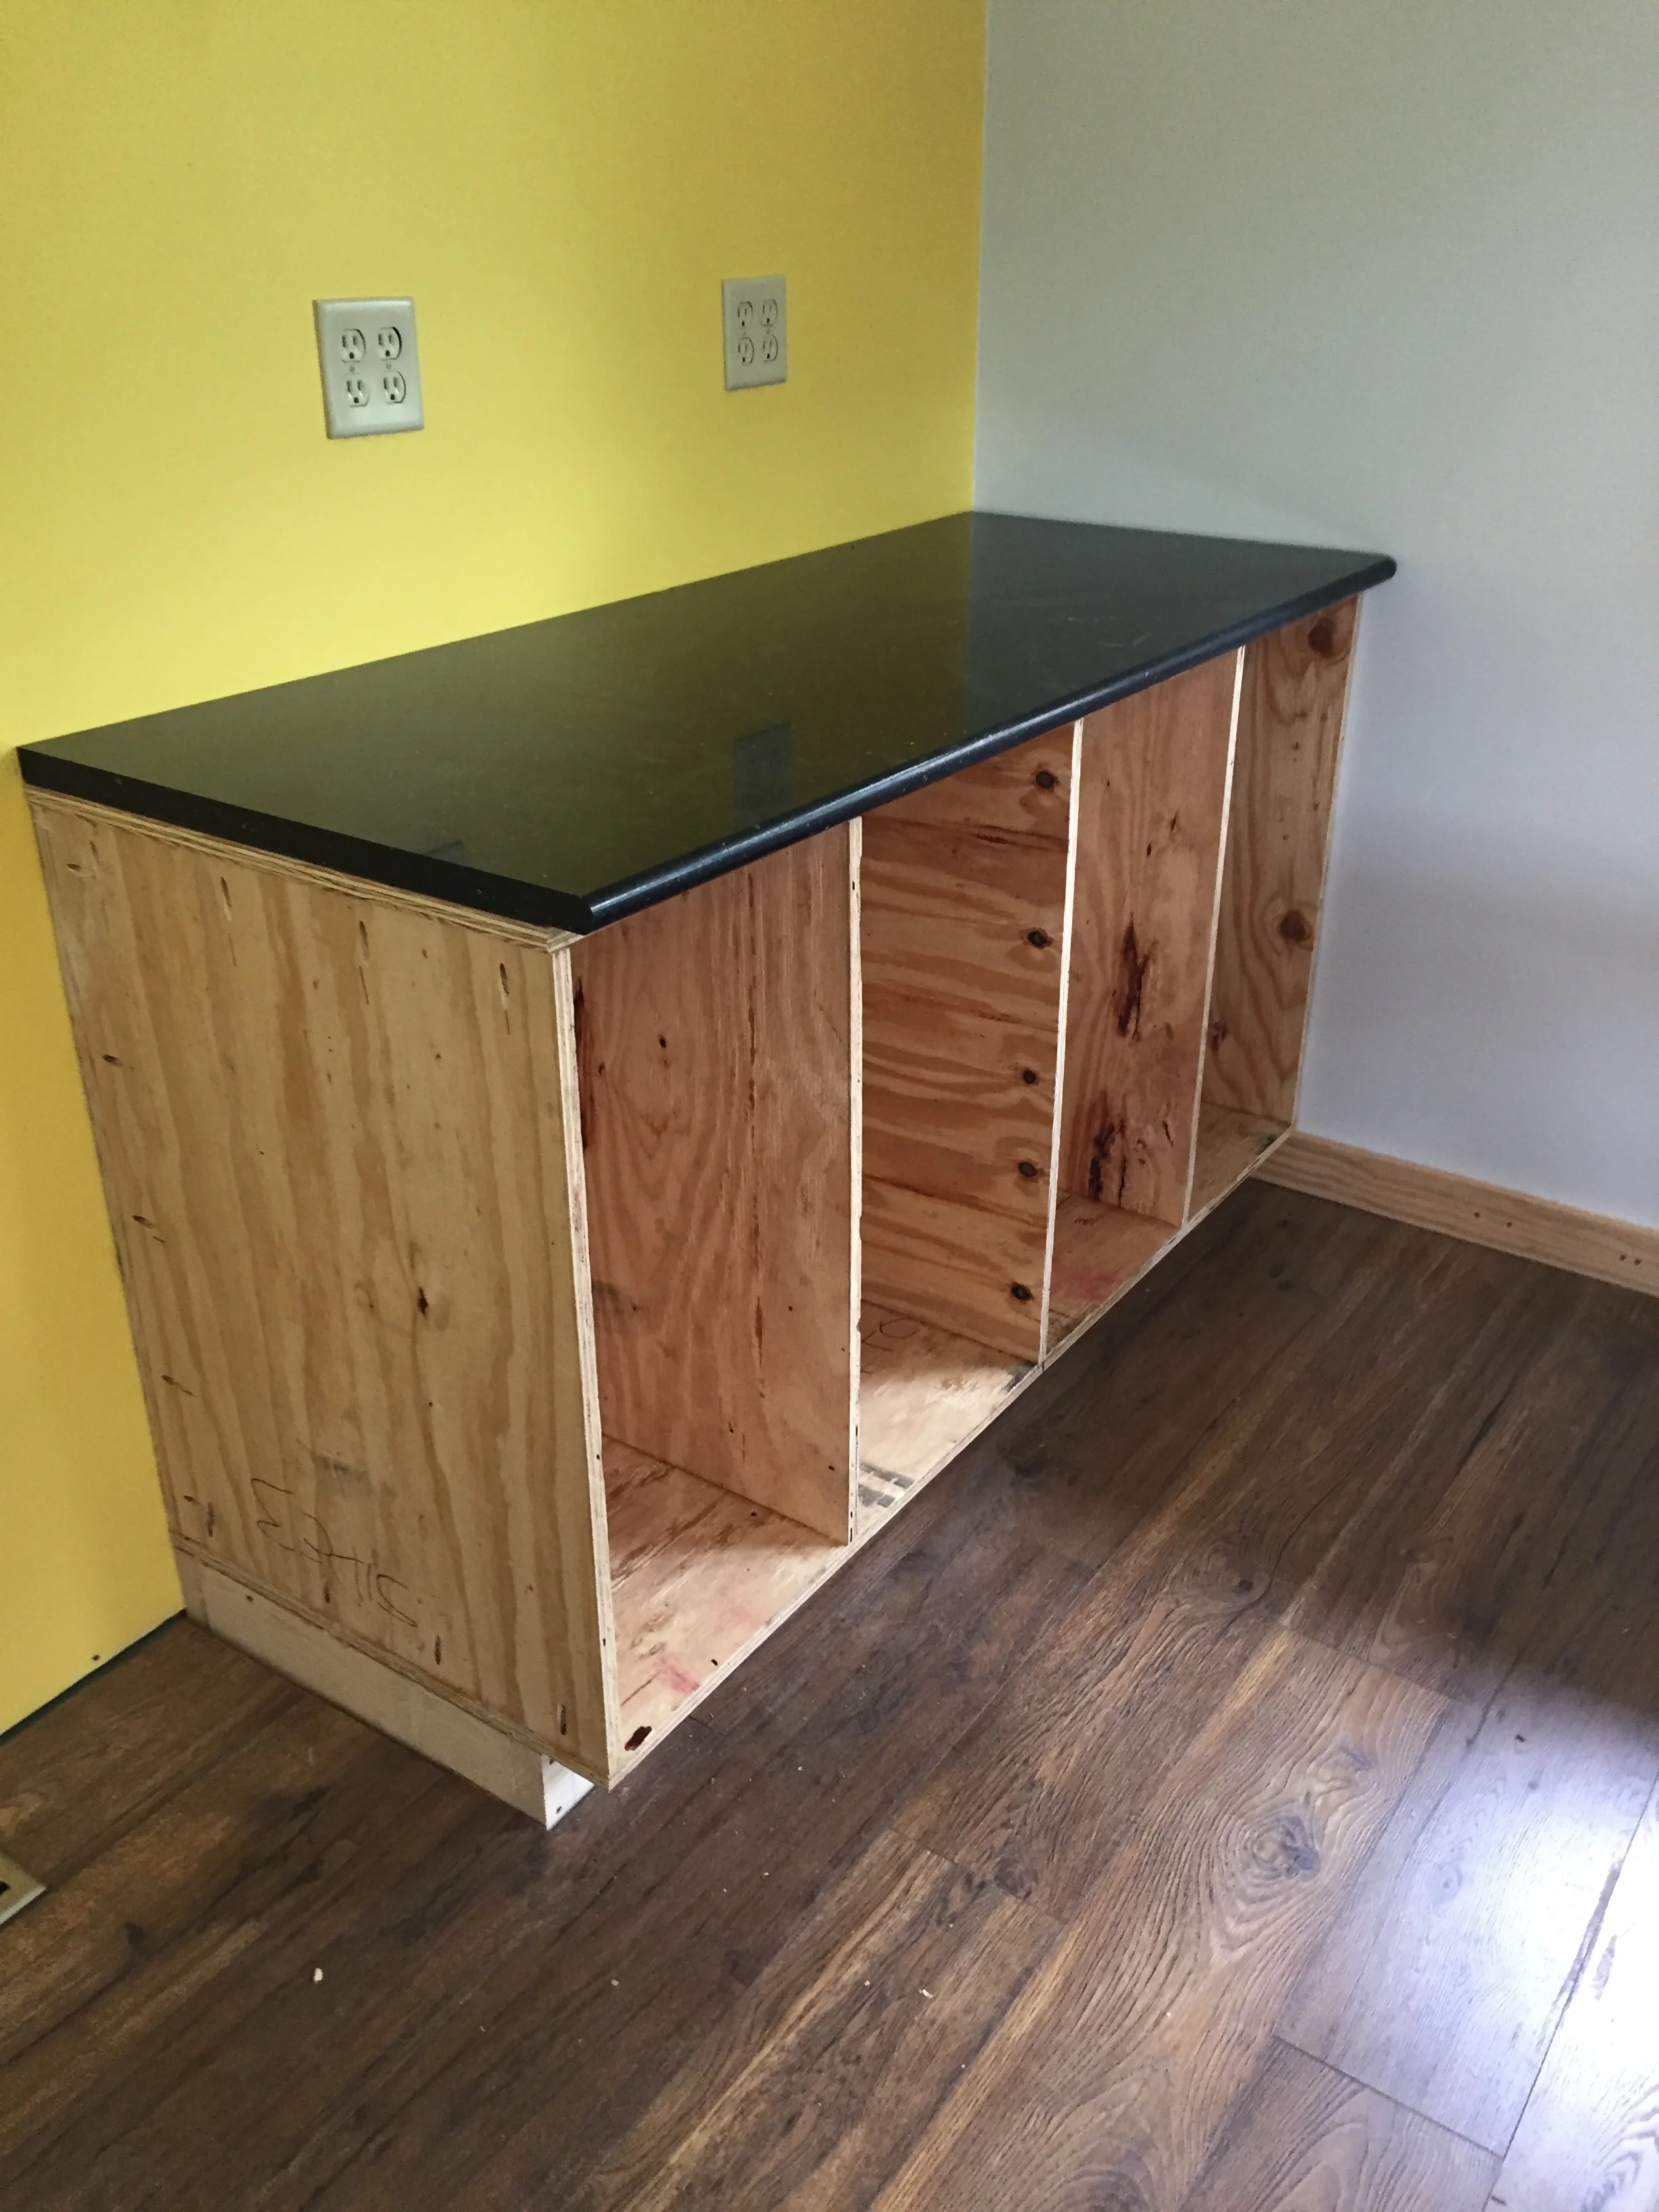
Everything is flush!!!
I cut a 1/2” birch plywood panel that will extend above the countertop so things won’t fall off the counter onto the computer desk I will attach to the carcase.
Note that nice little curve at the top that protects the edge of the quartz!
My next challenge will be making drawers. I am experimenting with boxes for the bathroom made from the scraps from the half-sheet used to make the finished side of the carcase. But that is fodder for another day...
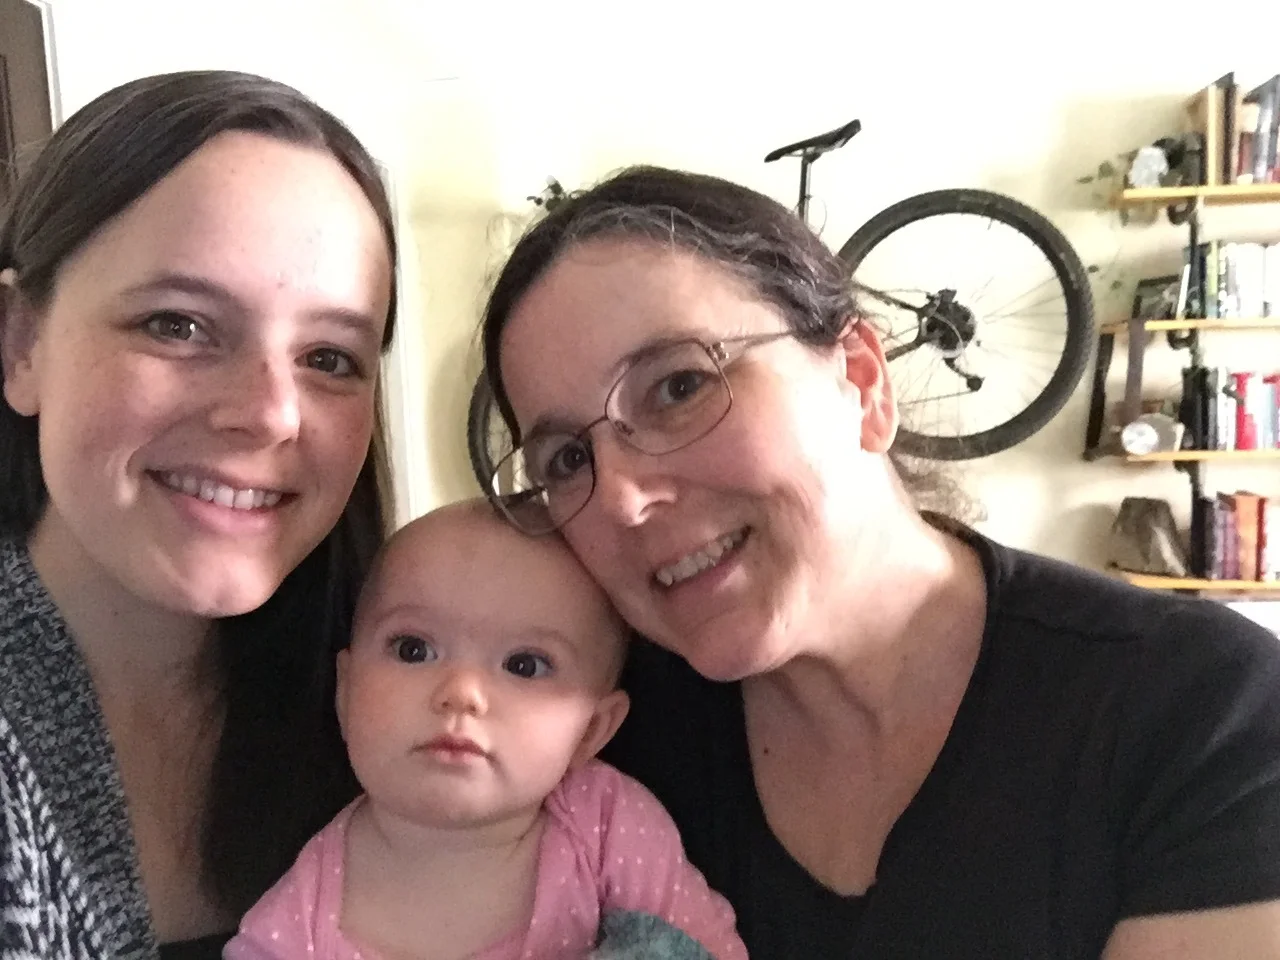
No grand baby photo in this post. She will be here at the end of this week, so I won’t have to depend on my very busy daughter for photos!
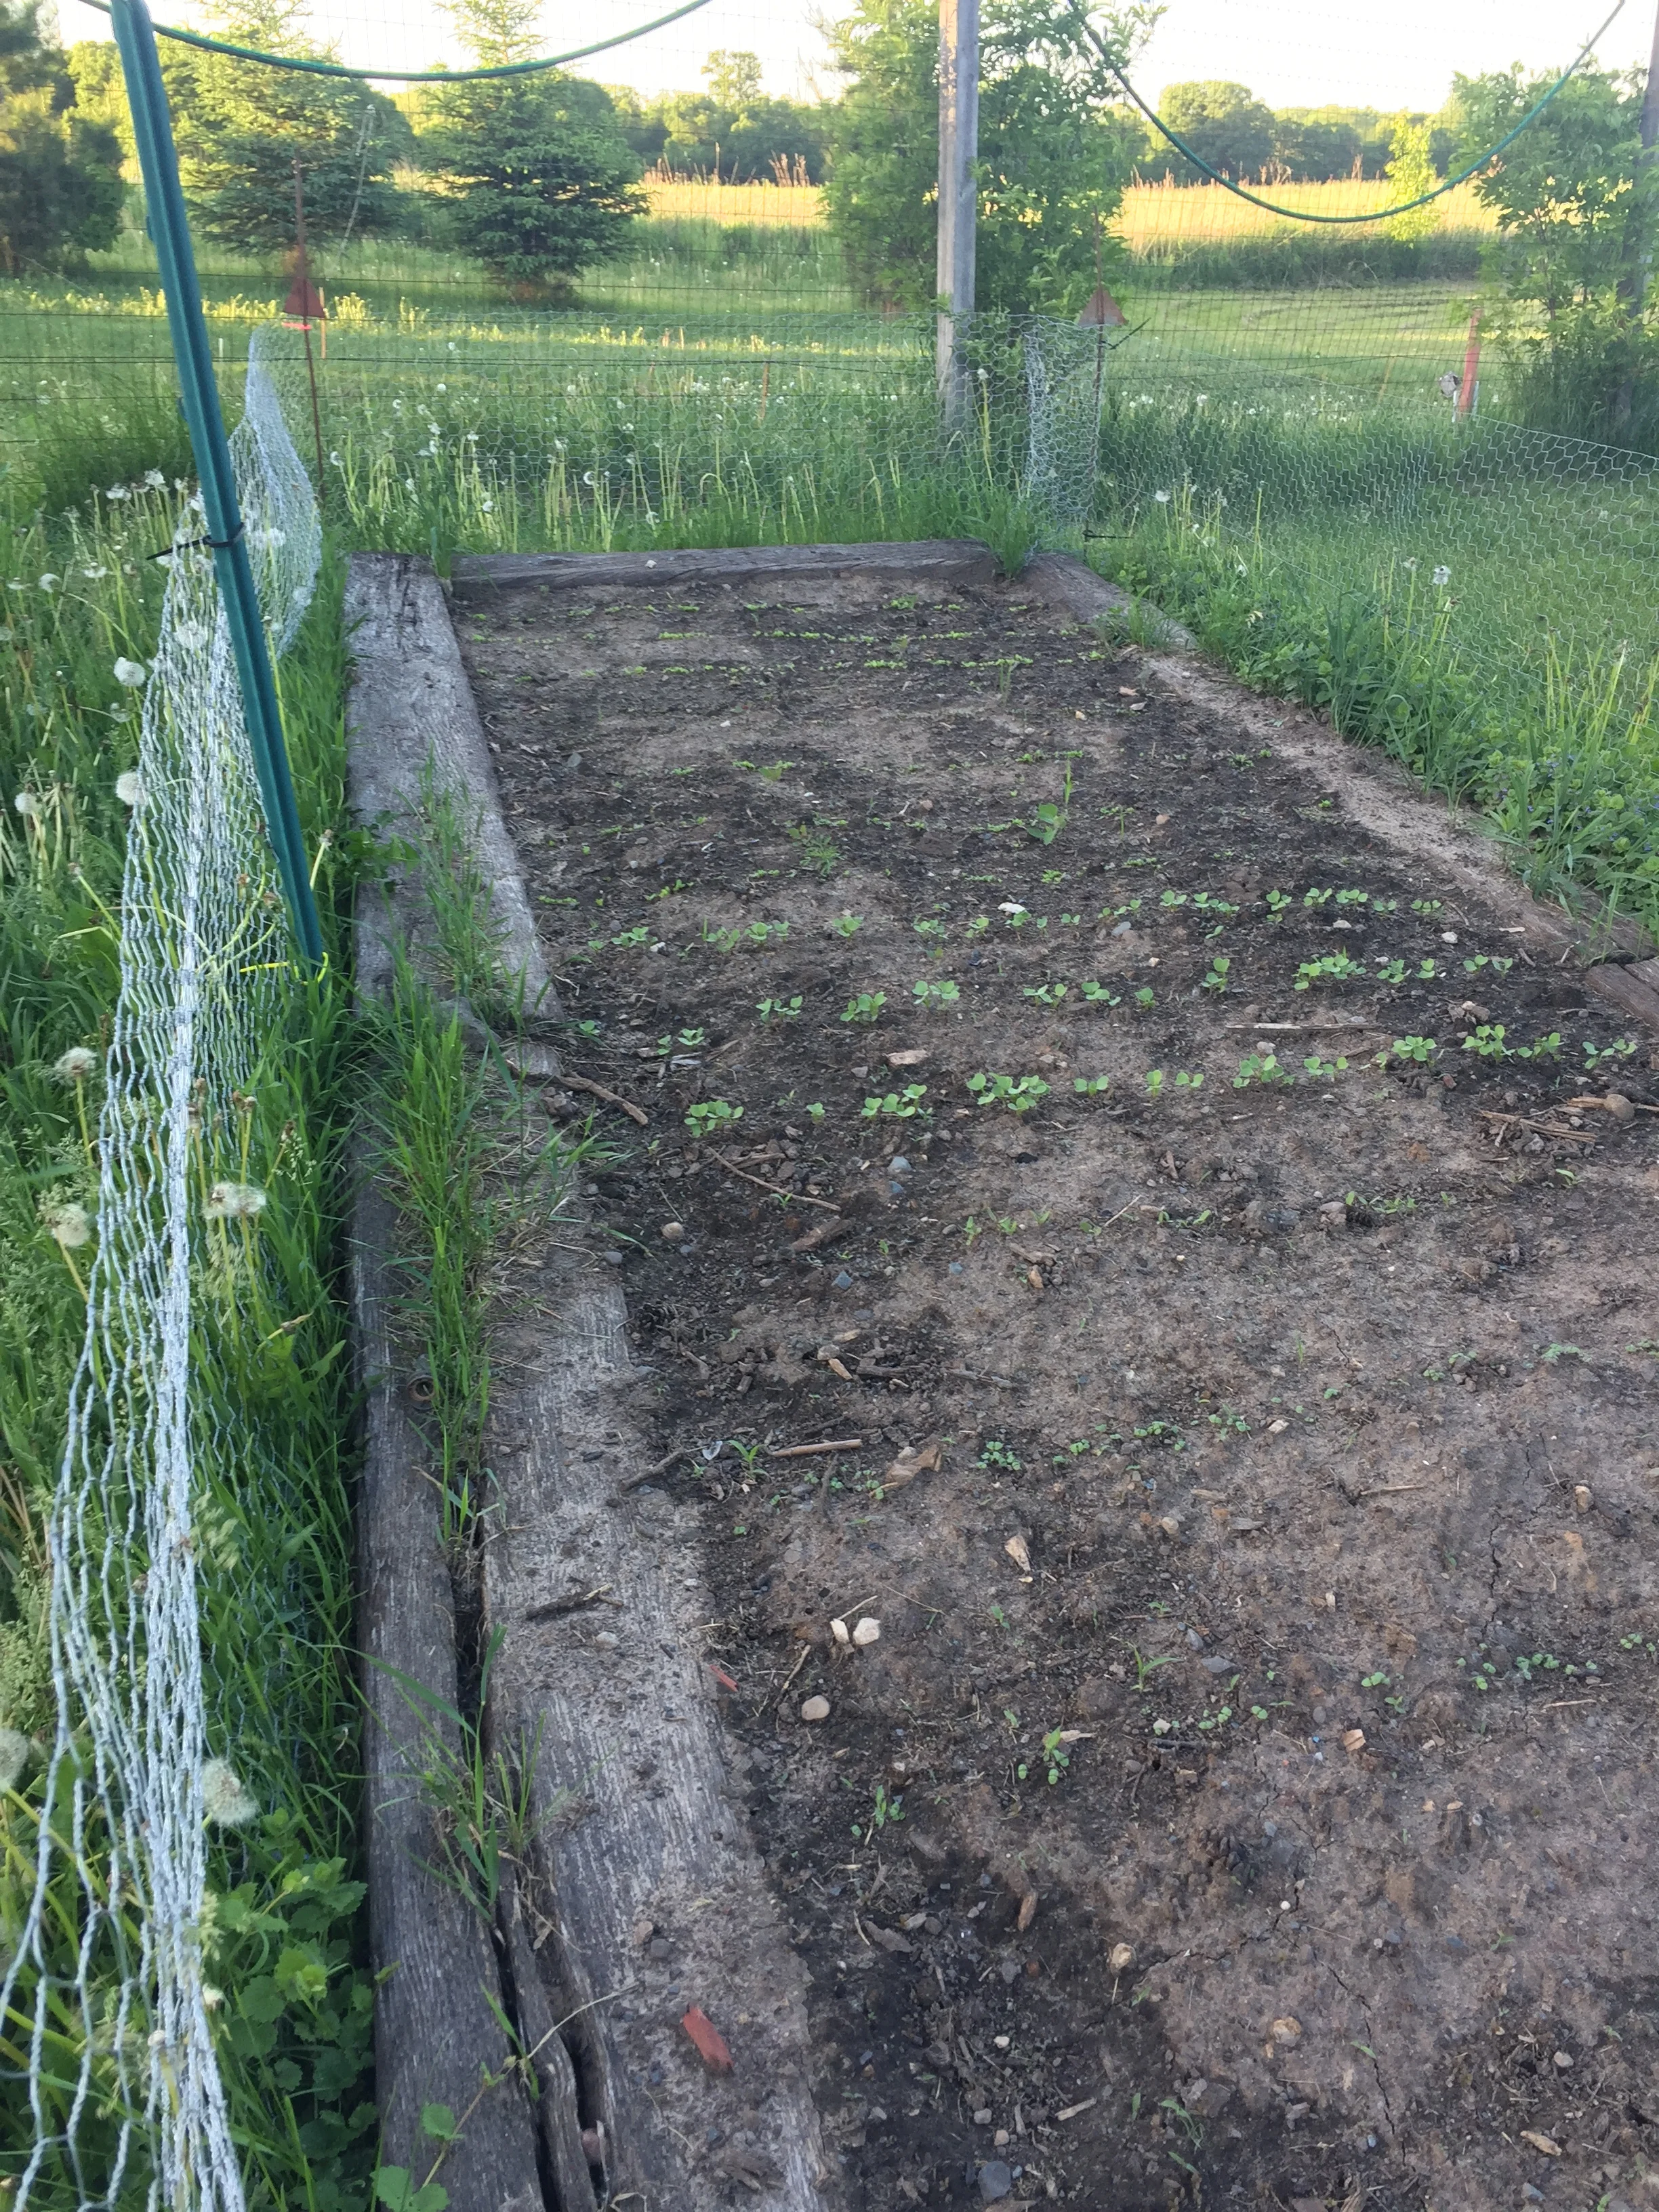
About 5 weeks ago, we had snow on the ground. Then we had about a week of temperatures in the 90s...and no rain. Not a great year for peas.
This is how the garden looked on May 25th:
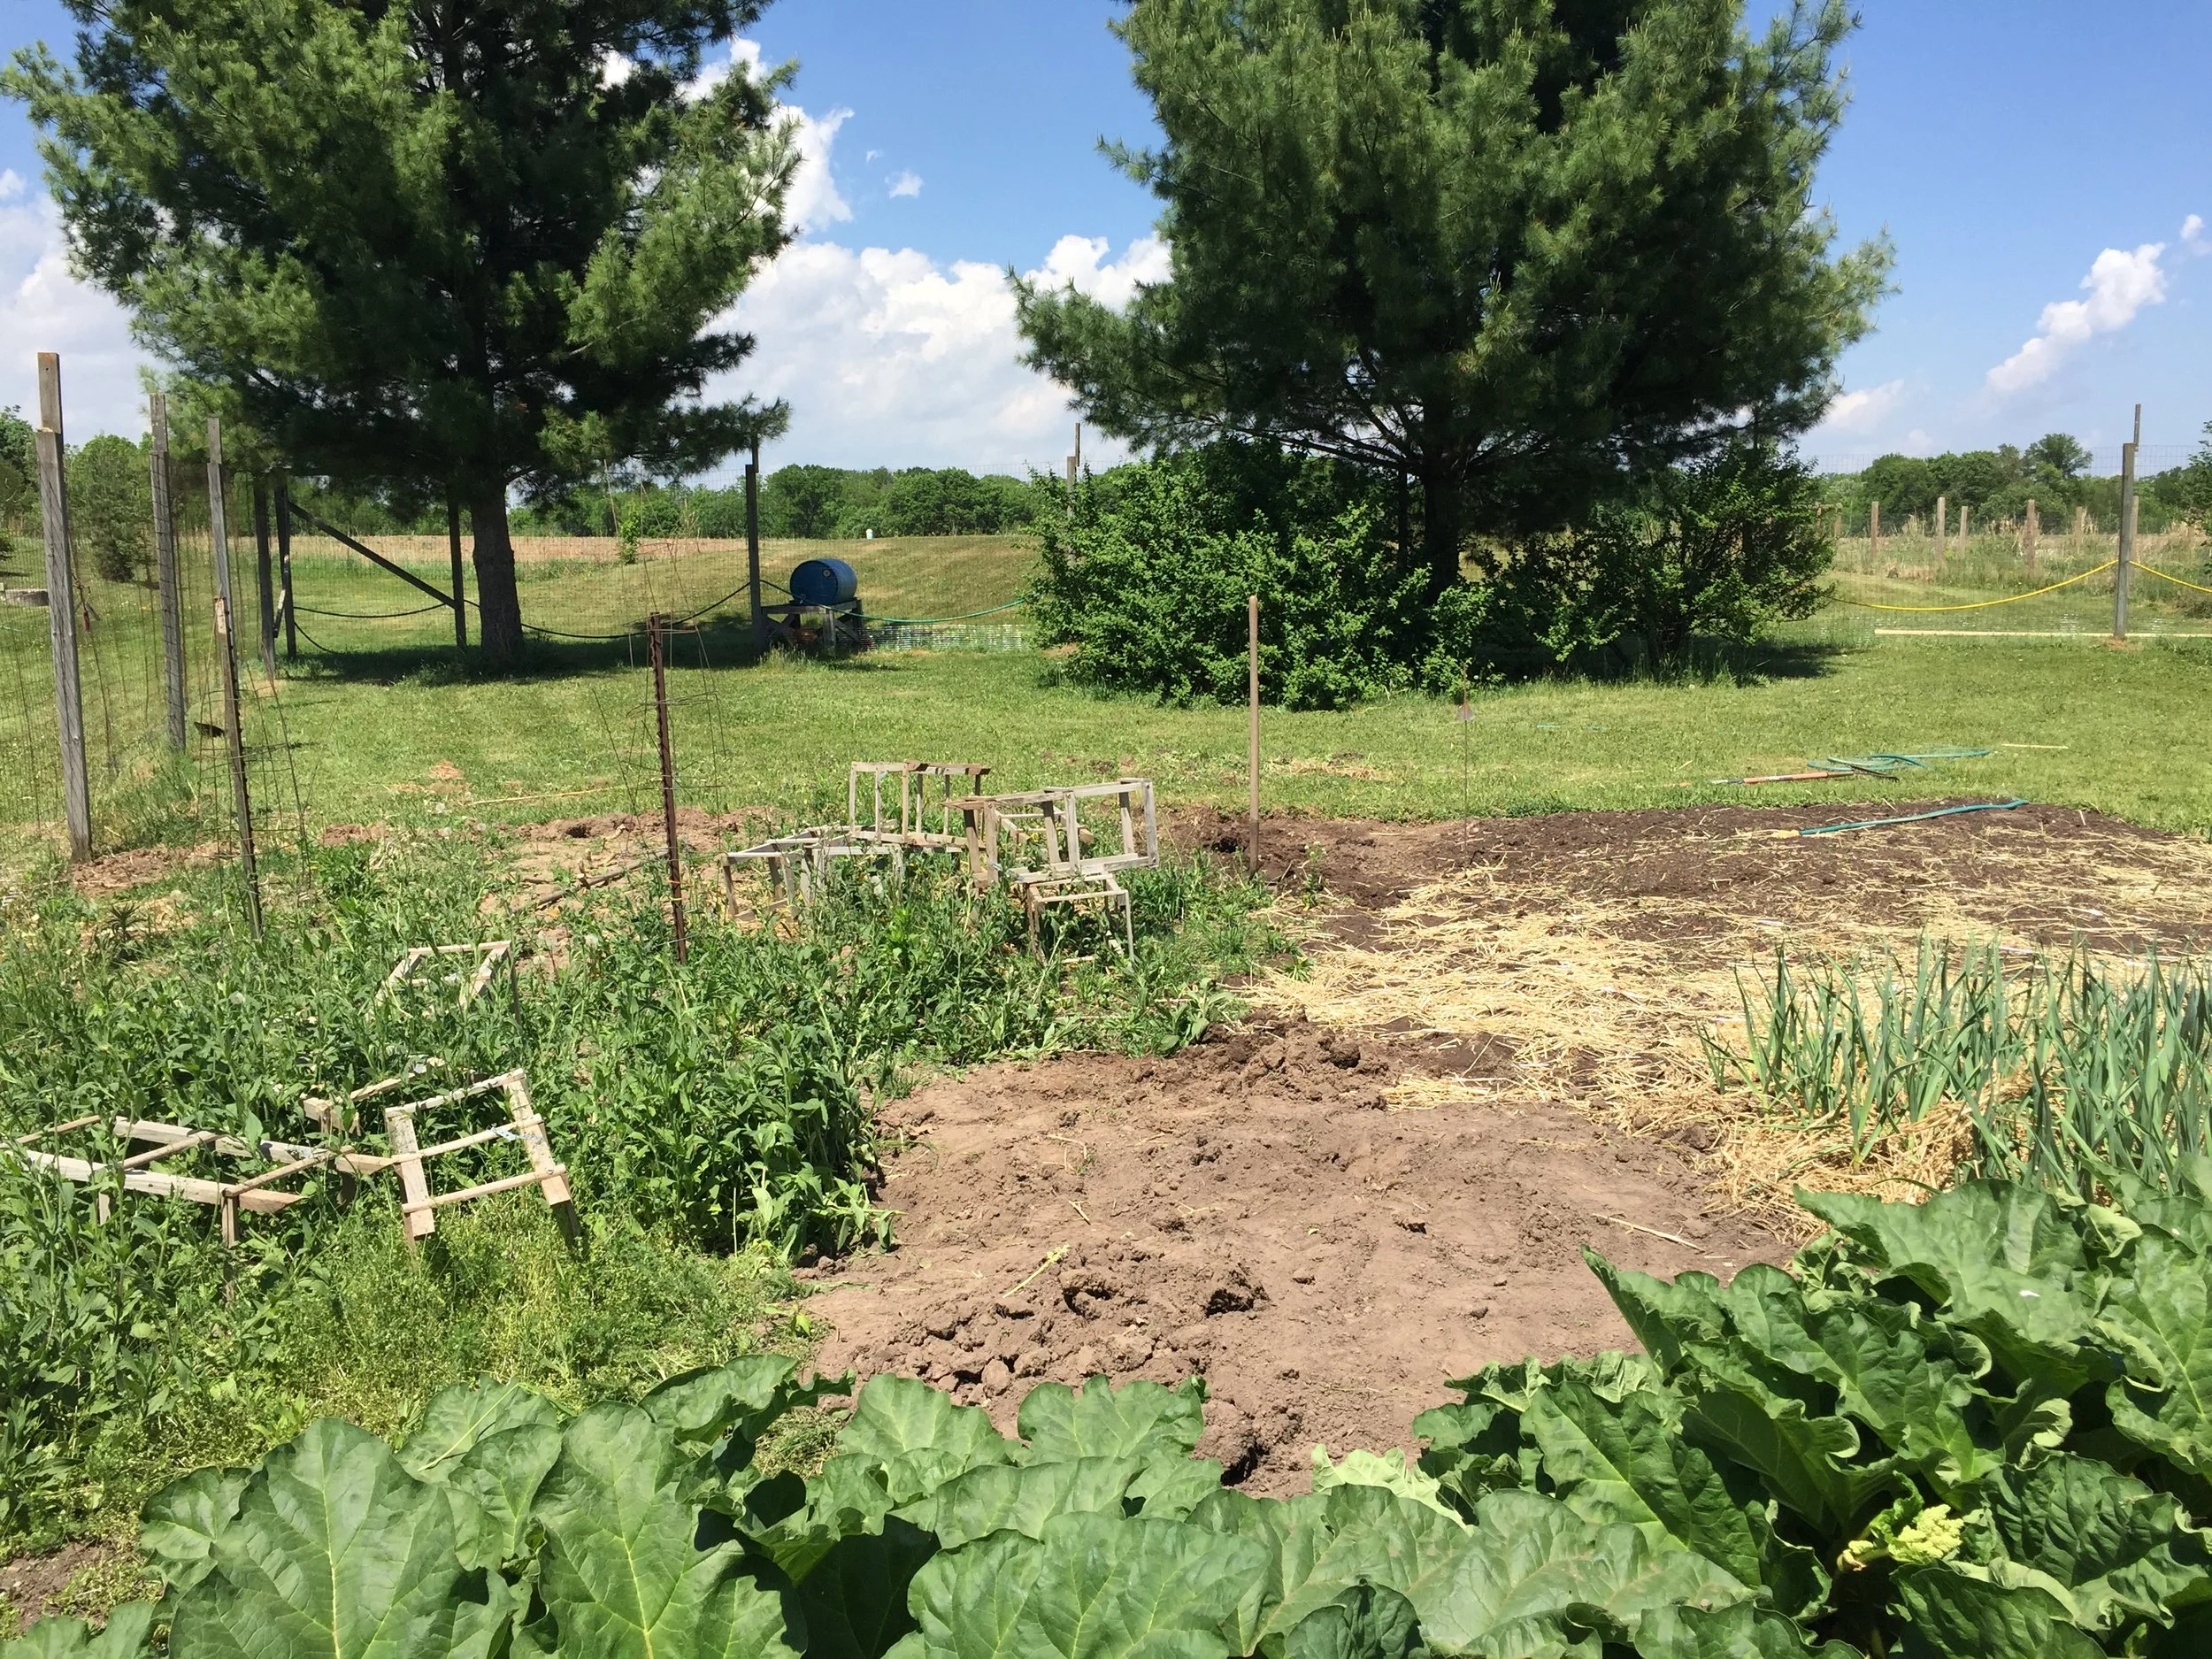
Greenery: garlic on the right, rhubarb in the foreground, and solid weeds on the left. The bare spot on the right is planted in onions and potatoes. The dirt in the middle is where I was beating back the weeds.
I started tomatoes and peppers in early May and got them hardening off on the 25th as well. As I was working on getting the weeds cleared out, Michael was building fortifications.
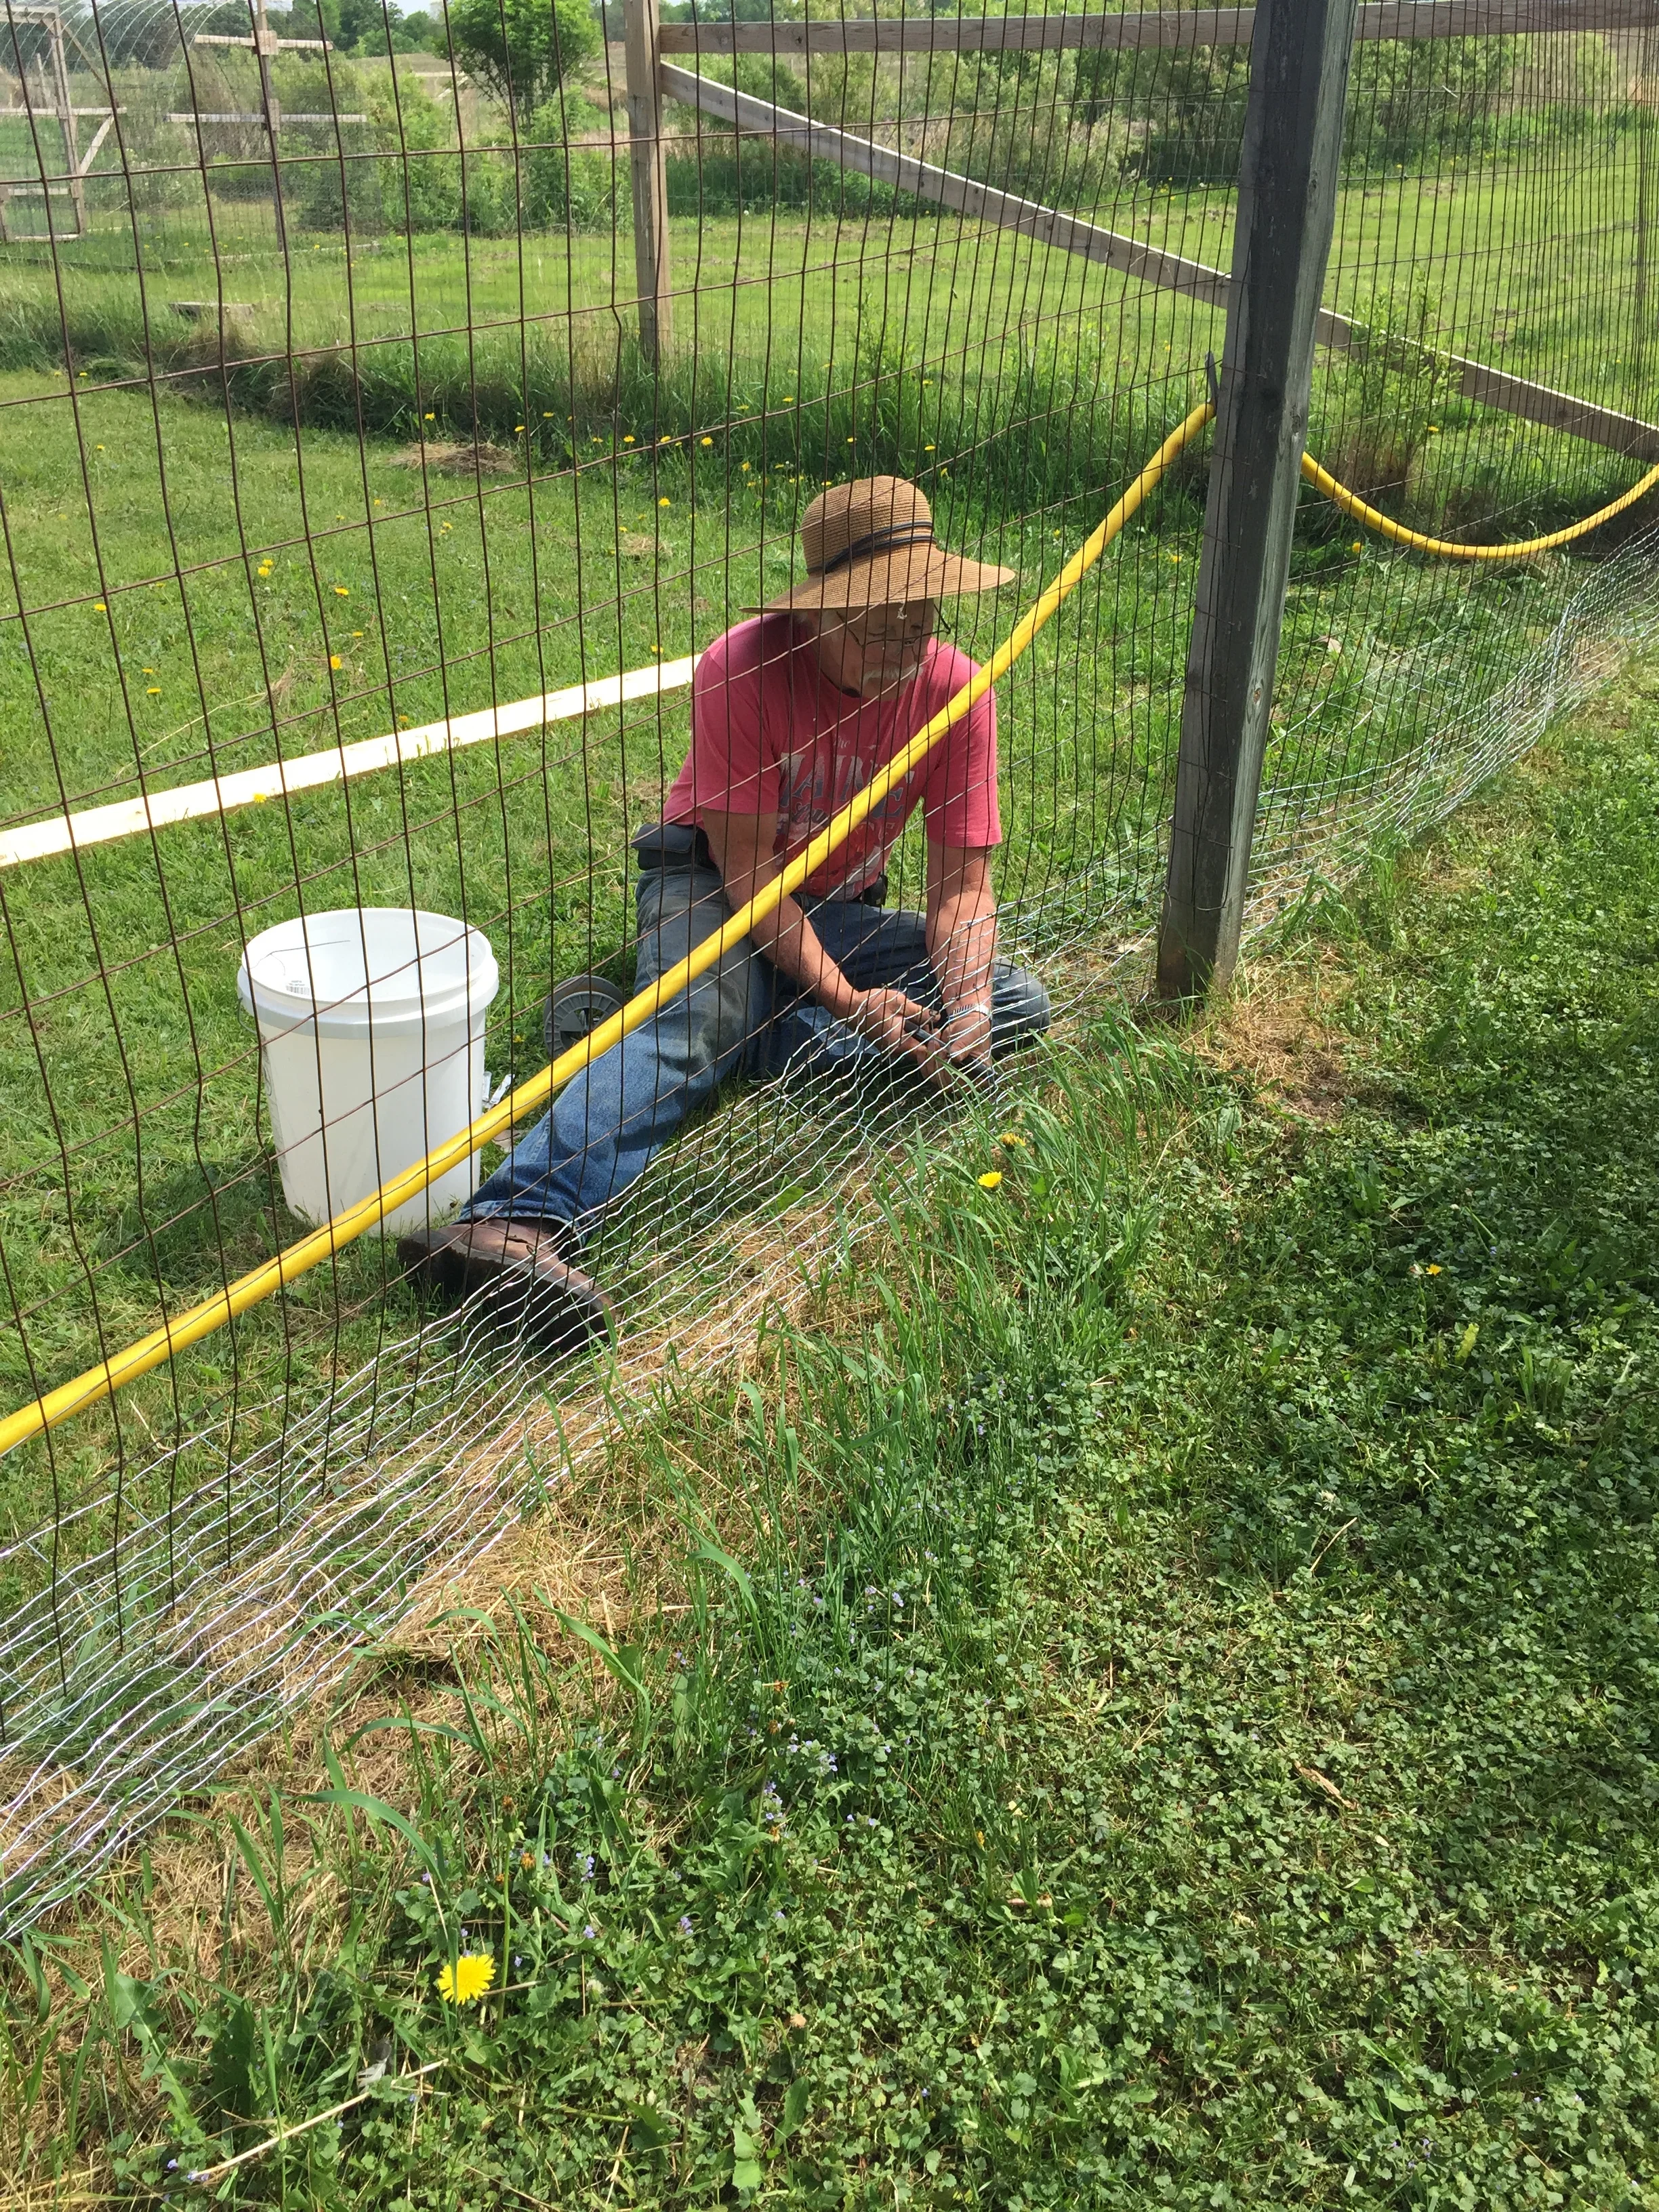
We fenced out deer about 20 years ago, but left space at the bottom for lawn mowers....and unfortunately, rabbits. We are now saying “no” to lawnmowers, of all stripes.
Once Michael got the bottom fencing secured, he could come help me with the weeds, which were vanquished on May 28th, Memorial Day.
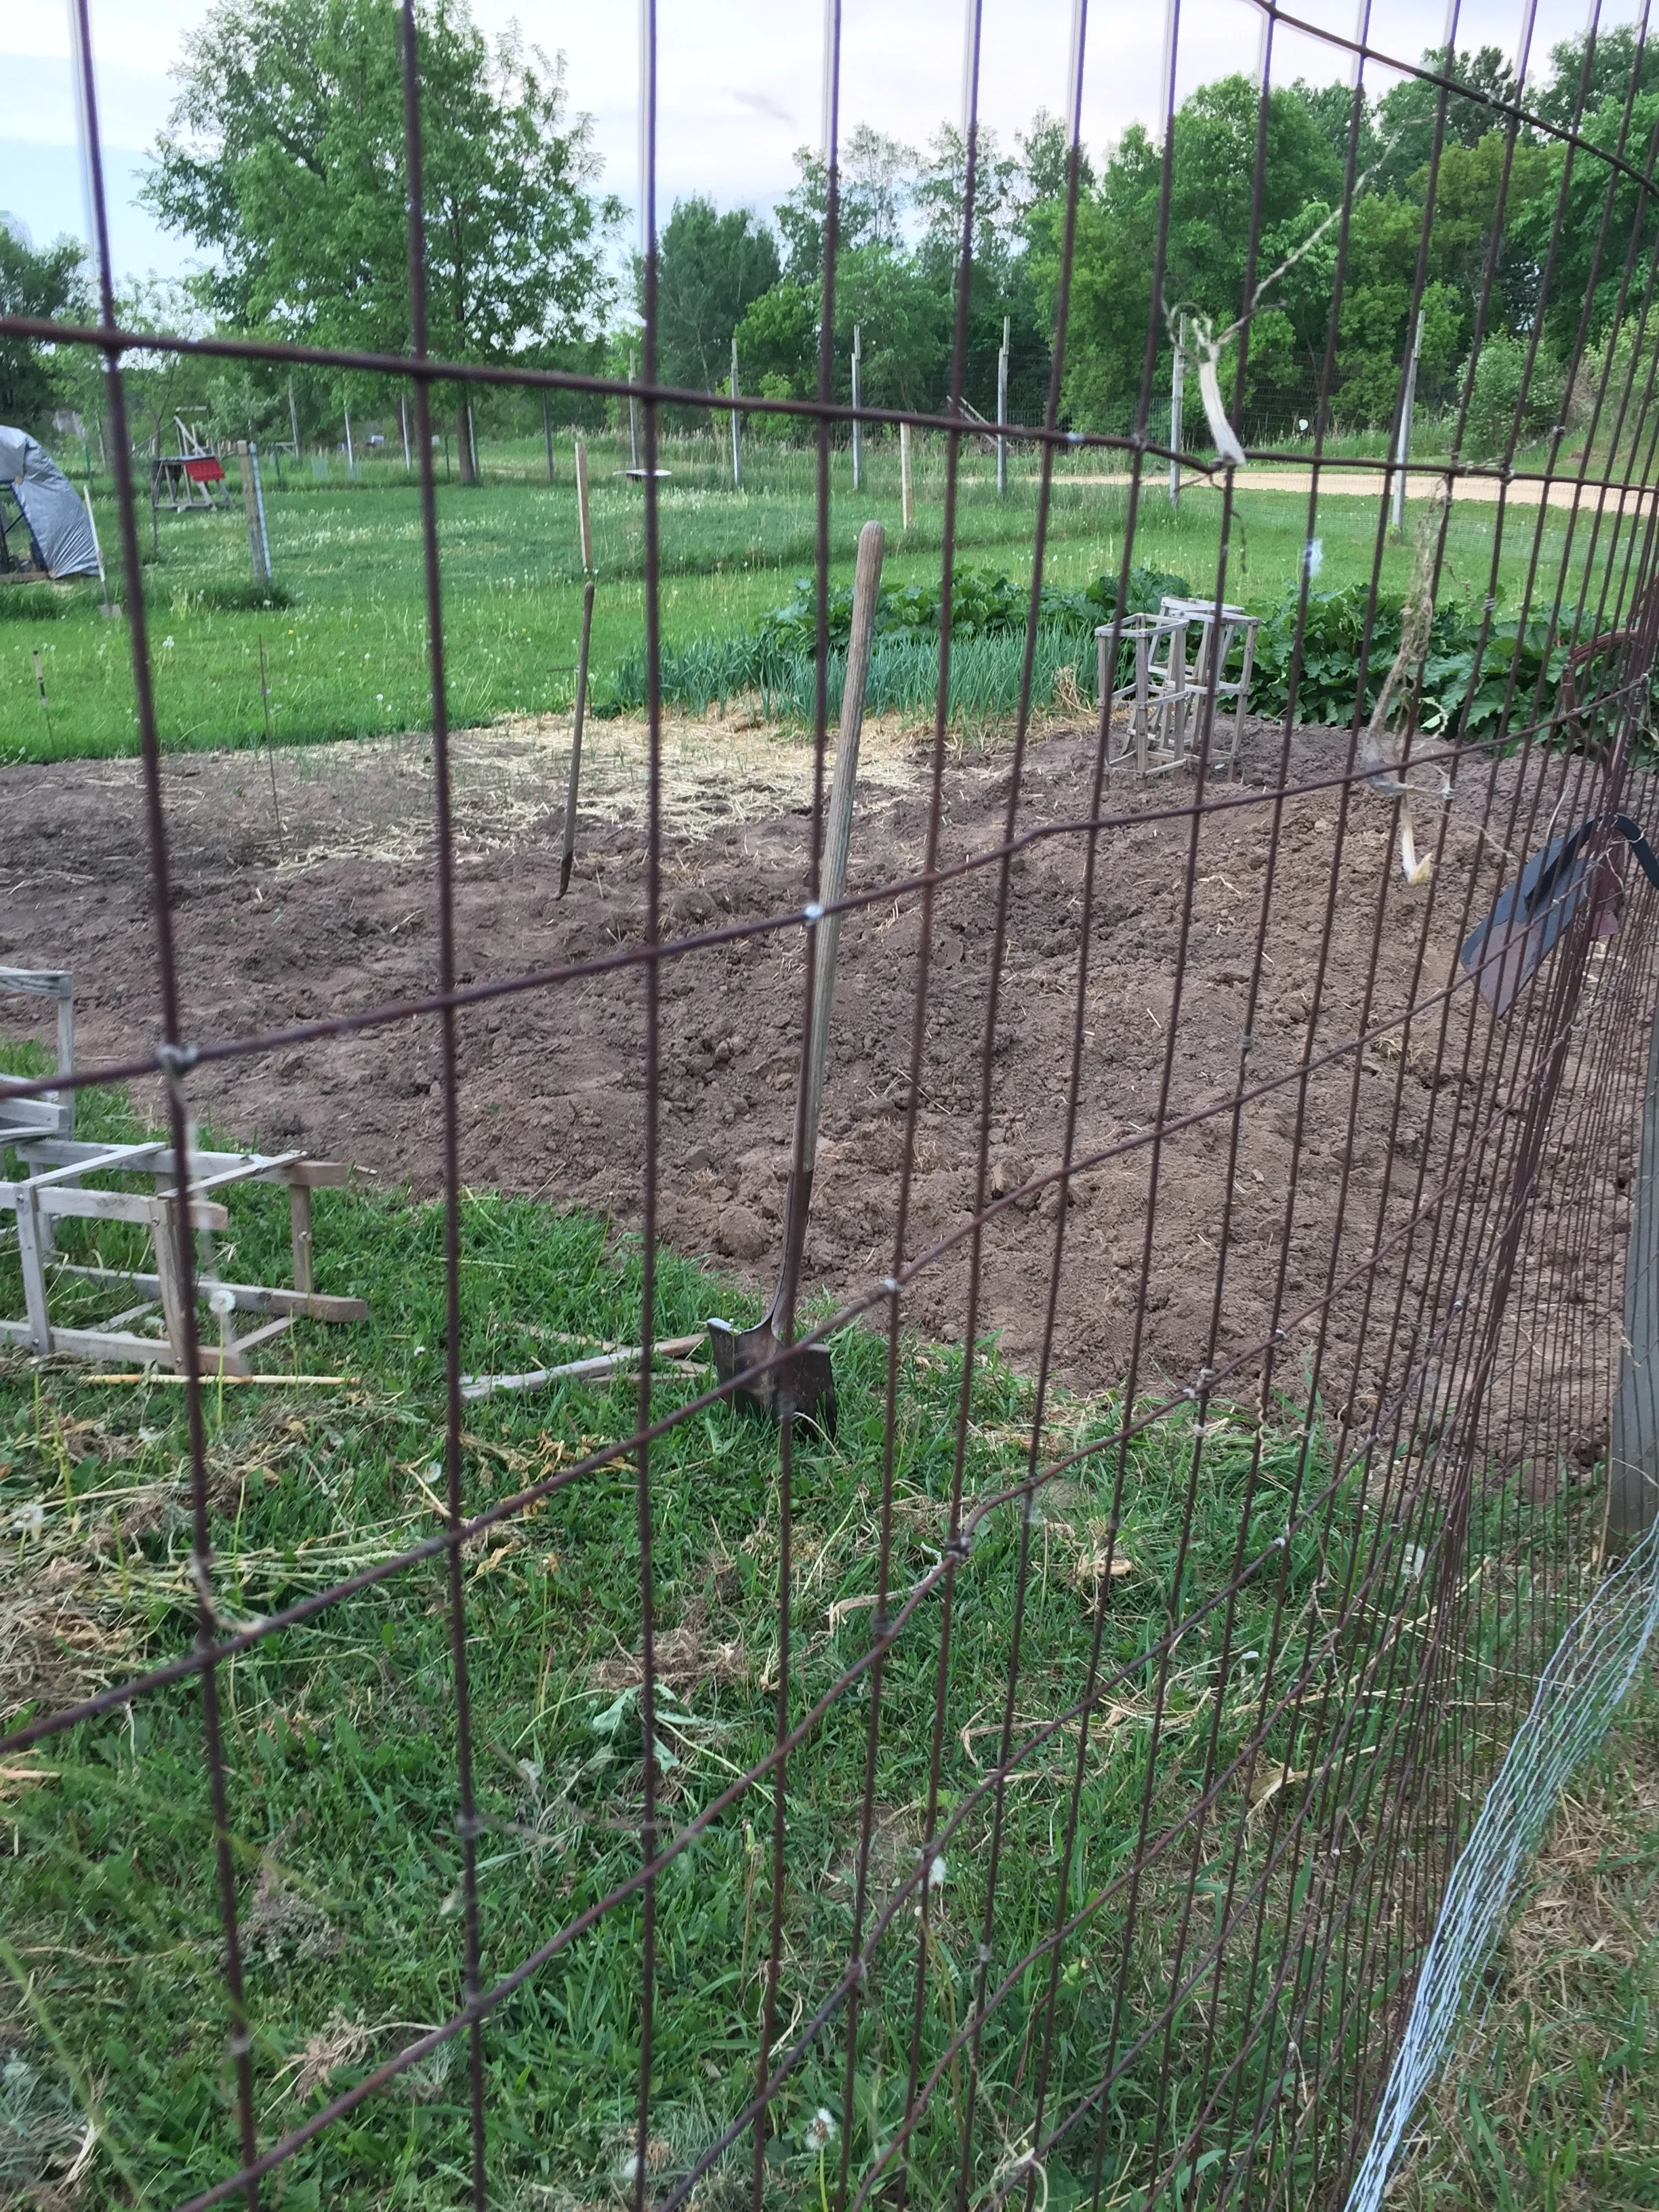
We had our first summer rainstorms soon after we finished turning over the garden, complete with hail. Today was out first sunny day. While Michael was out delivering lawn mowers to be repaired and picking up more firewood, I started planting.
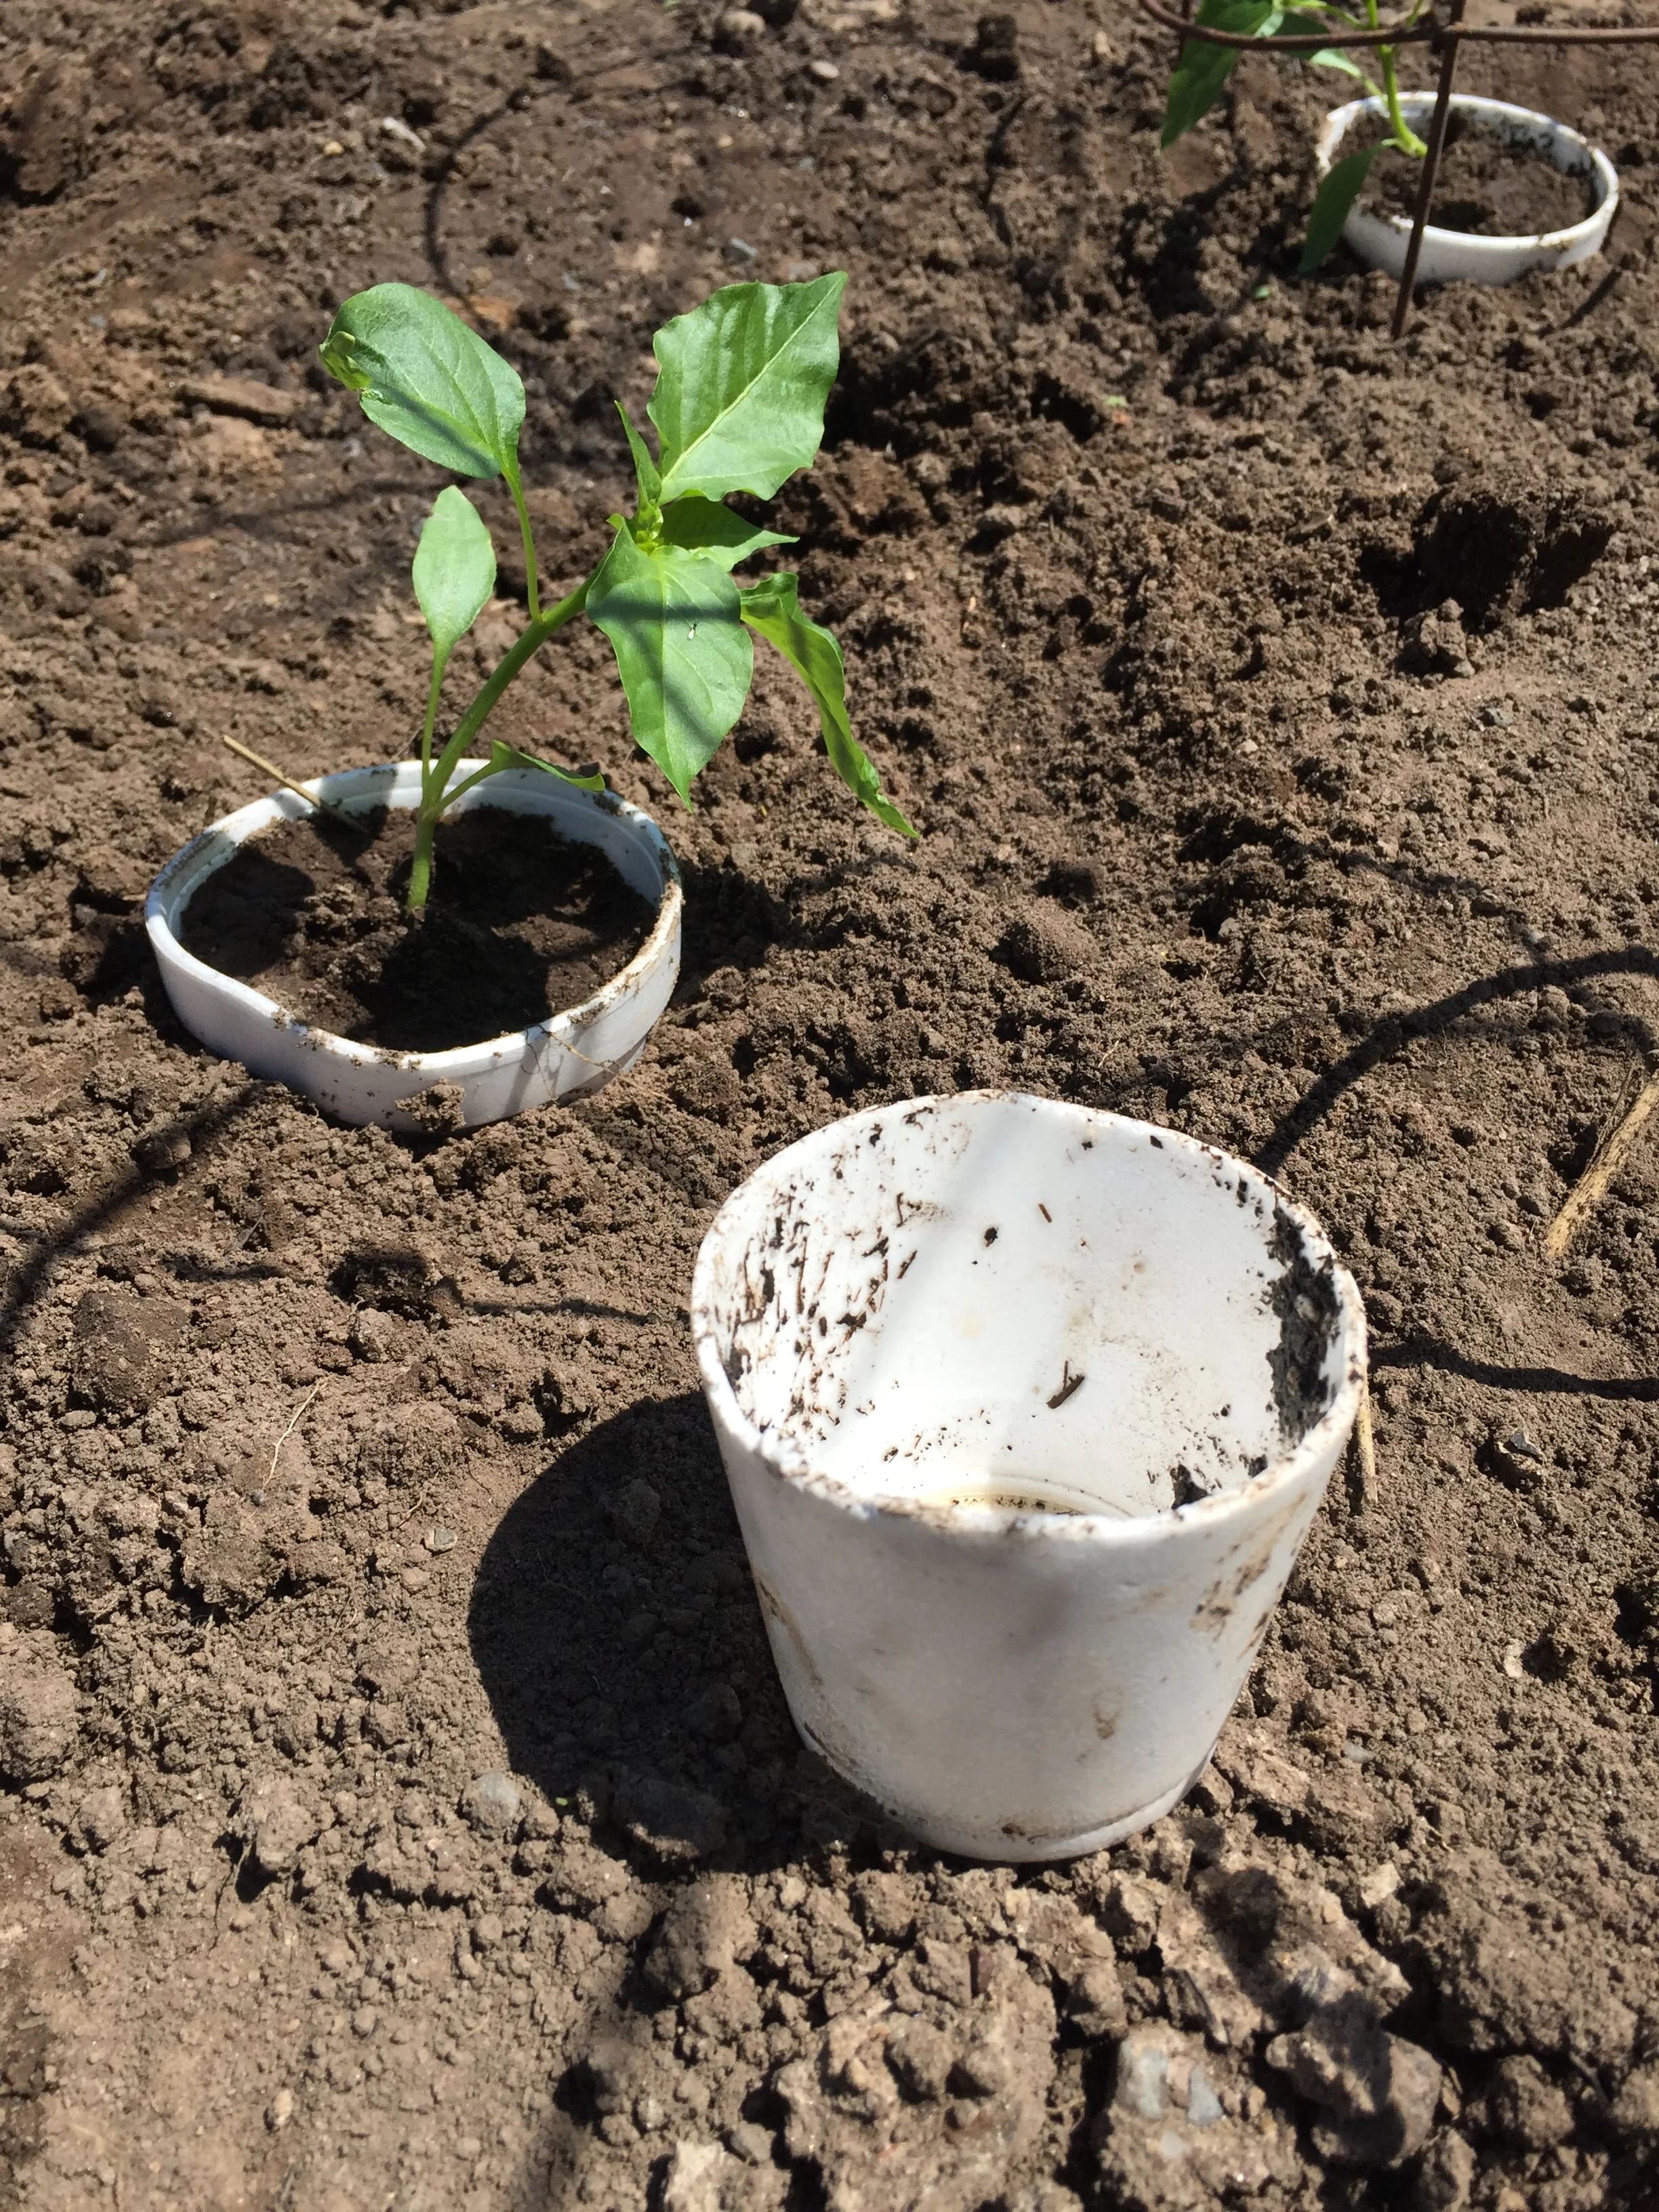
I’m experimenting with leaving a ring of styrofoam cup to see if I can defeat the cutworms. 21 tomatoes and 24 peppers!
In addition to tomatoes, potatoes, peppers, garlic and onions, we now have planted popcorn, winter squash, cucumbers, dill, cabbage, bok choi, kale, beets, carrots, and rutabagas.
Then we have our small gardens:
These are closer to the house and contain lettuce, radishes, chards, more beets, and various herbs. We also have cherry and apricot seeds planted. These gardens already need weeding...as do the garlic and onions.
Dirt. I love dirt. We did dig in compost from the county site late last year and some more earlier this year. It helps to loosen our heavy soil and adds nutrients. We will have our own compost from chicken straw soon, but it is still too straw-like to truly be called “compost” yet.
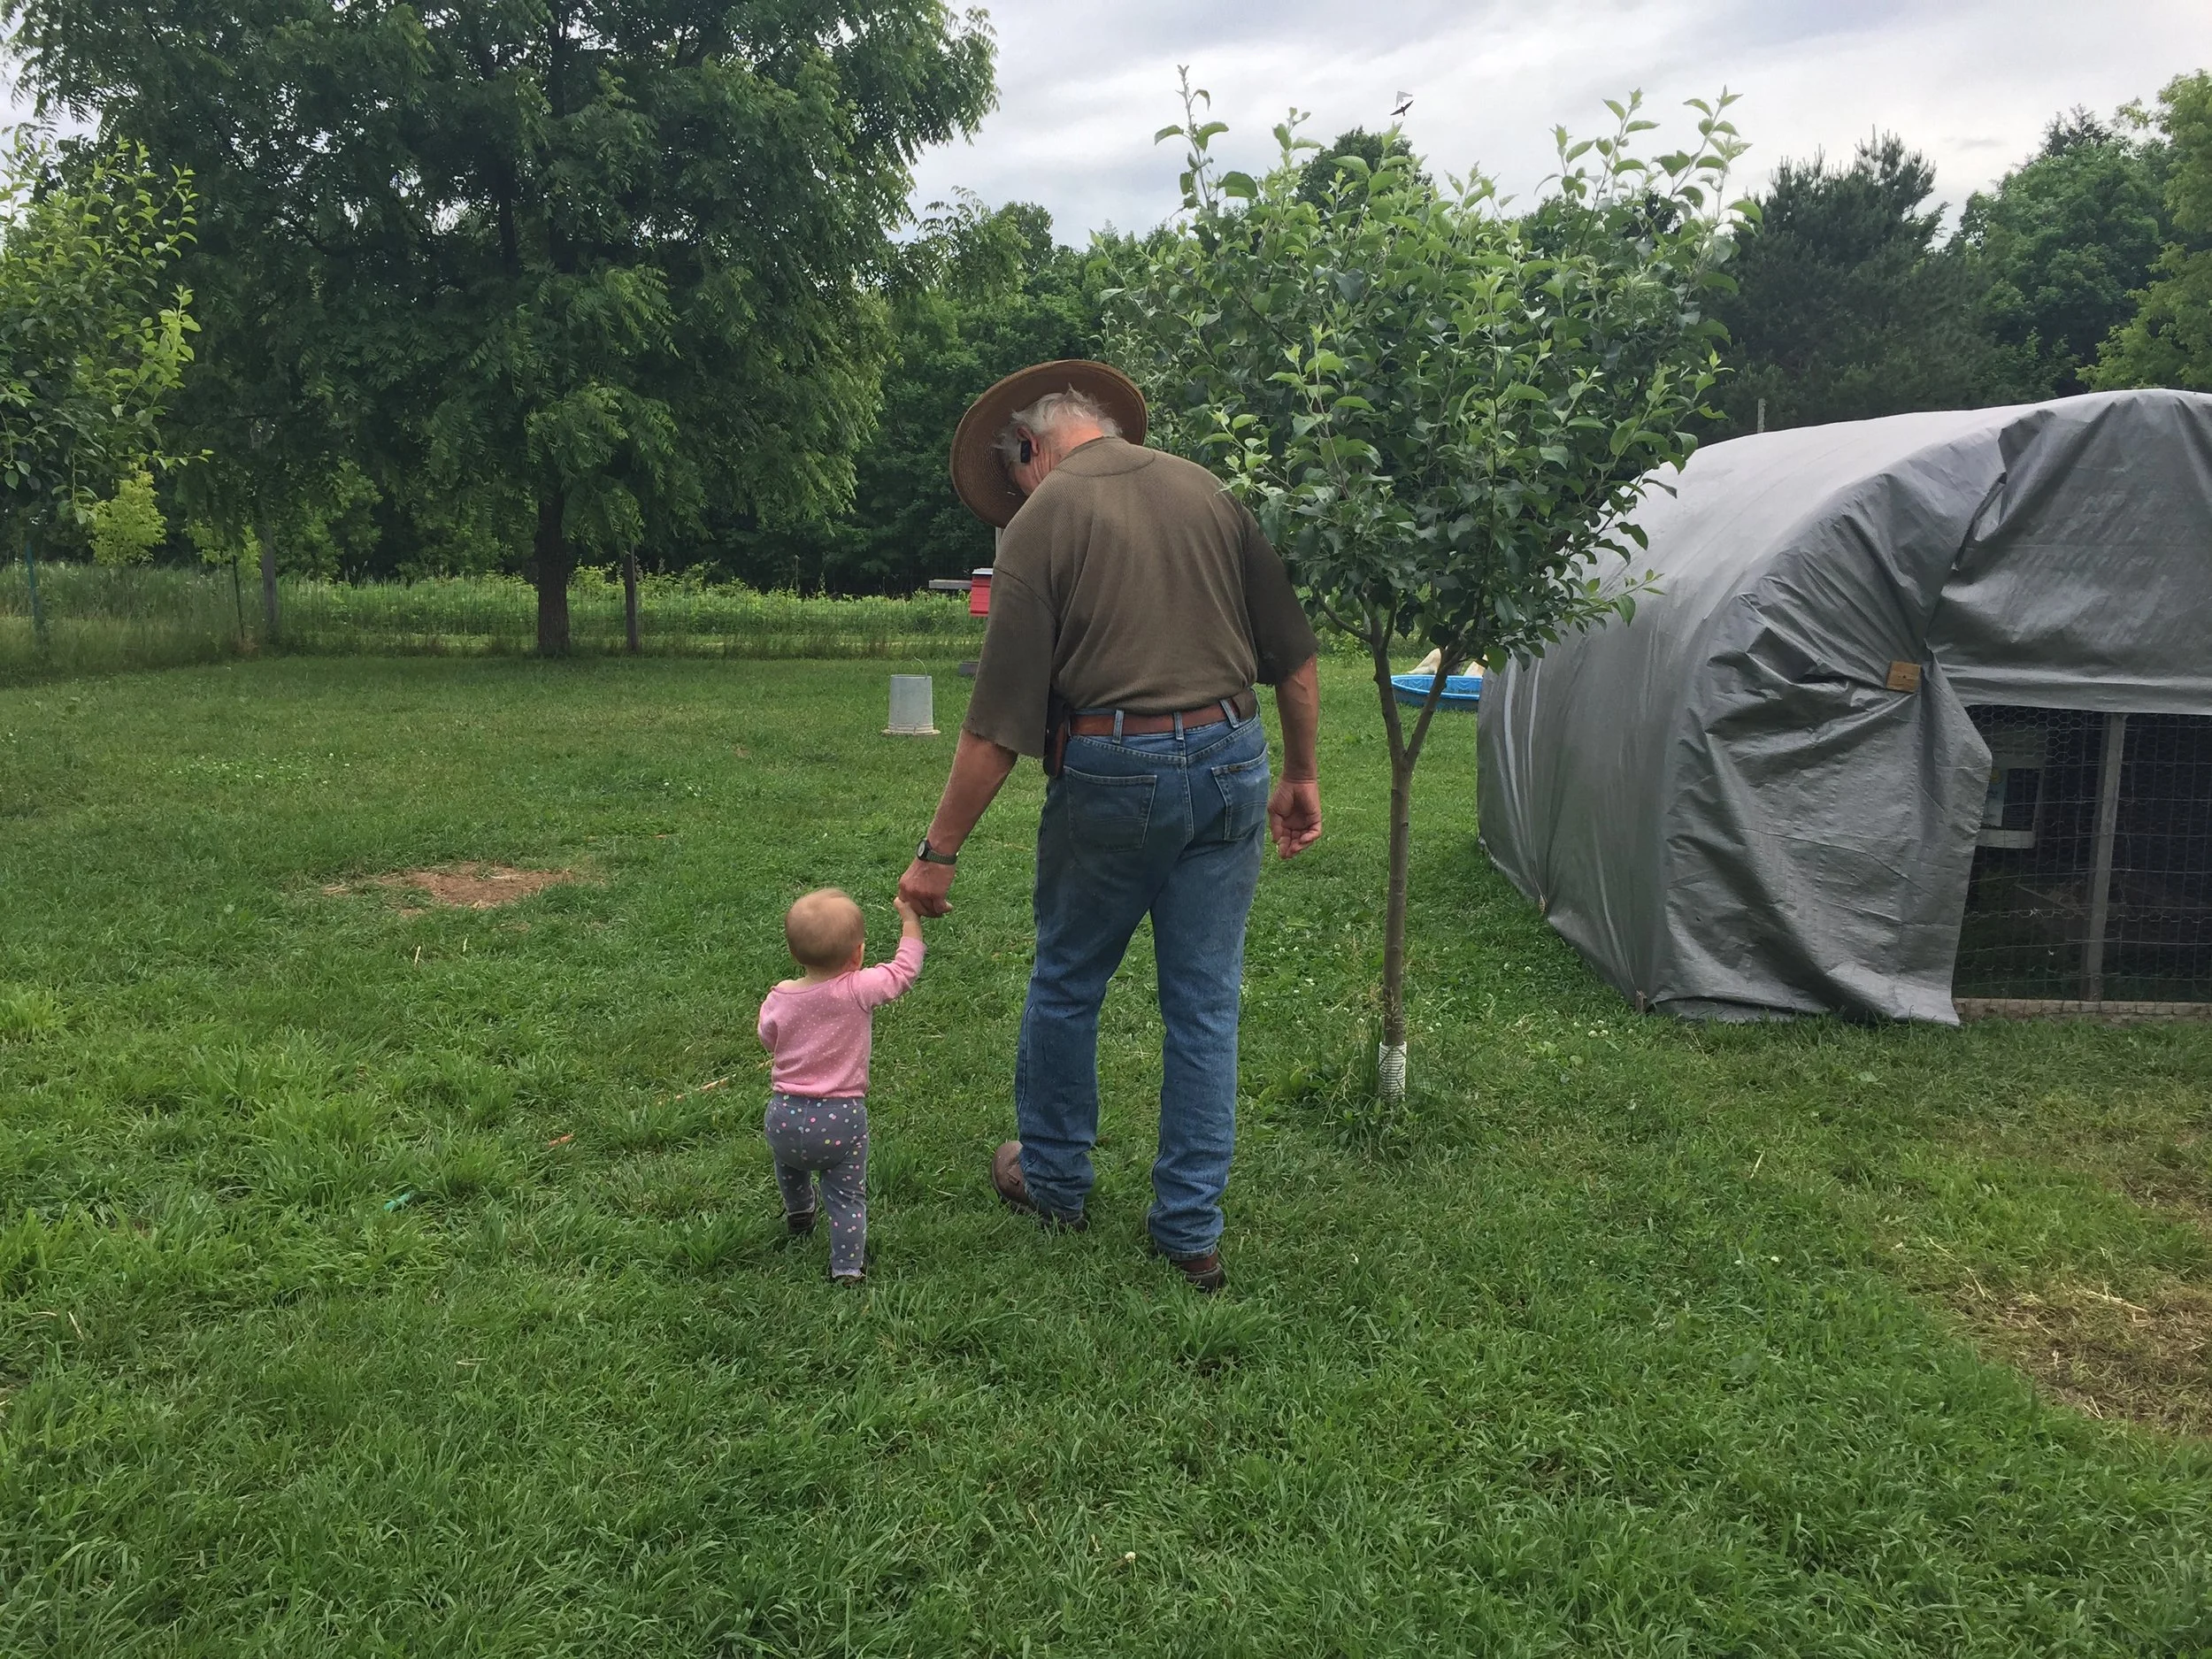
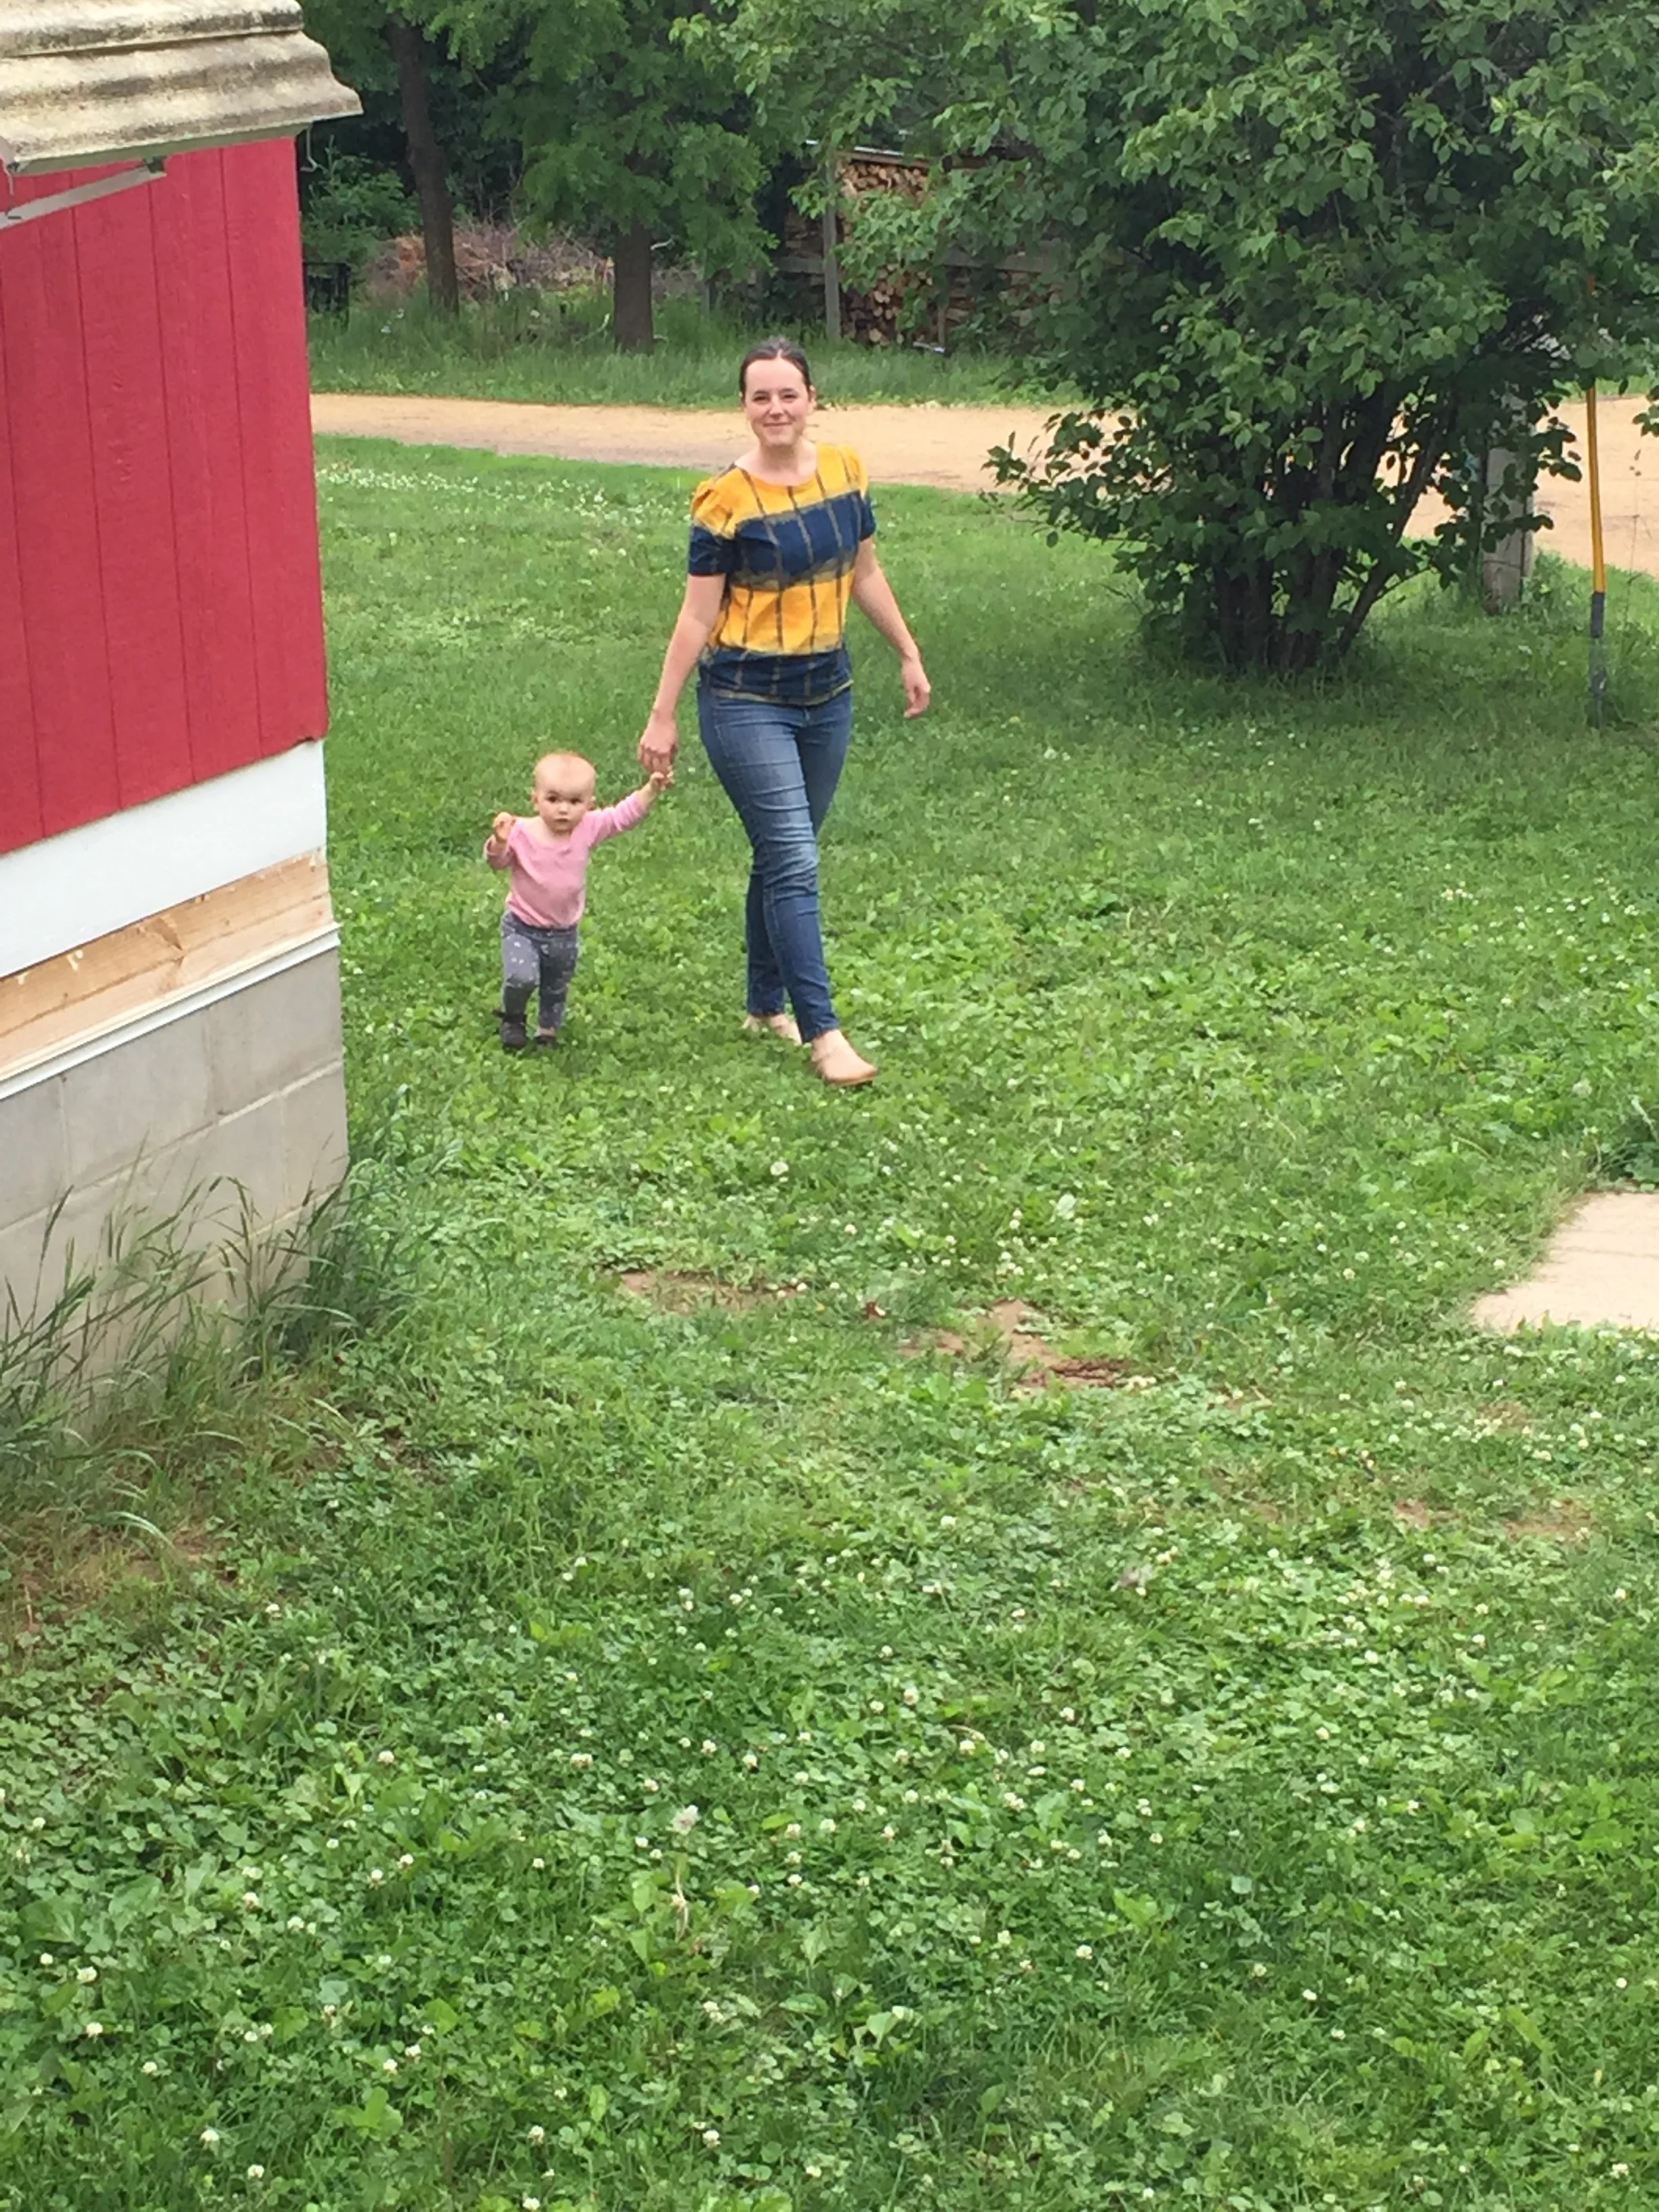
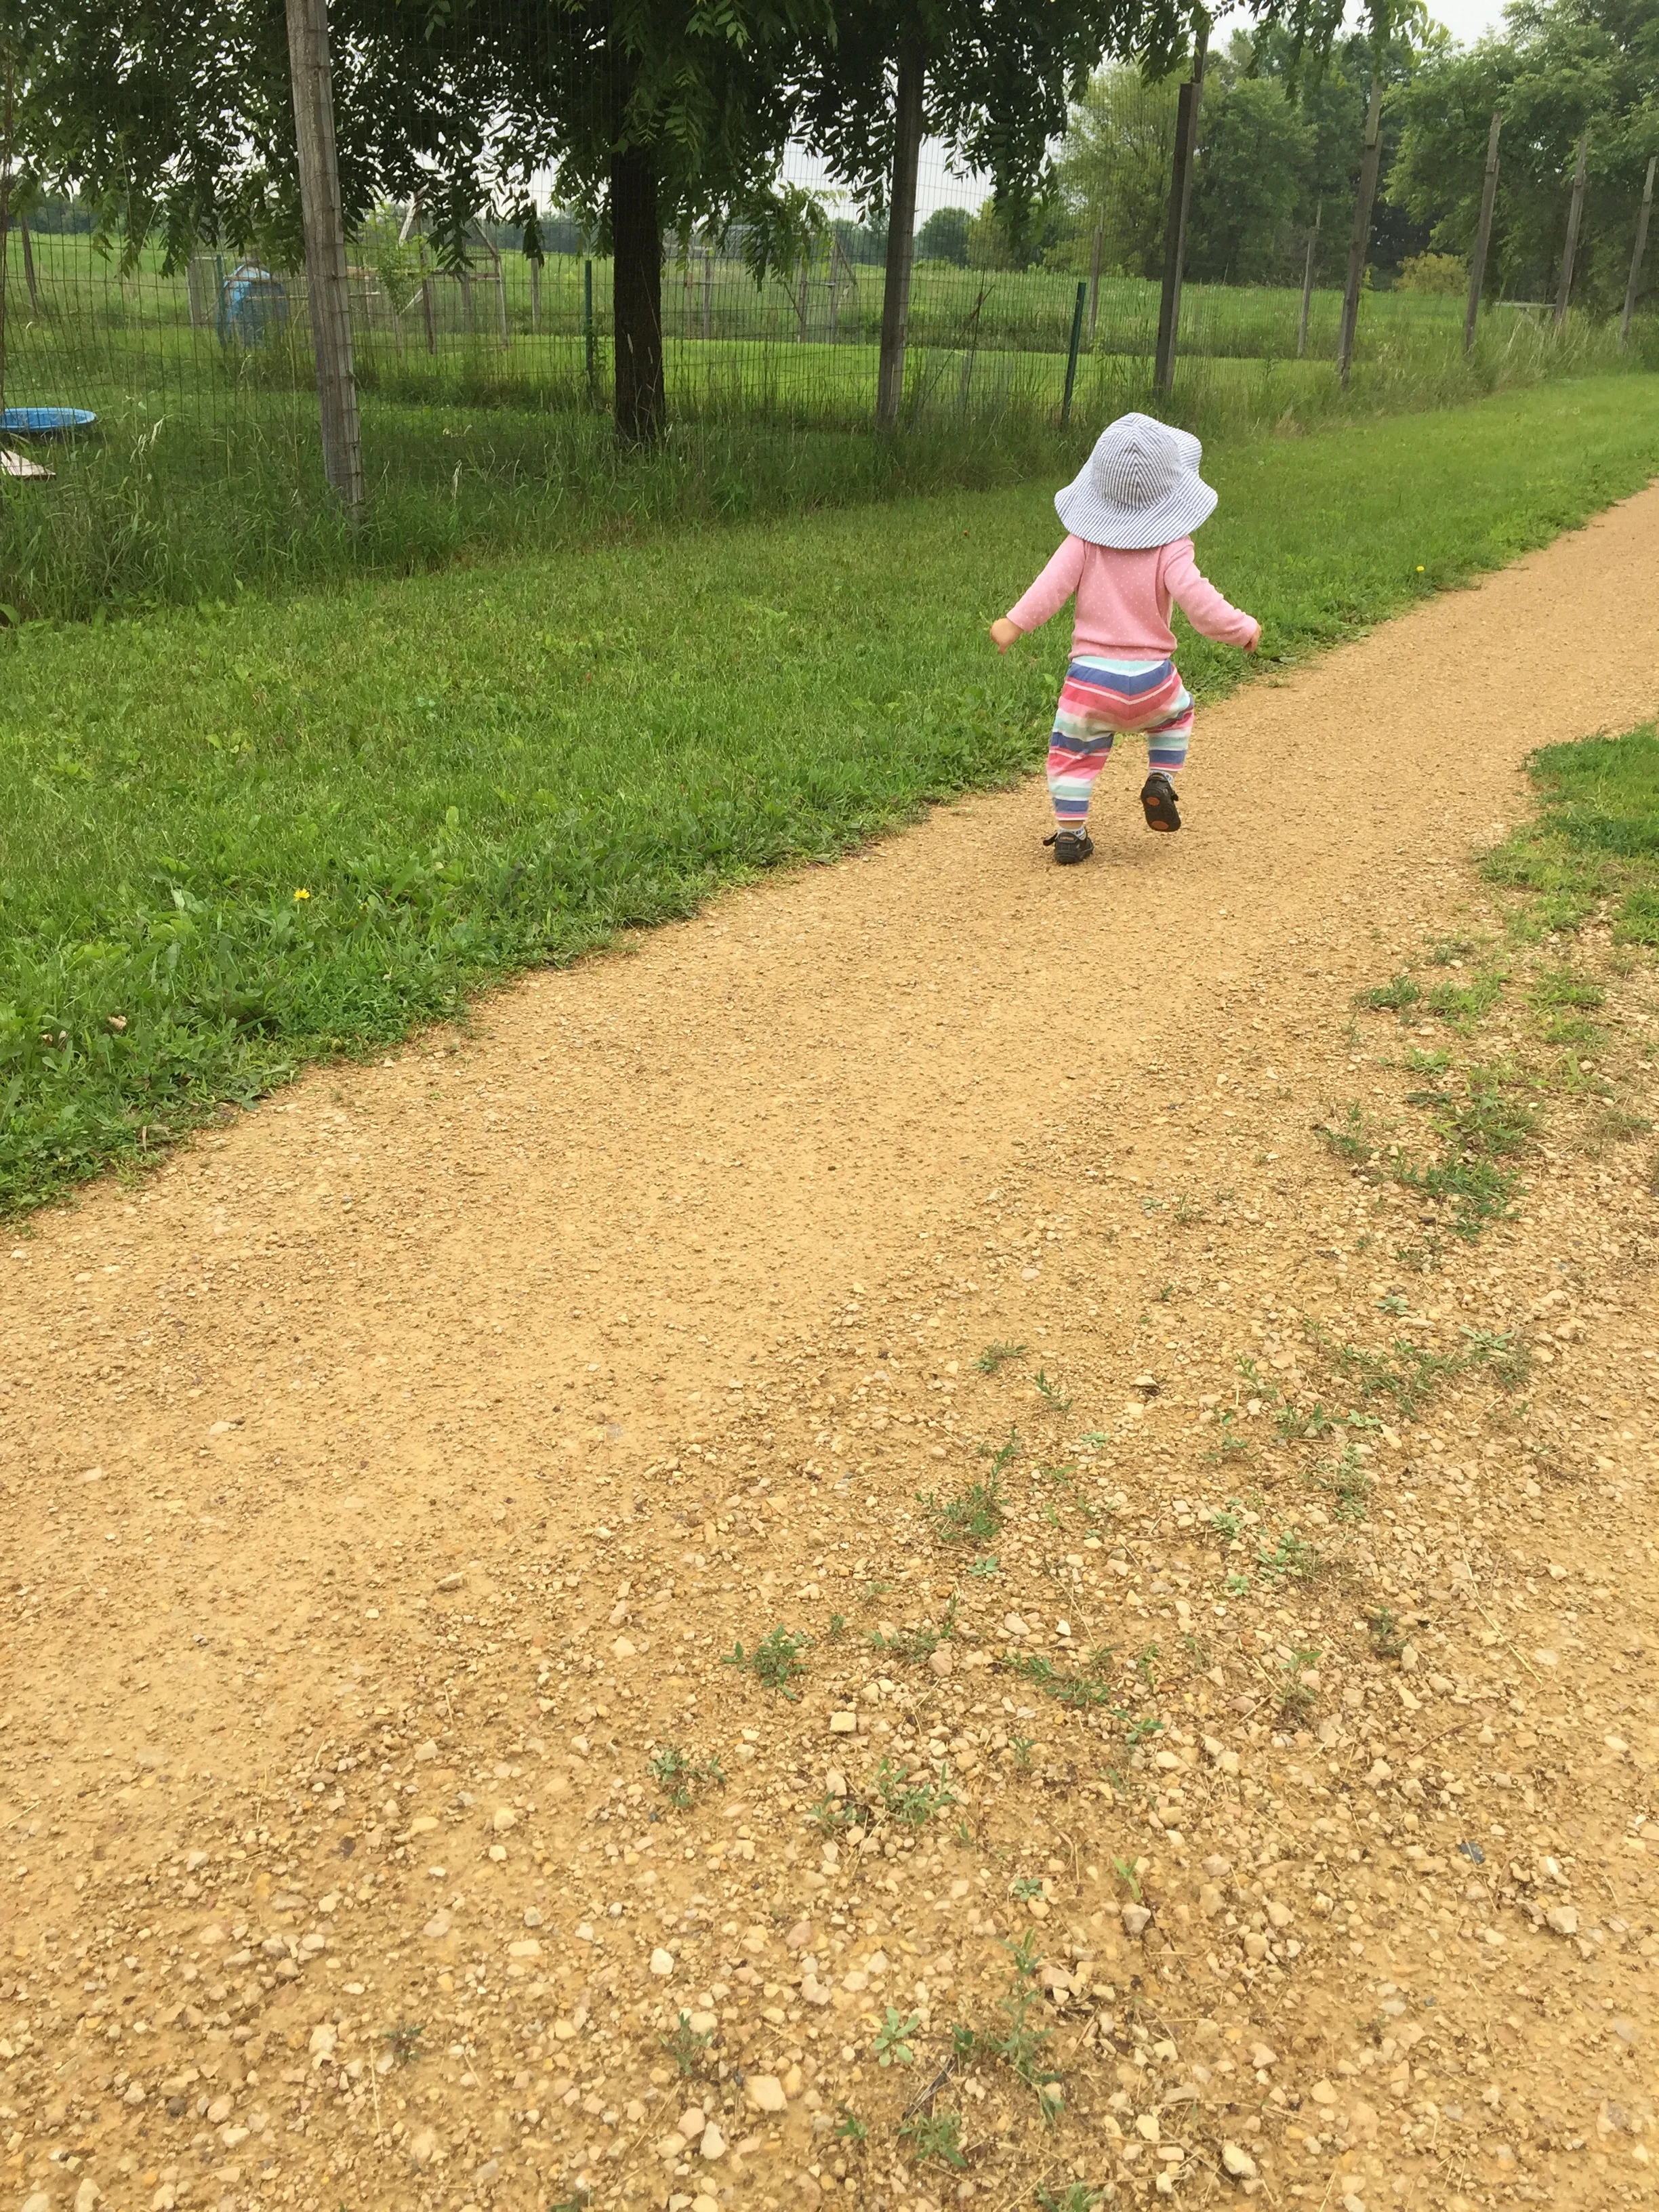
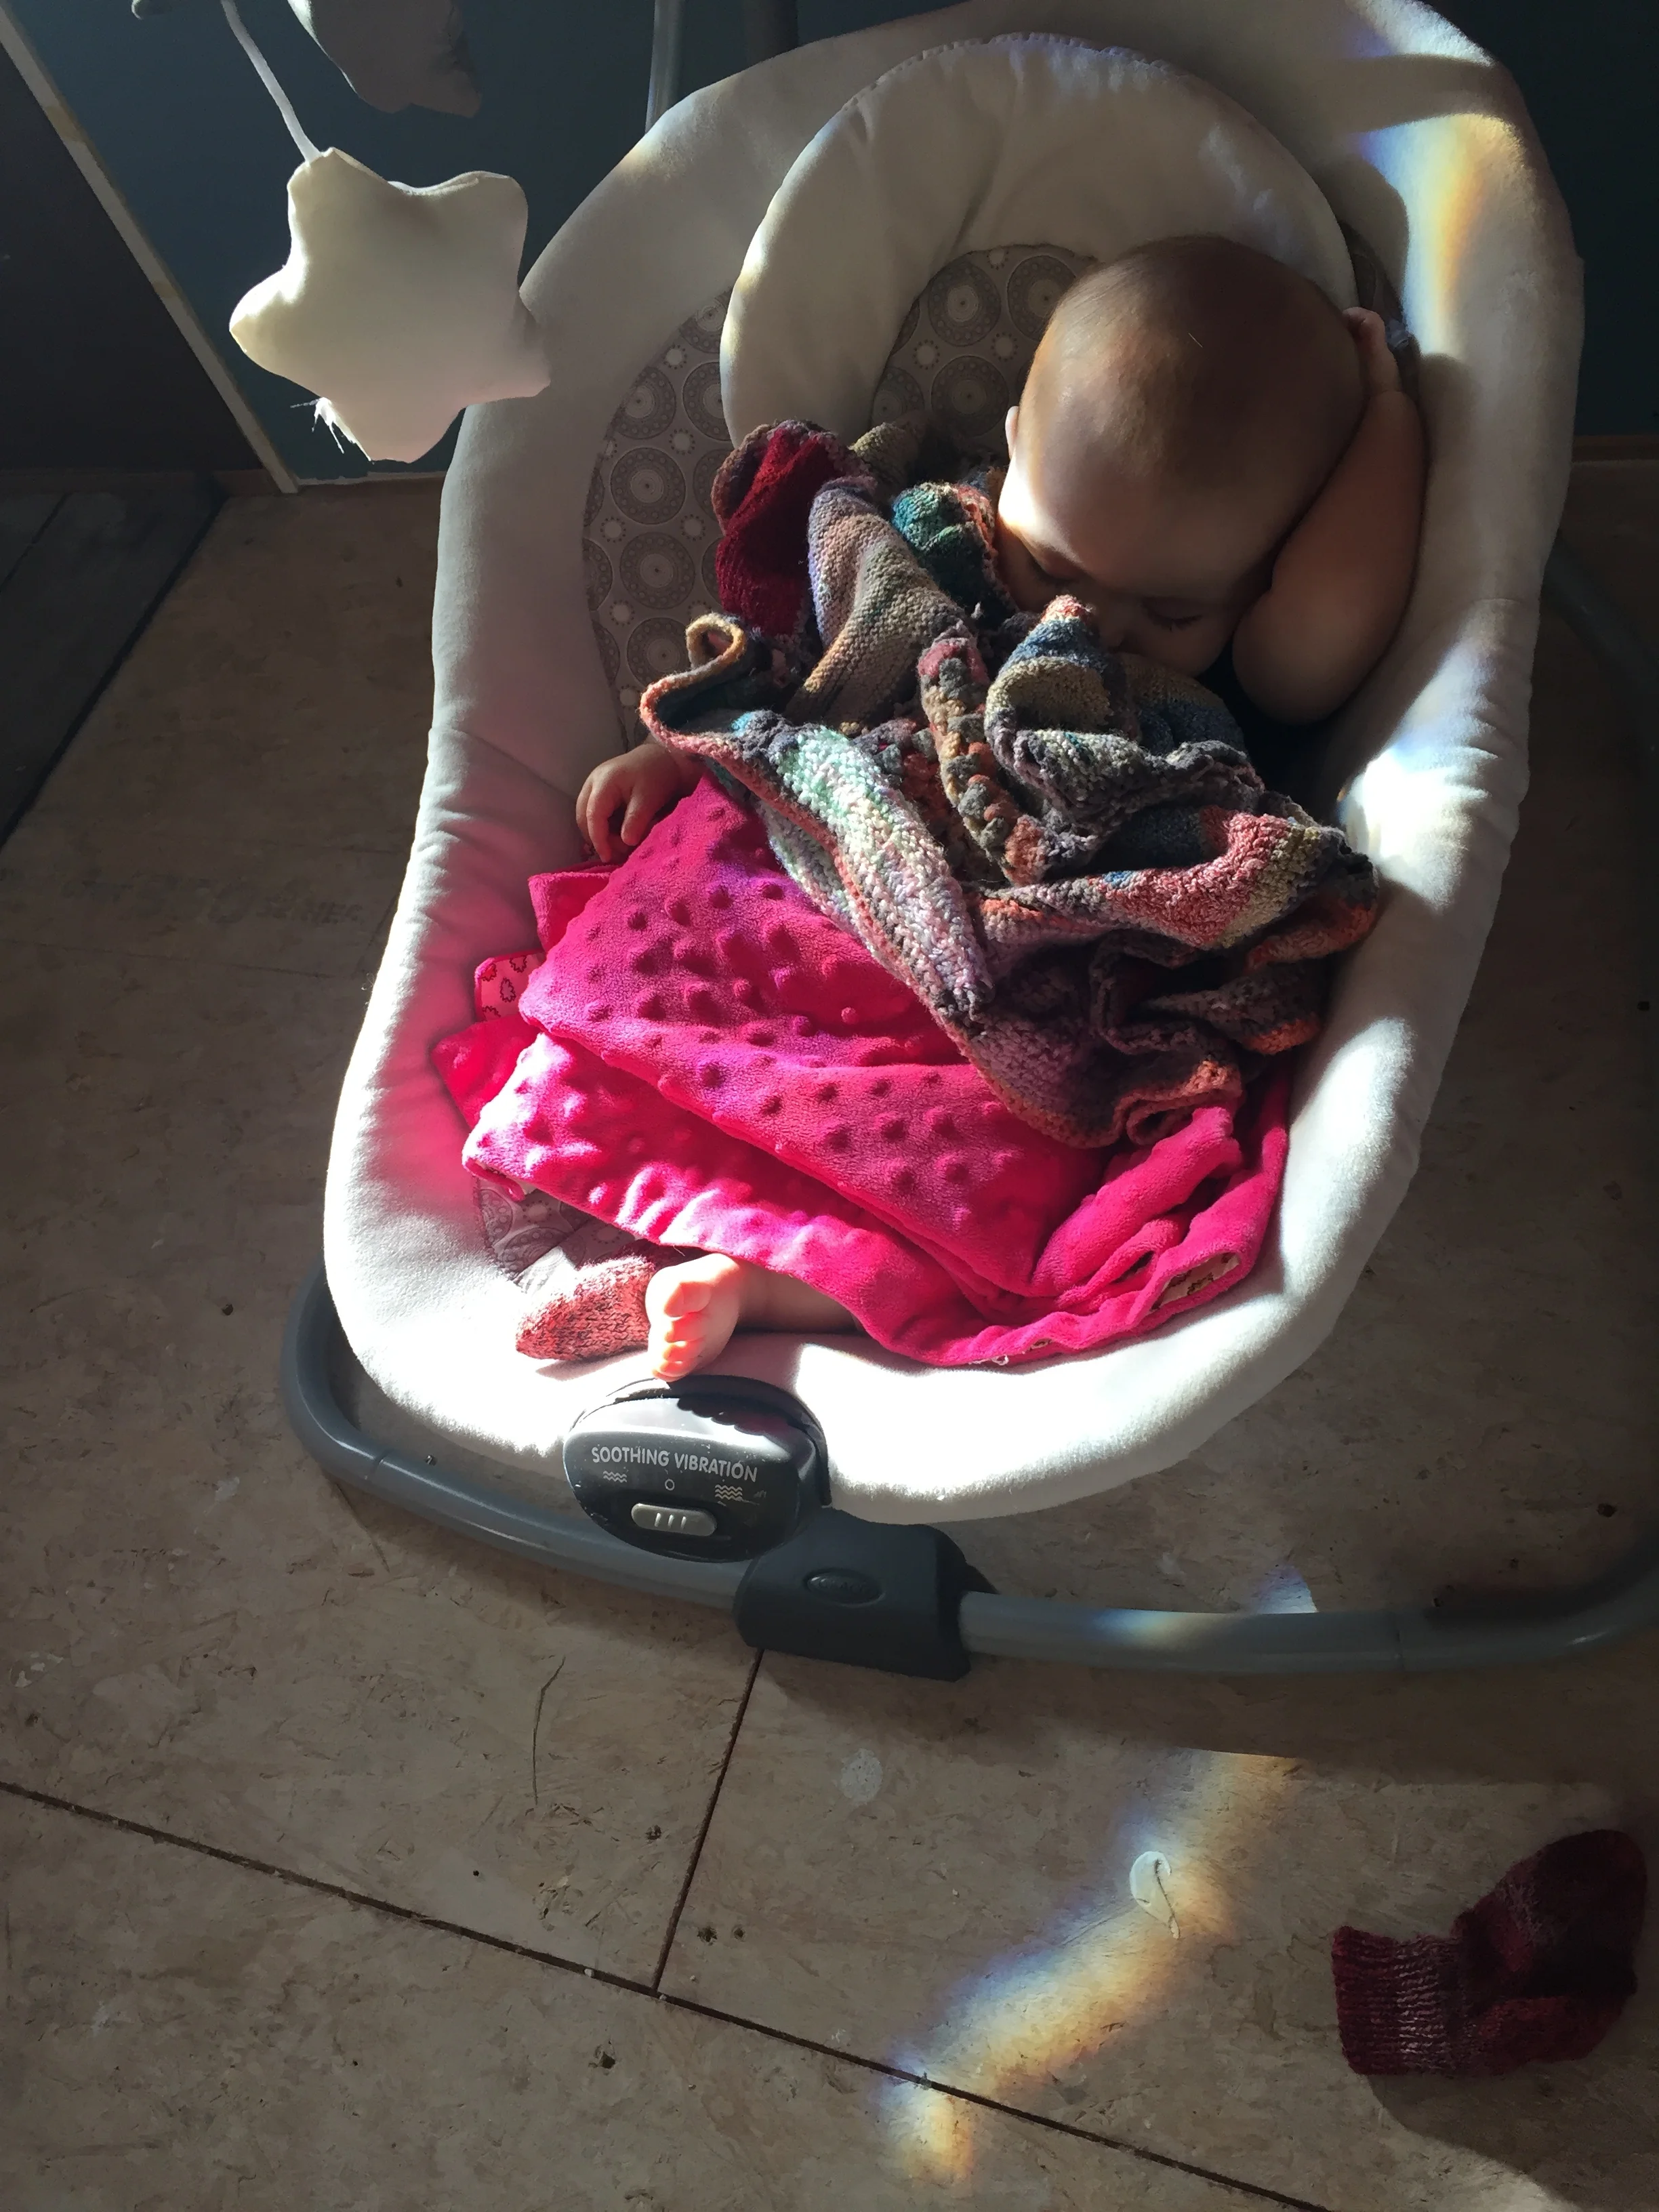
I can hardly wait until this little sprout is munching fresh carrots from our garden! She started walking this past week. She is a going girl!

When things go wrong, they are wrong.
Have I mentioned that the addition is about 9” lower than the original cabin?
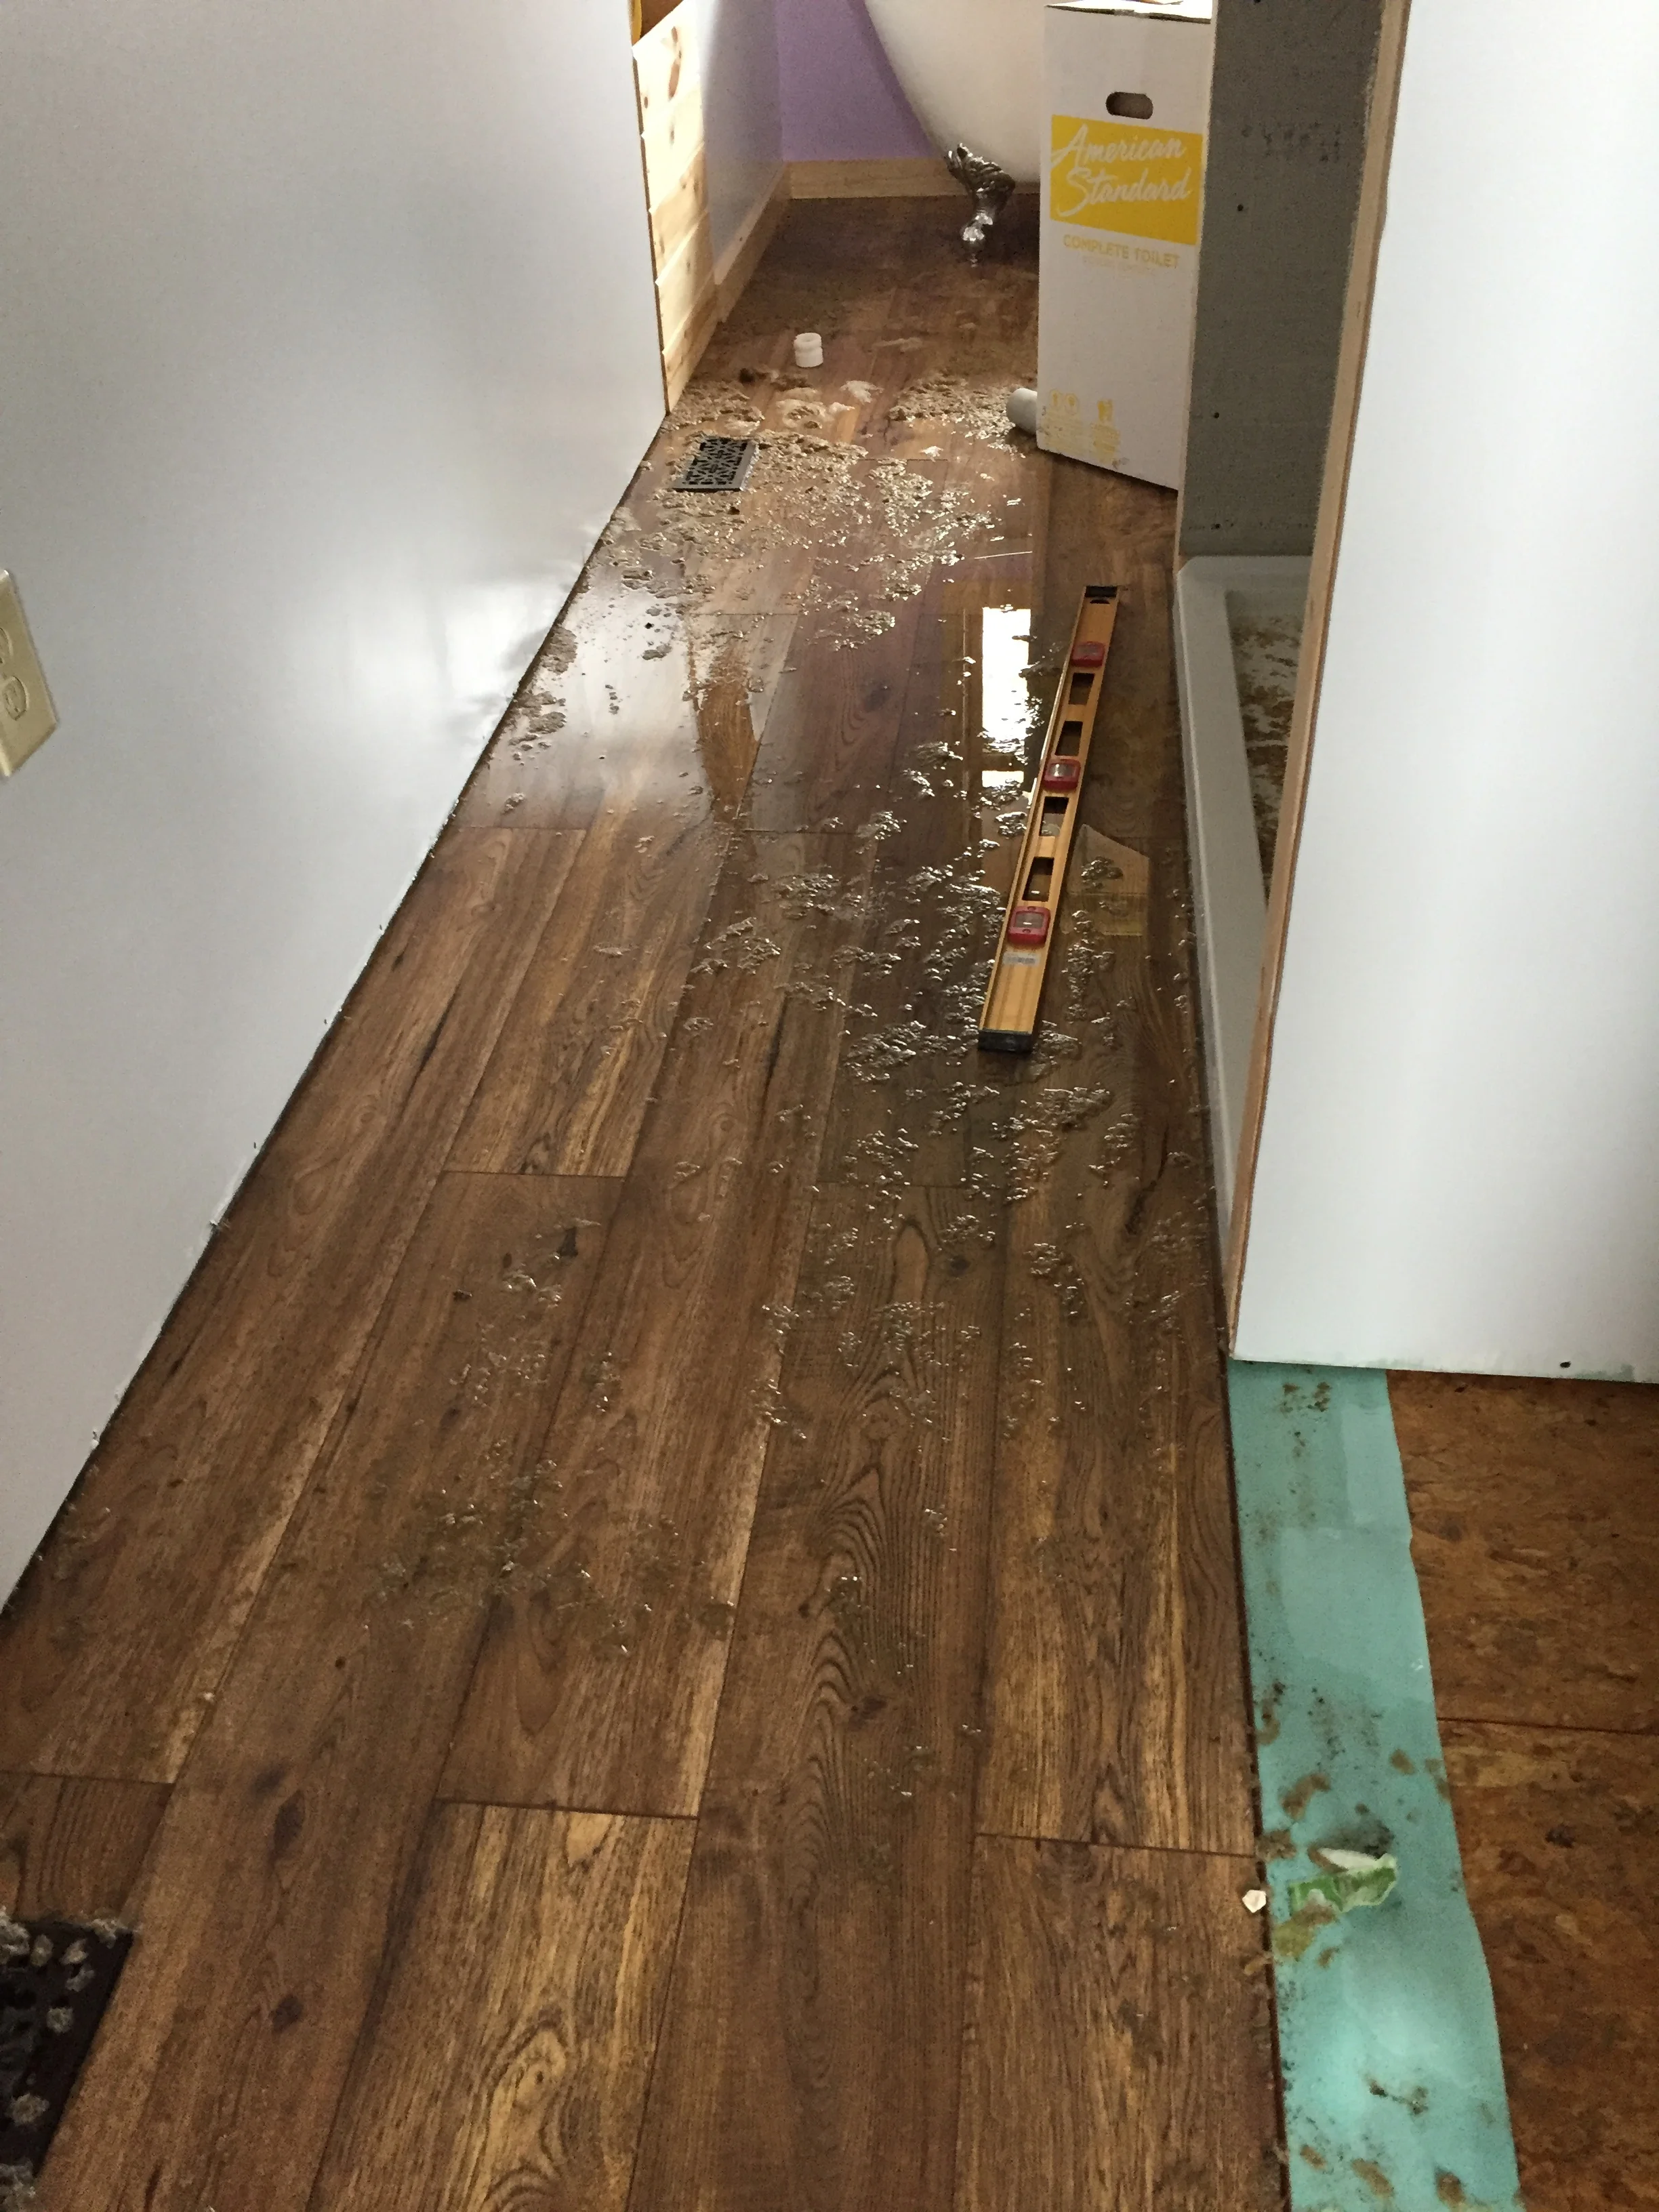
We had a very exciting day. The
lovely weather had me outside, where I noticed a chicken drinking from a babbling brook...in a place where no water should be!! That would be the dump station my in-laws installed when they still had an RV. We are talking a place that has been dry and unused for about 25 years. Eek. We started to investigate, which is when we noticed the bathroom was flooded. If the bathroom floods, so does the basement.
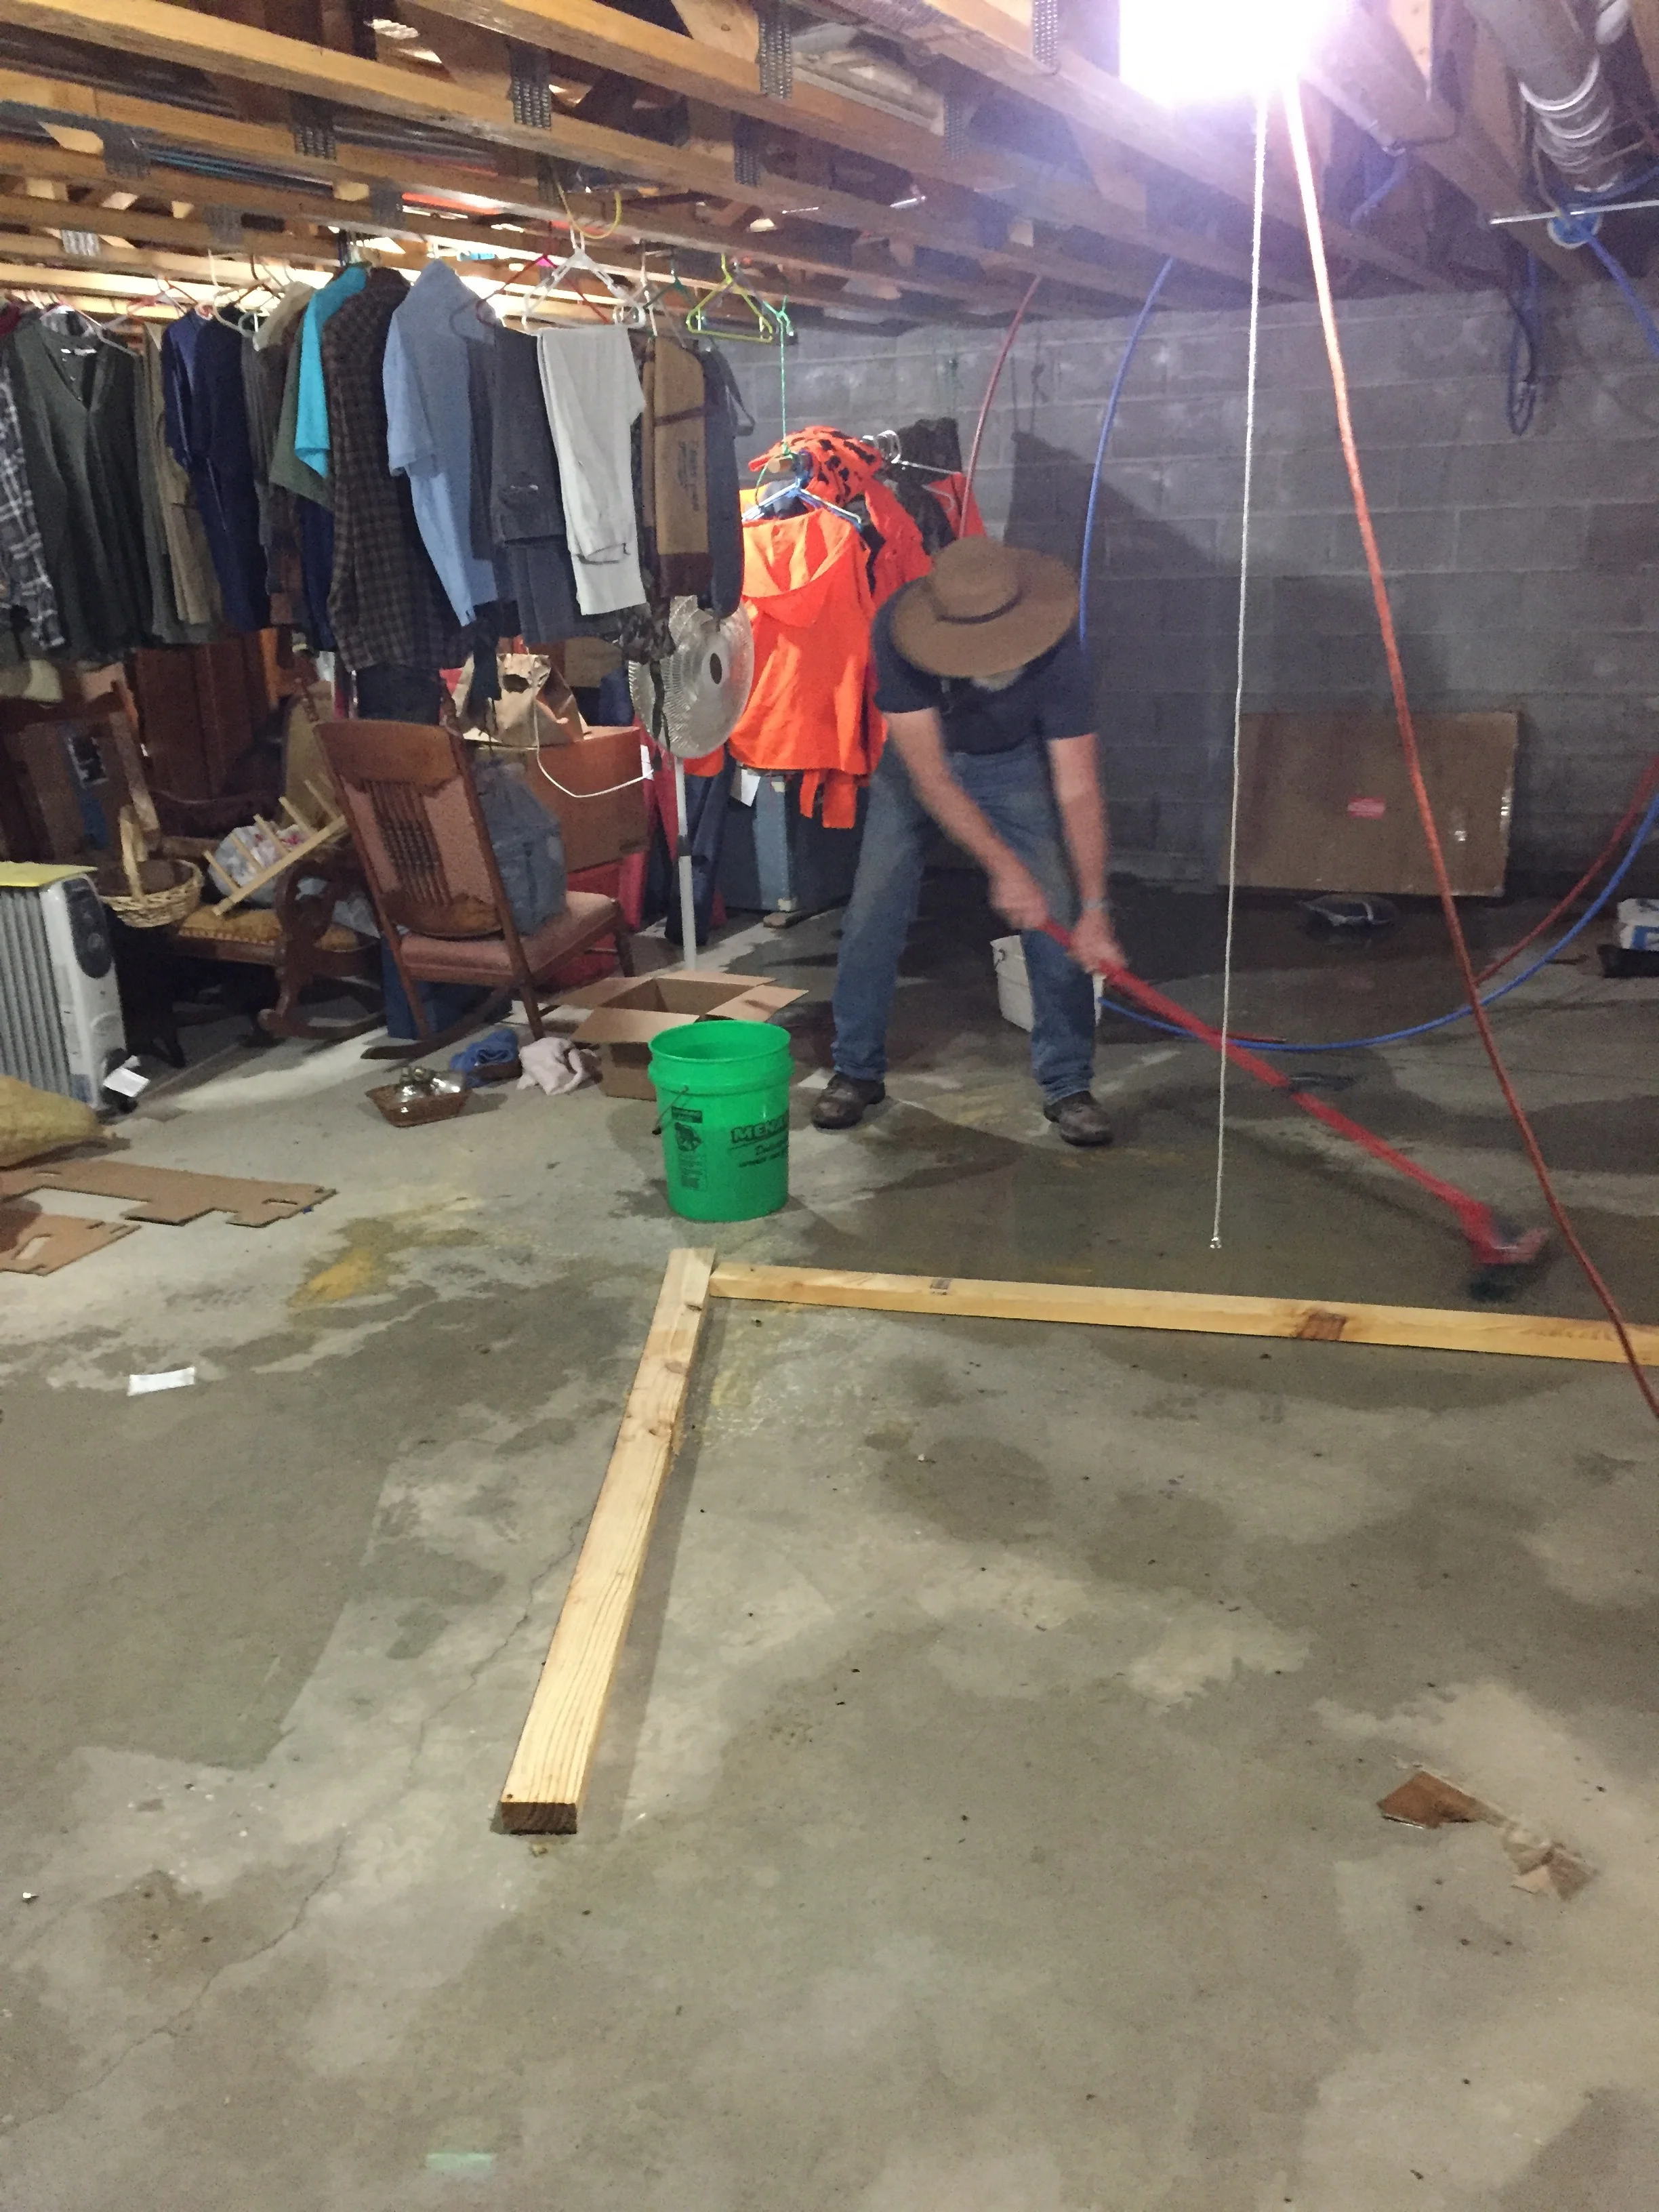
Michael mopped up about 8 gallons of nasty water.
After doing some sleuthing (yes, the electricity to the pump at the mound system still functioned, and no, the septic tank was not overflowing), Michael located a blockage in the sewer line six feet uphill from the septic tank. The 50’ snake sufficed to locate the plug, but could not penetrate it. So Michael, that genius, got a length of garden hose with a shnozzle on the end and, belly on the ground and long arms hanging down, fed the end of the hose into the drain pipe and blasted water into the clog until it disintegrated.
Wow. I was too grimy to be taking photos by this point, but a house with all of its sewer pipes filled with water creates a bit of pressure. When that clog went, it was spectacular! You will have to take me on my word.
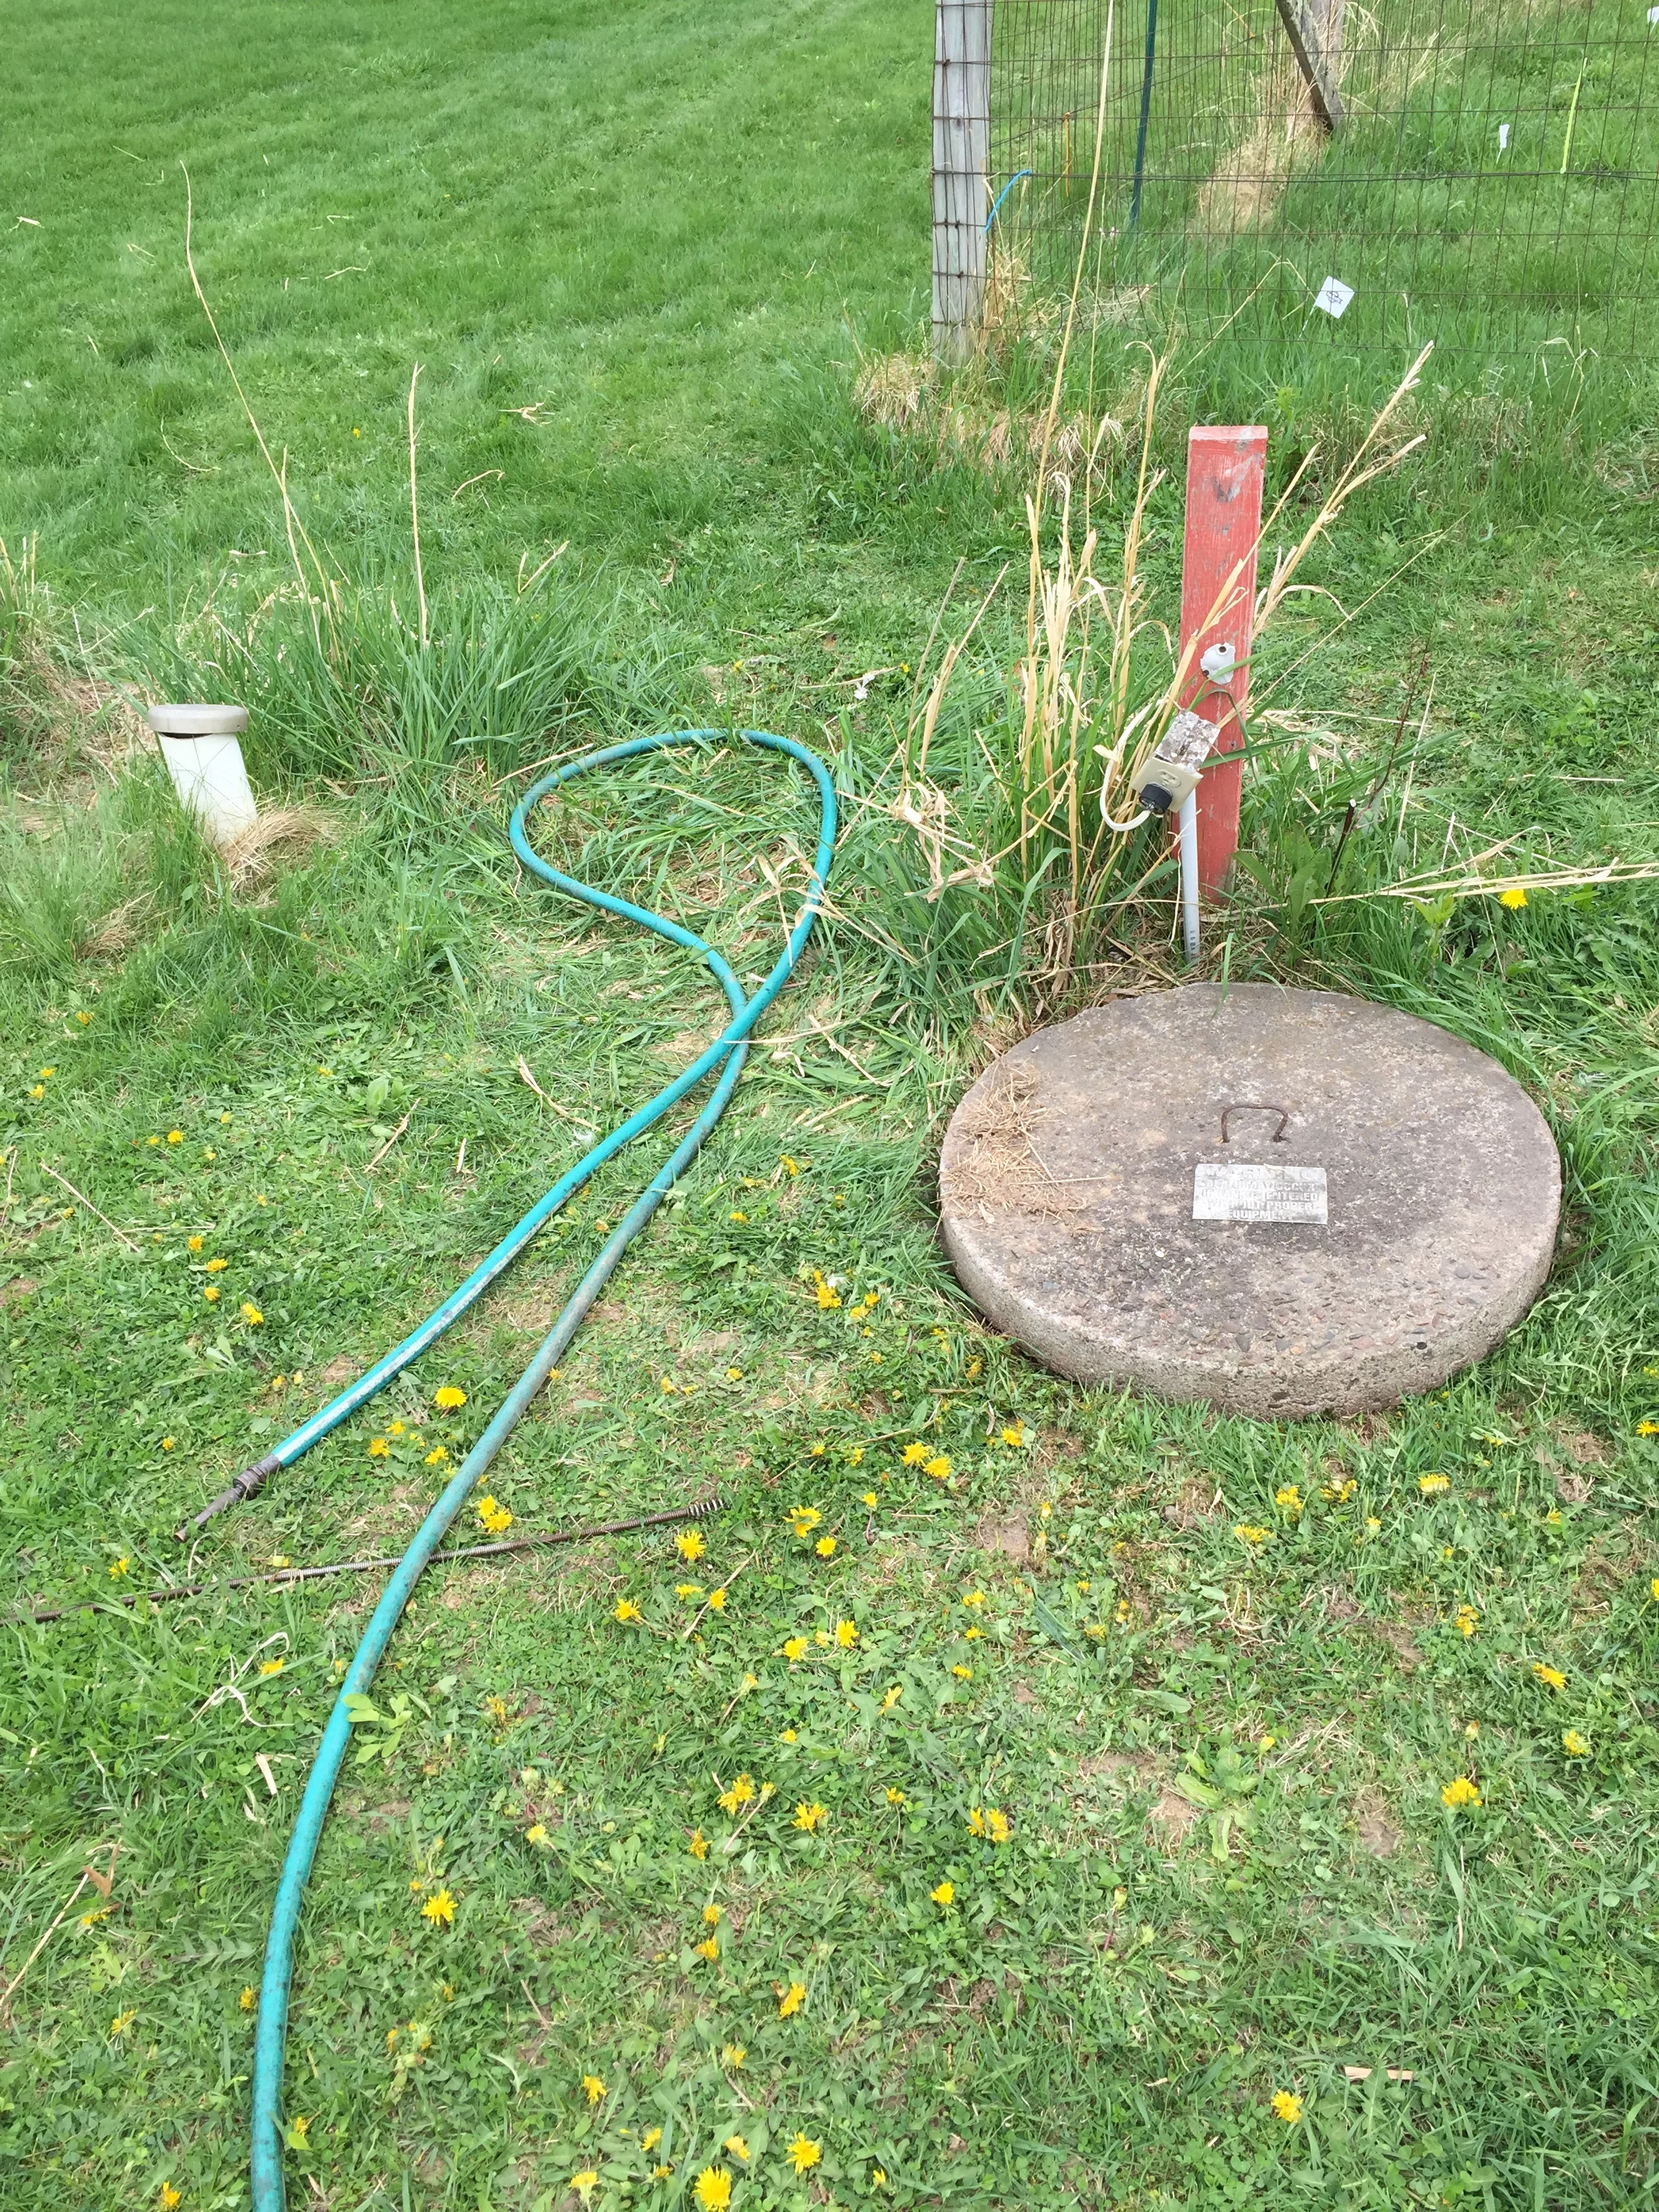
Tank covered. Hose stretched out to let UV do it’s sanitizing thing.
Thankfully, Michael had put silicone caulking around the edges of the laminated flooring (like the directions say) and it limited the flooded area to the bathroom...and does not appear to have done any permanent harm.
After the flood.
We are contemplating how to keep this from happening again. Blockages are bound to occur and I can think of ways I’d rather spend my day. Michael is thinking of installing a trap in the sewage line that would overflow into a 55 gallon drum, which would keep the backed up water from reaching the shower drain (the lowest spot in the house). If anyone has a better idea, let us know!!!!
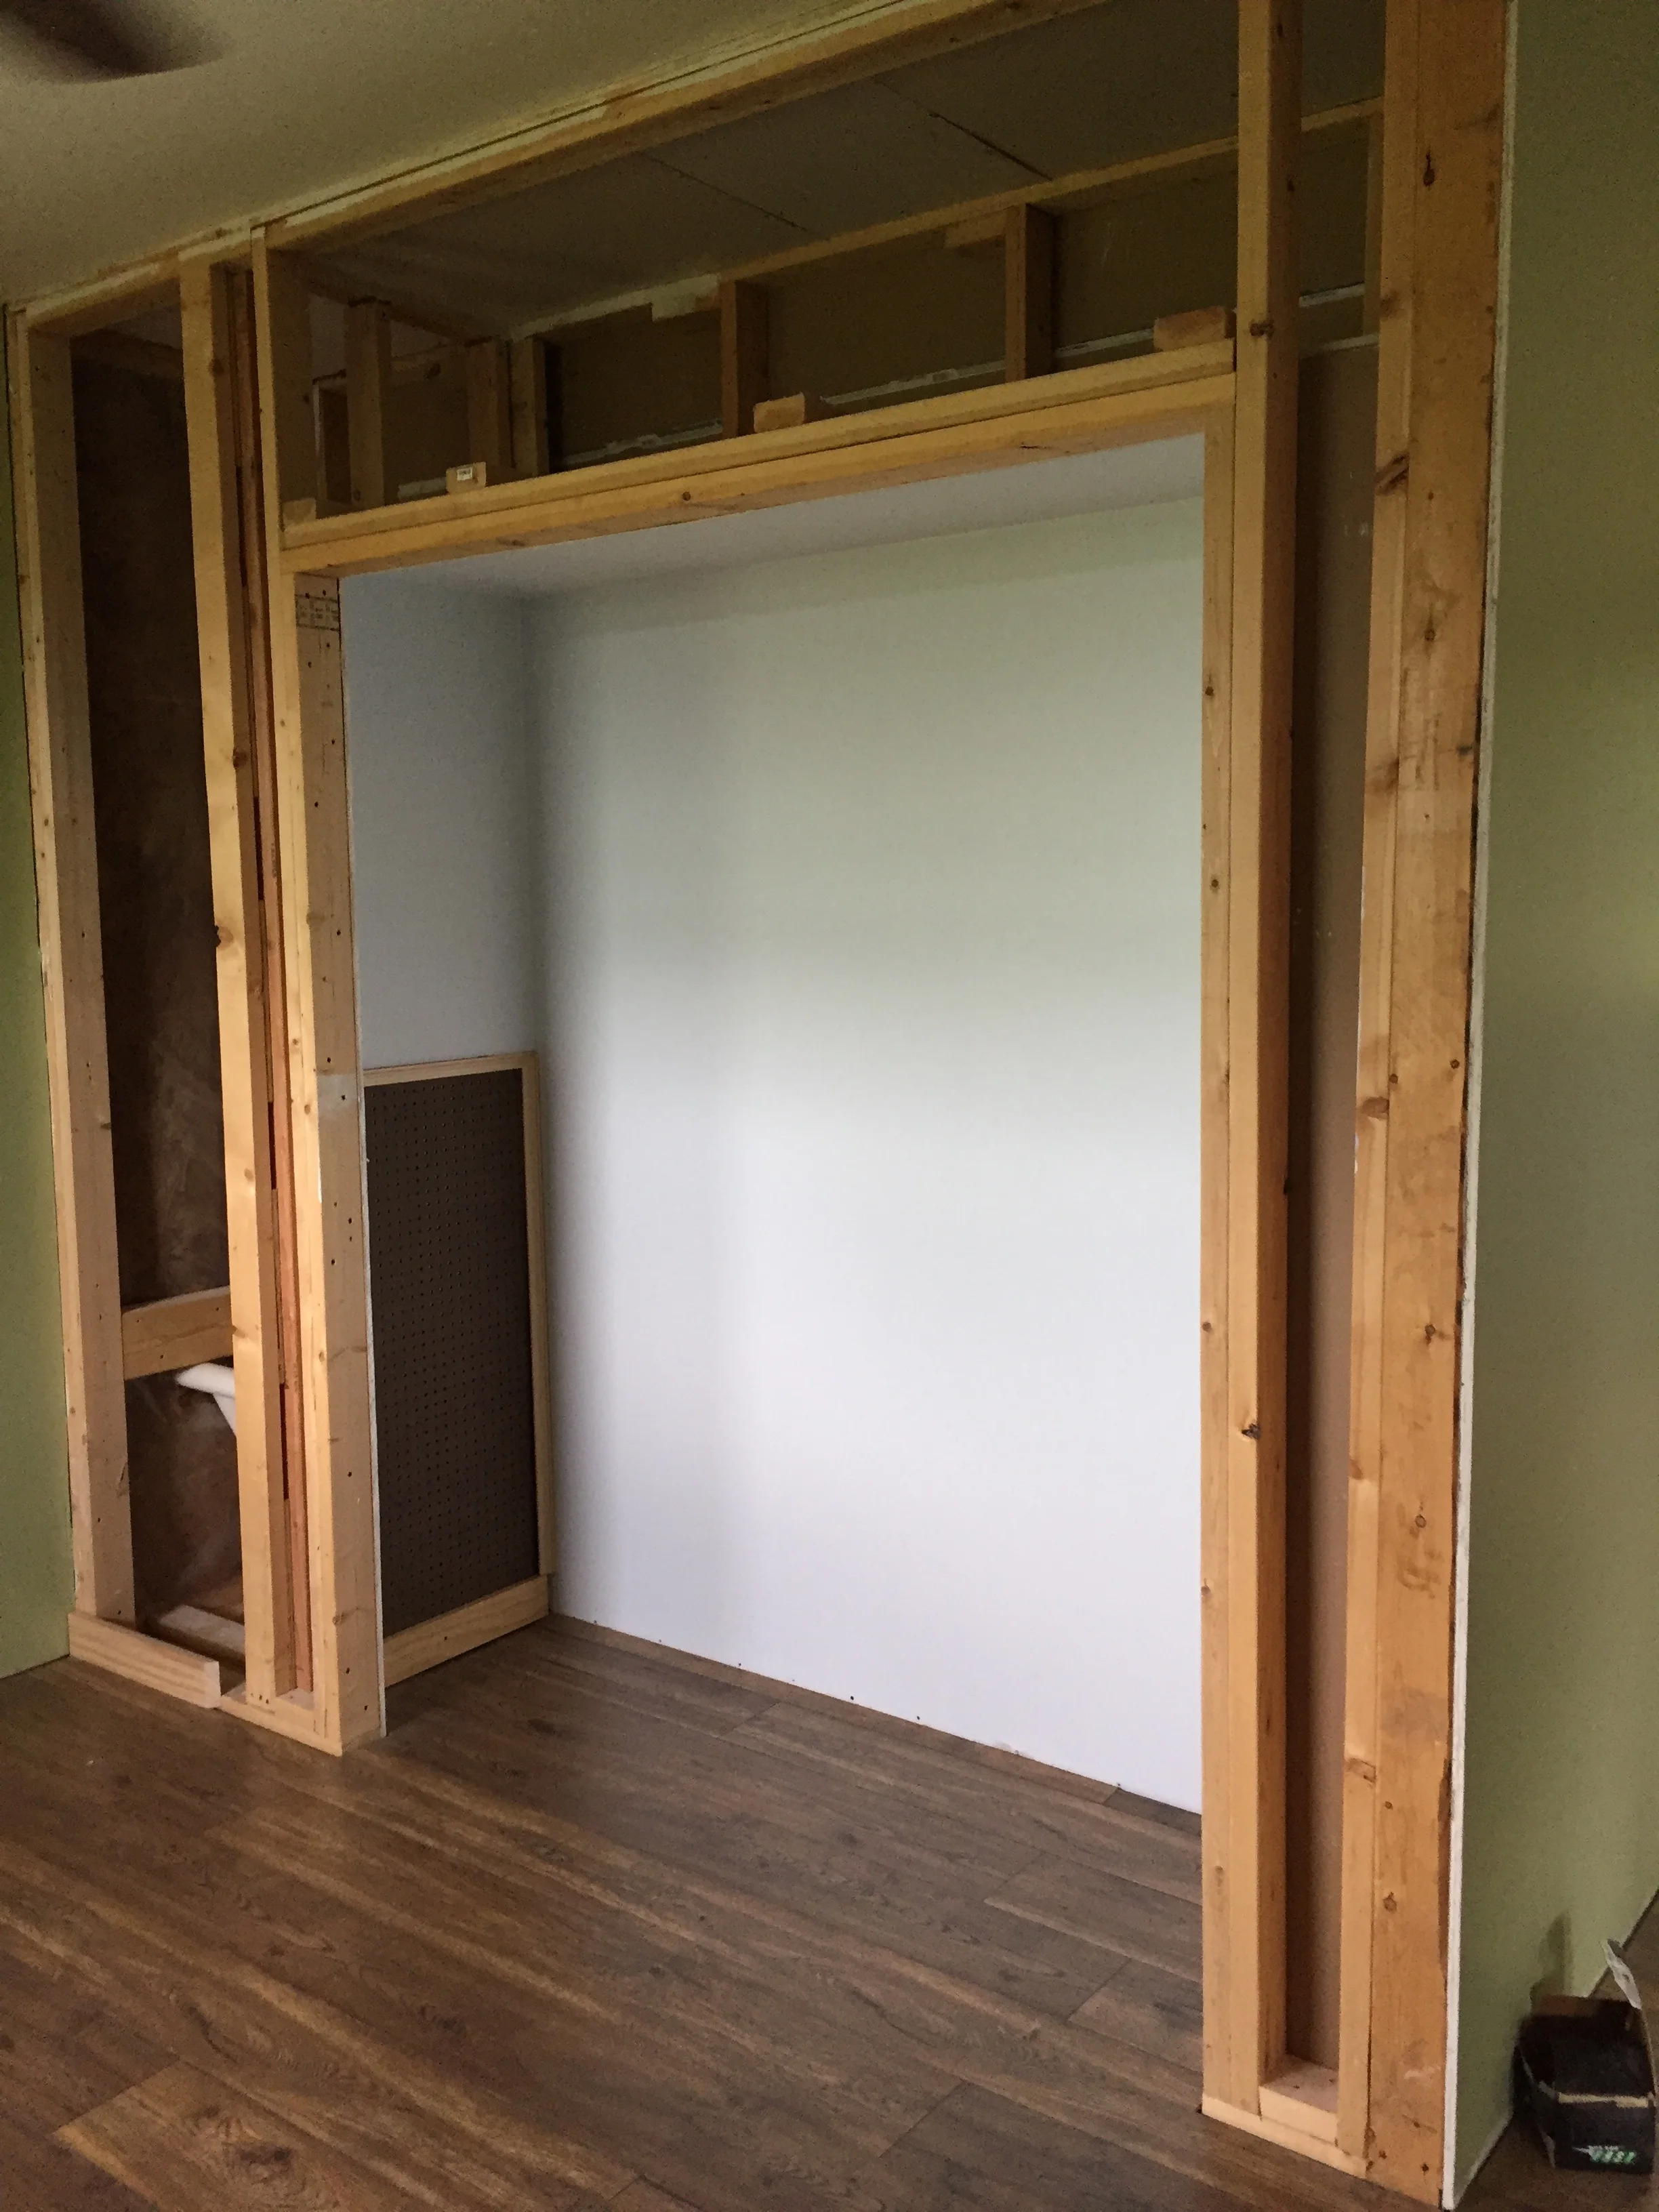
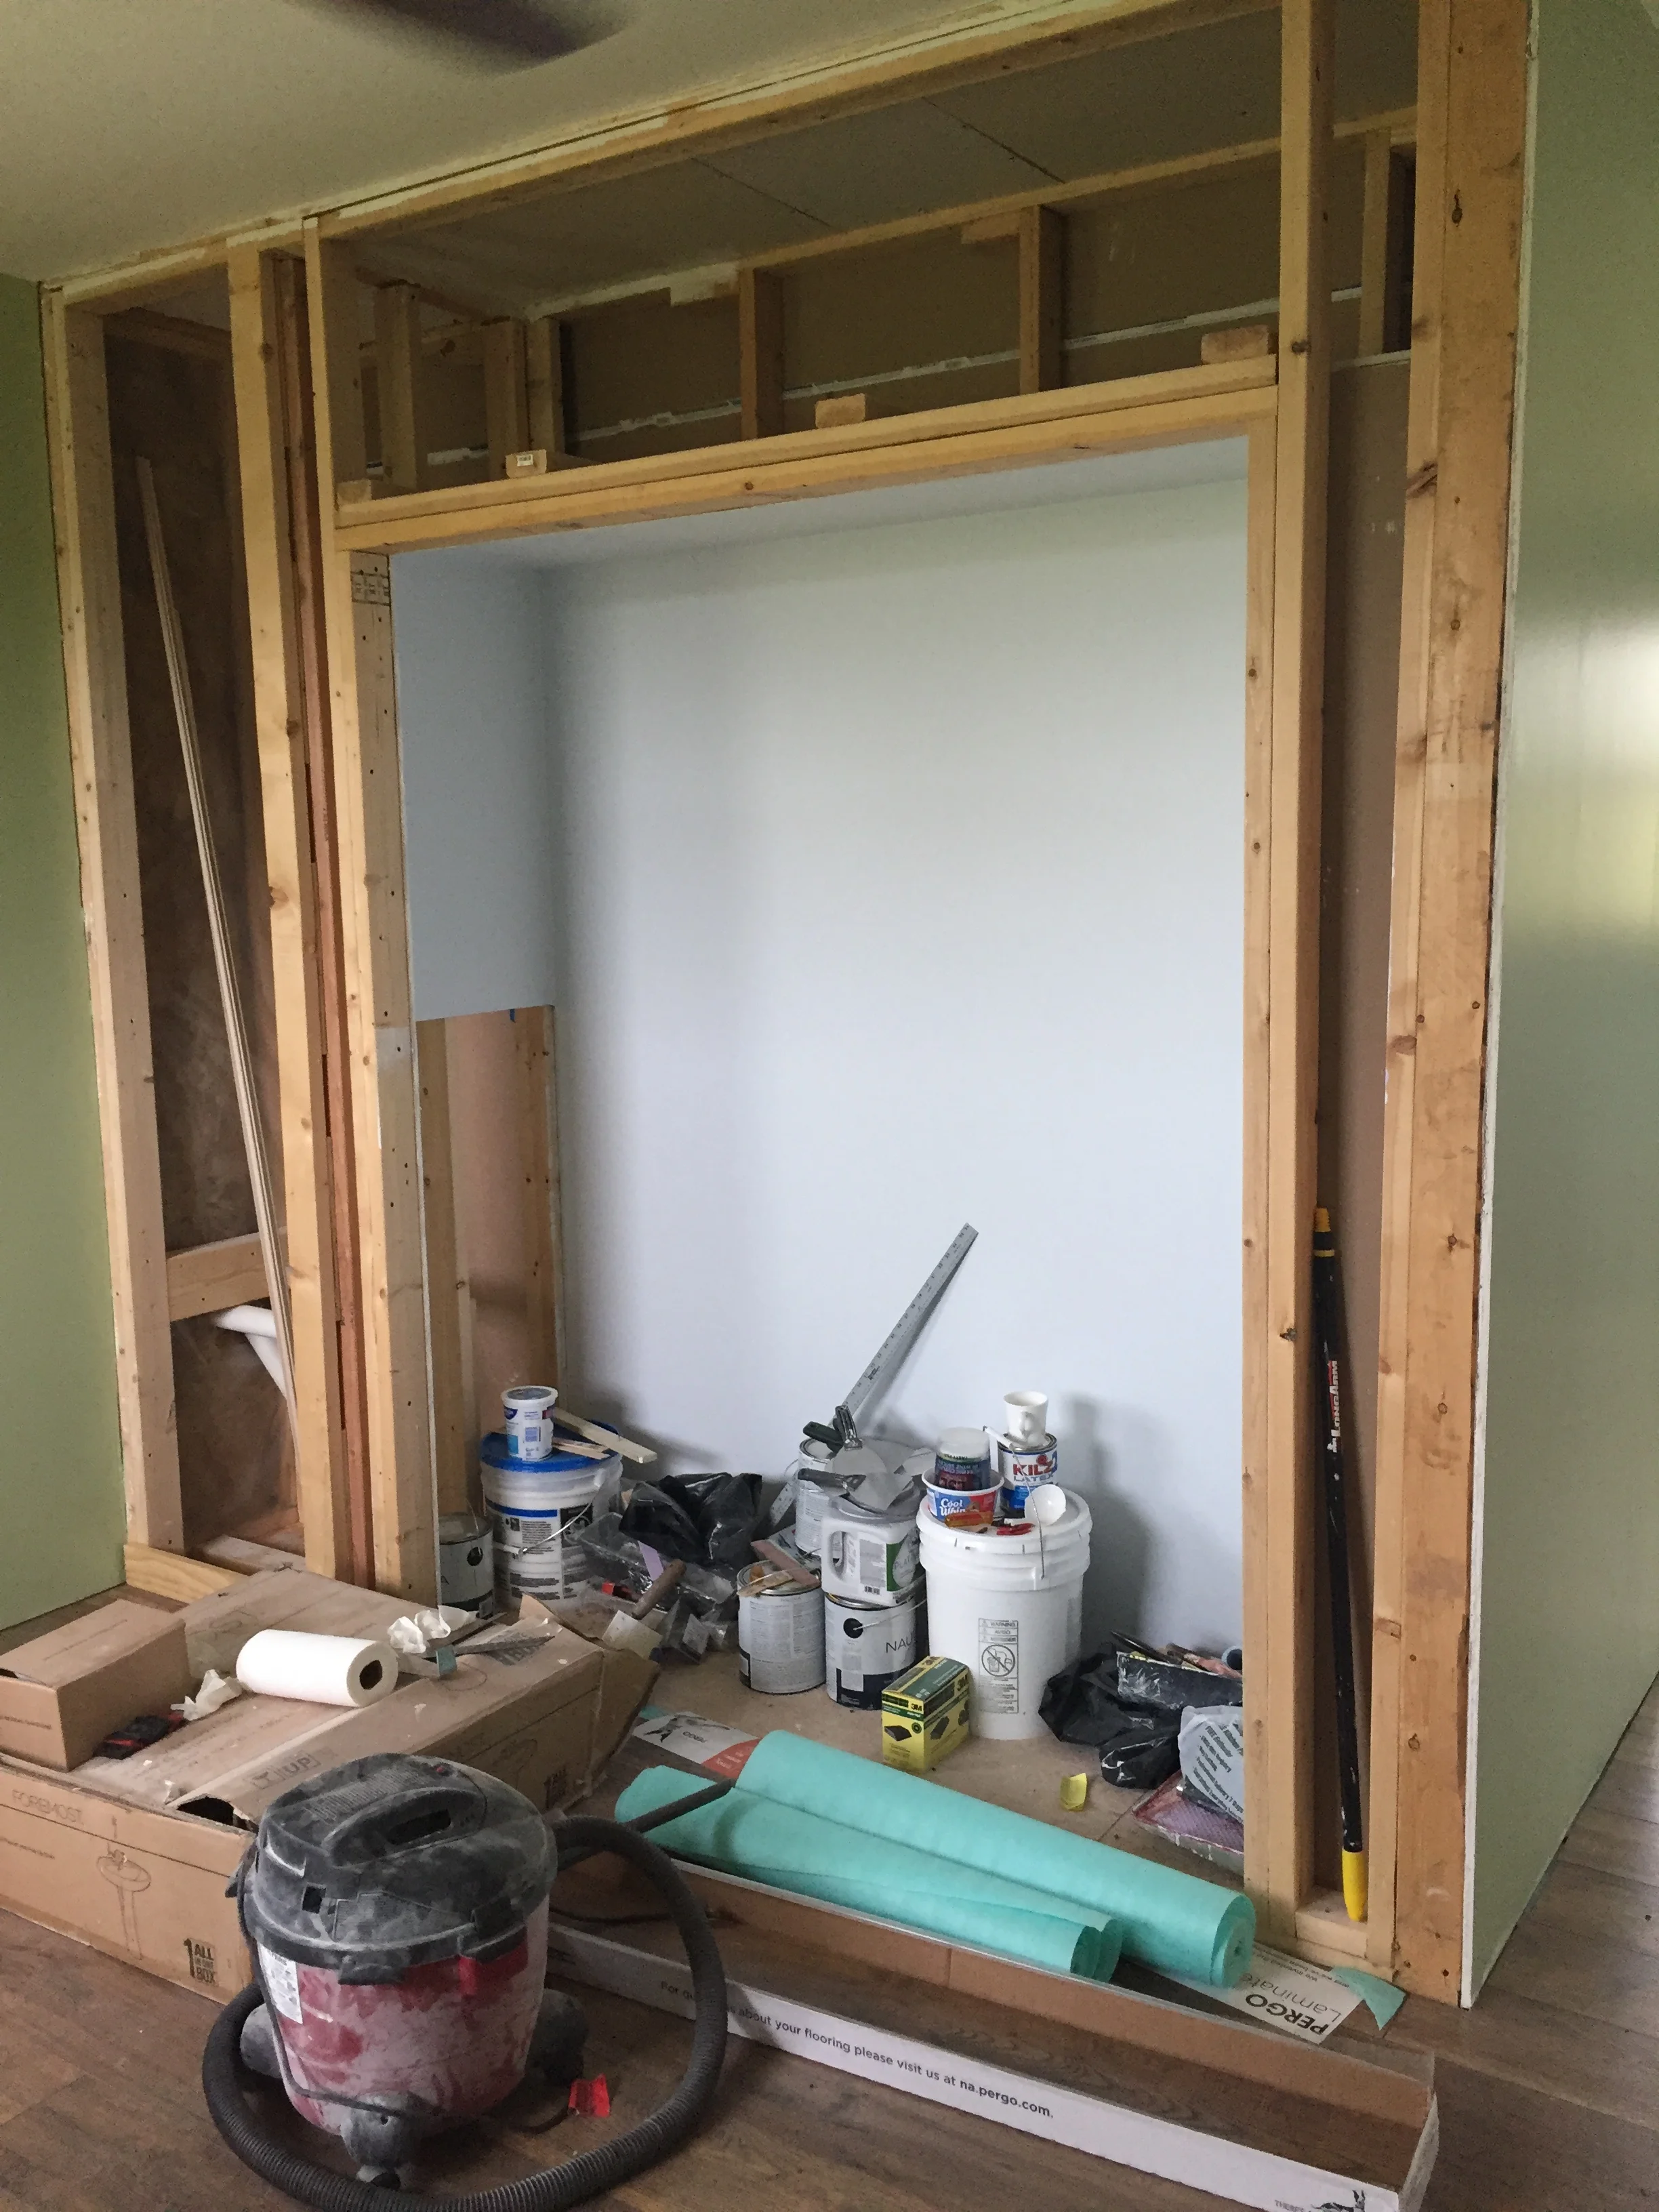
Irene’s birthday came. Irene’s birthday went. Her space still is not finished. Part of the delay is getting our daughter moved. Part is having the snow melt and outdoor work heat up. And part is a lack of space to work.
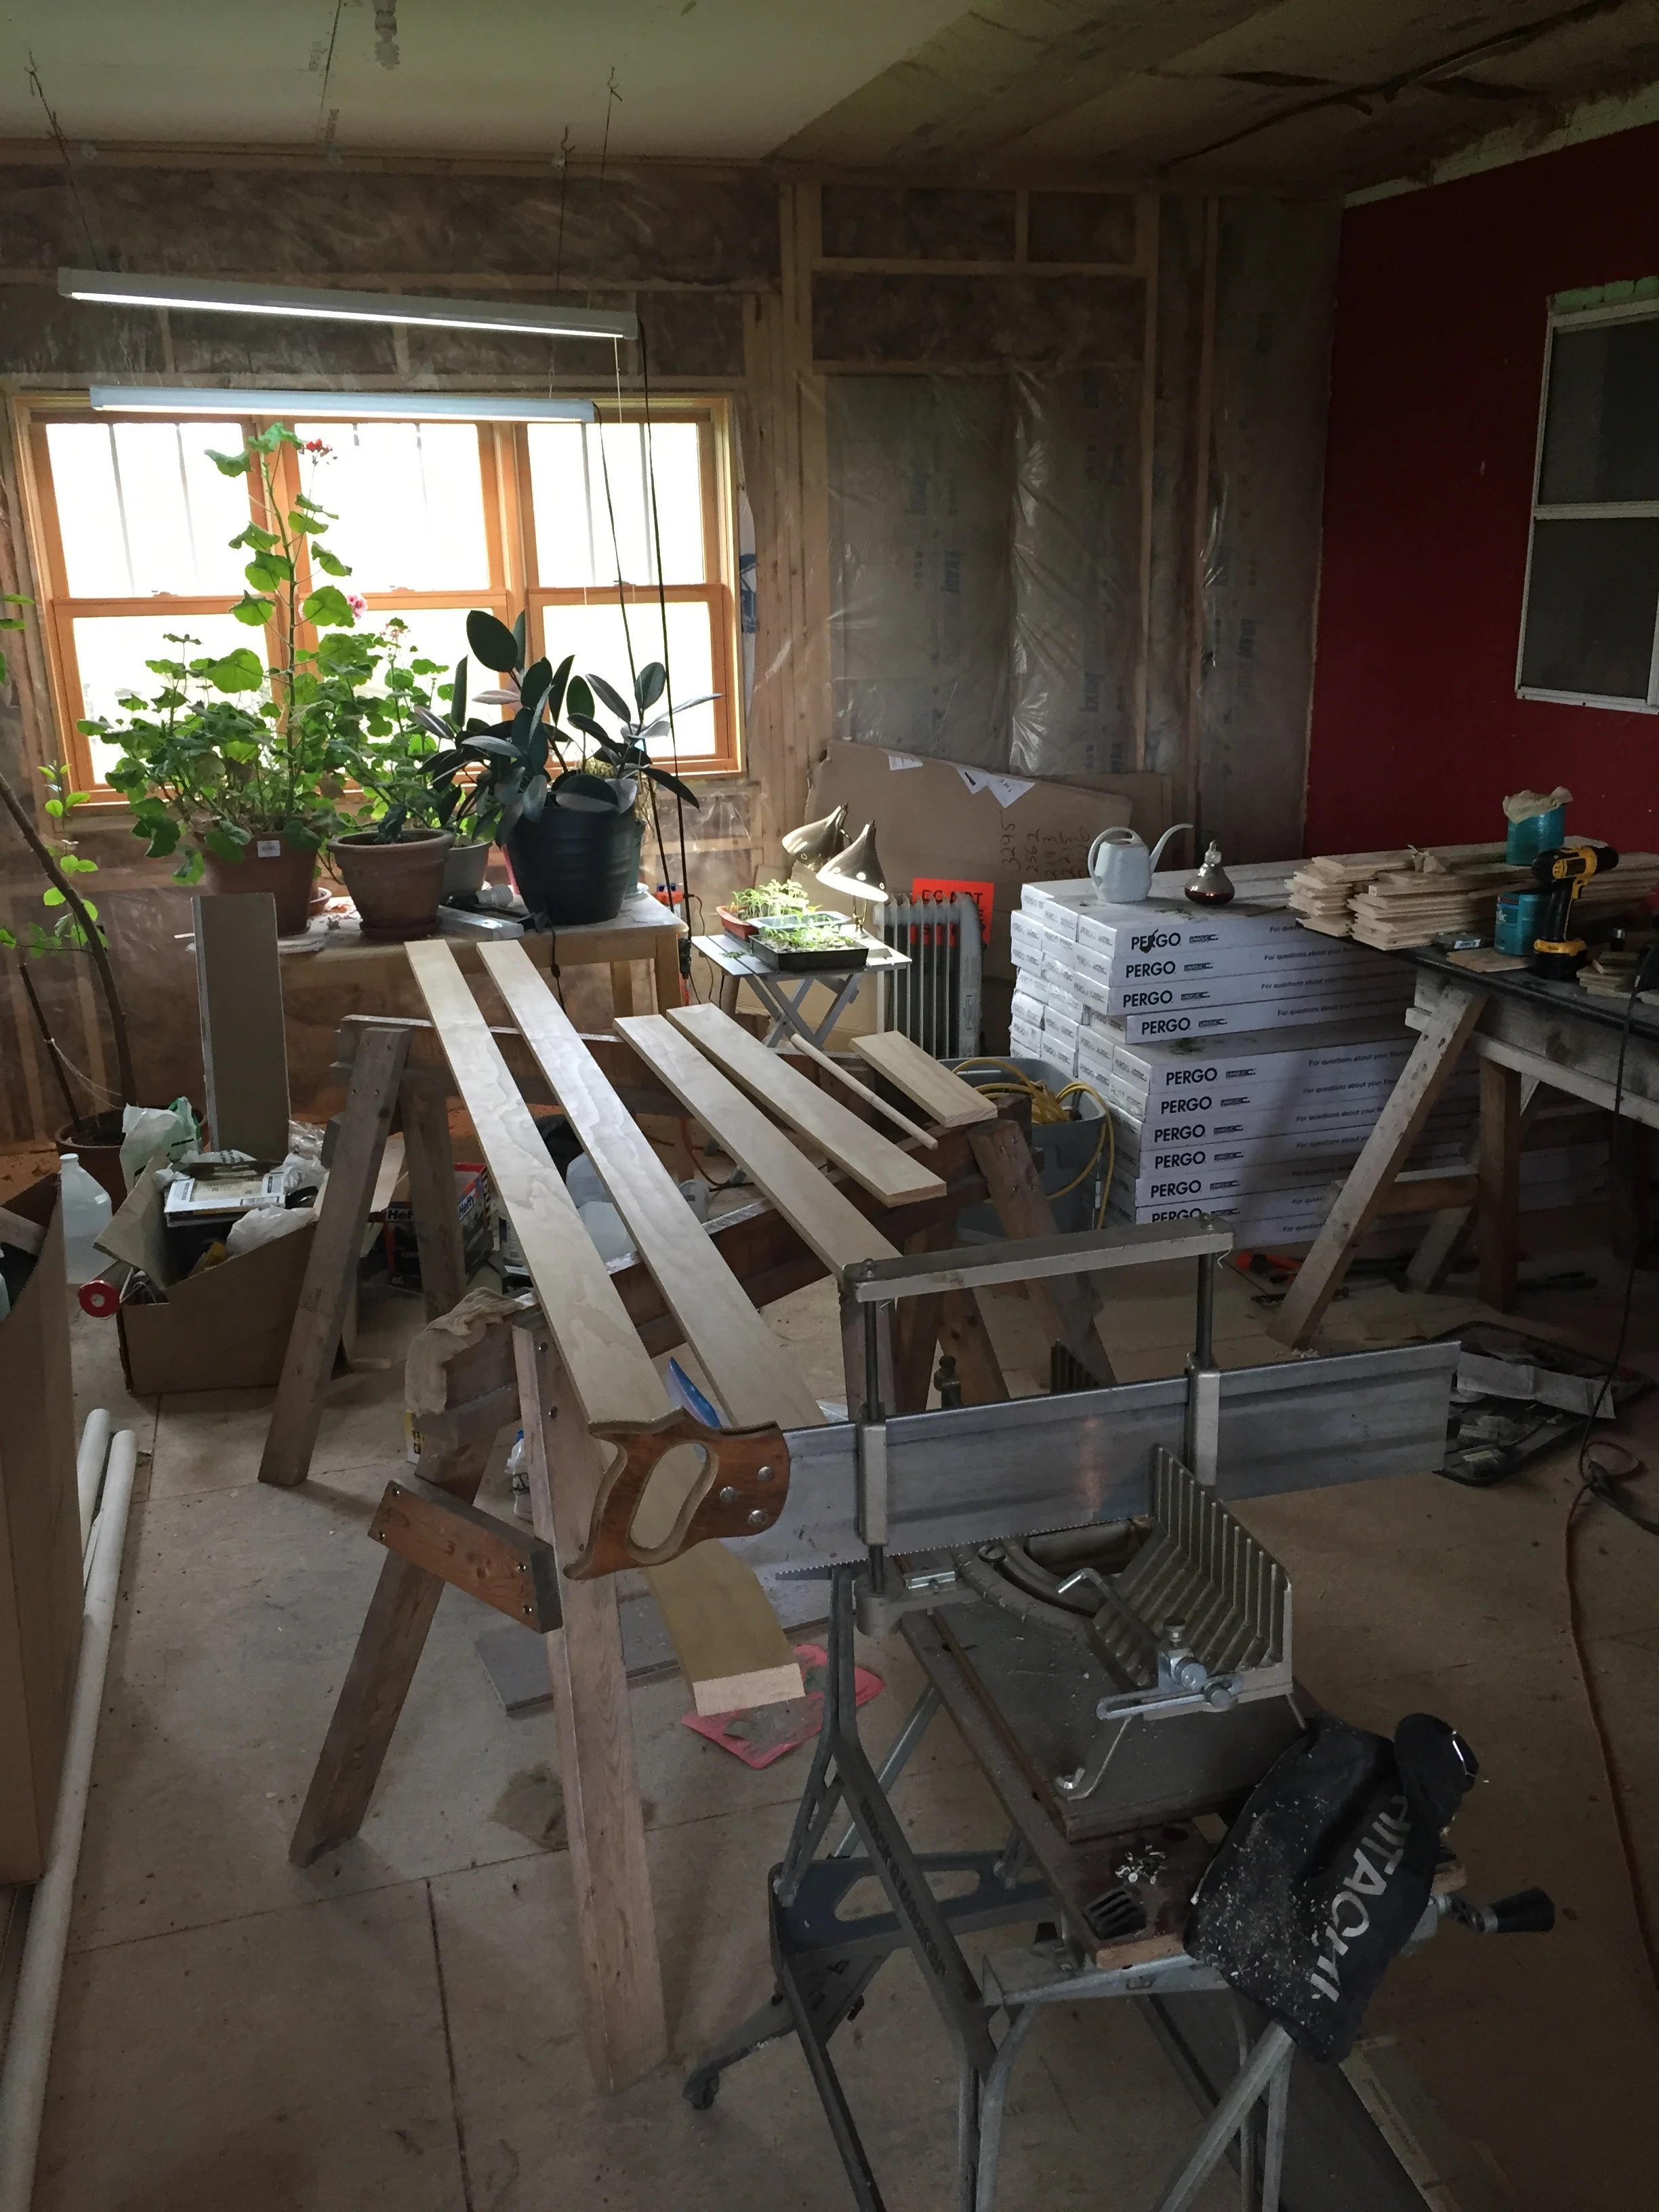
My indoor work space.
At the moment, we are using what will eventually be a living room/studio space (I can set up a loom in here some day!!!) to finish boards. It is also where equipment and supplies are stored: the flooring, the drywall lifter, a miter saw (handy for small finish pieces), extra drywall...and it’s where we have been fostering our indoor plants and starting our seedlings.
I have completed the window trim and am now working on the base boards.
I have to fill in the screw holes. A job for another day.
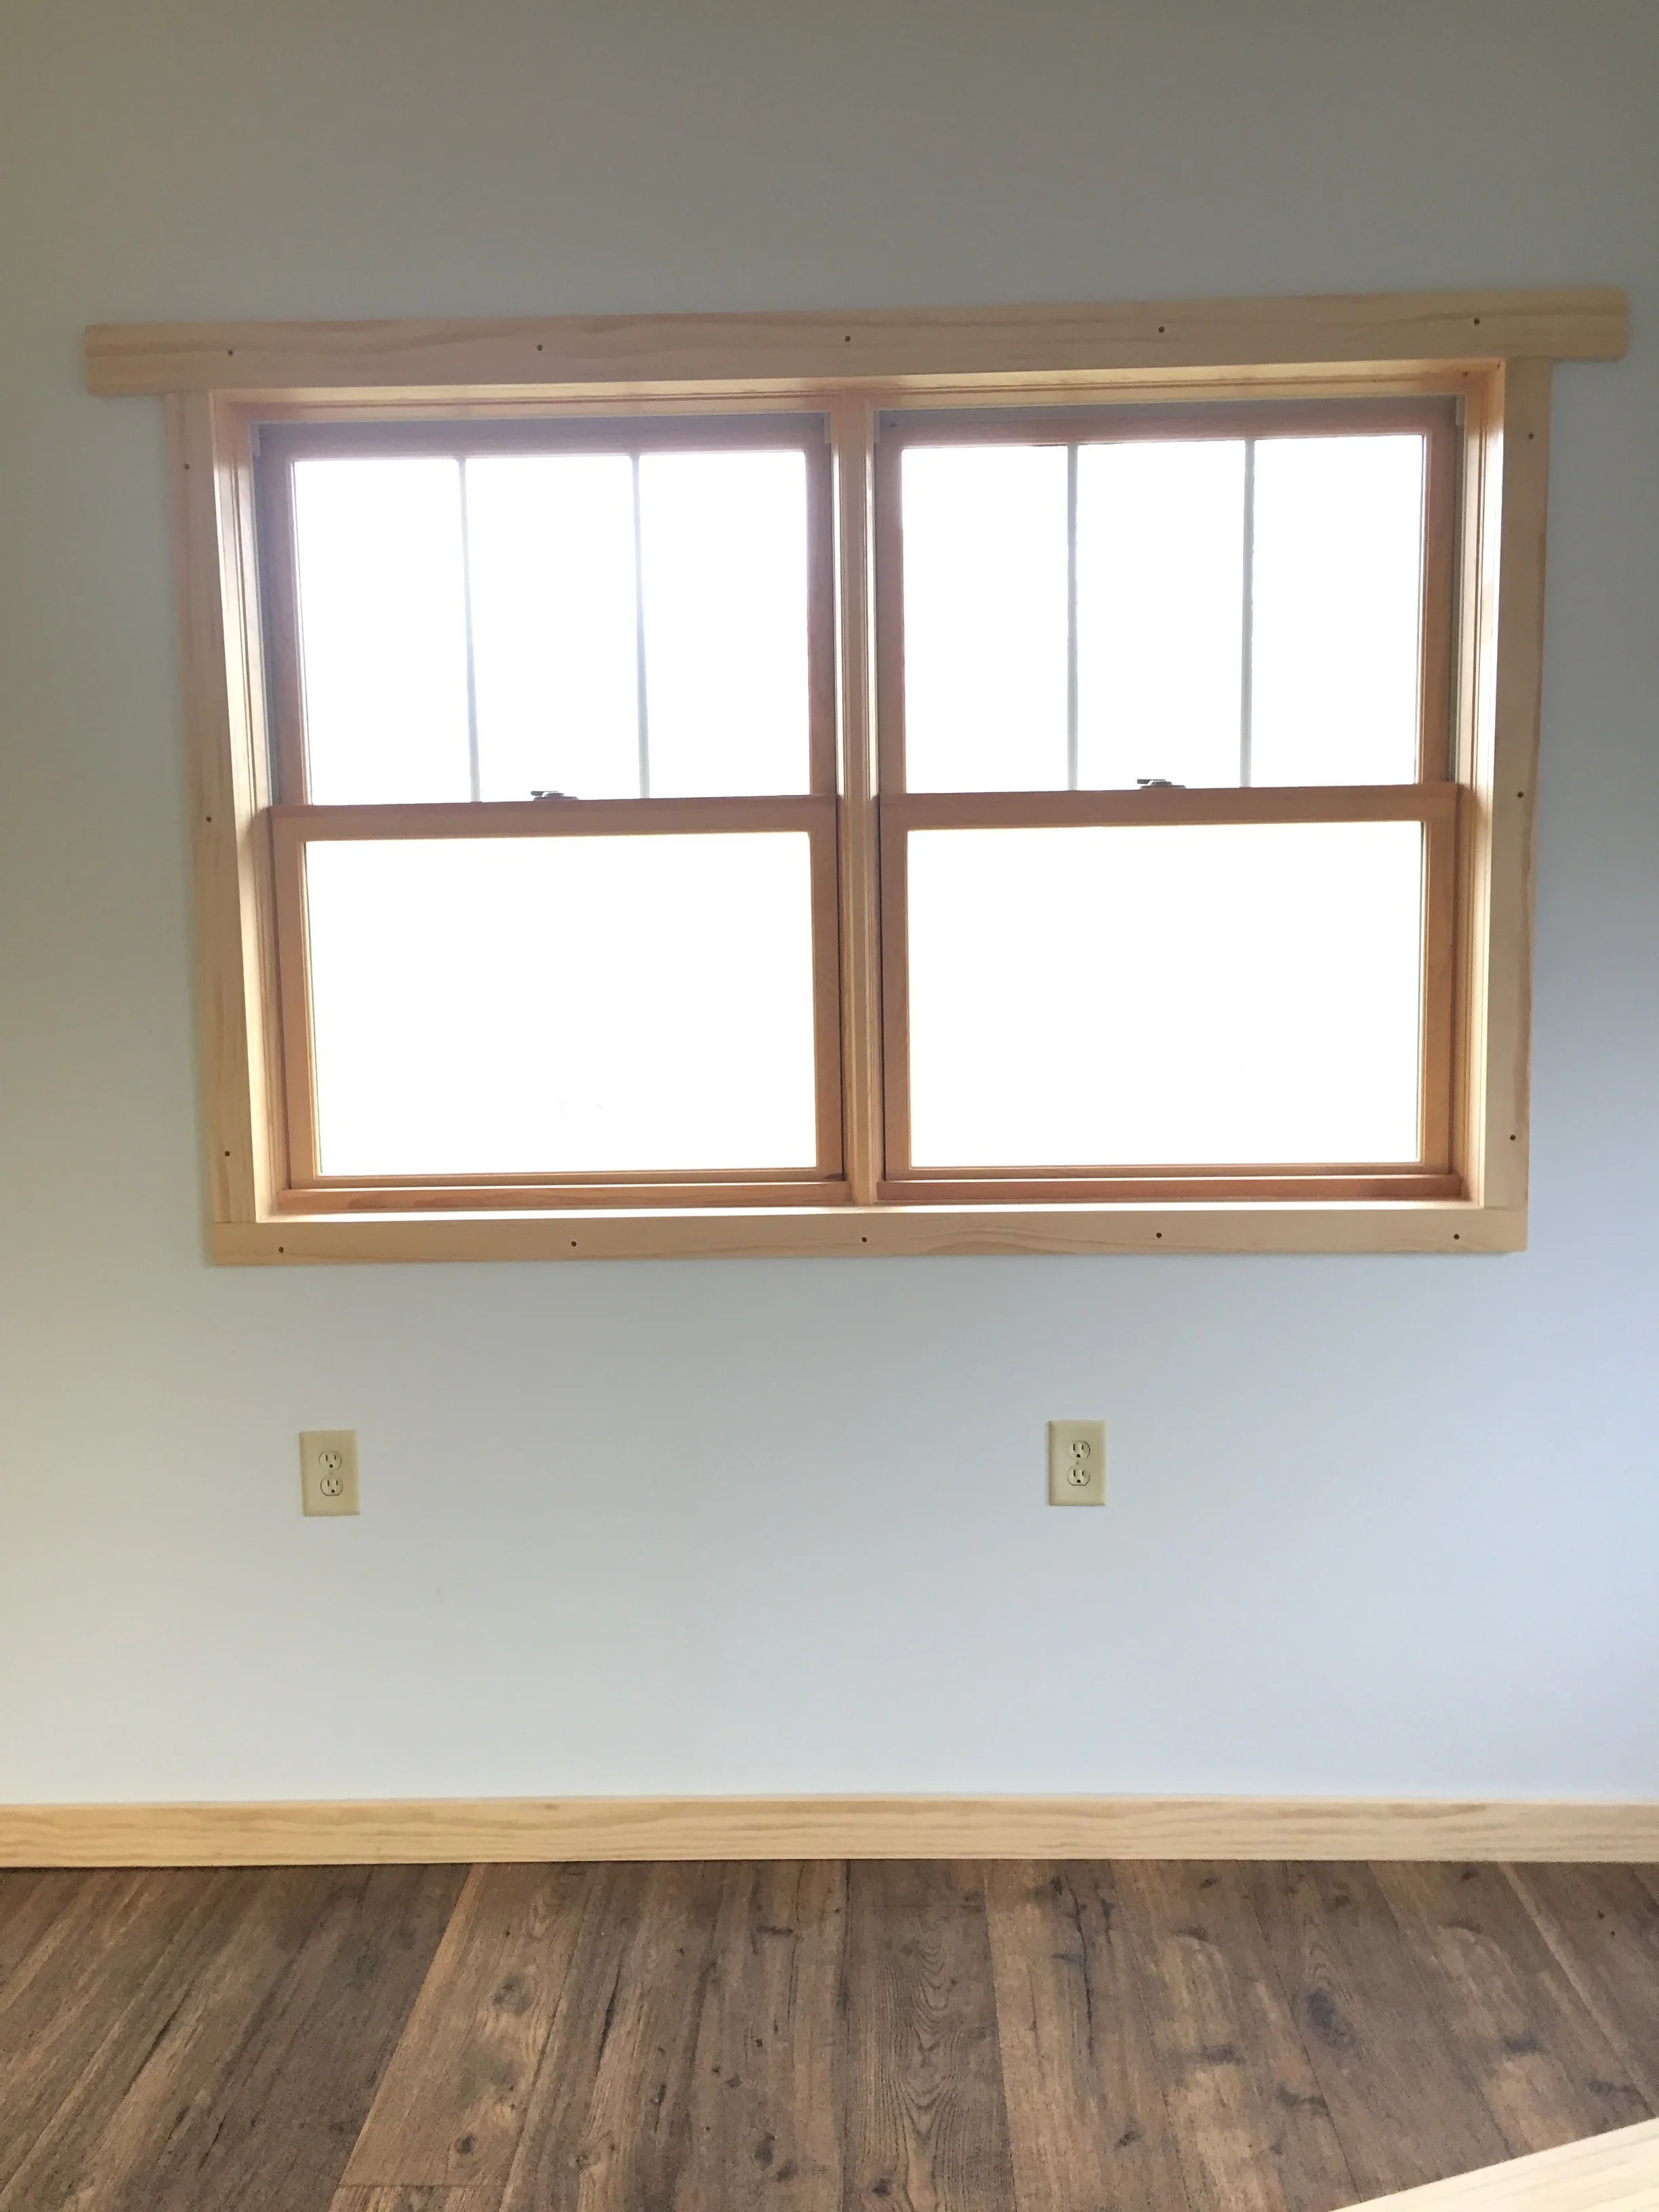
Michael has to put flooring in the closet, which needs to happen before we can put in the door...and then the trim.
Door trim is installed first to allow the accurate fitting of baseboard. The window trim is extended to support curtain rods.
I have also been doing some clean up work on the flooring.
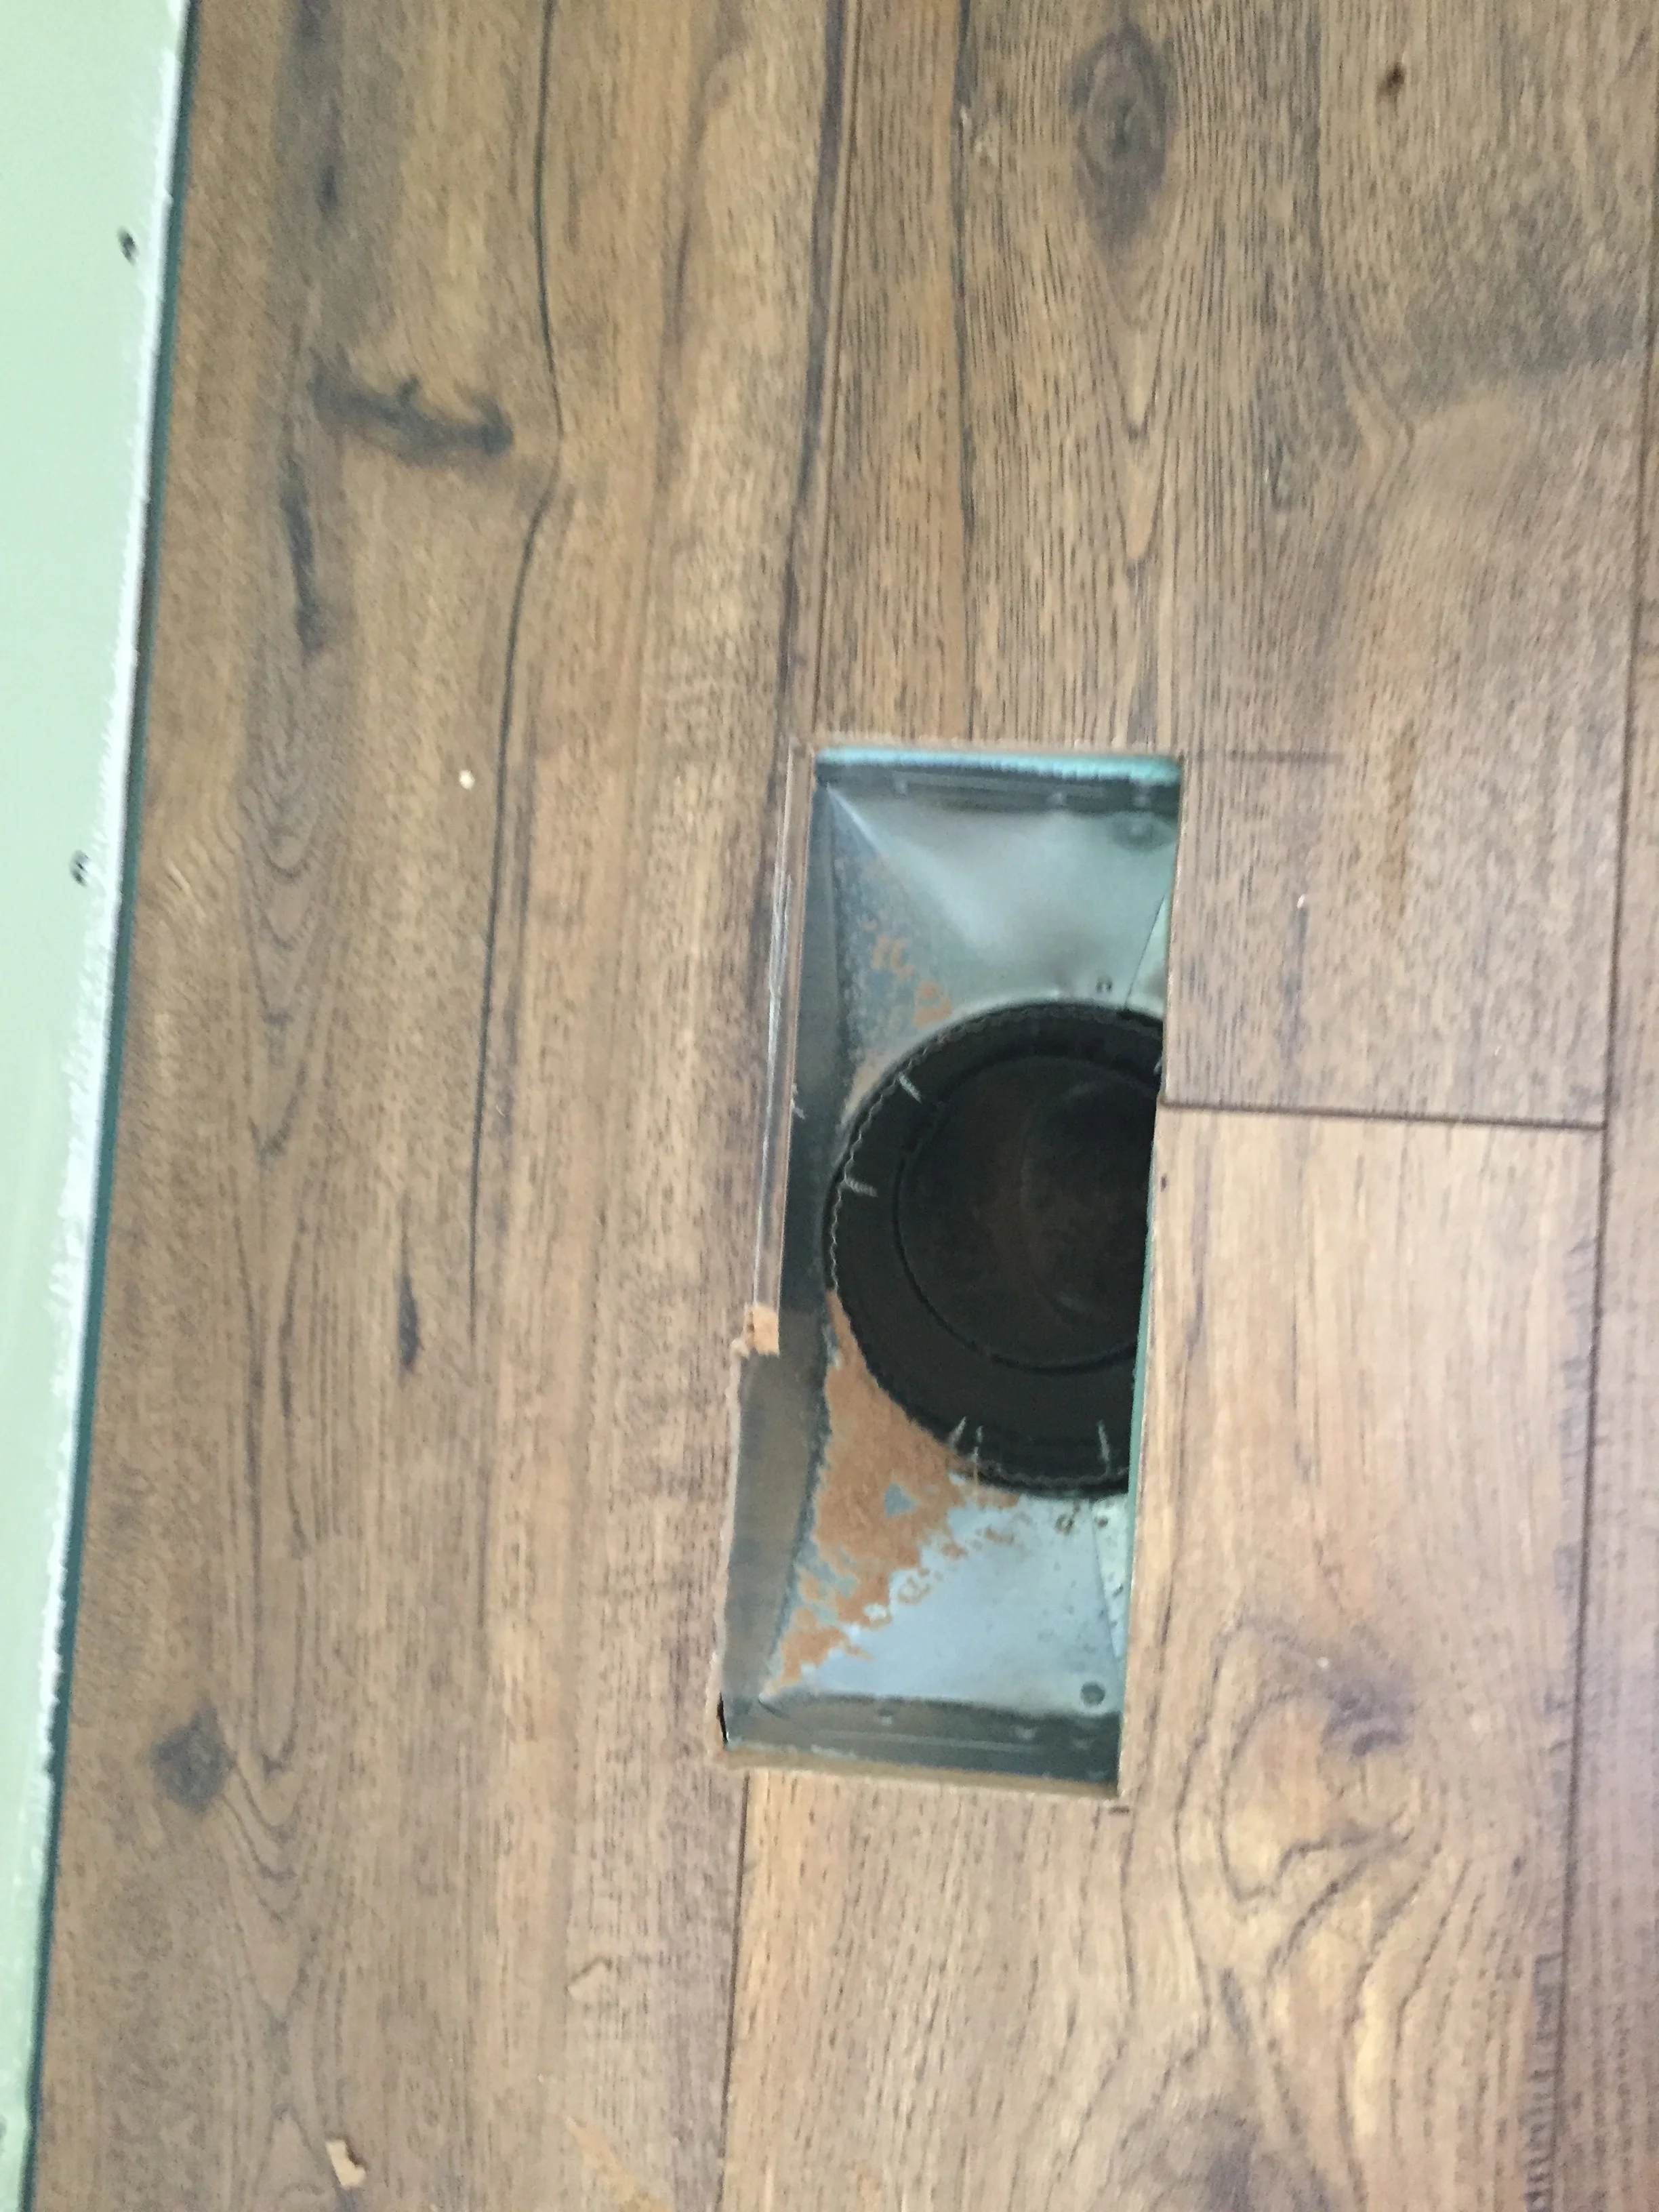
Michael cut the register opening too narrow. I haggled a corner with a utility knife, then widened the opening with a hand saw.
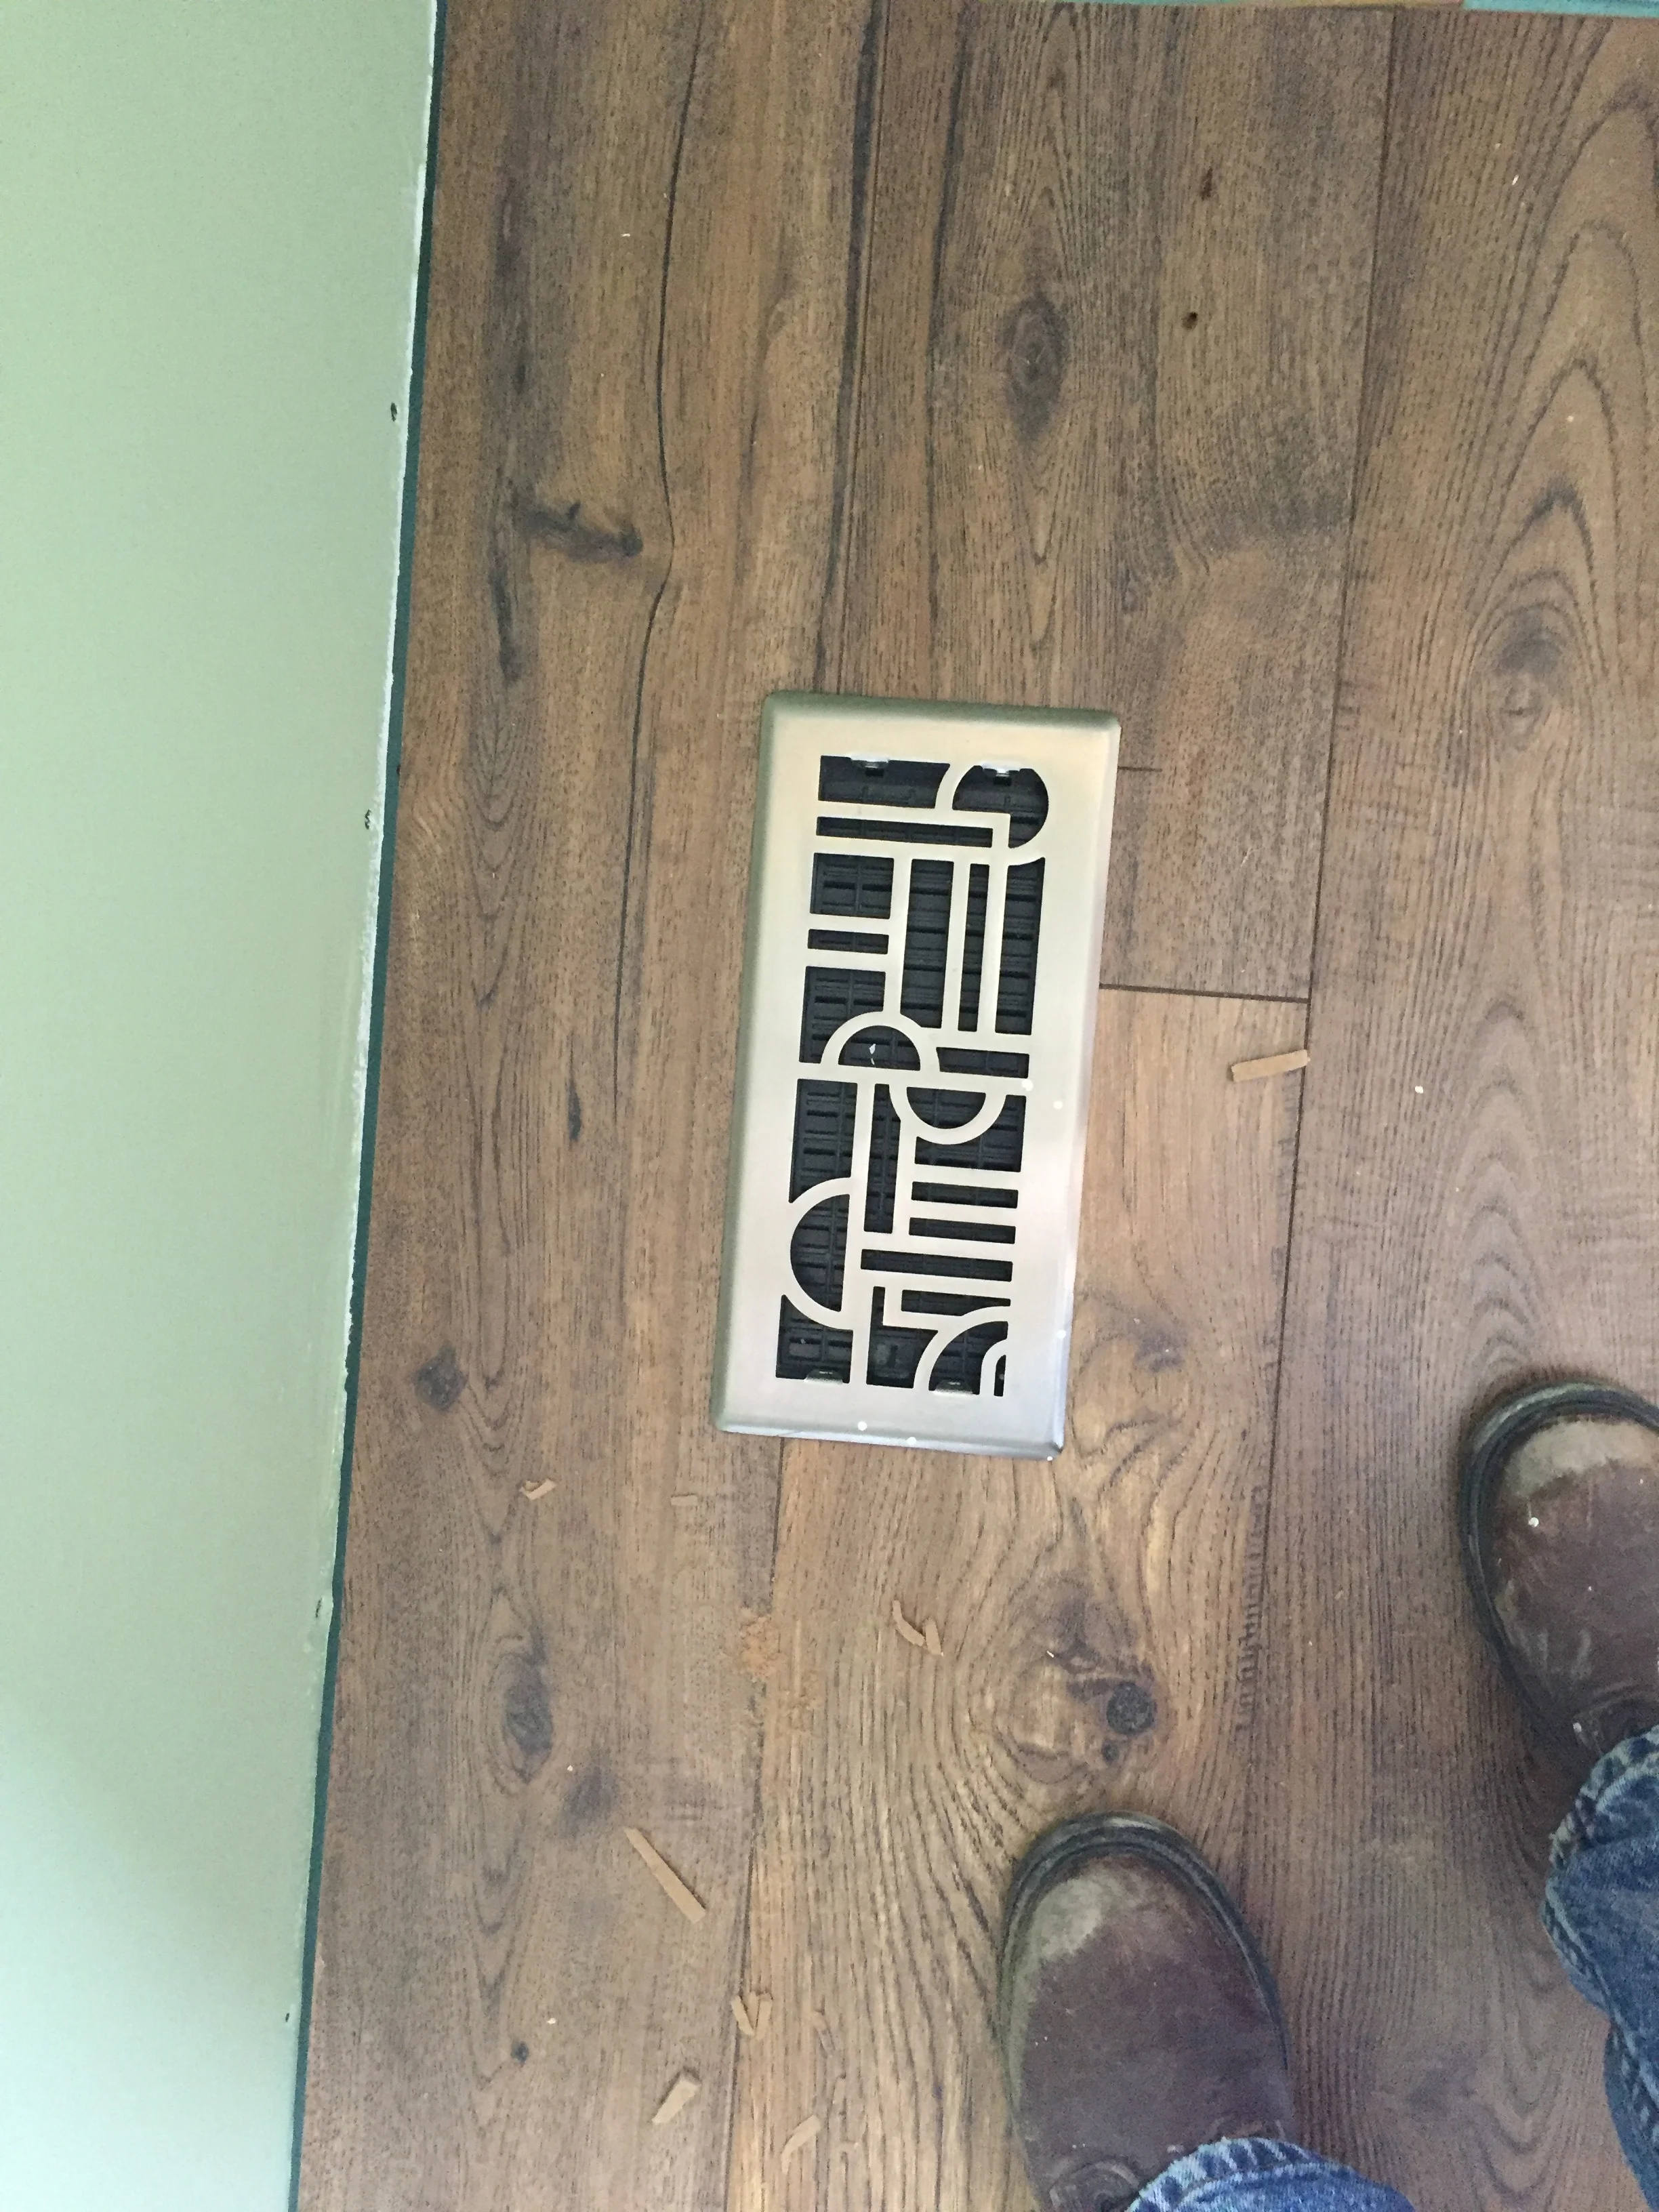
Et viola. It fits.
This little project took me a while to complete. I’m sure I could have been quicker with a power tool. I worried that a power tool would cut the tin work below. This way, I could work as close as possible to the duct, fearlessly.
All the painting equipment will have to find a new home.
I will gather my courage and start on the counter with drawers/computer desk combo that goes in the living room.
The bases are made from 2x6s ripped down to a true 4” and inset 3” to serve as a toe-kick space.
I’ve never used a pocket screw jig. I’ve never made a carcase. Thank goodness for You Tube! And for the How-To books my Uncle Tom sent me, which show how to support the quartz composite countertop I bought for half price last year.
I do have another deadline looming:

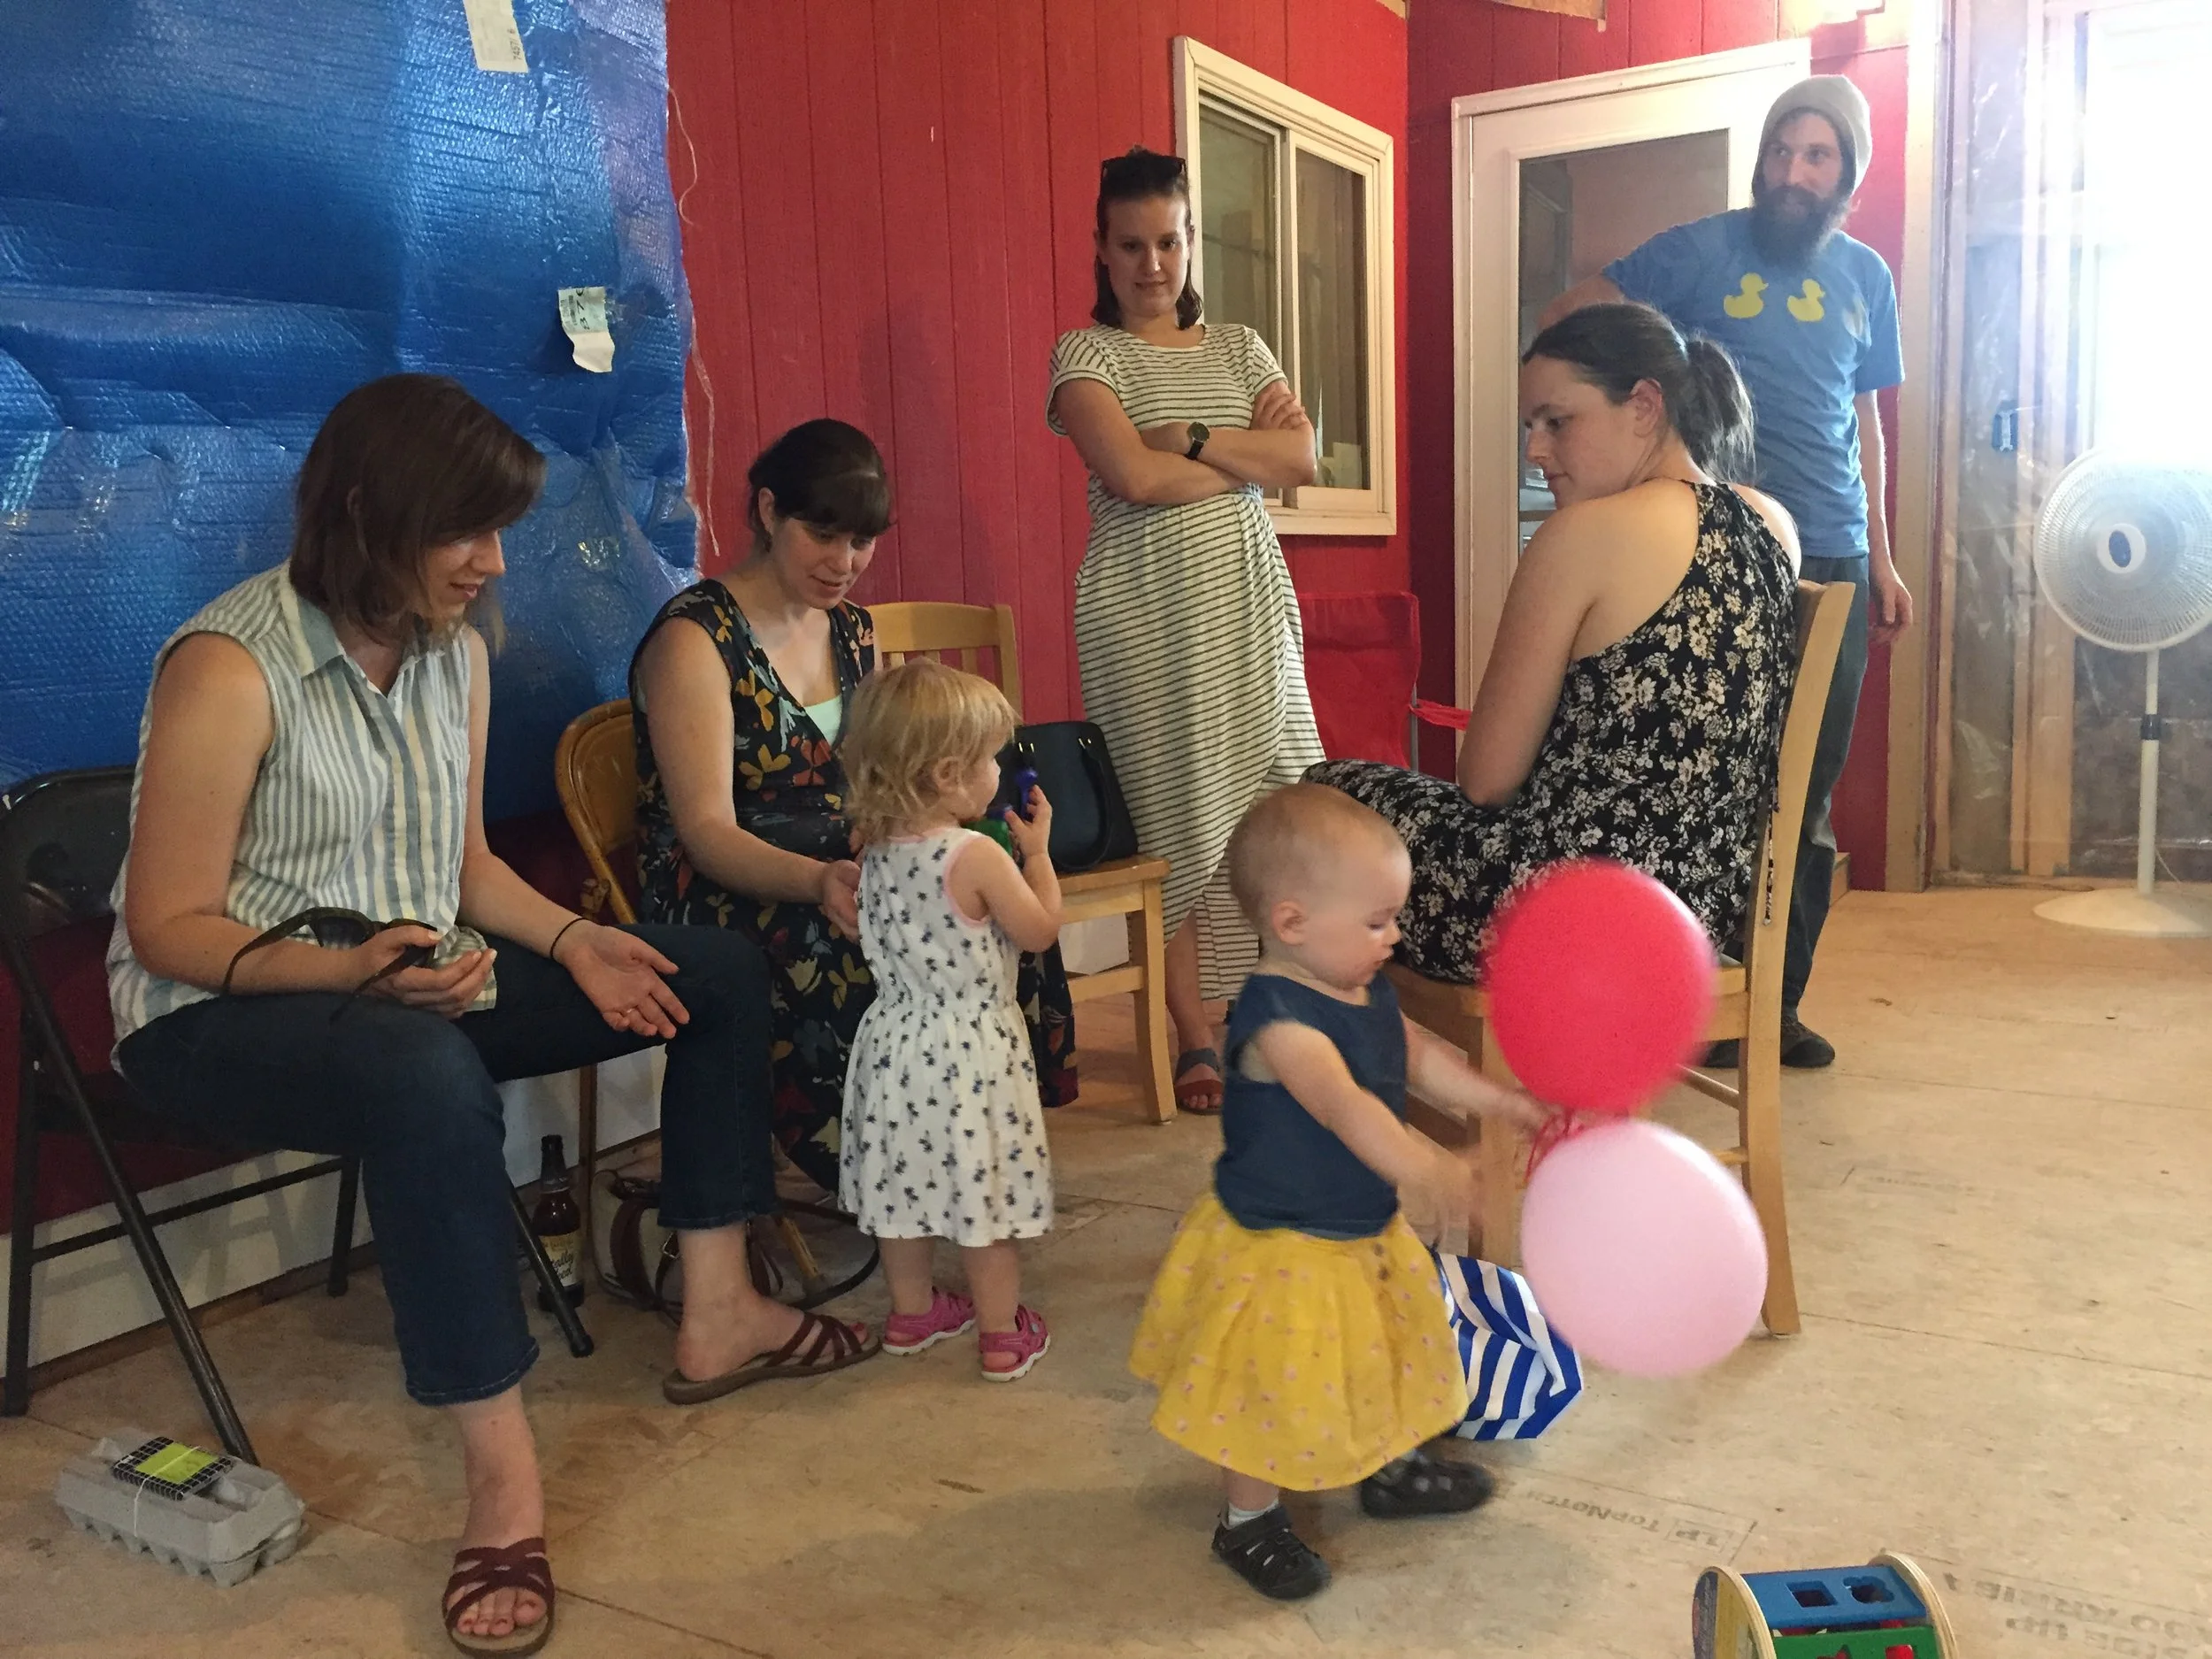
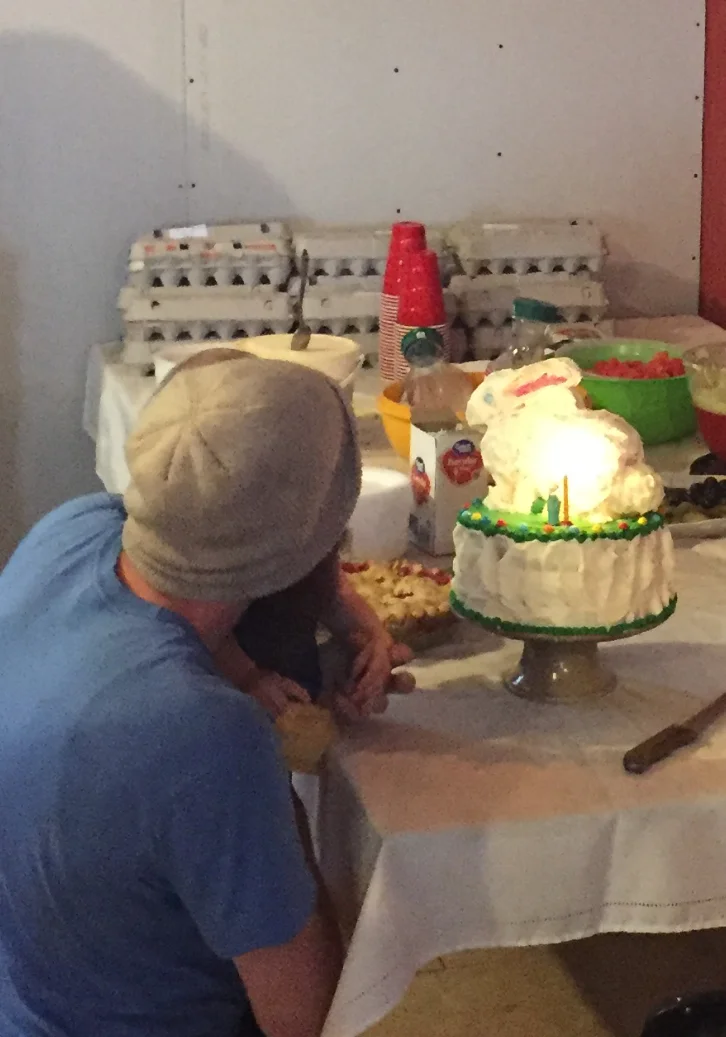
We will be throwing a birthday bash for the Grand Girl in June. Hope to have things cleaned up by then.
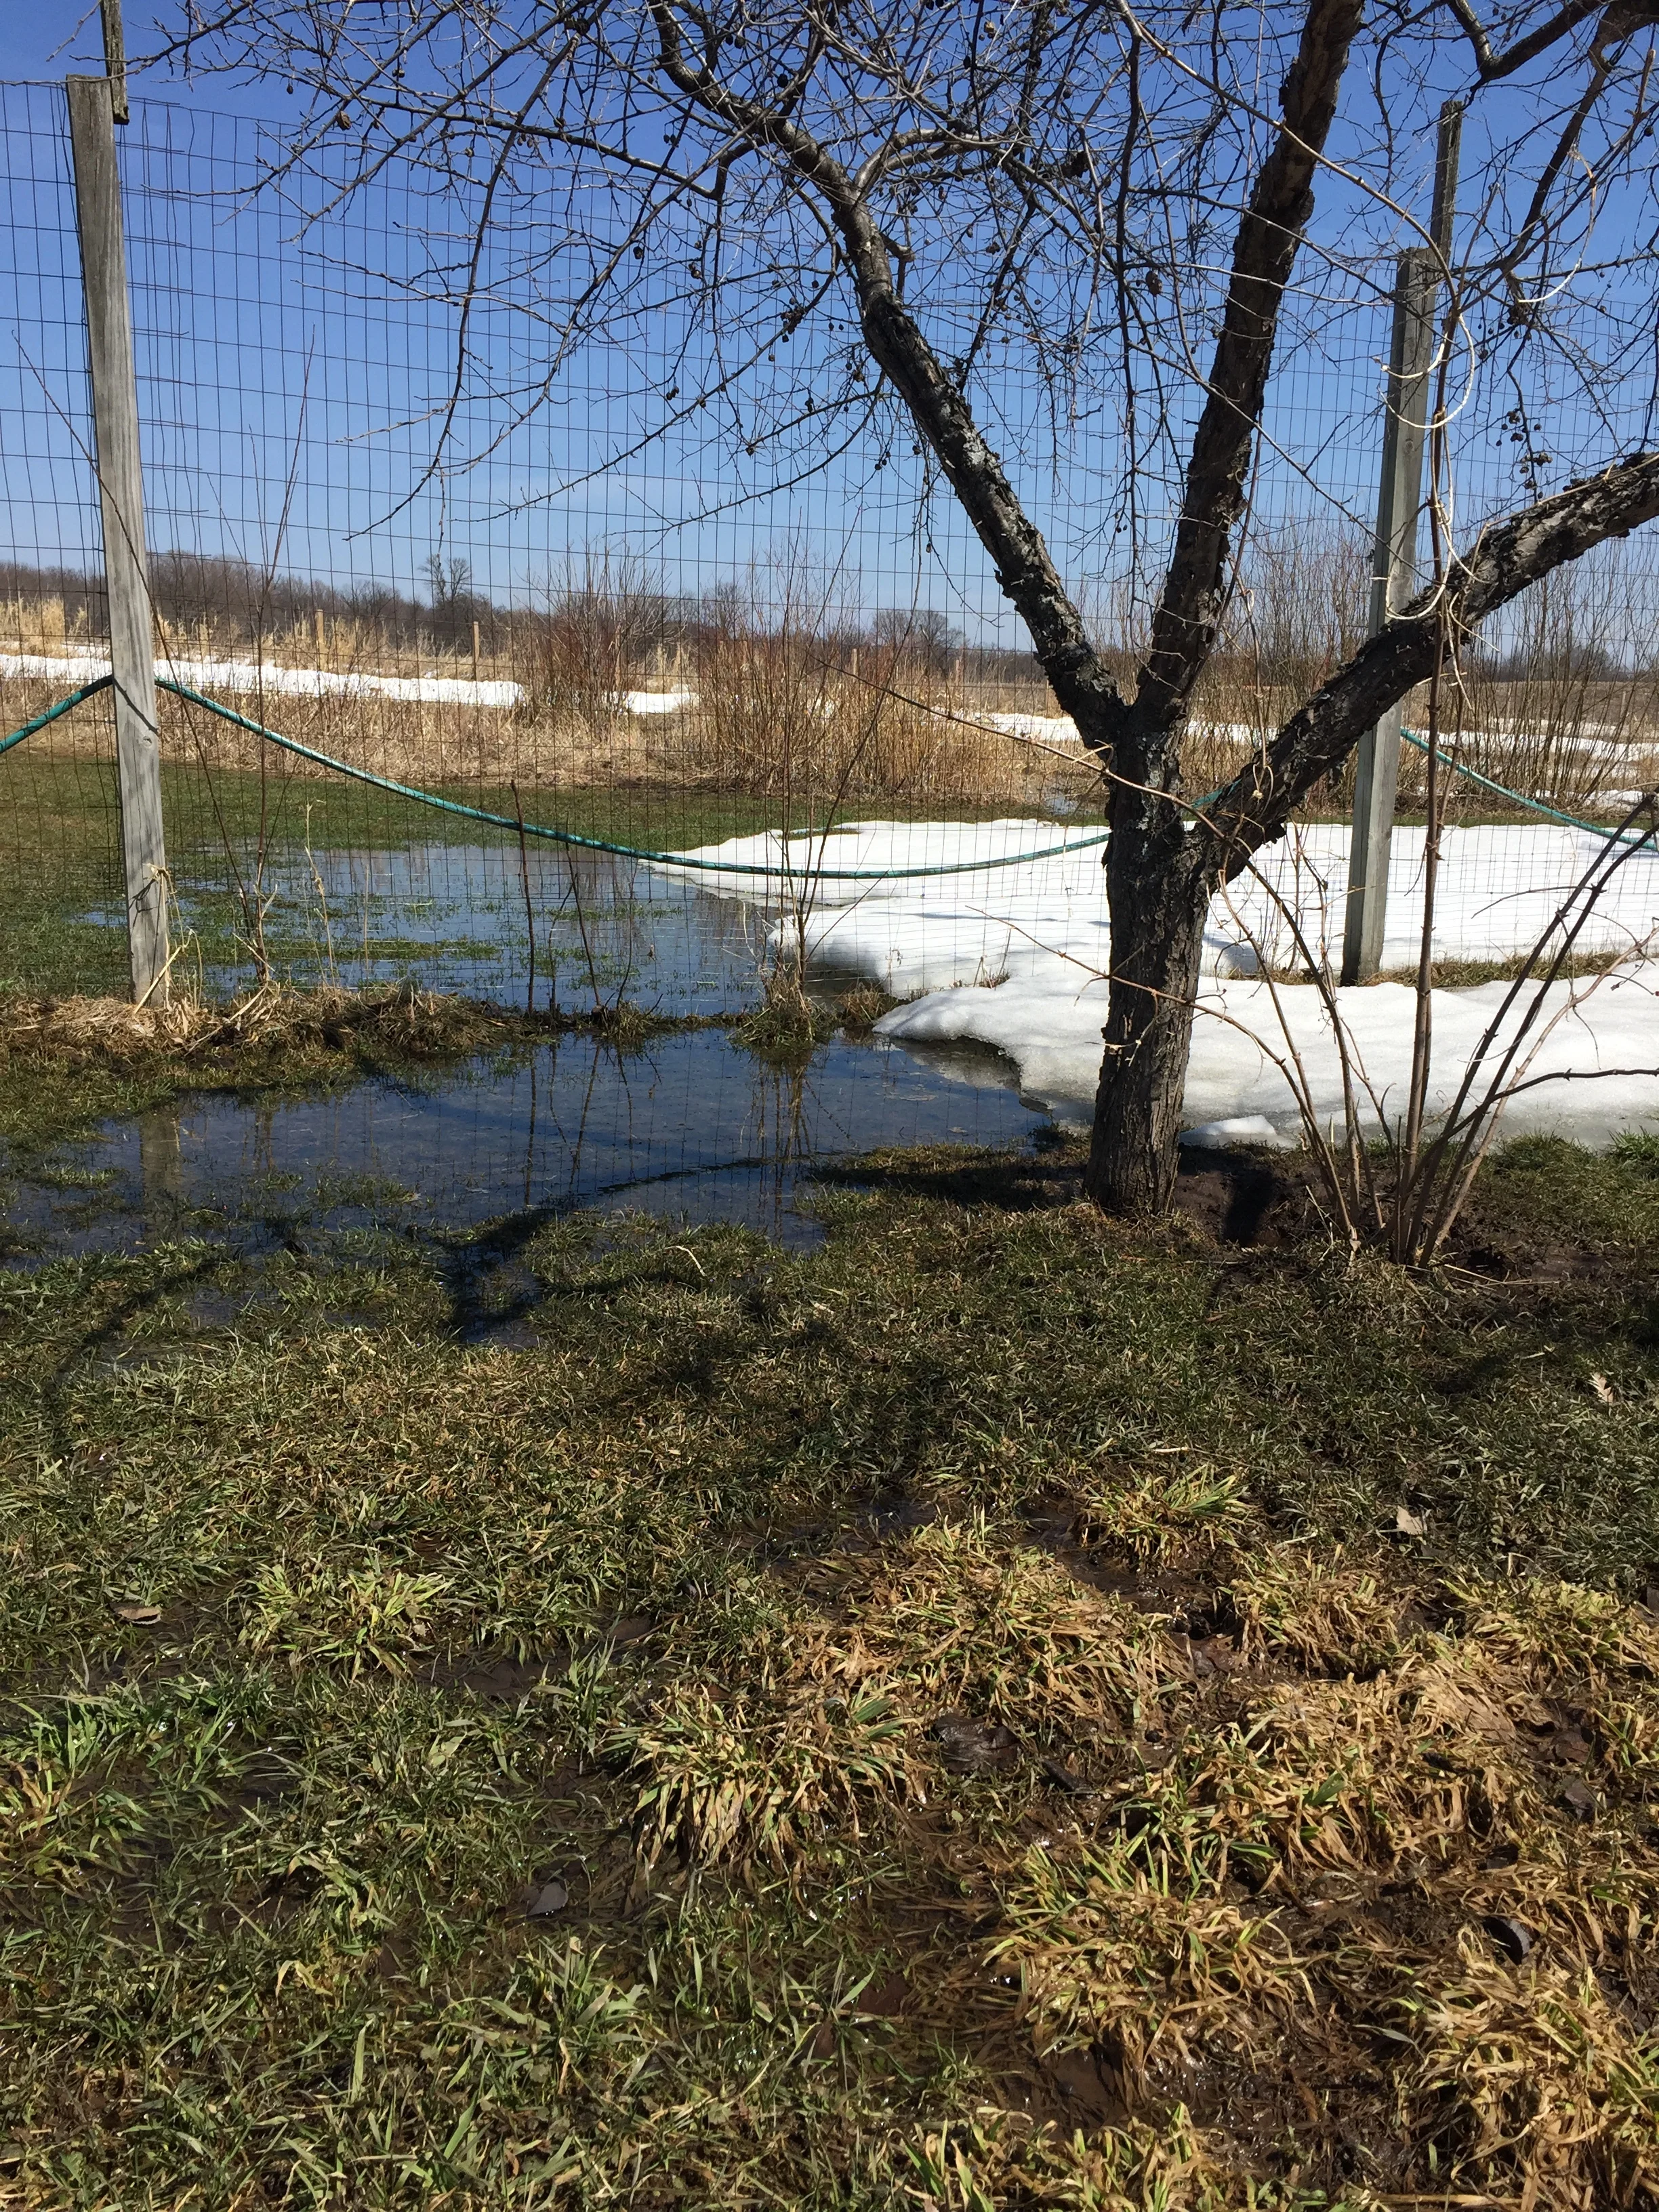
Hard to believe we had snow on the ground a week ago.

8 pm sunsets have been spectacular
We have been having temperatures in the 60’s, until yesterday, when it hit 75° and the apricots began to bloom.

We are hoping for another good apricot year.
Our pond broke its boundaries this year.
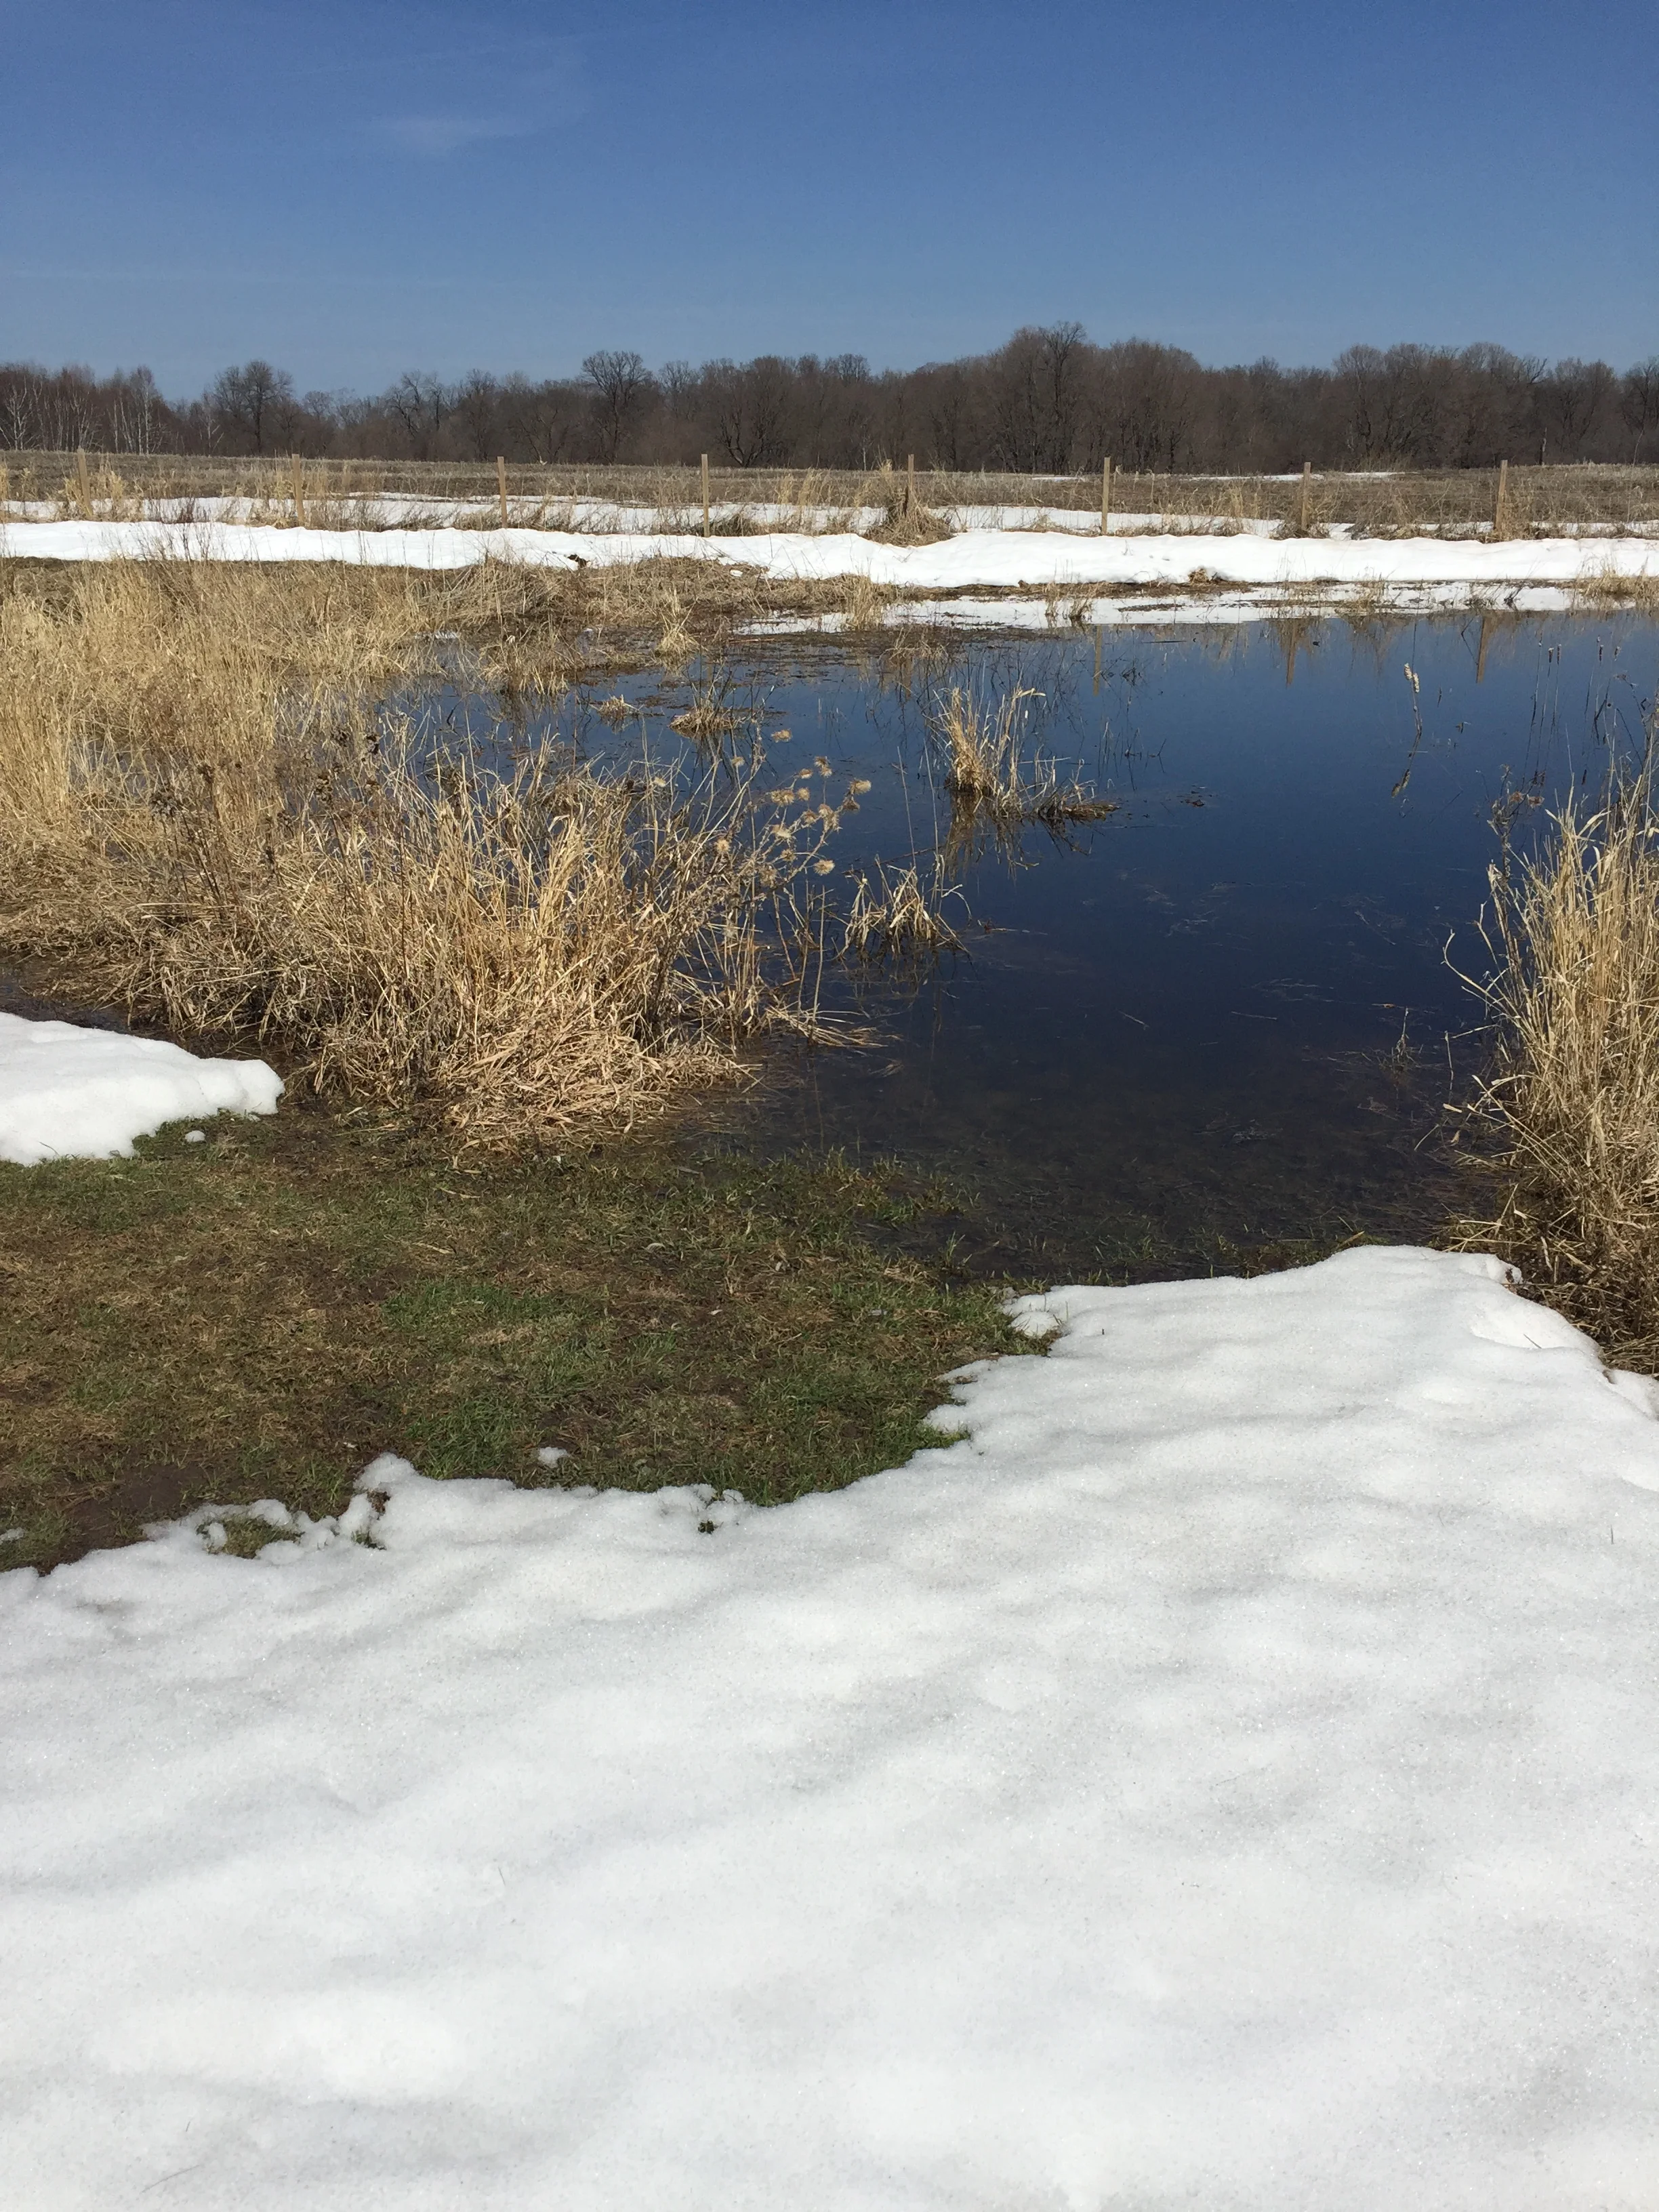
At its high point on April 22nd.
It ran through the duck yard and into the garden.
The ducks made hash out of the plum corner. We will reseed after last year’s pasture has recovered. They are joyful mud rakers.
I am happy to report the rhubarb and garlic survived the deluge.
In the background (on the left) you can see the causeway Michael and I made about 20 years ago, when the swamp overflowed with some regularity. Michael built a culvert out of treated wood, then dug and moved all that dirt a wheelbarrow at a time. I spread it out and compacted it. Michael replaced the wood last year. We hope it lasts until it is someone else’s problem.
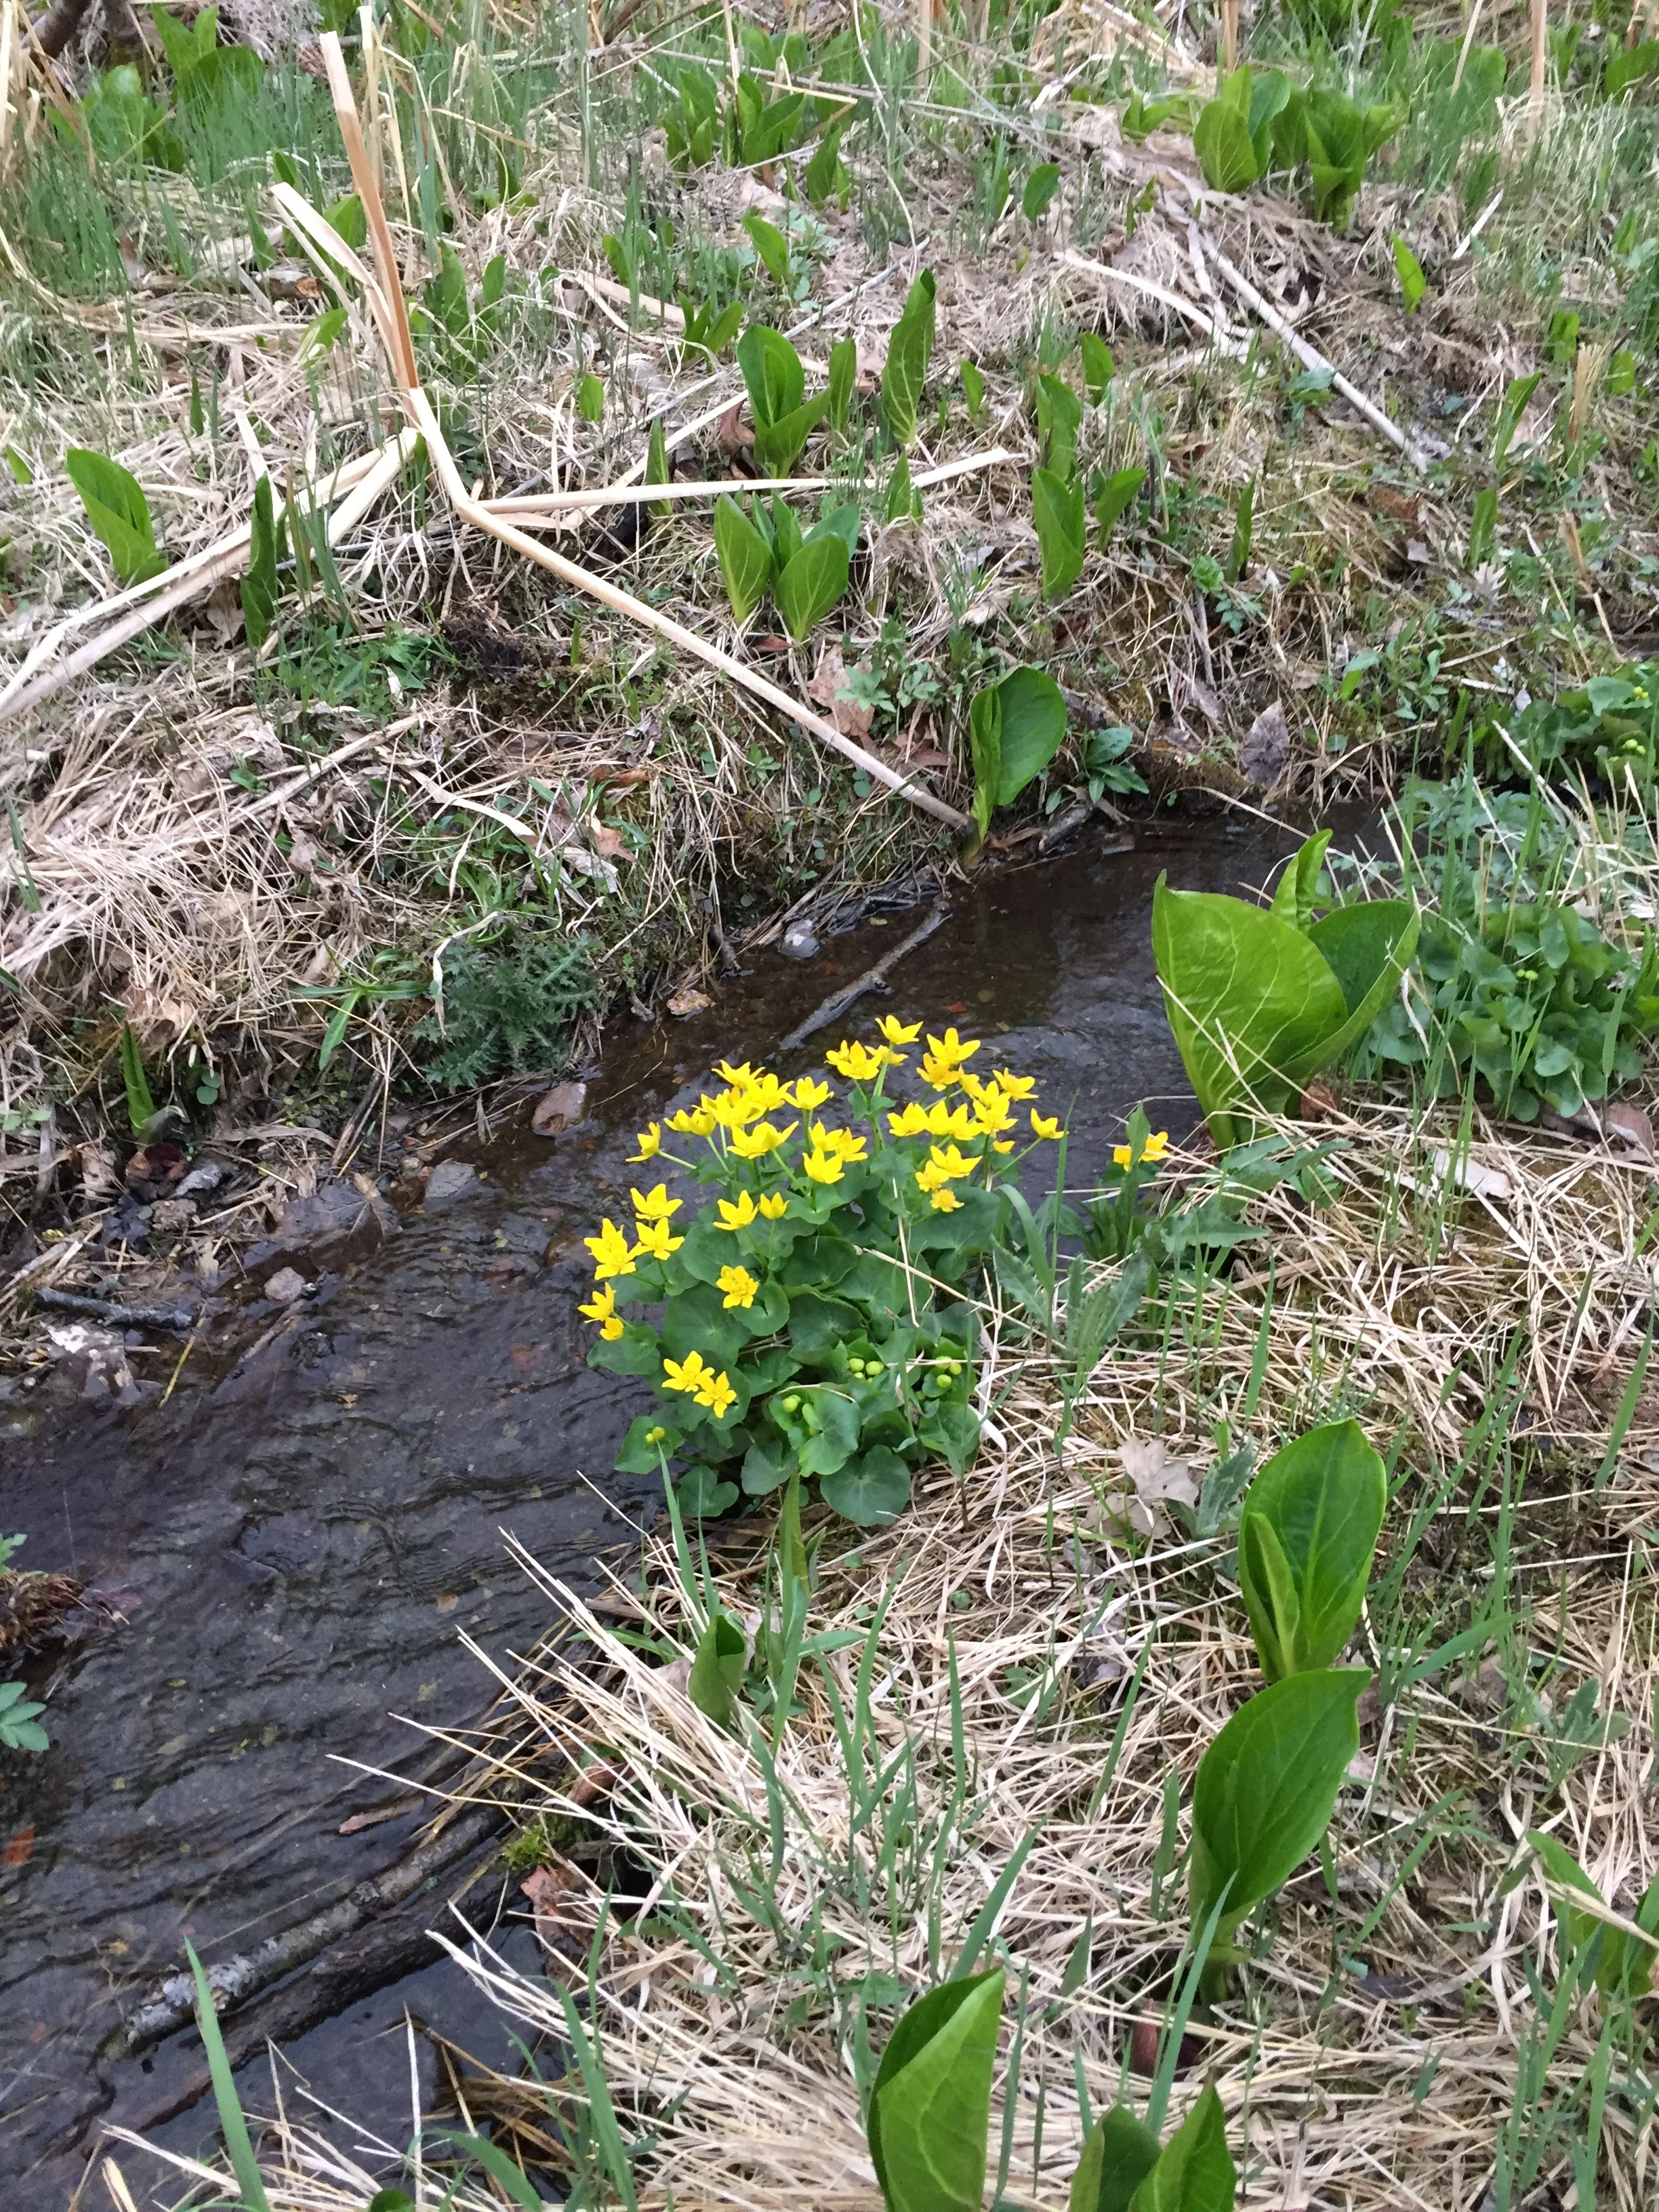
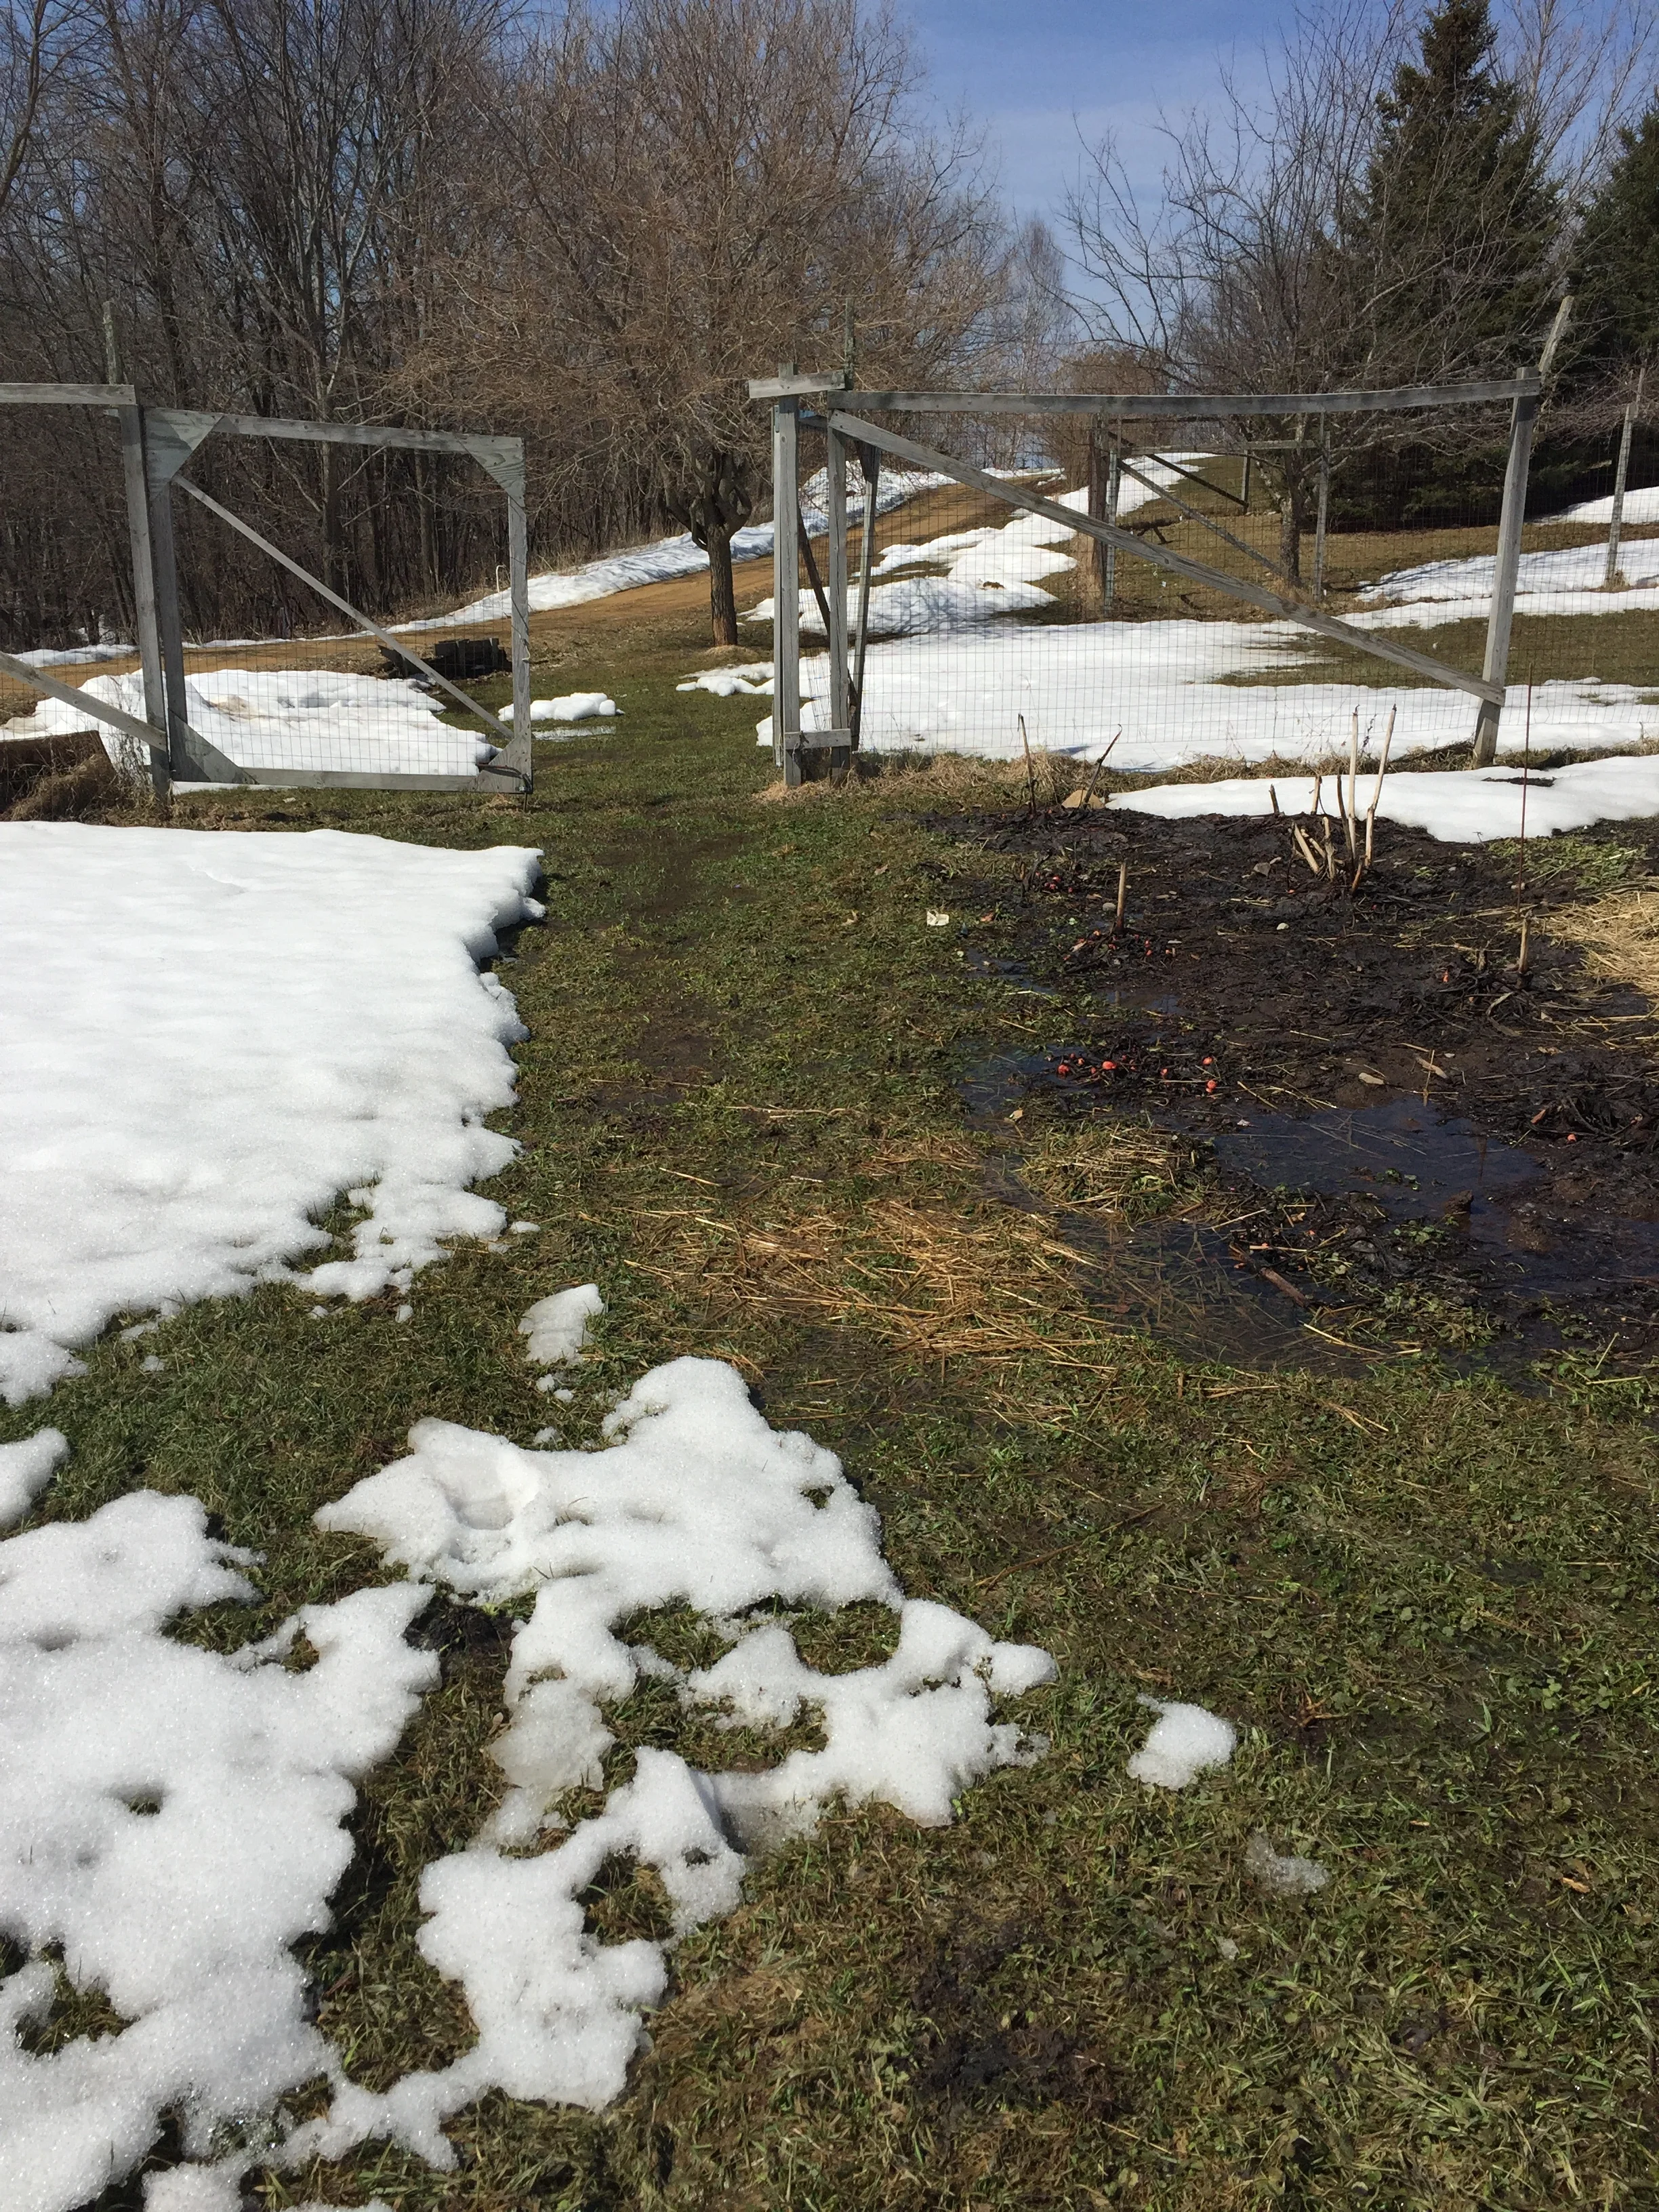
I espied marsh marigolds on May 1...my first wildflower sighting of the year.
I need to get outside and turn over the “upstairs” gardens, which is where we plant salad greens. I am saving the dandelions I am digging up as the first salad greens to come from those gardens. The sudden pressure of outdoors work has slowed down construction, which is slow enough due to limited indoor space for varnishing window trim and base boards. More on that later...
Before I head outside:

The grand girl is getting set to fly.
63° yesterday and the snow is mostly off the garden, so I figured it was high time to start my seed pots. When I went to put them under the grow lights, I heard little peeps emanating from the incubator.
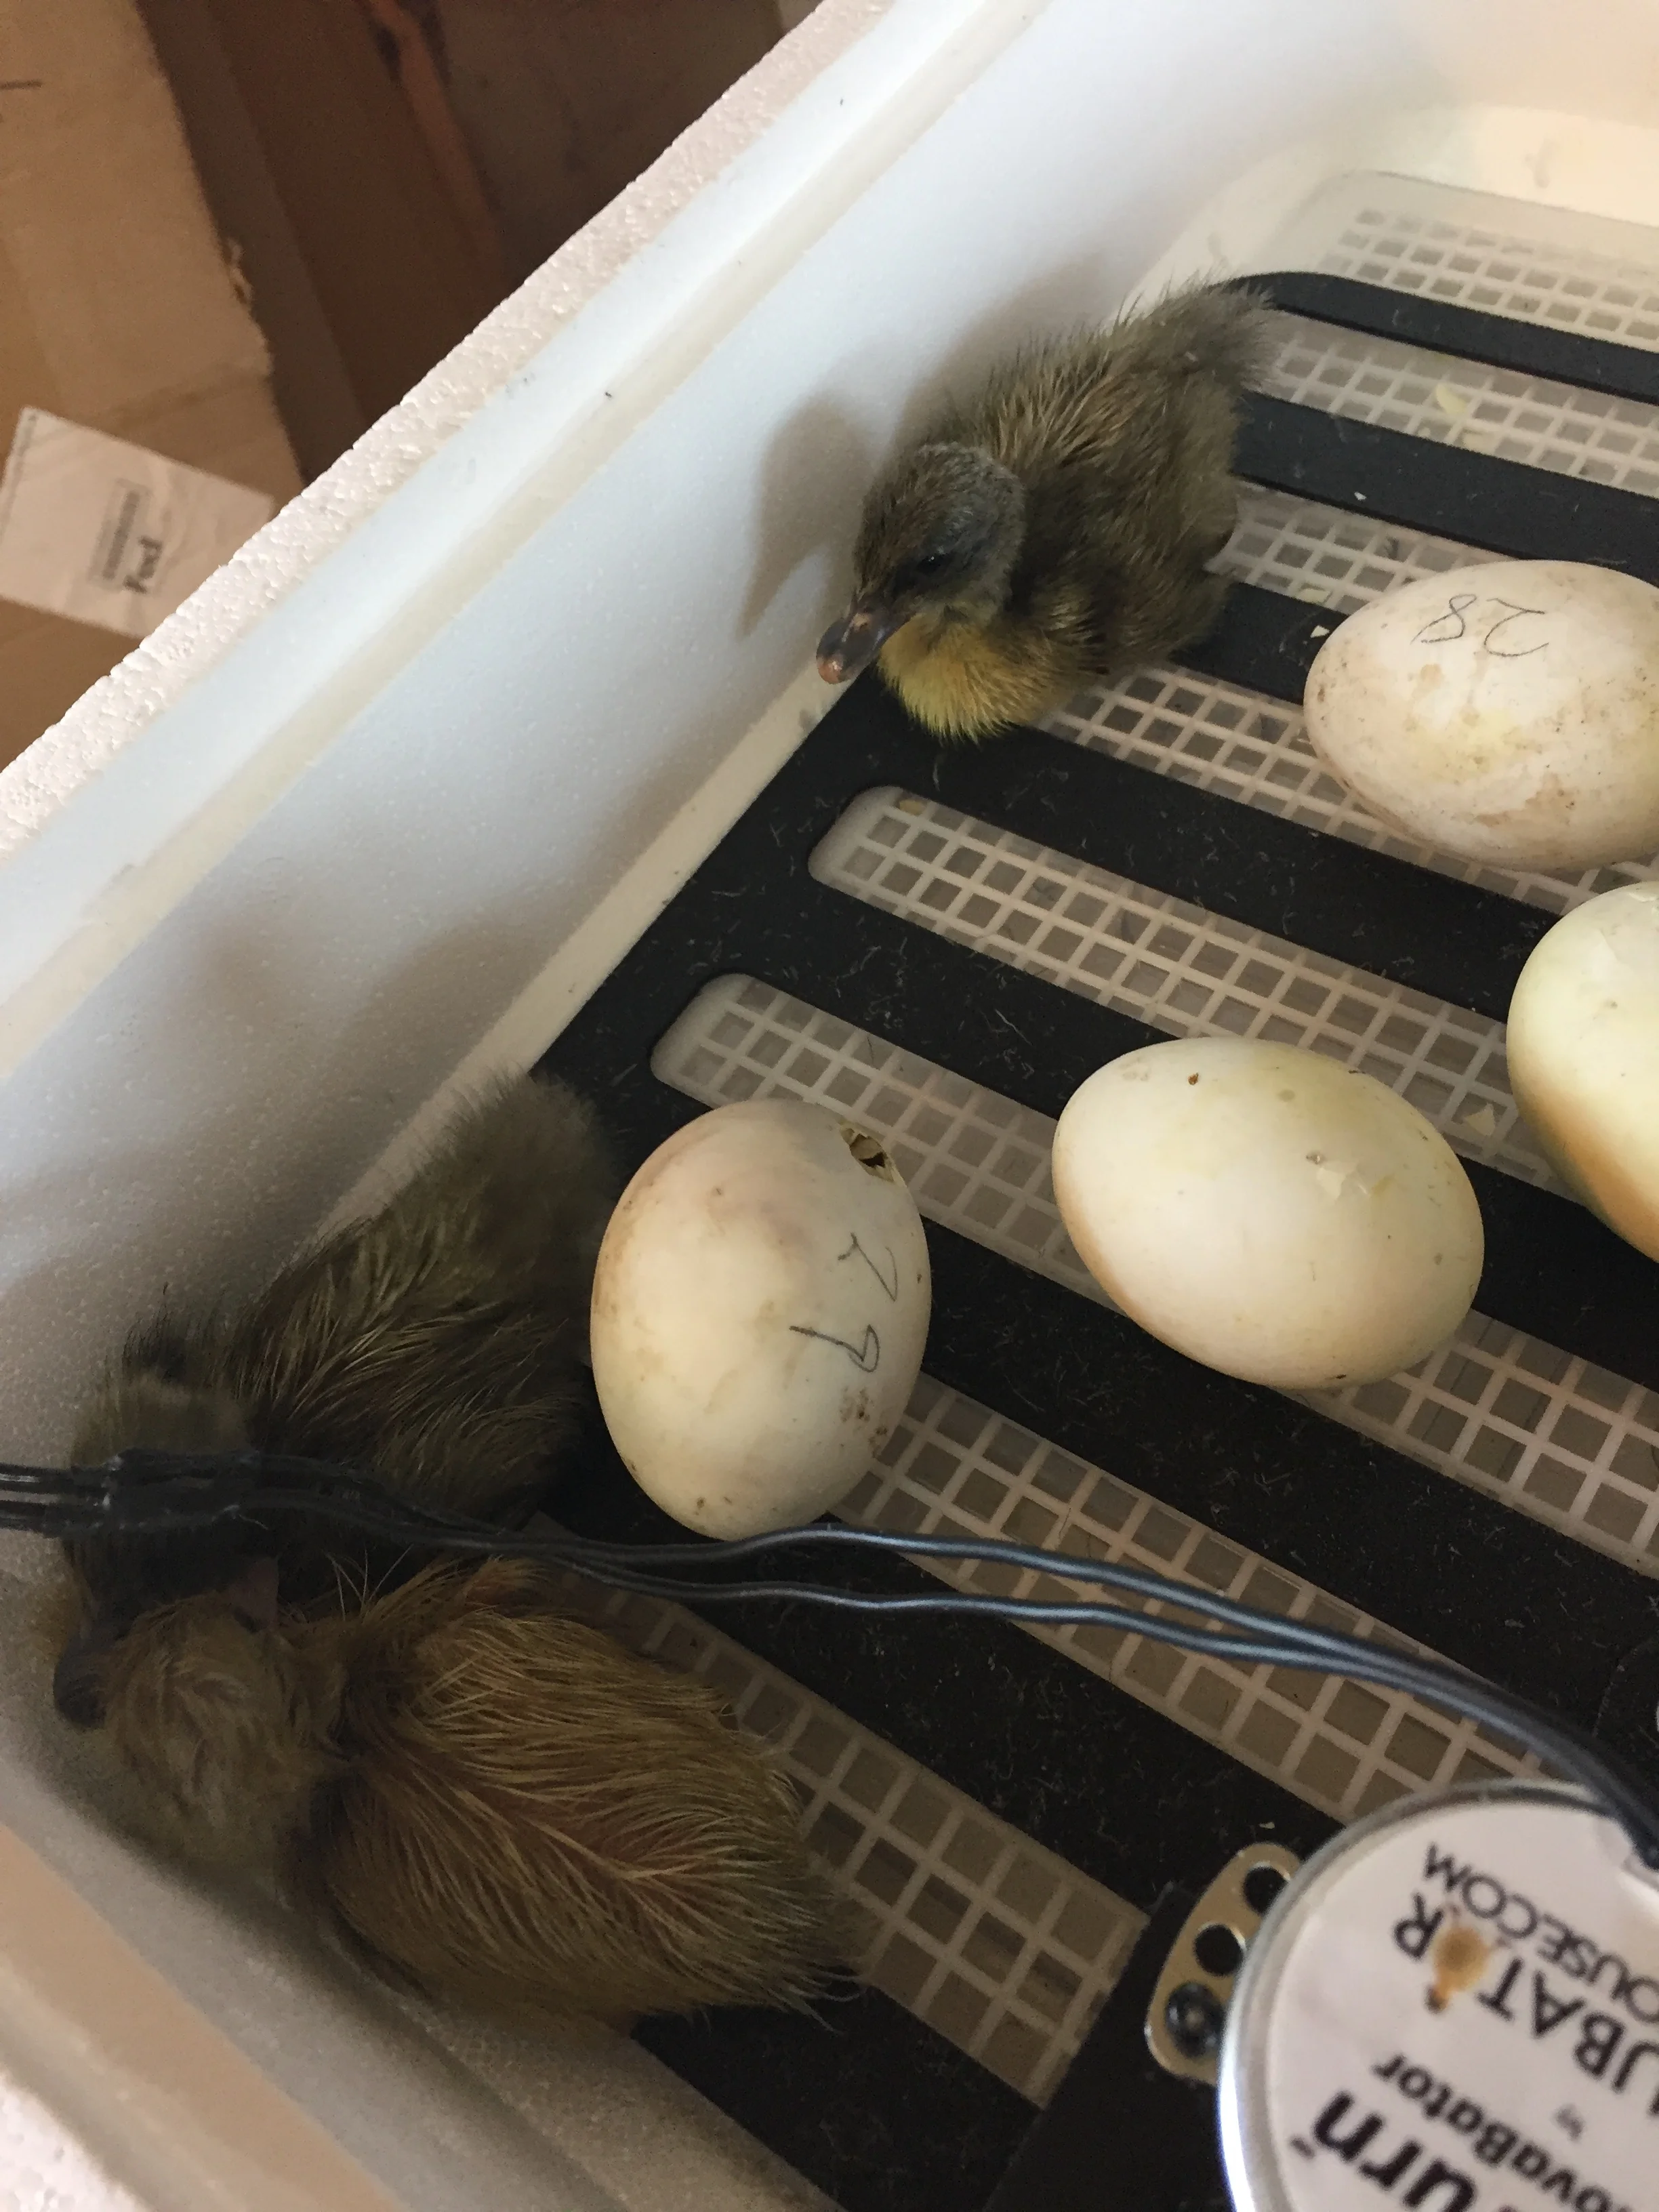
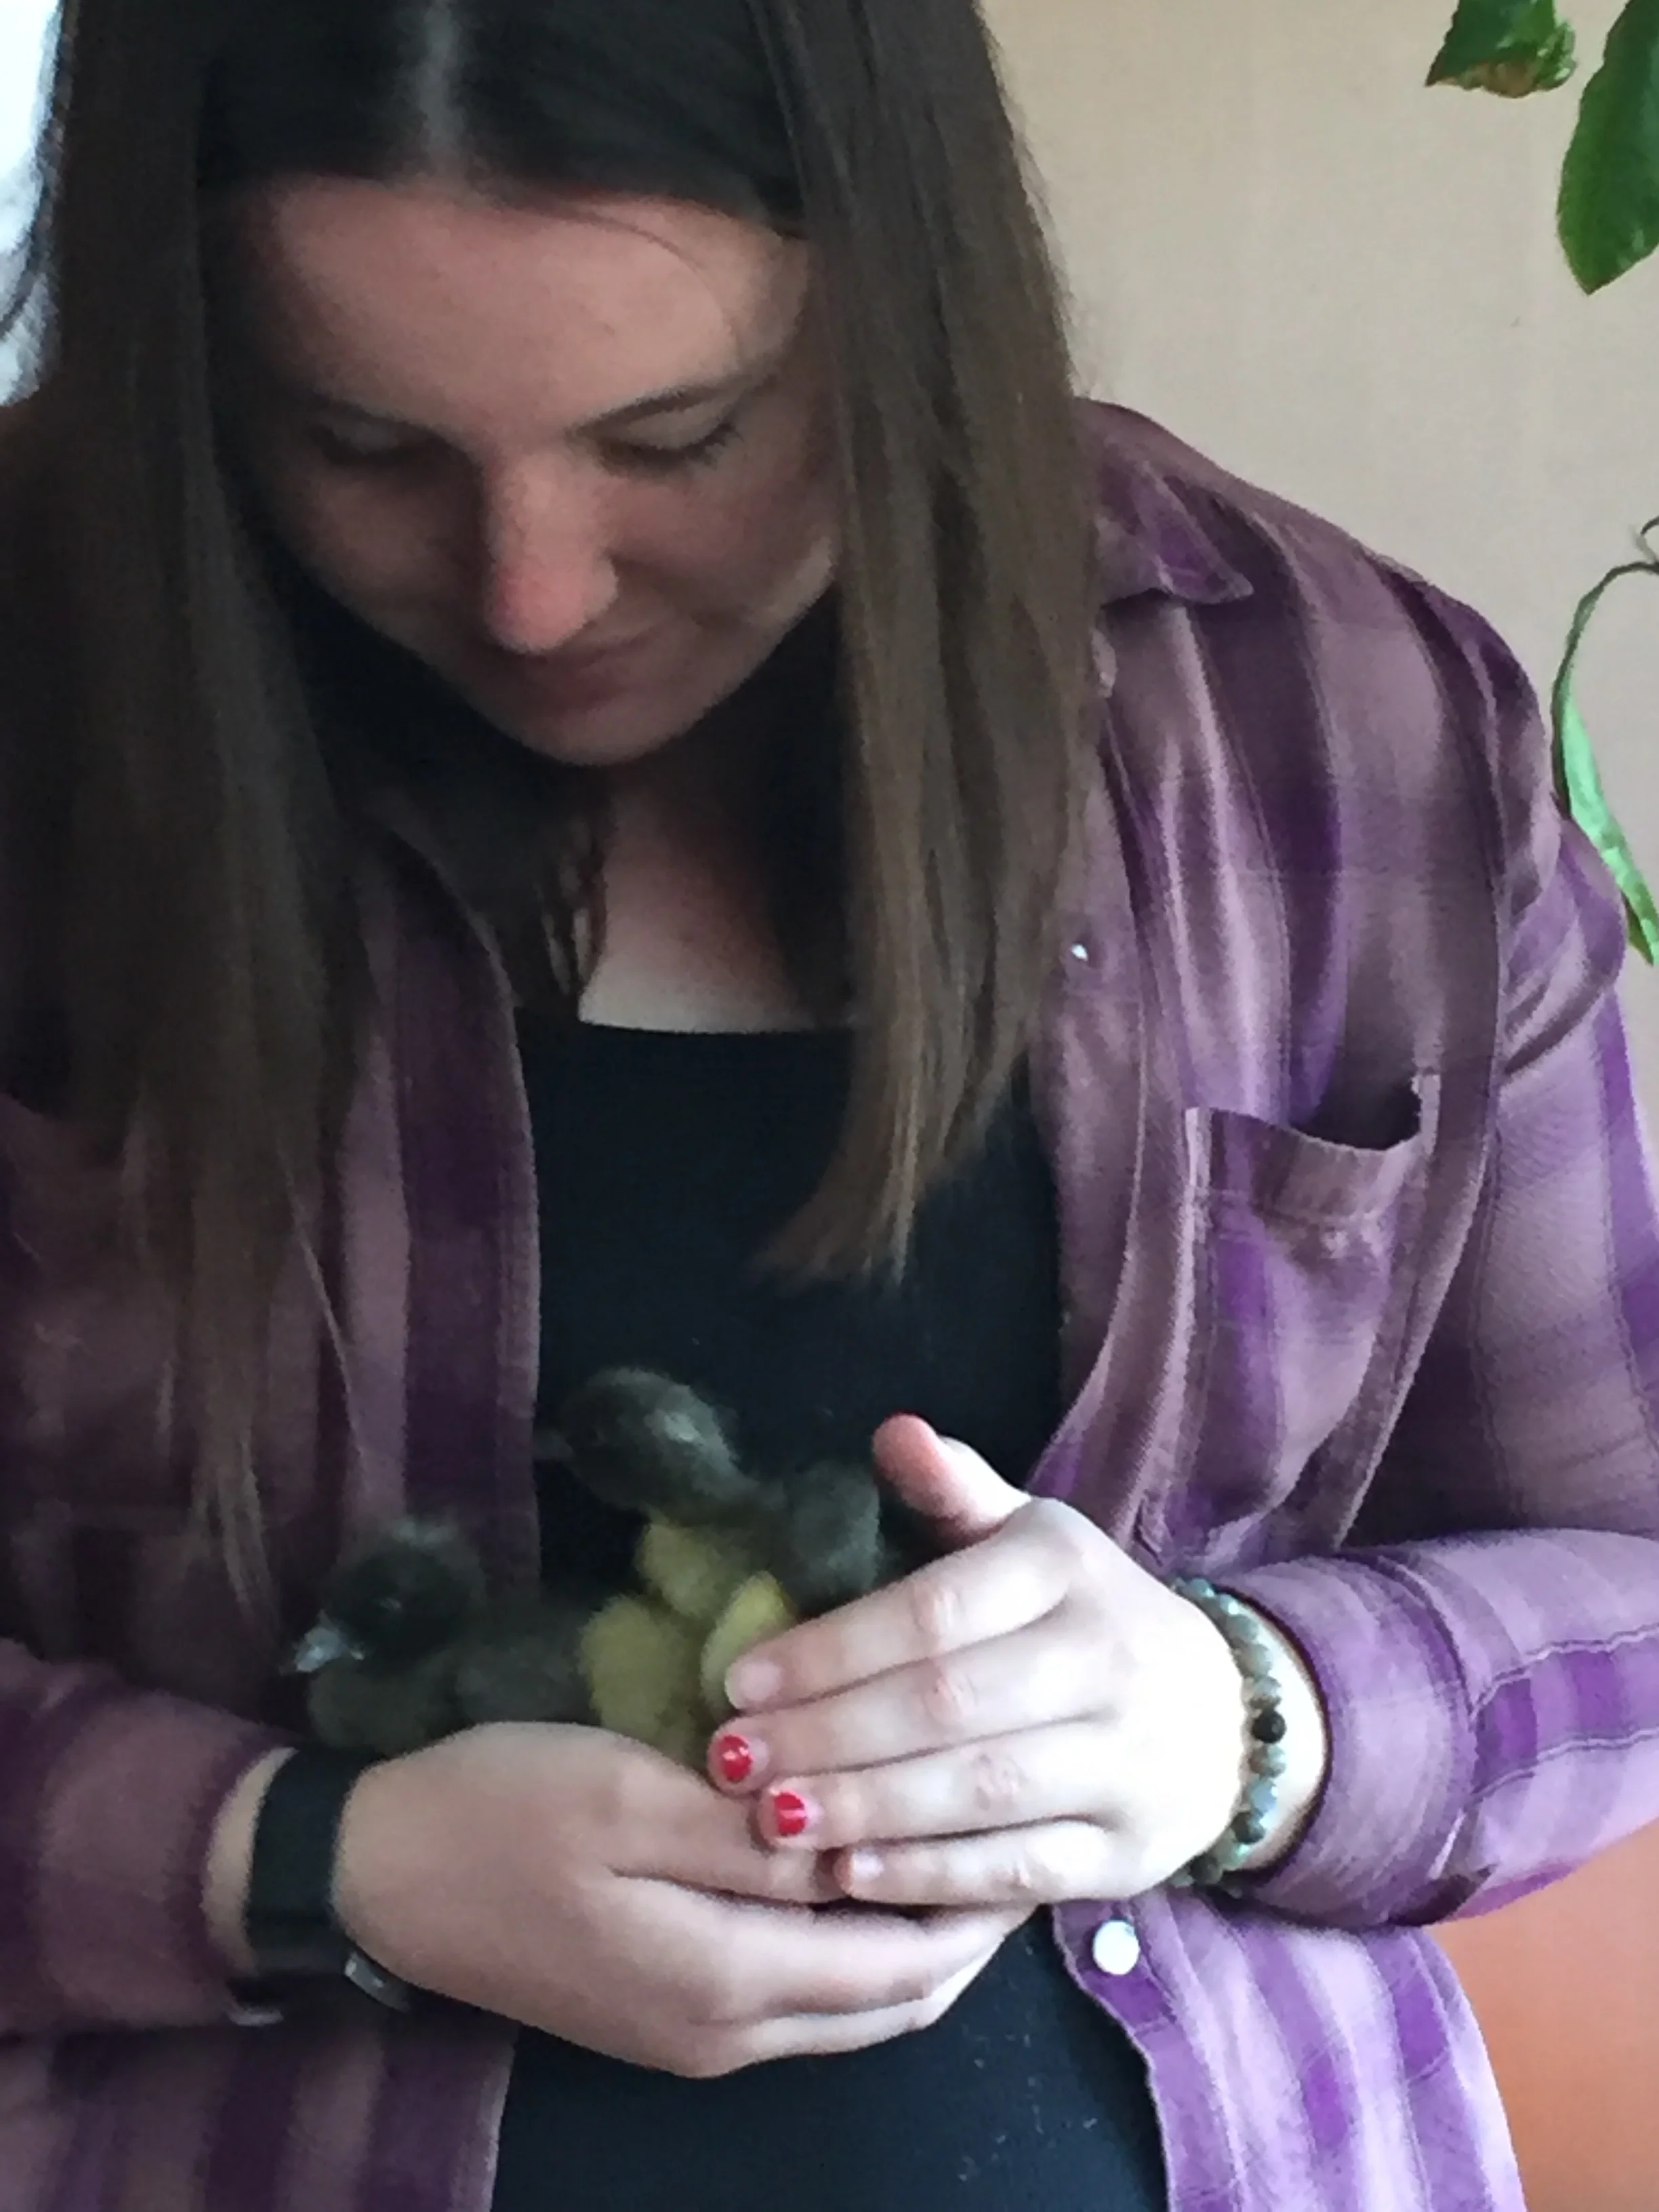
The first four ducklings make an appearance!
We started with 29 eggs, but discarded the ones that did not show growth after a week.
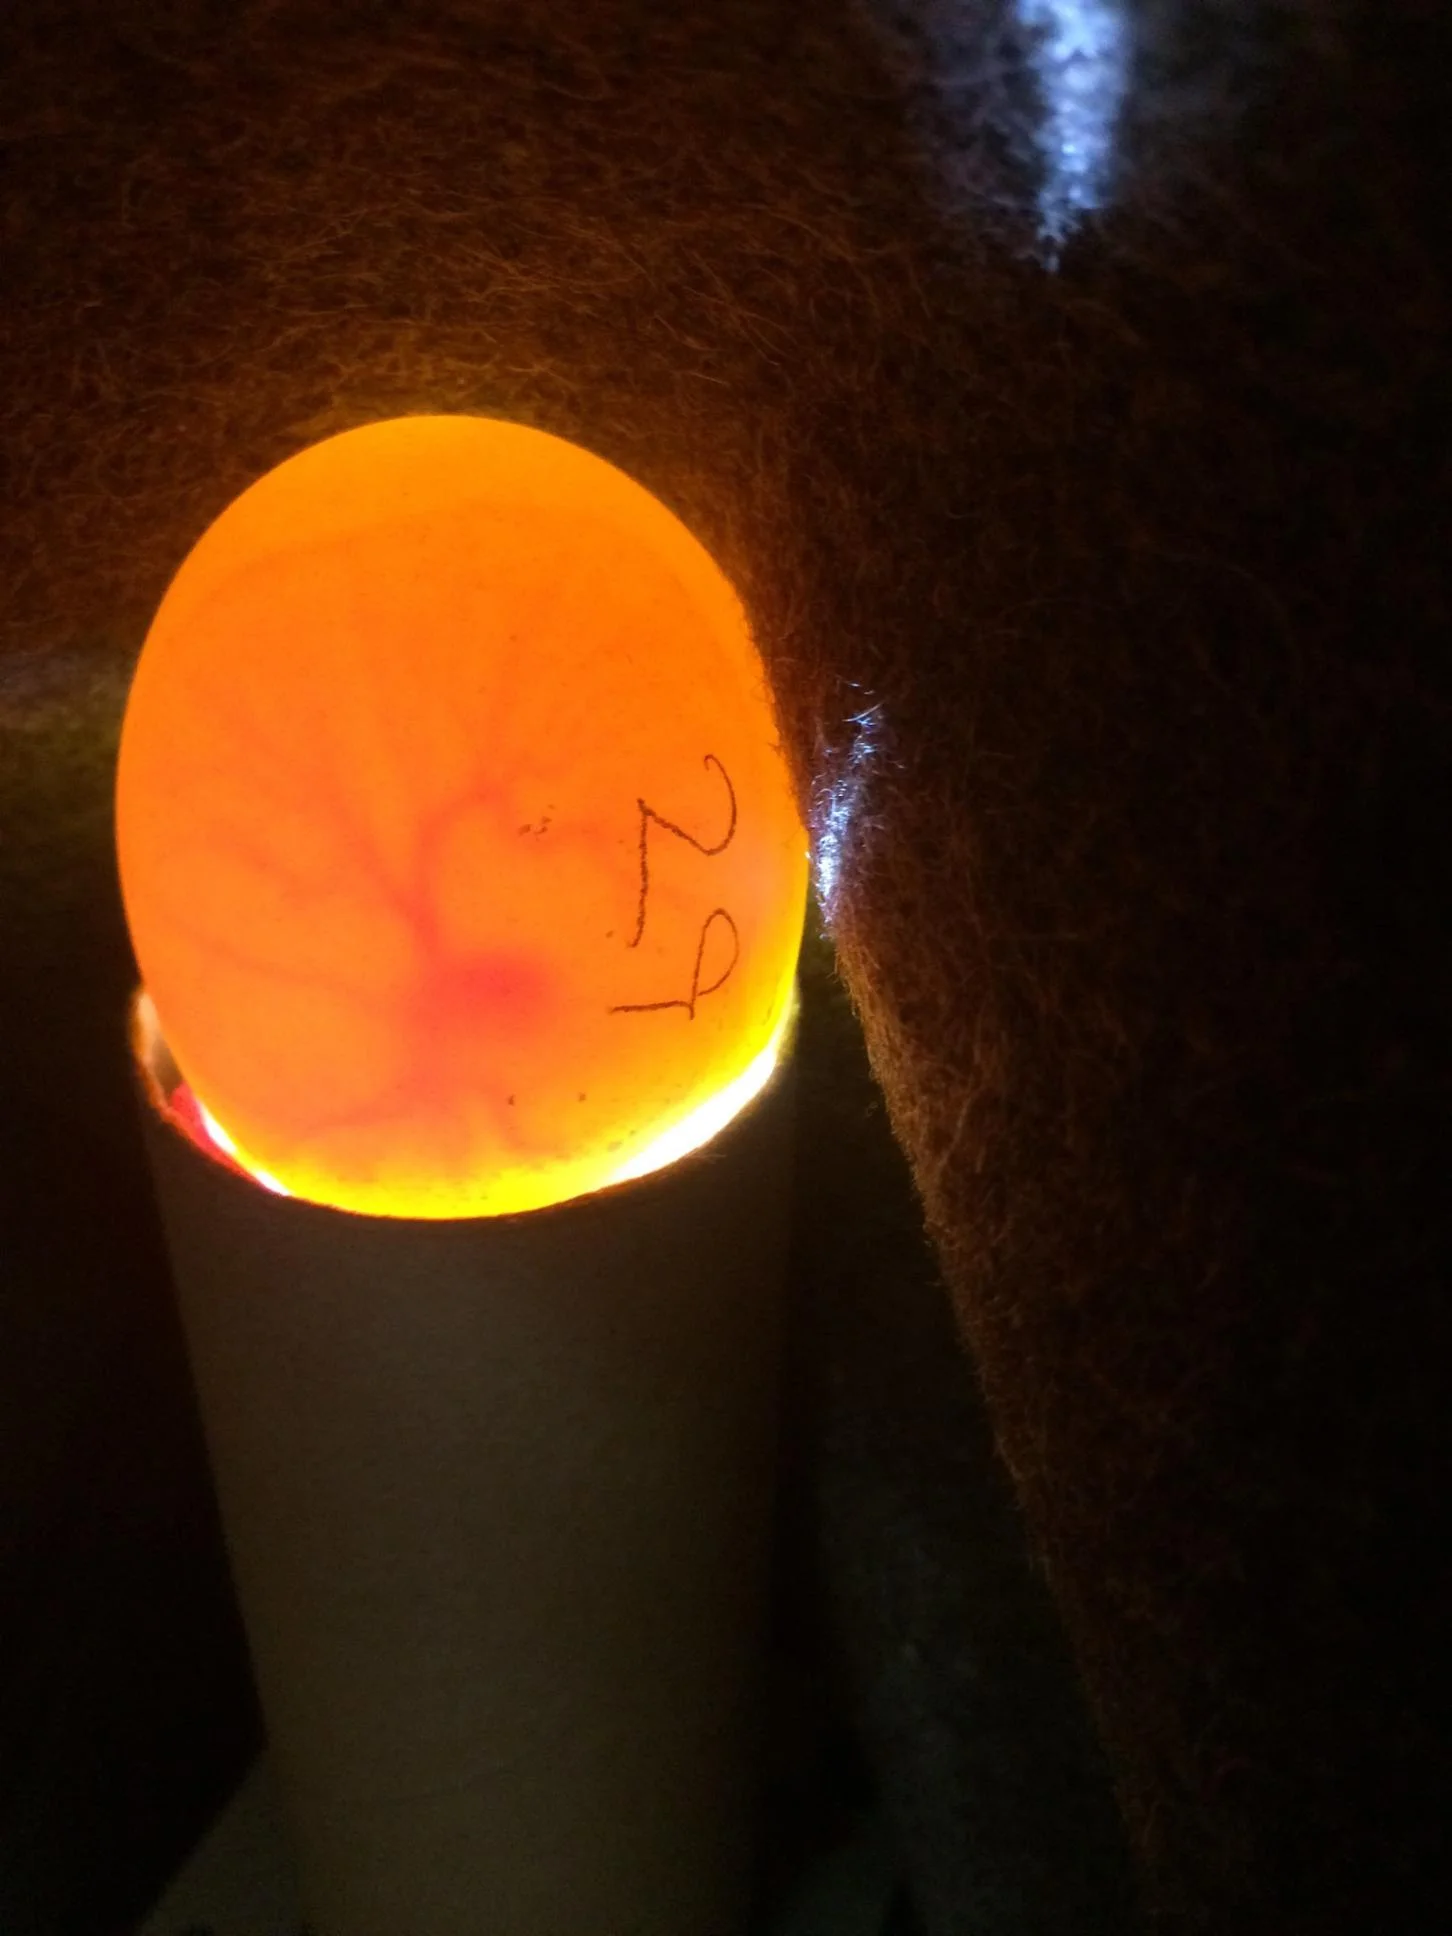
This is what a viable egg looks like. The blood flow is like a placenta, and allows the growing embryo to access oxygen through the egg shell.
We were expecting the eggs to start to hatch tomorrow (28 days by Michael’s calculation), which is why I was more than a little surprised by hearing the peeps today. Several of the ducklings made the initial hole in the shell, but then seemed to stall out. Michael (who was out running errands) said it was okay to help them, so I did.
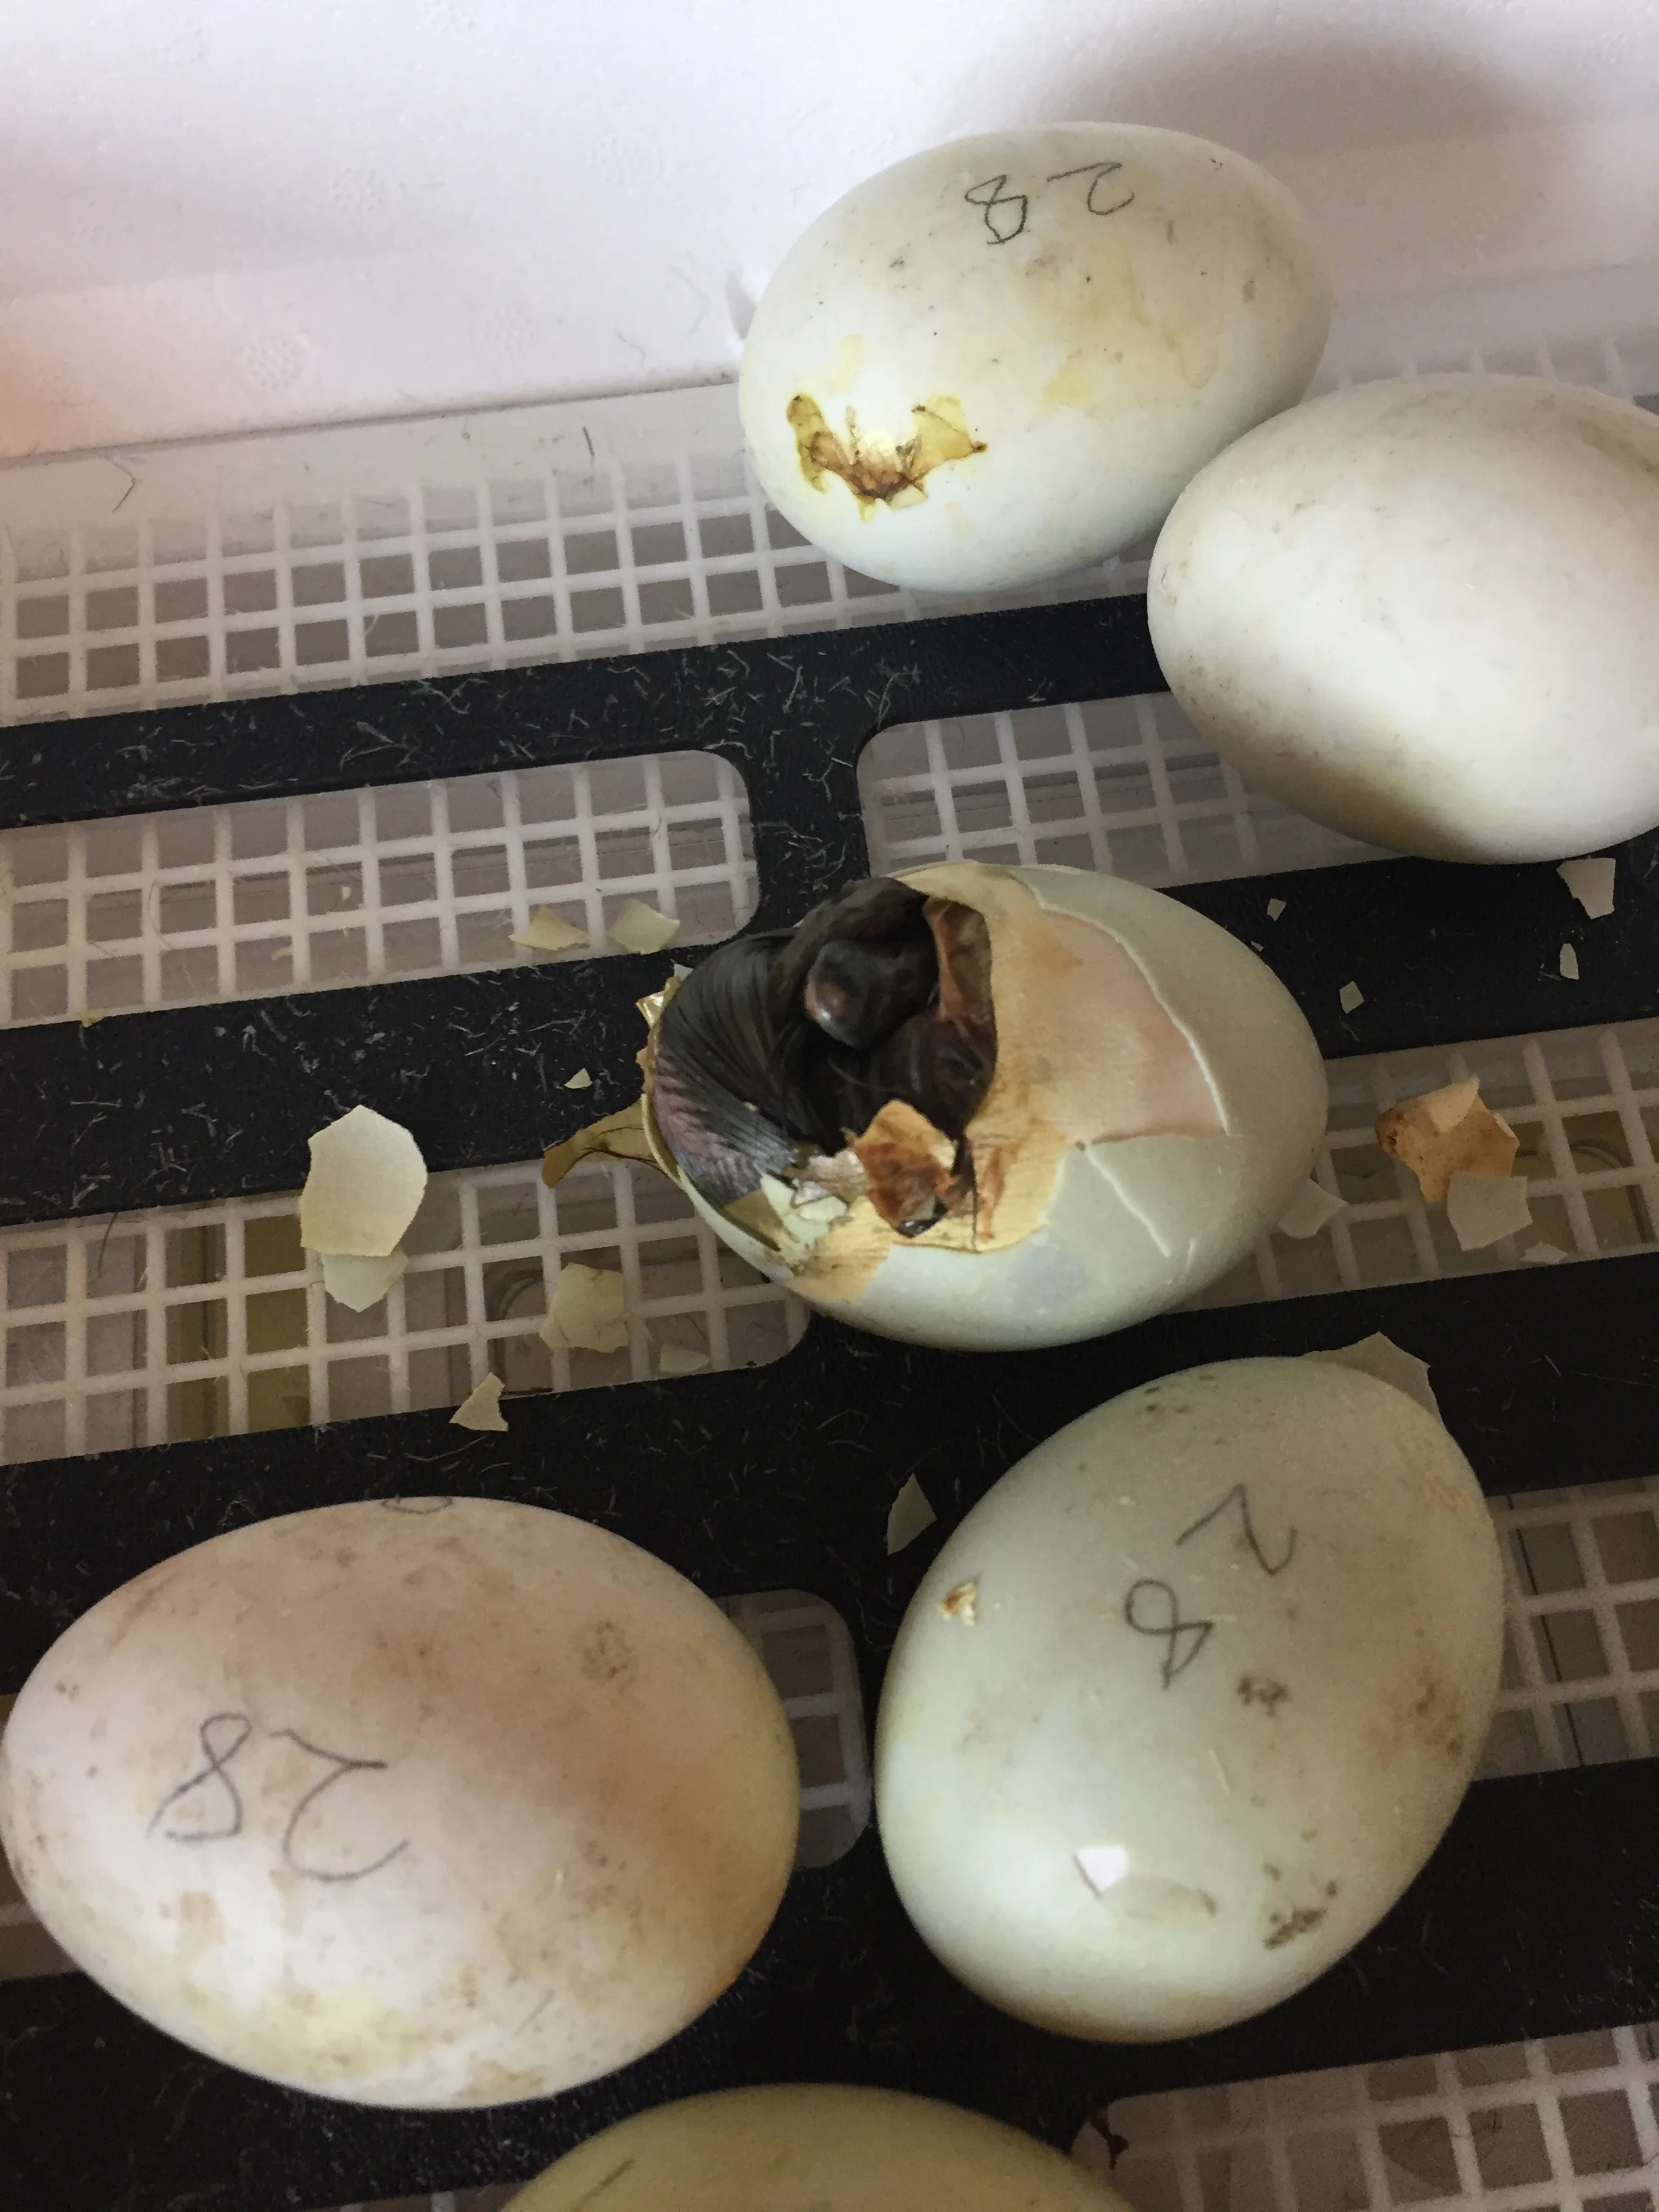
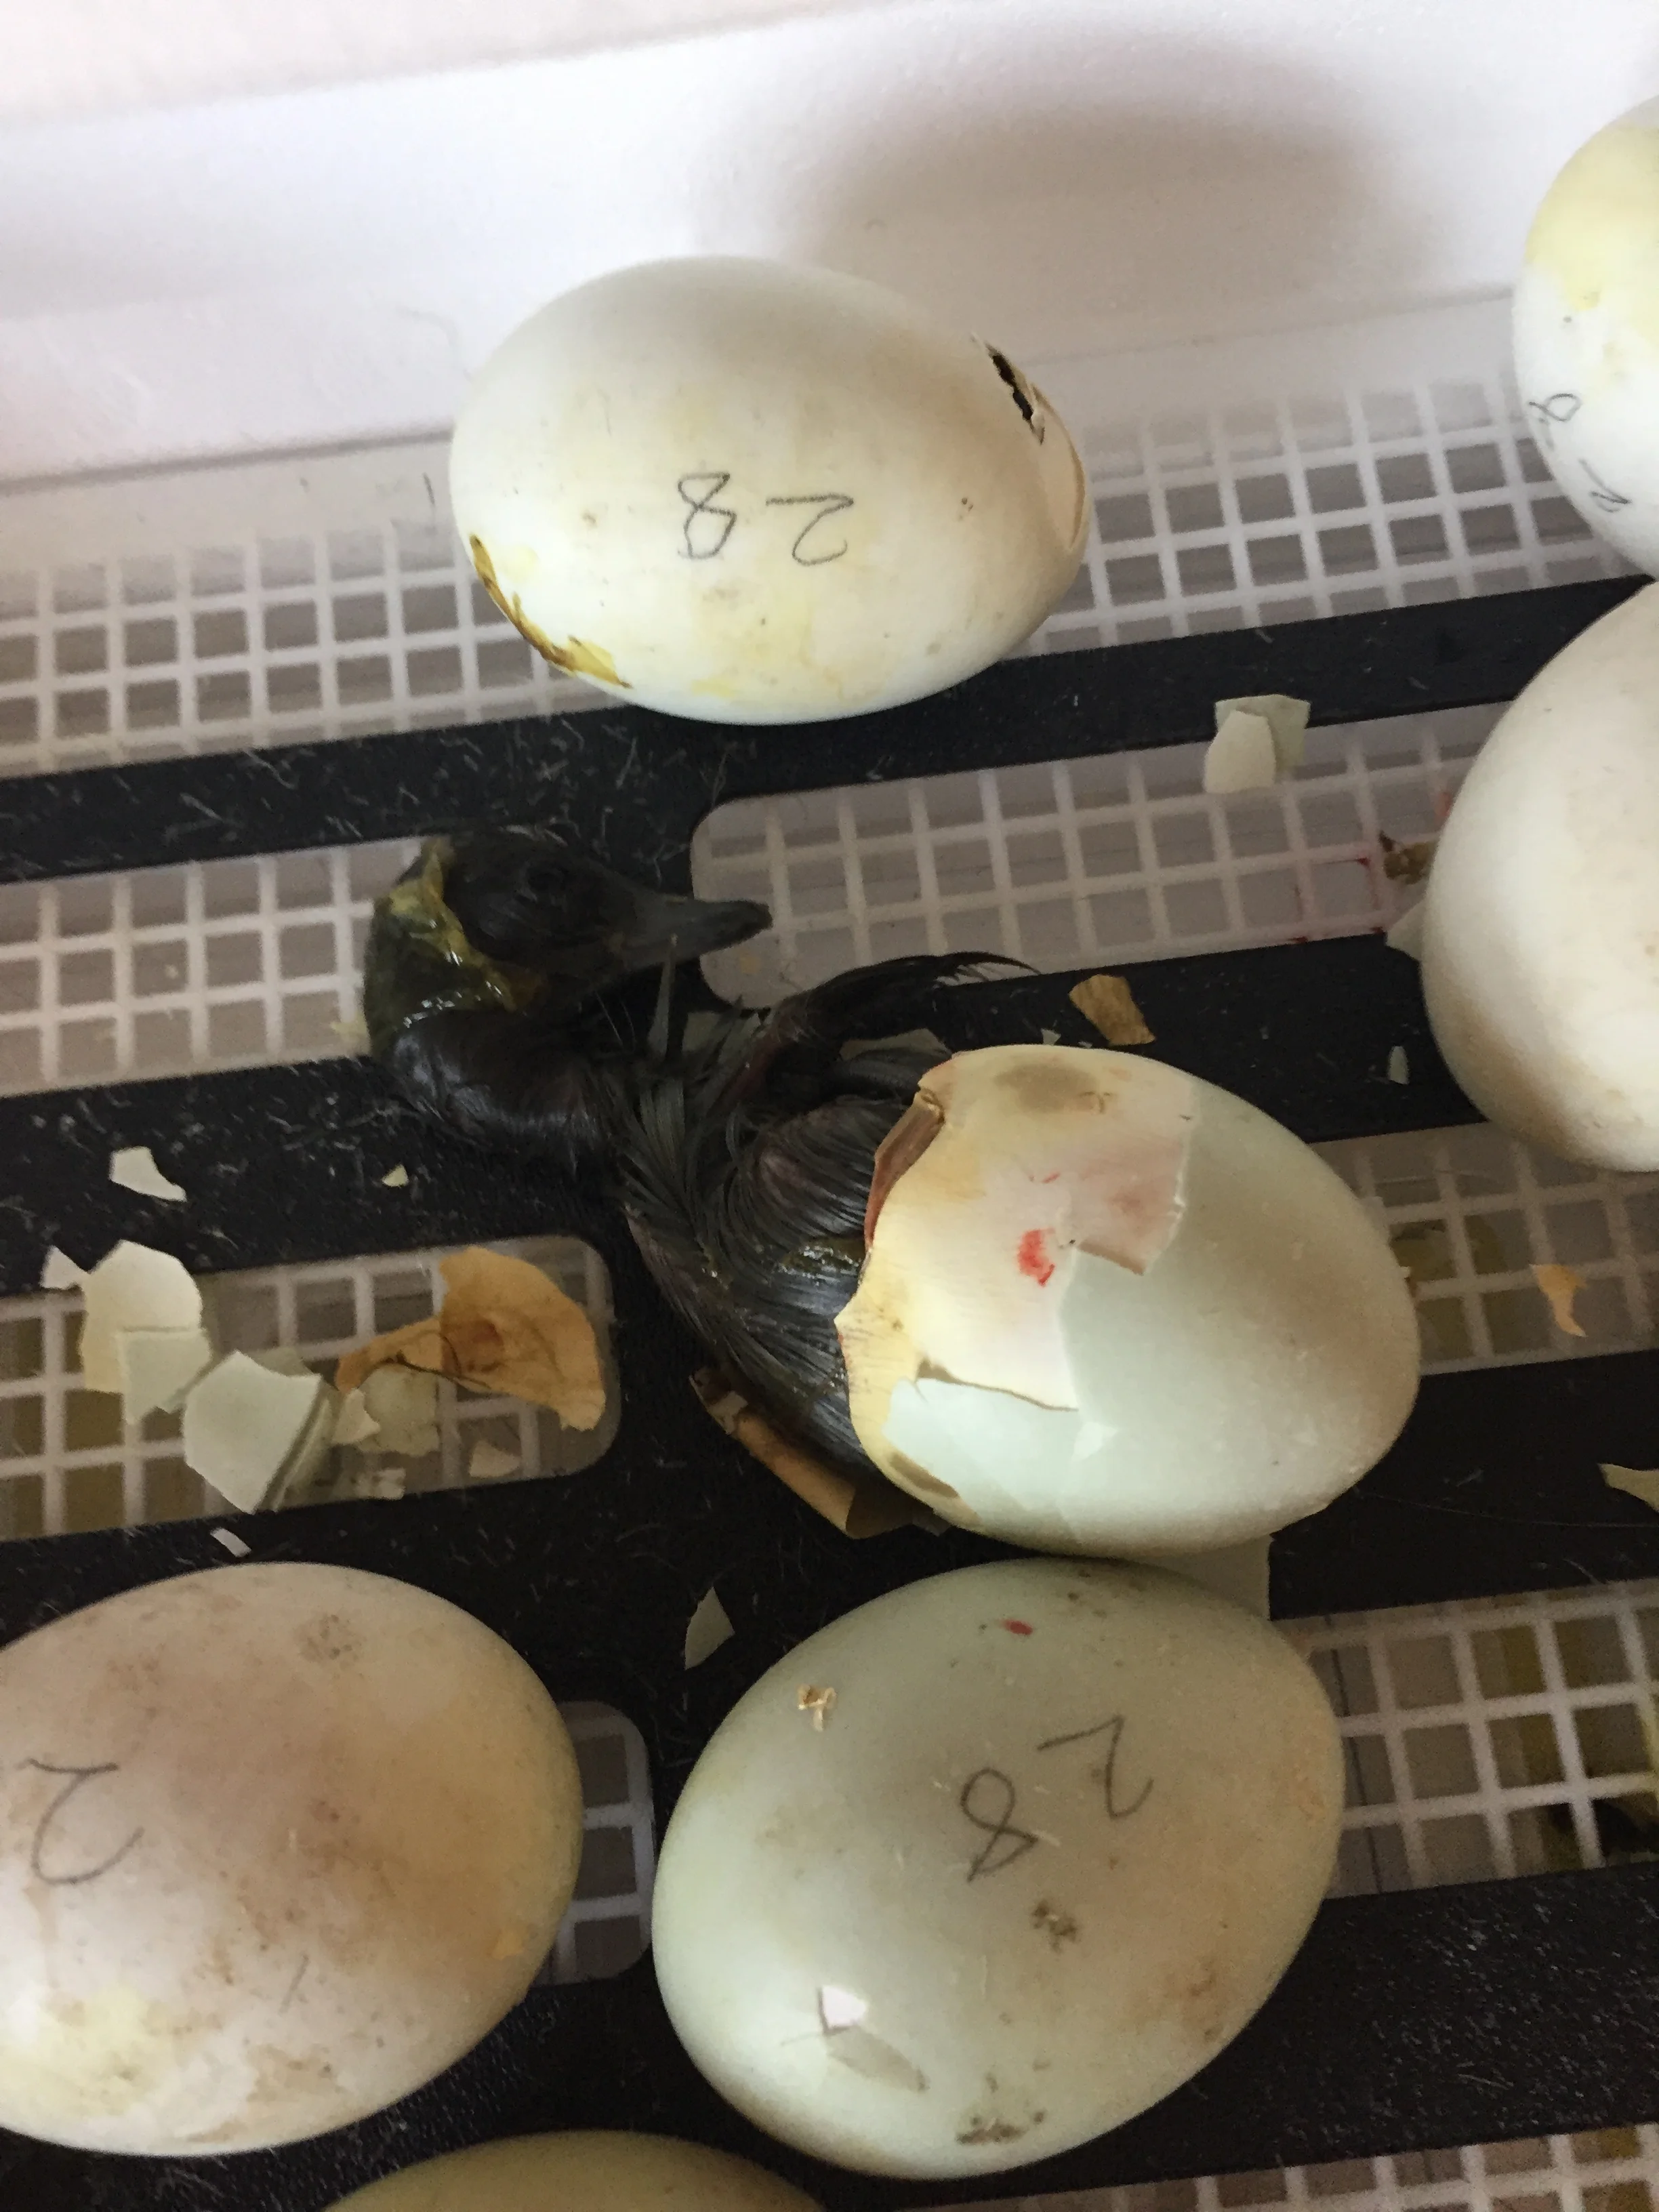
I was so afraid of harming them by breaking the shell.
While the babies were busy busting out, I frantically gathered all the baby gear together: a big plastic tote, waterers and feeders, vitamins to add to their water, bedding, heat lamps, string, nails (to hang the lamps) and a thermometer (they seem to like it at 110°). Then I made sure everything was clean. Michael and Persephone arrived as I was hauling the last bit inside. Nice to have some help!
The next 6 duckies didn’t fluff up, but had the goo from birthing stick to them. Persephone looked up what to do about this on line. We gave the later-hatched duckies a warm bath, which seemed to help immensely. Michael noticed the humidity level had dropped by half (lifting the lid repeatedly will do that) and so he added water. The next duck to hatch wasn’t sticky!
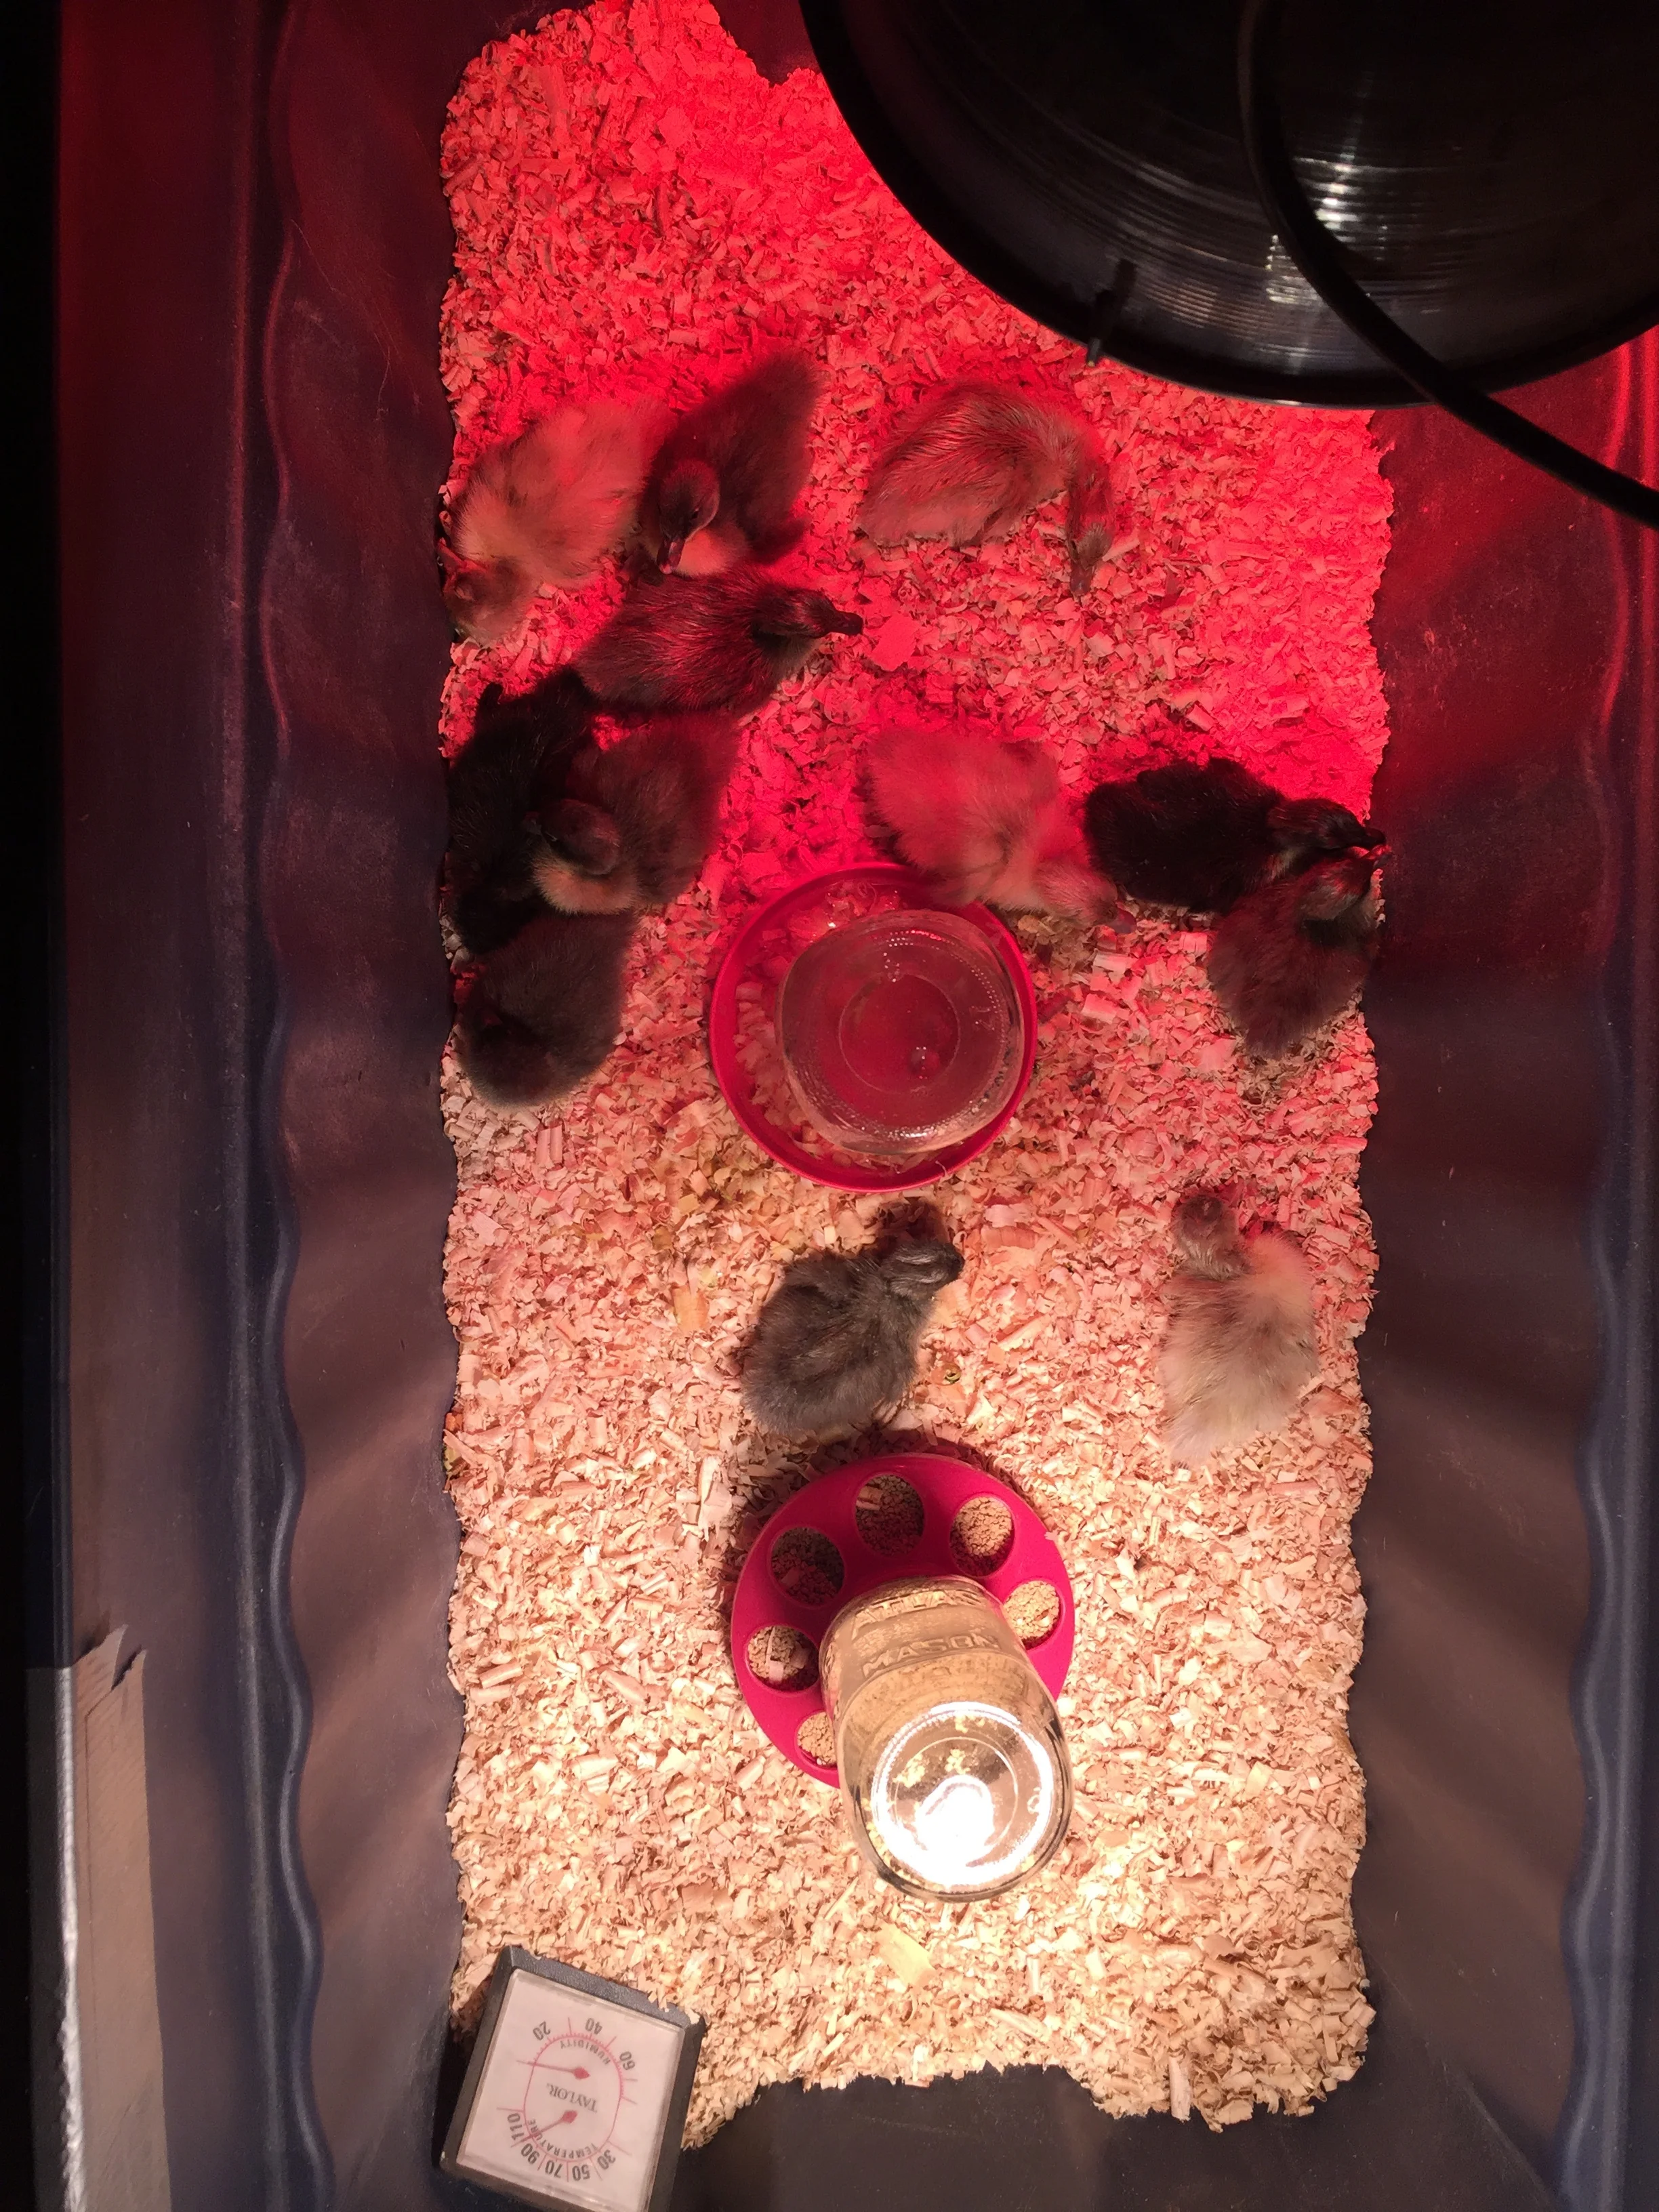
Food. Water. Warmth. They are doing well.
It will be interesting to see who these ducklings are, as we have a number of different types of hens (Khaki Campbells, Pekins, Rouens, and Runners) and only one virile drake, who is a Runner. Some of the duckies have very large feet, and others are very teensy.
I am so amazed that we have hatched eggs from our own ducks. Michael figures that the incubator has paid for itself with this first hatching. Even if this isn’t so, it has been worth the trip. Happy springtime everyone!

This one is still my favorite duckie.
We have robins, orioles, bluebirds, and sand hill cranes. Now if only we had bare ground!
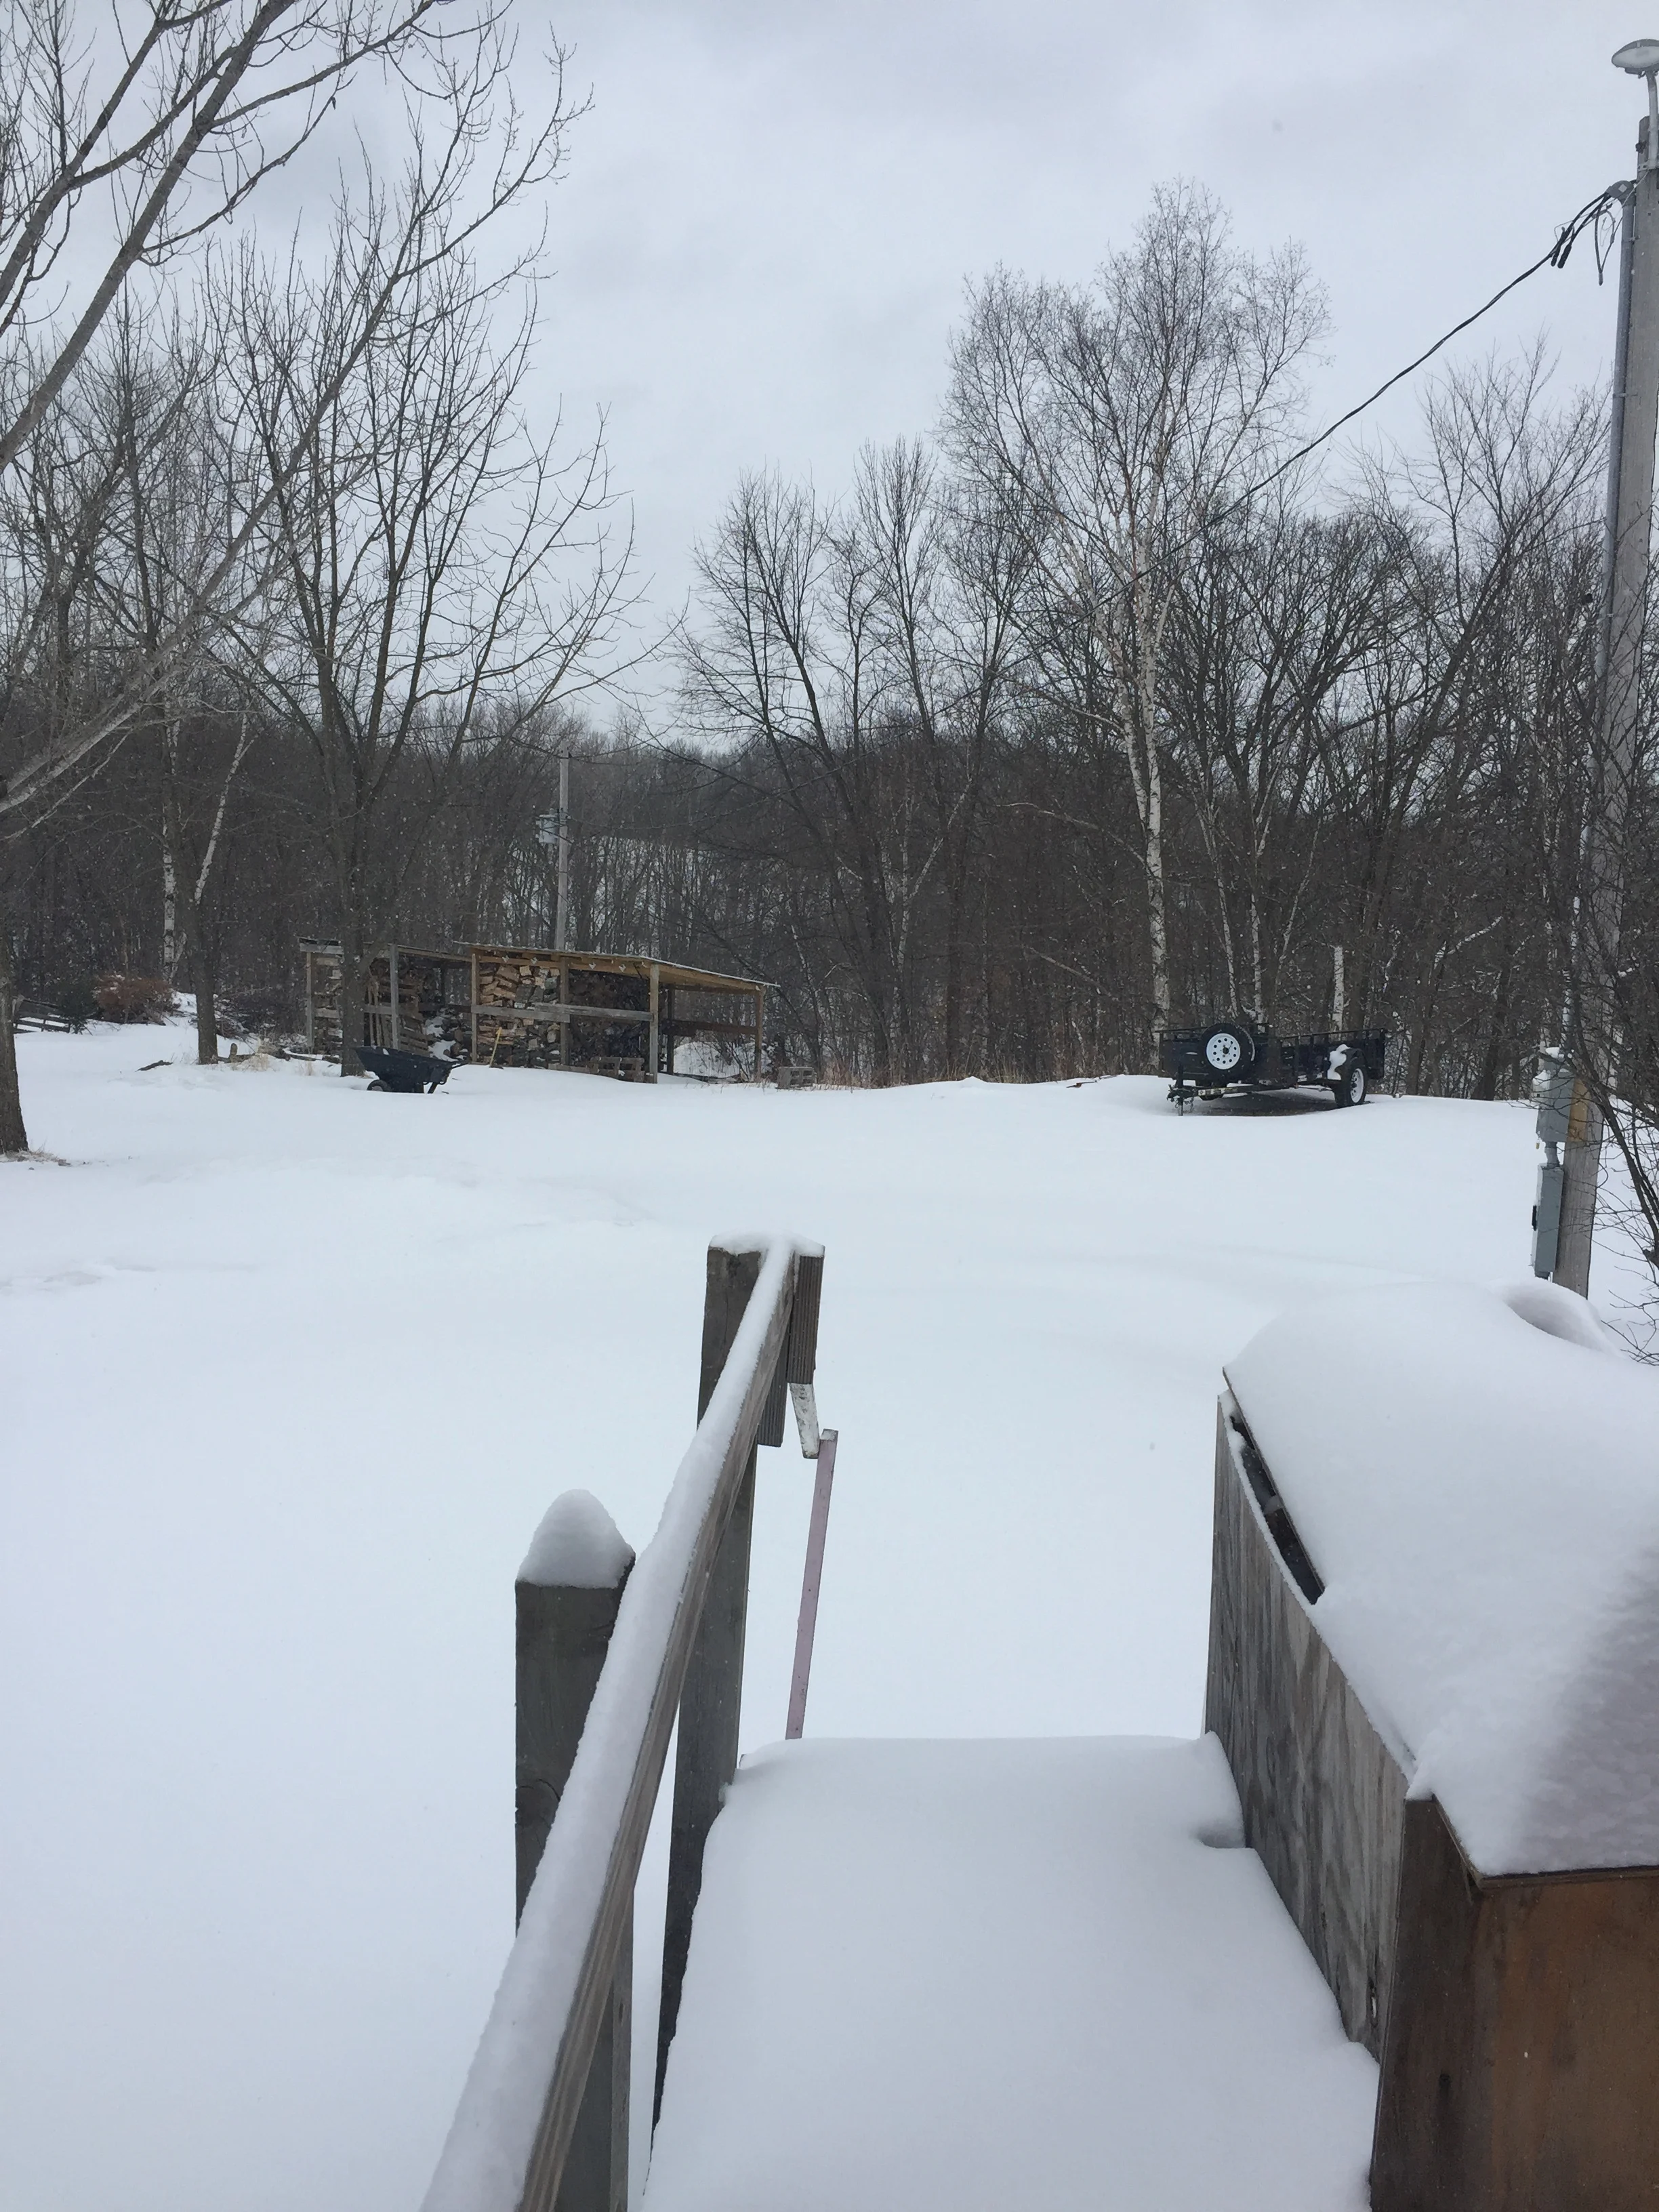
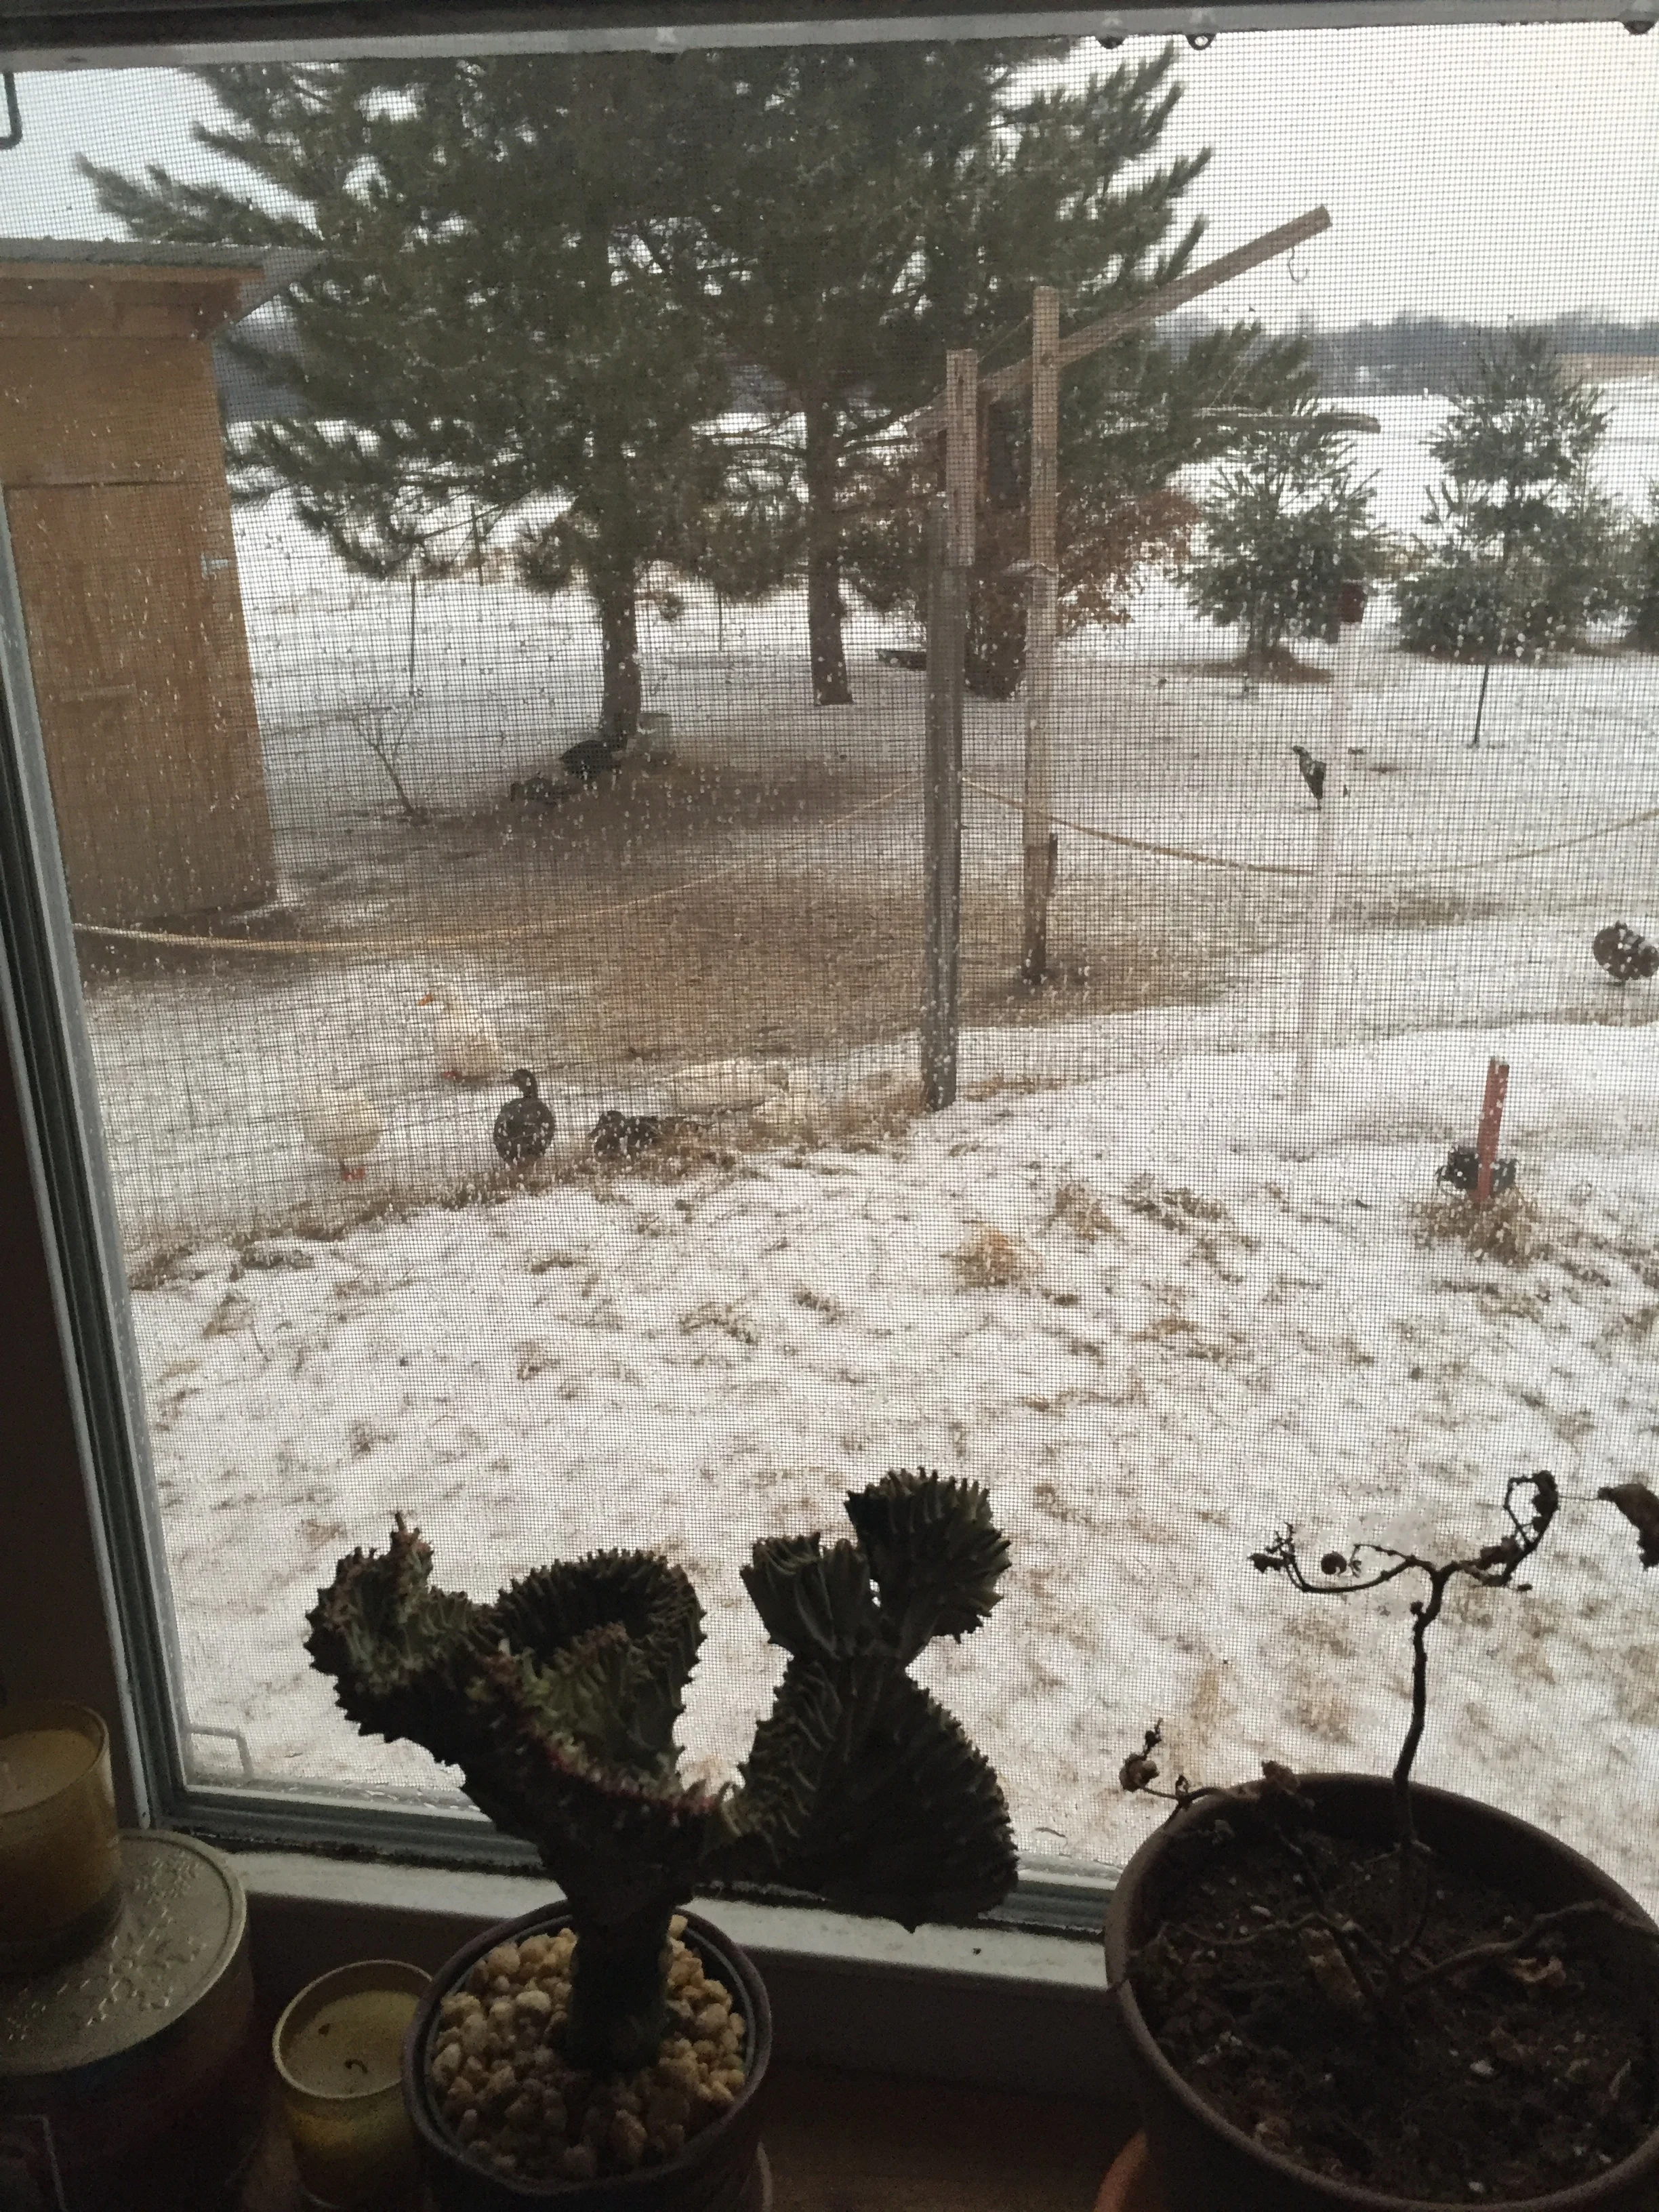
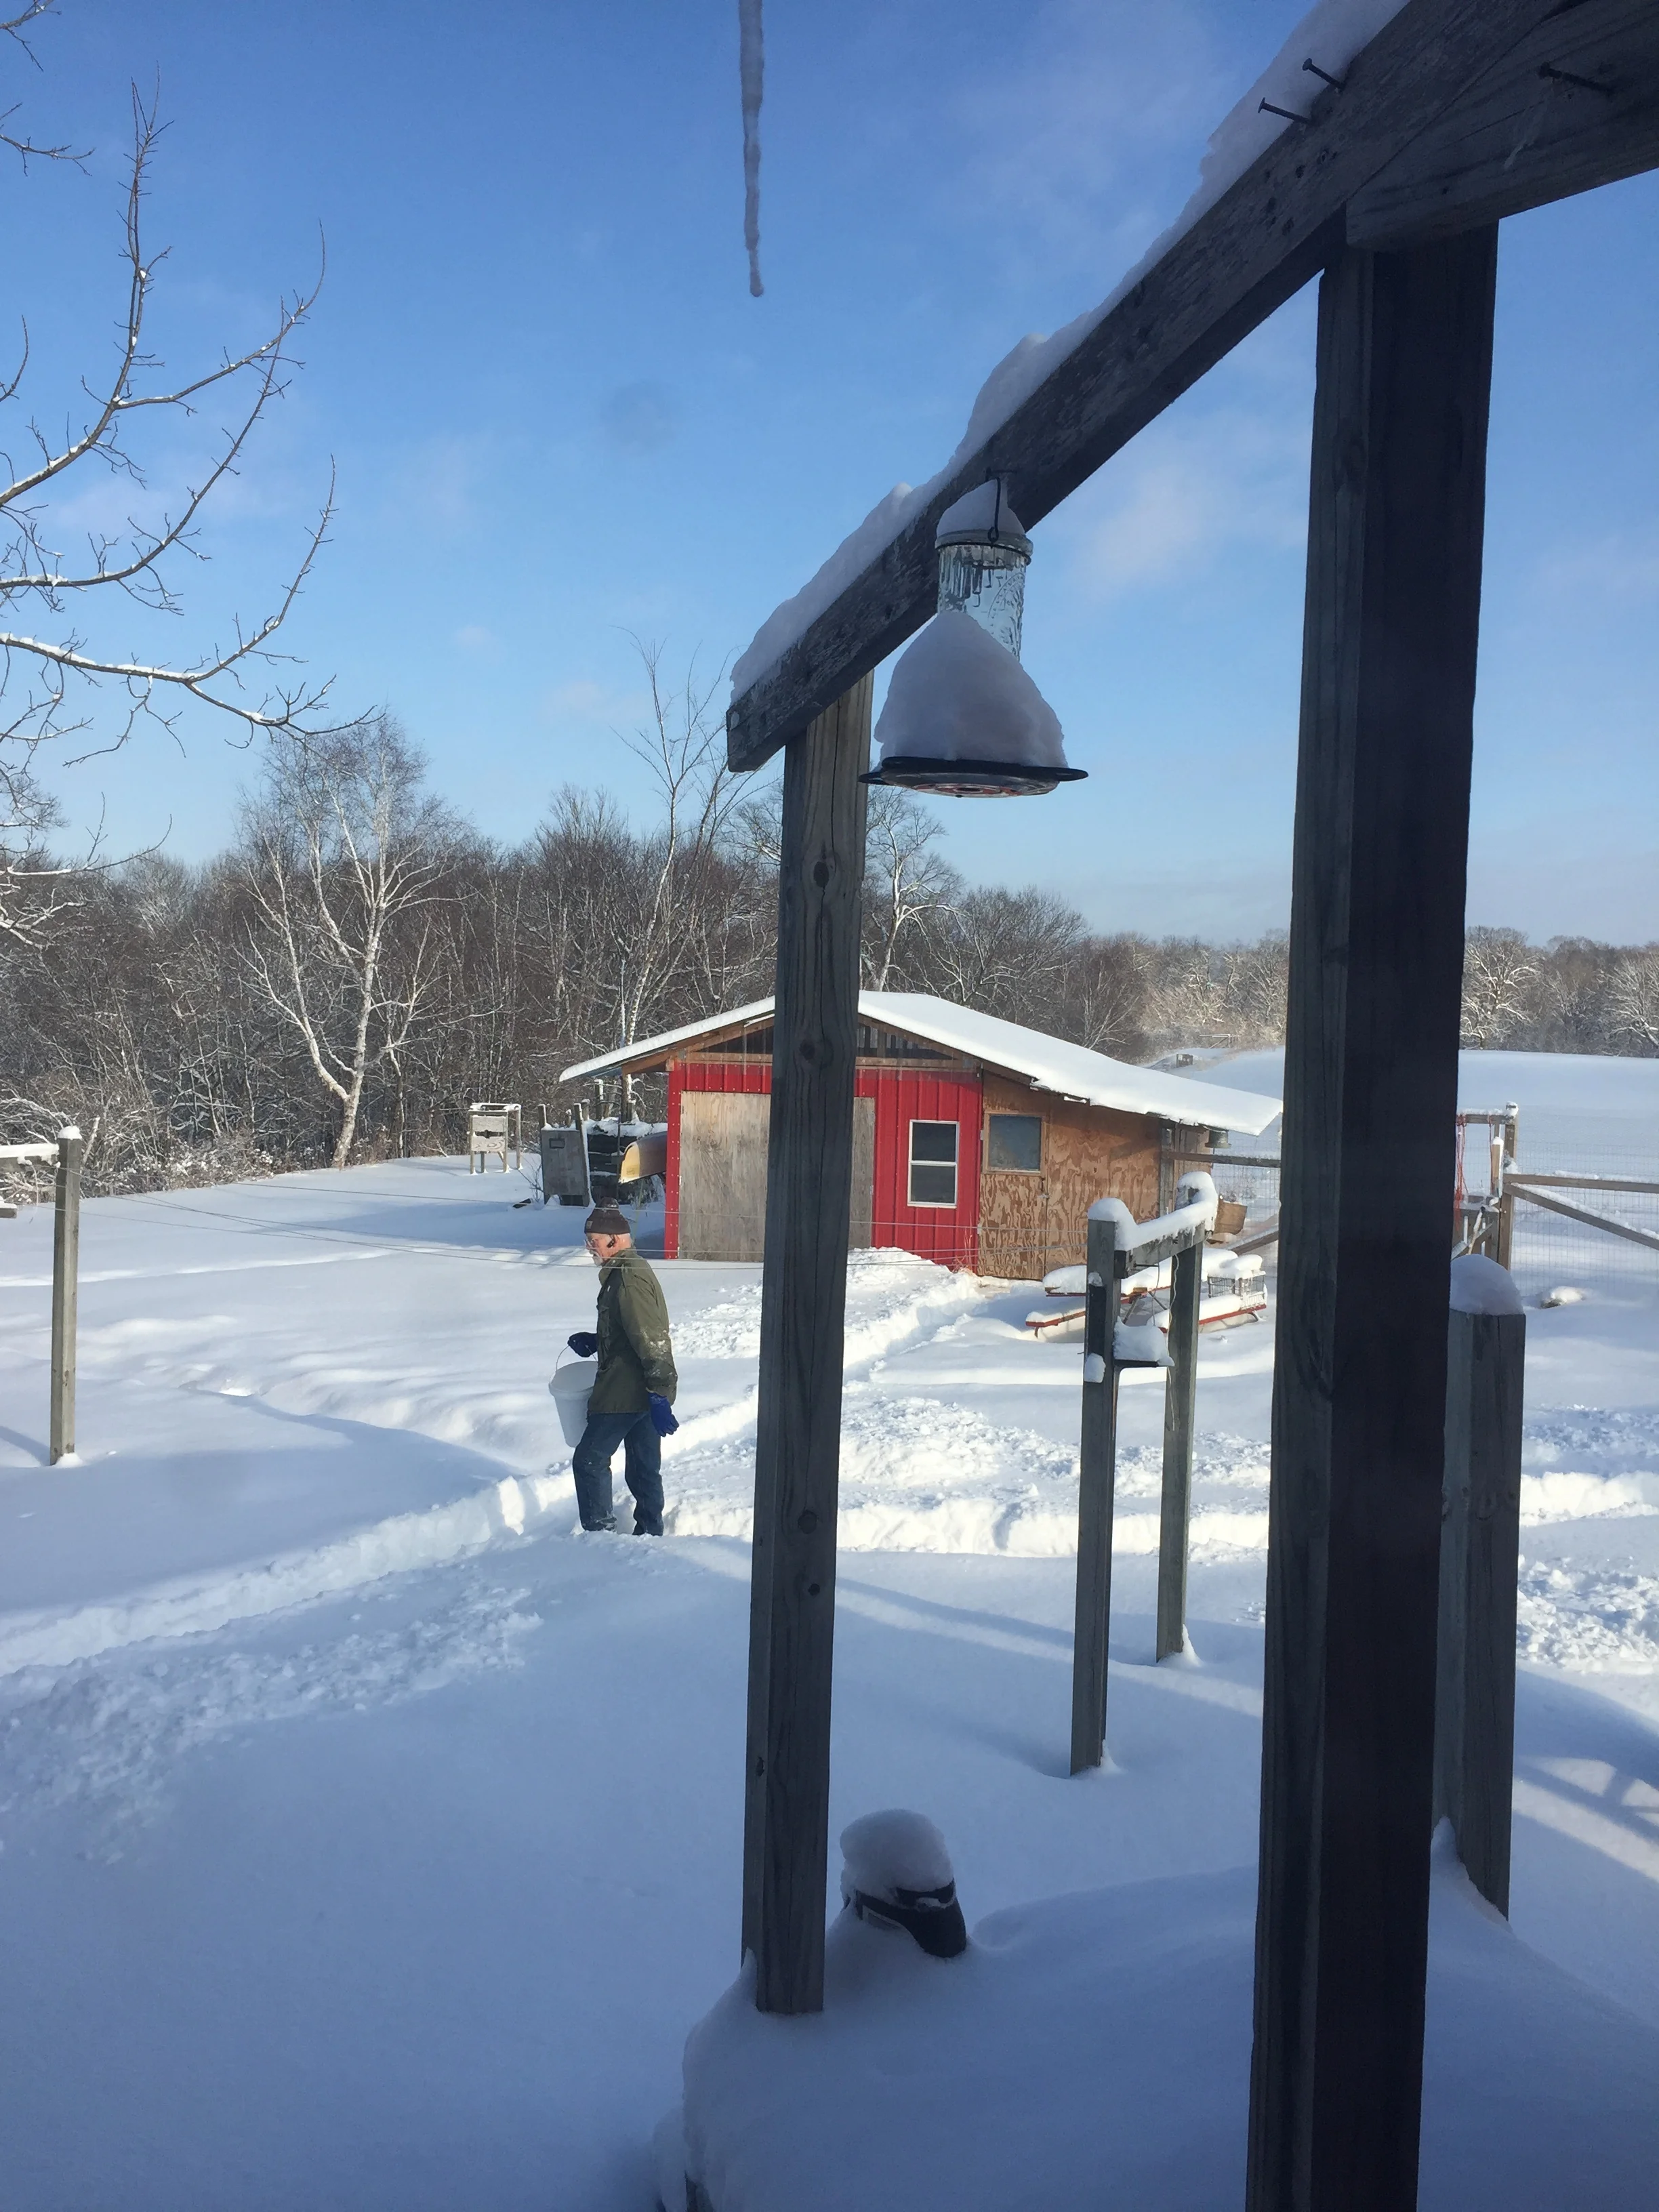
Today’s blizzard dropped about a foot of snow. It’s hard to tell due to drifting. Michael had to dig through a three foot drift to get to the hen house. Other places are scrubbed clean. At least we still have wood in the woodpile.
The deer and pheasants have become ever bolder, raiding the compost pile for any odd apple left over from last fall’s over abundance.
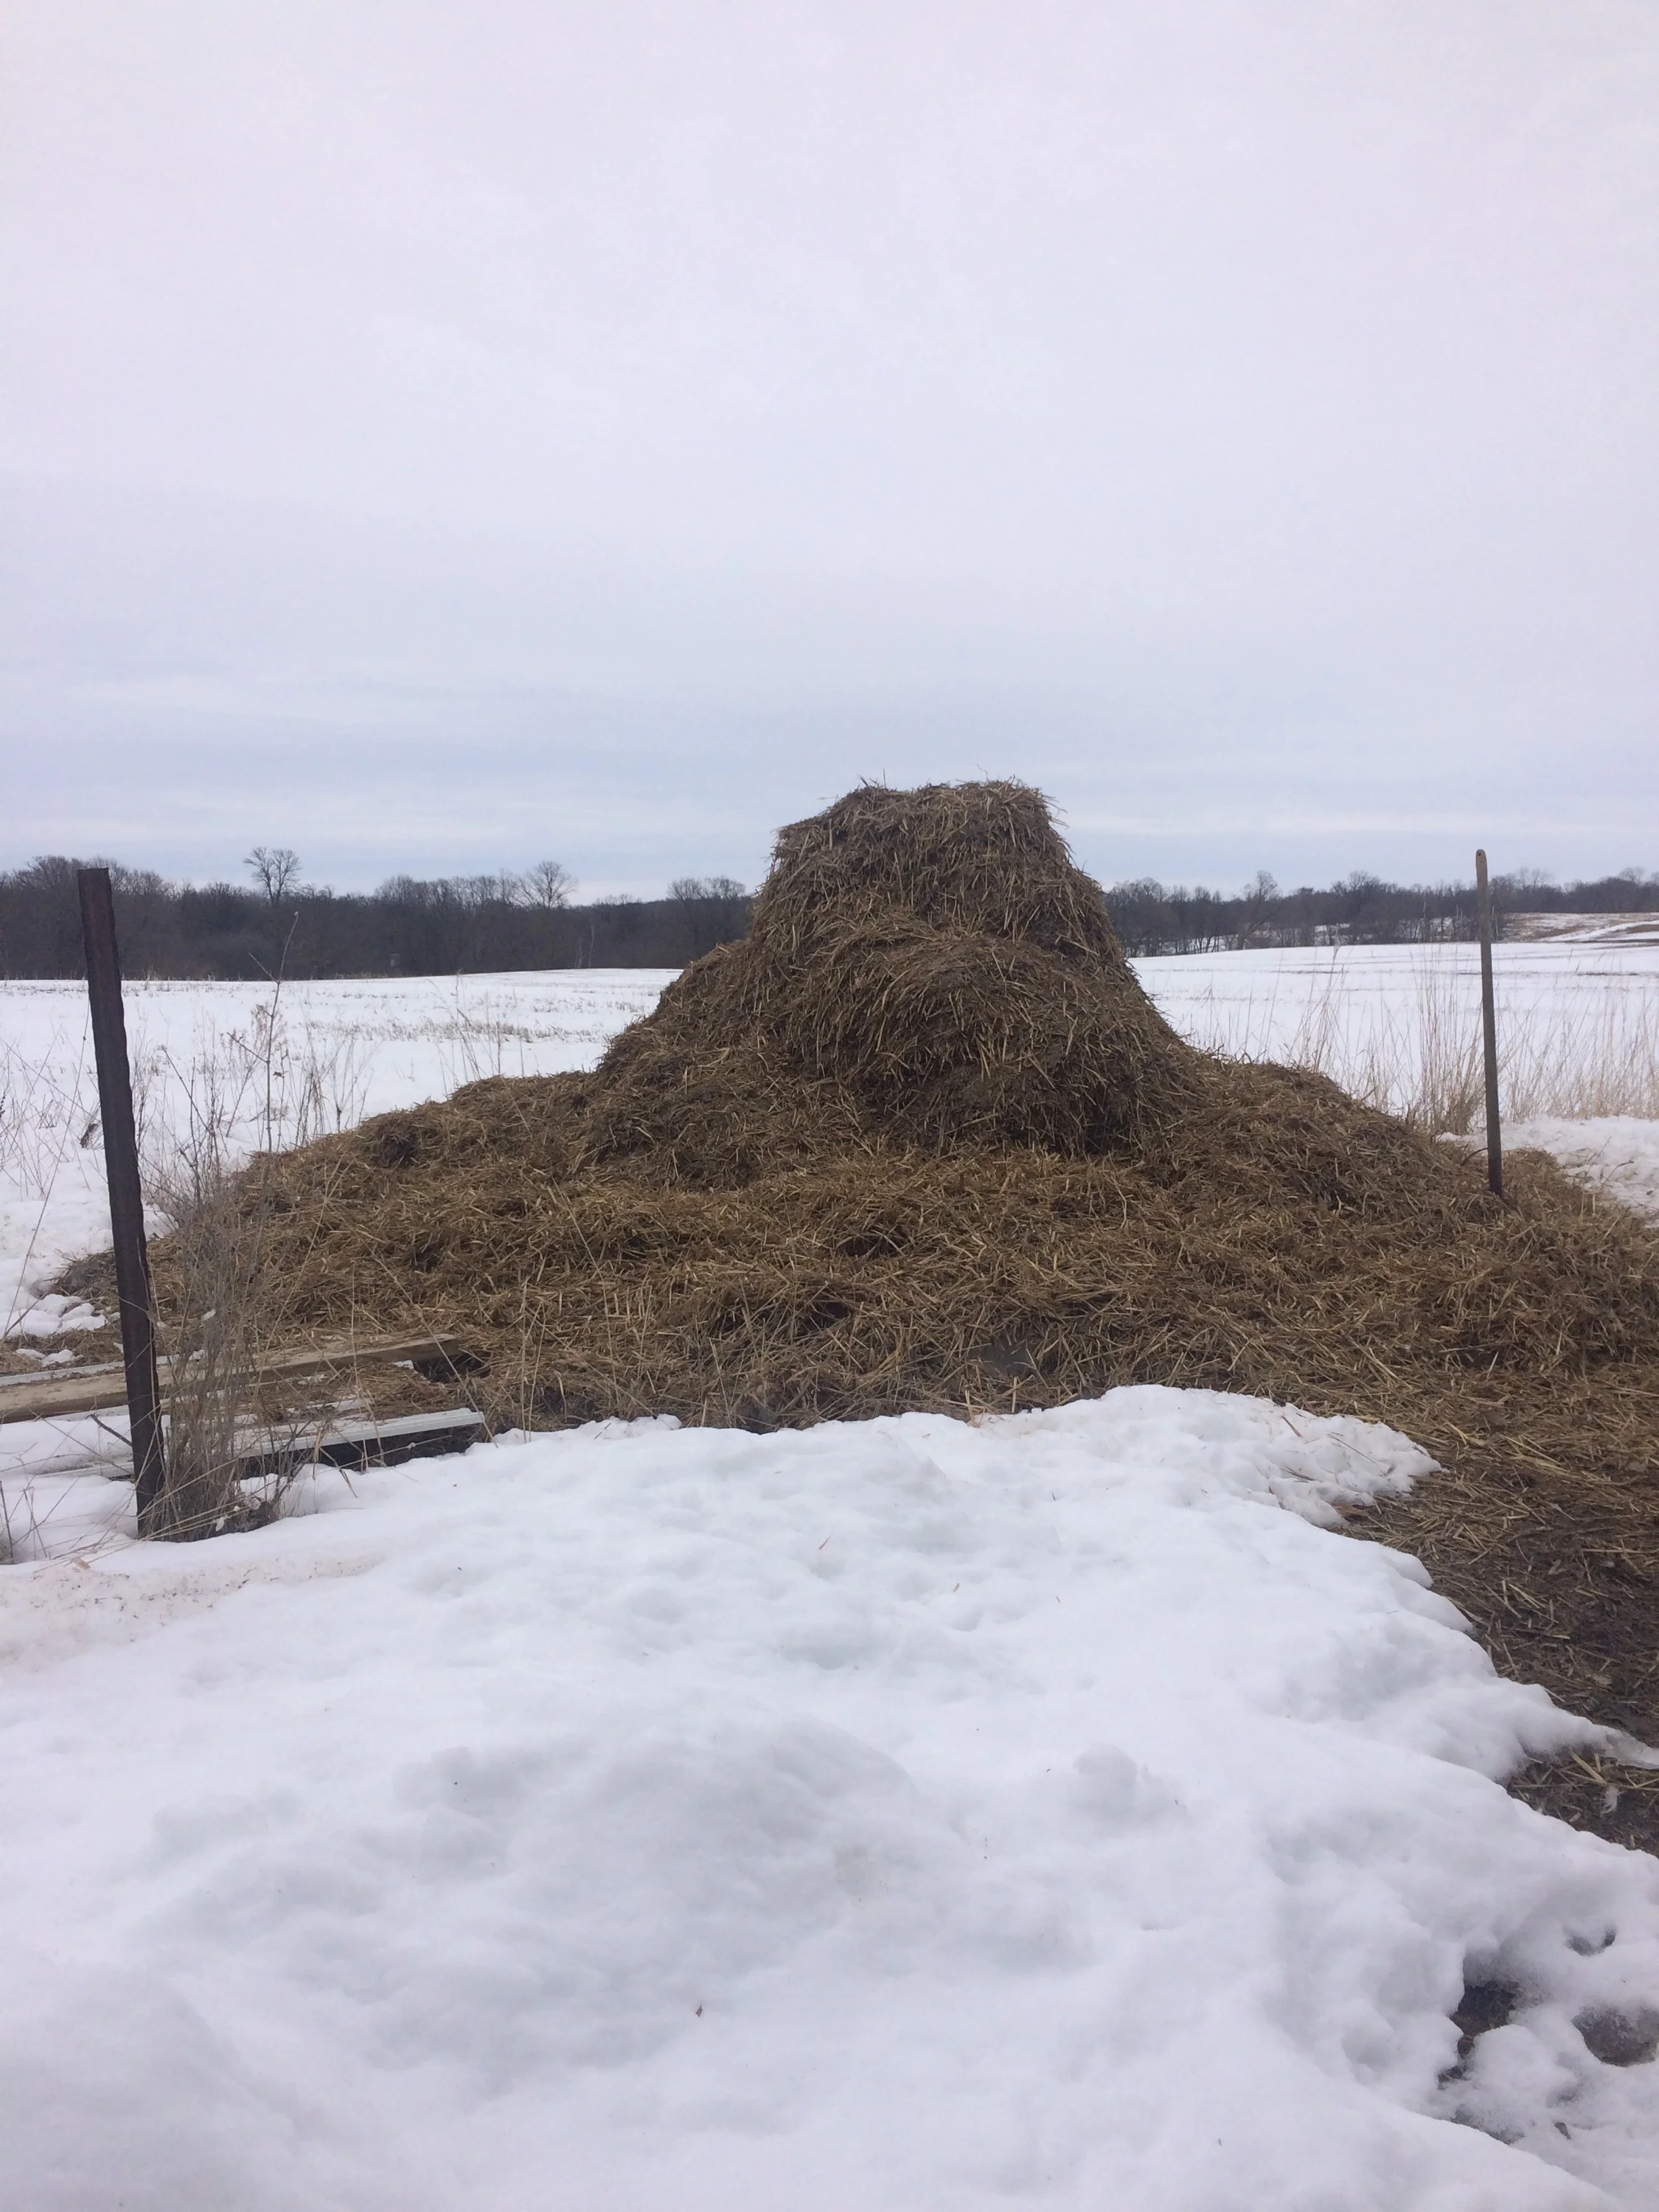
This used to be taller and not so wide. Straw first makes good bird bird bedding and then good garden fodder.
The deer don’t scatter the way the did earlier this winter.

The does will have to drop their young ones later this year or we will be having a serious drop in population.
It iseems unfair to feast while the wild things starve, but it is good weather for stews and soups.

Last summer’s fish in chowder featuring lime and cilantro.
As added bonus photos: I got to visit my parents in New Mexico and my lovelies in Colorado as a break from this unrelenting winter.
Always good to touch home base again.
She will be climbing the bike rack soon...
Today we awoke to new snow on the ground.
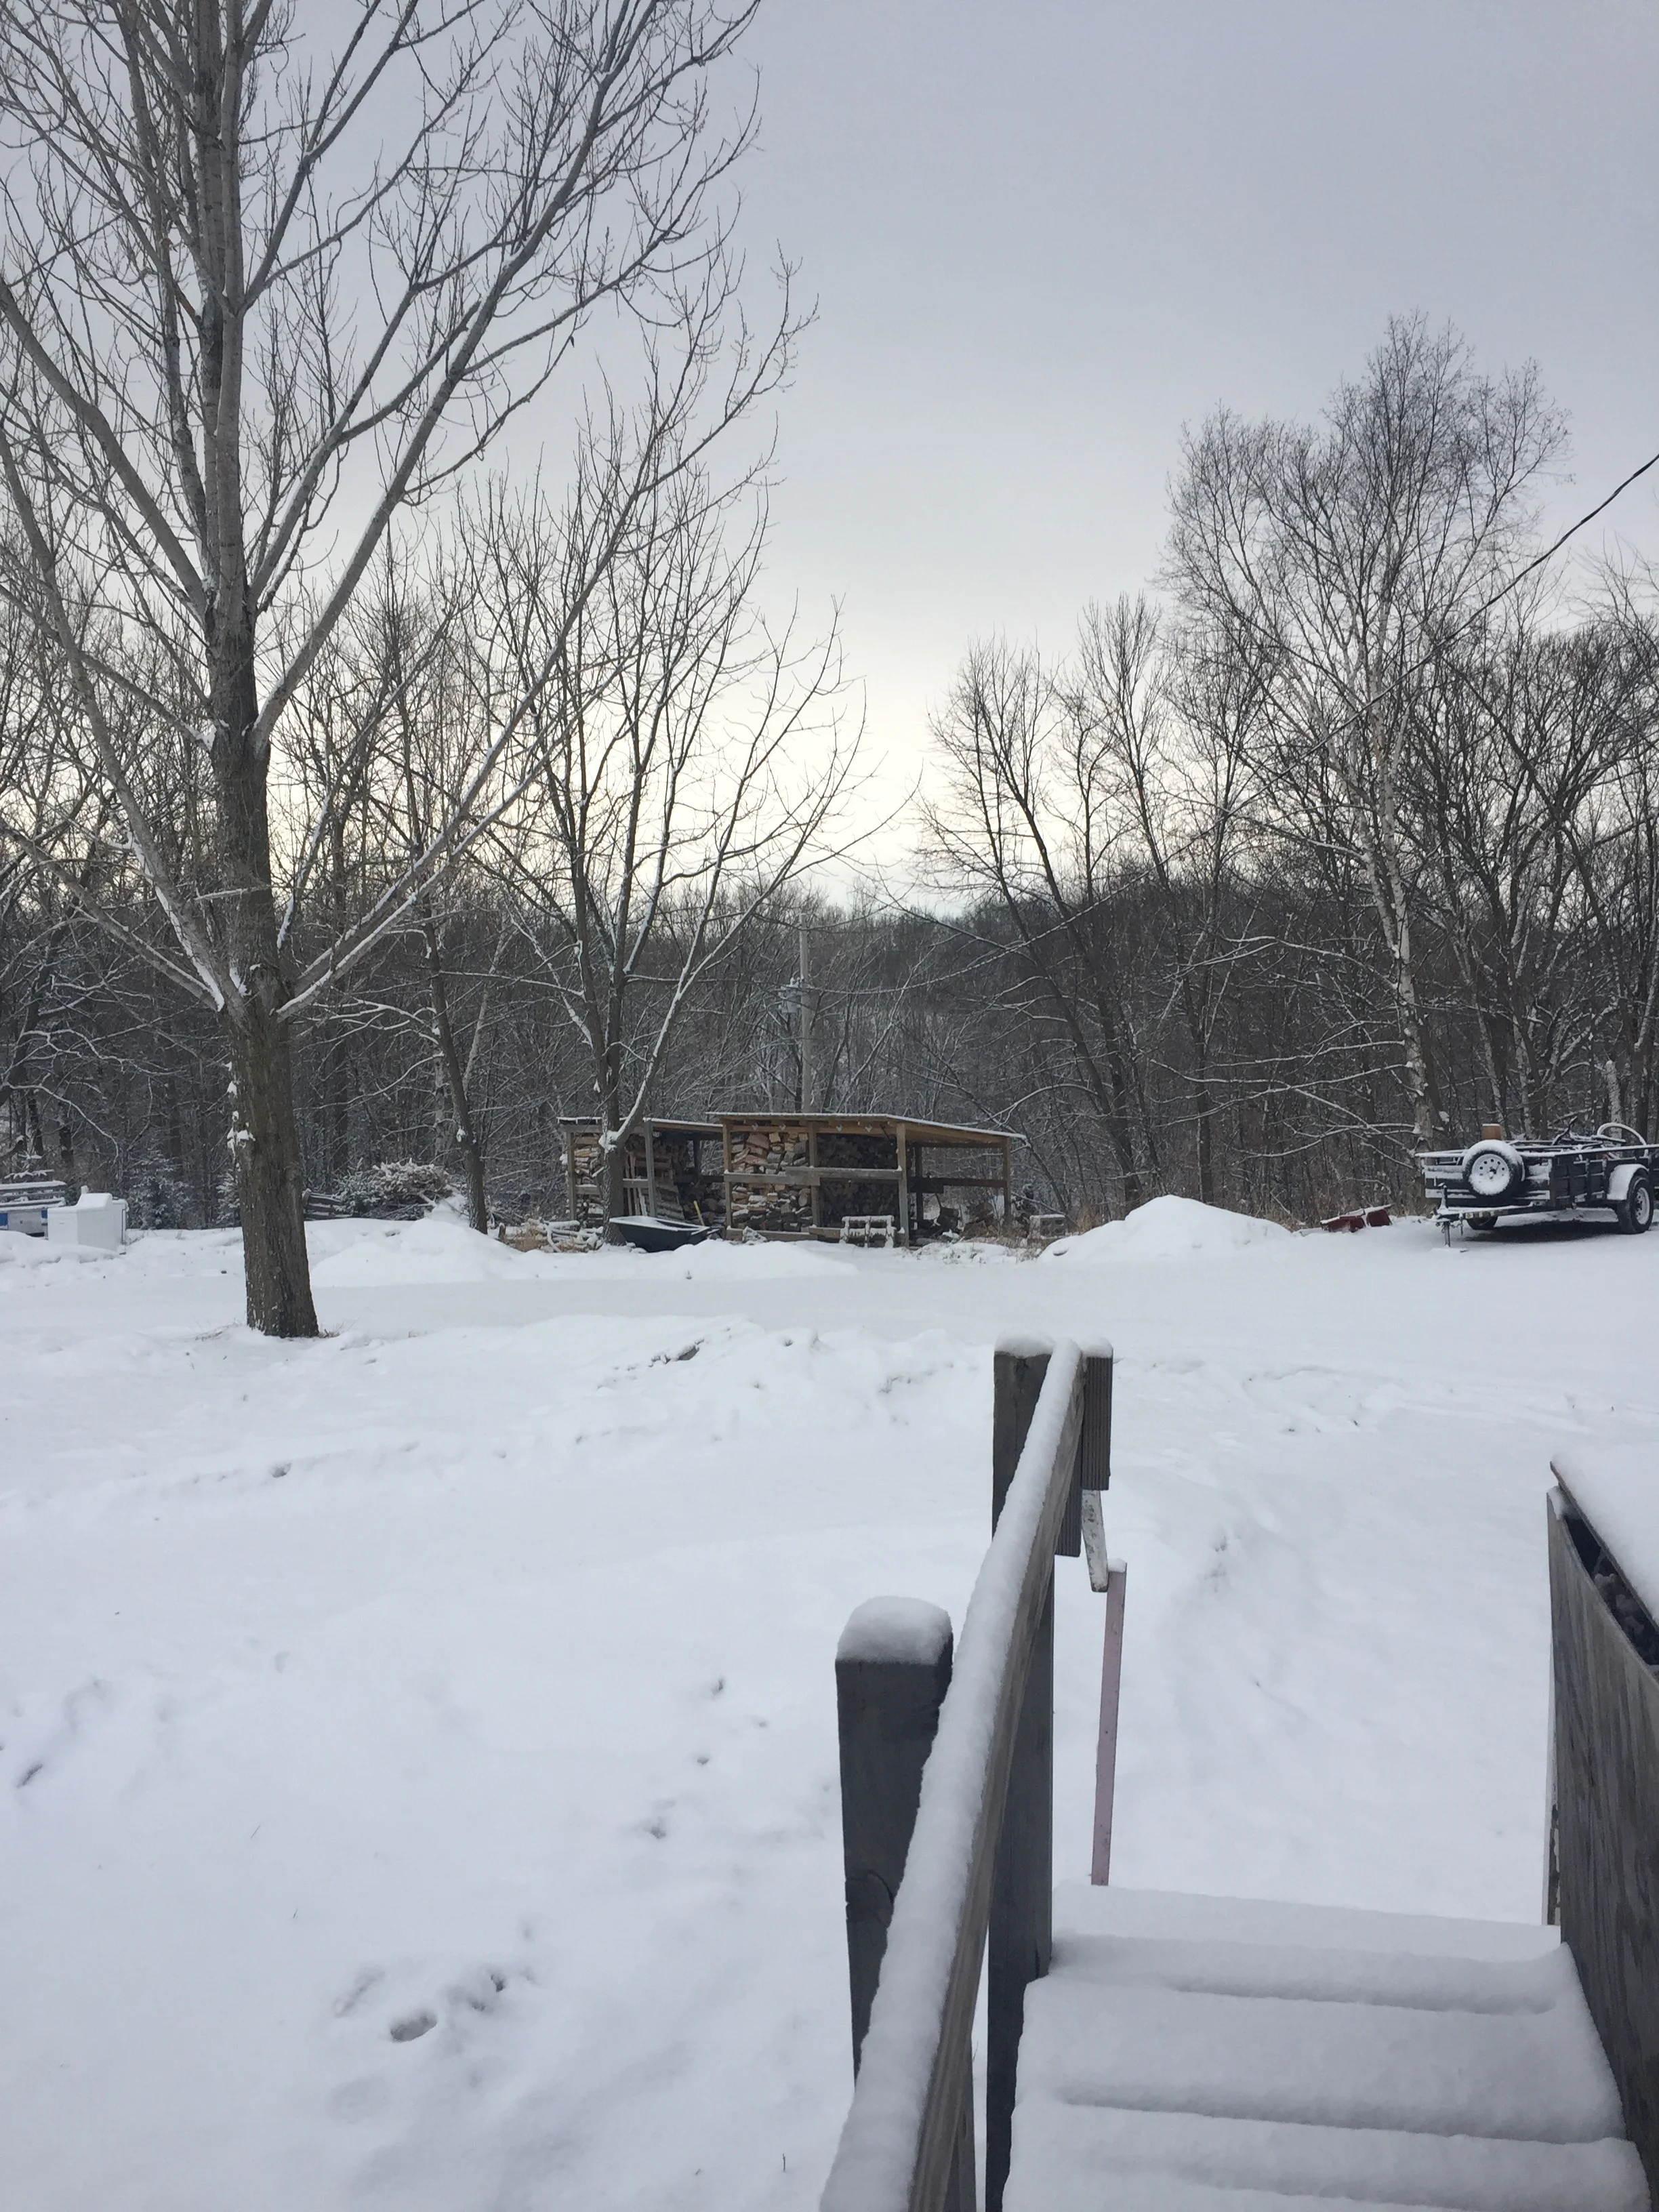
Just yesterday there was bare ground showing, with a hint of green in the grass.
By noon the snow had almost melted off the walkways. Then, at supper time, more snow!
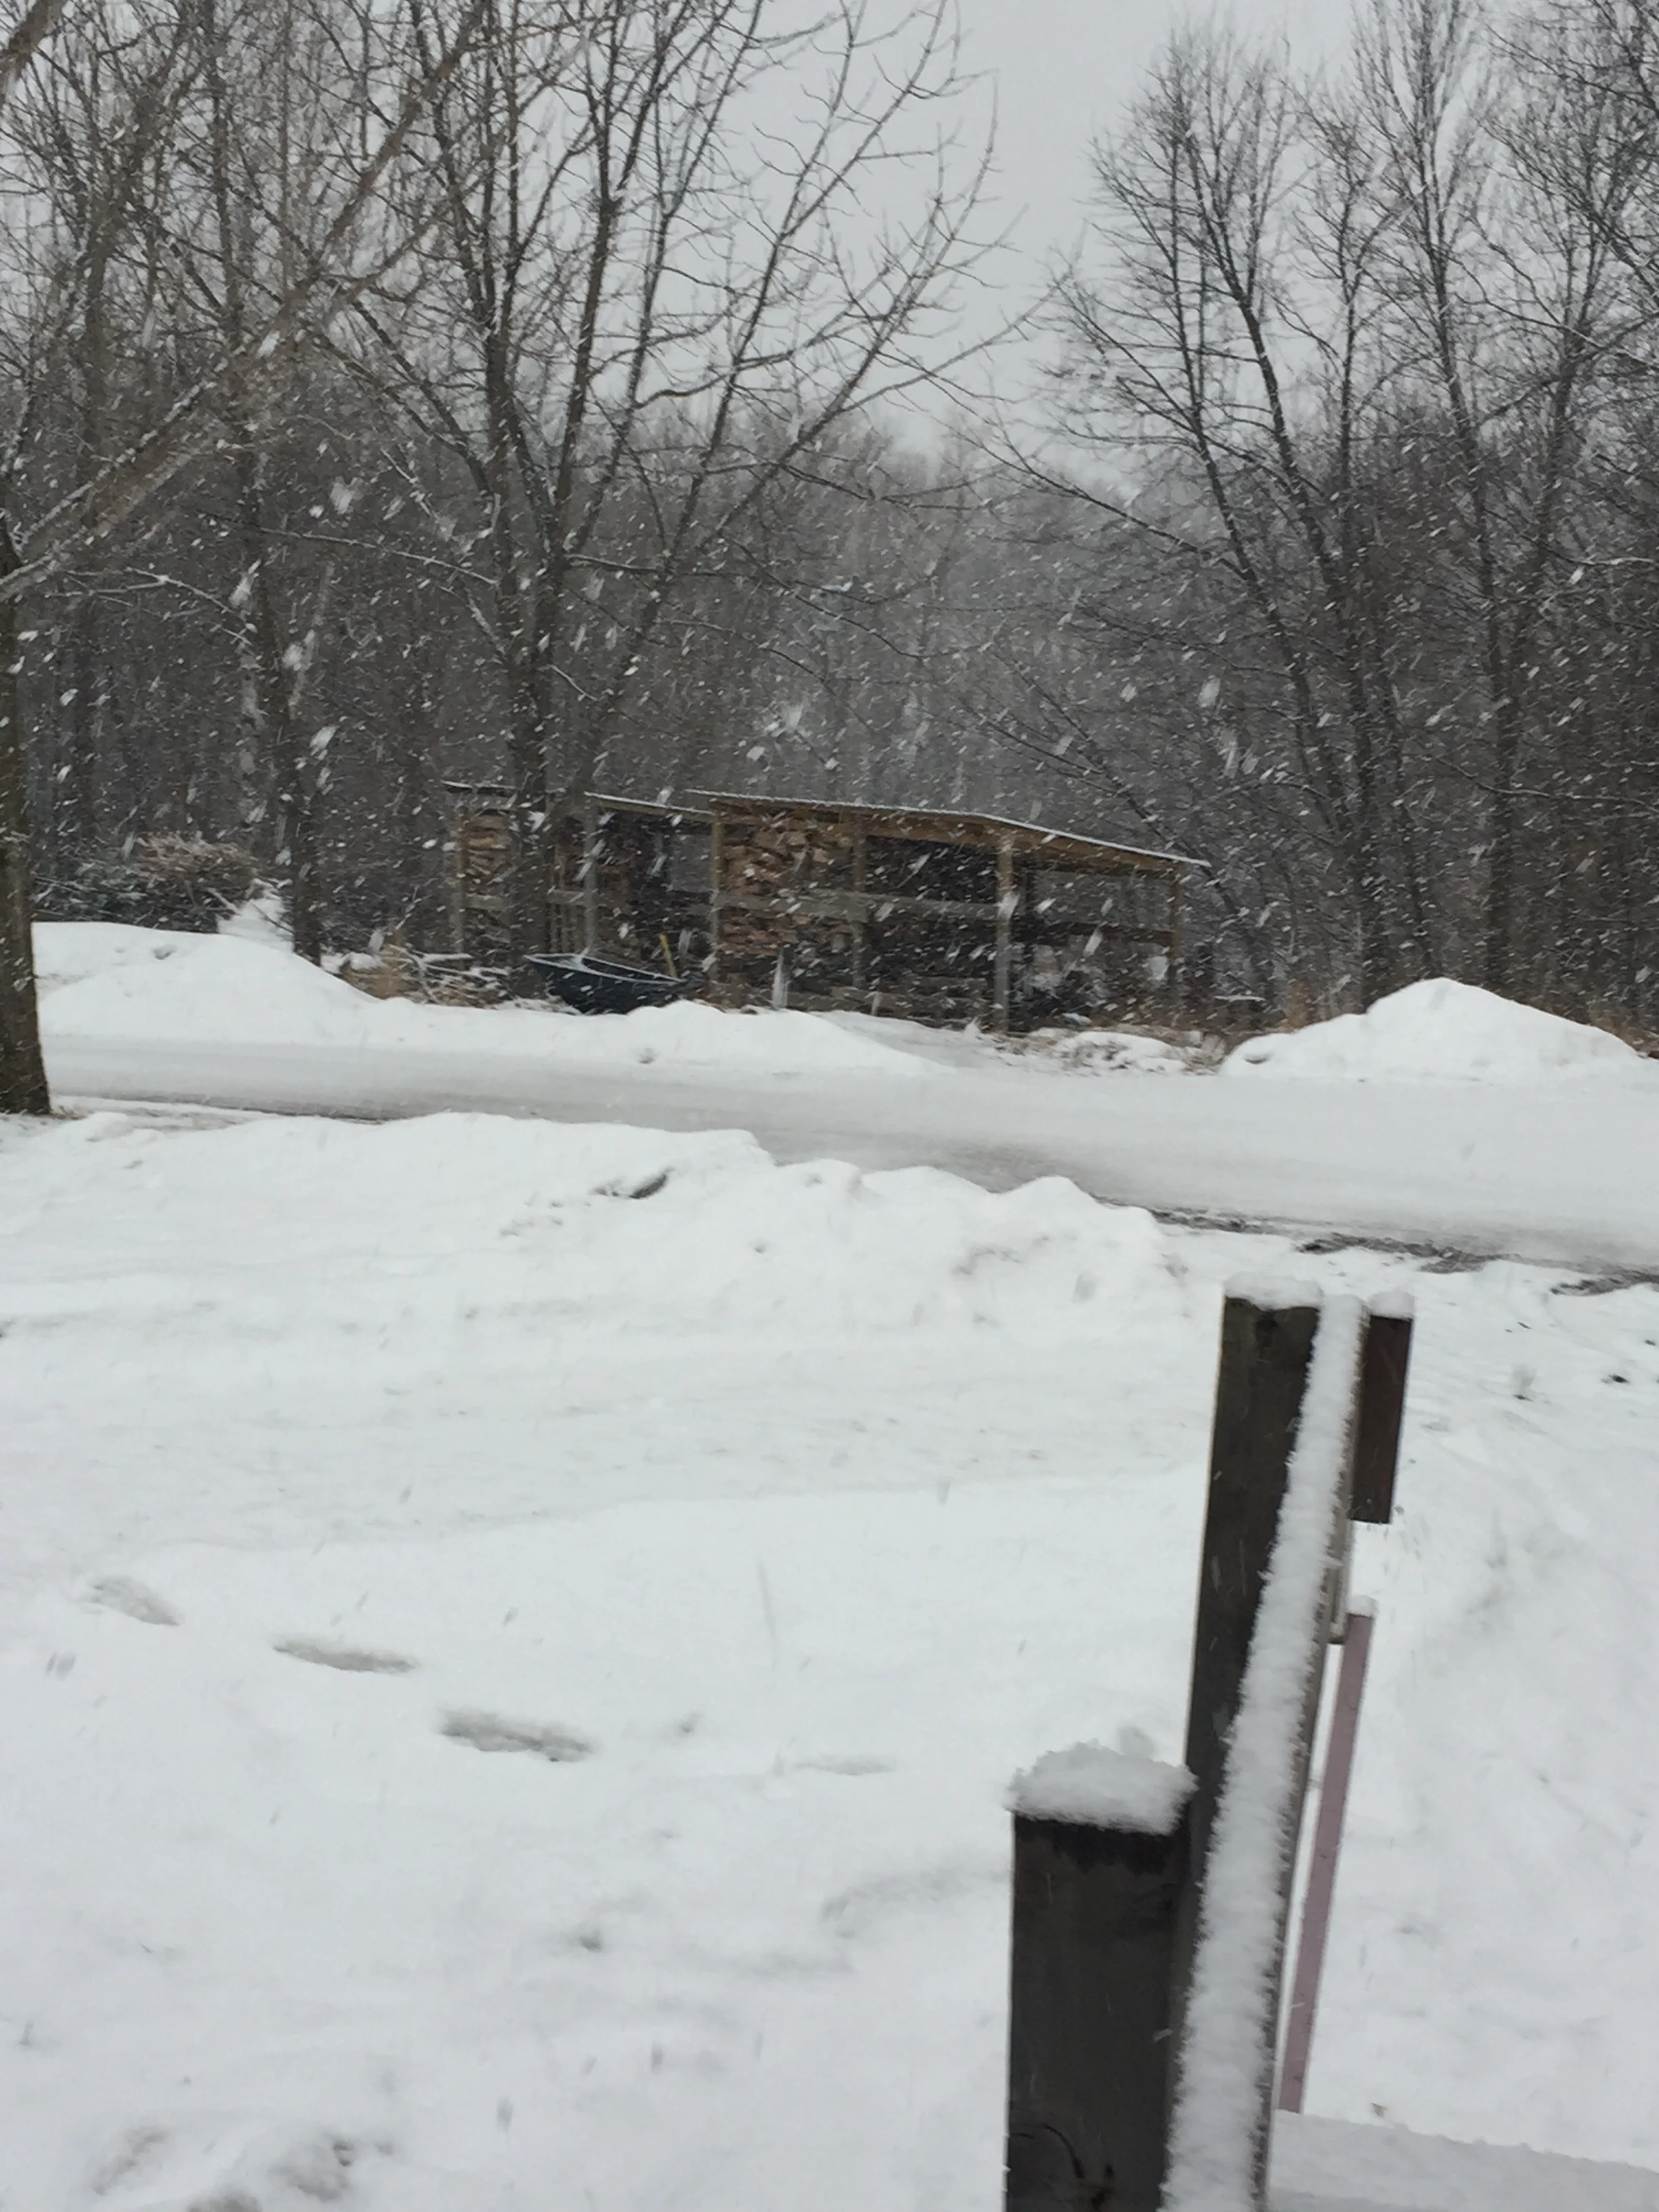
Good thing our wood supply is holding out...
All the trees want to bud out. The ducks have started laying eggs again. We will start seeds soon. We need to have the snow melt off the pastures so we can rotate the big birds into their summertime digs and have their coops to foster our baby birds. So much here depends on the weather! We could spend time fretting, but instead, we work with what we have when we have it. This past week, we had company to help us enjoy the snow.

Babysitting while momma had business in the Cities.
Lilith’s favorite outdoor activity was watching the ducks. They are a cheerful lot, even in snow and muck. Perhaps especially in muck!
Mud. Mud. More mud. Sometimes unfrozen.
Bring on the mud!
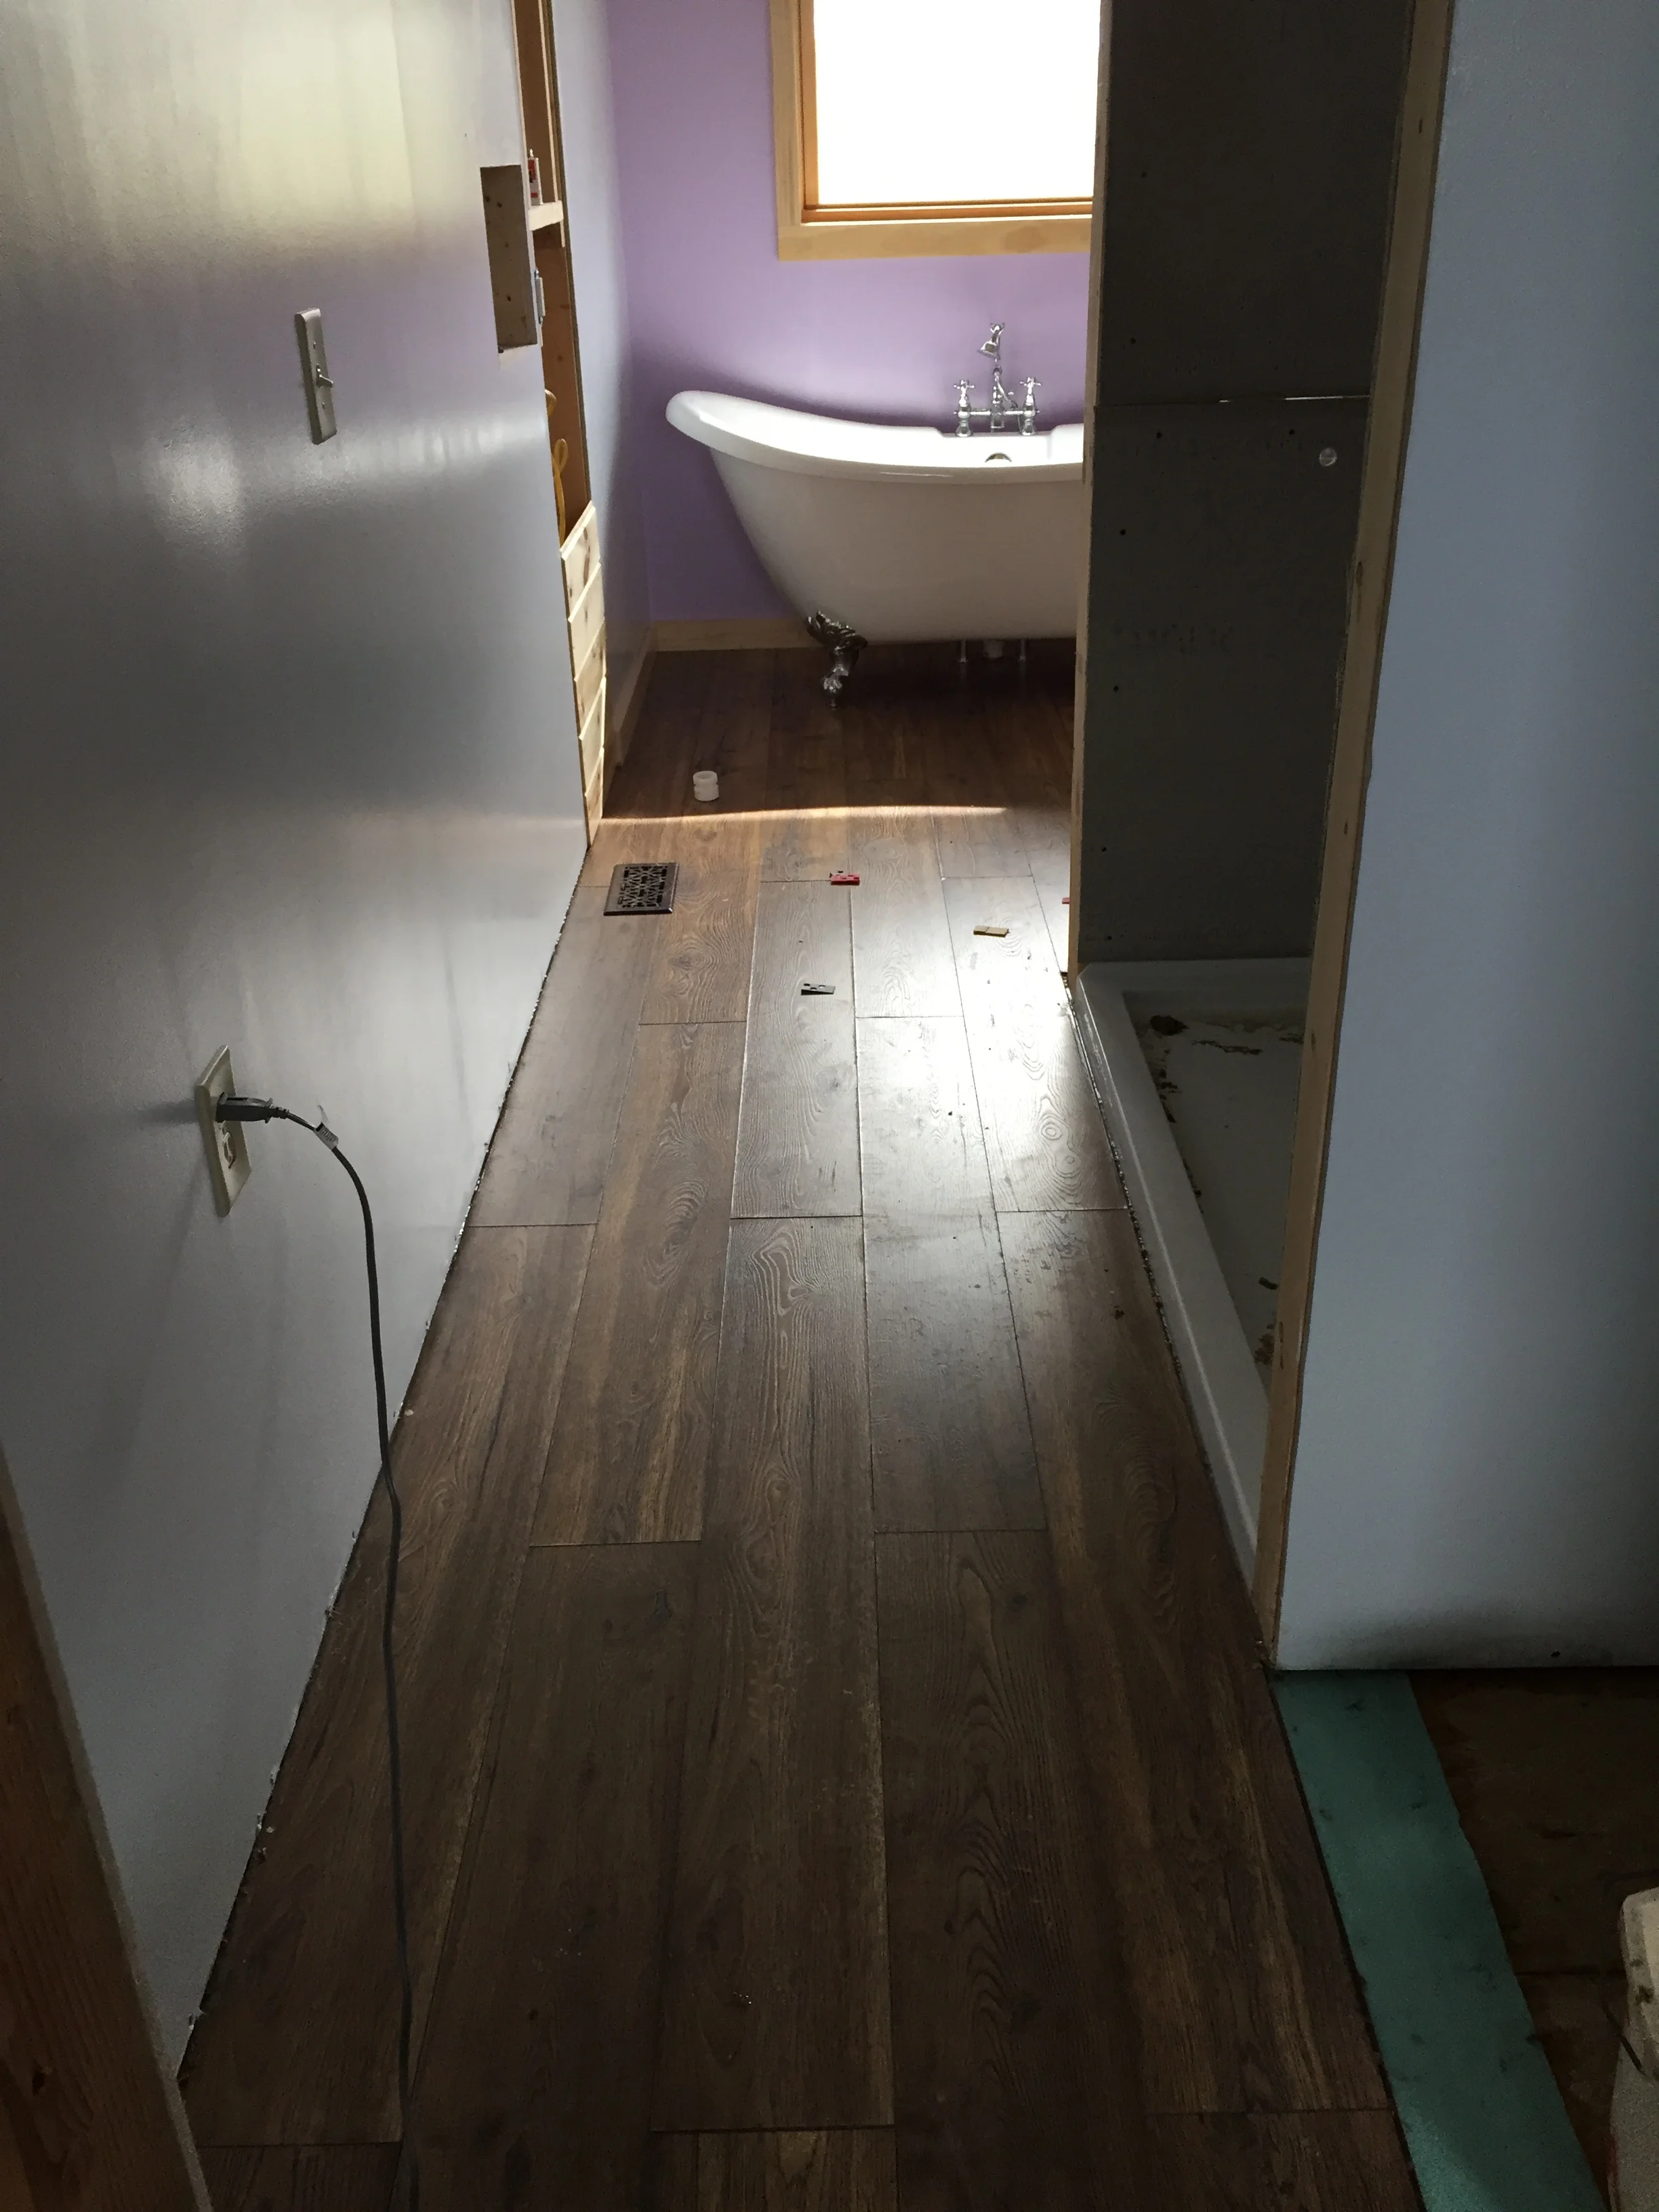
And this year, March is looking a lot like February! Despite having more snow than usual, we plow on with the bathroom project:
Still can’t take a hot bath...until we get the hot water heater hooked up!!
Michael gets the credit for plumbing the tub. Getting those fittings tight (and leak proof) takes more muscle (and bigger hands) than I have.
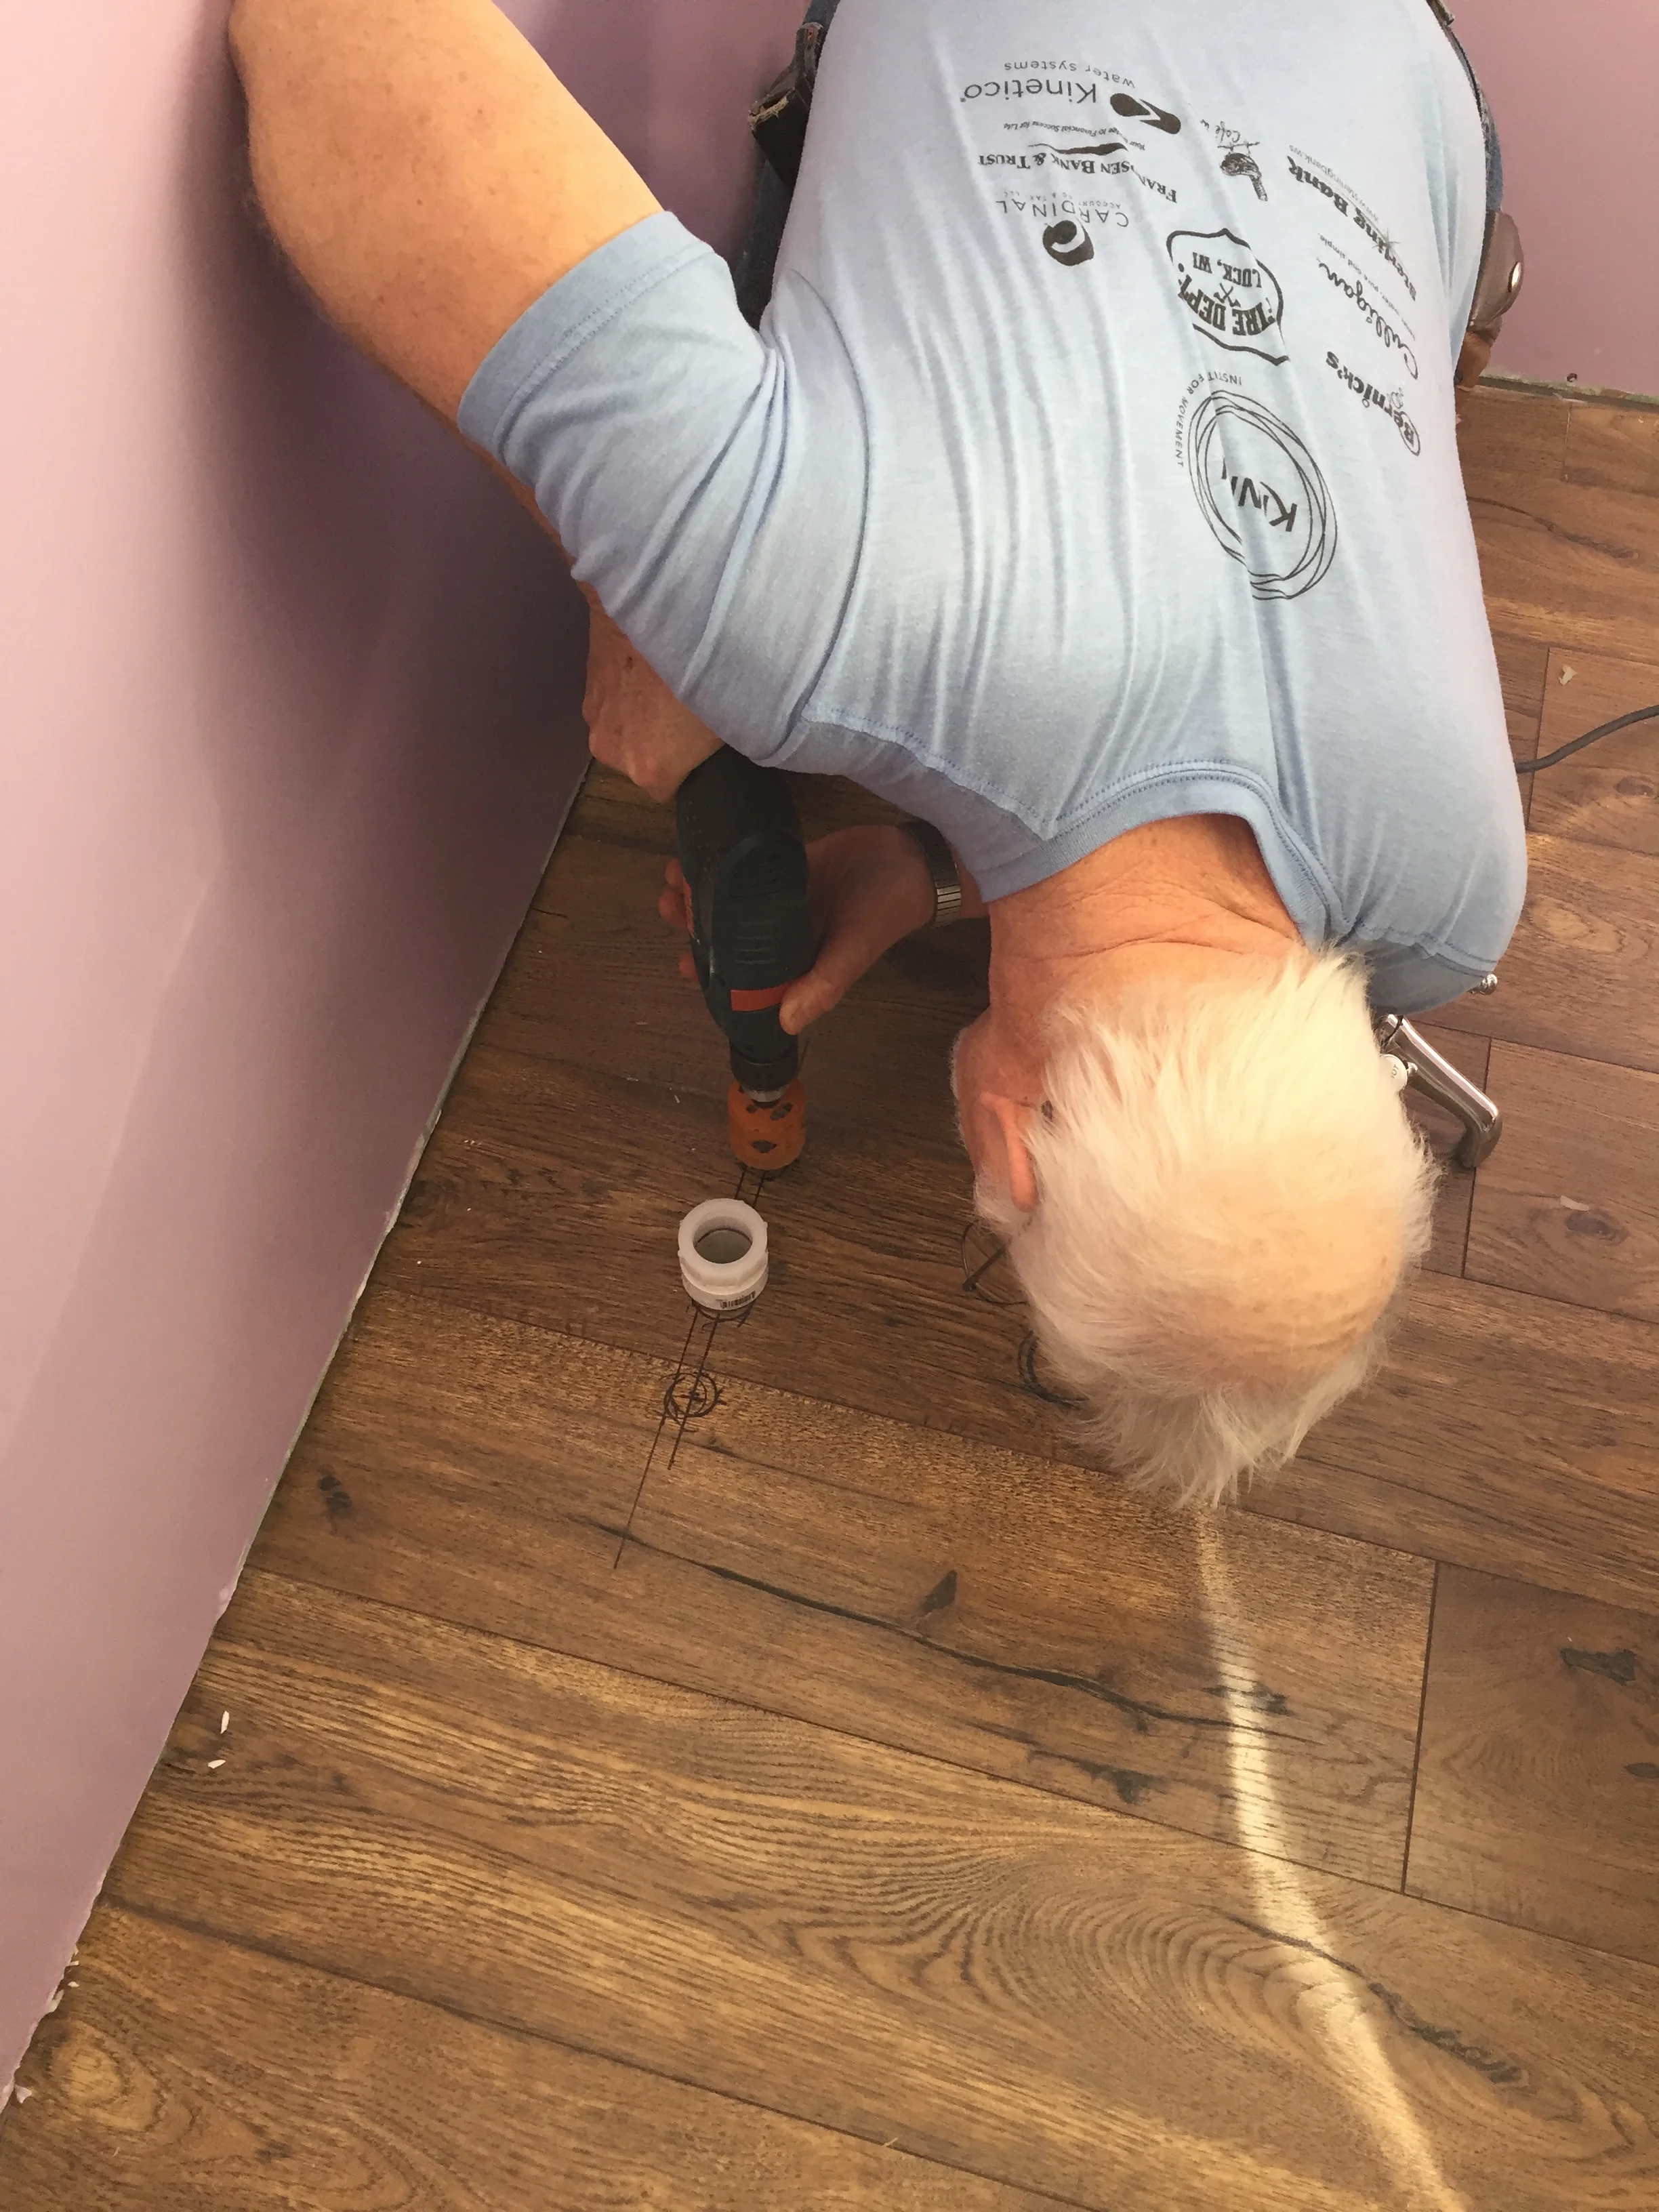
Cutting holes in the floor takes good measurements and a bit of faith.
Putting it all together took a lot of head scratching and a whole day.
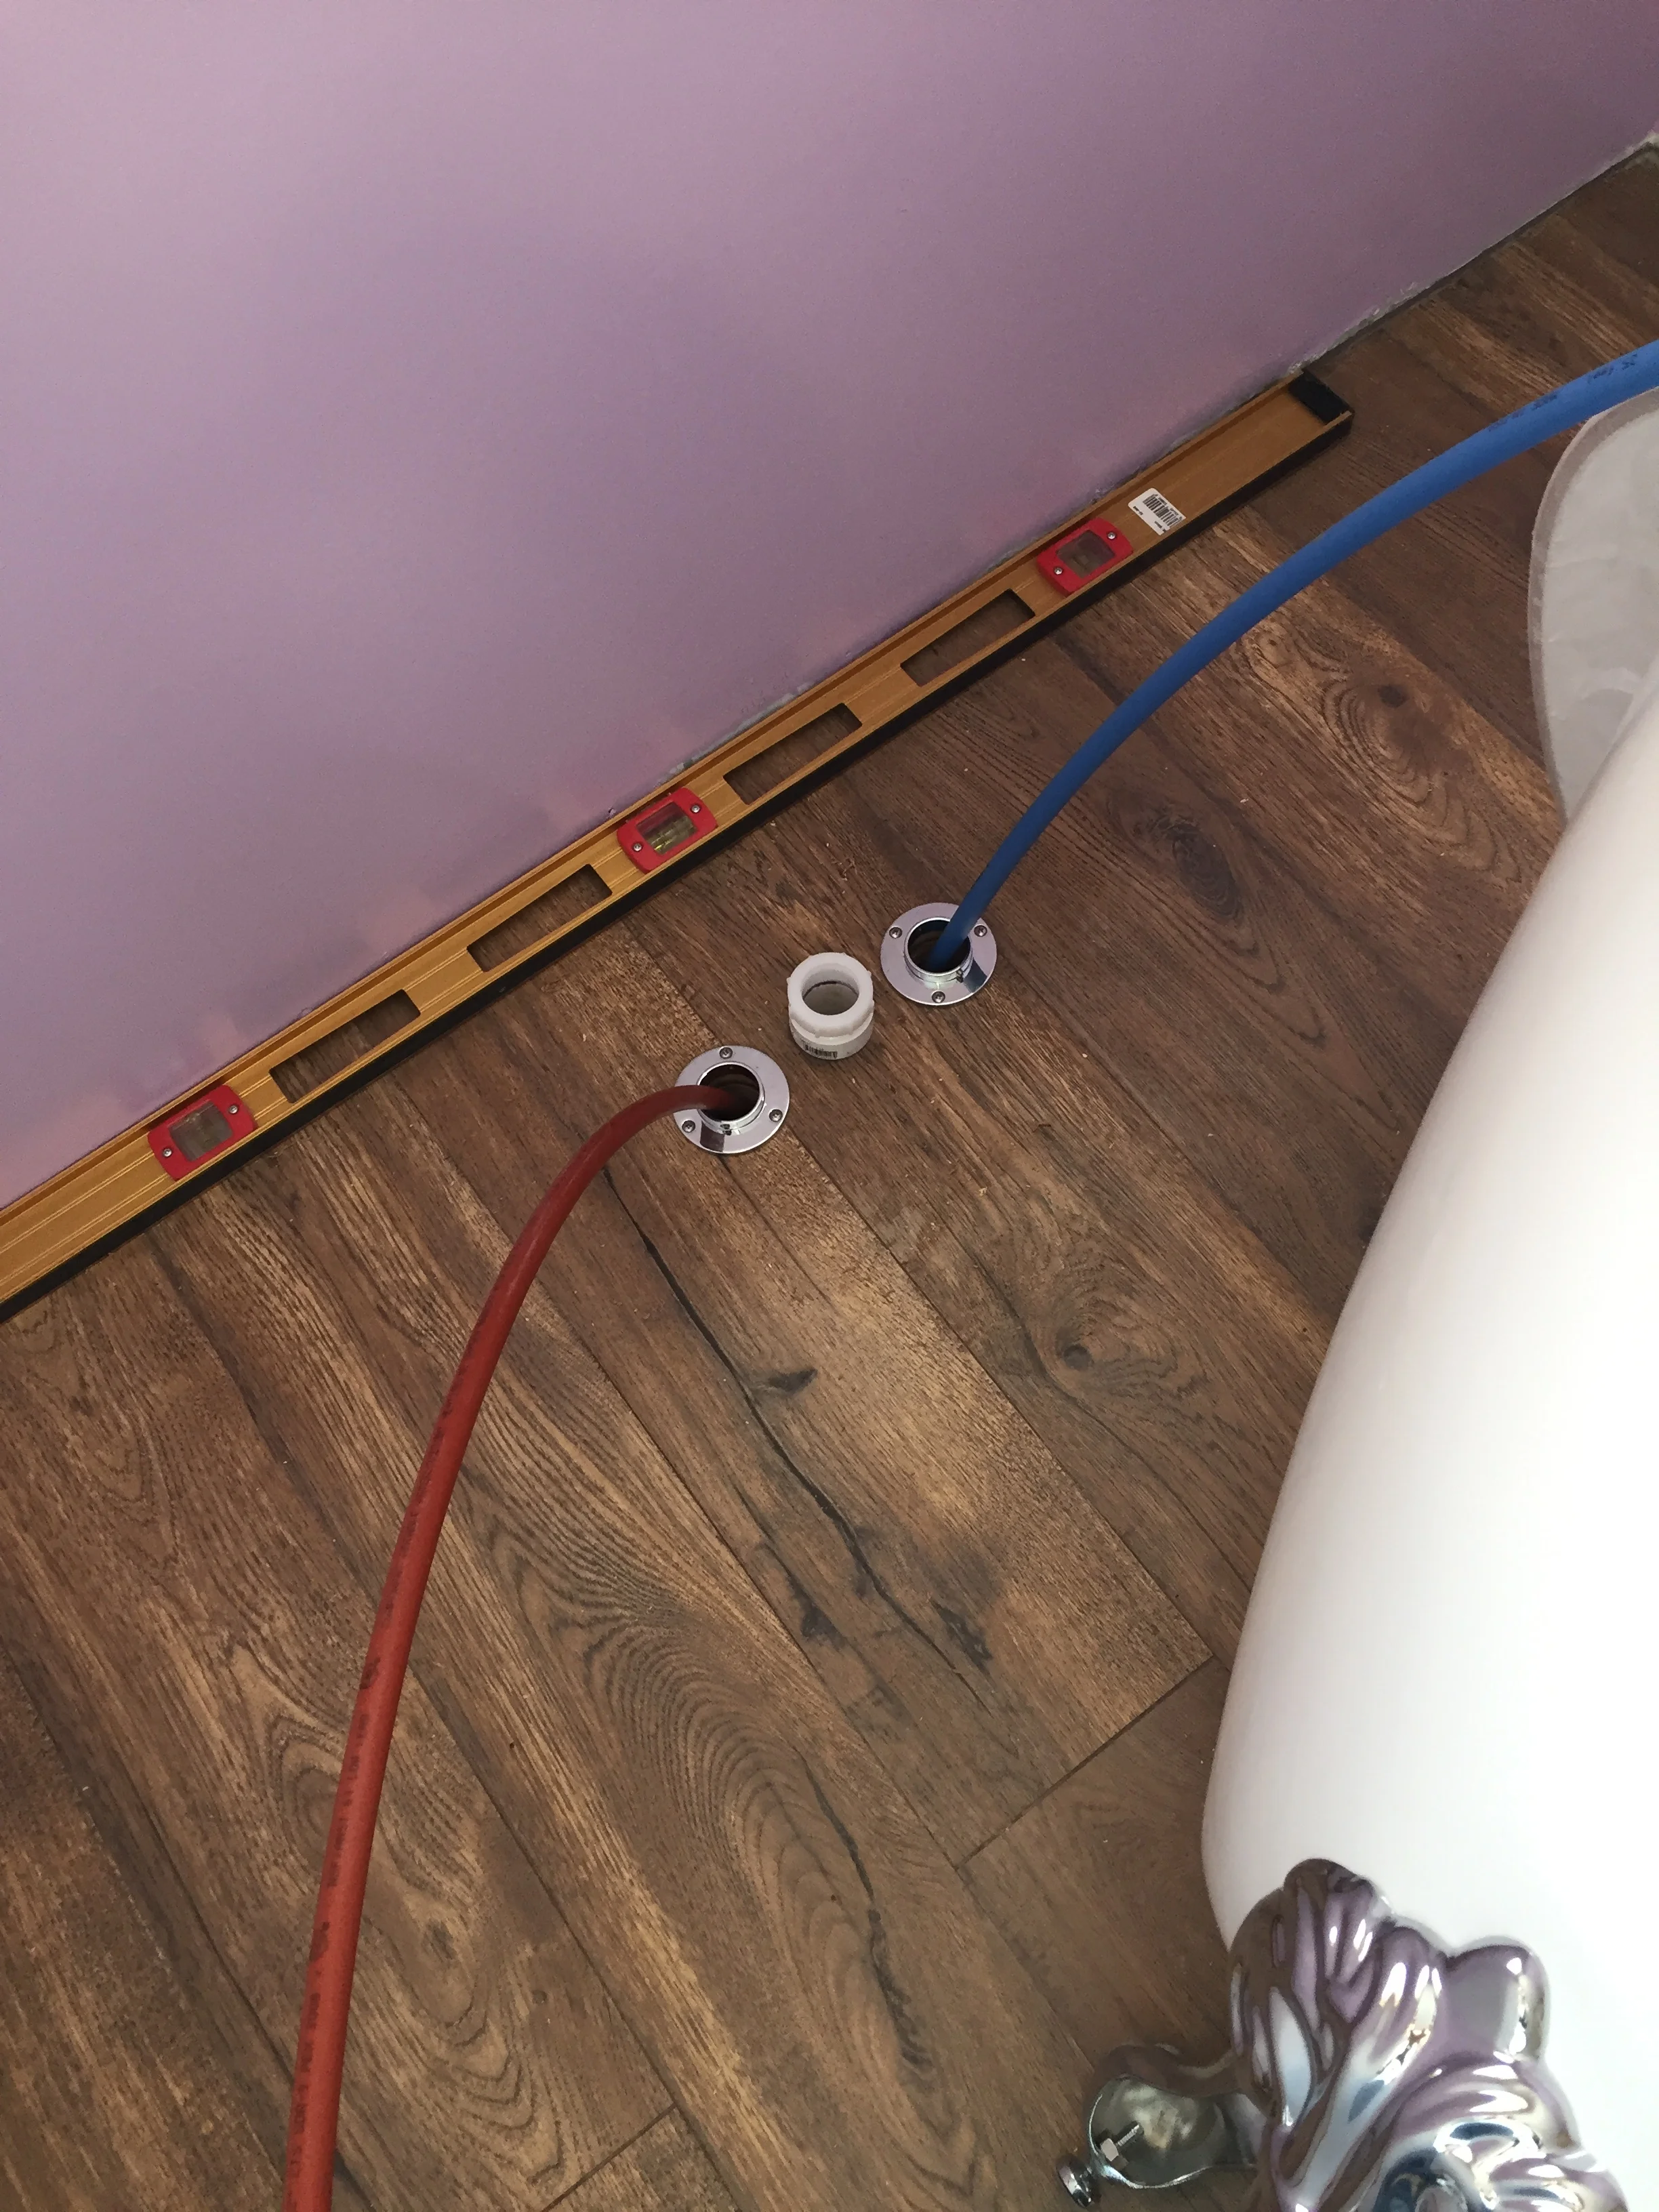
PEX. We love PEX.
I painted while Michael shoveled.
And took care of the livestock.
Not that we spend all our time building and digging out from under the weather.

Found our snow shoes and chased deer through our woods.
A mean eastern wind drove snow under the flashing and made drifts in the coop.

The grand girl will be shovel ready any day now.
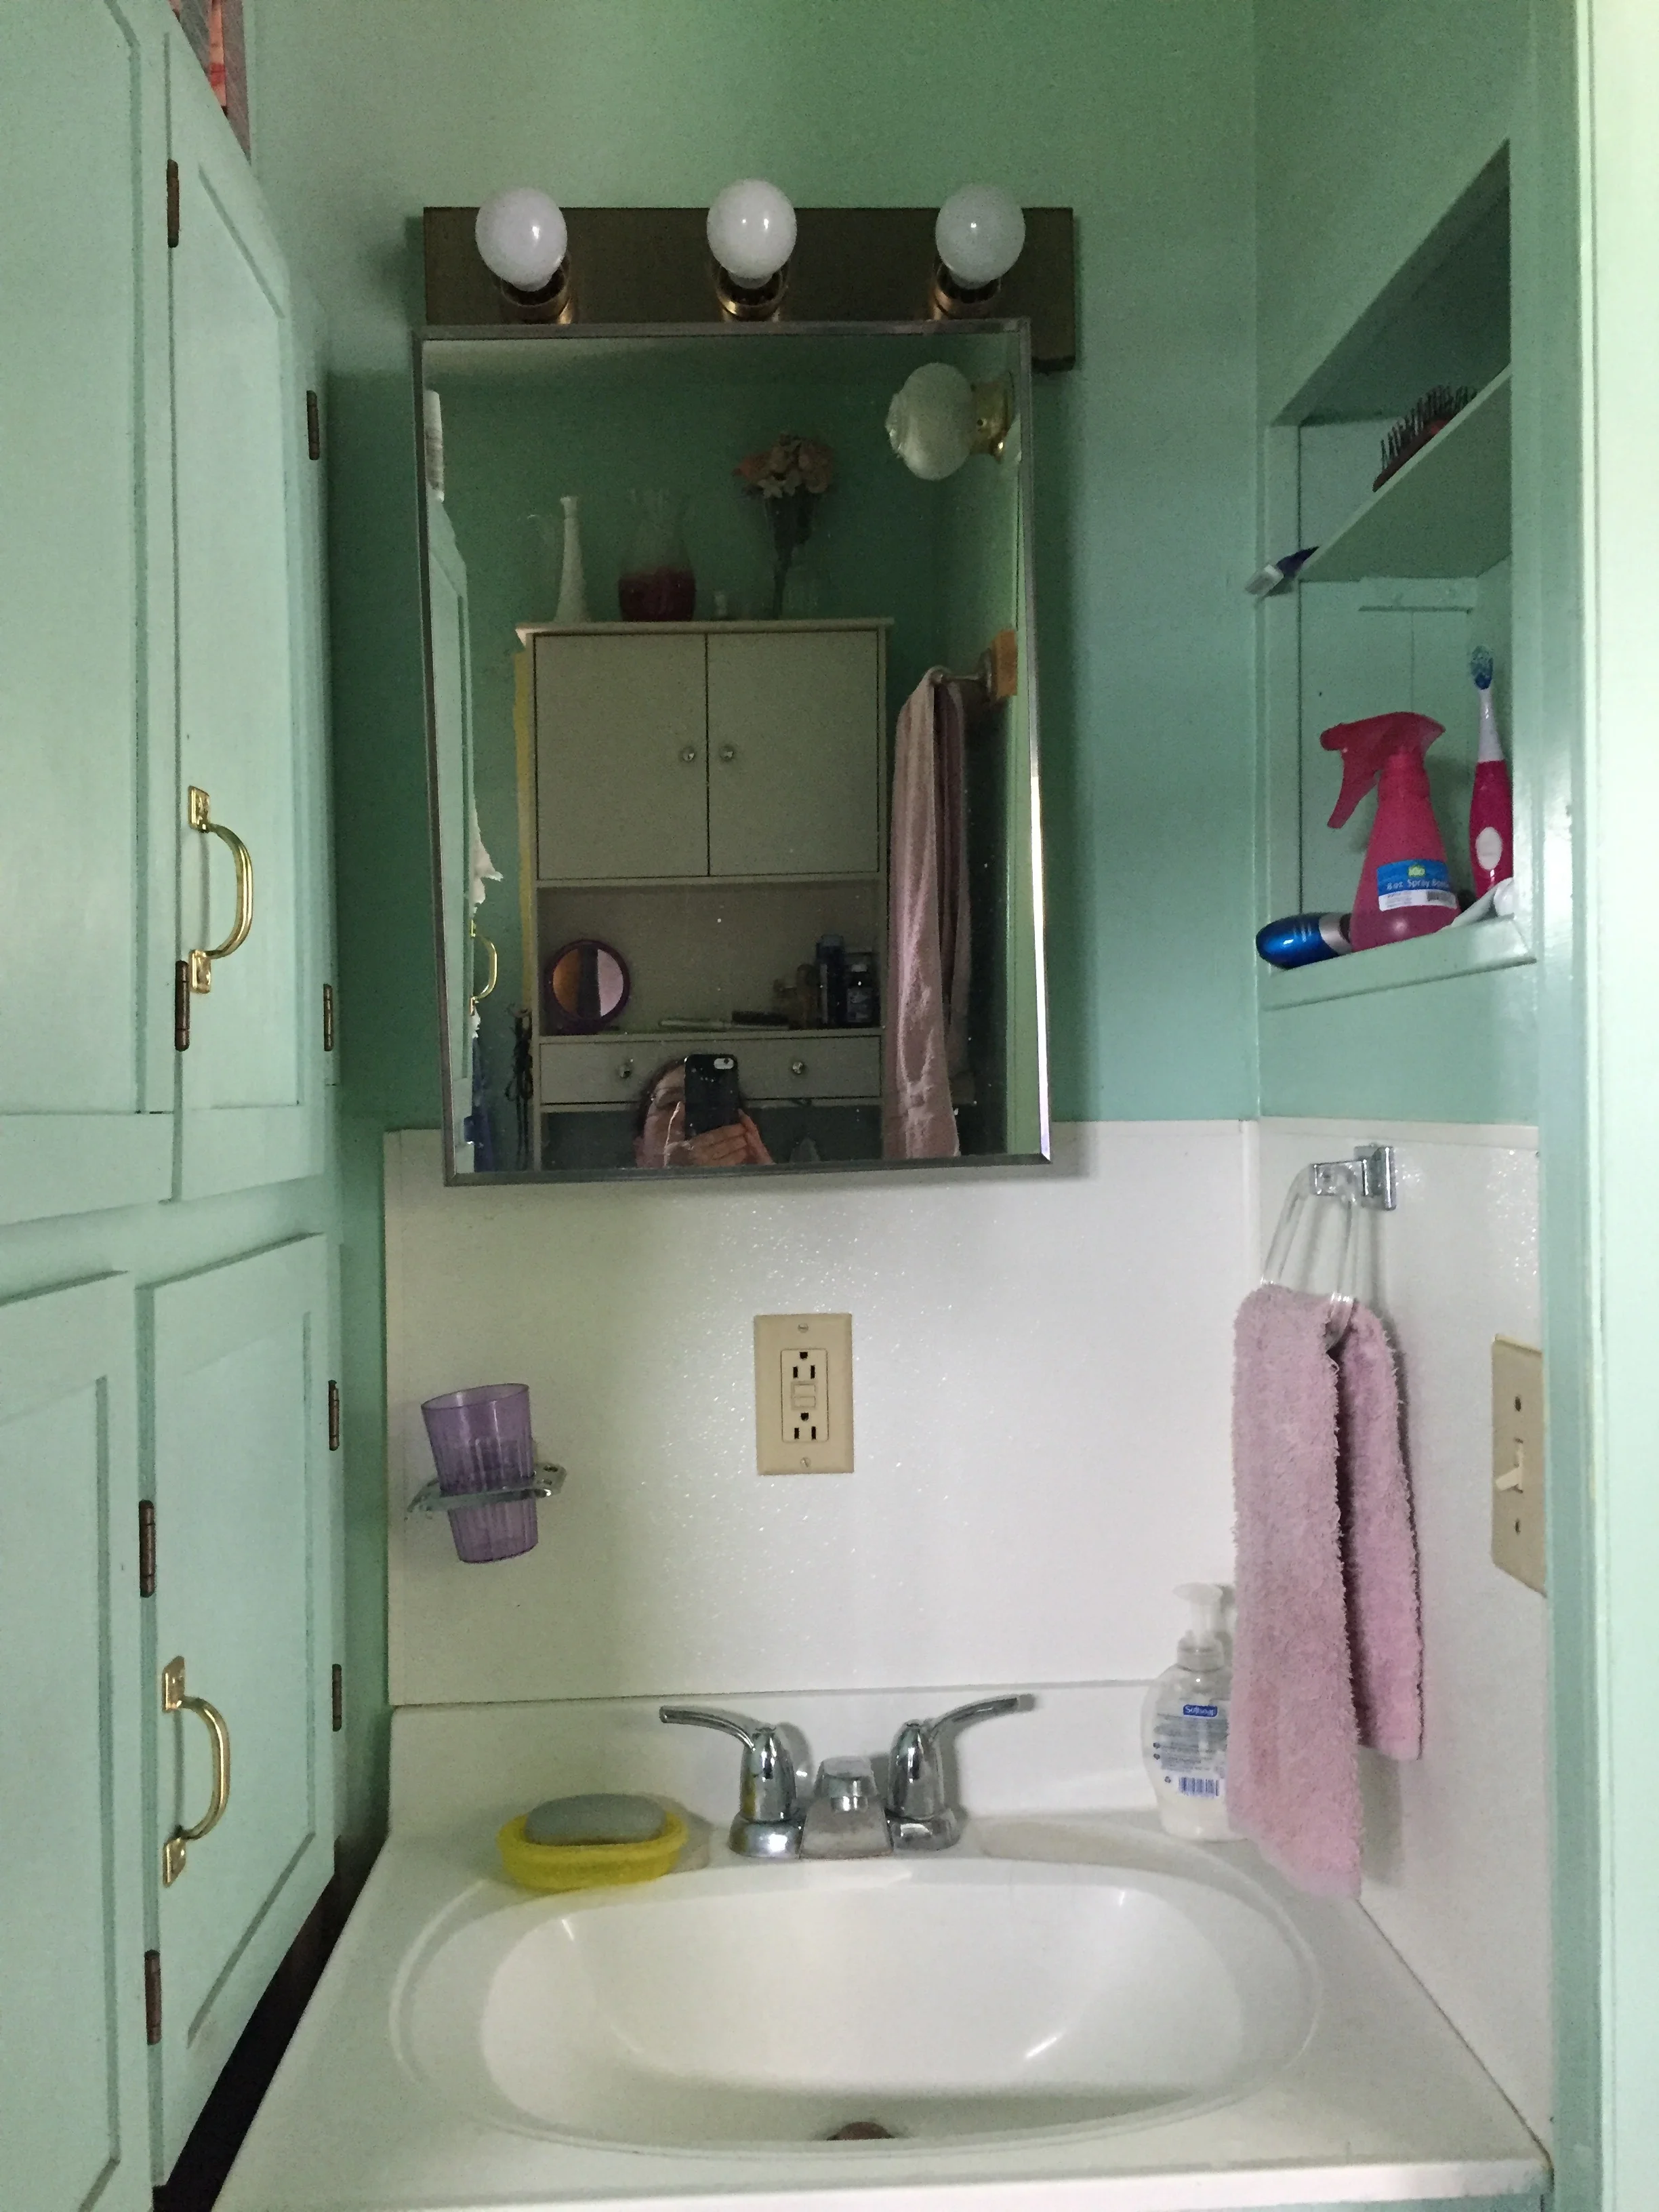
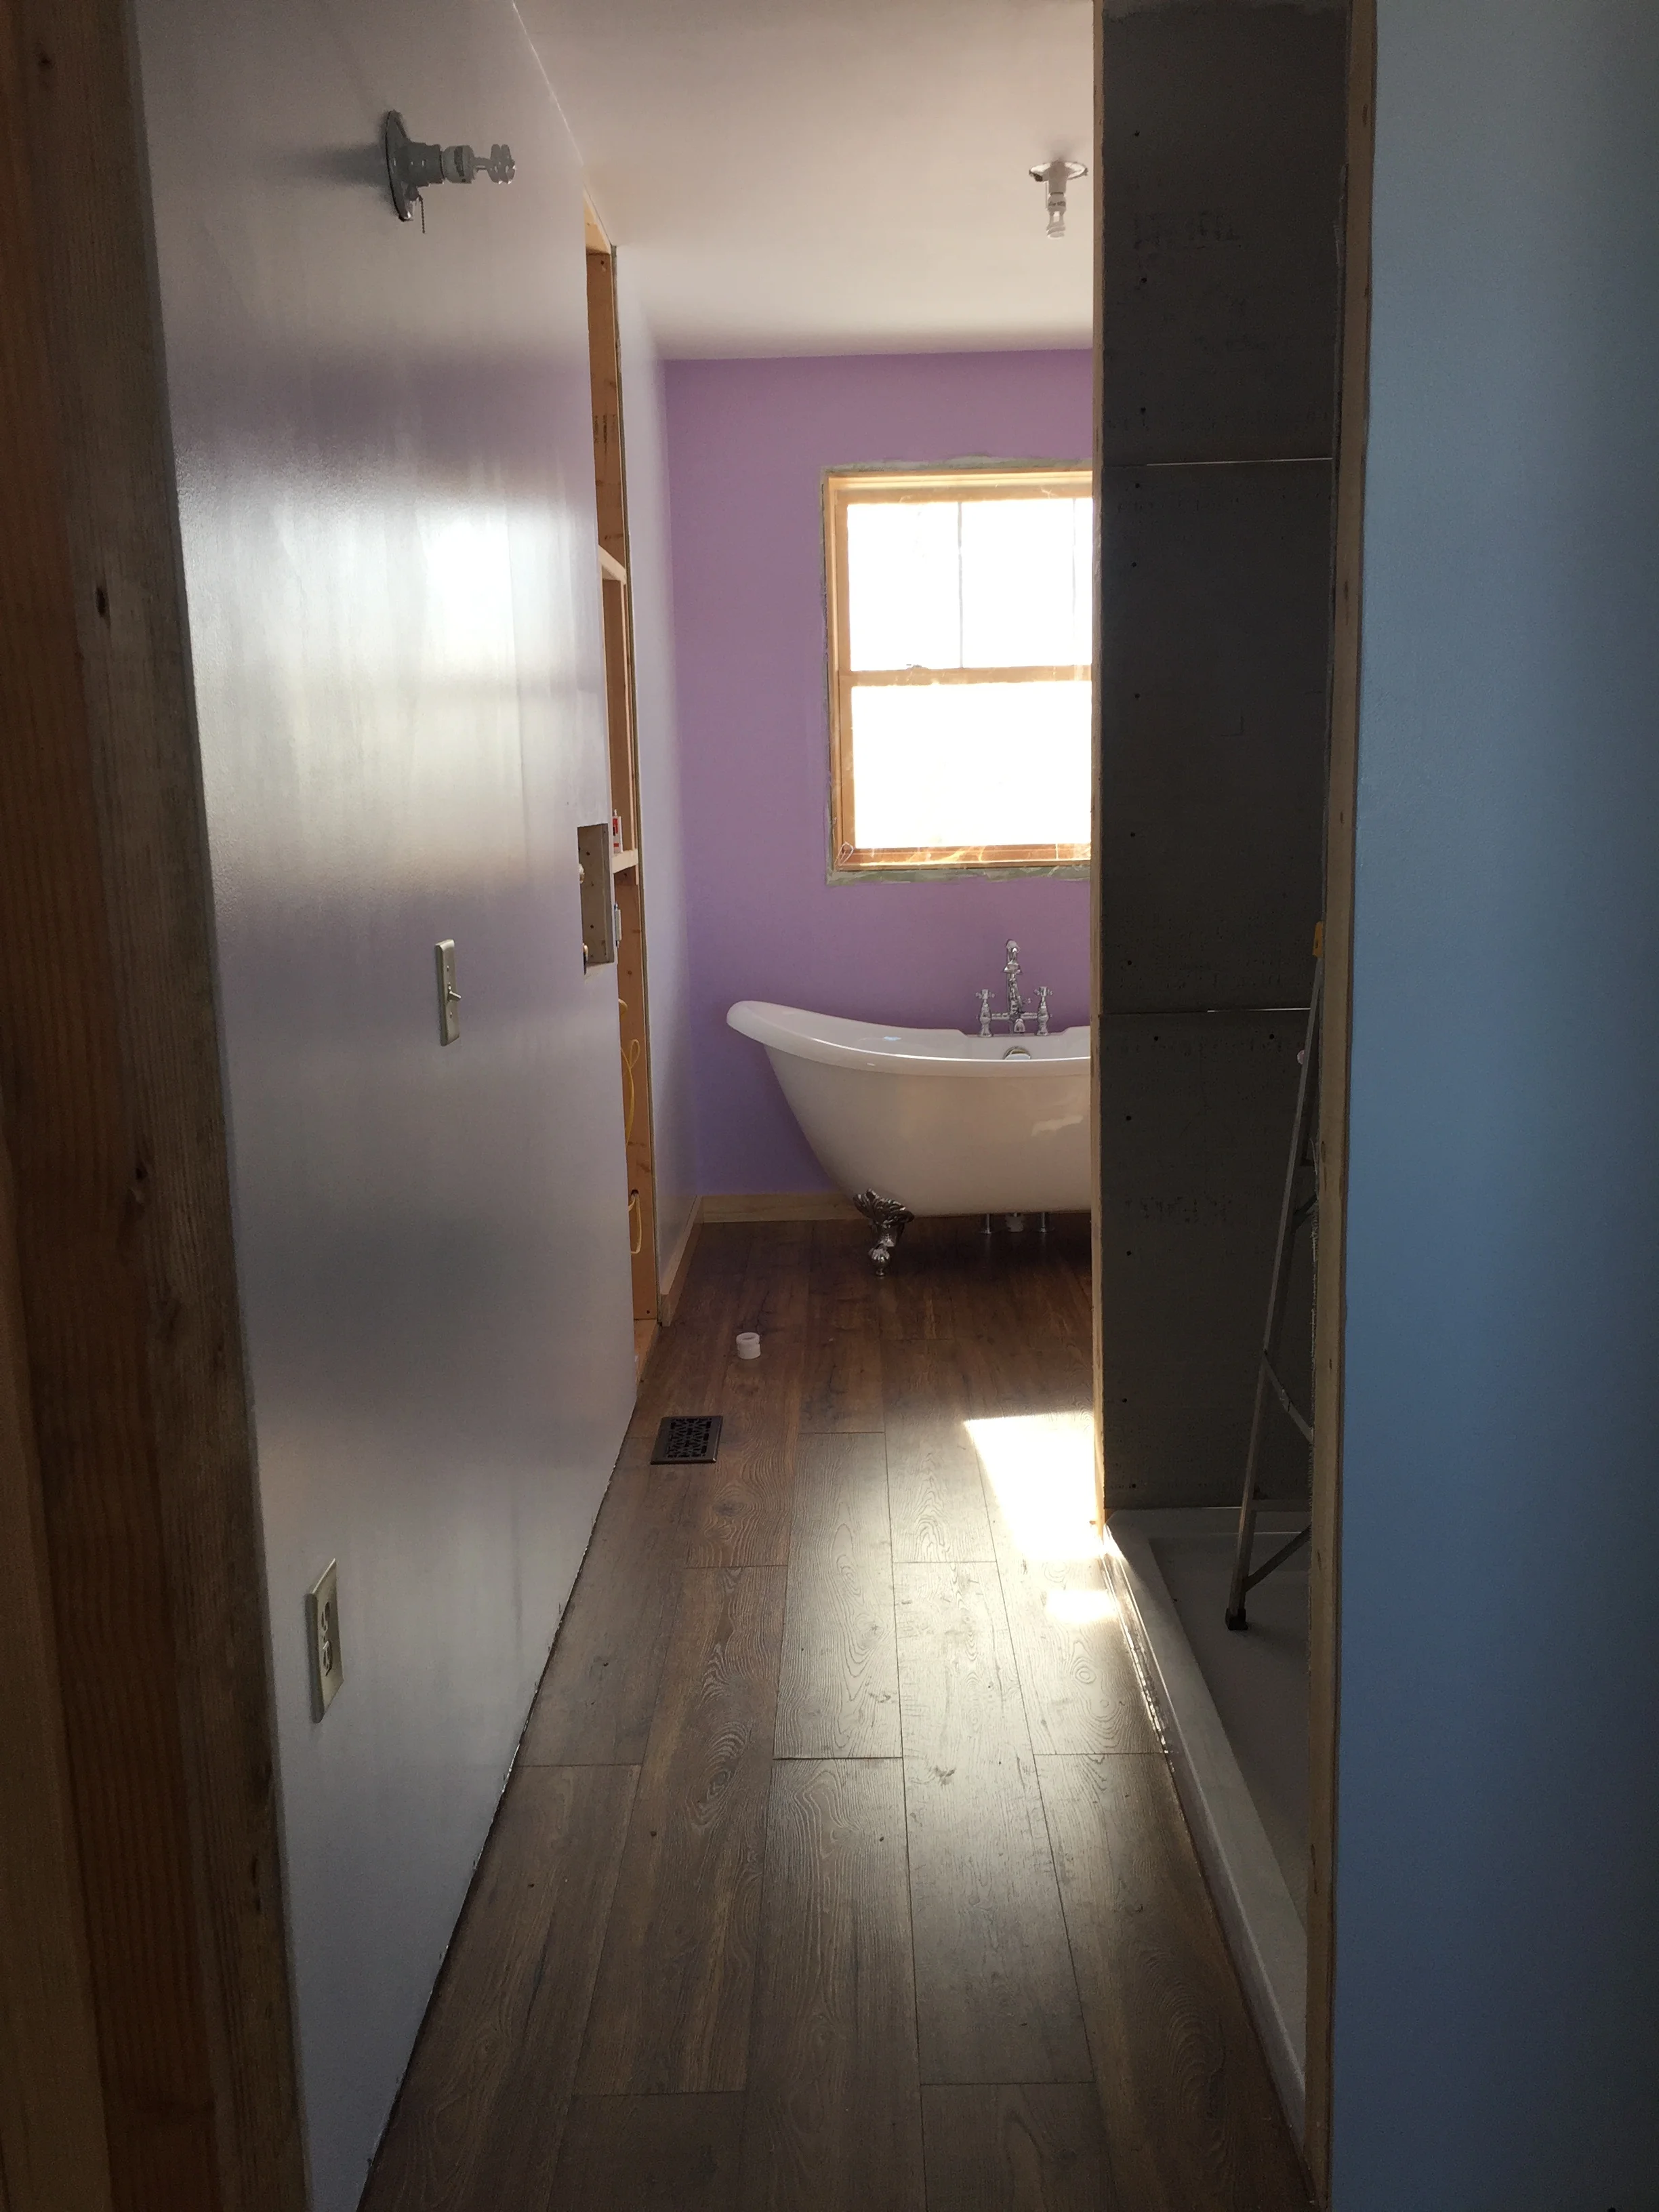
For the past four years, this has been my refrain as my aging muscles adjust to being used in new and necessary ways. The cabin had space for a very small shower and not much else, so I had to go on journeys and hope that the hotel had a bath. Soon, I will be able to draw a tub whenever I want!!
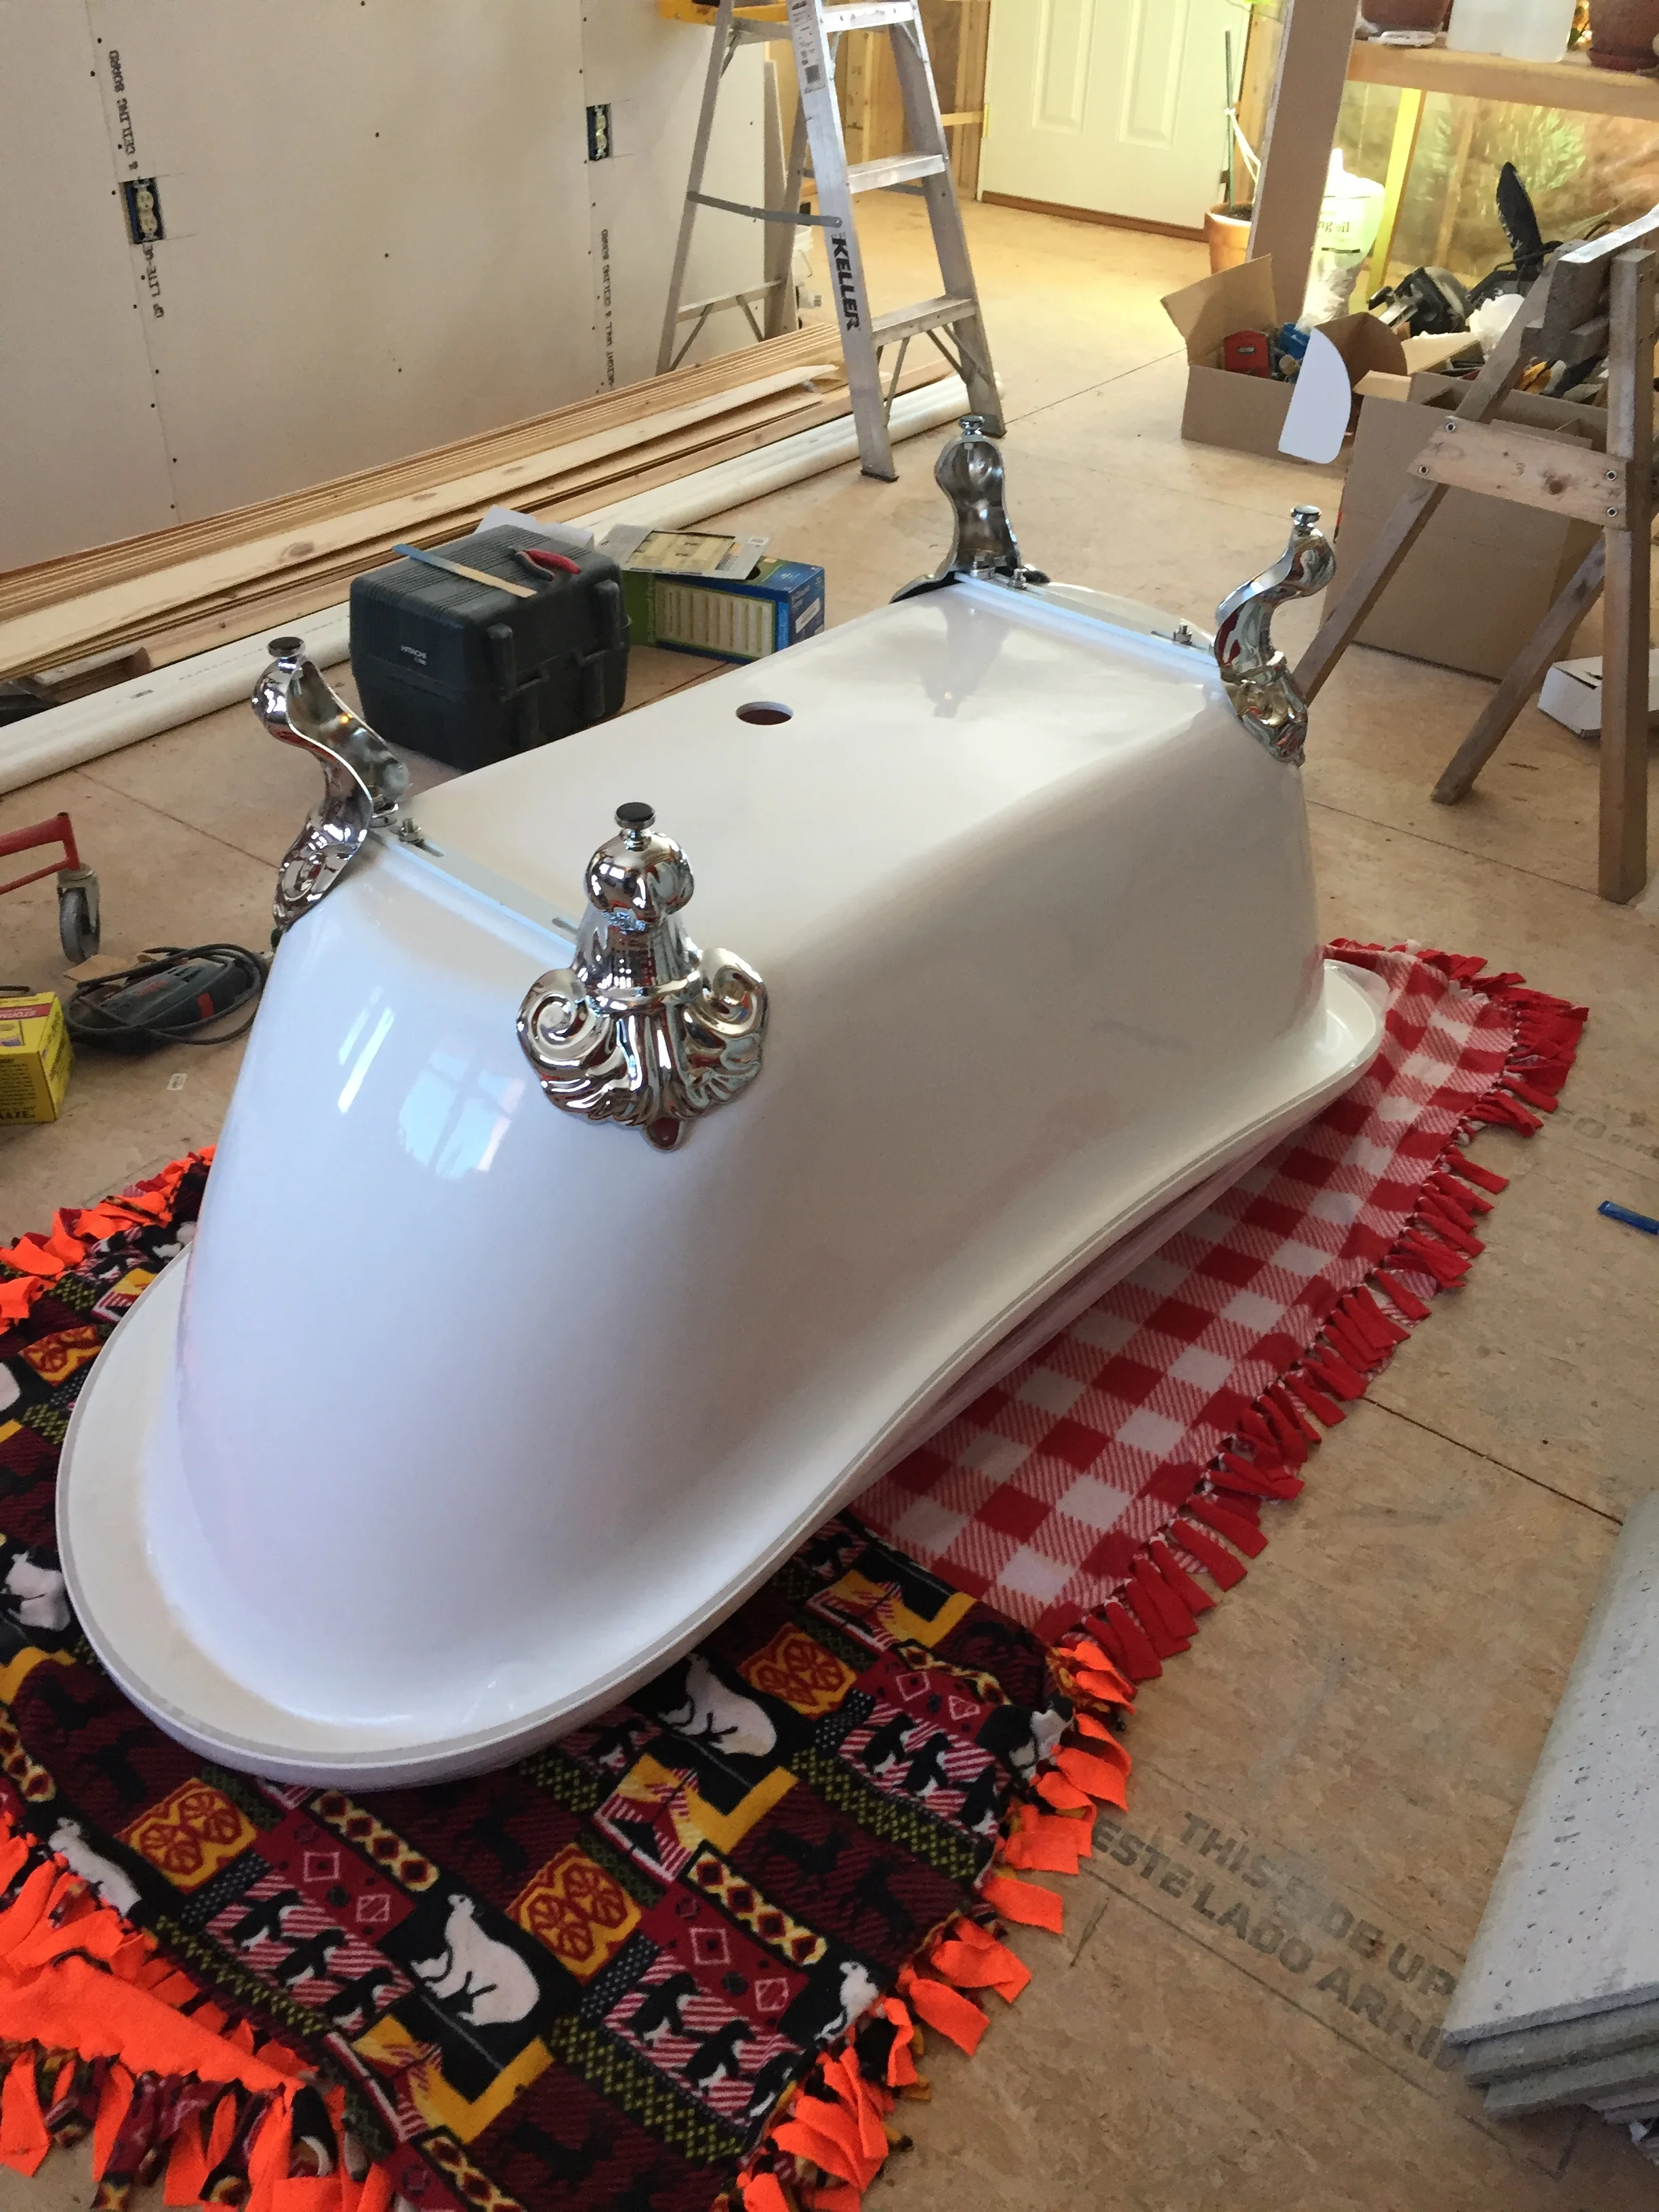
Michael put the feet on the tub we bought last summer. Yes, we were overly optimistic on timing.
The tub will go under the window. The sink in front of the area that has no wallboard on the wall. The toilet faces the window and will be backed by the far side of the shower wall.
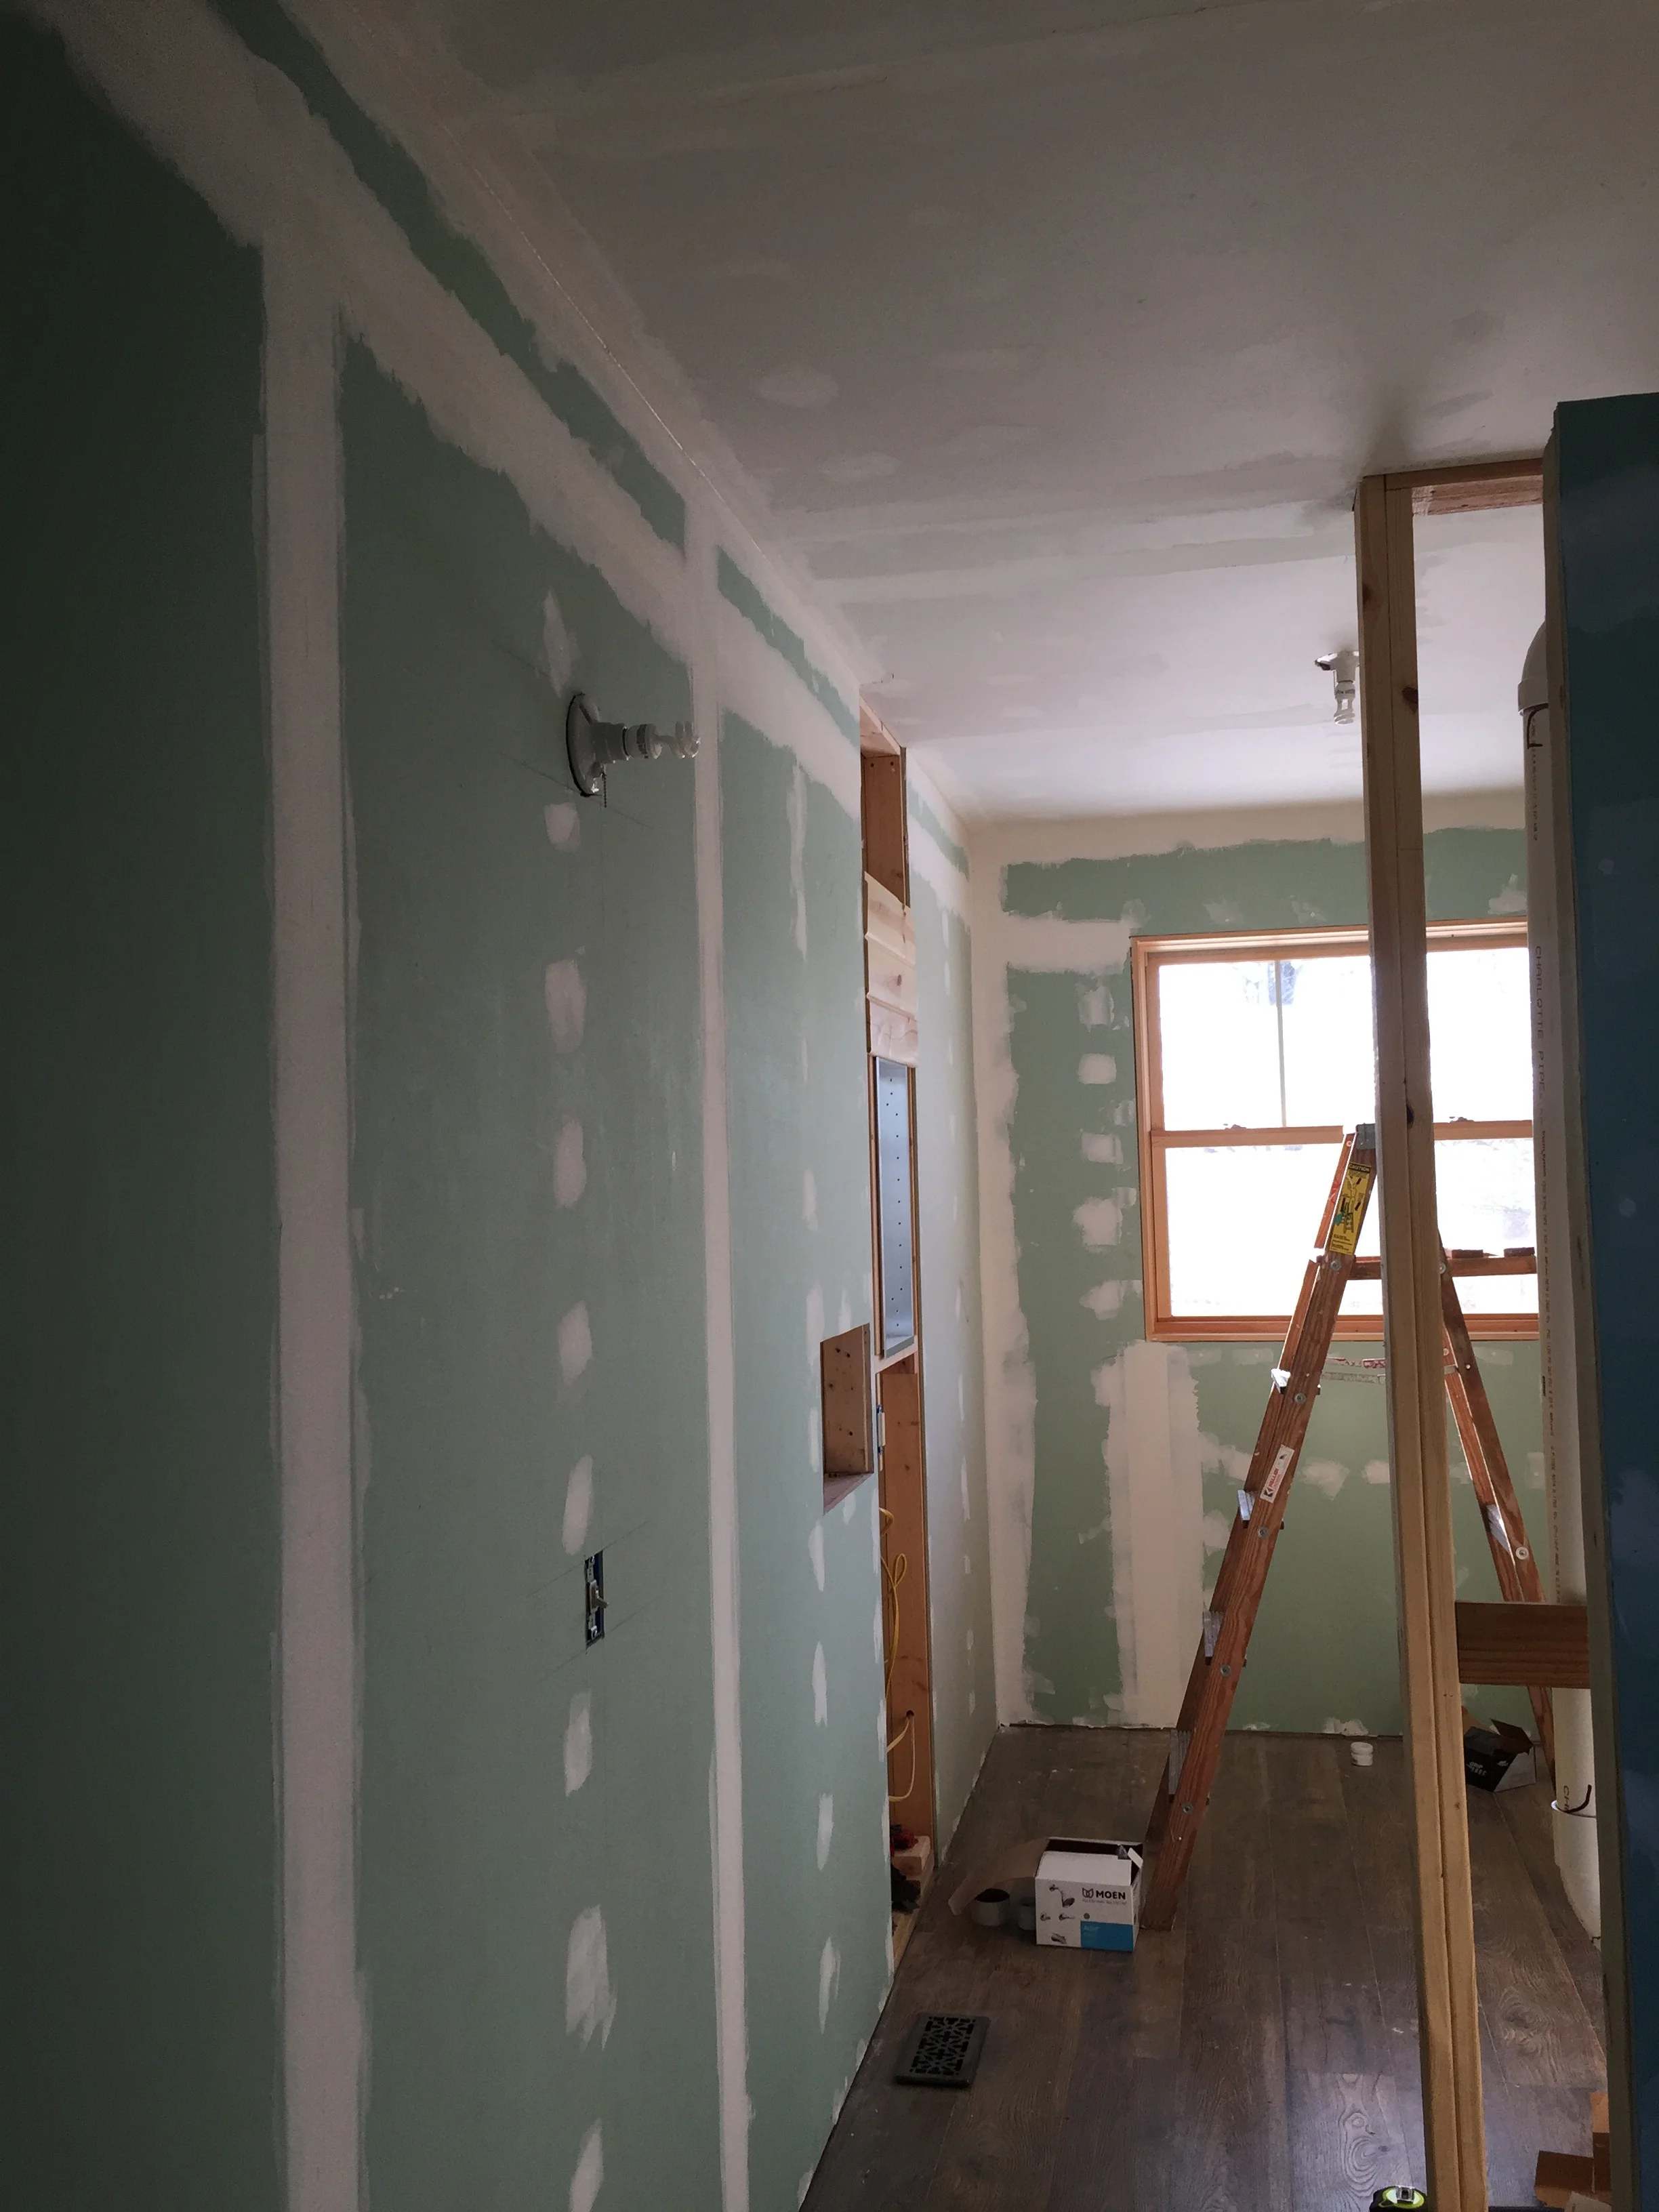
I have been working on getting the taping done, and have begun the dreaded sanding portion of that job. I still have a stubborn seam on on part of the ceiling to finish, but I am getting closer to the painting stage.
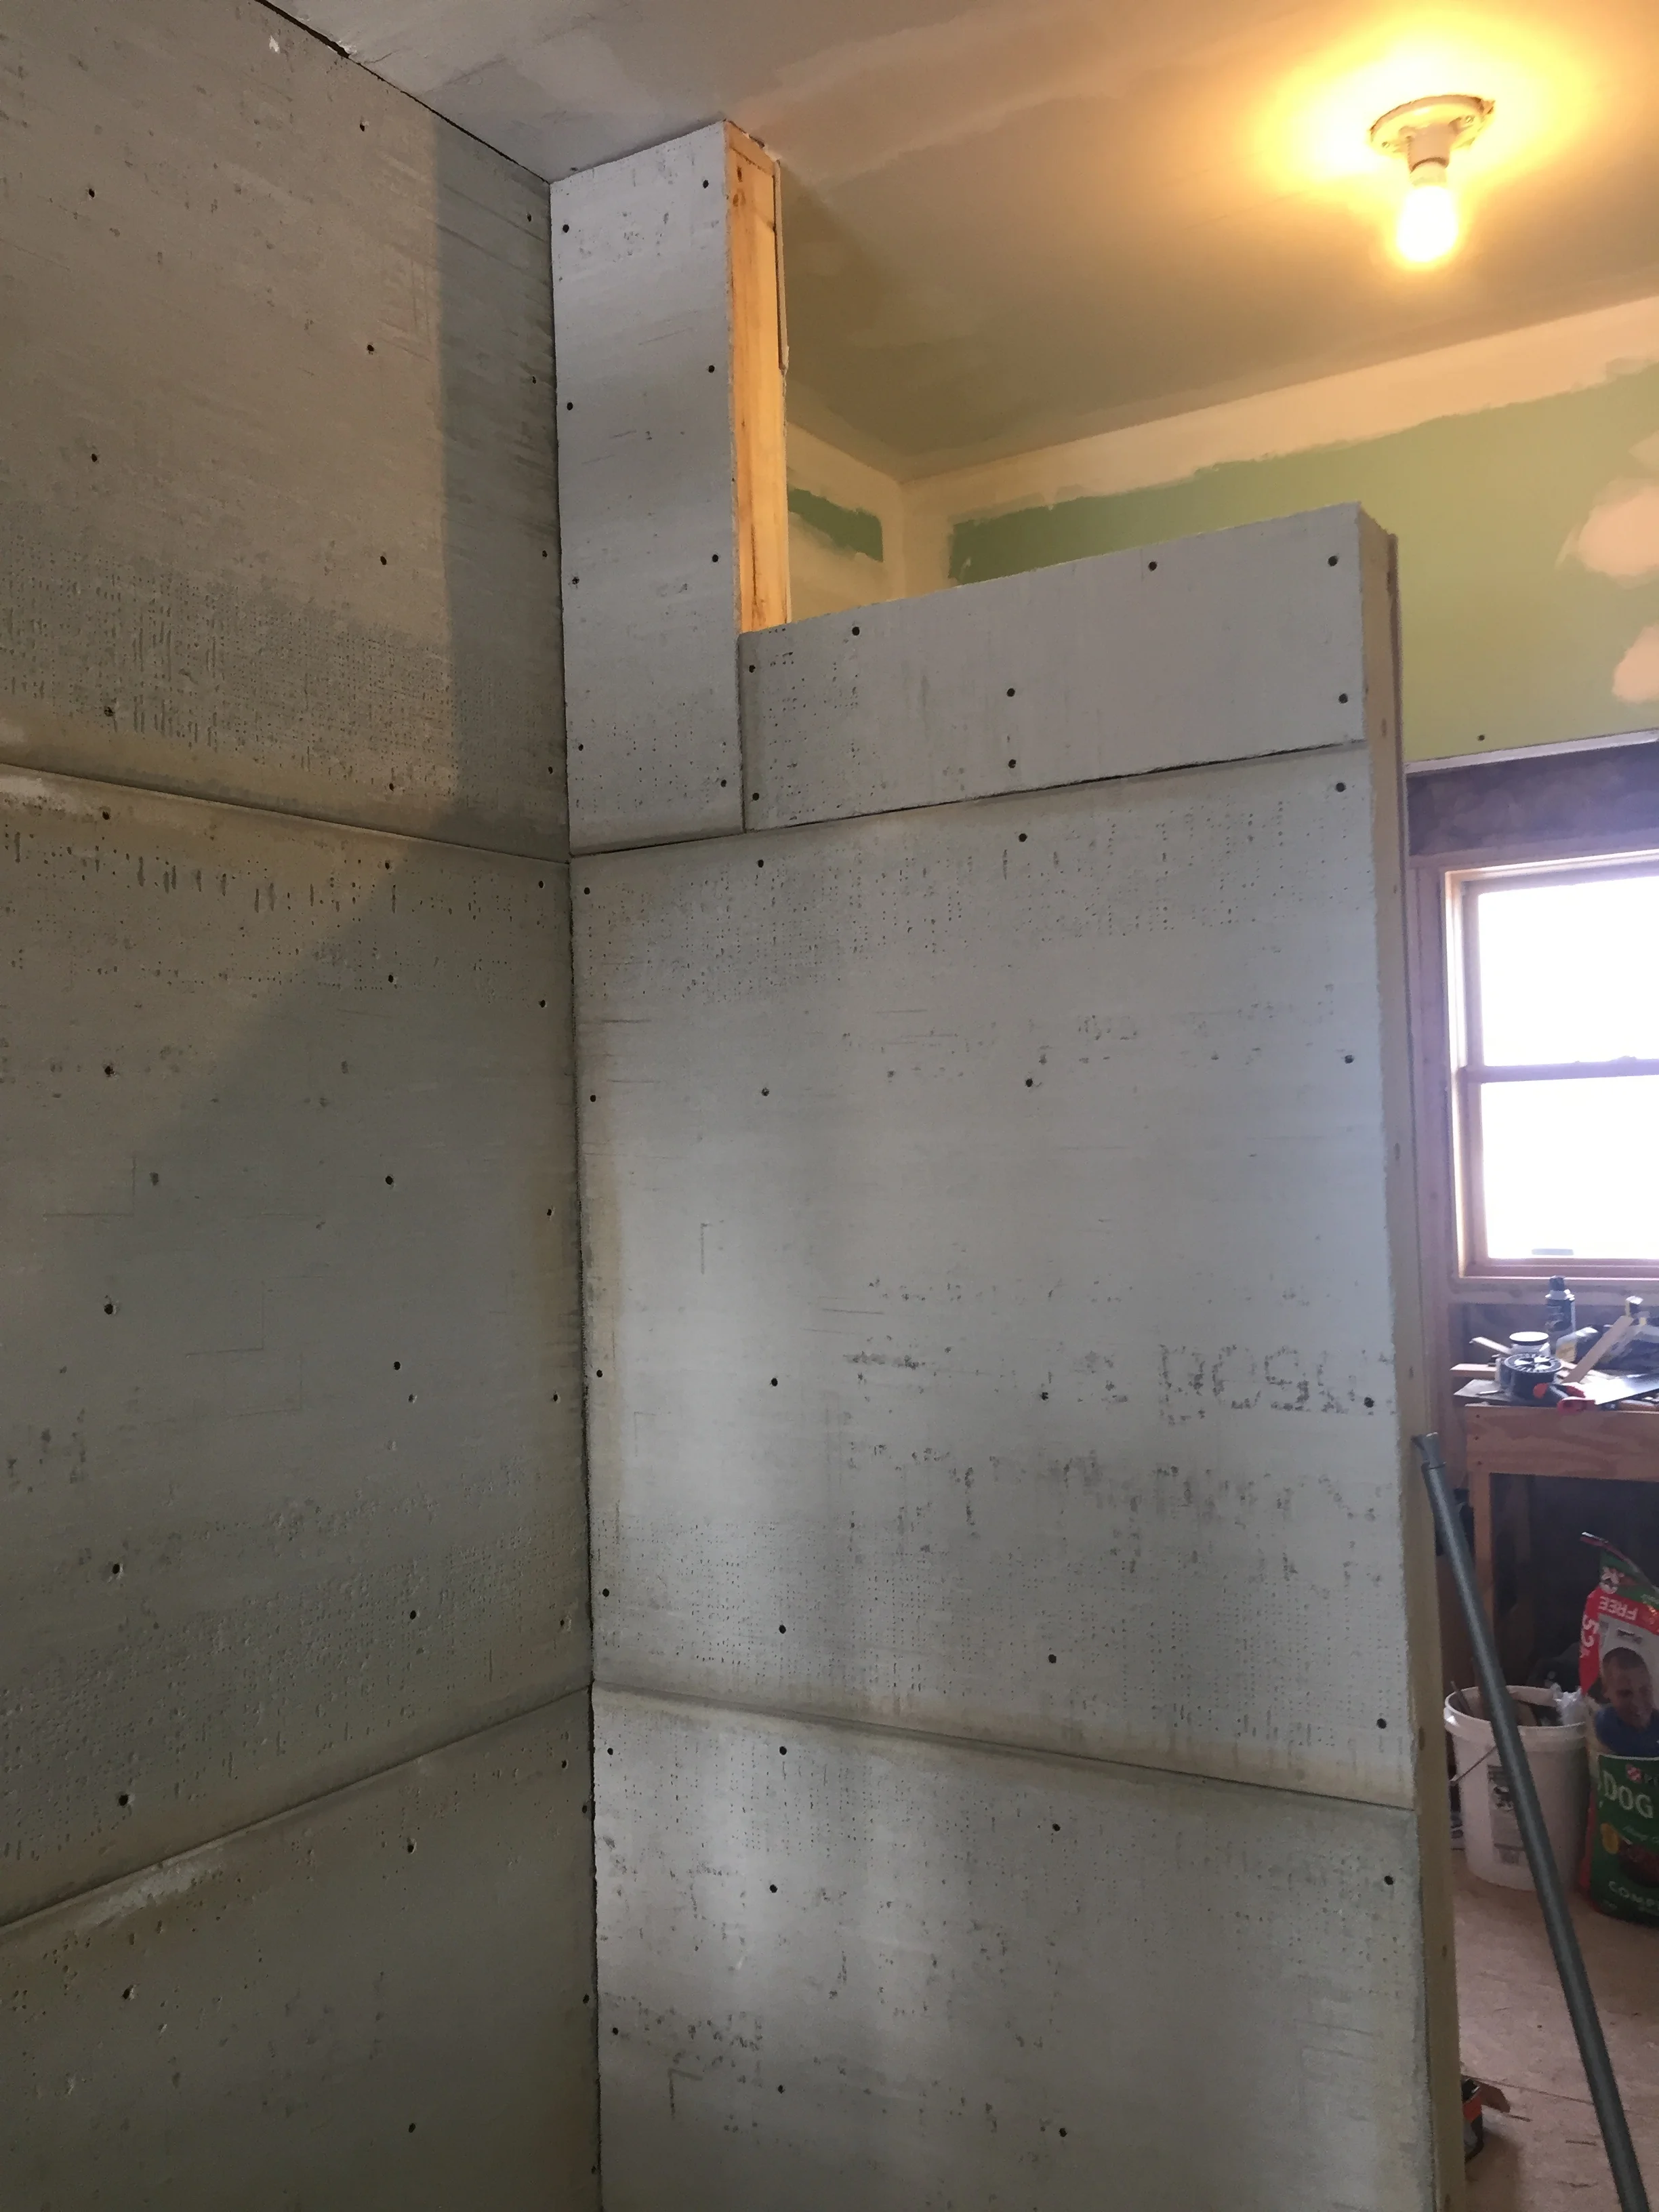
Michael installed the cement board for the shower. We have ordered shower walls to install over the cement board. Note the cut out portion of the shower wall: it will allow a larger ceiling fan to go where the light bulb is now.
This is a large bathroom partly due to its location between Irene’s new space and the stairwell going into the basement. The current stairwell has insufficient headroom and also steals valuable room in an already too-small space in the room that will eventually become our bedroom. Our bedroom will become the kitchen. The kitchen will become a dining area (which it is now, but only fits 3 comfortably-I want to be able to feed 12 with elbow room!).
It is also purposefully large to allow a walker or wheelchair to fit everywhere. We hope Irene will not need the extra space for years to come...and us neither. But one should be prepared! Especially since we now have the space to be prepared in...
The remodel portion of this project may take years to come to fruition, which is okay. Getting Irene into her new space is a priority and is taking us YEARS! We are also learning new skills along the way, which keeps life interesting. But I will really love being able to take a bath and being able to give the grand girl a bath too!

She’ll need them more often now that she is mobile!
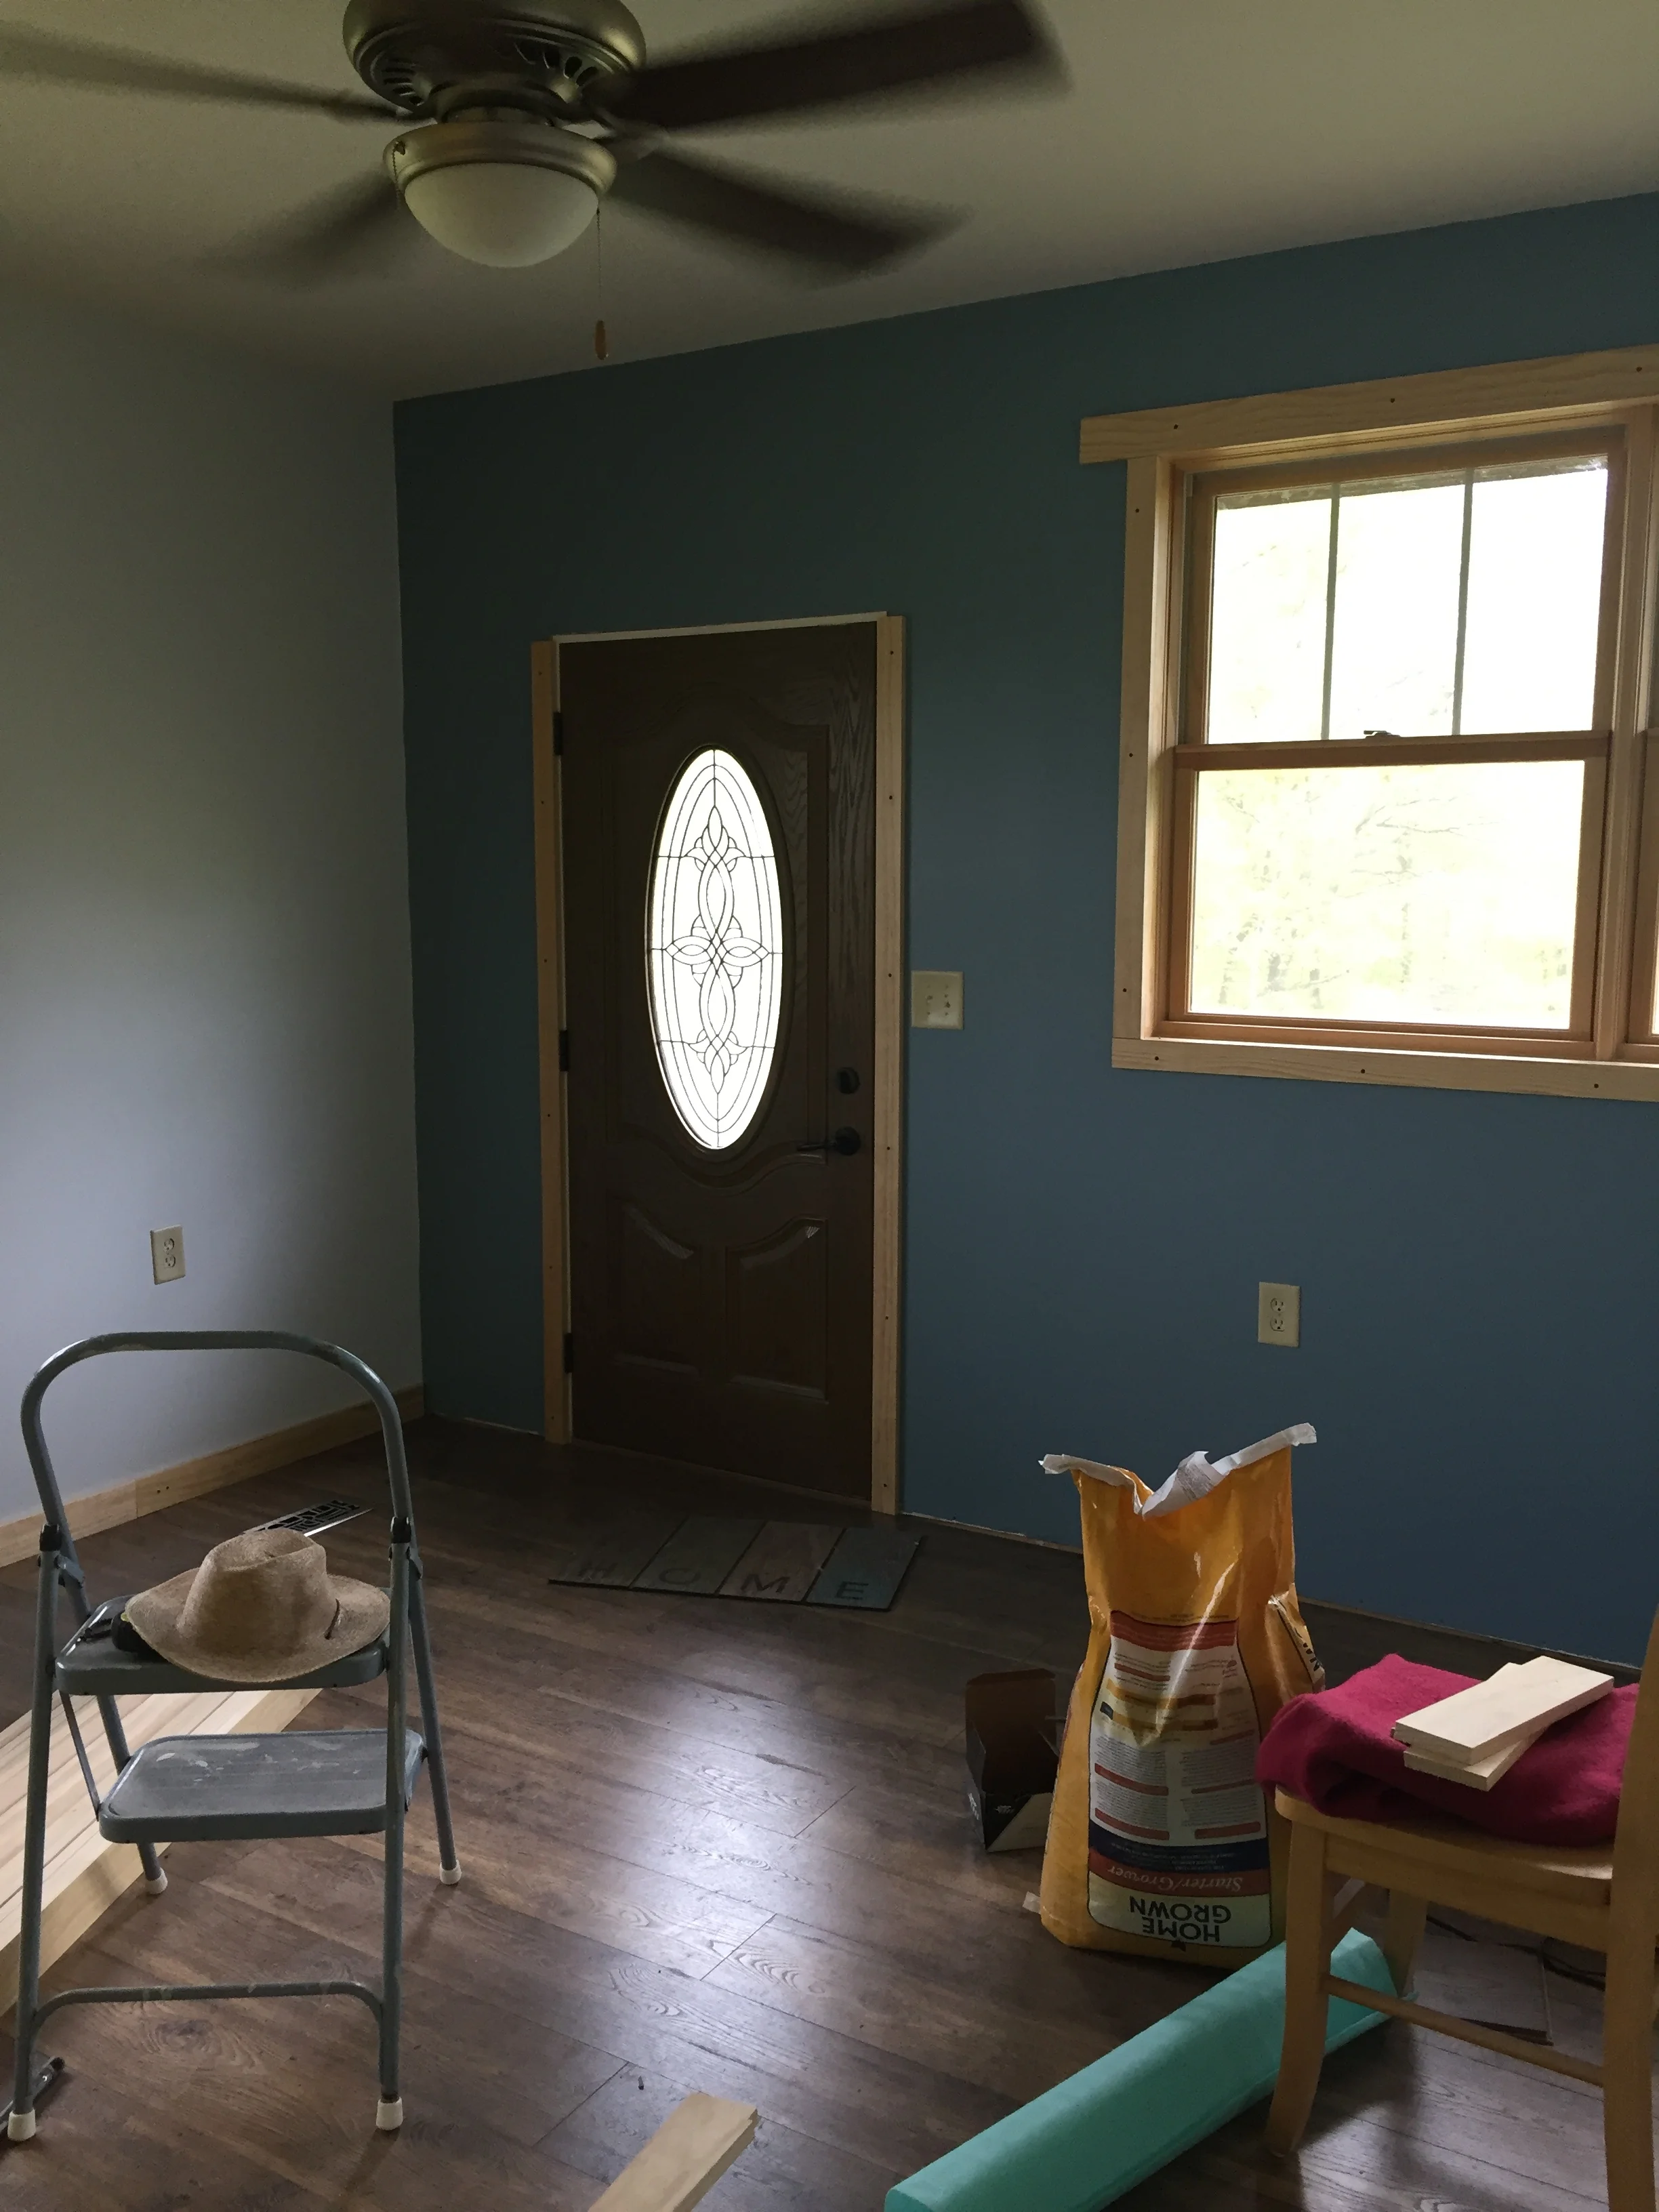
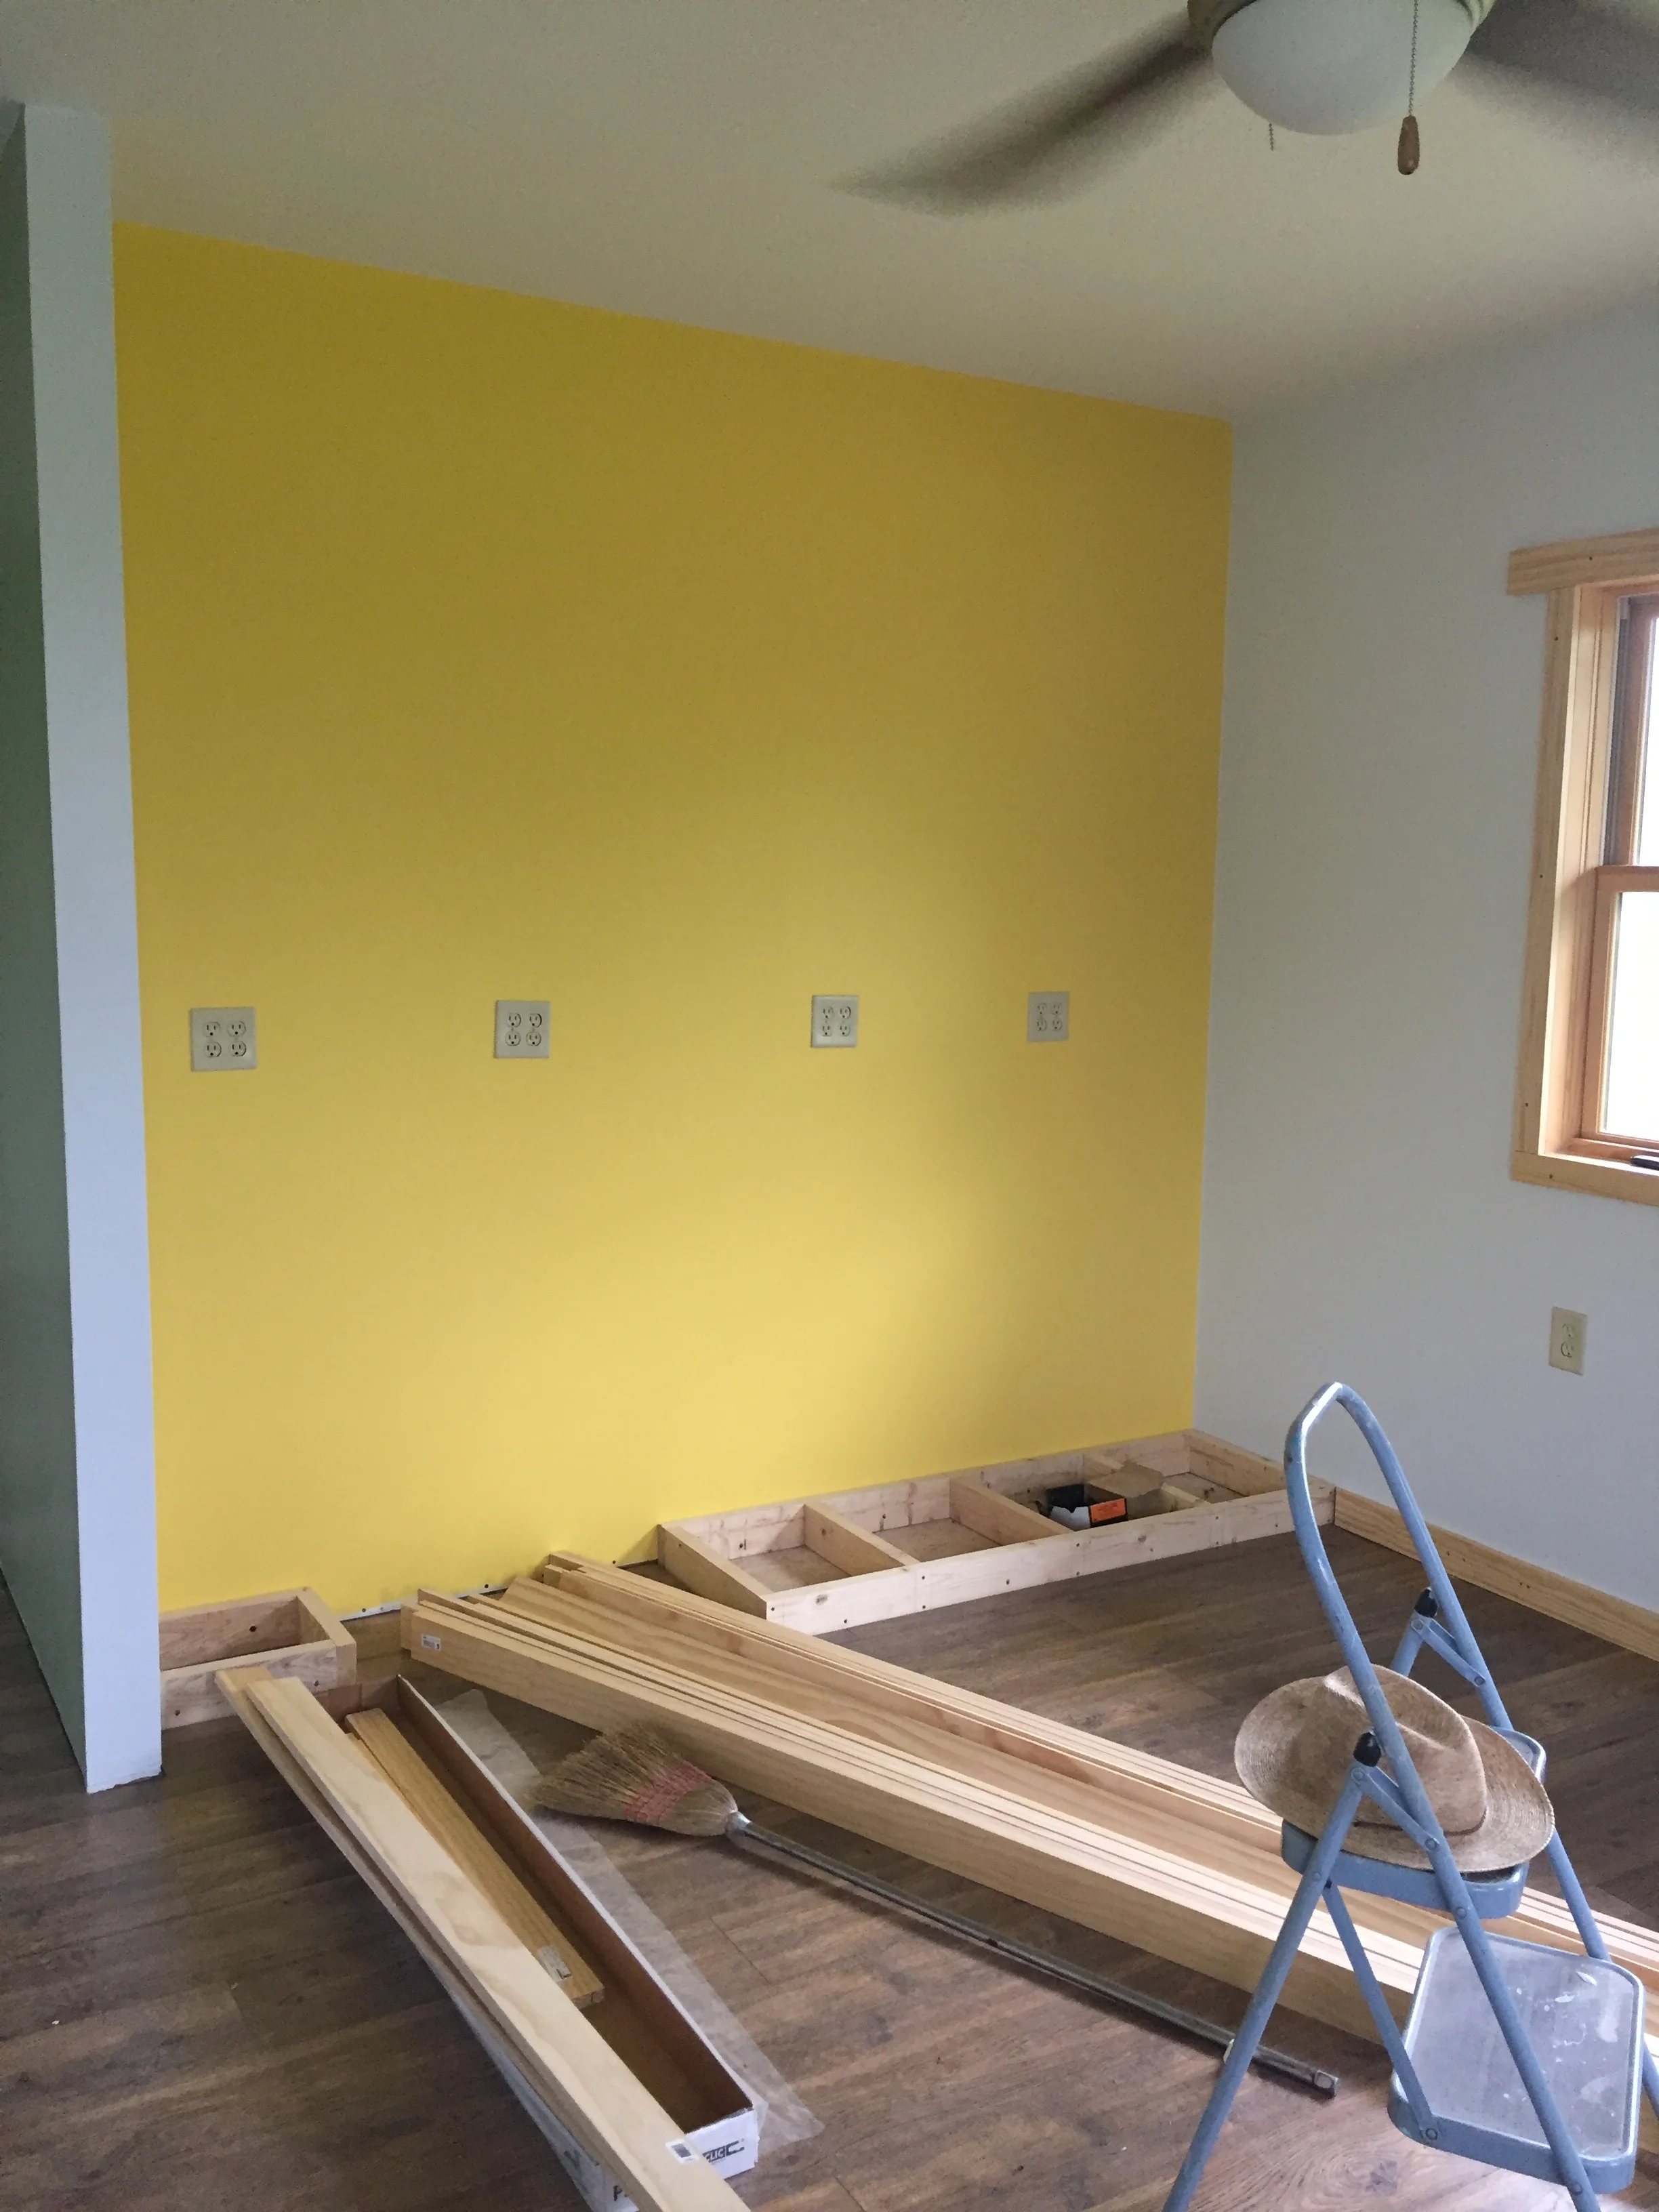
In my last post, I promised pictures of painted walls. Irene chose her colors: blue for the living room, yellow for her “kitchen,” and green for her bedroom, with gray thrown in for good measure. This is how it turned out:
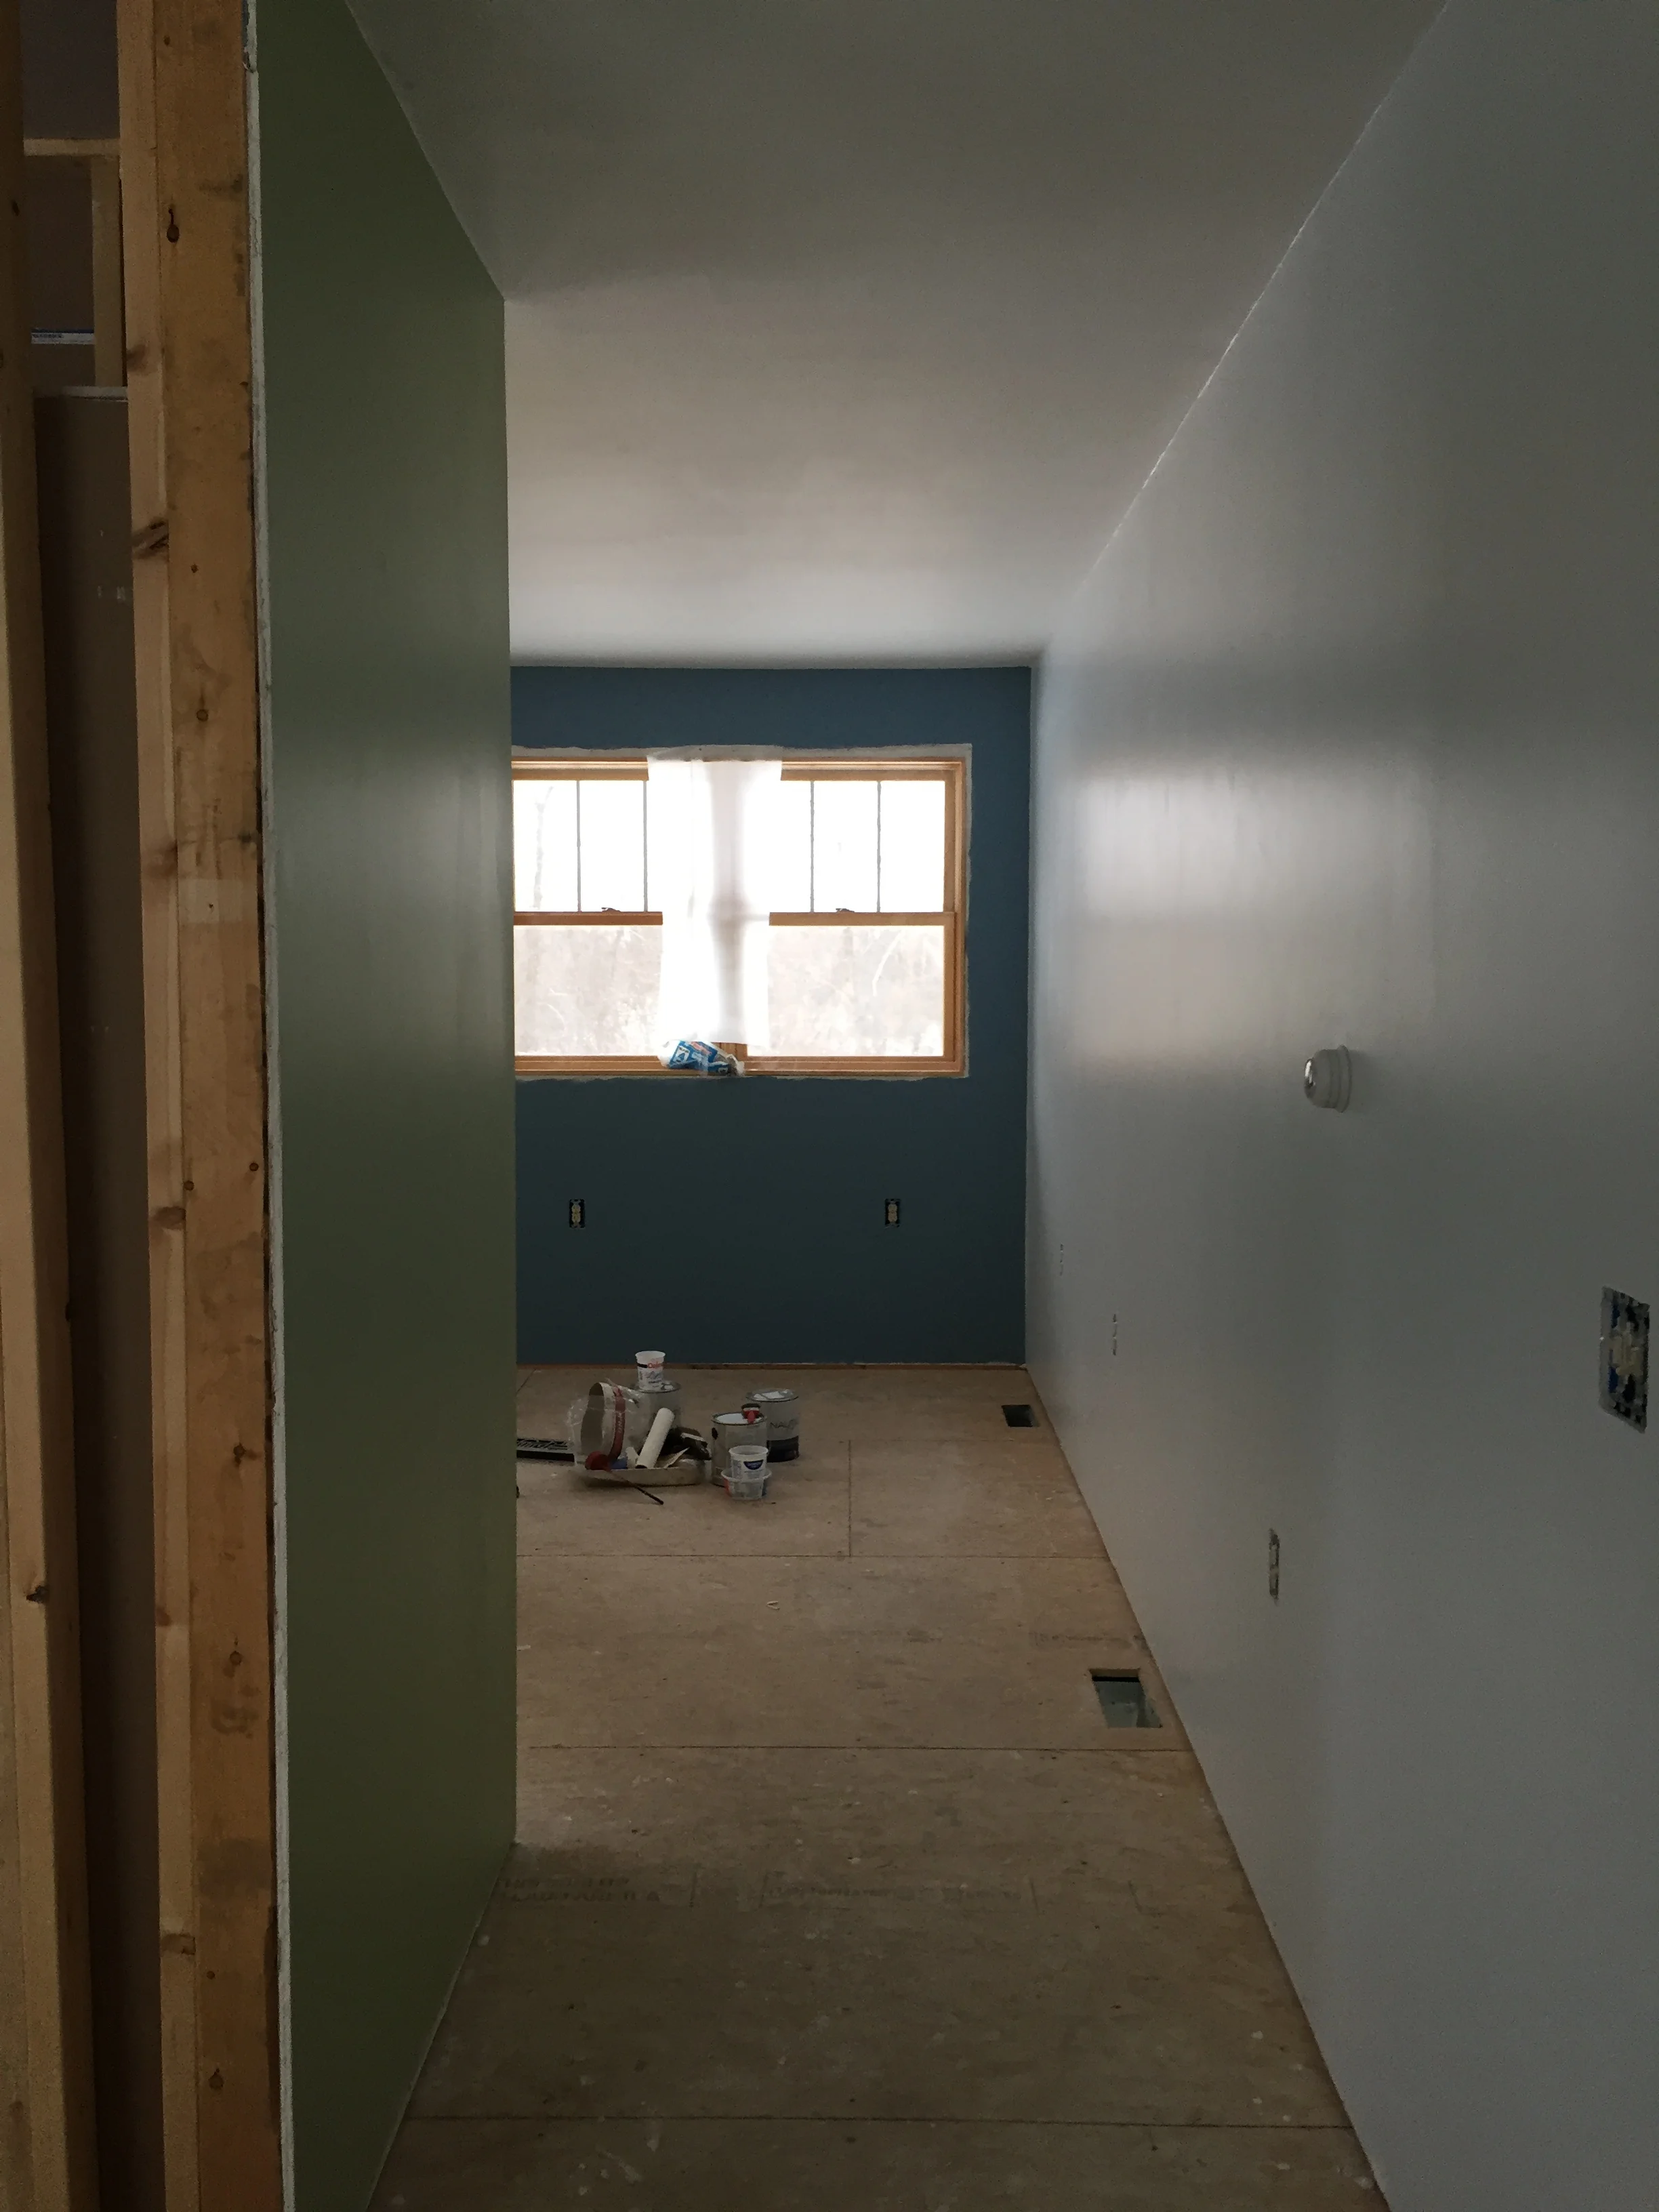
Entering into Irene’s area from the rest of the house (which is her bedroom), looking right into the living room.

Looking from the living room toward the bedroom.
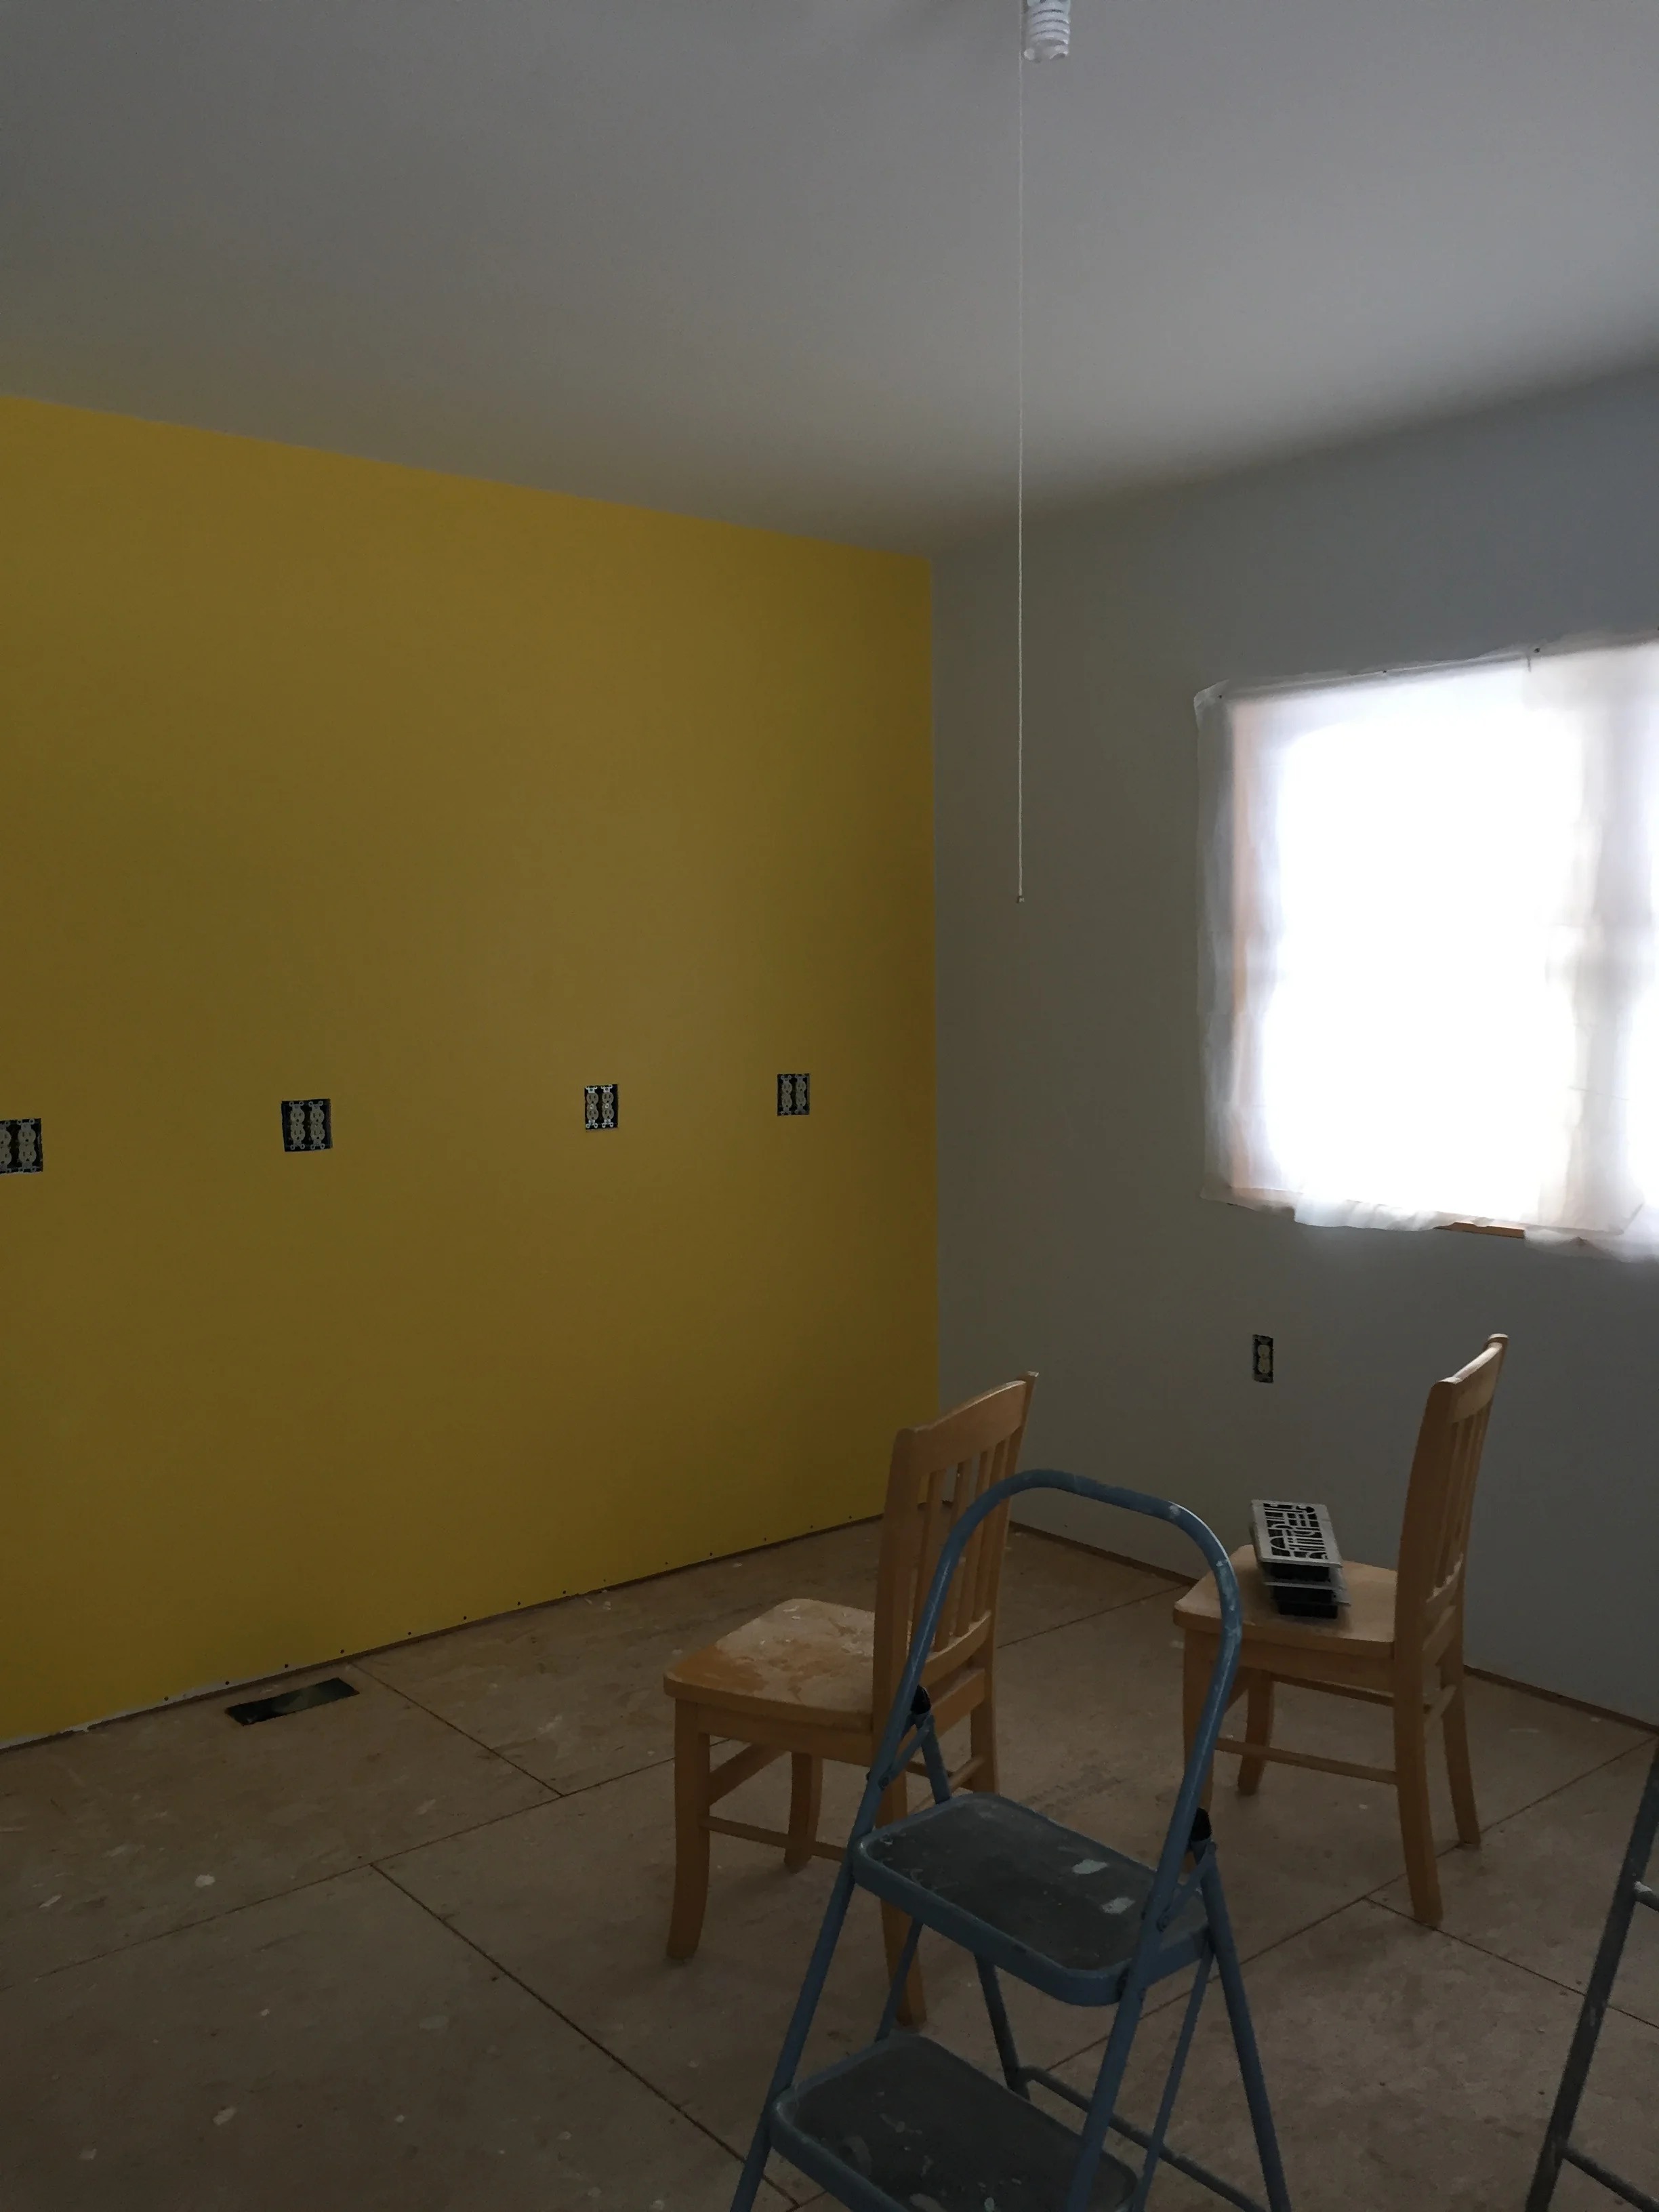
Looking right from the passage to the bedroom into the “kitchen” area.
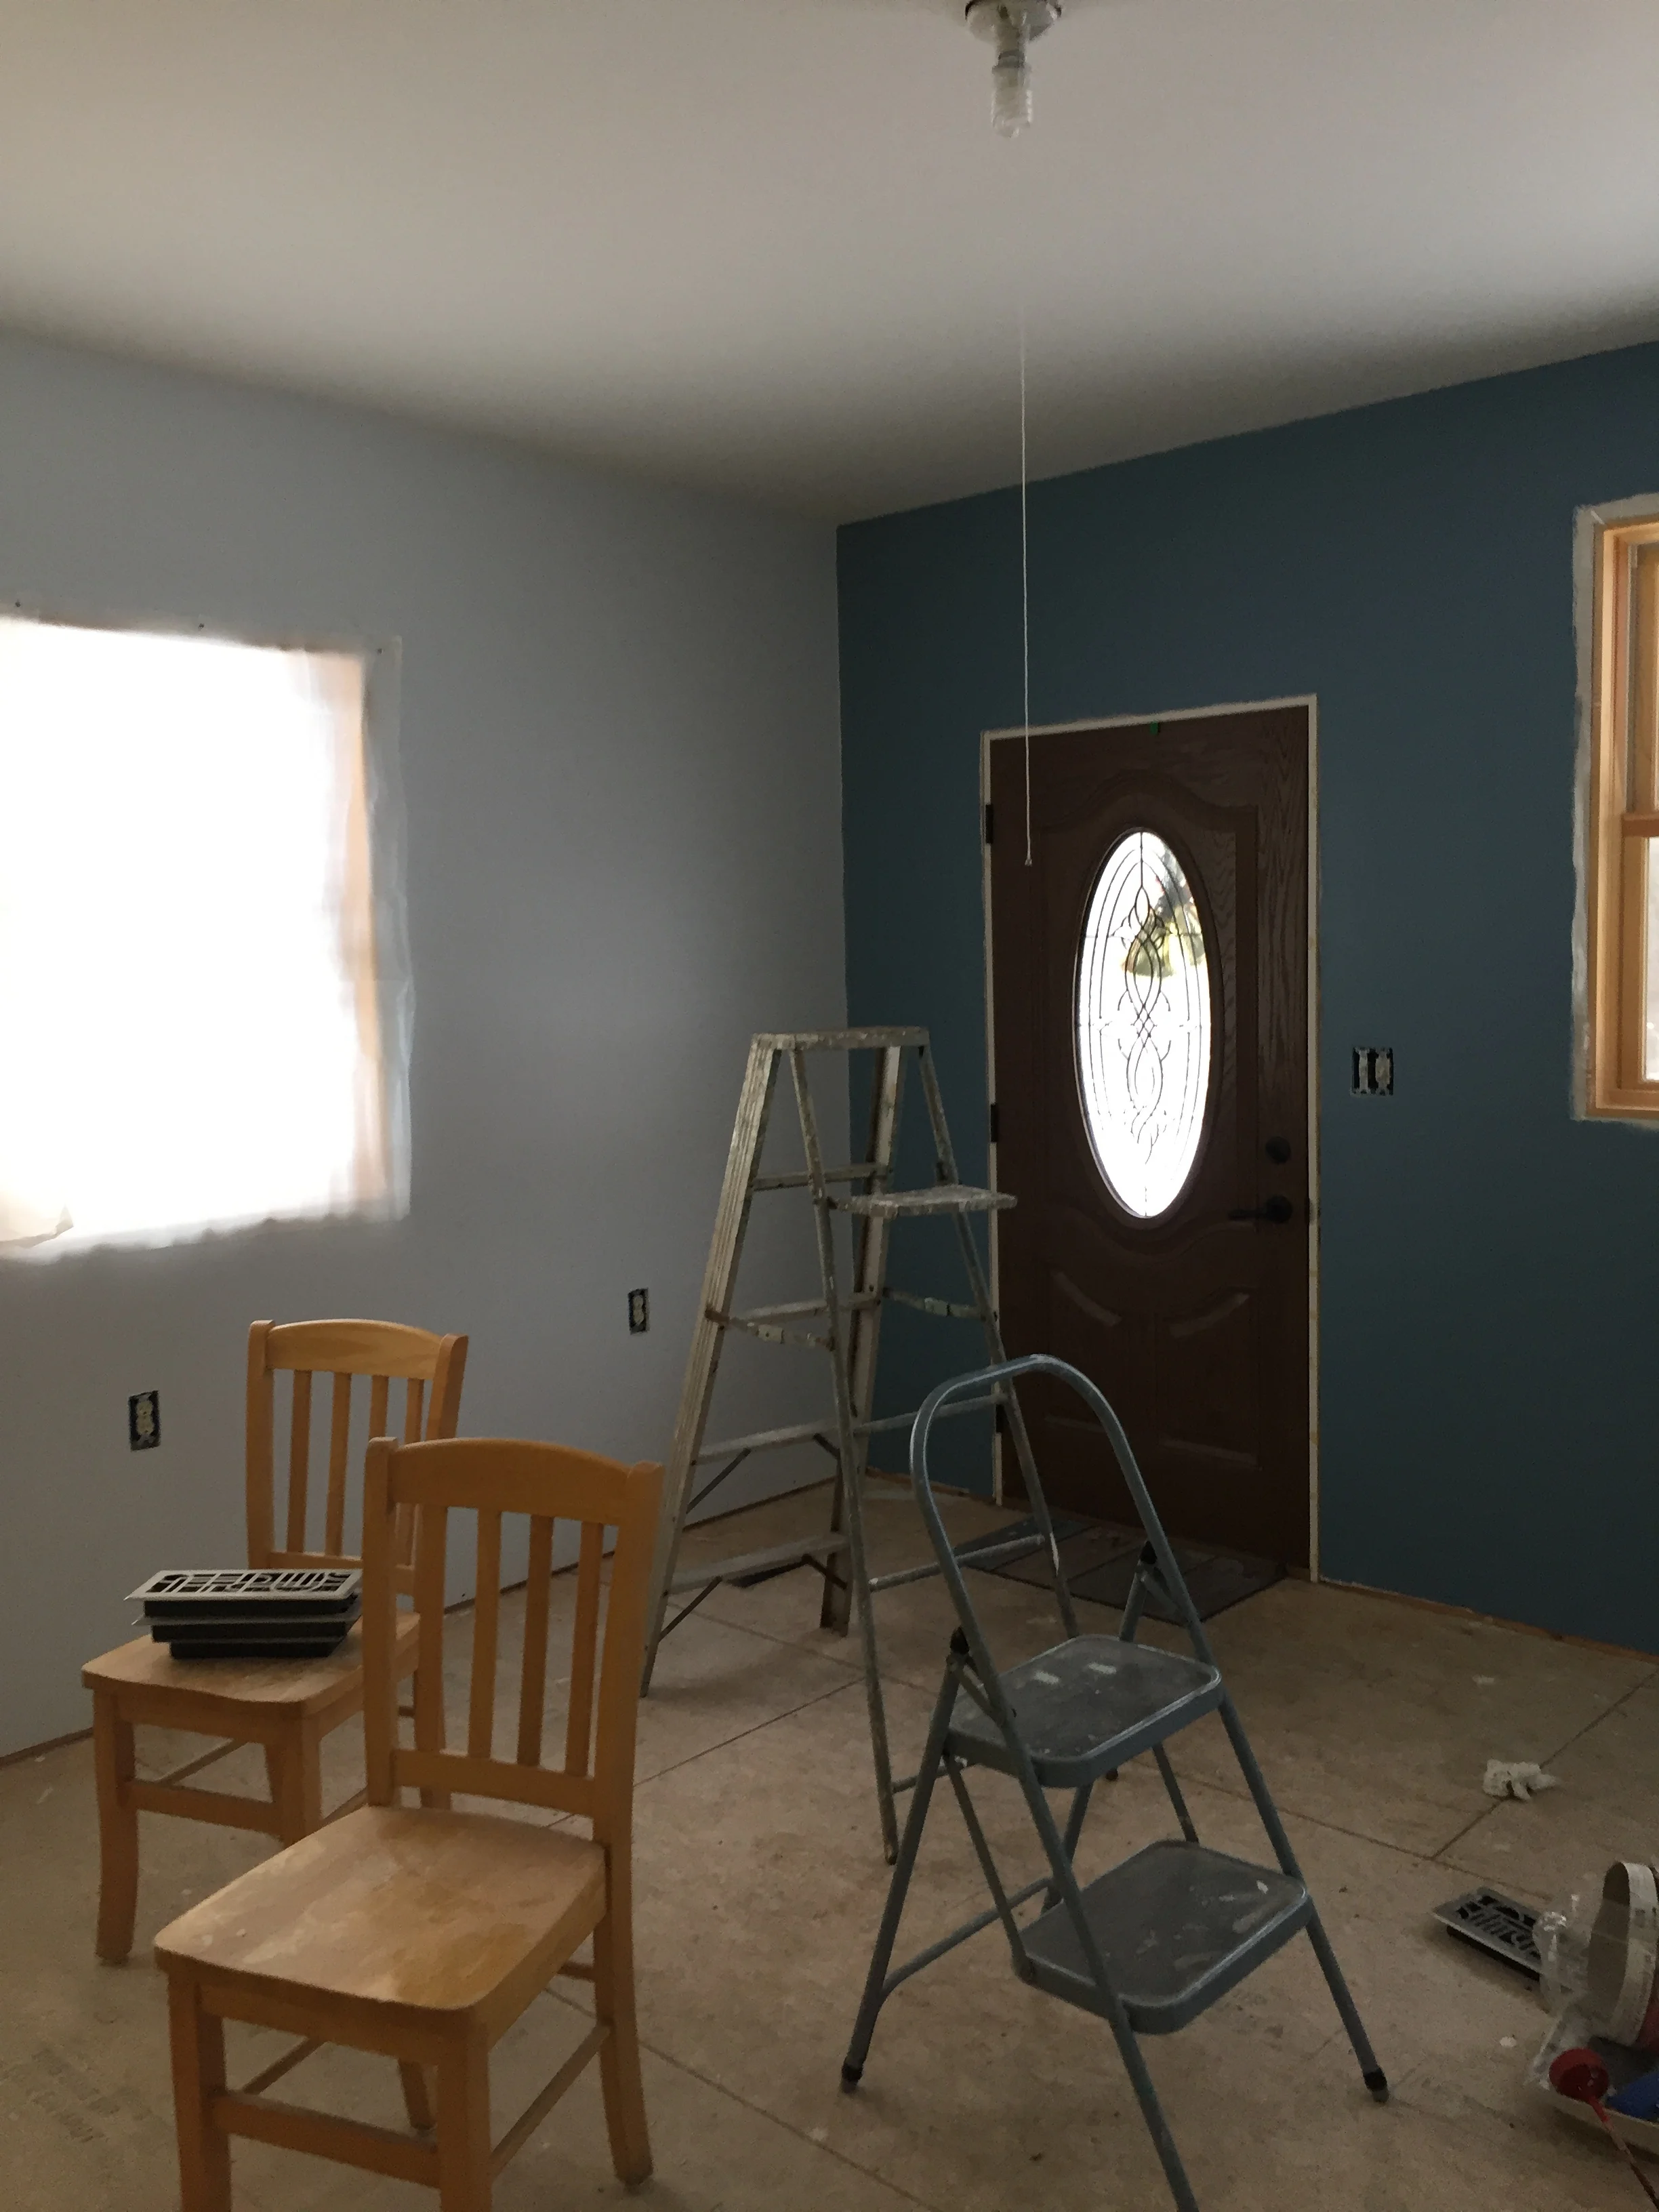
Another right and you see the front door in the “living room.”
The gray was a stroke of genius on Irene’s part, as it provides a buffer between the other colors and lets them act as accent walls, as well as unifies the transition between her living room/bedroom areas.
Can hardly wait to have this girl model in a finished area!
I confess. Even though I can heft a 50 lb. feed sack, I am a delicate flower. My grass allergies get better the longer I live with hay, but my reaction to commercial scents grows worse. I haven’t tolerated commercial perfumes for years, which made finding soap in the 80s a challenge. Being the inventive guy he is, Michael found a book on soap making and has been keeping me and my skin and lungs clean, clear and happy ever since. He believes anyone can make soap in their own kitchen and has developed a recipe to do so. Here it is:
First, gather together the equipment.
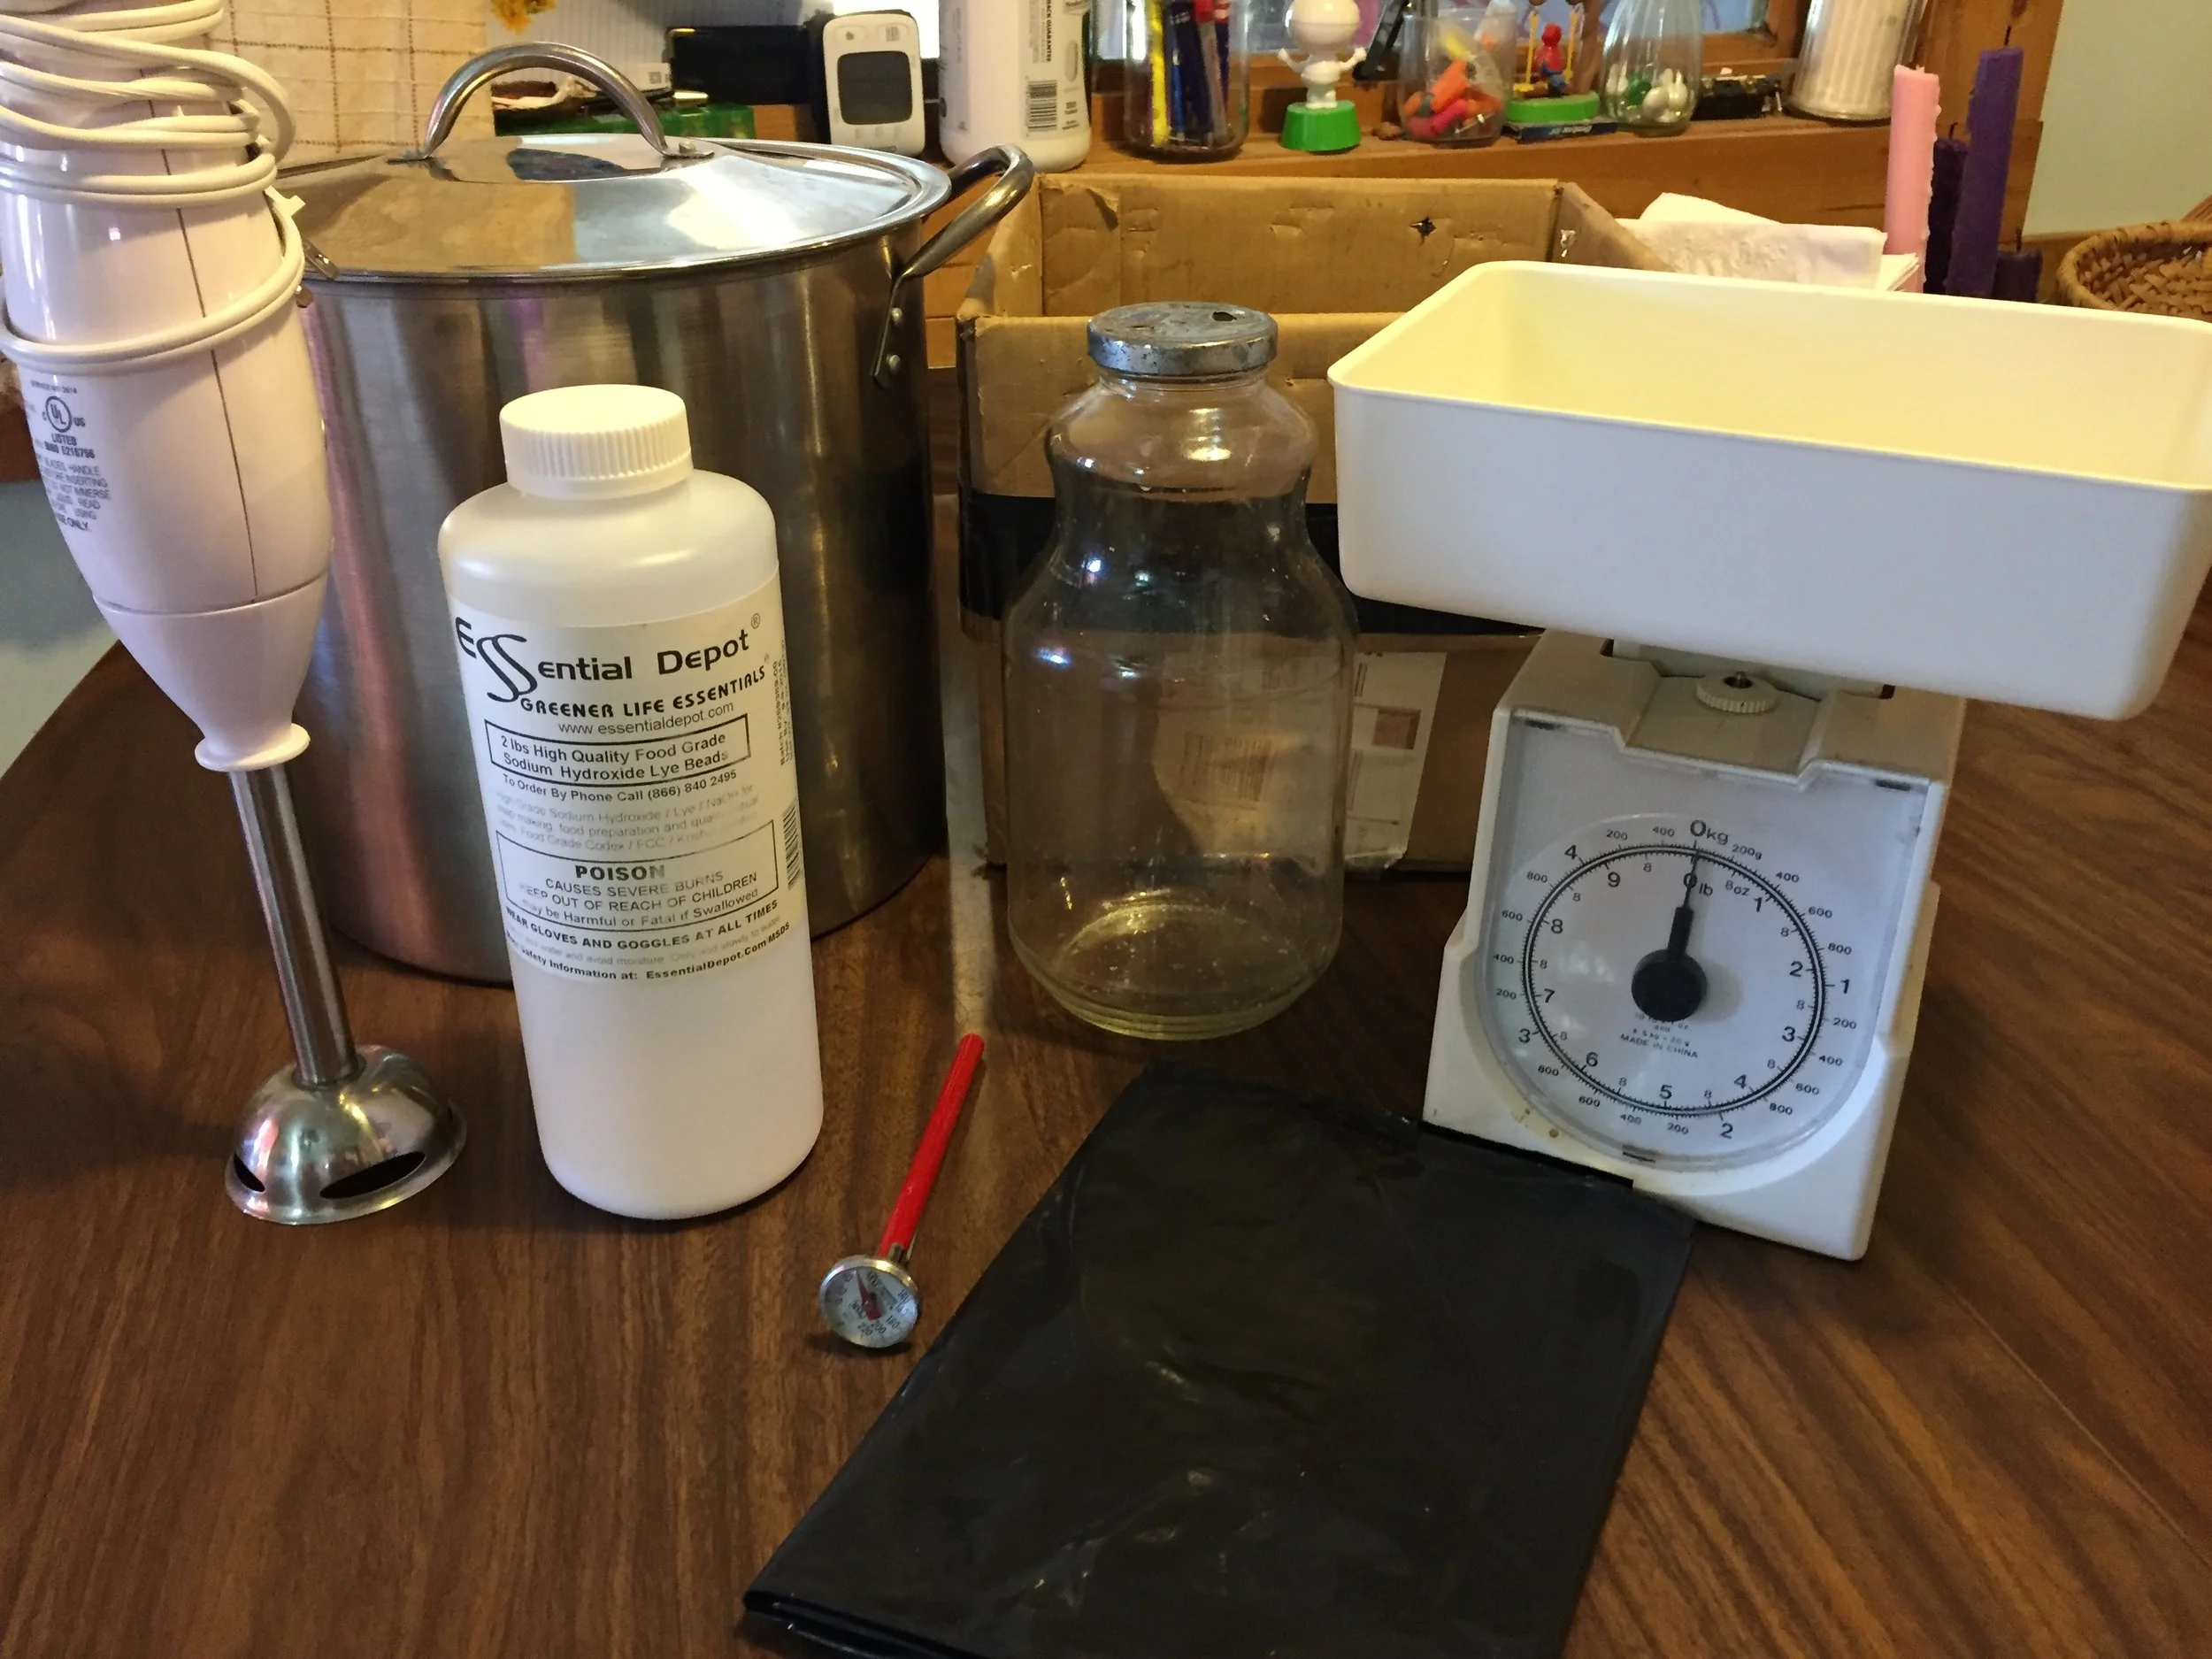
A stainless steel stock pot, a 2 quart non-reactive container that you can pour out of, a 2 cup measuring cup or a kitchen scale, an instant thermometer, a cardboard box lined with a thick garbage bag or a silicone form (you need a stapler to hold the plastic bag in place if you go that route), a piece of paper or a funnel, stainless steel spoons for stirring, and an immersion blender is handy but not required.
Making soap does take a bit of planning, if only because lye is not readily available anymore. There is an online site called Essential Depot where Michael buys food grade lye. Otherwise, two 42 ounce tins of shortening, two cups of canola or other oil, coconut oil (now widely available at grocery stores), and water is what you will need.
First step is to start to melt the shortening and other fats in the stockpot. The amounts are as follows:
84 ounces (2 tins) shortening
16 ounces (2 cups) canola or other vegetable oil
10 ounces (1 1/4 cup) coconut oil
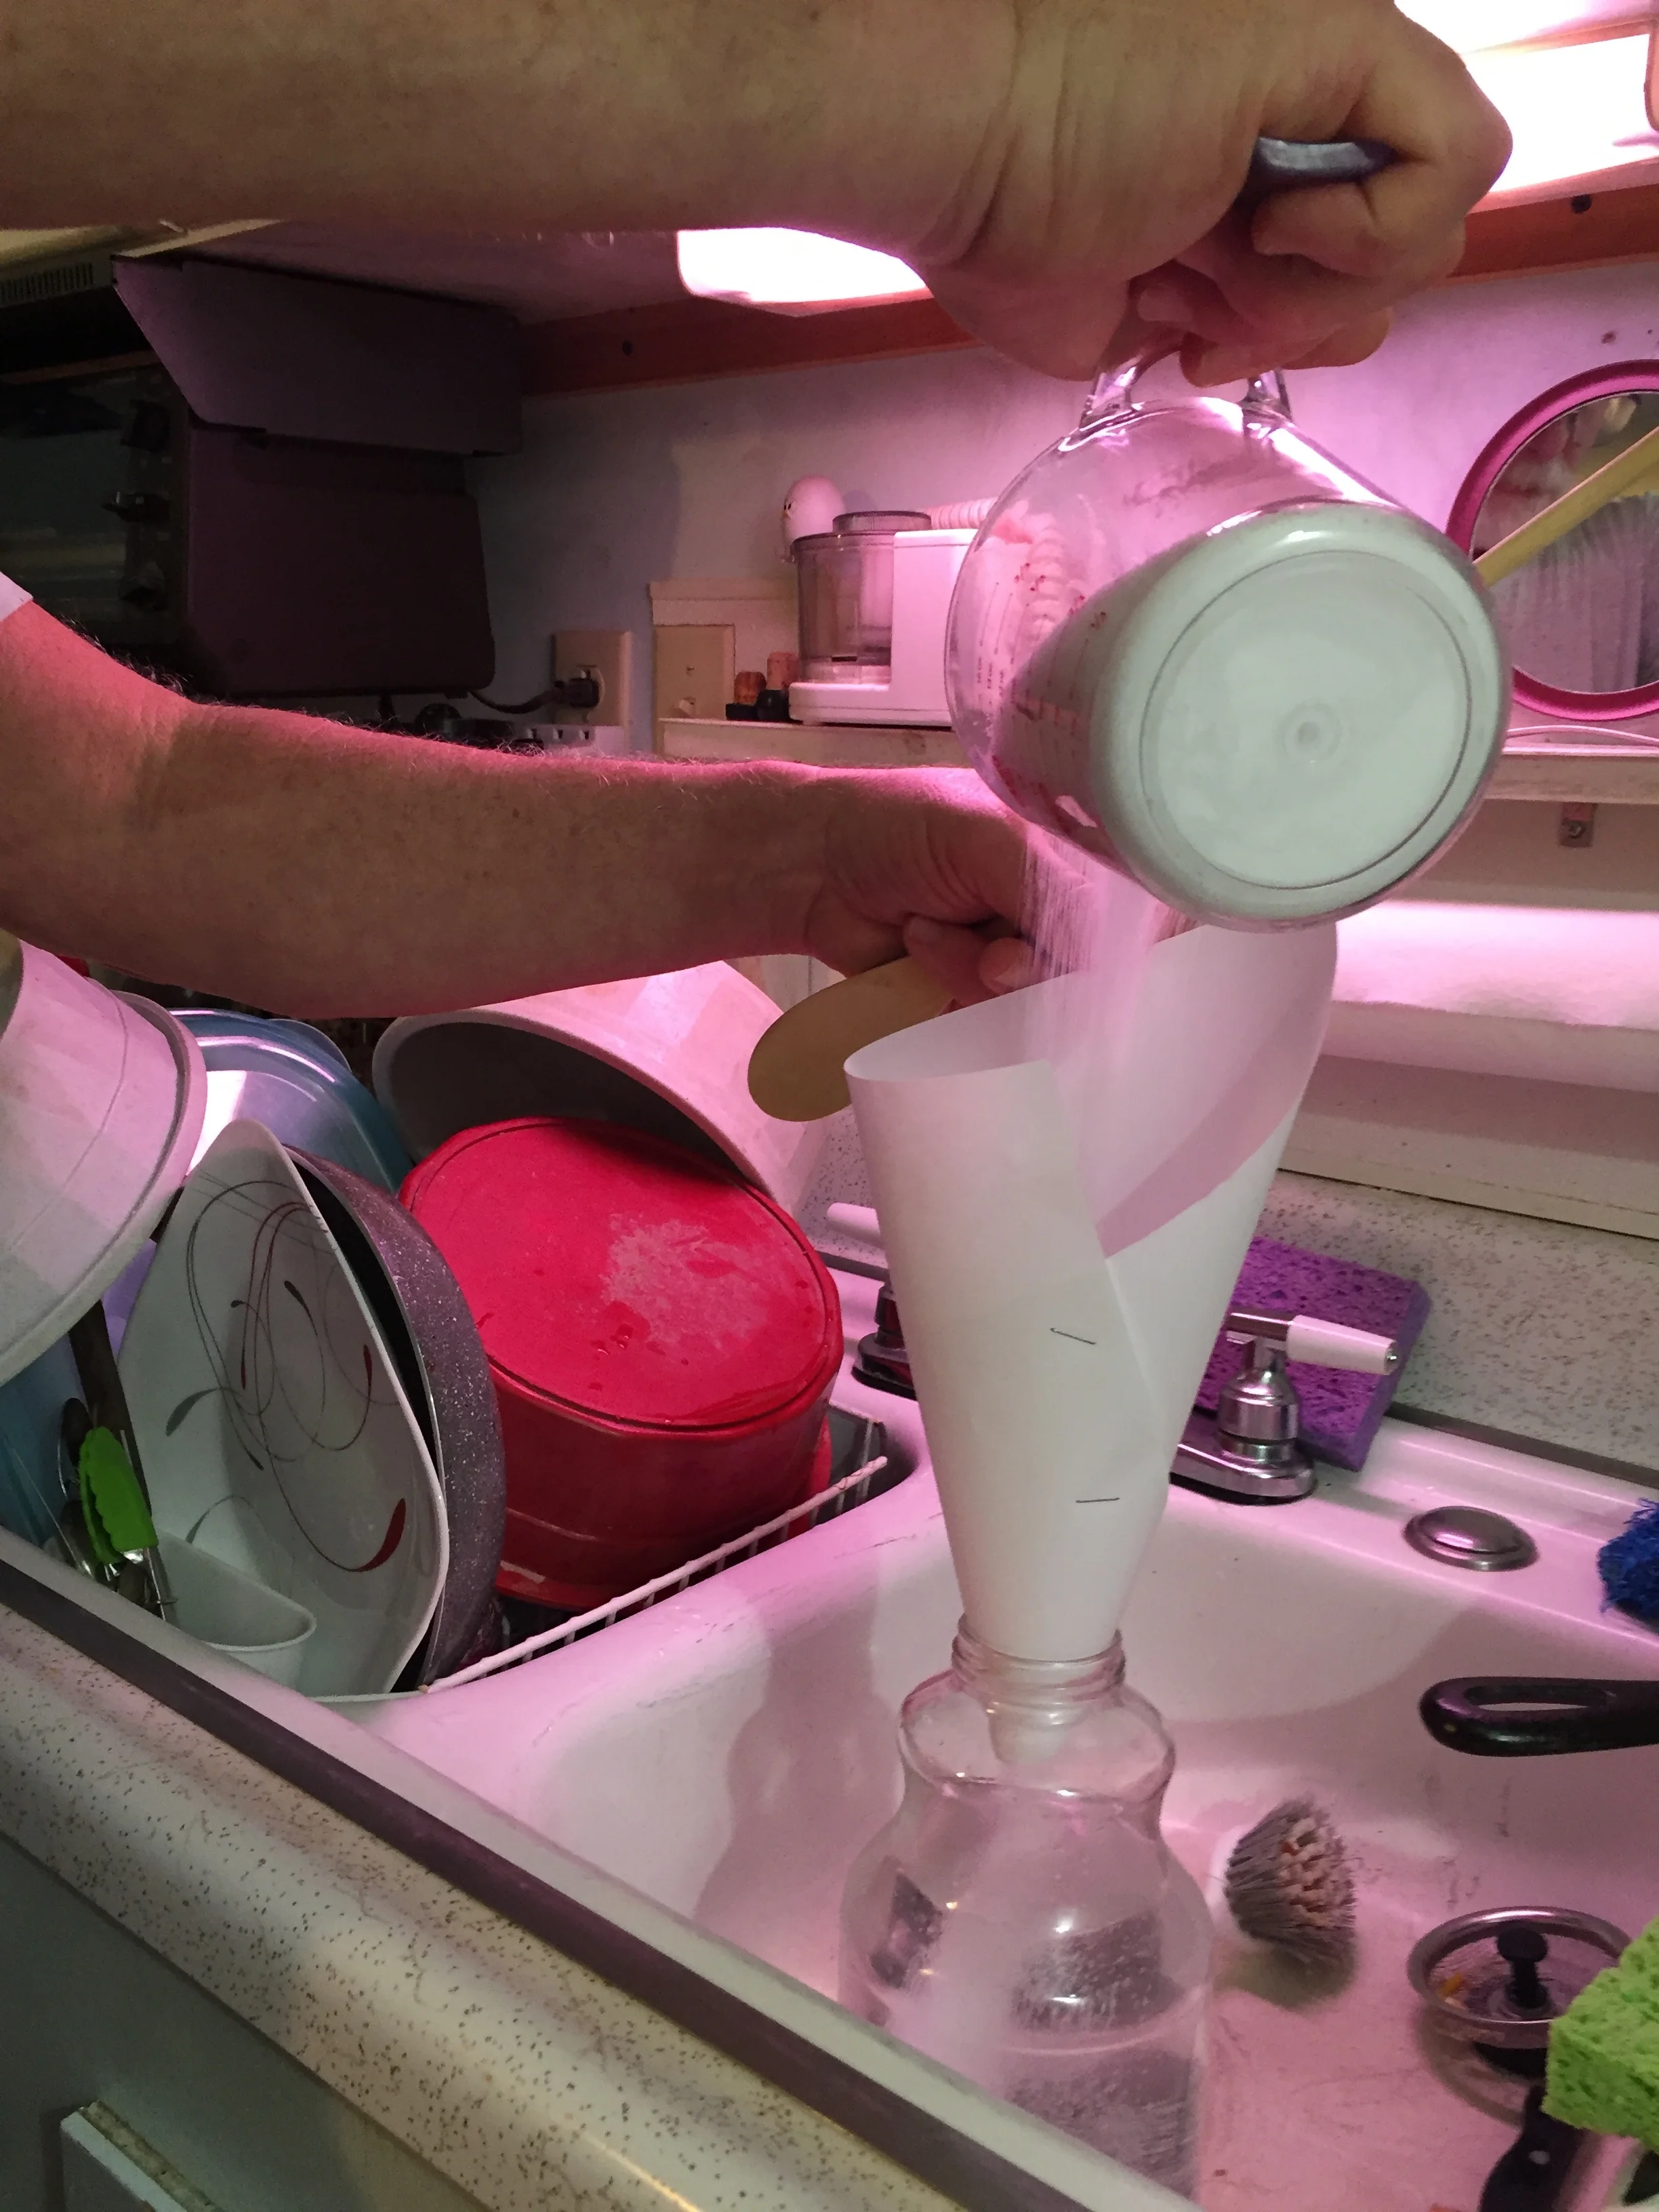
Heat the oil slowly until it reaches 100° on the instant thermometer. While the oil heats, measure out 44 ounces (5 3/4 cups) of water I nto the non-reactive flask (we use an old 2 quart glass juice jar). After the water is in the flask, measure out 15.3 ounces (1 1/2 cups) of granulated lye into a clean measuring cup. Make a funnel out of a piece of paper secured with some staples (or a regular funnel, if you have one) and carefully add the lye to the water.
NEVER add water to lye. The combination creates an exothermic reaction which explodes if added in the wrong order.
Michael mixes the lye to water in the sink so any stray bits of lye go into the sink, as lye is highly reactive, is caustic, and can cause burns. He uses the thin end of a wooden spoon to mix the lye into the water, as it tends to clump up. Rinse the spoon immediately afterwards.
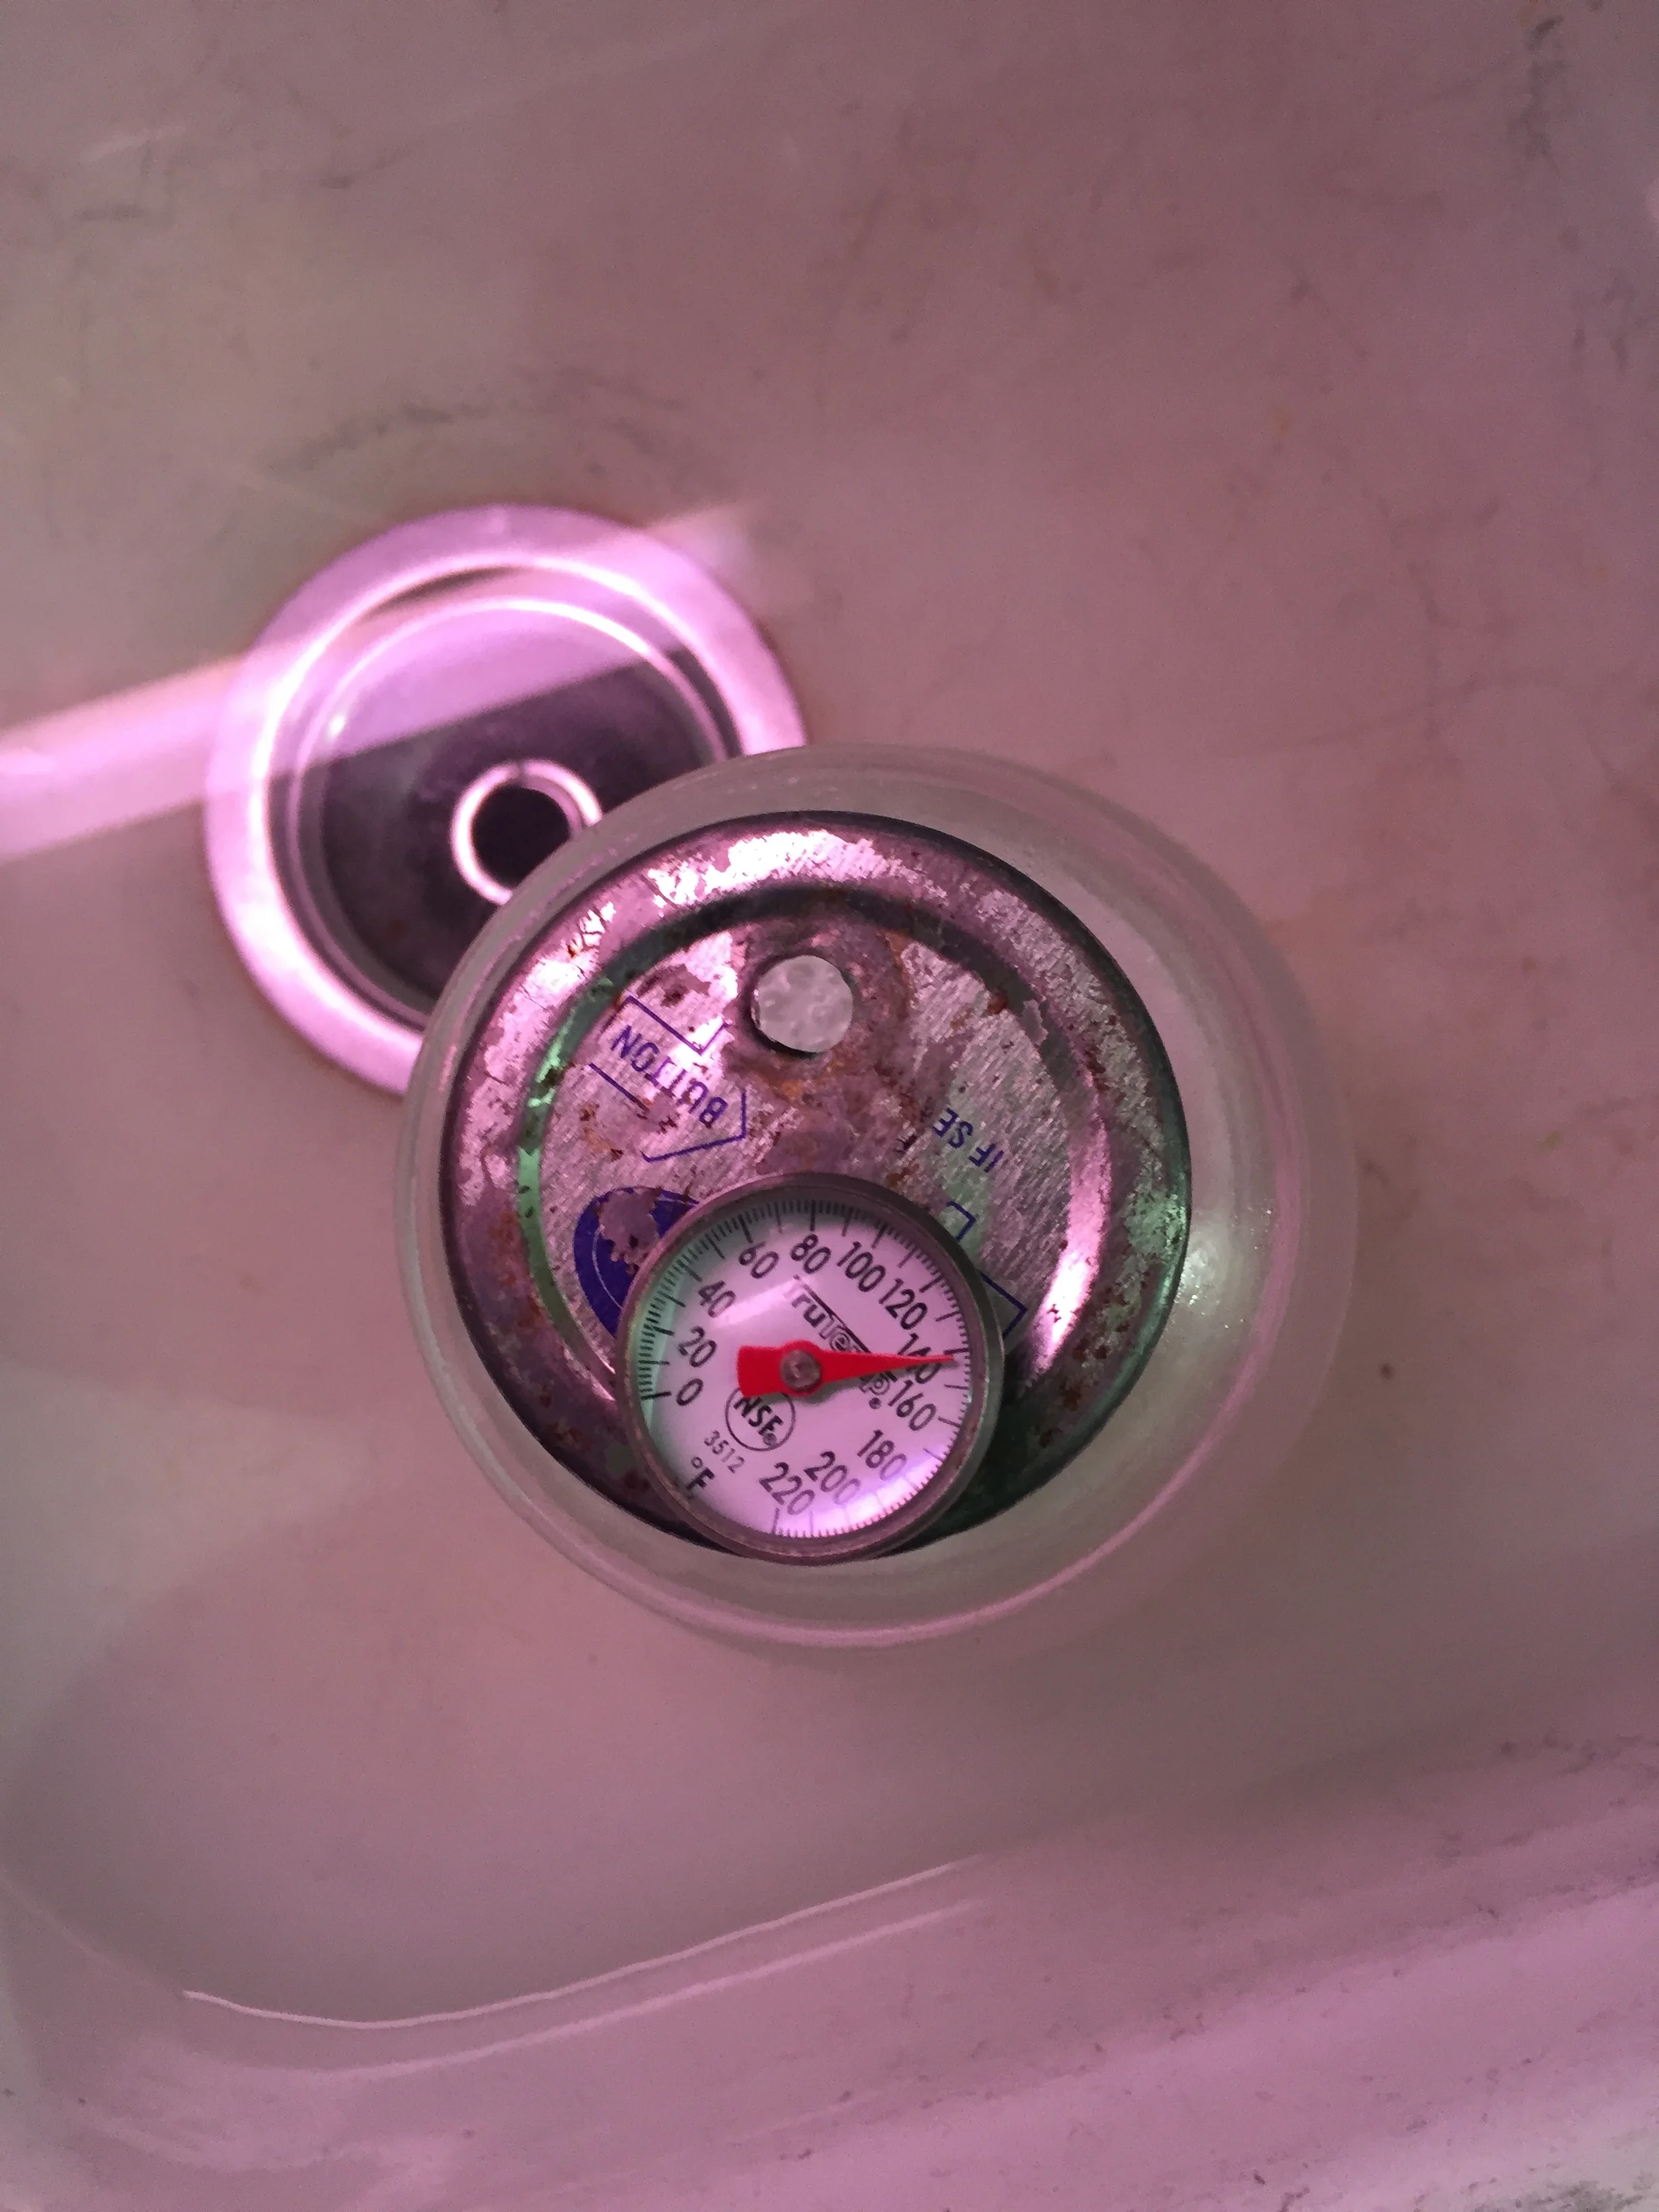
The water needs to cool to 100°. The fat often reaches 100° before the water, at which point you can force the cooling by putting cold water in the sink and swirling the bottle around until the lye mixture reaches the desired temperature.
When both fats and lye are both at 100° it is time to mix them together. Dunk the empty lye jar into a full sink of water to dilute any remaining lye.
The oil begins to cloud immediately, which is the beginning of the saponification process
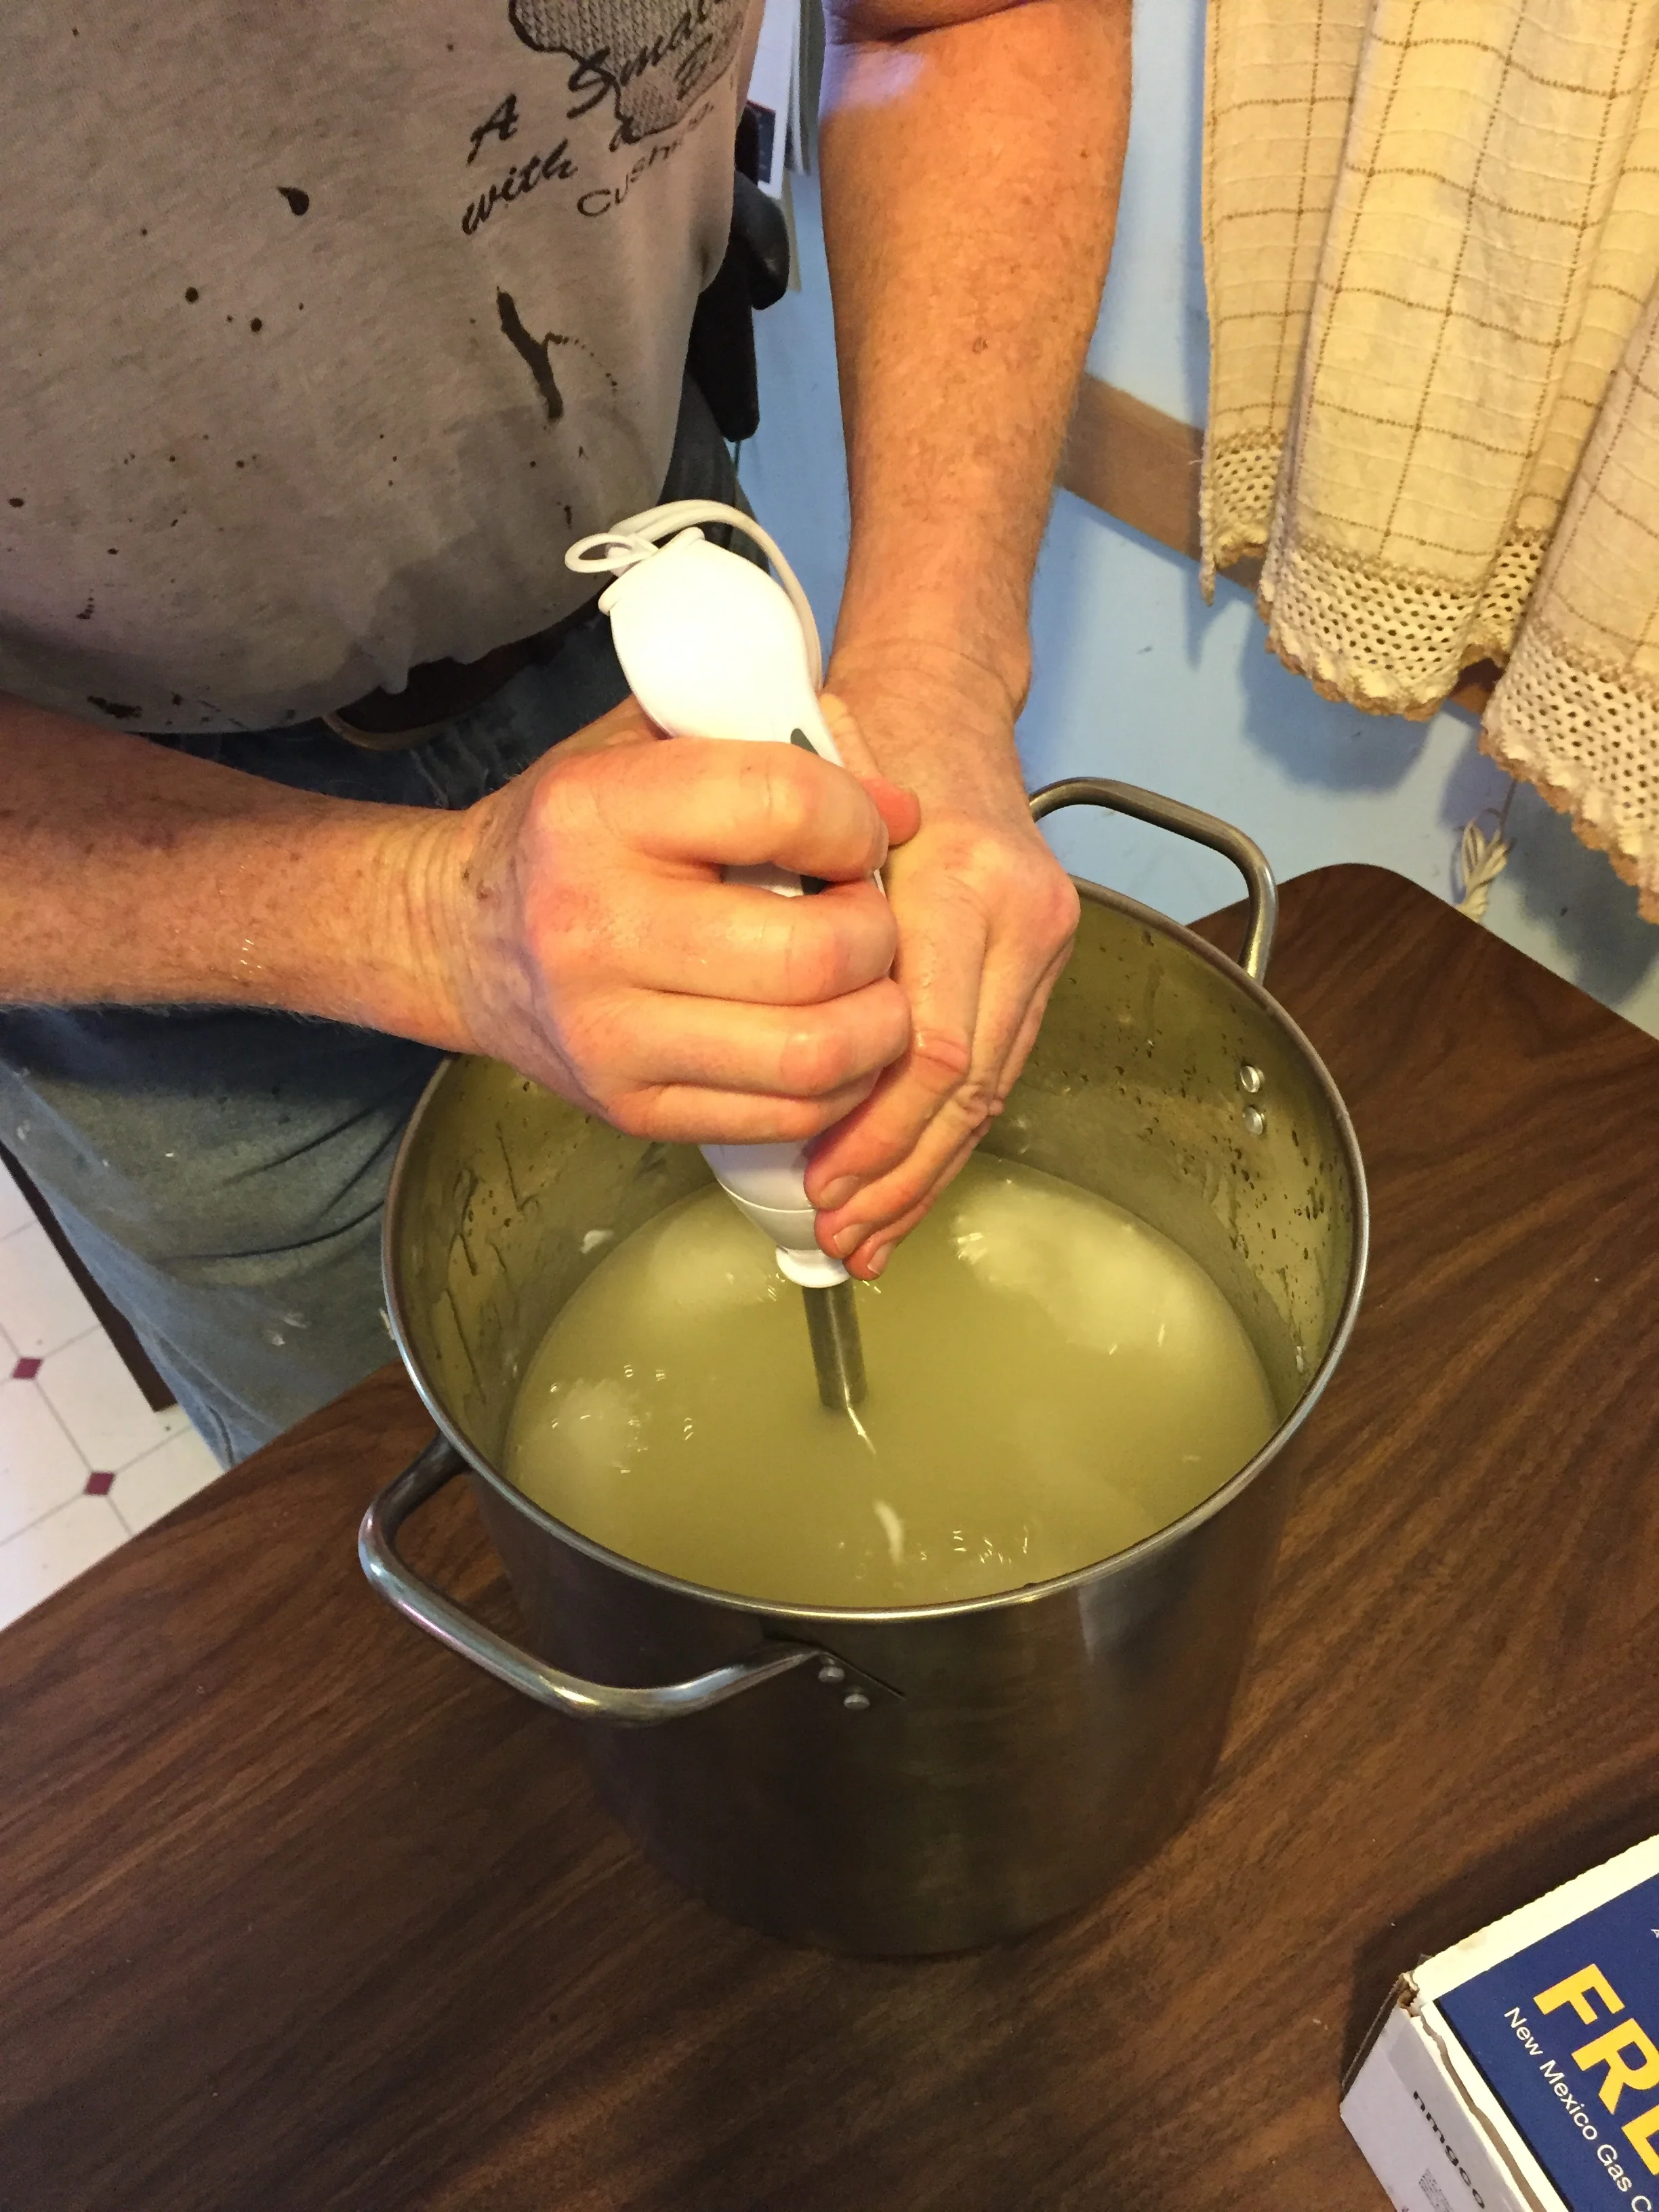
You can keep stirring with a spoon but an immersion blender makes things go faster
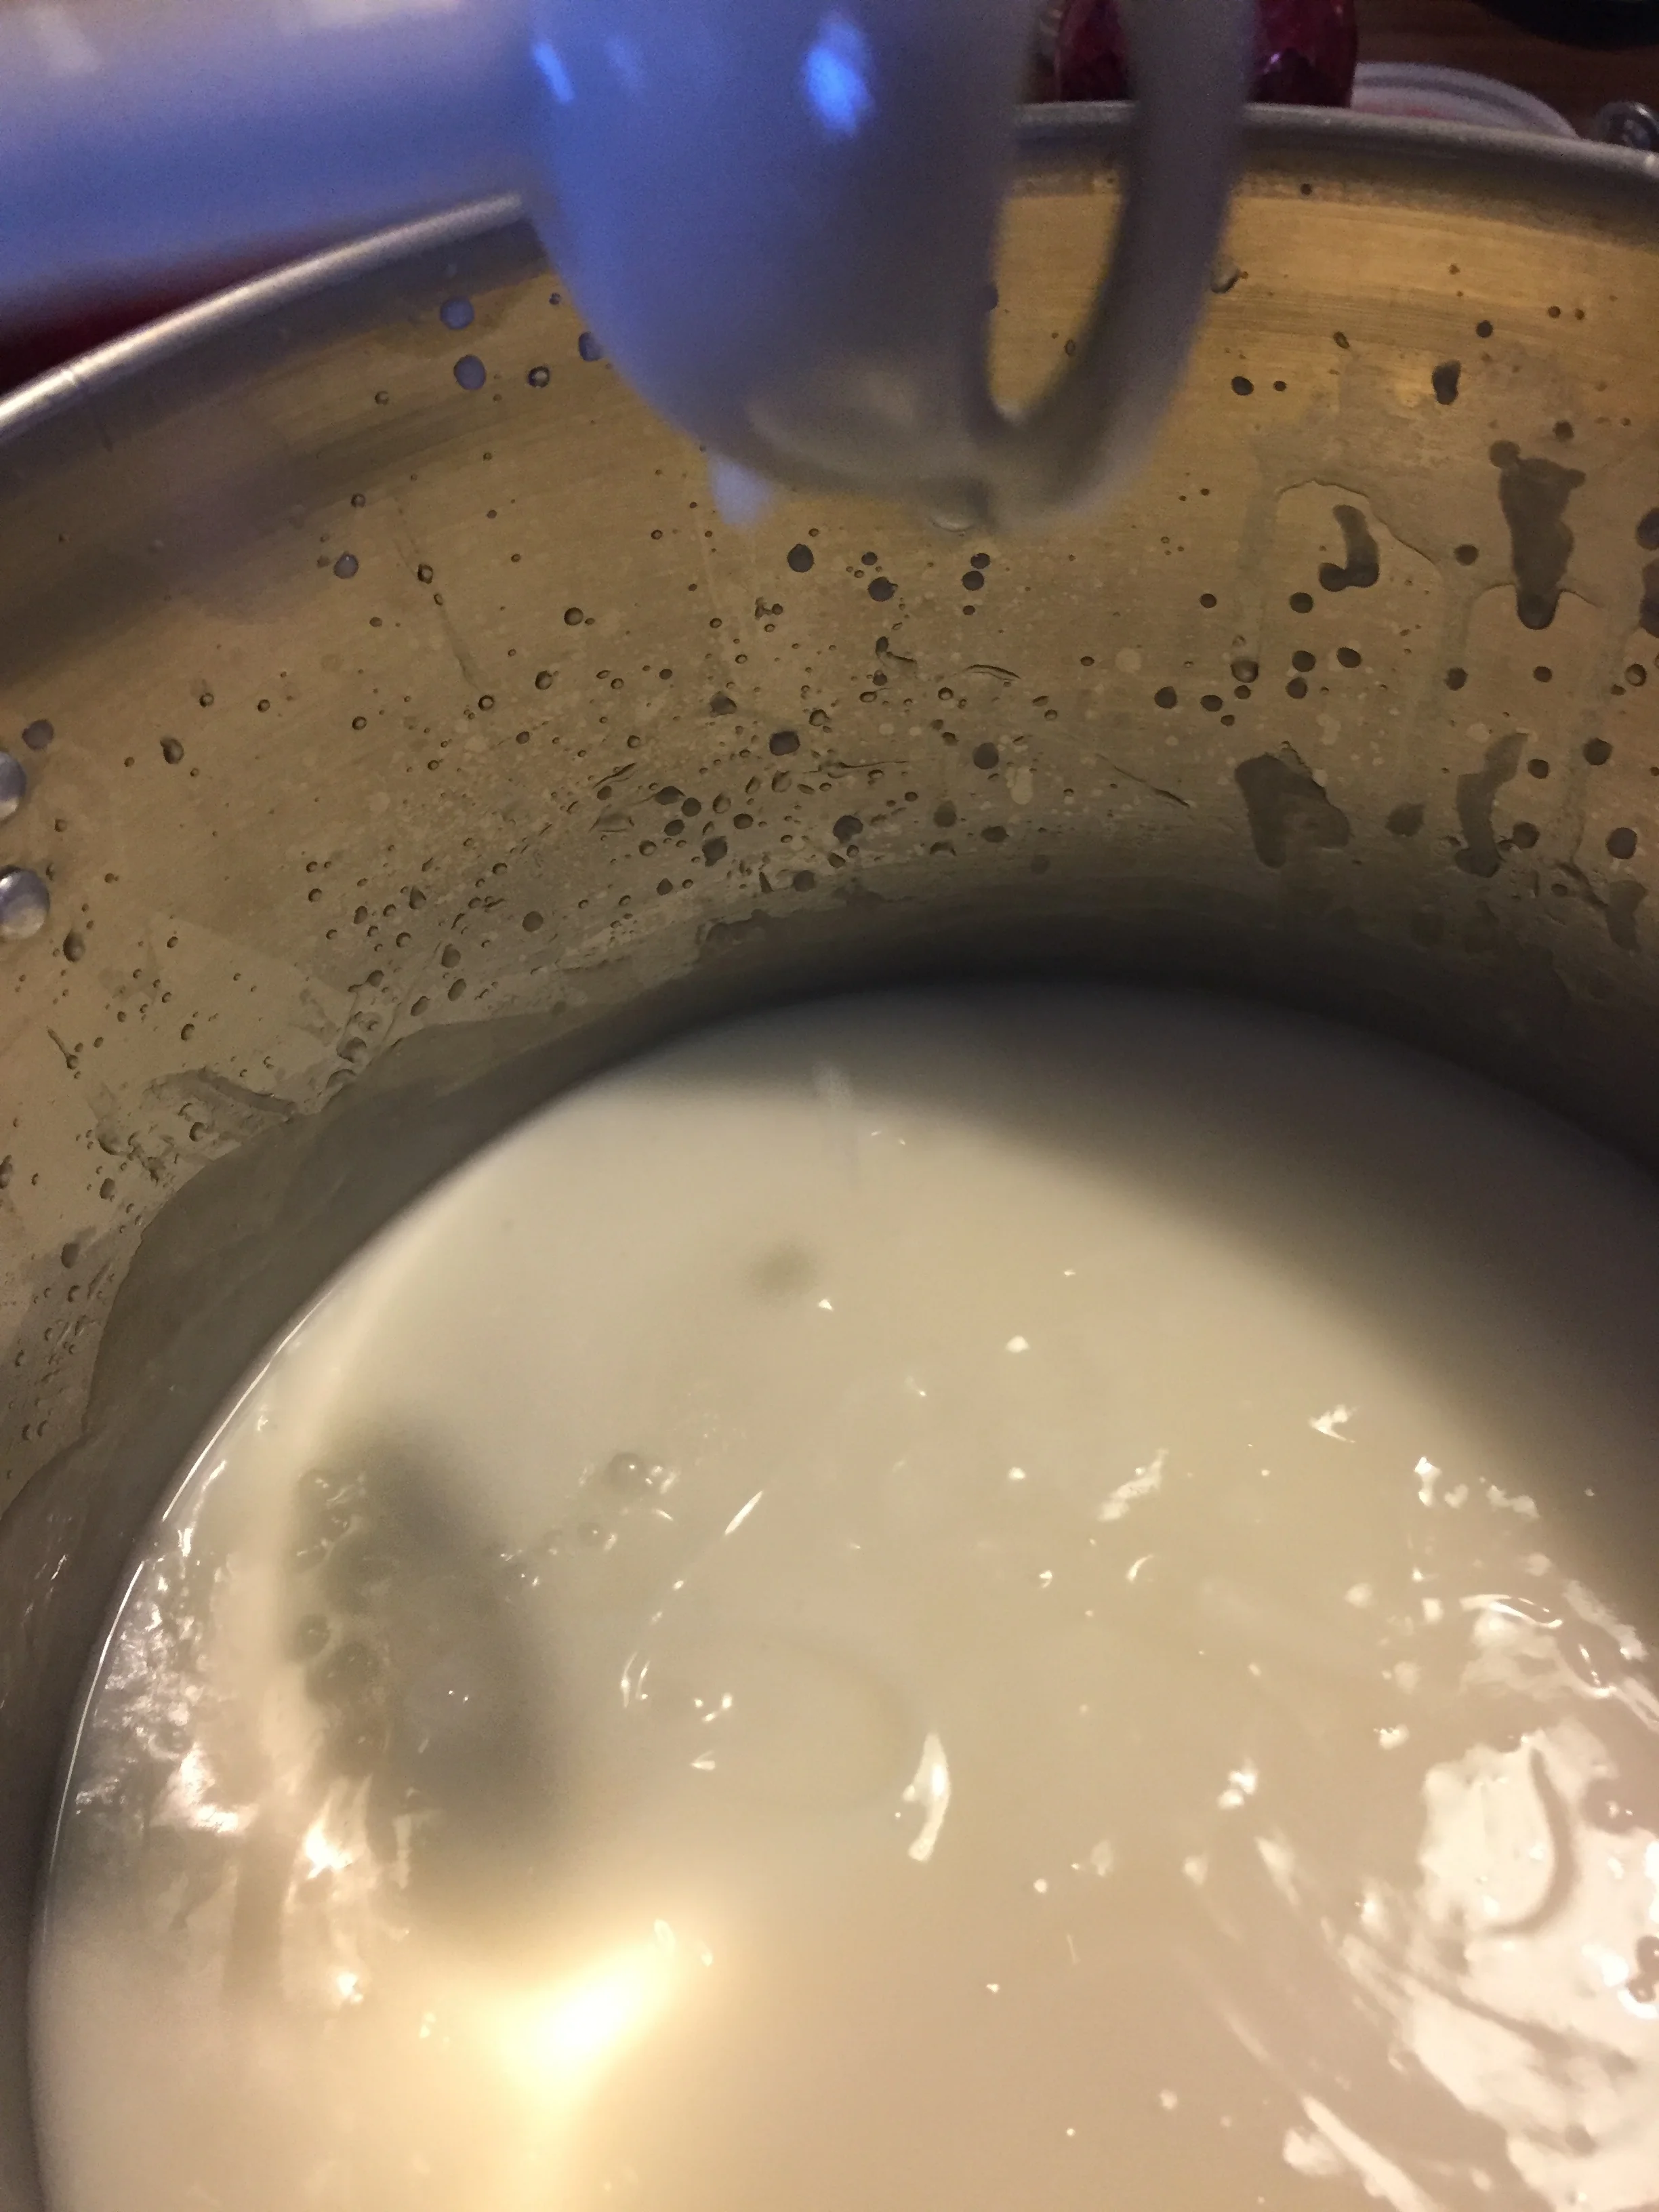
The stirring is done when the soap “traces,” which means it leaves lumps on the surface
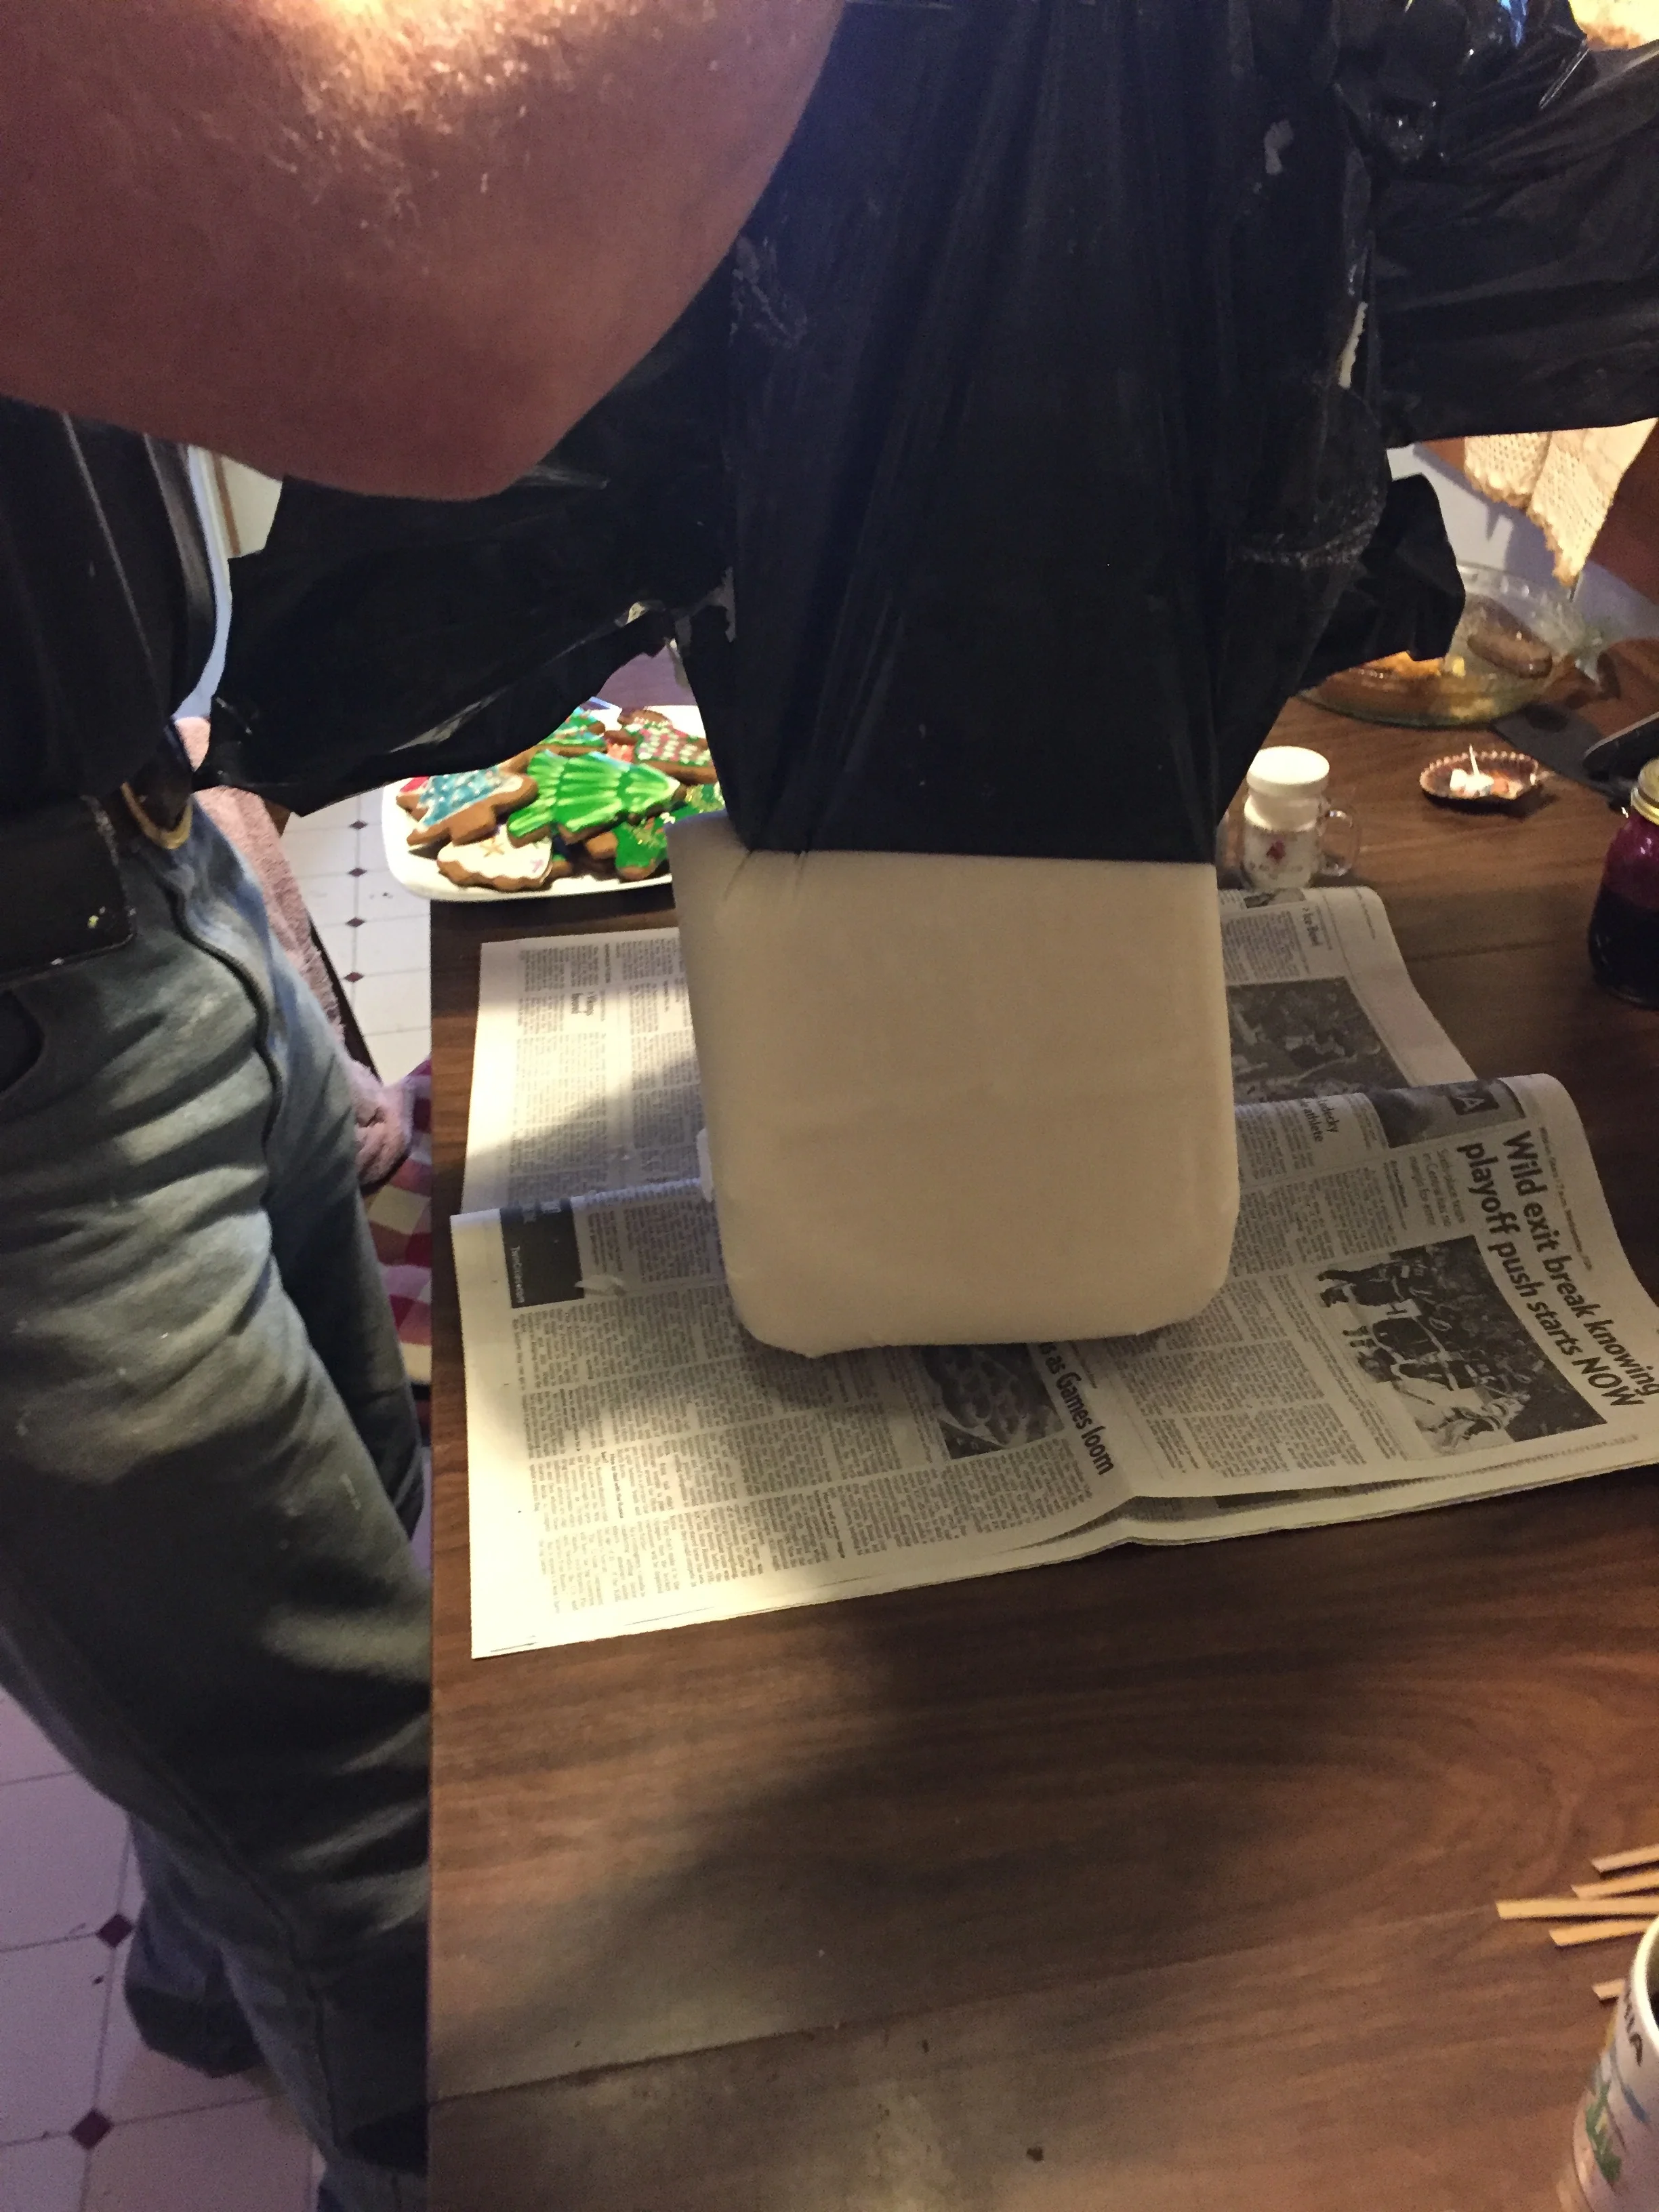
Once the soap traces it is time to put it in the form.
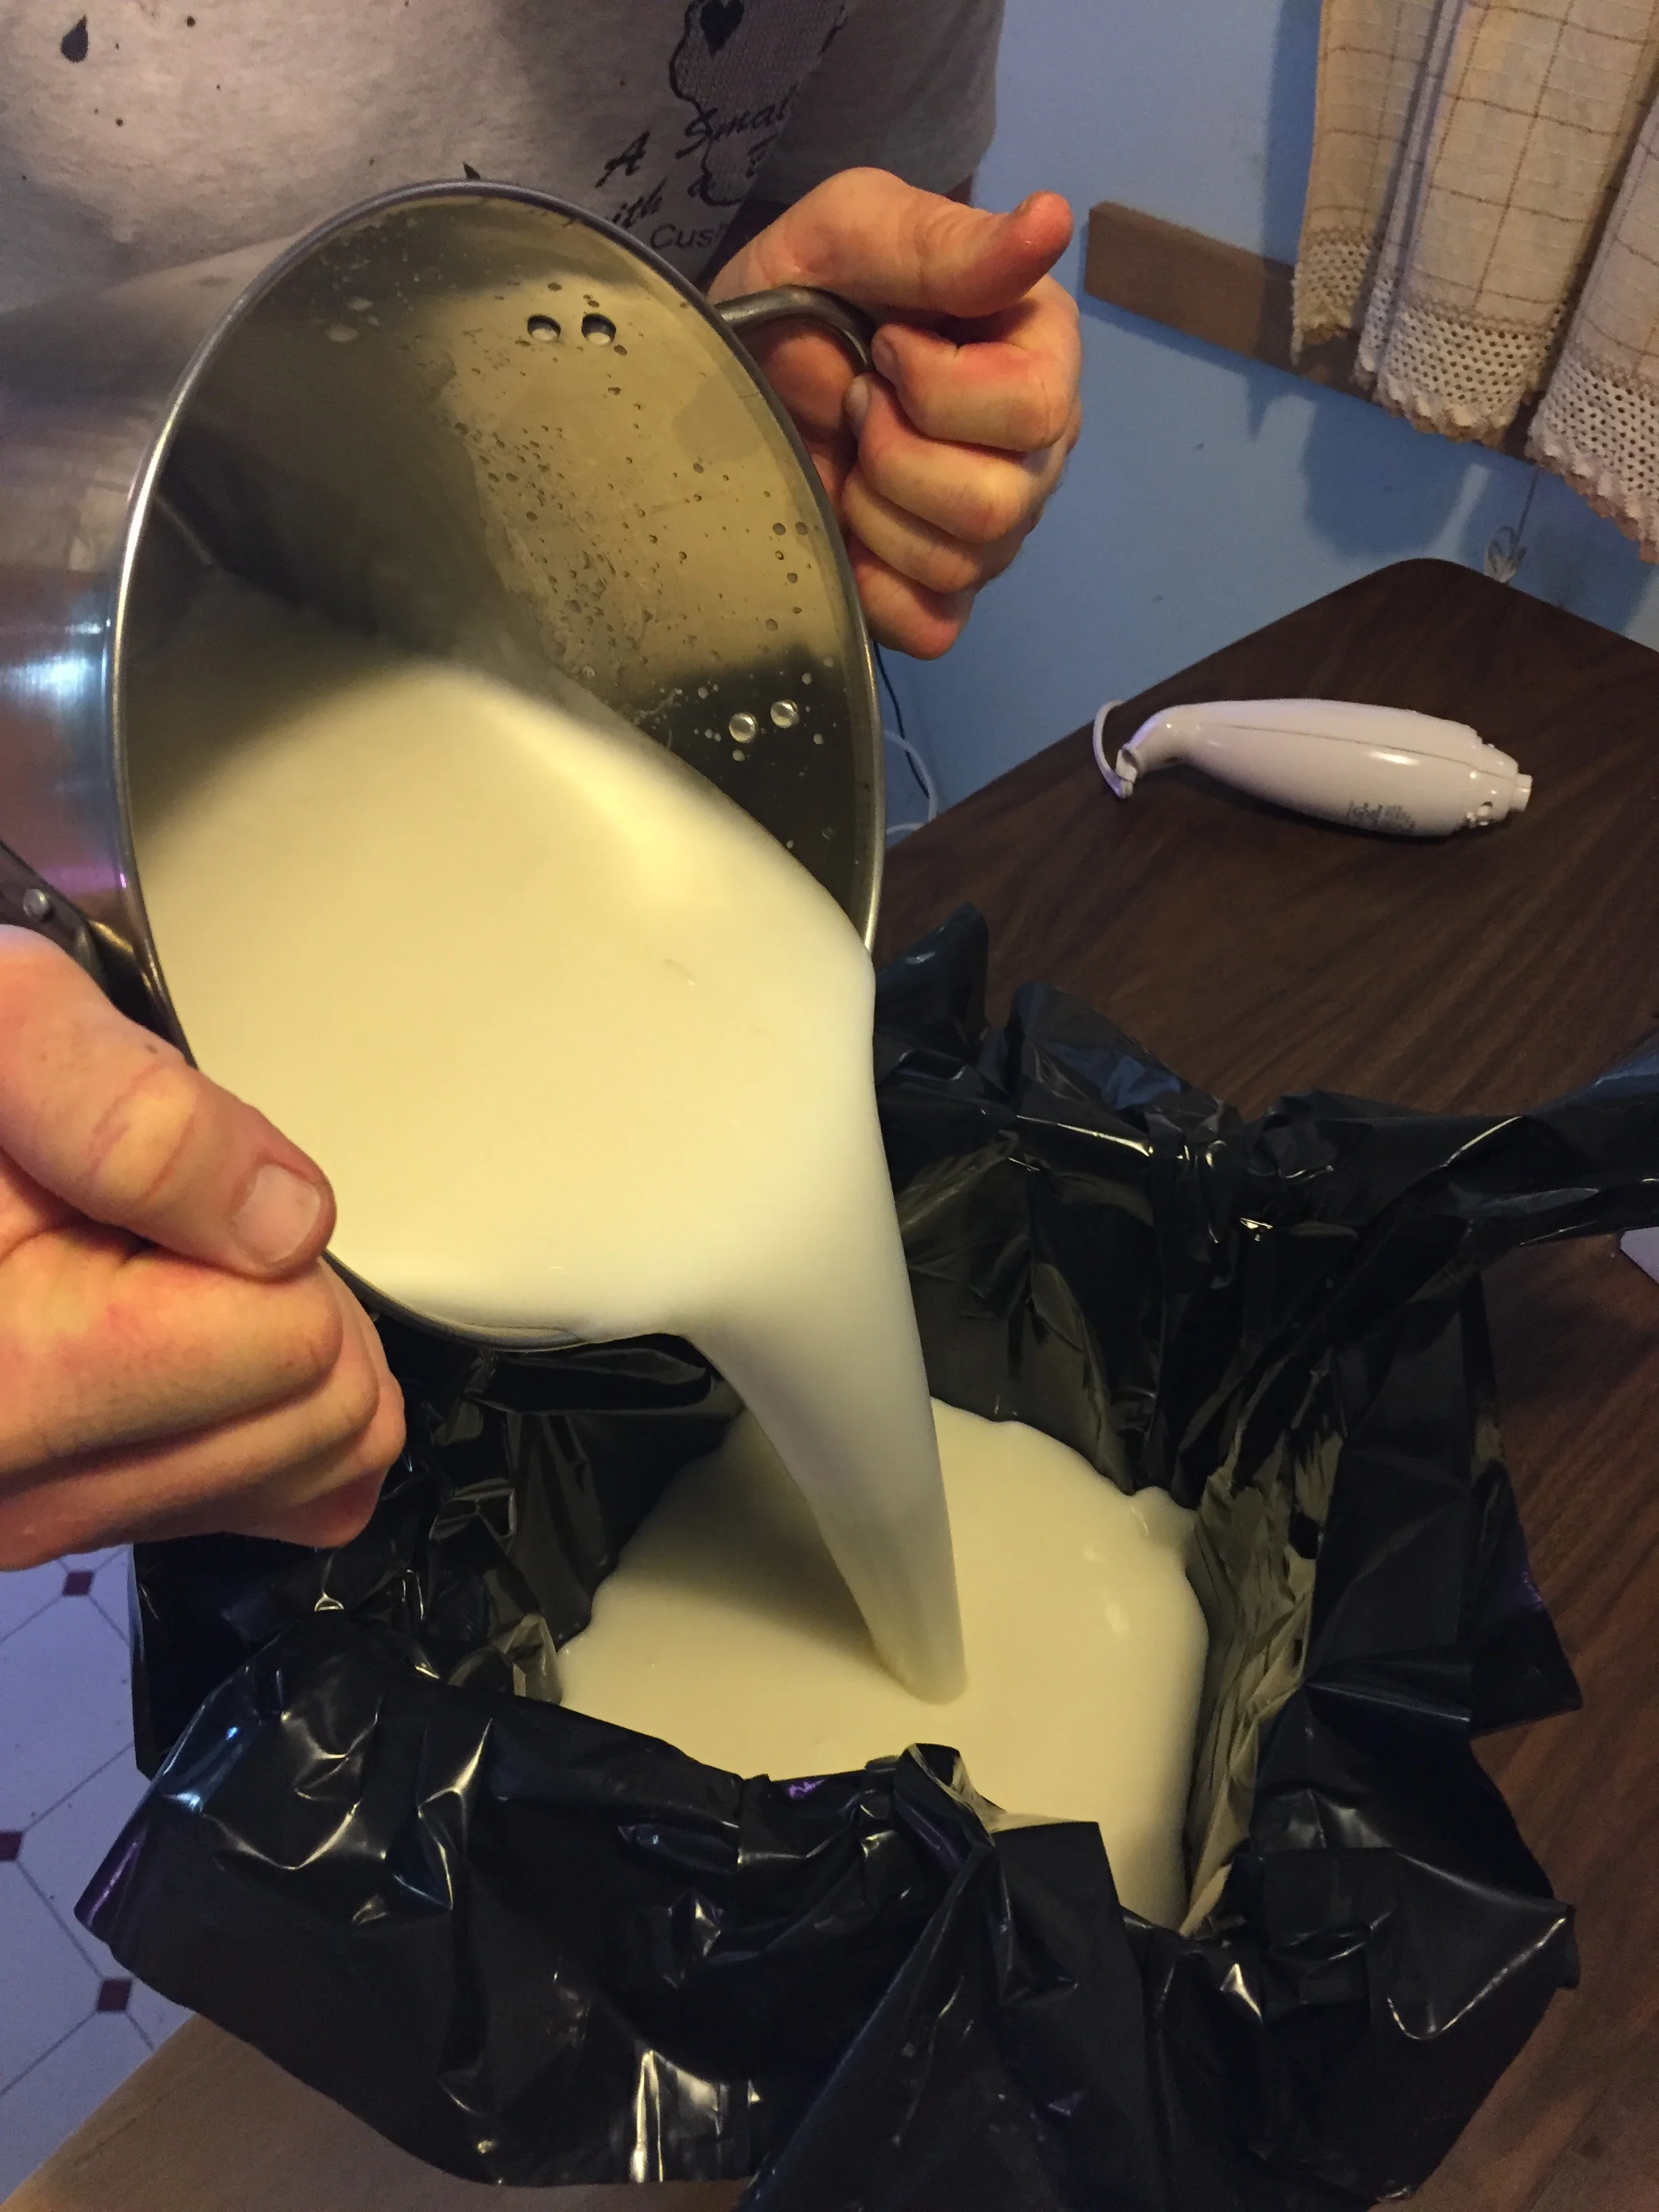
We have silicone pans, but prefer the box as it is easier to transport to a quiet corner.
Once “enboxed” the soap gets wrapped in towels so that you hold the heat in (saponification is an exothermic reaction and goes better if it cools slowly). We put newspapers under and over the box to protect against possible leakage and it adds more insulation.

The soap sits about 18 hours undisturbed. Other recipes may need to sit more or less time.
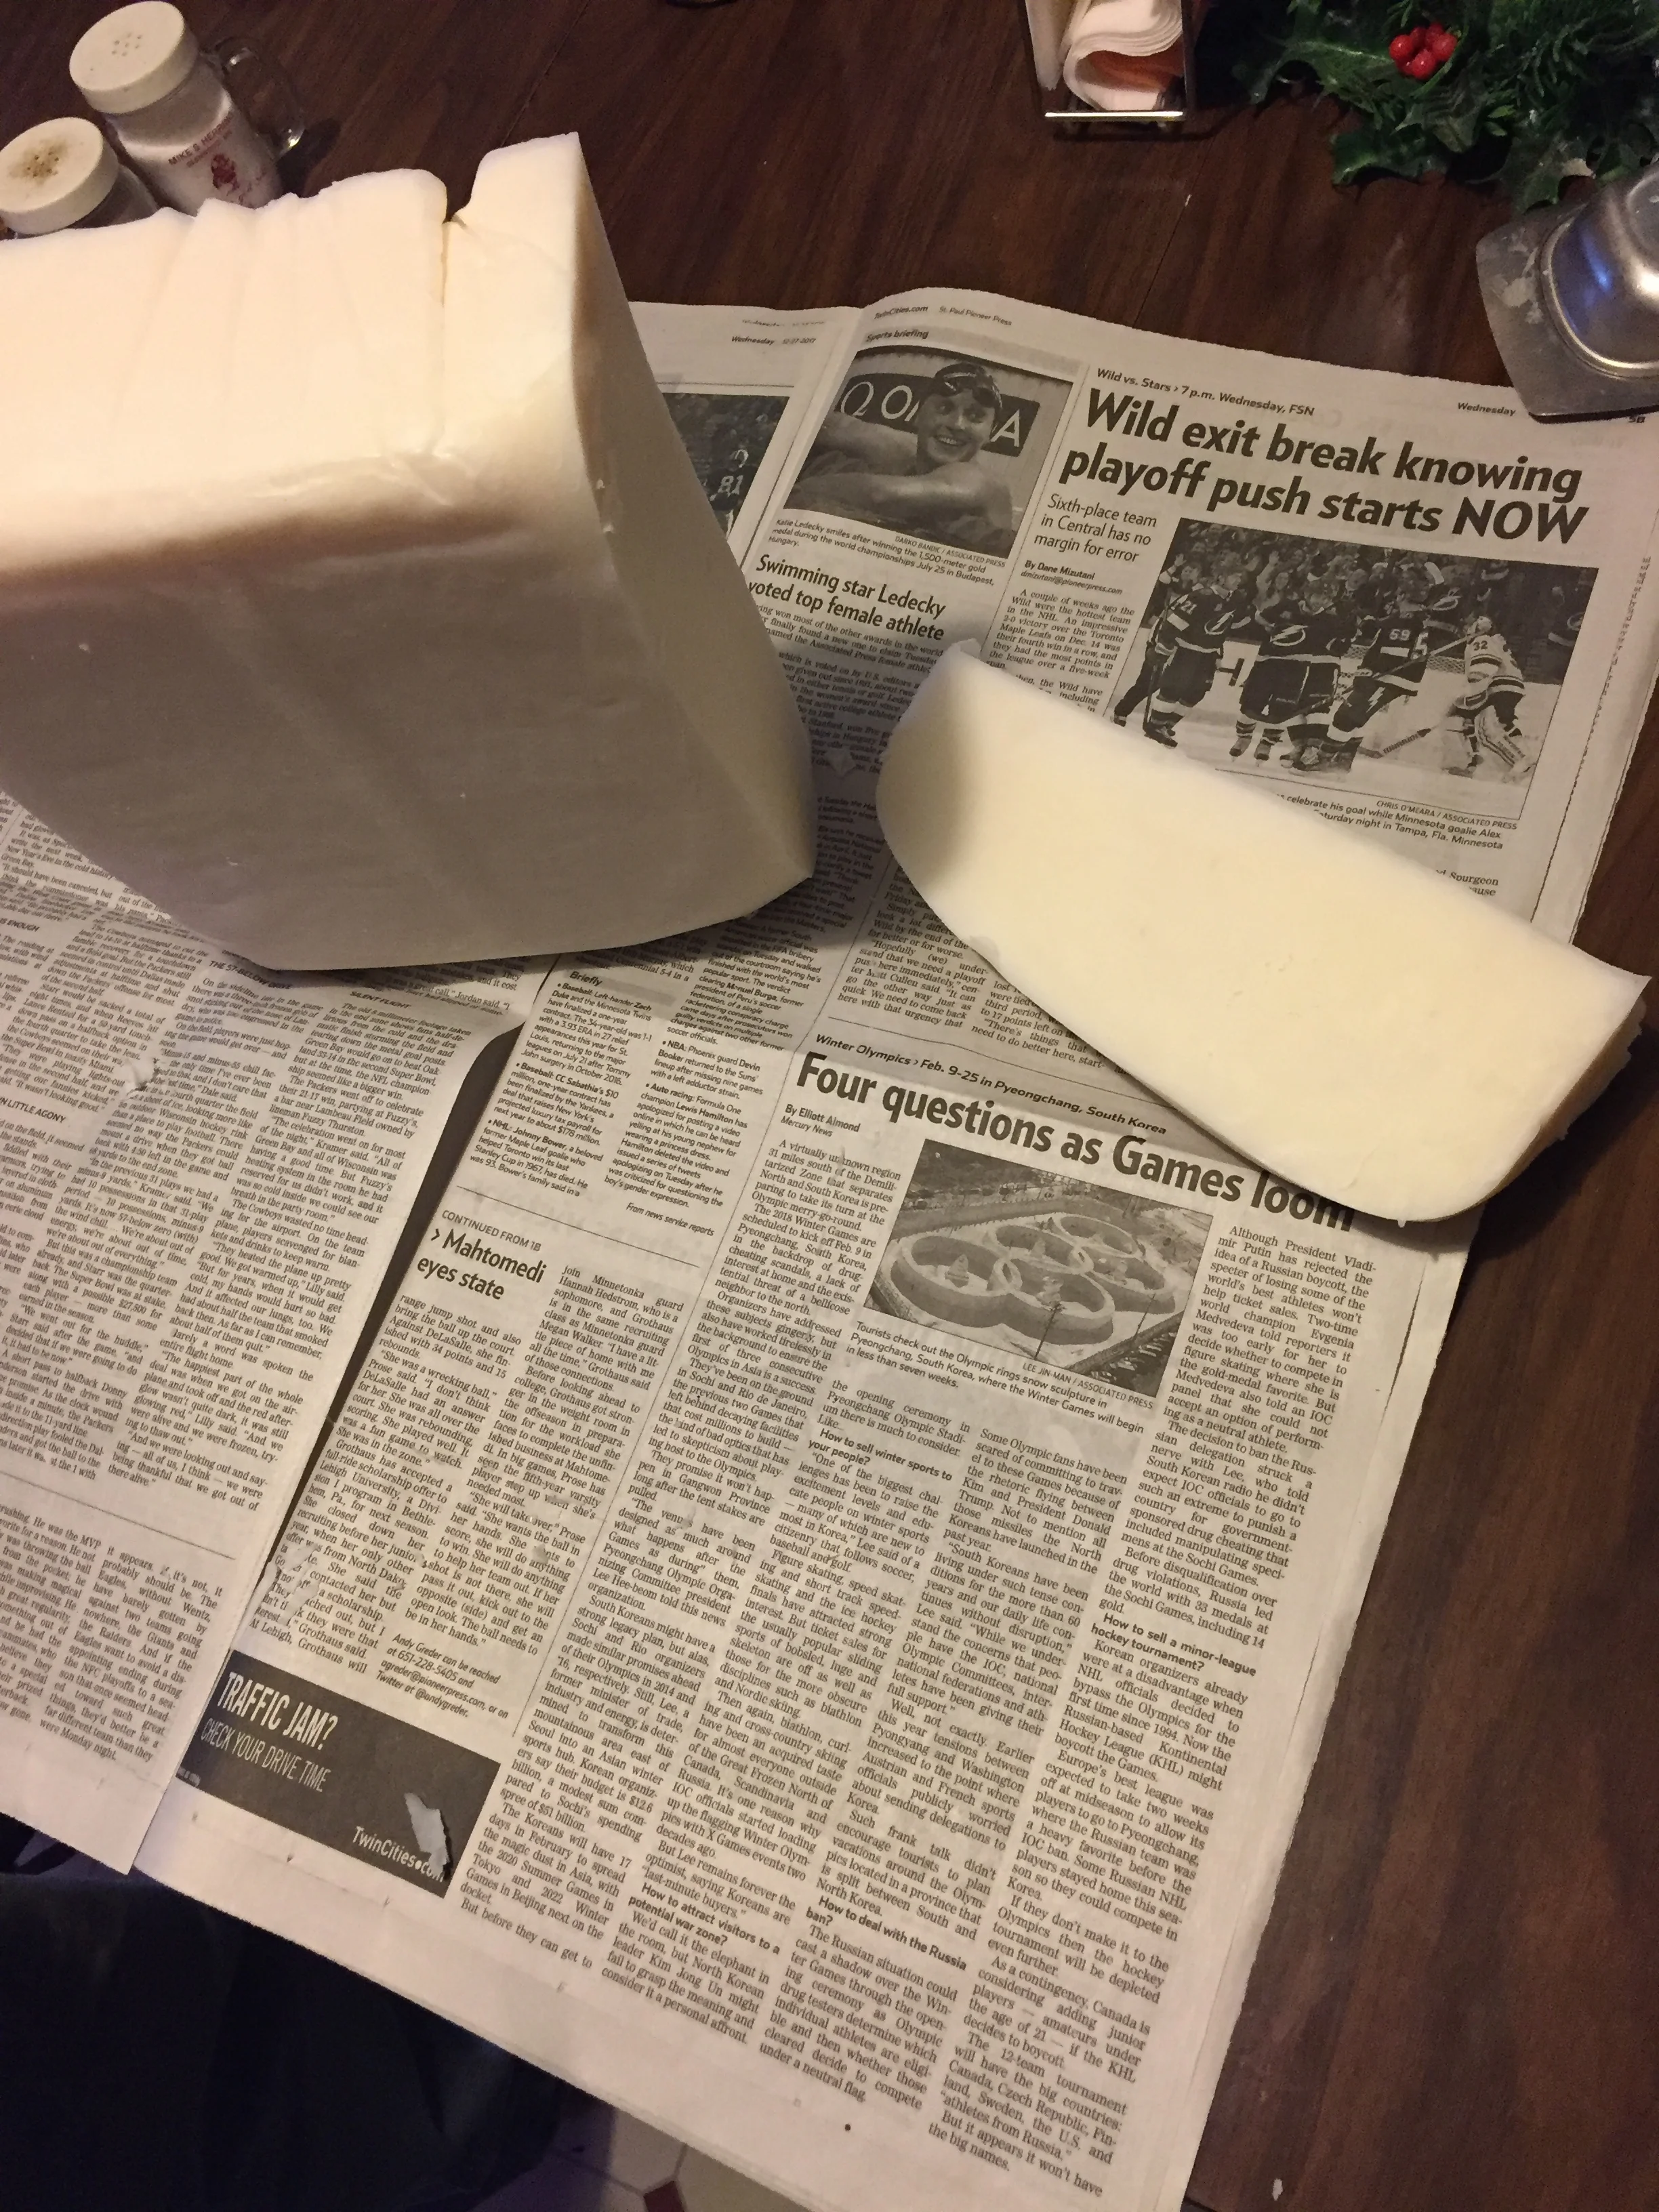
The soap is ready to cut when it is firm to the touch but still gives a bit. If it gets too hard you will either end up breaking it with a hammer and end up with soap shards or will have one really big bar of soap.
Firm but slightly yielding
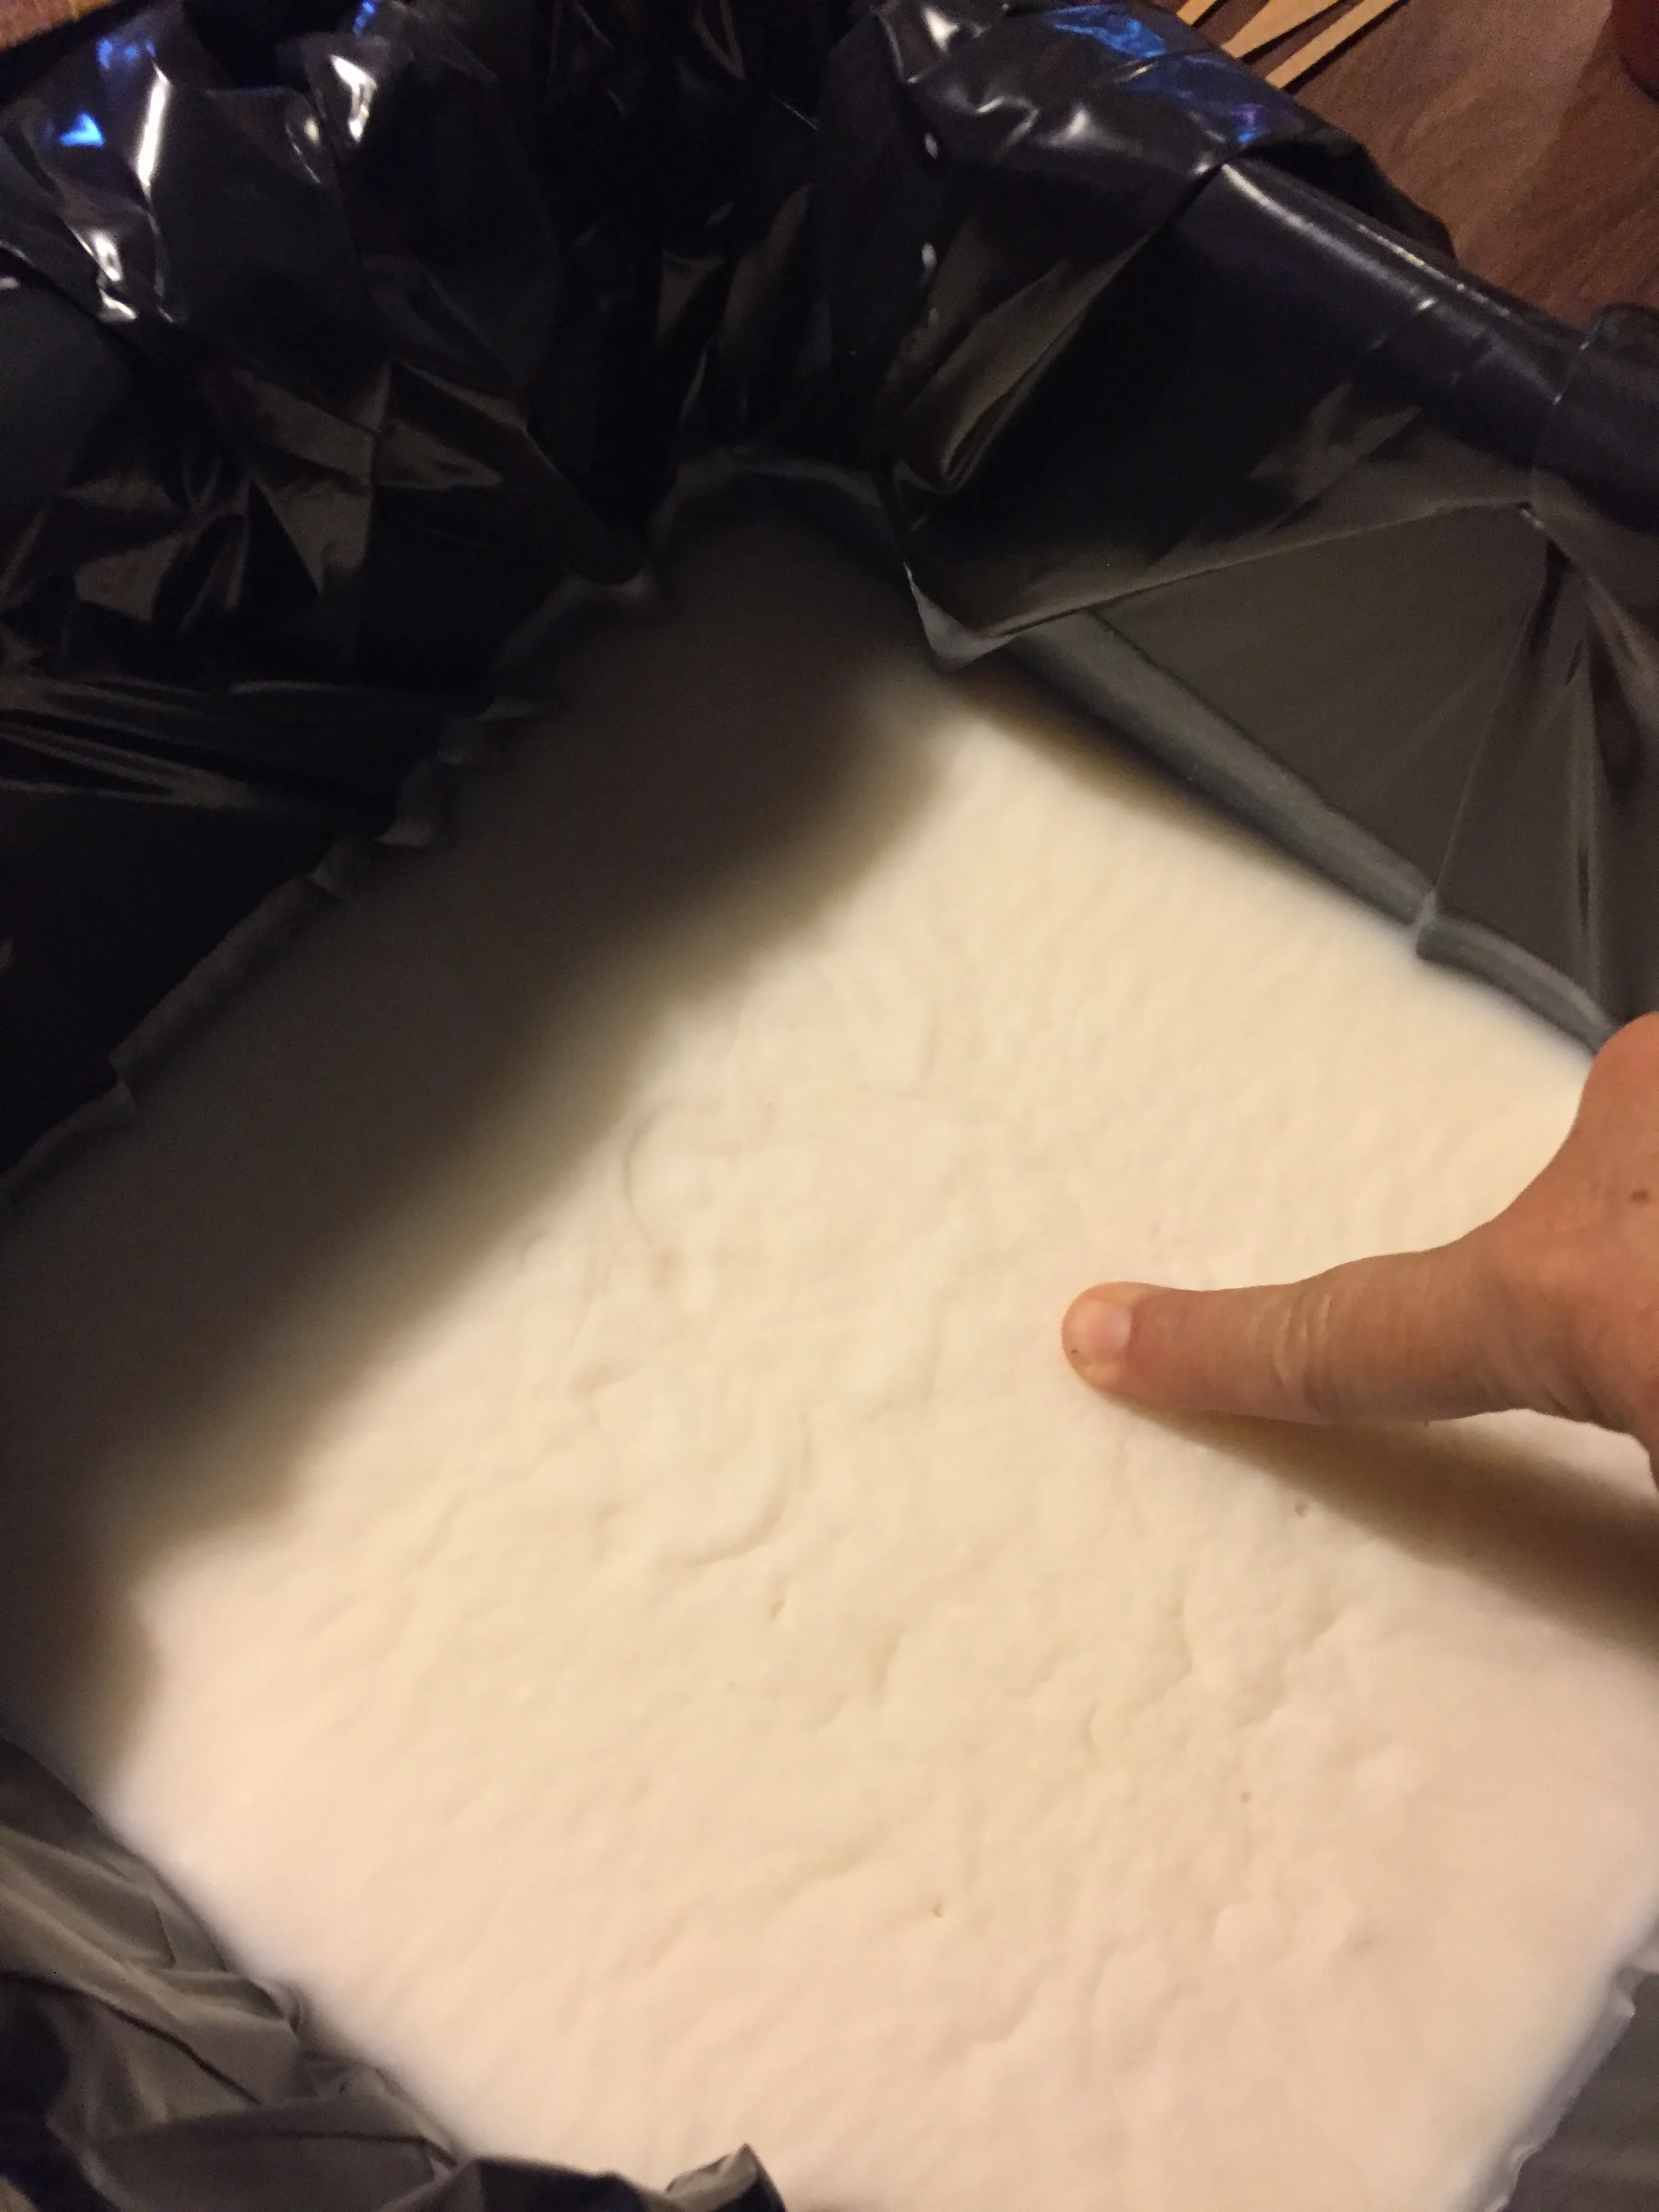
Unmold the soap onto newspaper, which will catch any stray liquids.
No stray liquids means complete saponification
Having a sharp, thin bladed knife helps
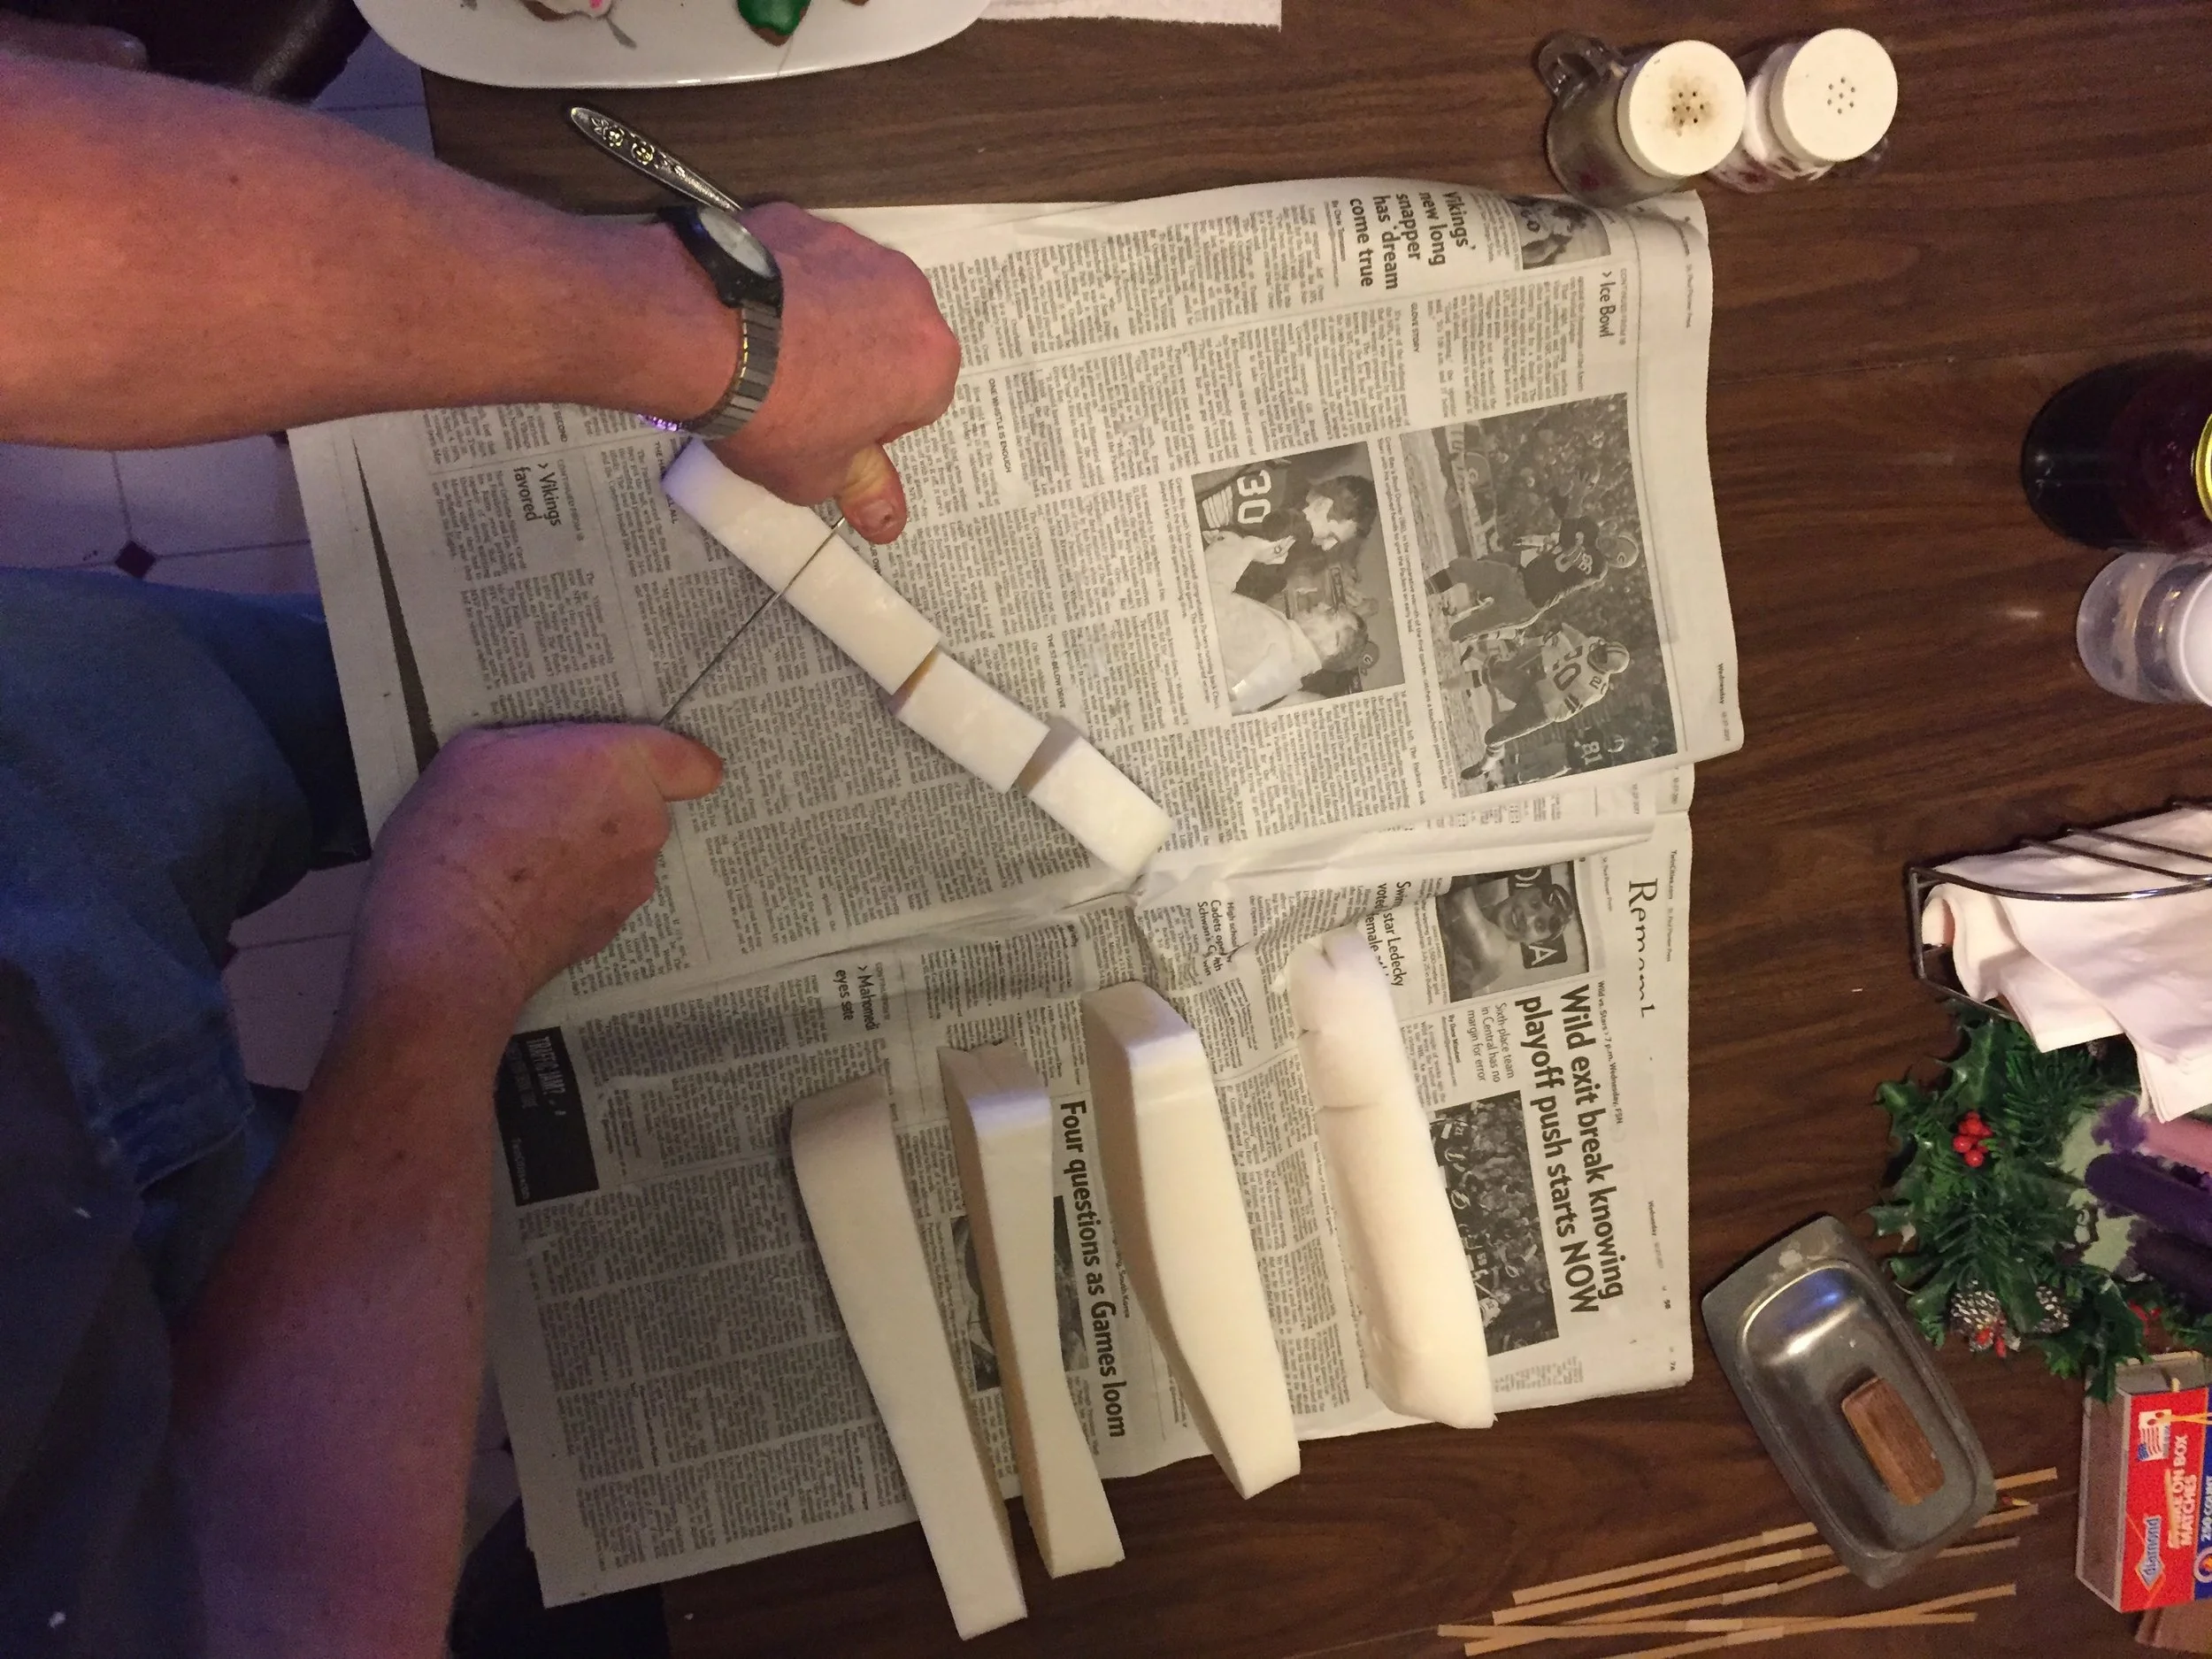
Slice into bar sized pieces
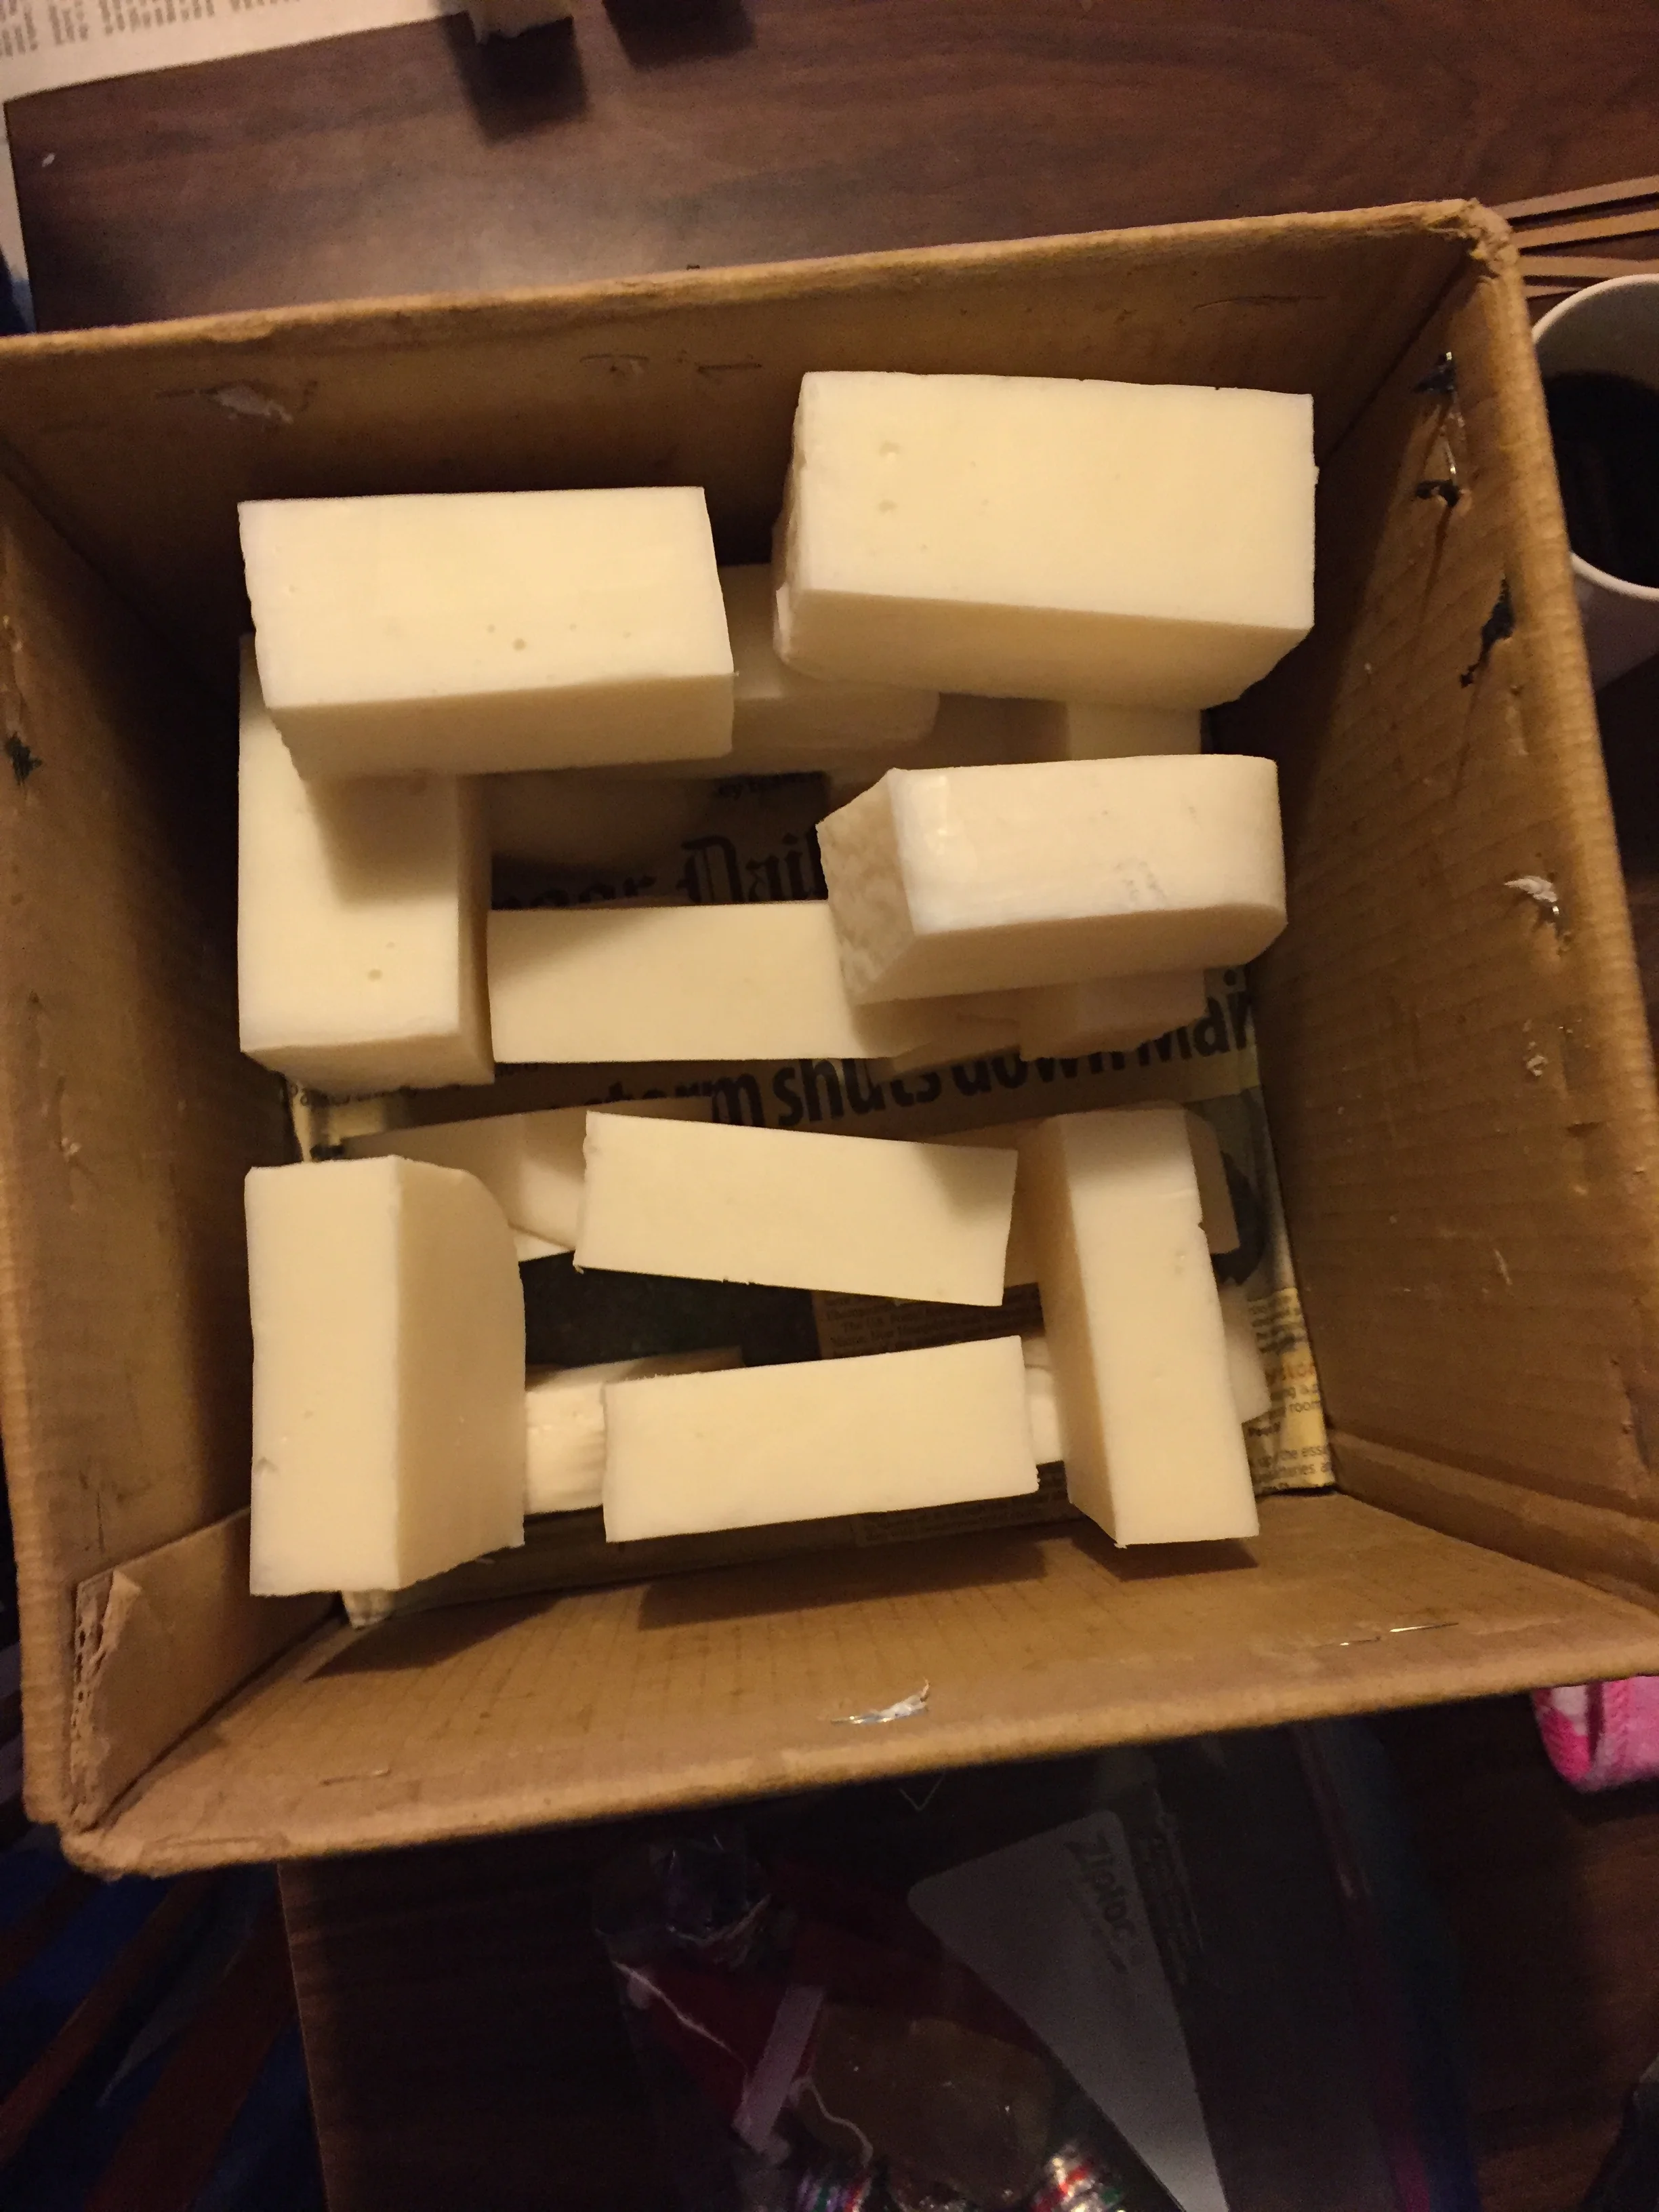
Once sliced, Michael stacks them back into the cardboard form box, leaving space between bars.
The soap cures over 2 weeks and then is ready to use. Homemade soap has more natural glycerine, which is removed in the commercial process. Glycerine is good for the skin, so not only do I get soap that doesn’t attack my lungs and skin, it treats them extra nicely!